
Week 2 - Computer-Aided Design
Assignment
Model (raster, vector, 2D, 3D, render, animate, simulate, ...) a possible final project, compress your images and videos, and post it on your class page
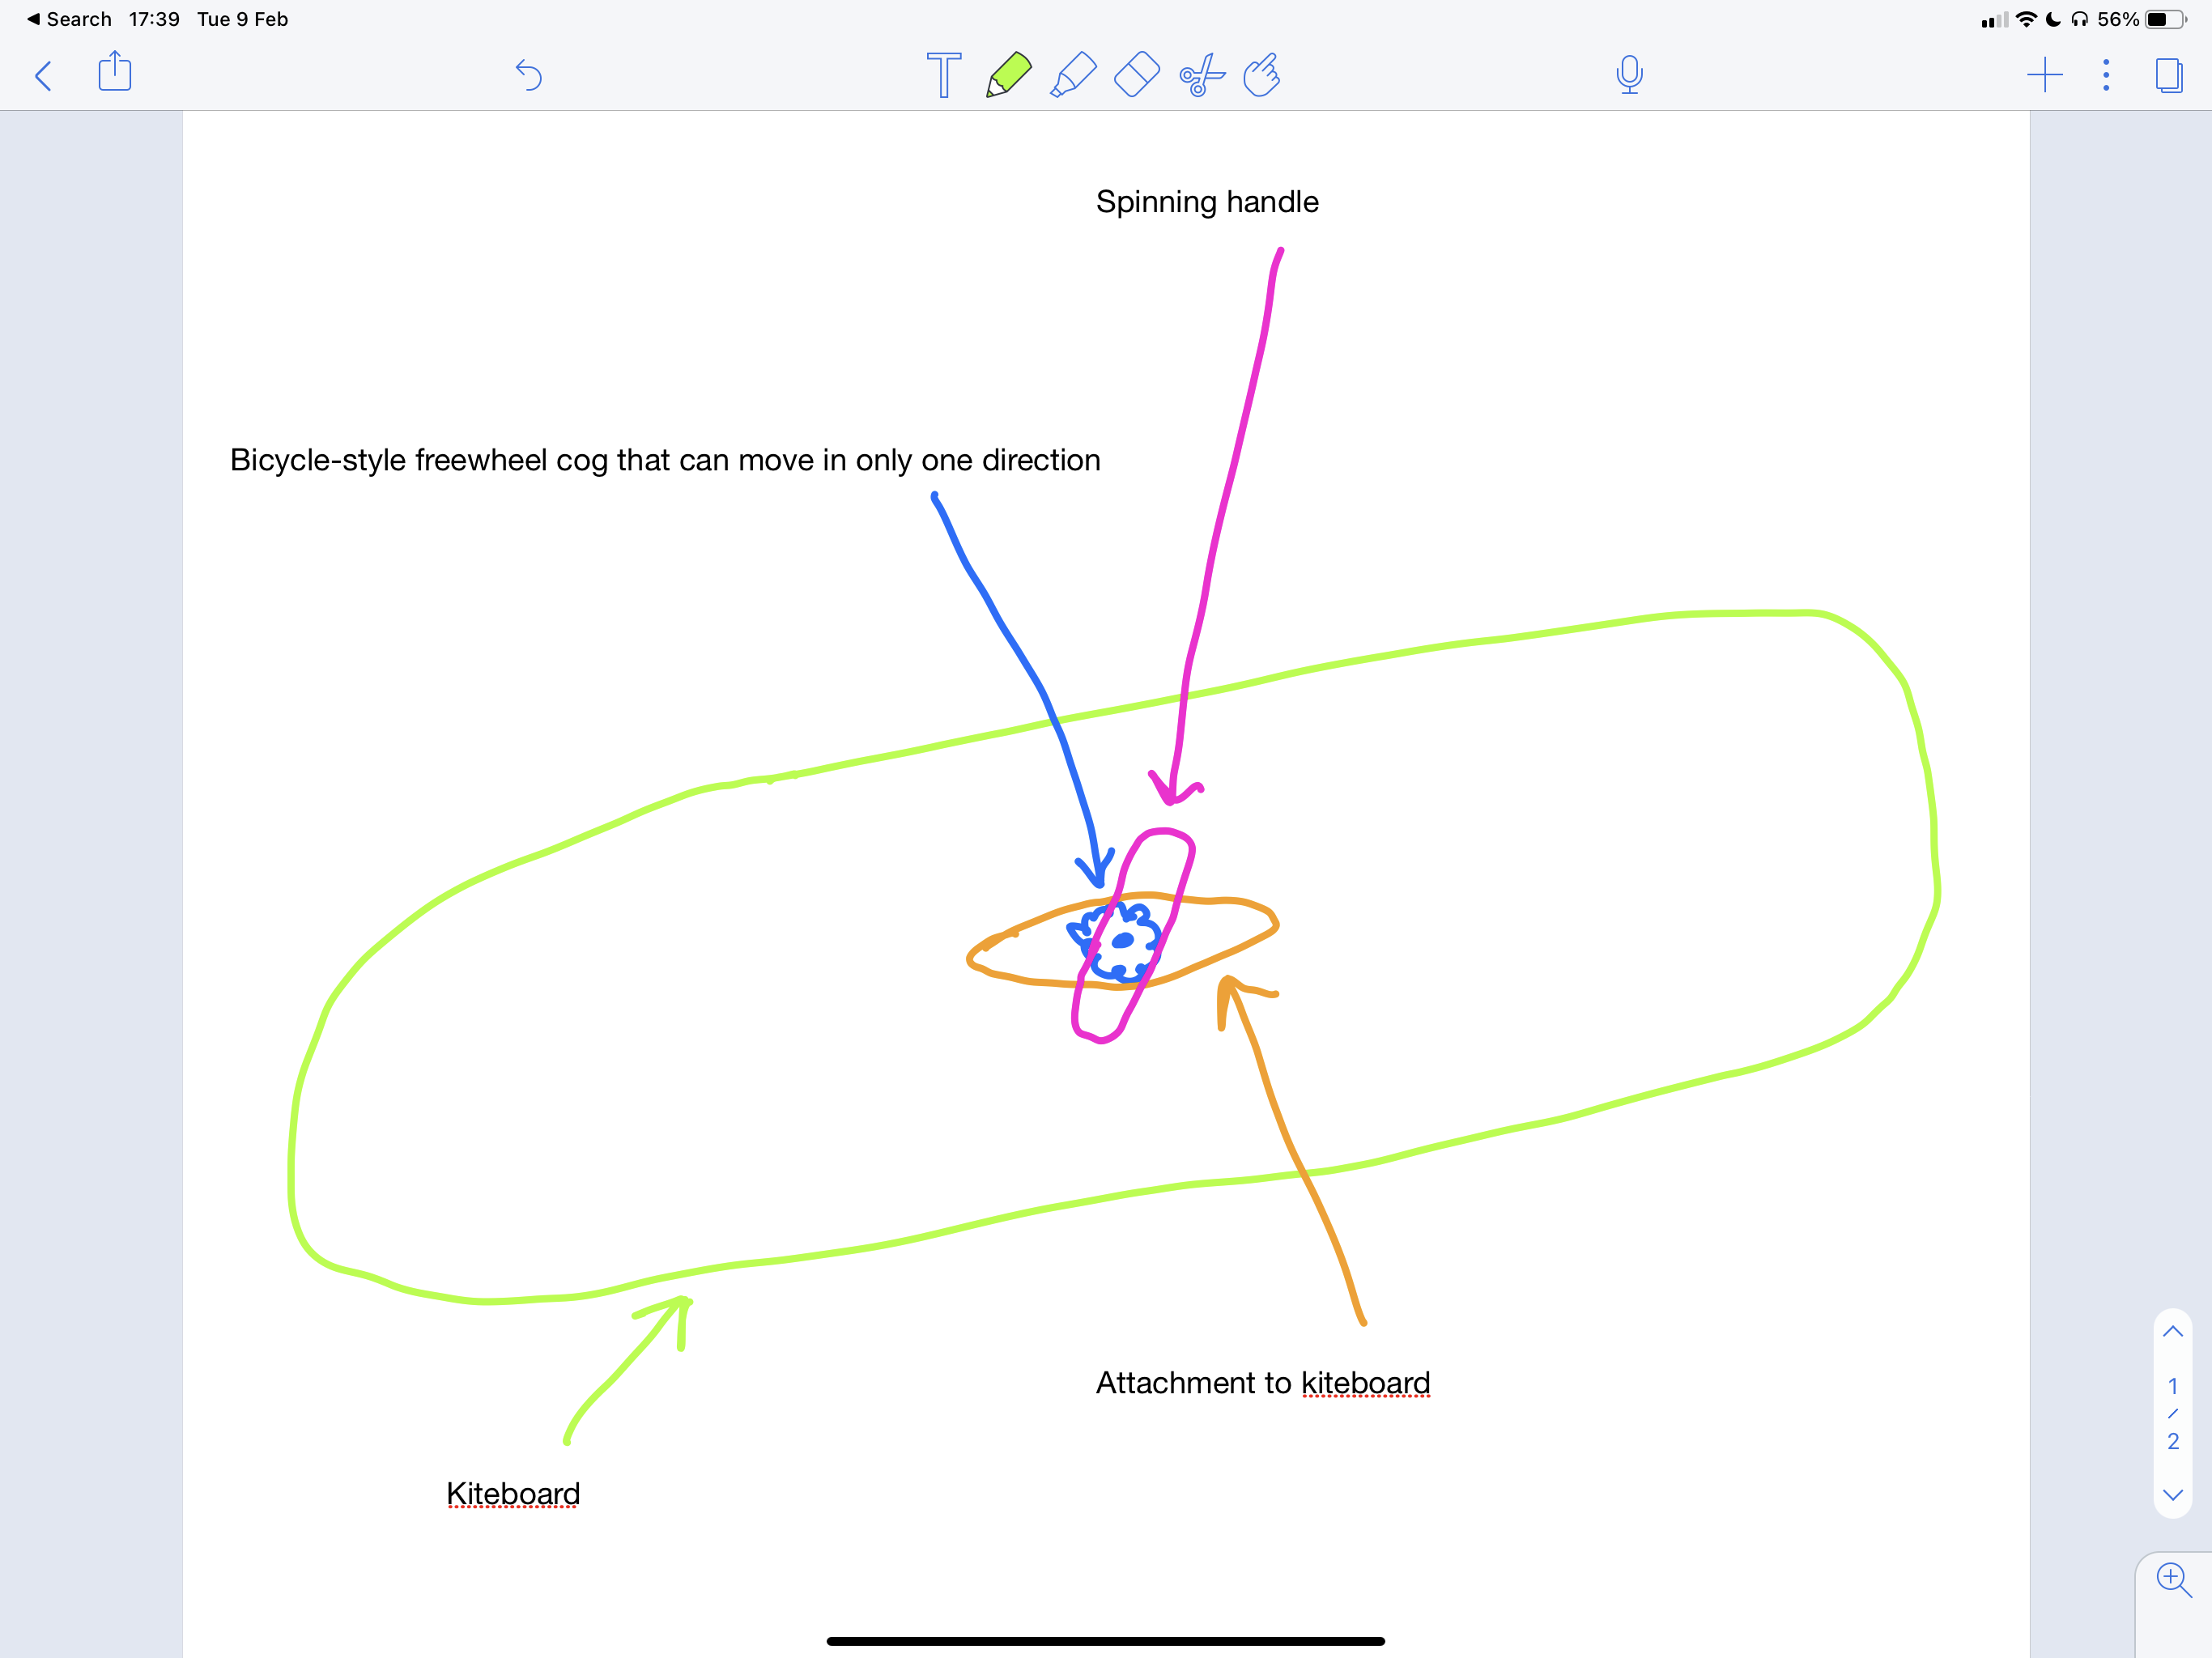
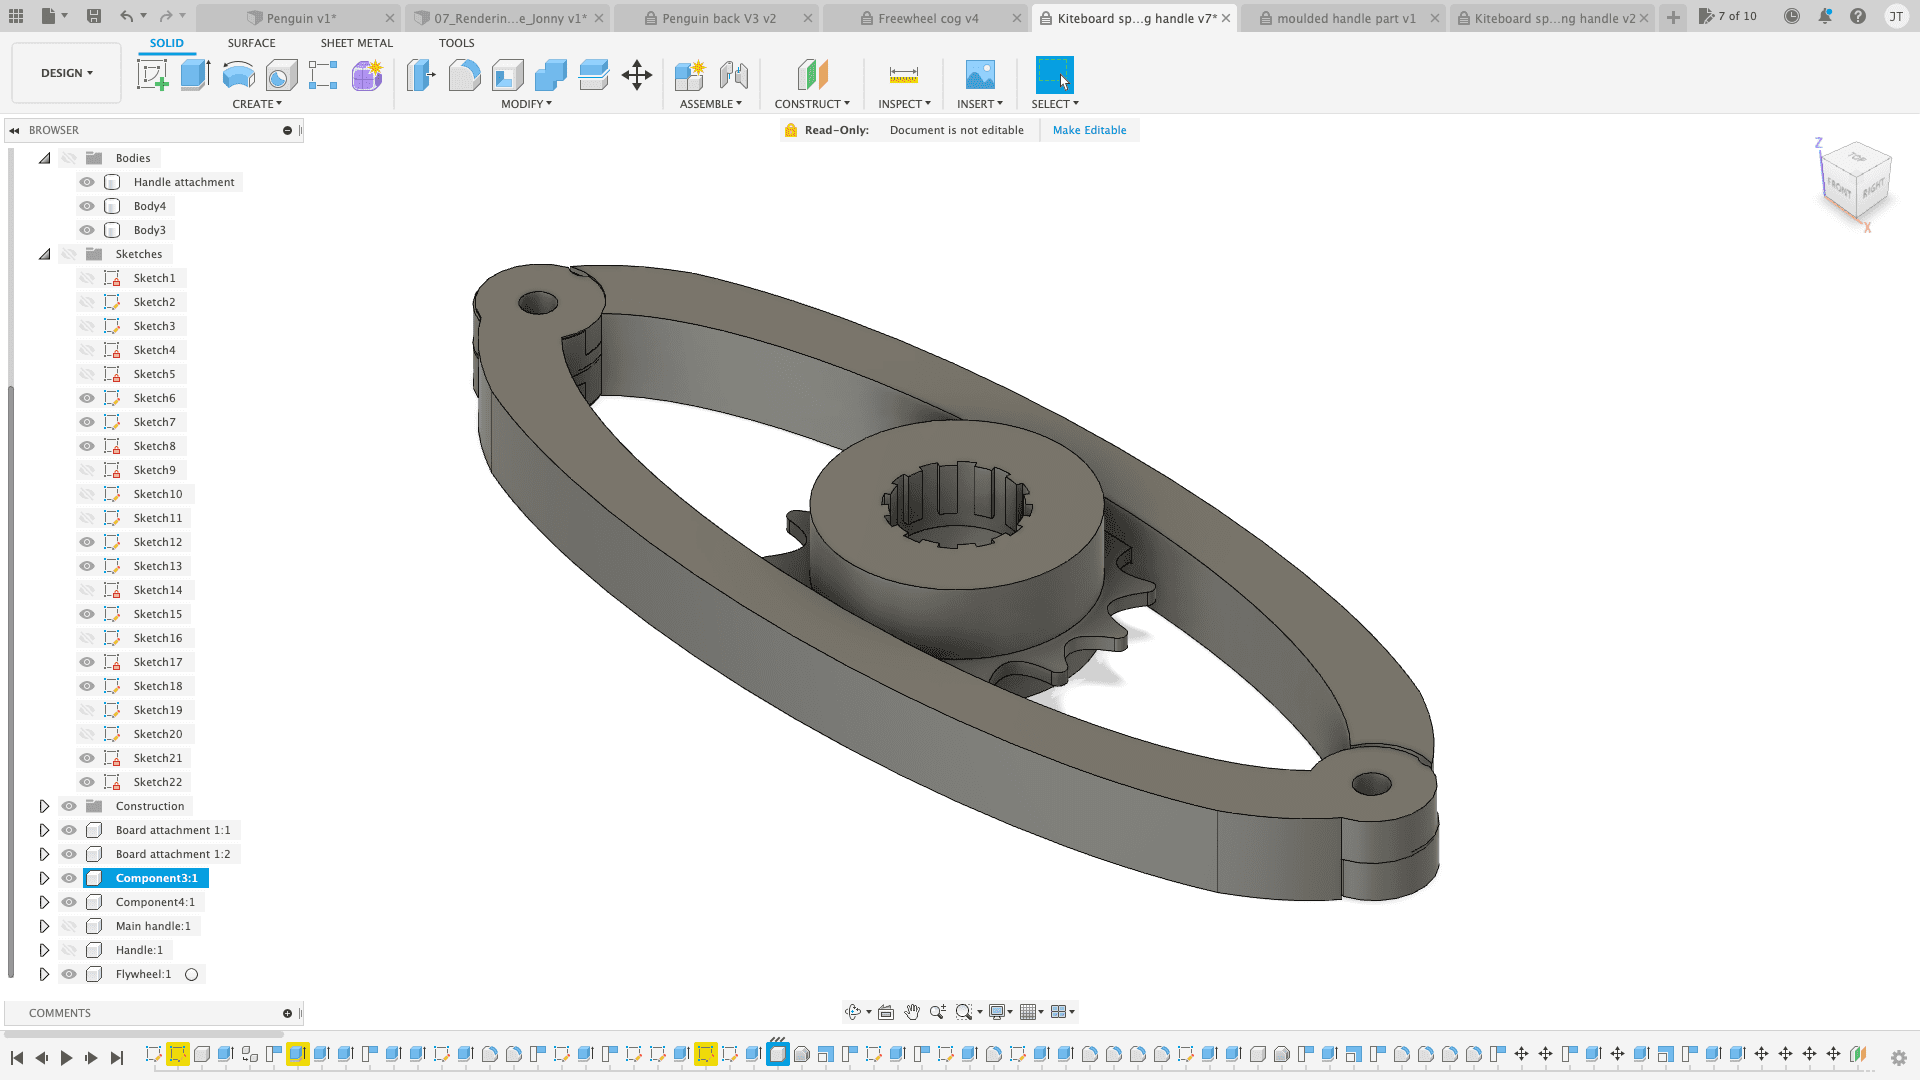
Kitesurfing handle
I haven't yet decided on a final project so I have chosen a small project to use to complete this assignment. I'm a keen kitesurfer and I've always wished you could buy a spinning handle. It would give you so much more control when you remove your board while you're in mid-air.
Sketch
This sketch shows a potential final project. My idea is for an architectural model but with a gantry system beneath. A set of magnets can move objects around on the model.
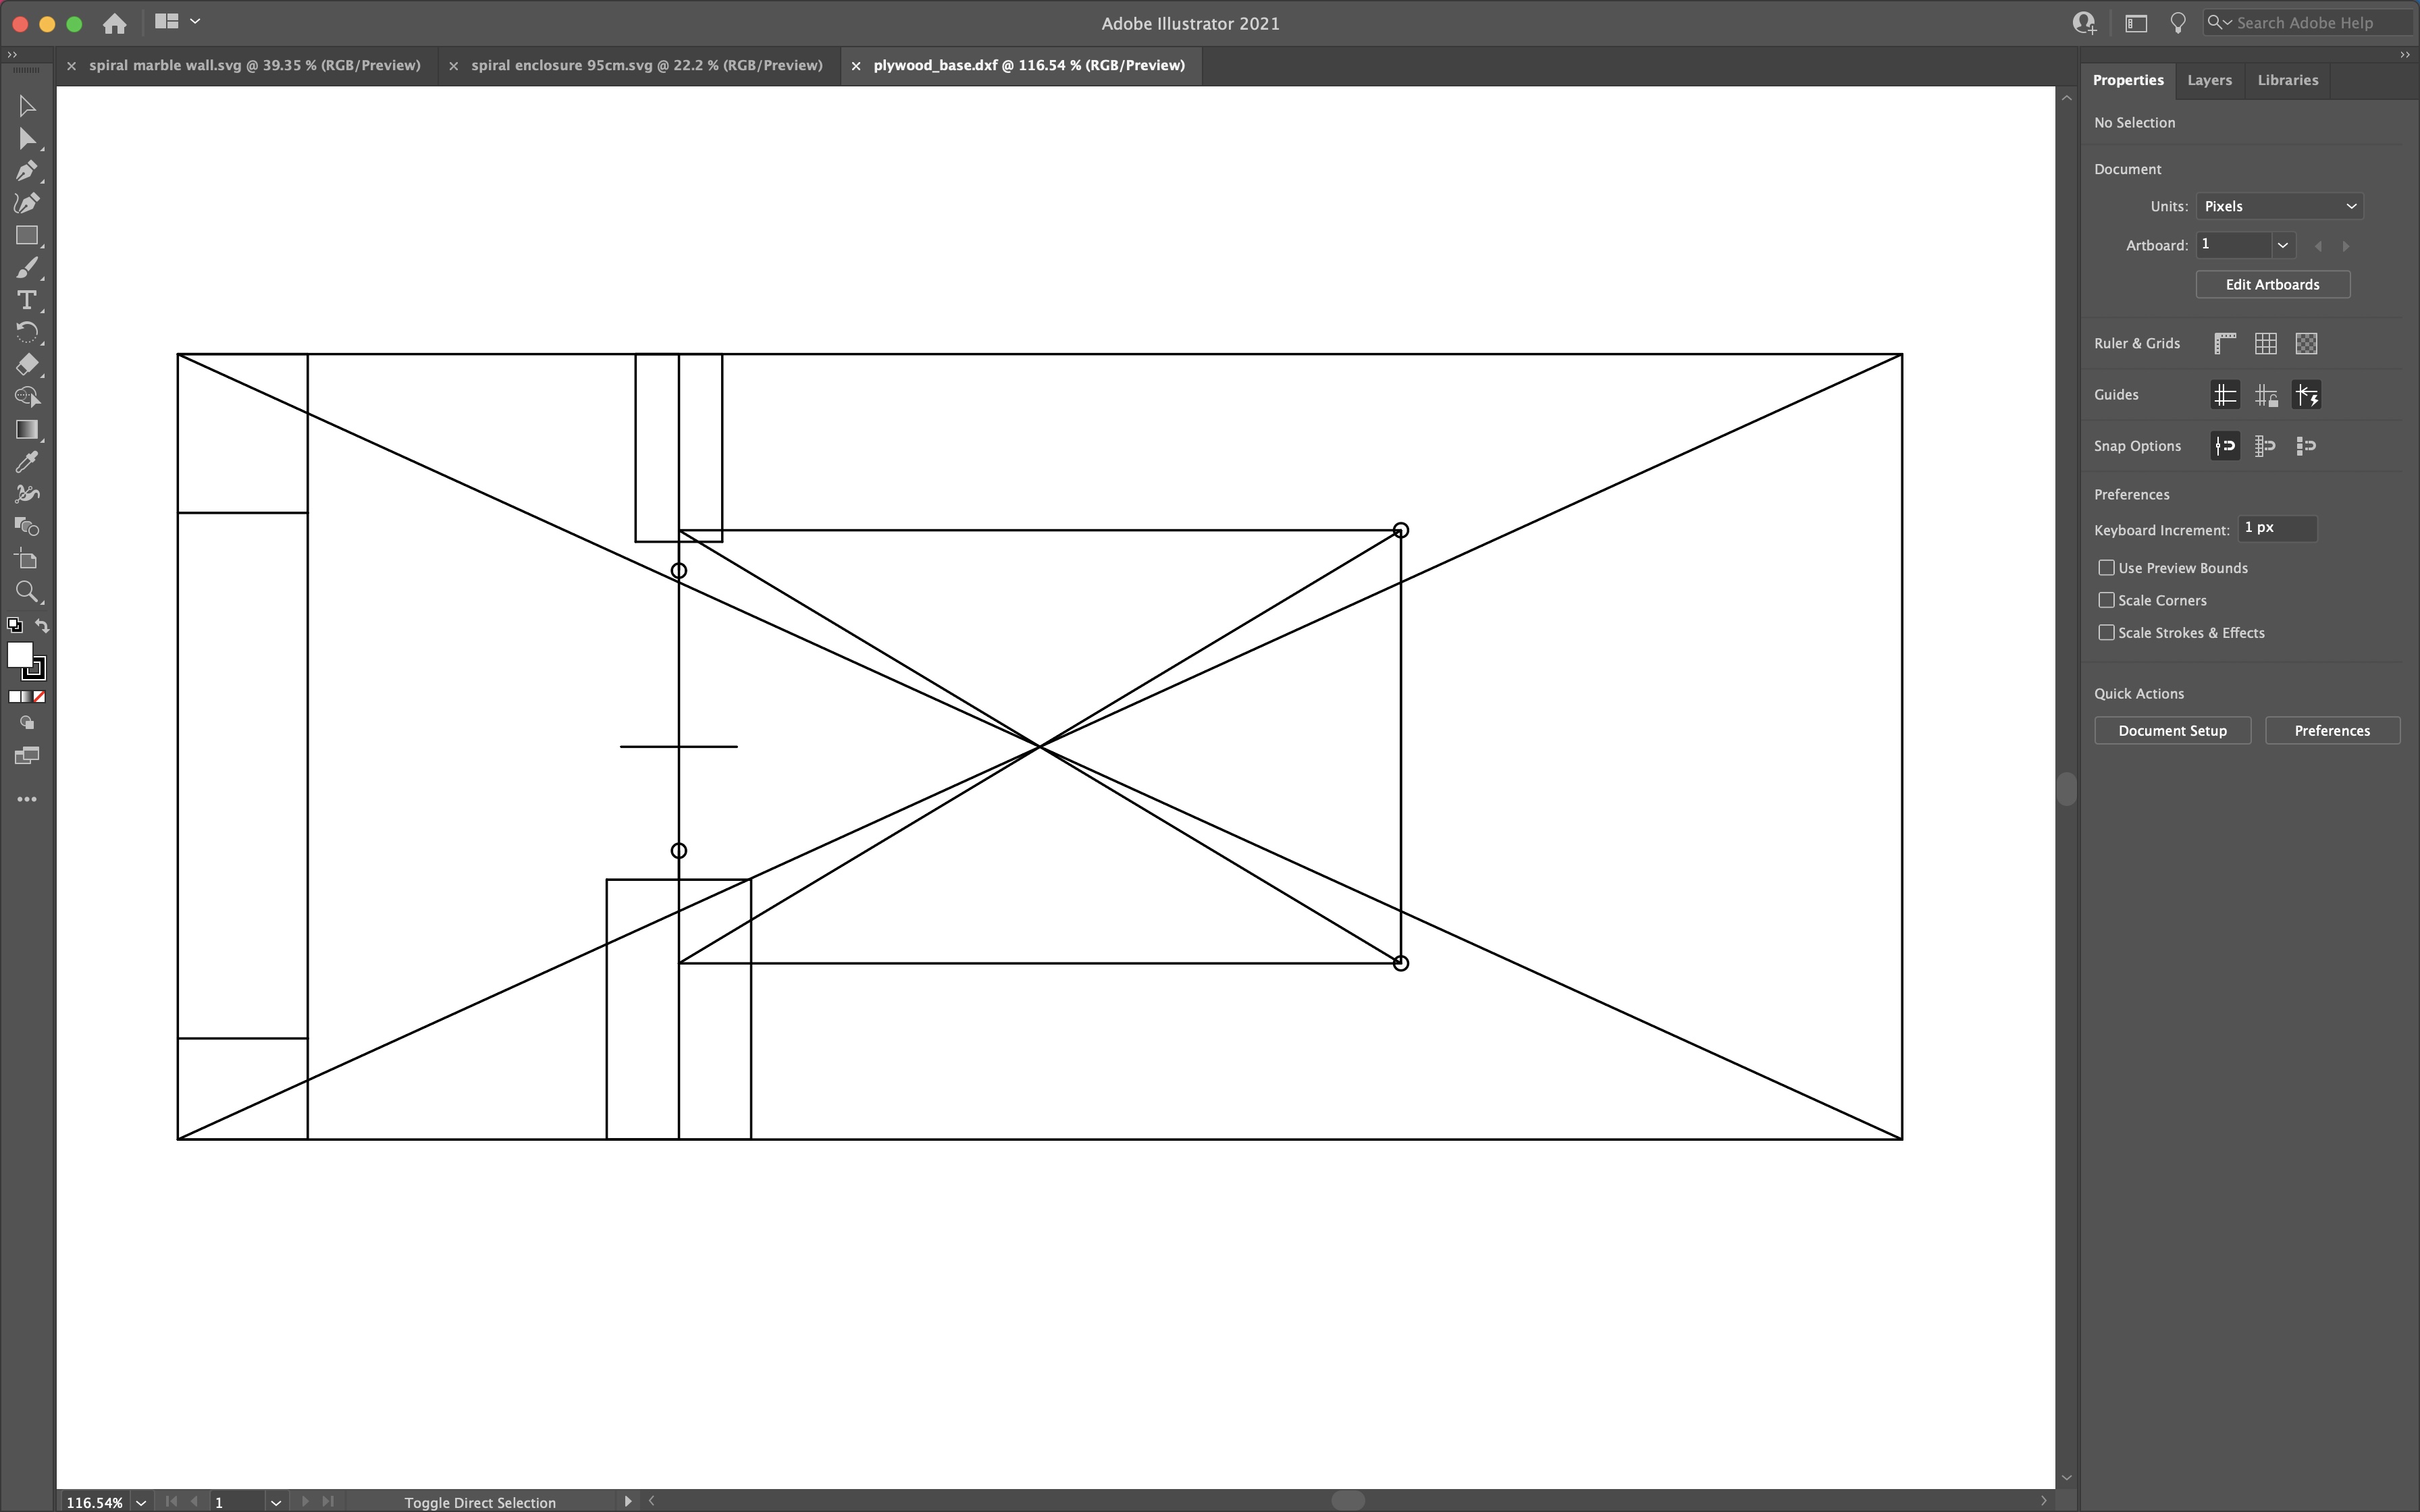
Vector design
This design has been added at the end of the course, so that I can demonstrate this skill. I used Adobe Illustrator to design the plywood base of my final project. The design is simple but the location of the holes is very important. They are set in an exact locatin to make sure the aluminium rails are straight and parallel.
Fusion 360
I'm a big fan of Fusion 360 and have used it a lot the past 12 months. I decided to brush up on my skills by looking through some tips and tricks in a great online resource:

There were 2 big recommendations that I had not appreciated enough:
1 - Always start every new design with a 'New Component' 2 - Make sure to name your components, bodies and sketches as you go. It will improve your workflow and make things less confusing as your design grows in complexity.
Components vs Bodies
I watched the following youtube tutorial dedicated to components and bodies:
 https://www.youtube.com/watch?v=TzG2deElWqI
I noted the following key points:
1 - You can drag bodies and other objects from one component to another in the browser. The browser lists objects in your design (everything from planes and sketches to parts and assemblies). Use the browser to make changes to objects and control visibility of objects. 2 - A component can also contain other components, which is often referred to as a subassembly. 3 - Components allow us to use joints to assemble and create mechanical relationships between components, such as this door hinge example. It moves based on the joints I applied, but if I had created the door hinge with bodies and not components, then I would not be able to apply these joints. 4 - Another trick with components is that you can activate components, which offers many advantages. Activating a component allows you to focus solely on it, and the other components will be shown with some transparency. The advantage of activating components means that bodies, sketches, components, or other features you create will be nested within that component. 5 - One of the most important things about components is that they can be reused or copy and pasted in a design. By right-clicking and selecting “copy/paste” you can duplicate them as many times as you would like. And as we discussed earlier, all component instances update when a change is made to one of them. 6 - Best uses of bodies are for modelling. 7 - Best uses of components are for parts, joints, sub-assemblies and assemblies
Sculp environment
I would like to have a moulded handle shaped to fit 4 fingers. I believe this would be best done using the sculpt environment and so I have decided to do a YouTube tutorial that includes the sculpting environment. The top takeaways from this tutorial were: 1 - When working with T-splines and sculpting, always start with the core shape you require for the design 2- When working with splines, use the fewest number of points for to gain more control over the curvature.
Sketches for the components
I sketched out the shapes and extruded them into components, making sure to learn from the lessons above and always make new components, rather than bodies. Here are the sketches I used:
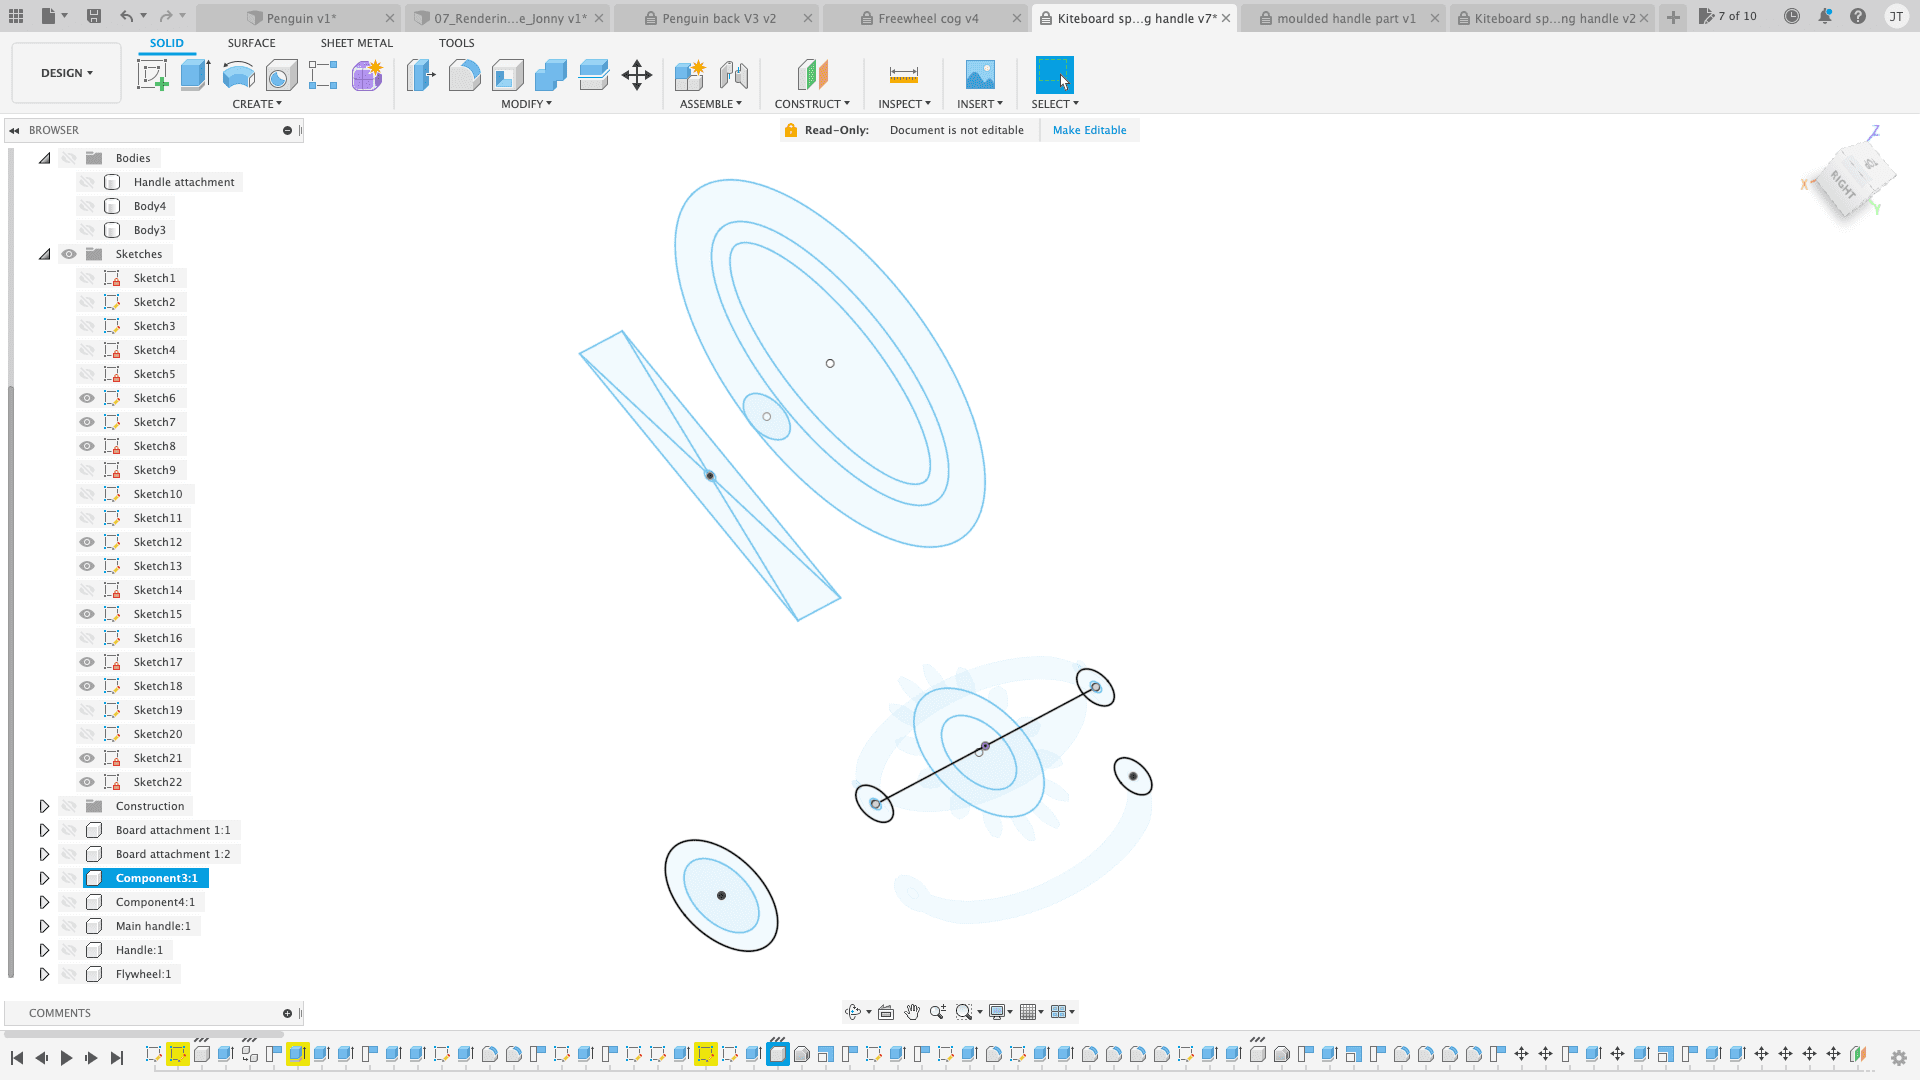
Here is the handle and handle connector:
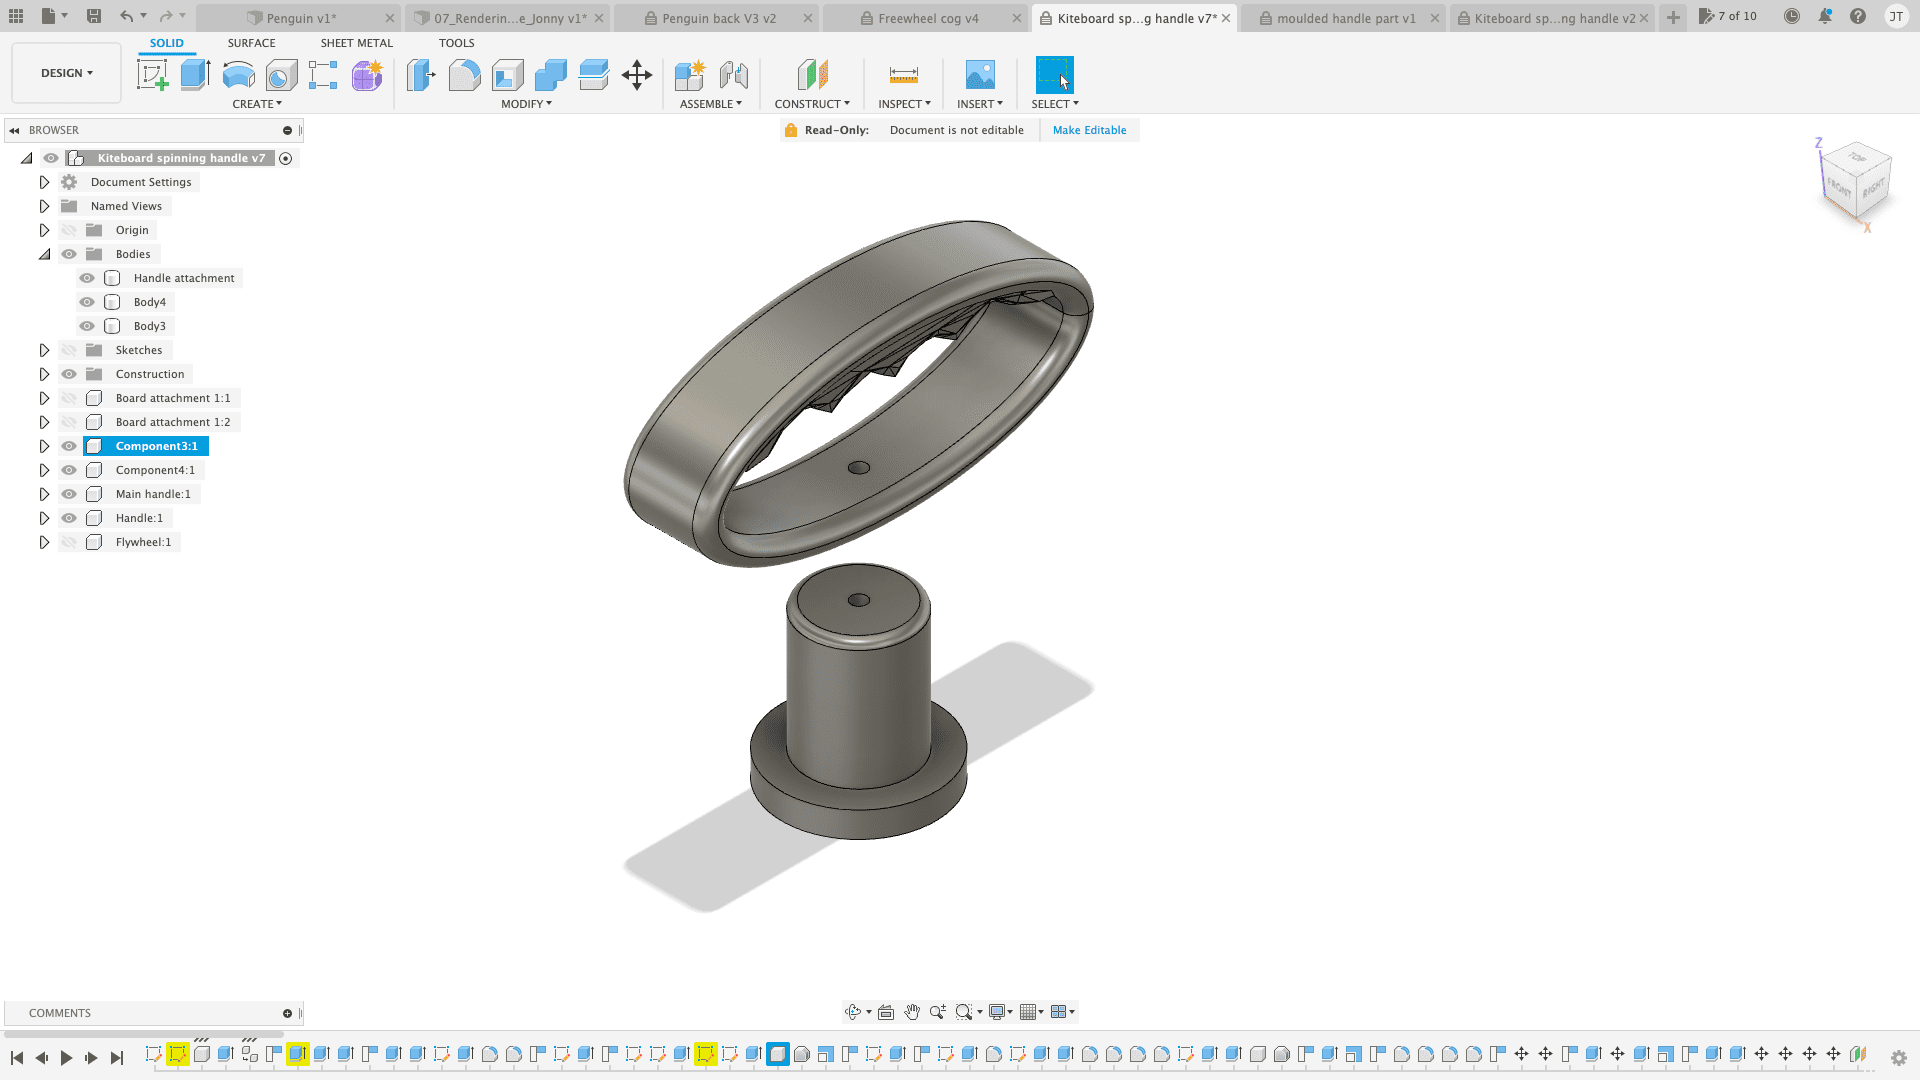
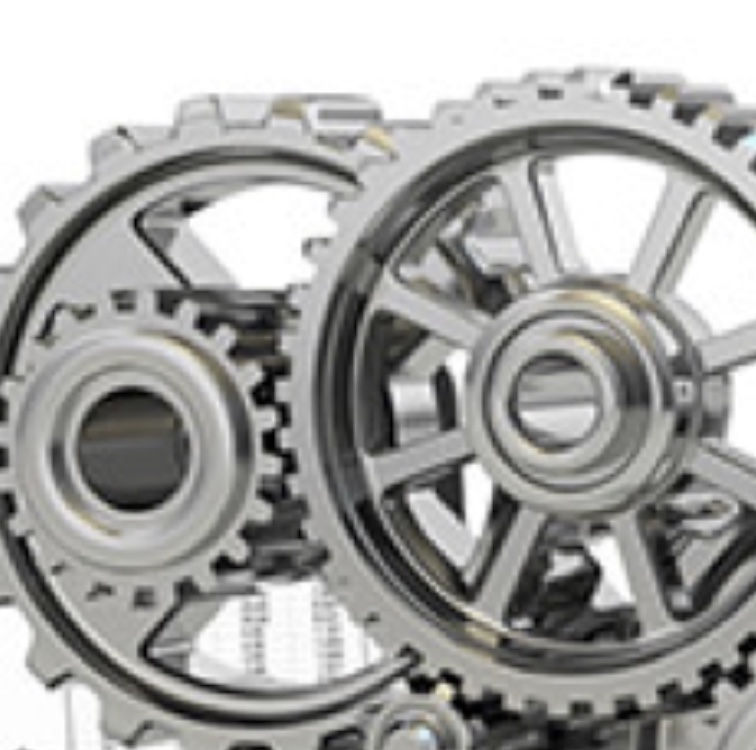
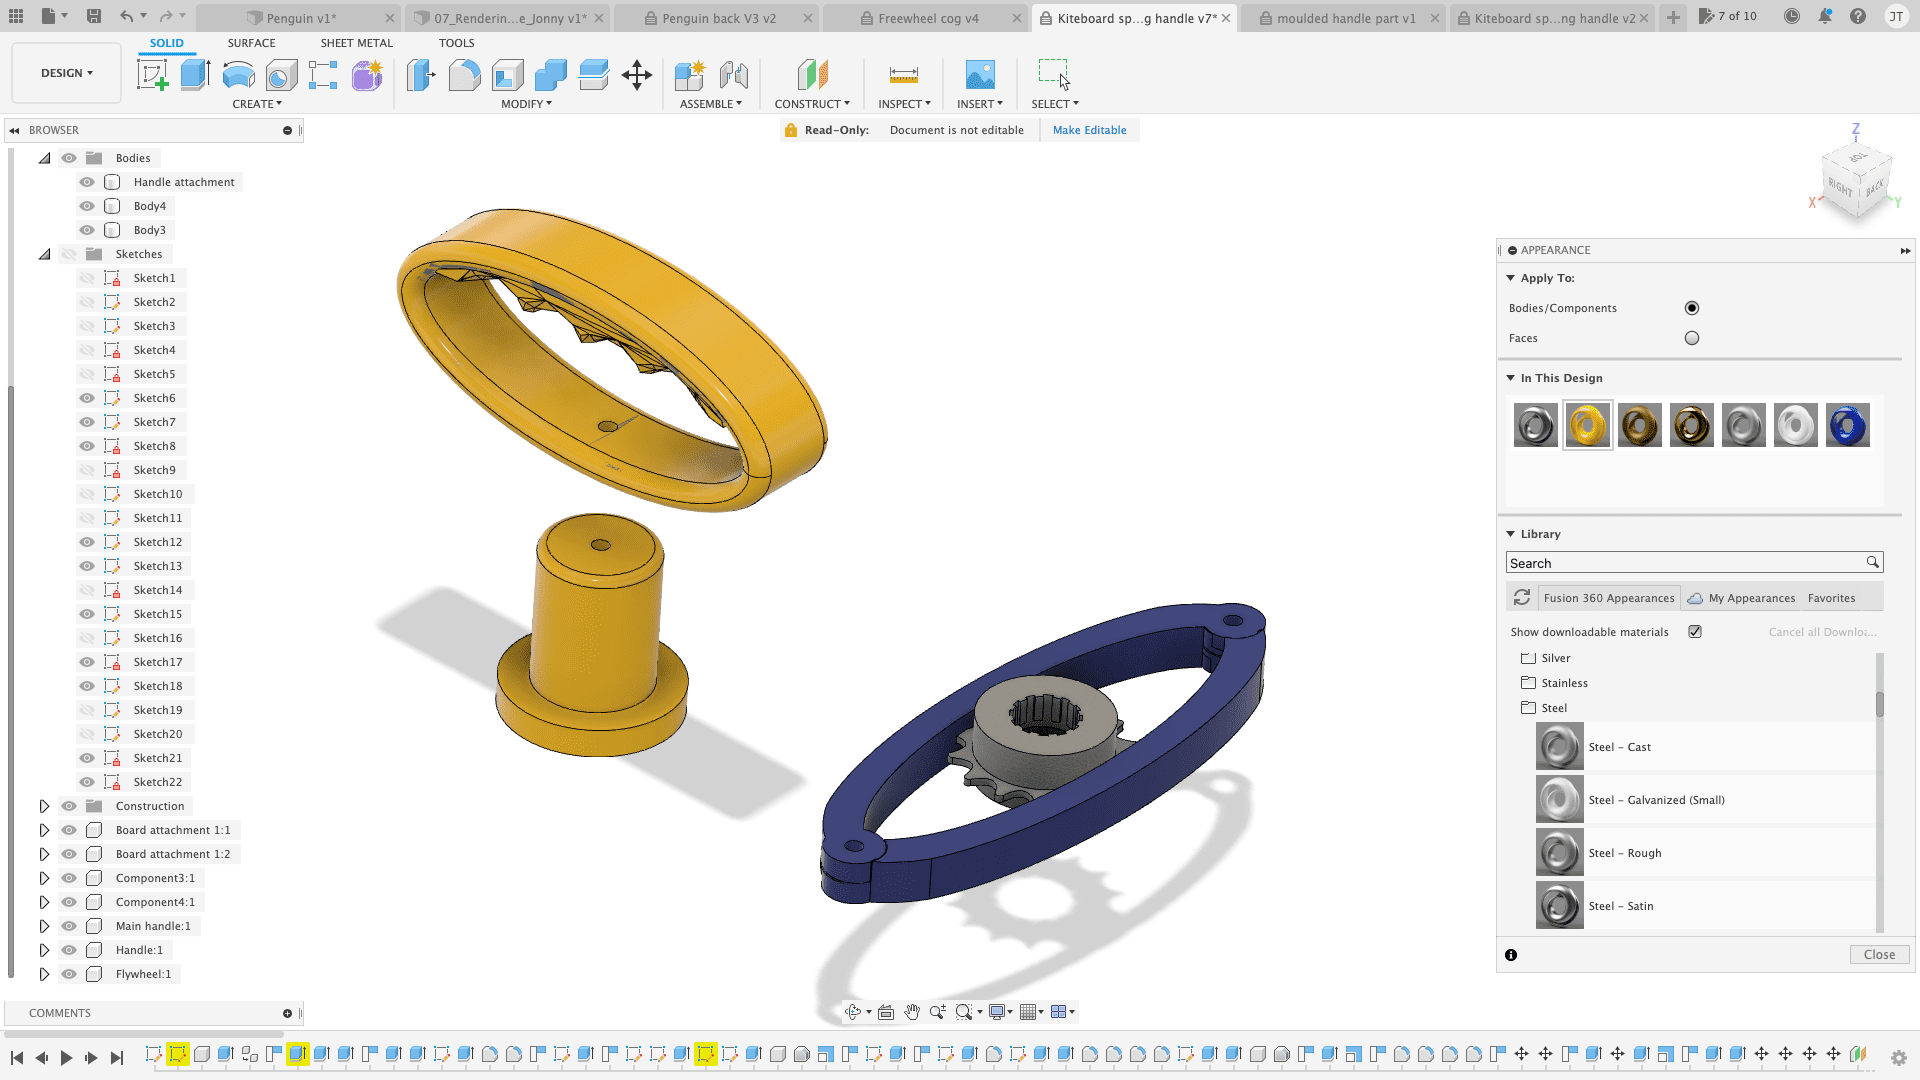
Here is the bicycle flywheel and board attachment. The holes are 6mm wide and exactly 180mm apart to fit onto my kiteboarding using the existing threads:
Render environment
Now for the first time ever I'm going to render the model to give some realistic surfaces. I've never done this before and so once again, I have found a suitable youtube tutorial:
https://www.youtube.com/watch?v=Reh4iKt0UR8
Ive chosen to use yellow and blue to match the colours of filament I have available for 3d printing. The flywheel is made from steel and so I have chosen a rough steel finish. This rendering is basic but it makes a huge difference. This is my first time and I like the improved appearance.
Animation
I've never attempted an animation so I found a tutorial and worked through it. This was the most fun thing I did this week. I couldn't believe how quick, easy and intuitive it was. The workflow to produce an animation is: 1 - Set the the timeline marker to the red curtains. This means anything you do will not be recorded. 2 - Now set the camera view to your desired starting position 3 - Now set the timeline using a time duration that you wish for a camera change. 4 - Move the camera to the new position, using the pan&tilt tool or the viewcube 5 - Press space bar to play the animation 6 - To explode a component, use the keyboard shortcut 'E'. 7 - Choose the direction and distance for the explosion and then press the green tick button. 8 - Once you've created a set of camera changes and explosions, you can drag and drop them around and adjust their length by hovering the start or end points. 9 - Click 'publish' once you're ready to export your video file.
Here is my animation video:
Files for download
Back to homepage: