
Week 16 - Wildcard Week
assignment

   Design and produce something with a digital fabrication process
   (incorporating computer-aided design and manufacturing) not covered
   in another assignment, documenting the requirements that your
   assignment meets, and including everything necessary to reproduce
   it
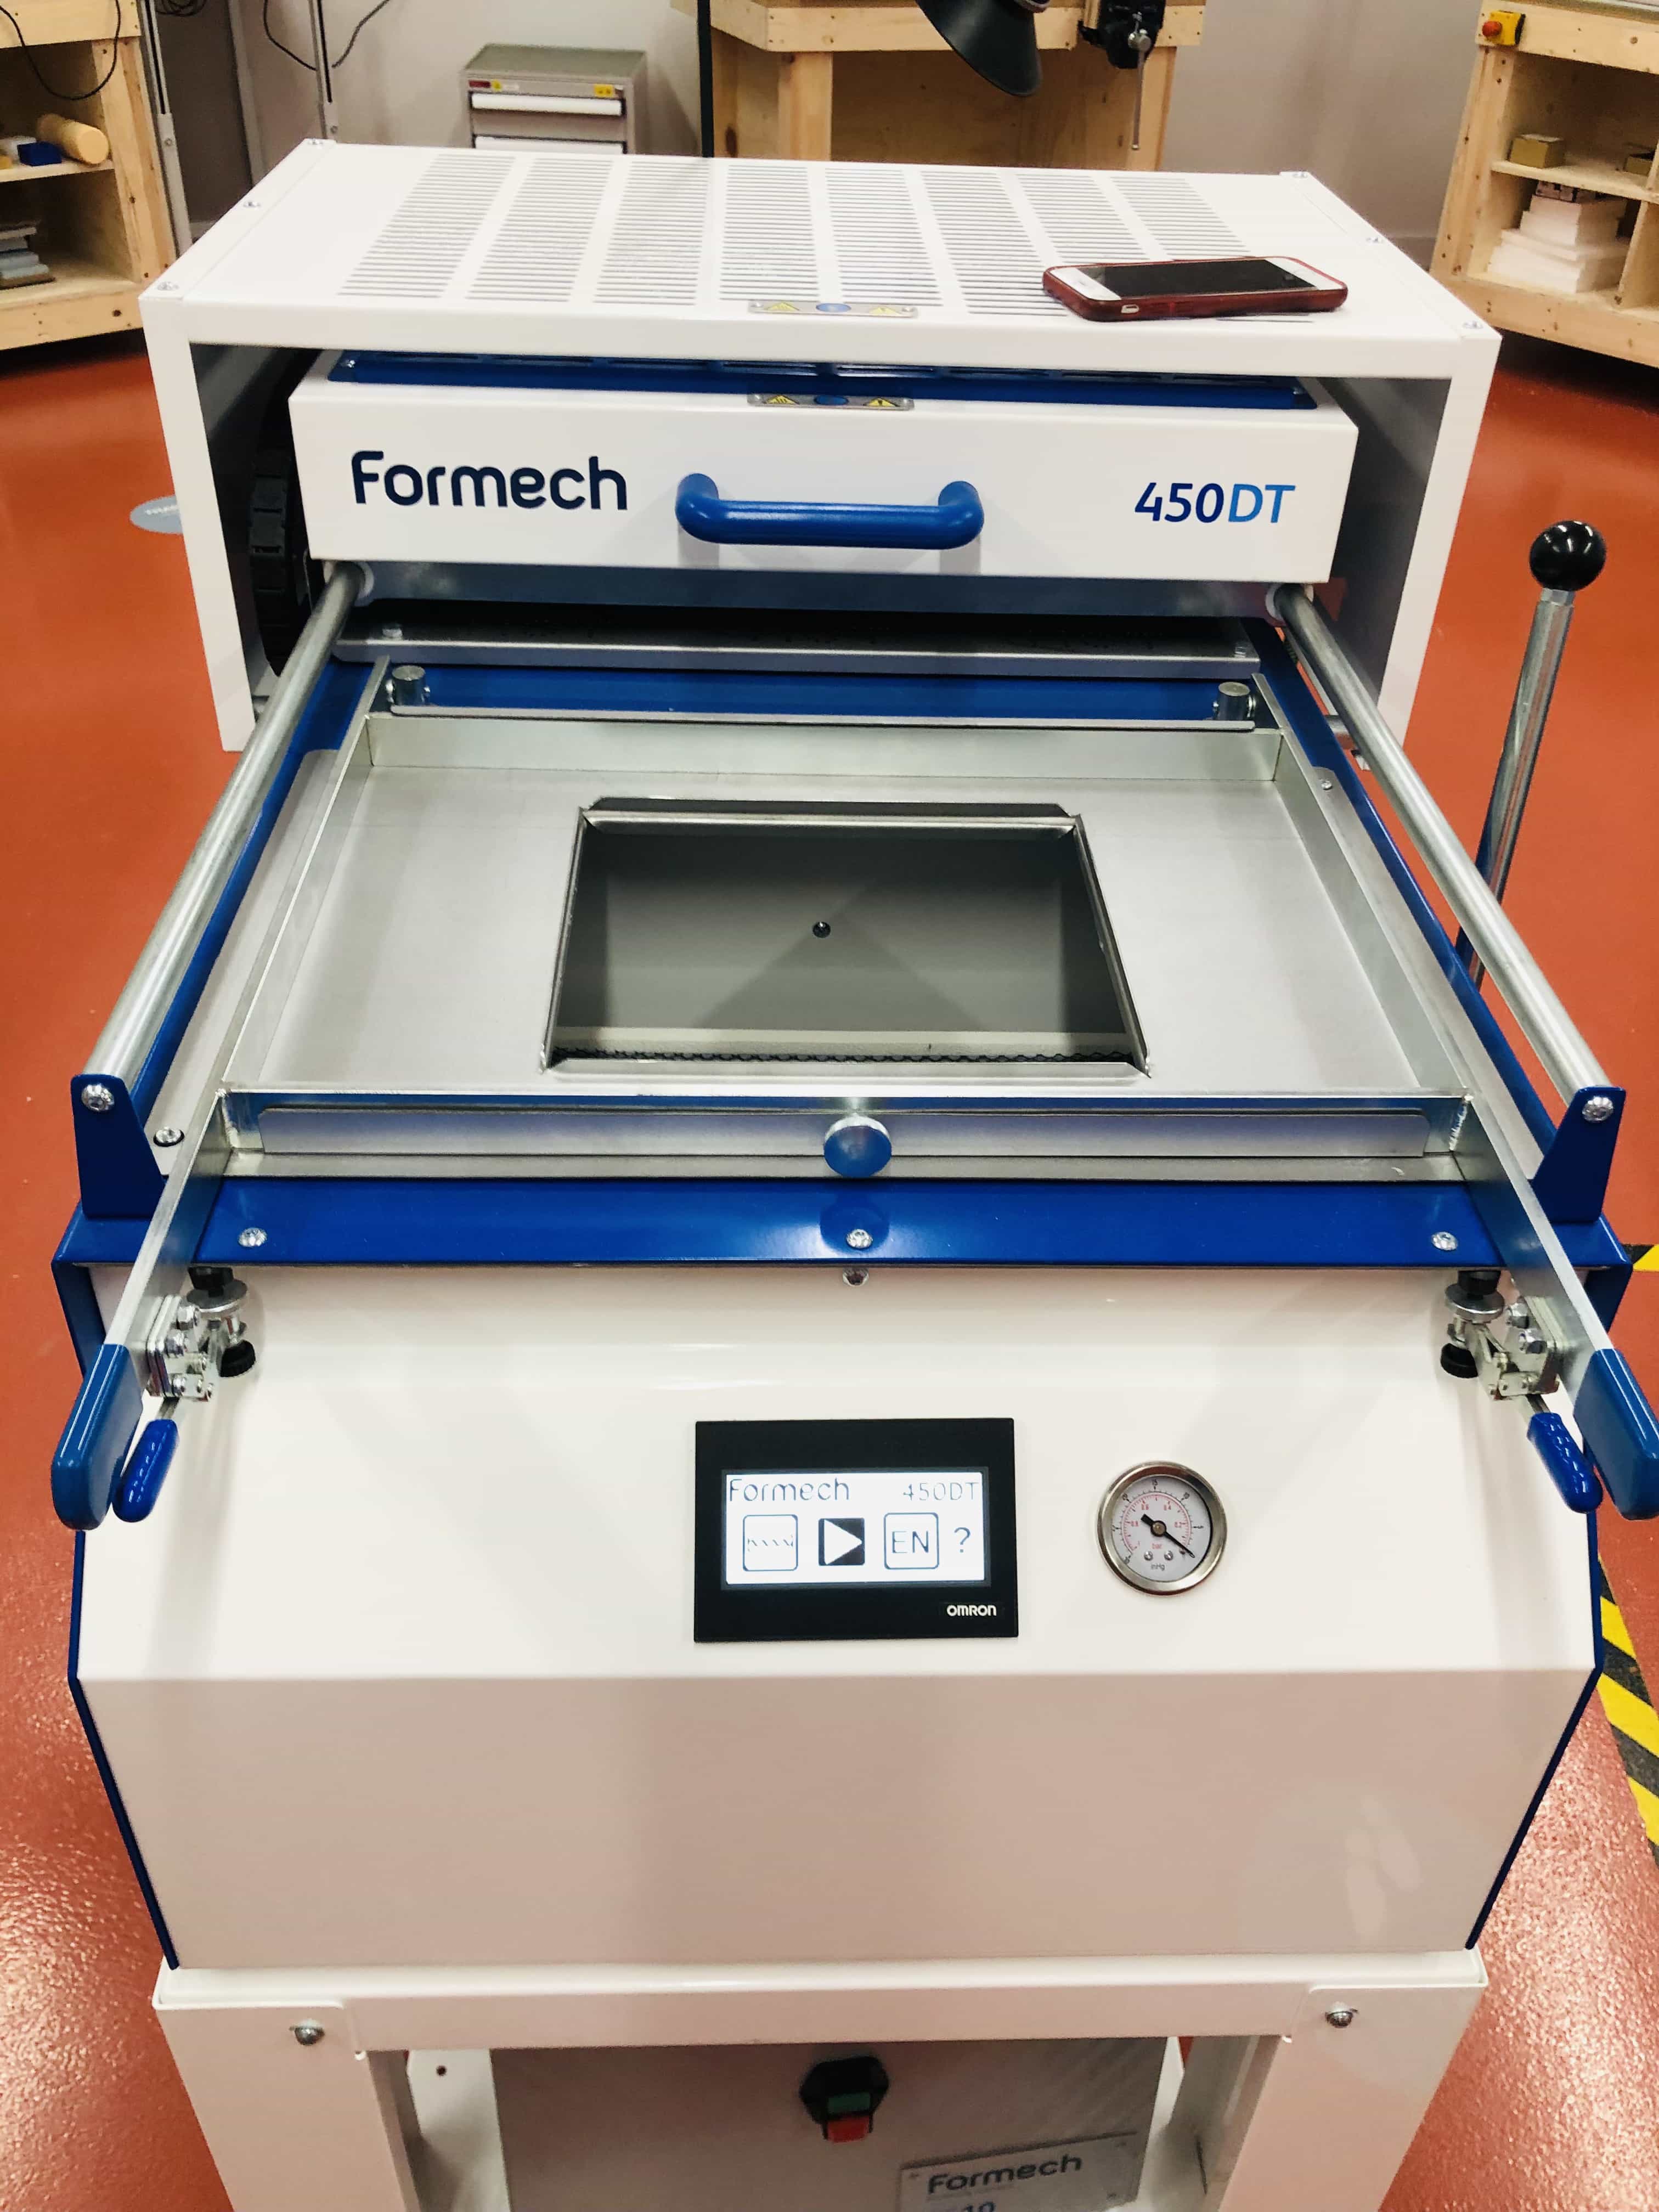
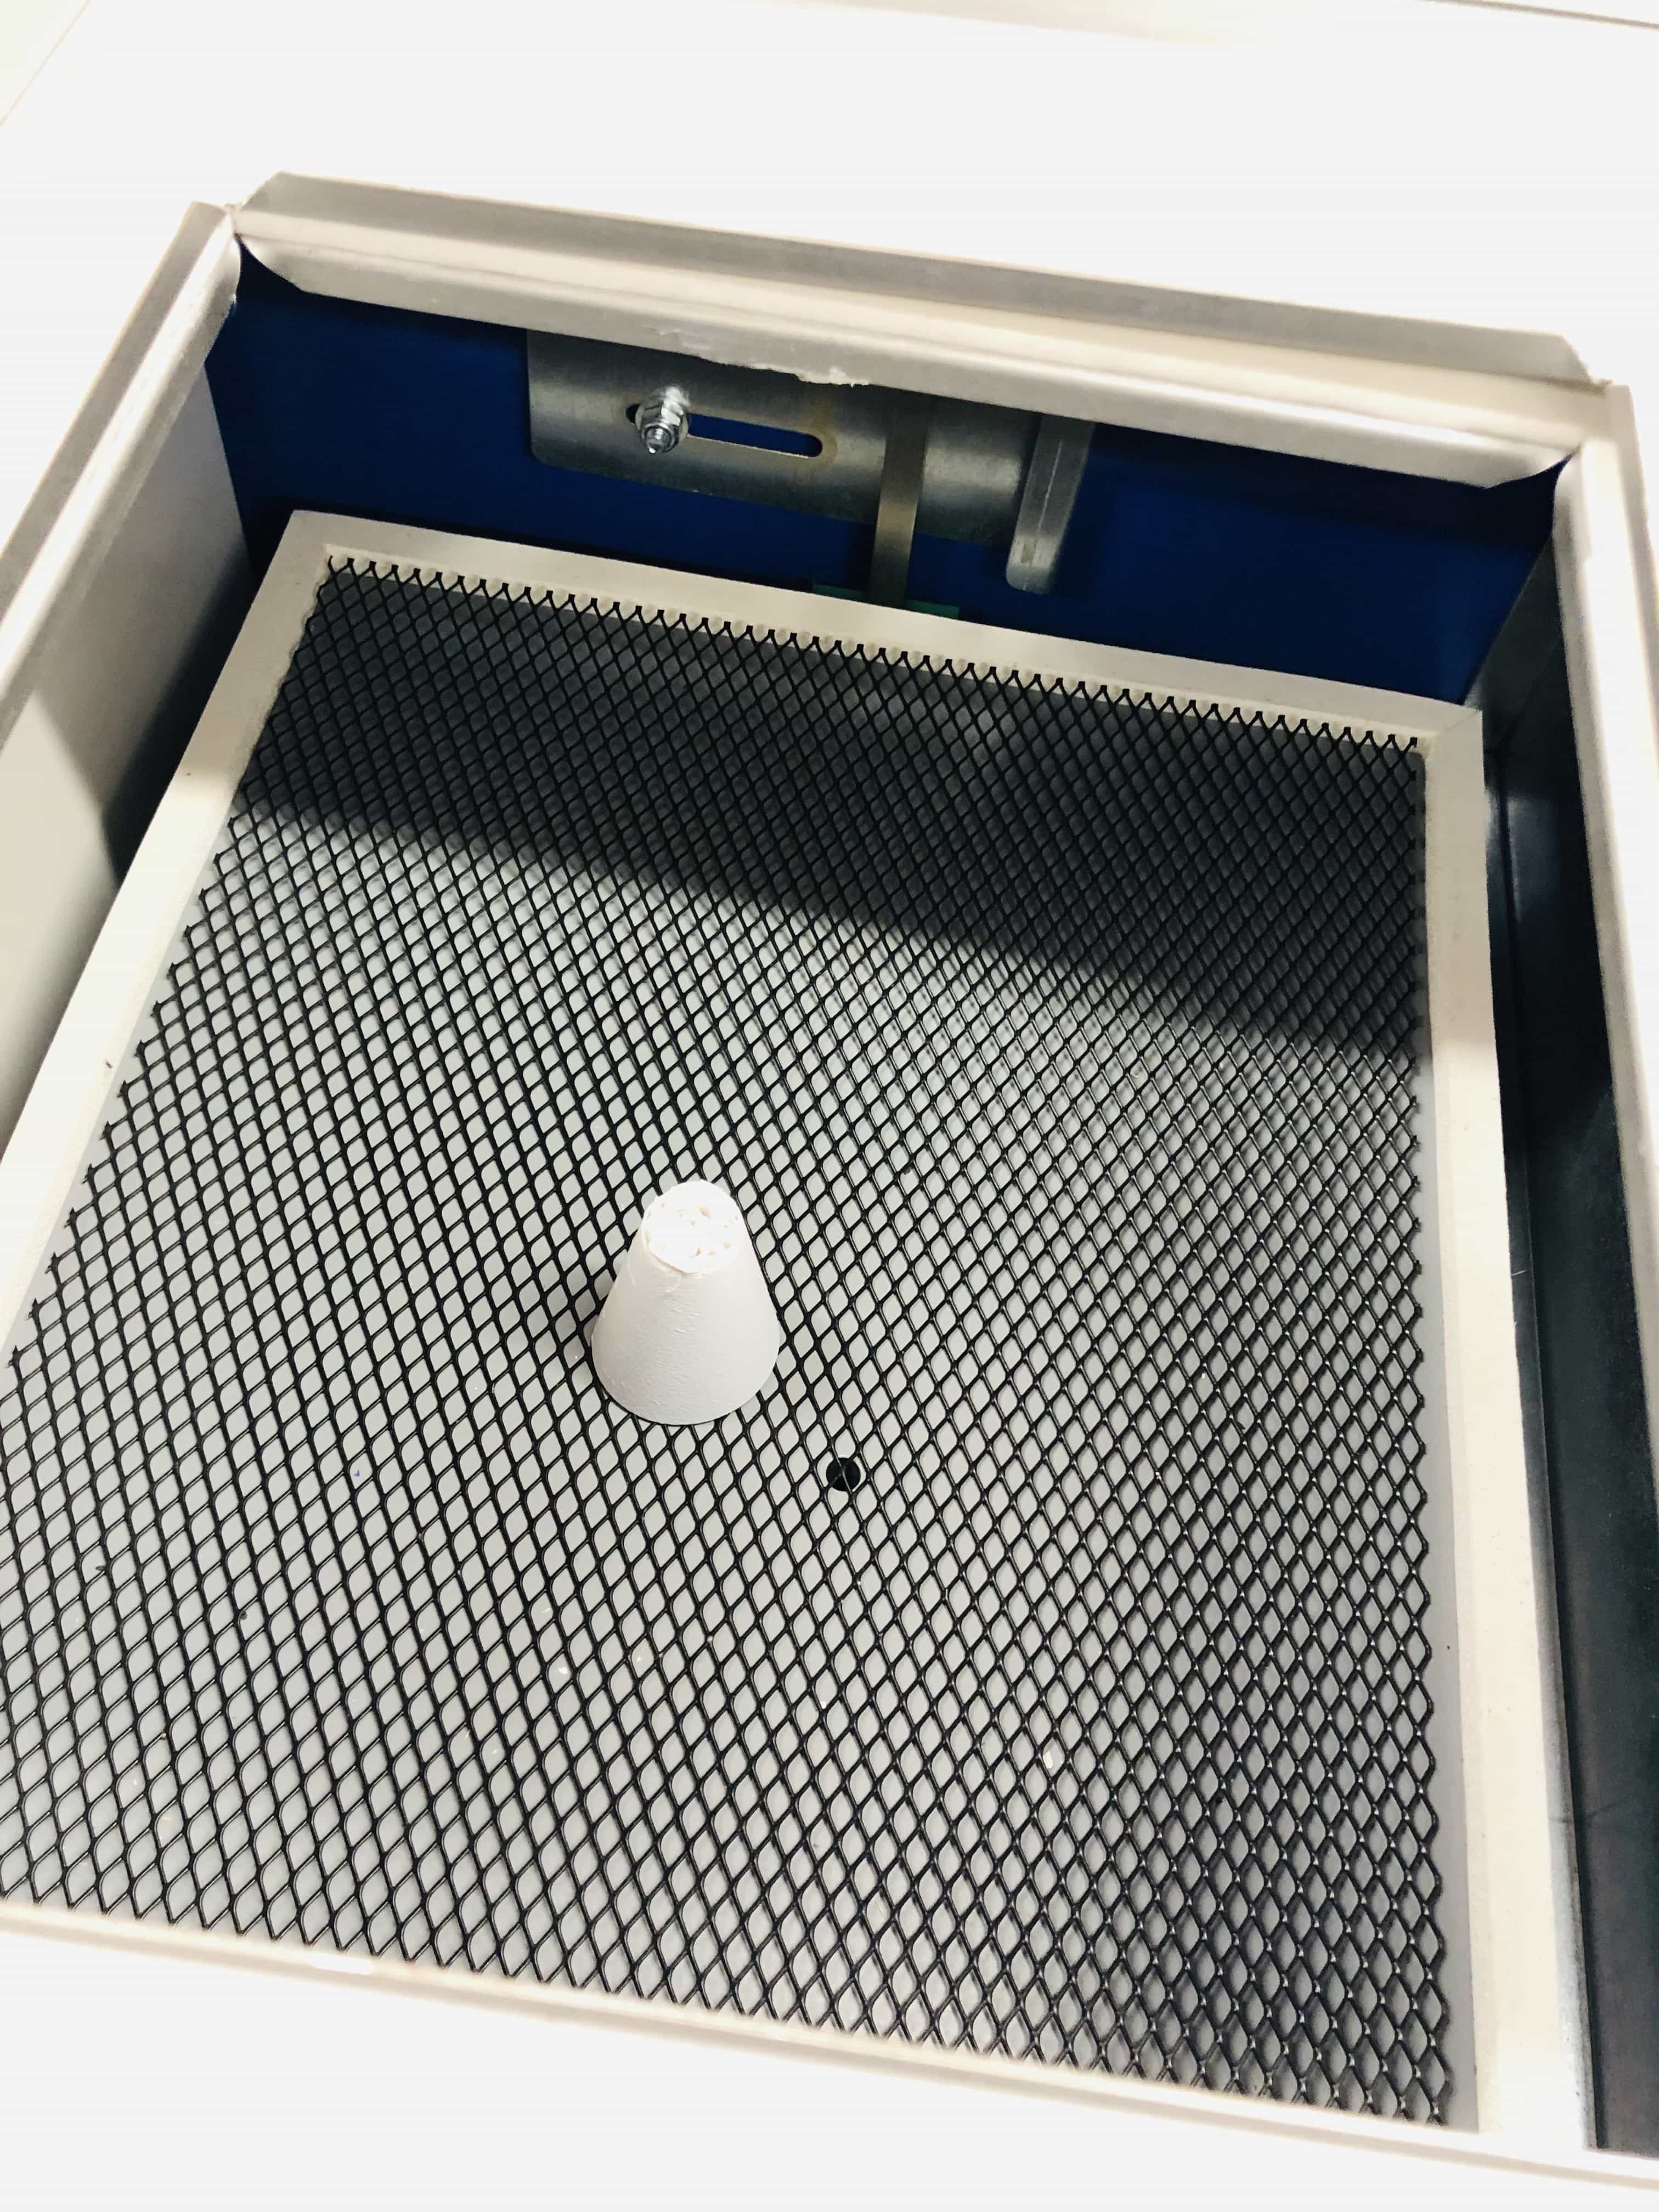
Vac former
I've decided to use the vac former as its a process I have never used before. Our lab has a brand new Formech 450DT:
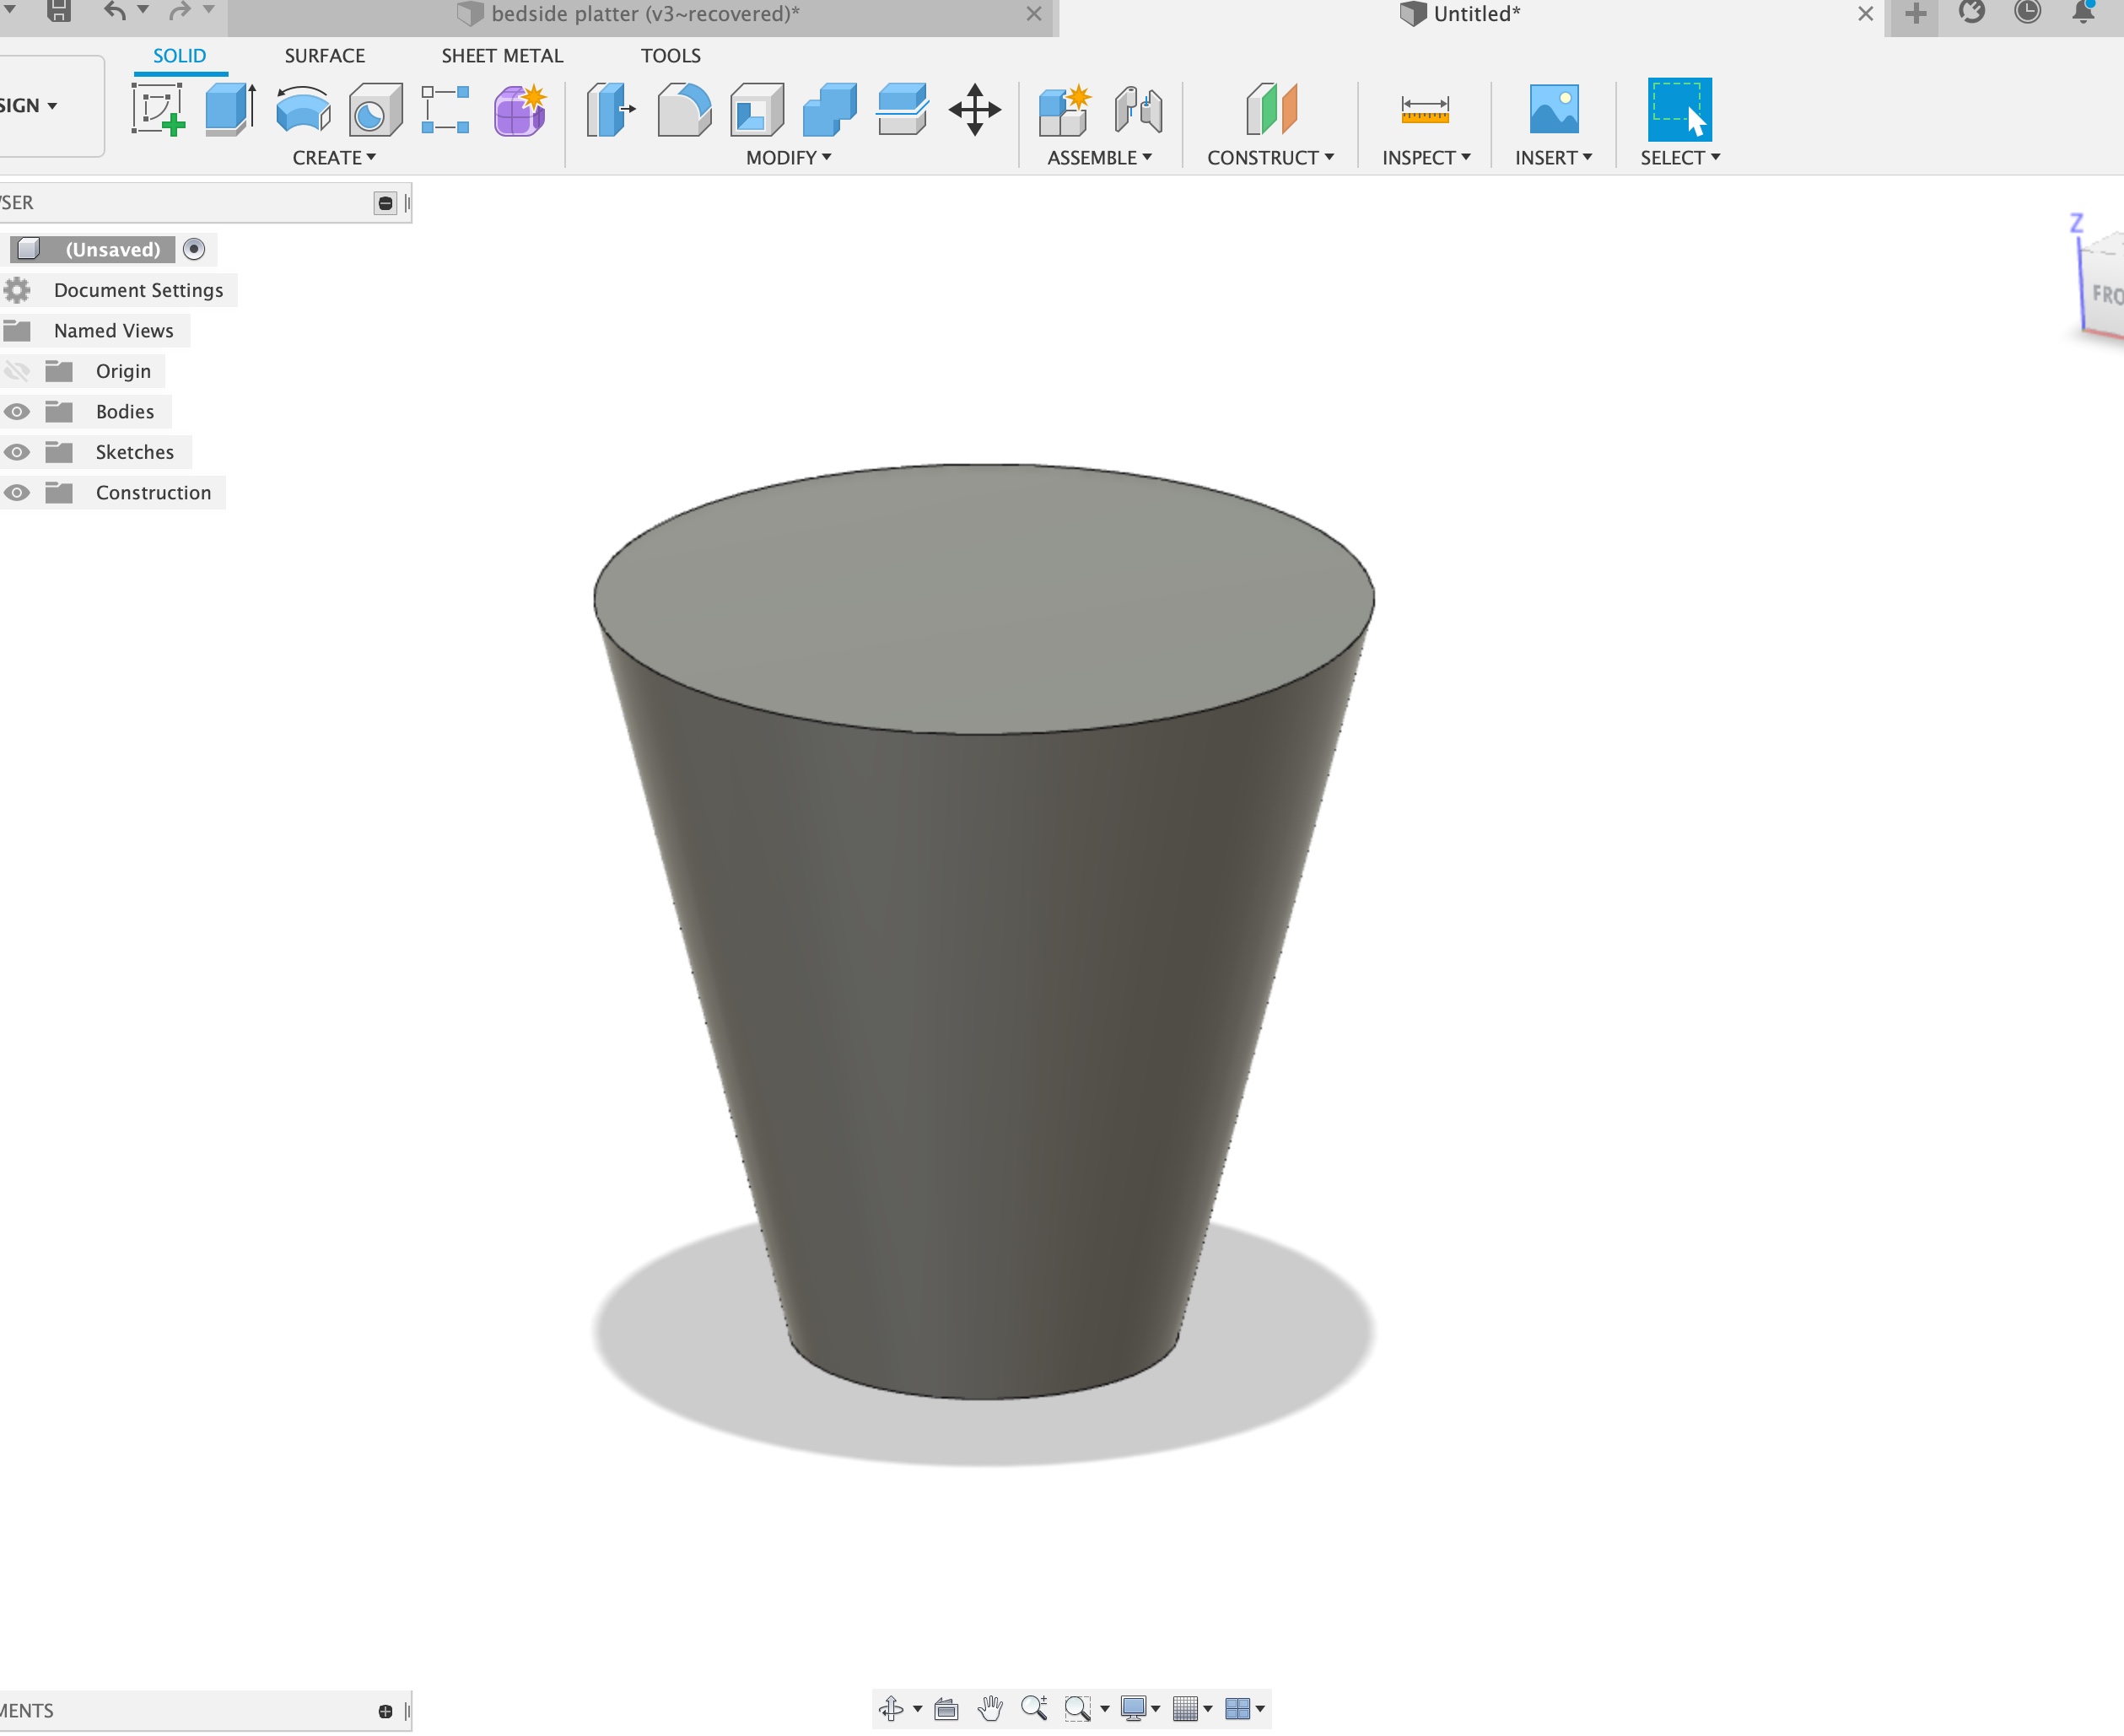
Fusion 360 design
My design needs to slope outwards as you move from top to bottom. I've decided to make a simple cone shape:
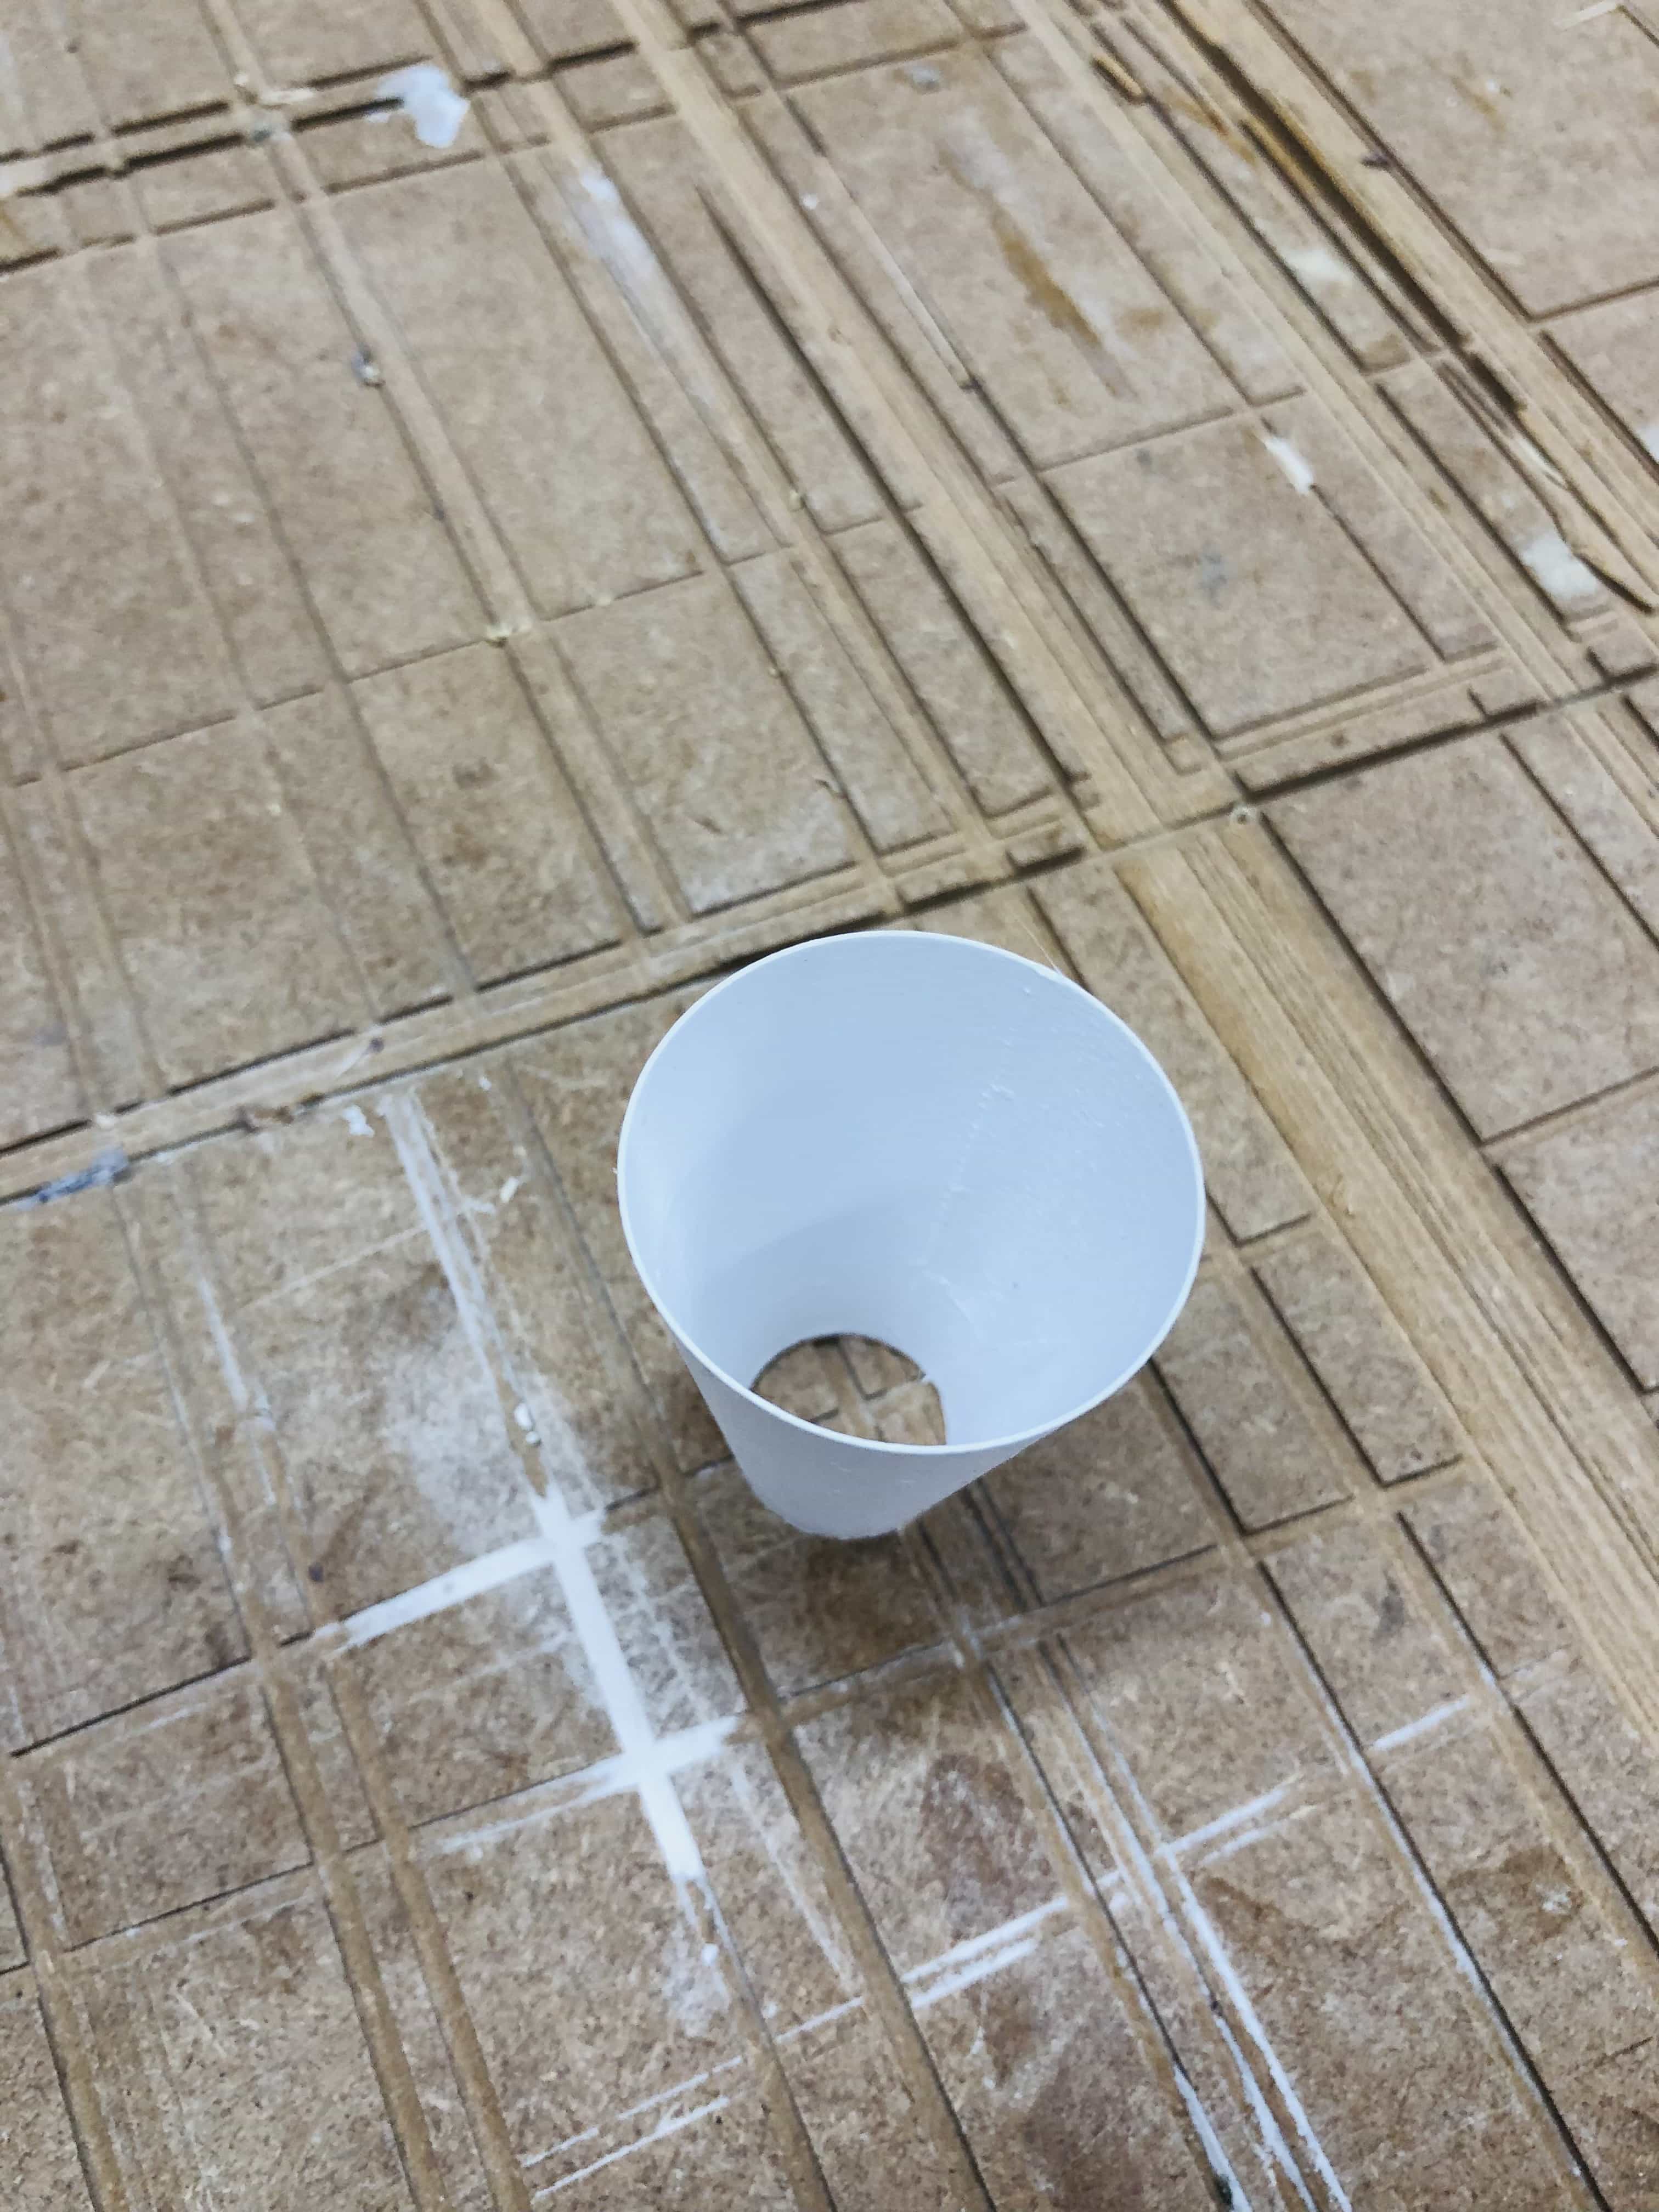
3d print using vase mode
I've not used vase mode before so I did a quick tutorial on youtube:
 https://www.youtube.com/results?search_query=vase+mode+cura
I'll be using Cura as my slicer and the workflow is fairly simple:
- Open your file in Cura as normal
- Click on 'advanced settings'
- Search for 'spiralise outer contour' and check the box
- Use preview to check that it has worked correctly
It has printed out nicely:

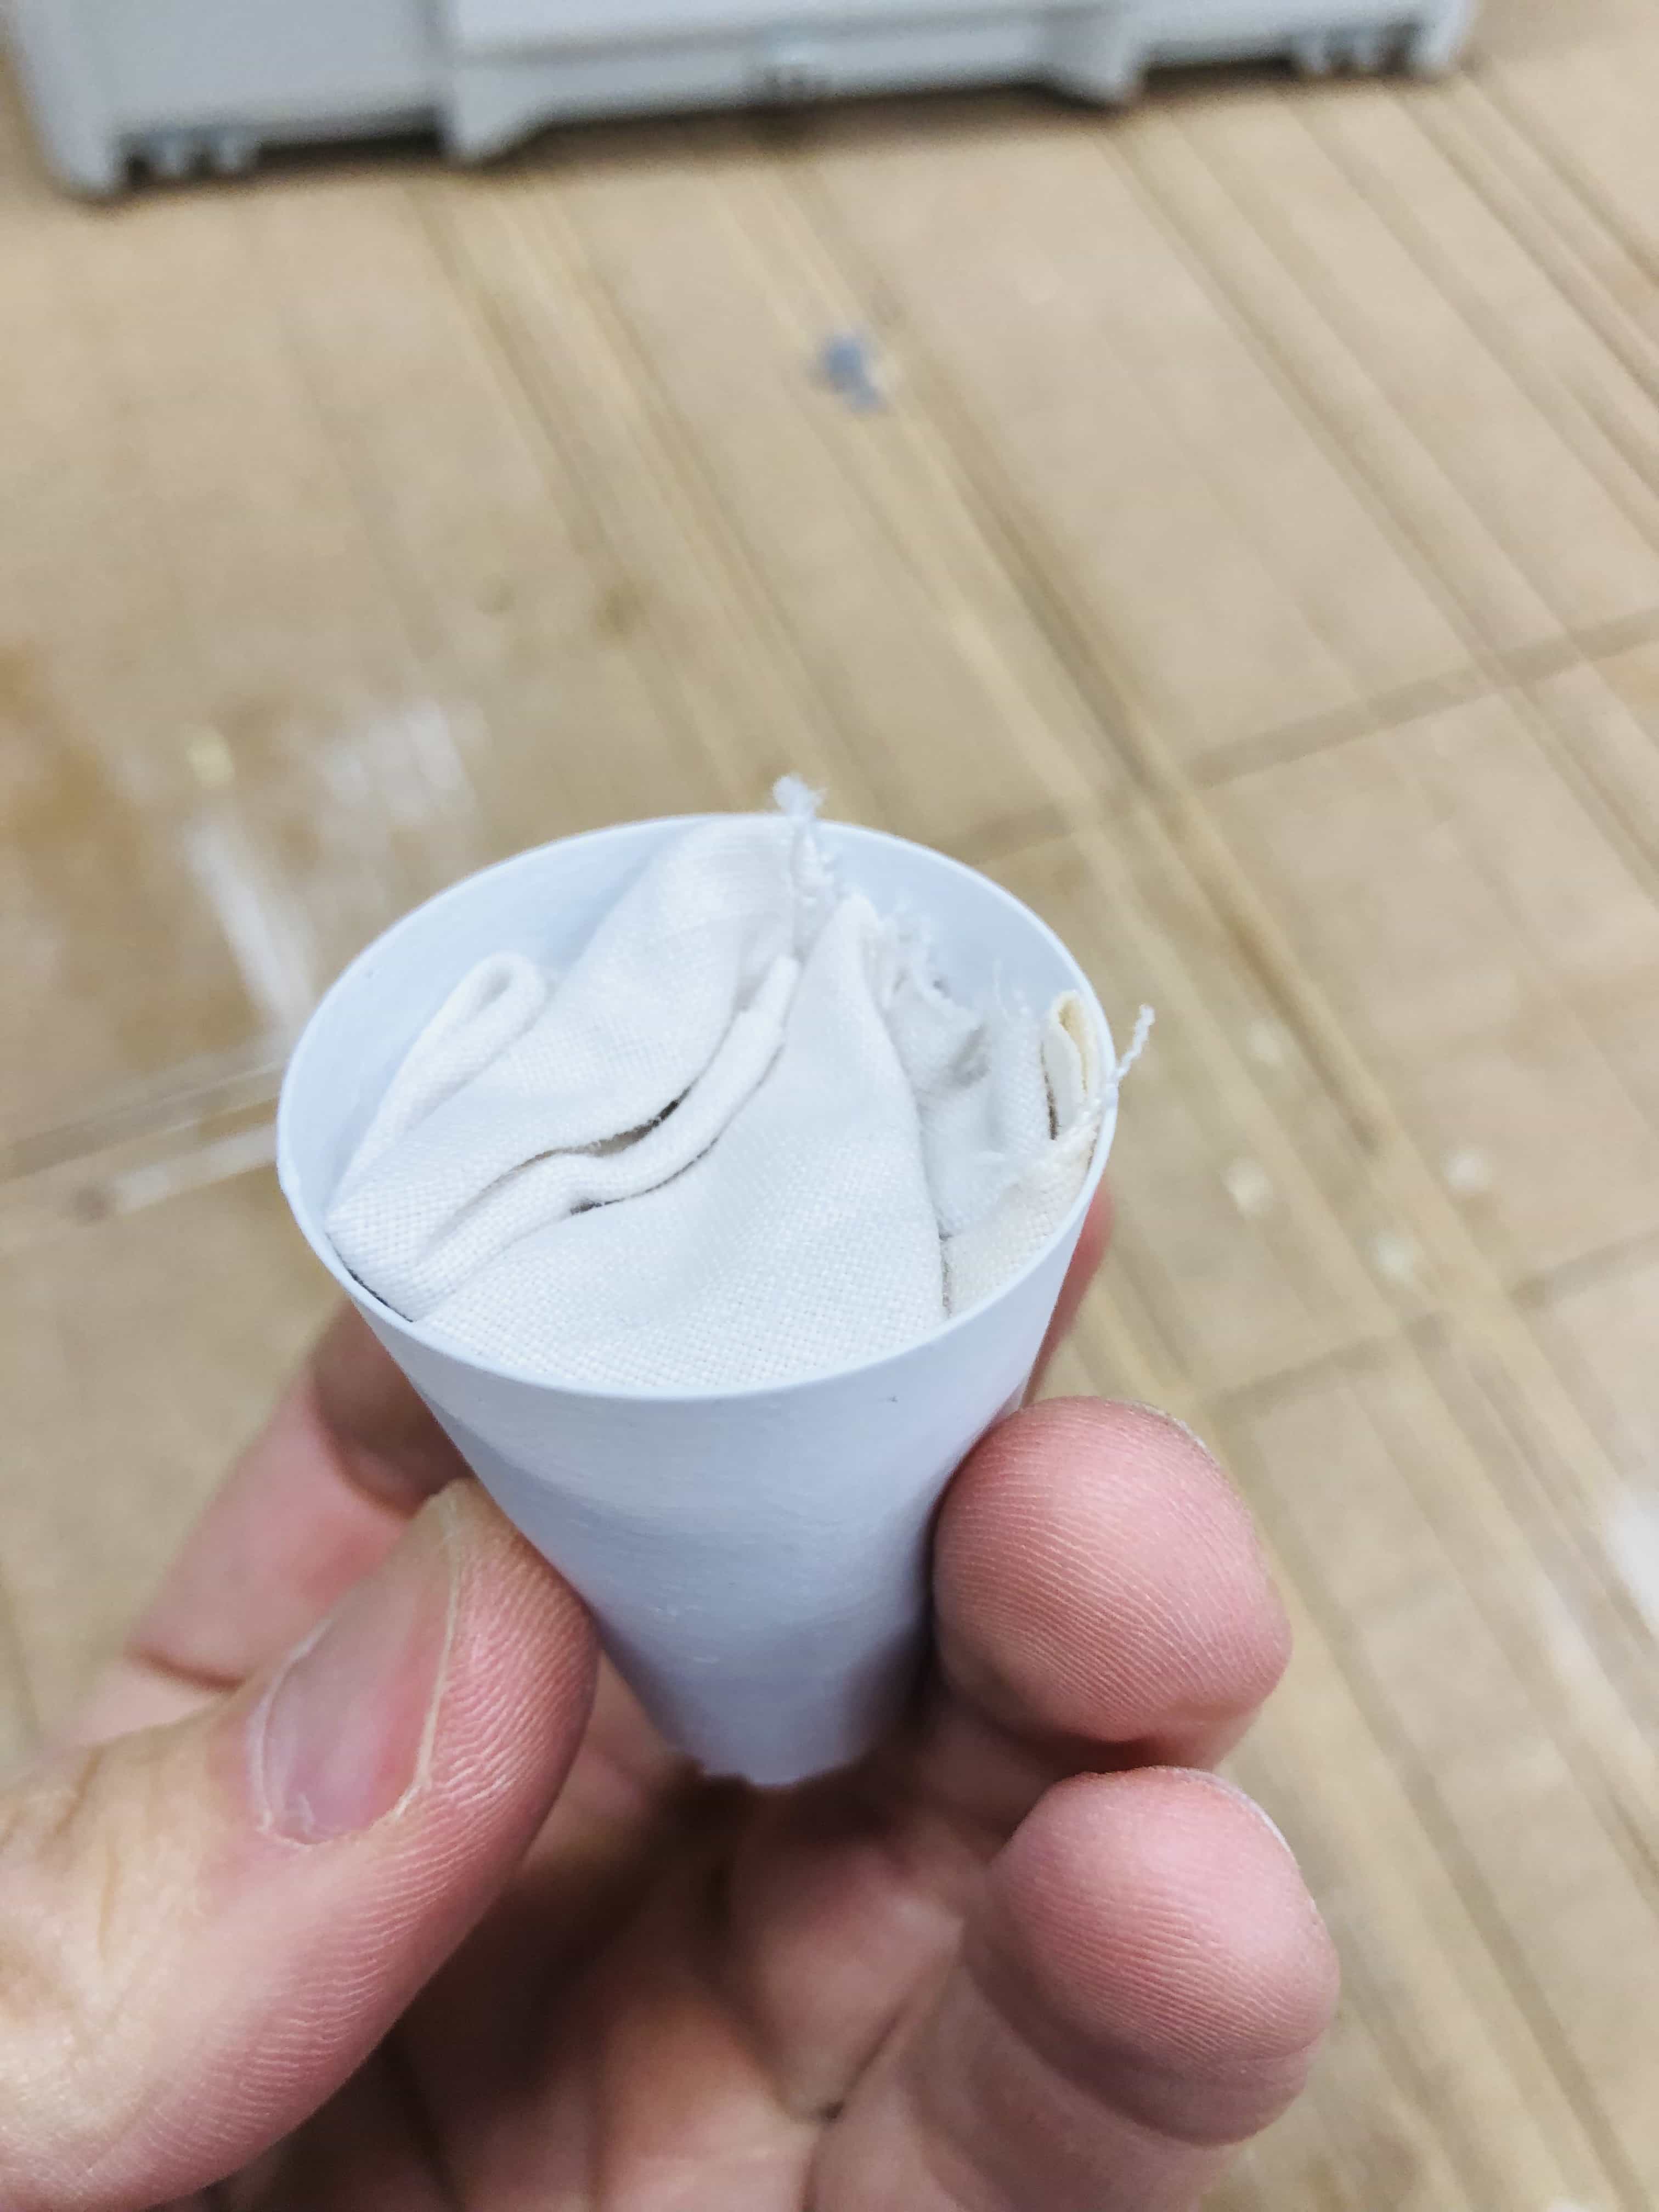
Adding strength to the shape
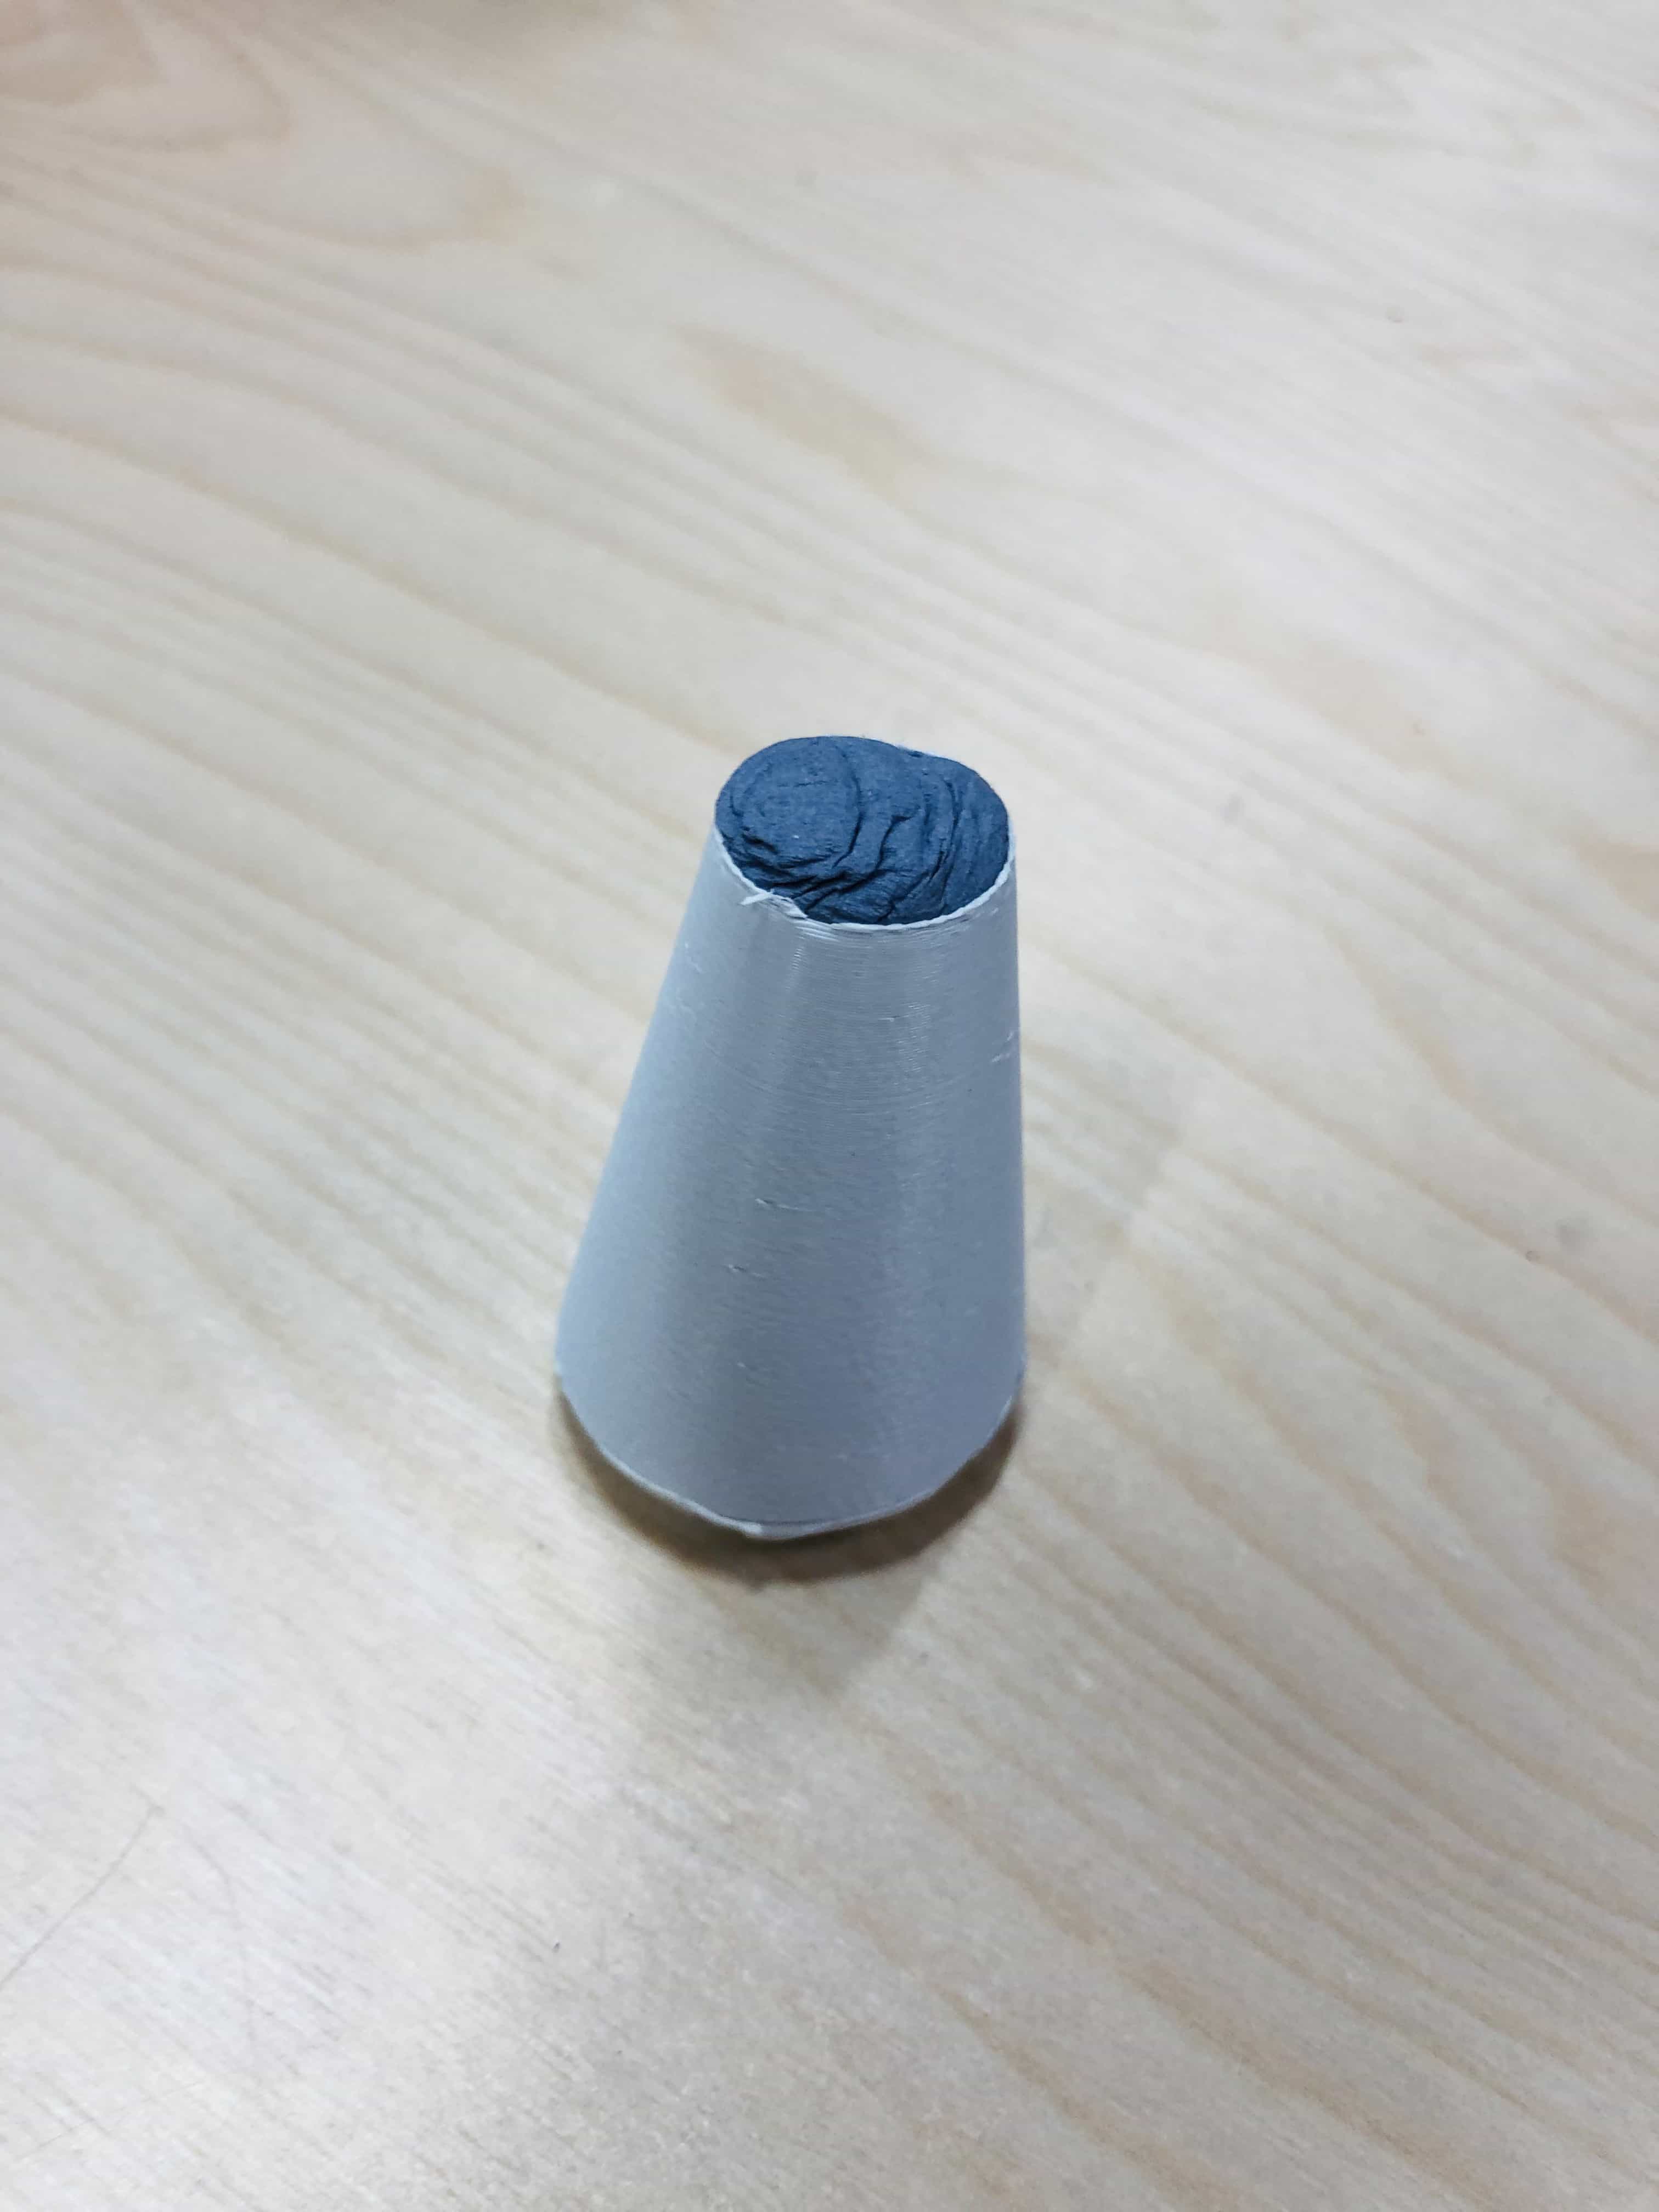
When using the vac former, you will apply a reasonable amount of pressure to your model. Therefore its good to re-inforce the shape with something inside. If I had more time I might have used some plaster. On this occasion I chose to use some old fabric that I found in the lab:
How to use the vac former
The workflow for our vac former is:
- Place your model on the grid inside
- Place your plastic sheet above
- Fasten your plastic in place by pulling the 2 levers until they click
- Turn on the power and turn on the heat
- Pull the heated lid across your model
- Leave for 60 seconds and then check the material. It should be warm, wobbly but not so wobbly that it collapses or breaks when you touch it. It its not hot enough, leave another 20 seconds and check again. Continue checking every 20 seconds until it is ready.
- Push the heated lid back from your model
- Pull the lever on the right hand side and pull your model directly into the plastic sheet
- Push the extraction button and then leave it for a few seconds
- Push the fan on for a couple of seconds
- Remove your mould from the plastic sheet
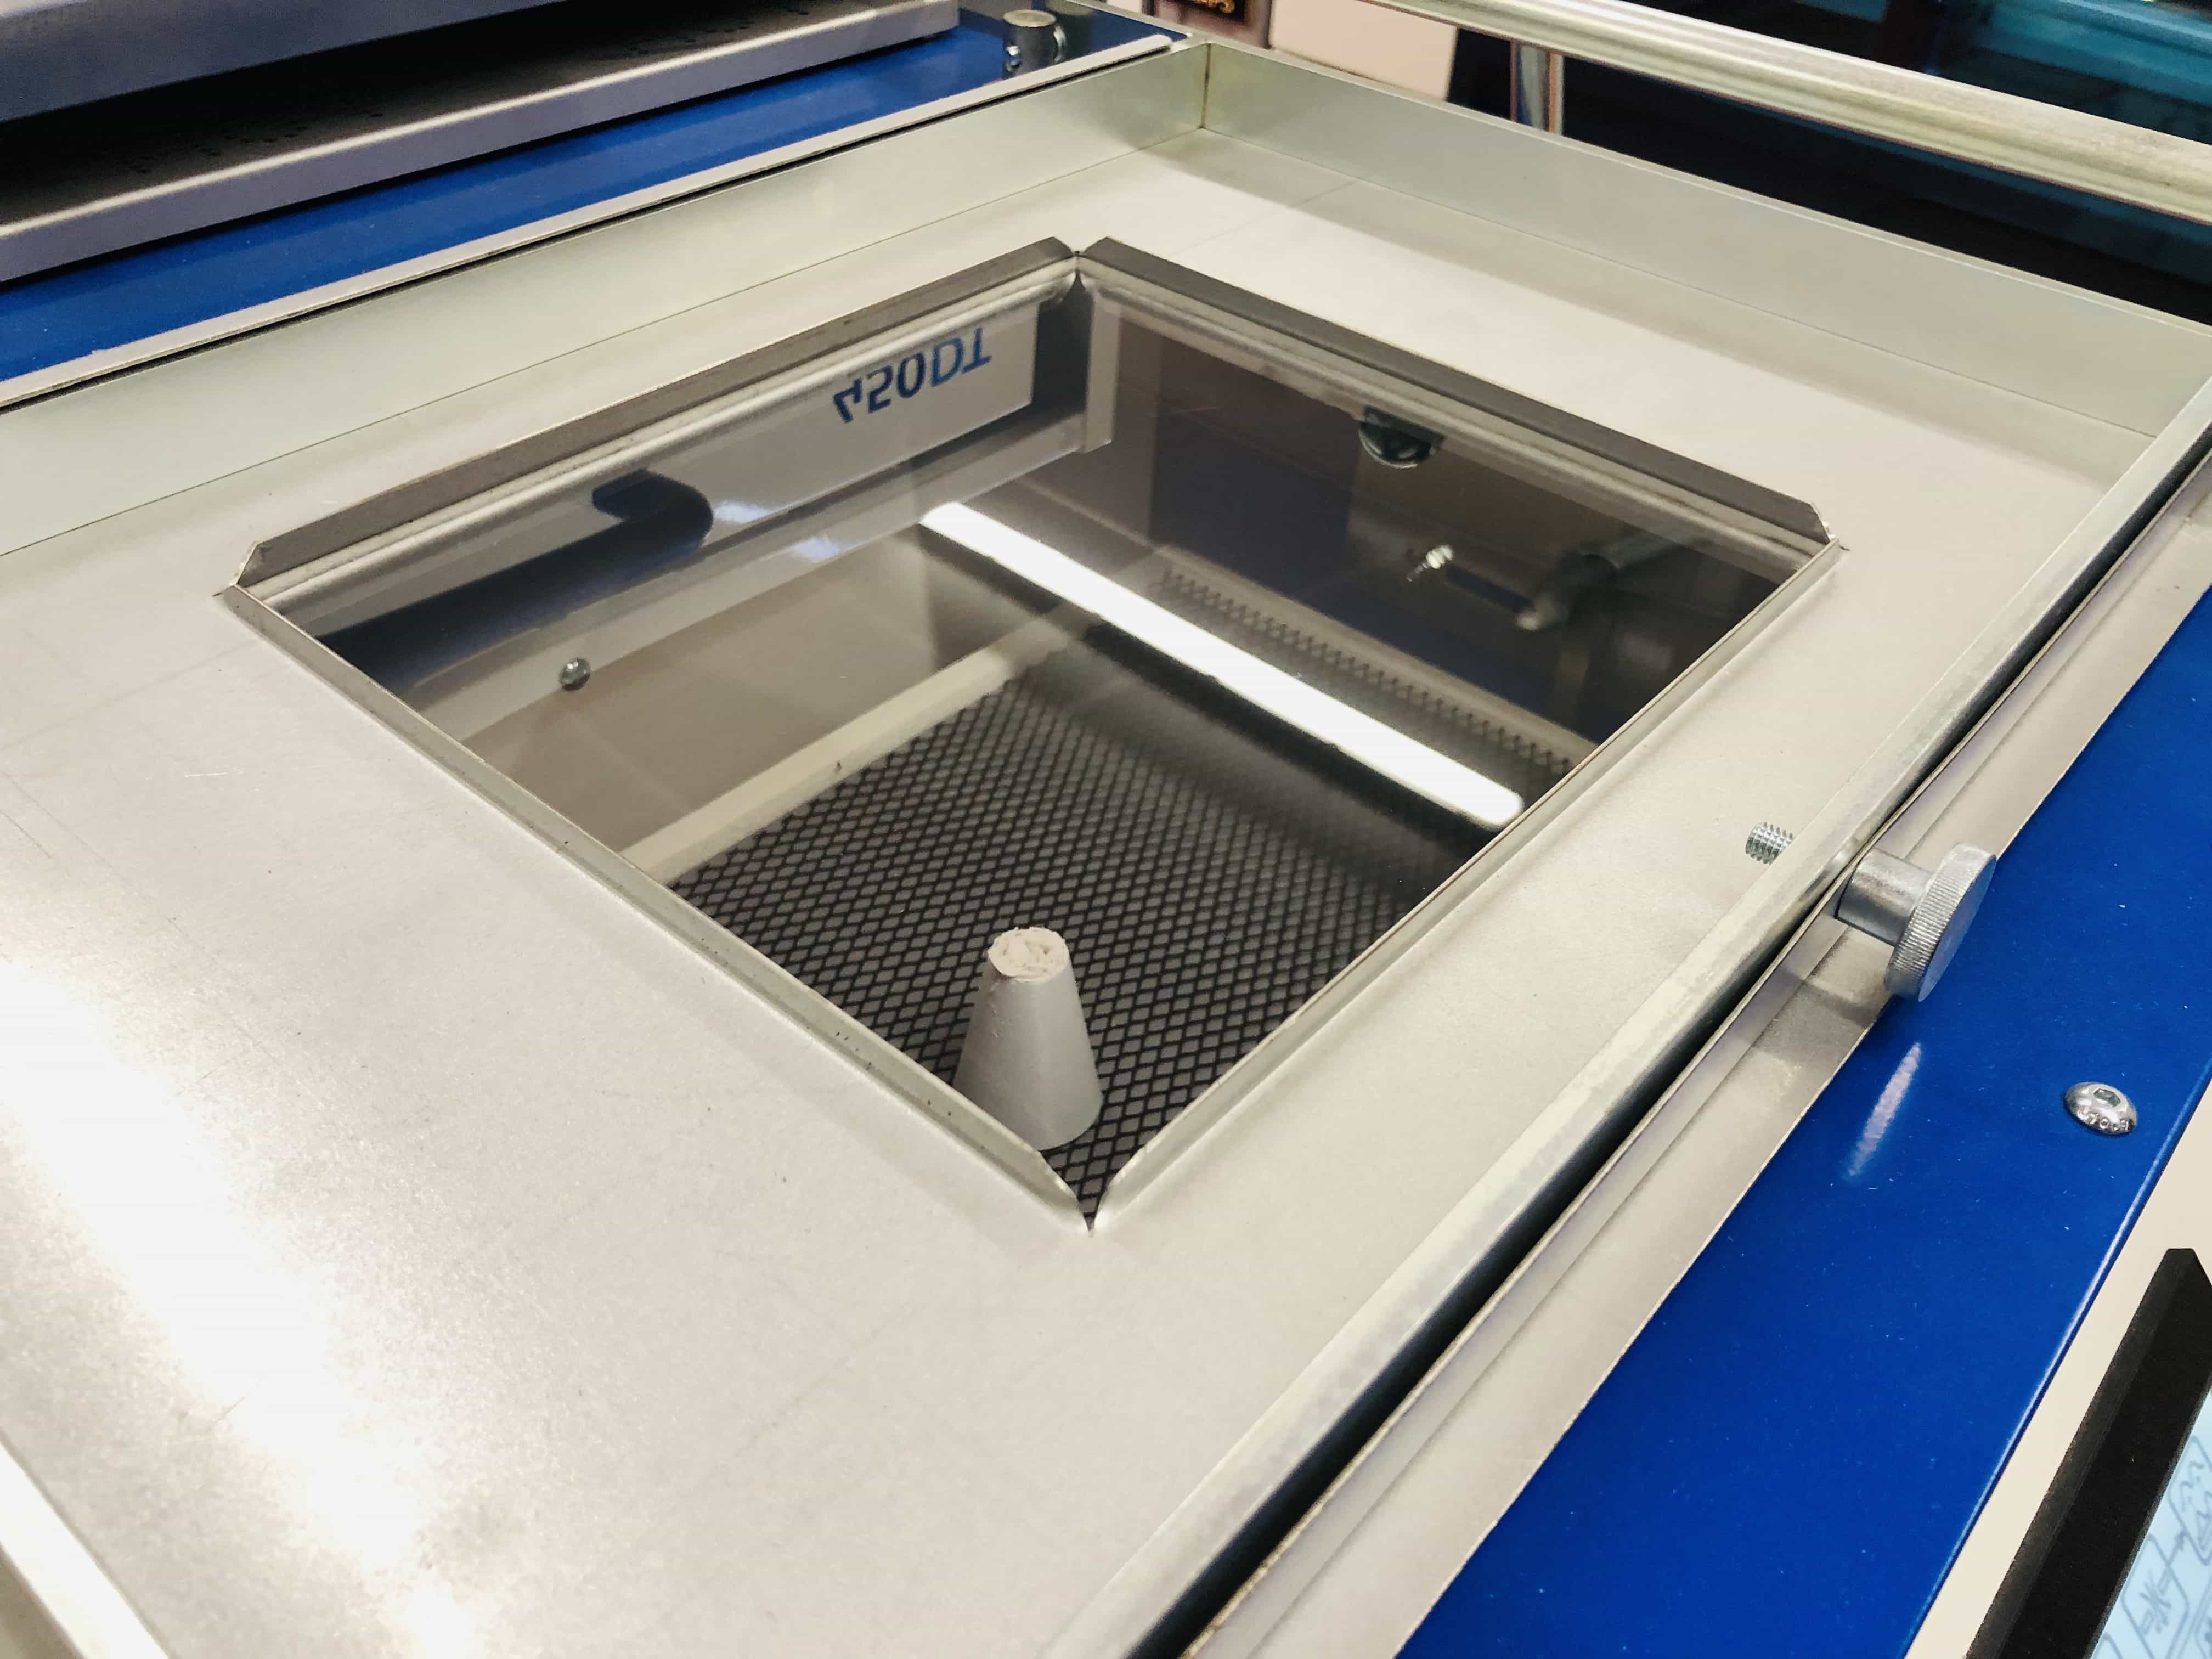
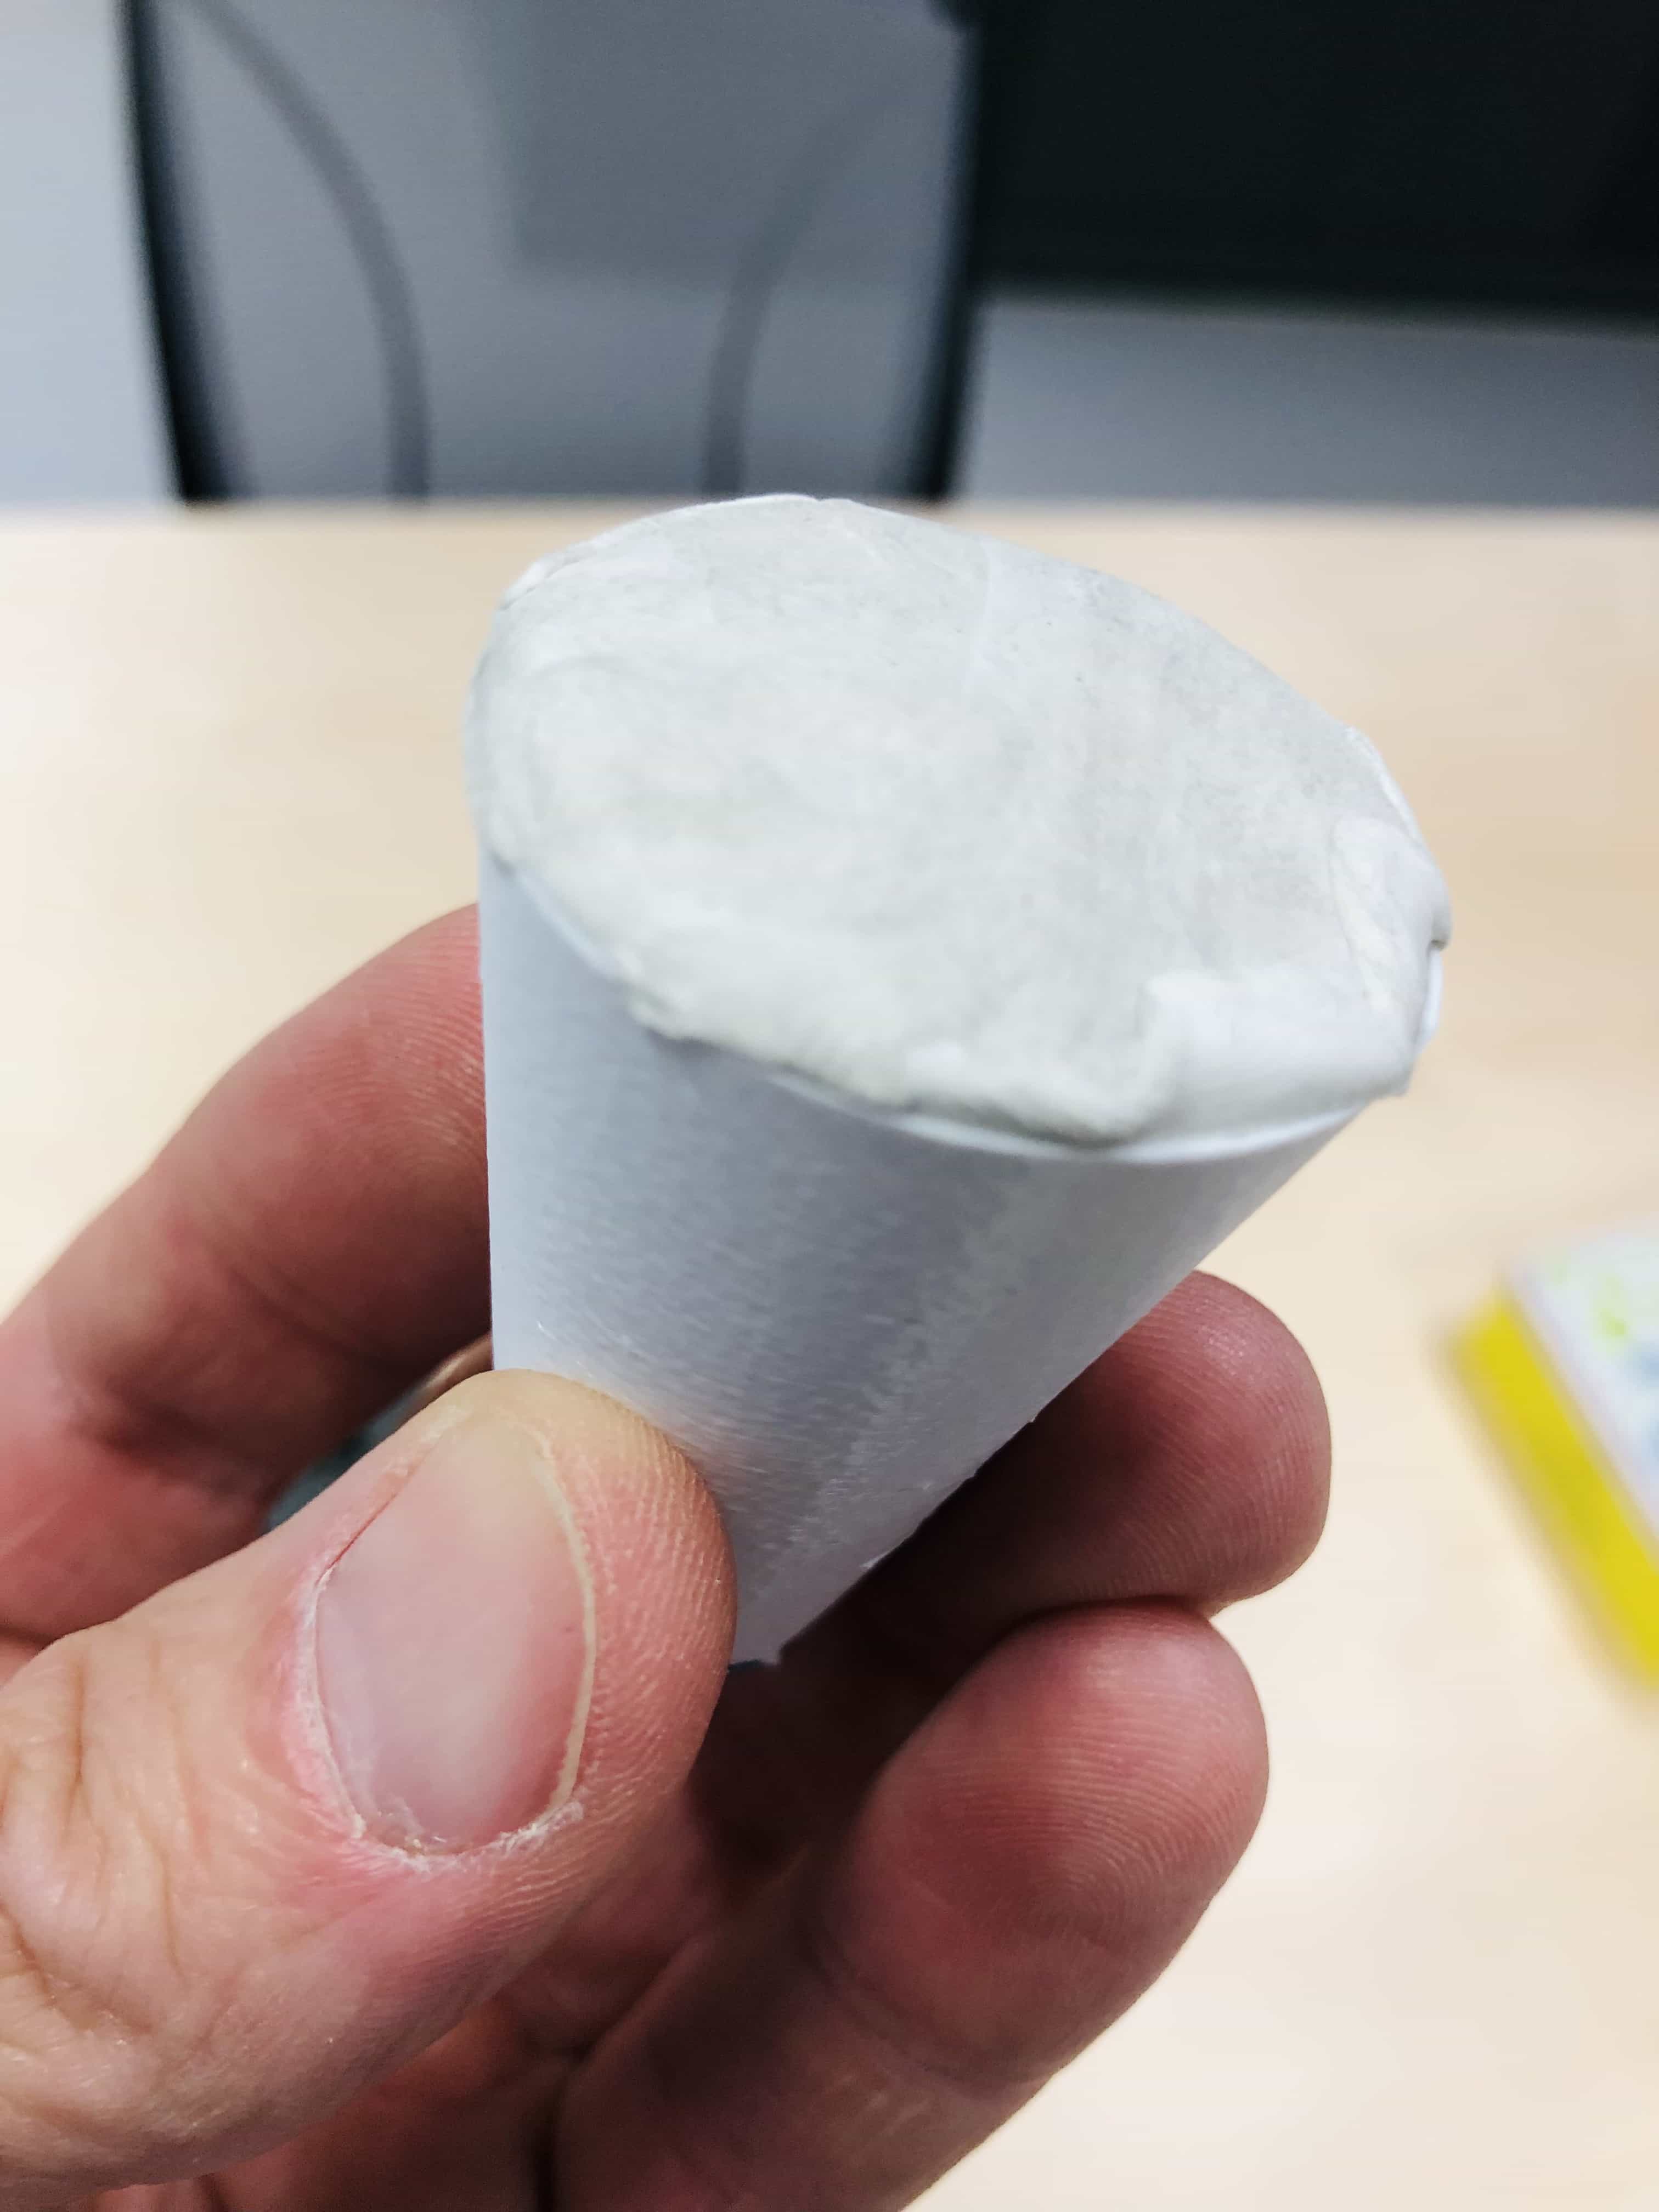
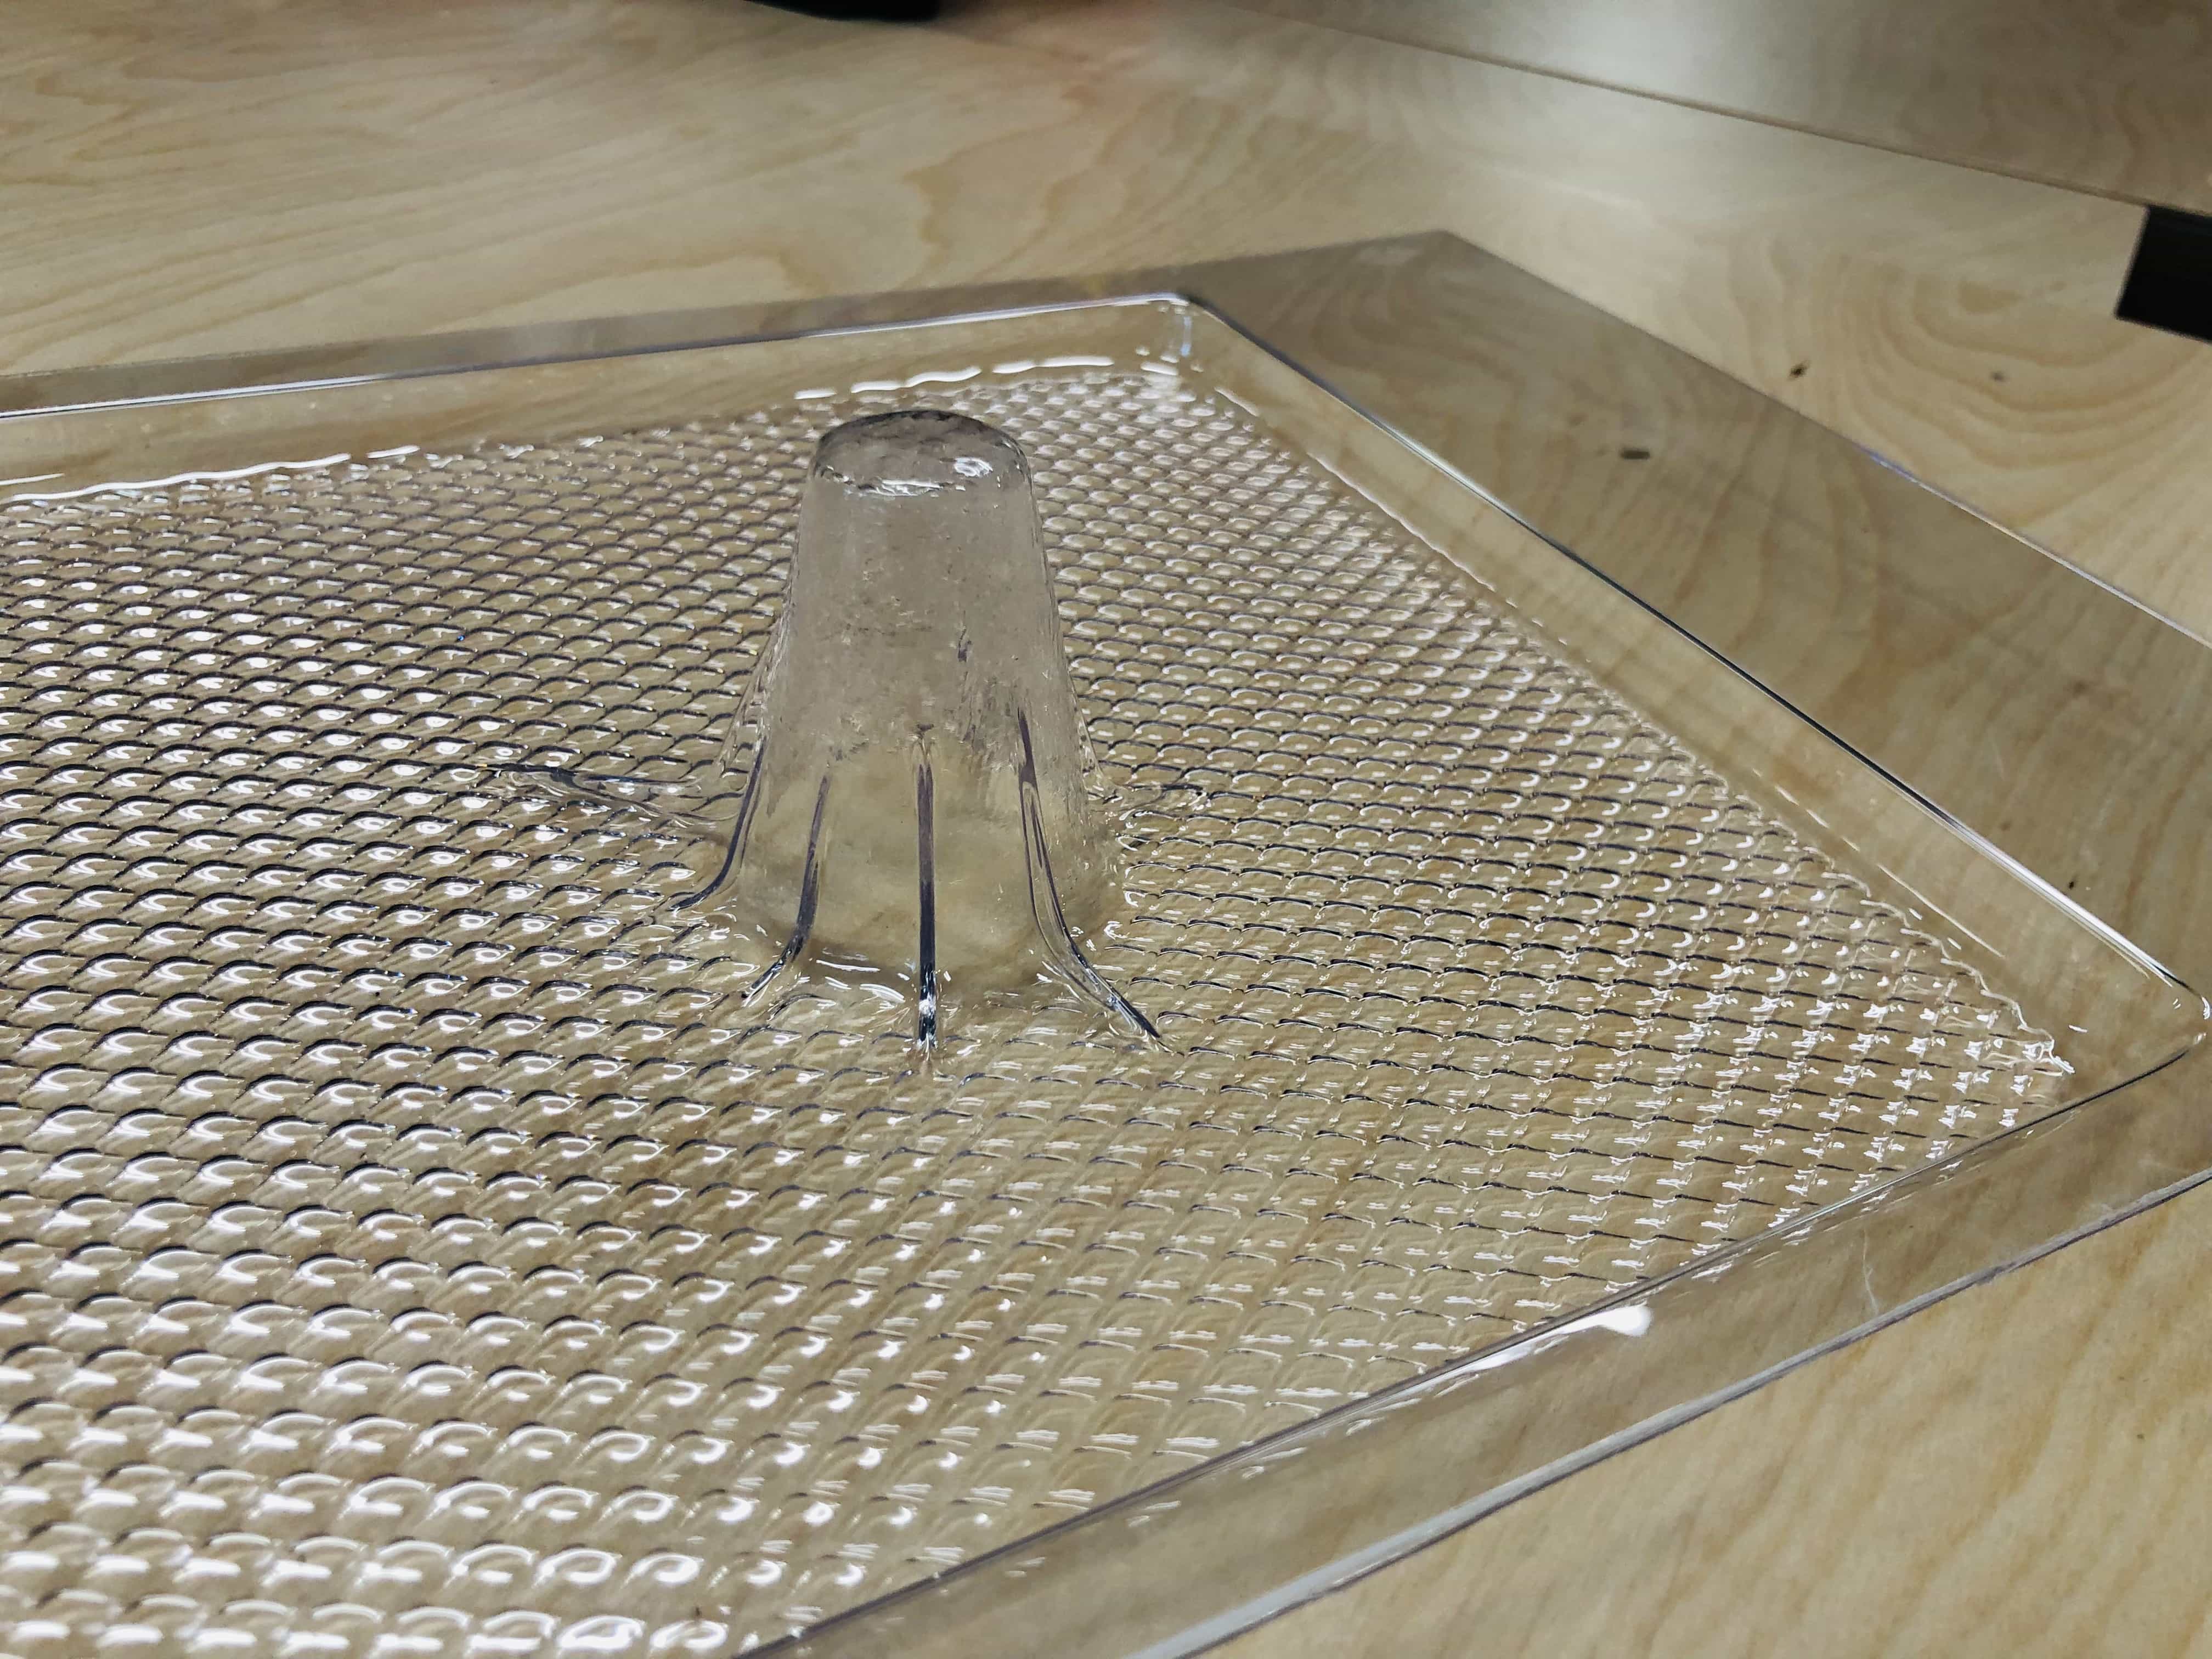
1st attempt
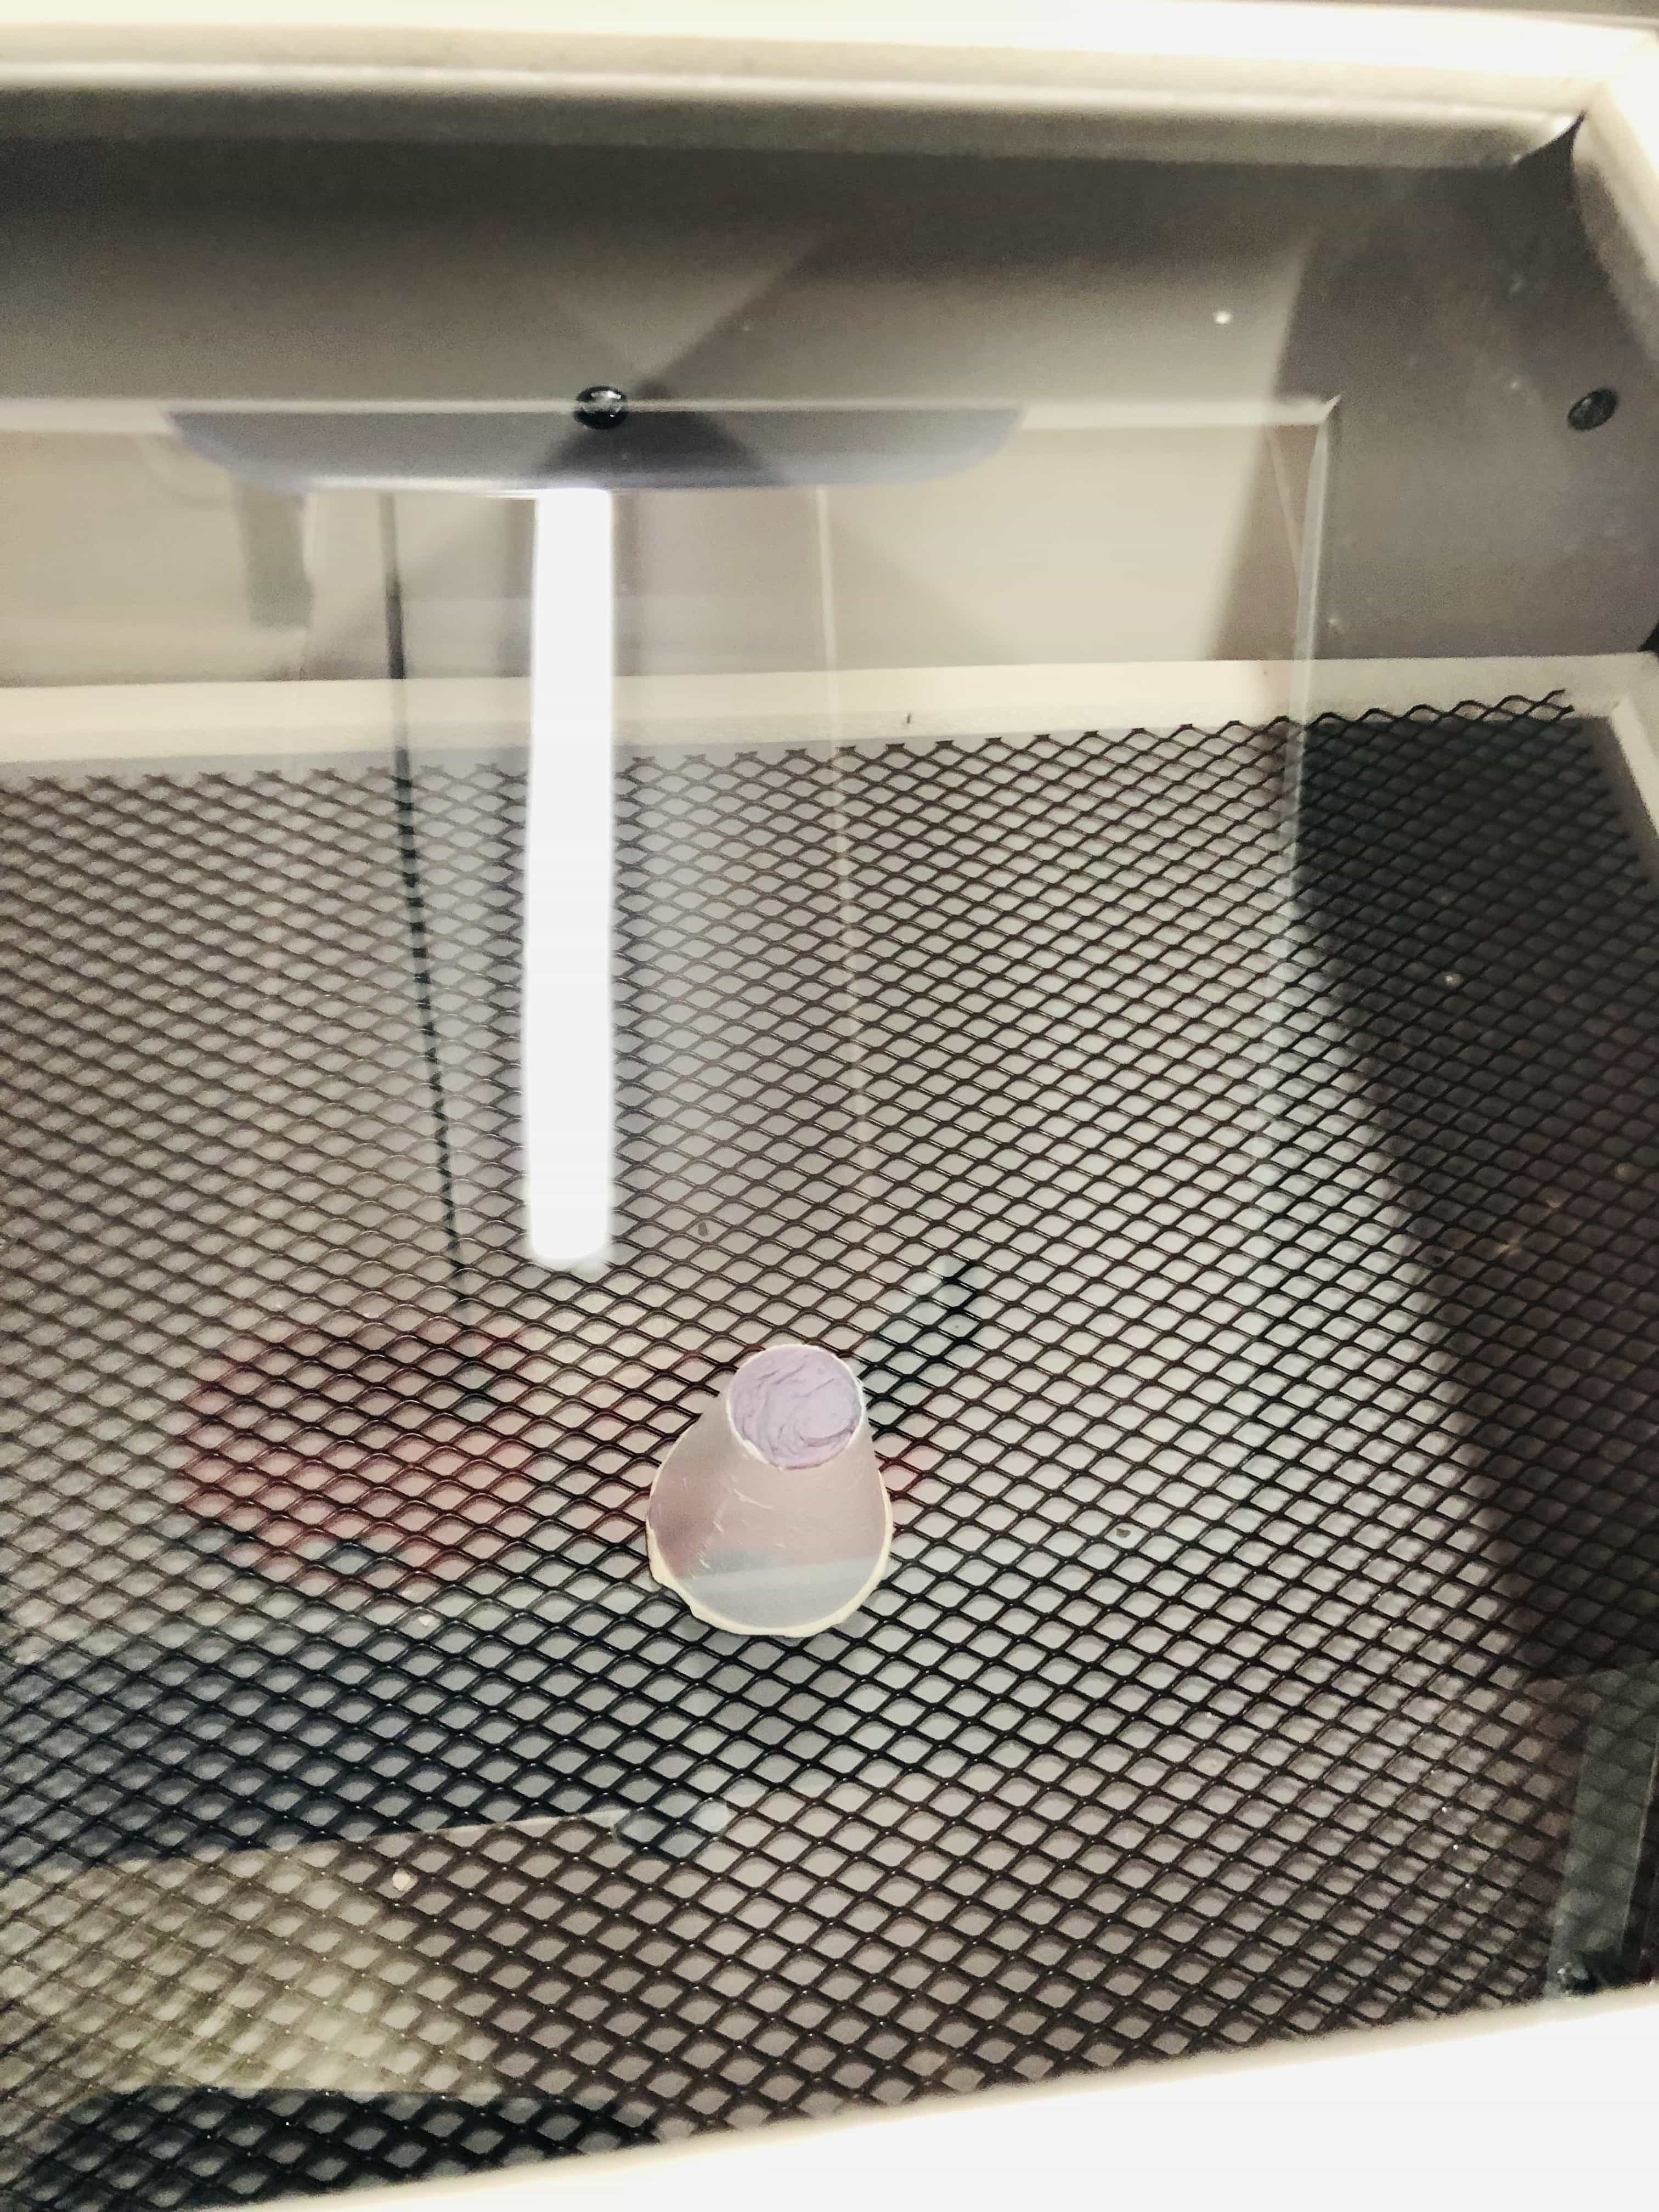
Here is my model inside the vac former:
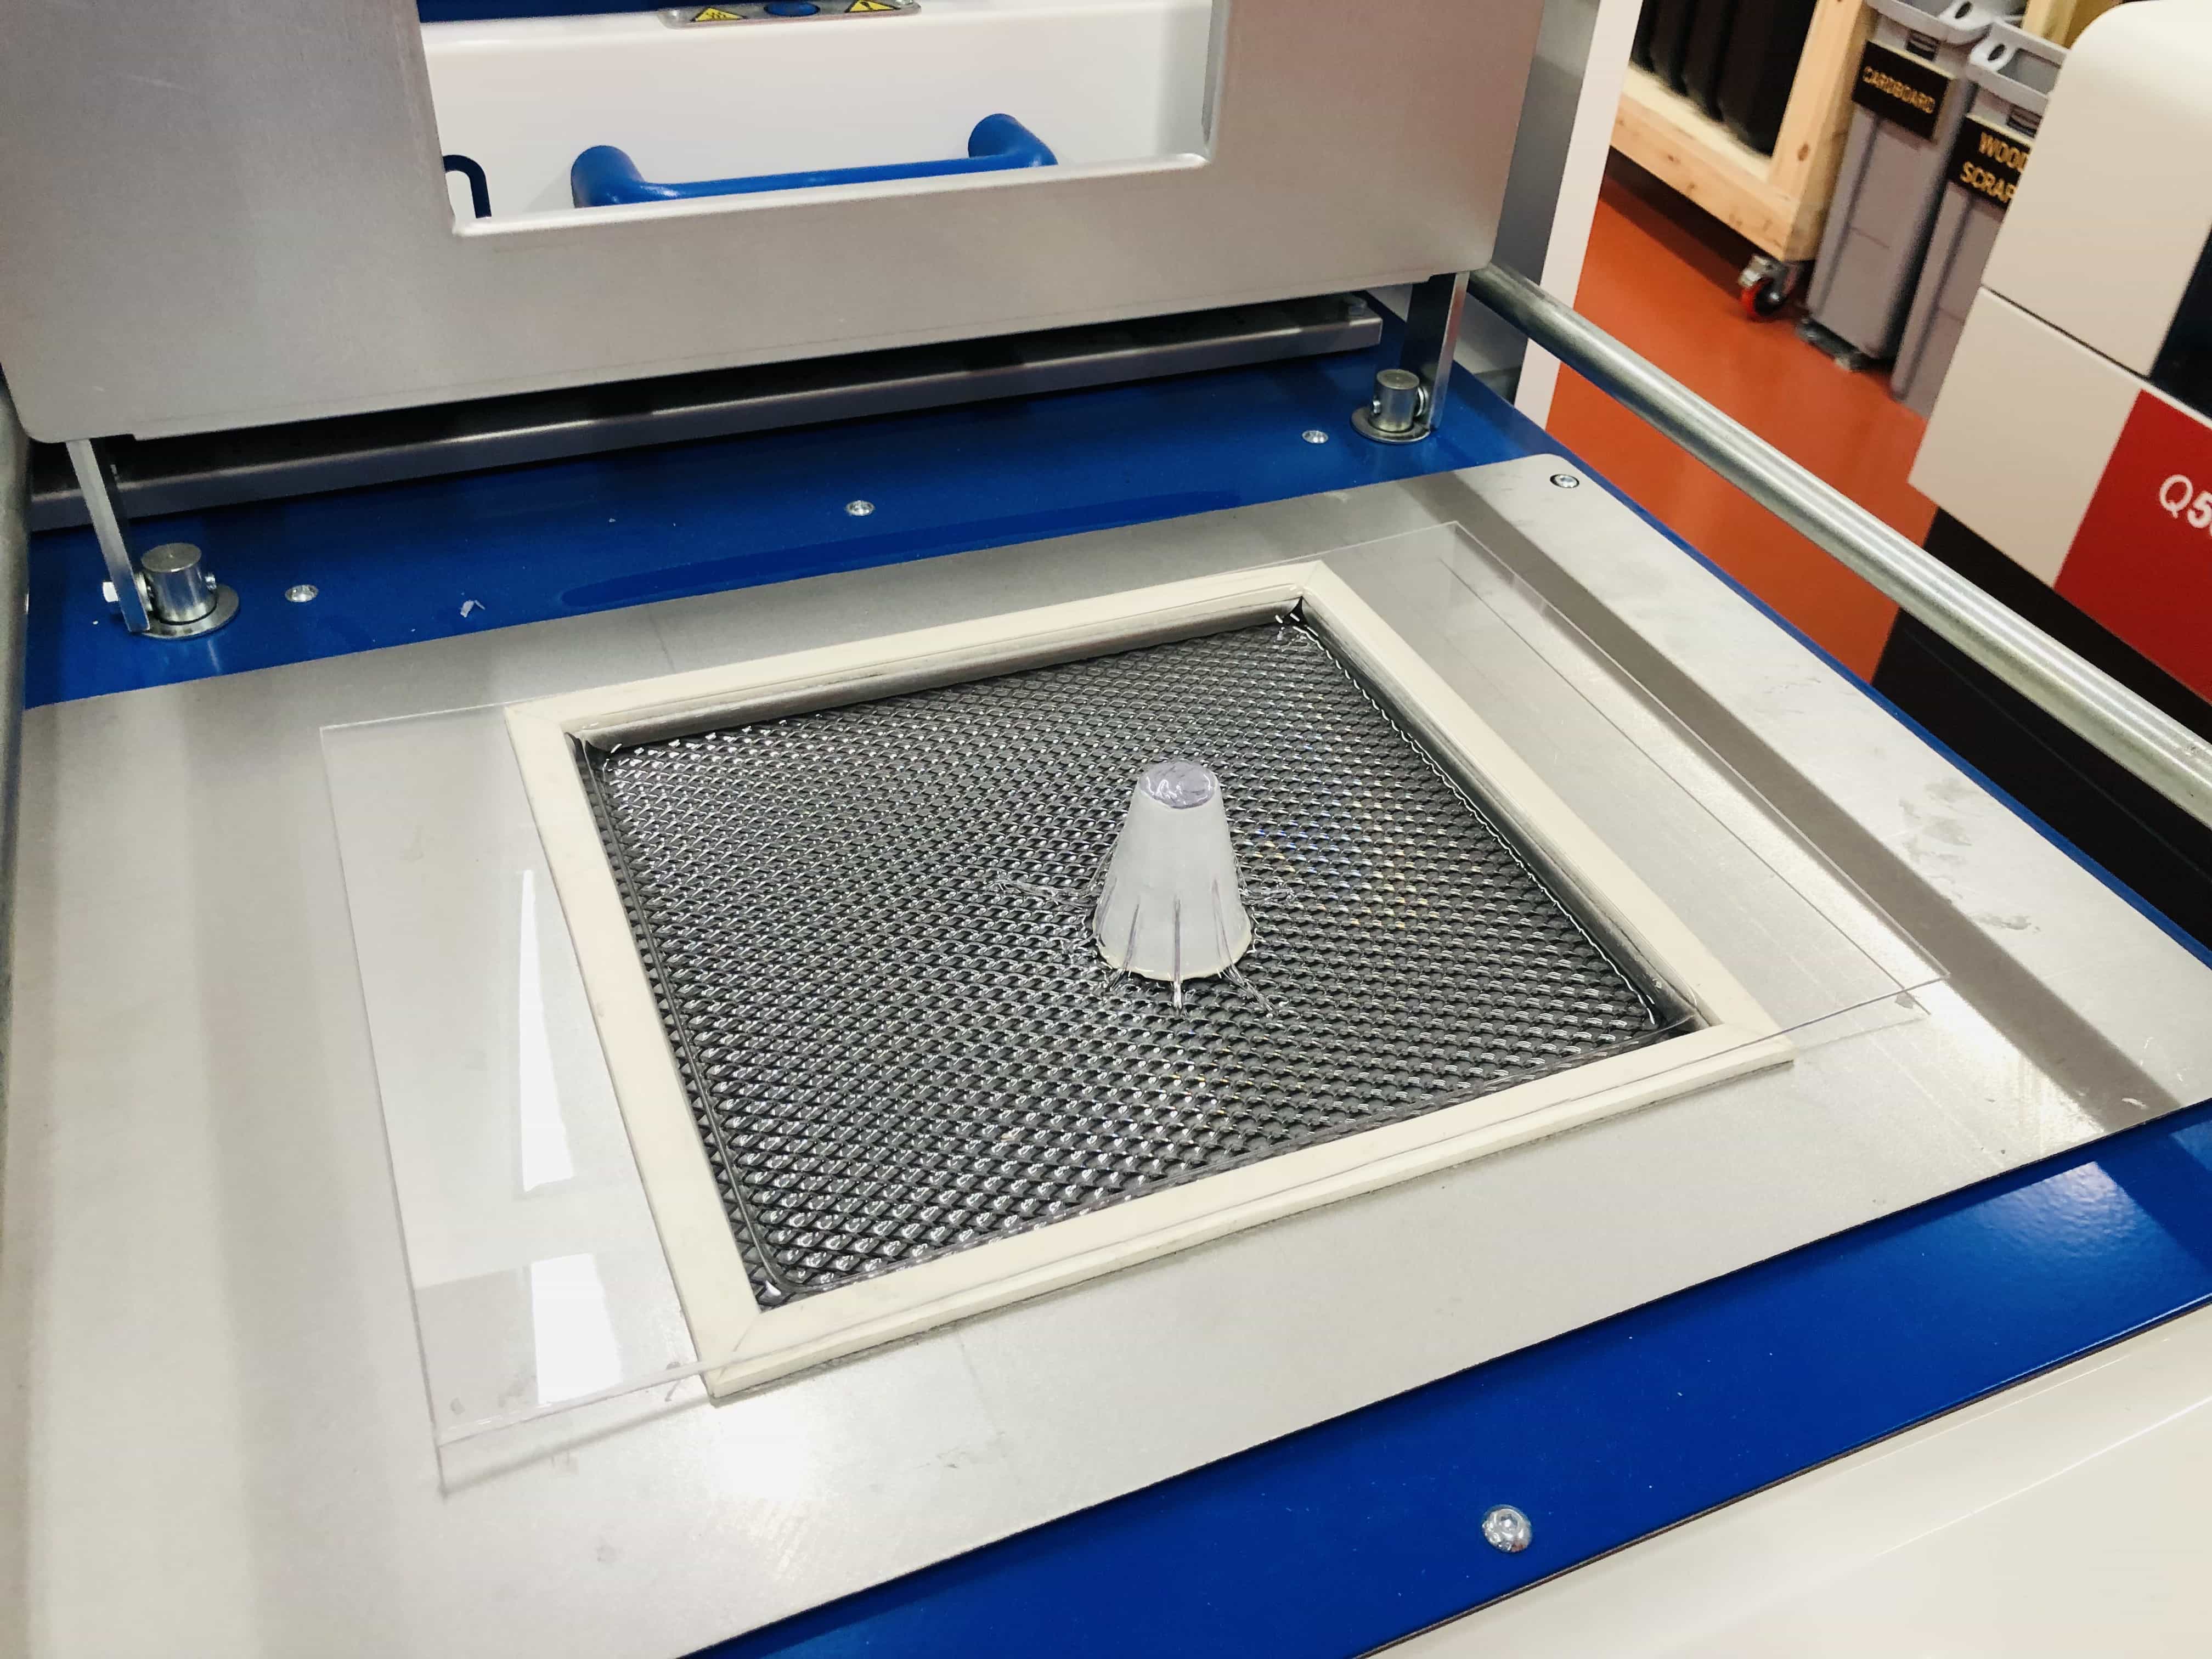
Here is the heated lid pulled into place:

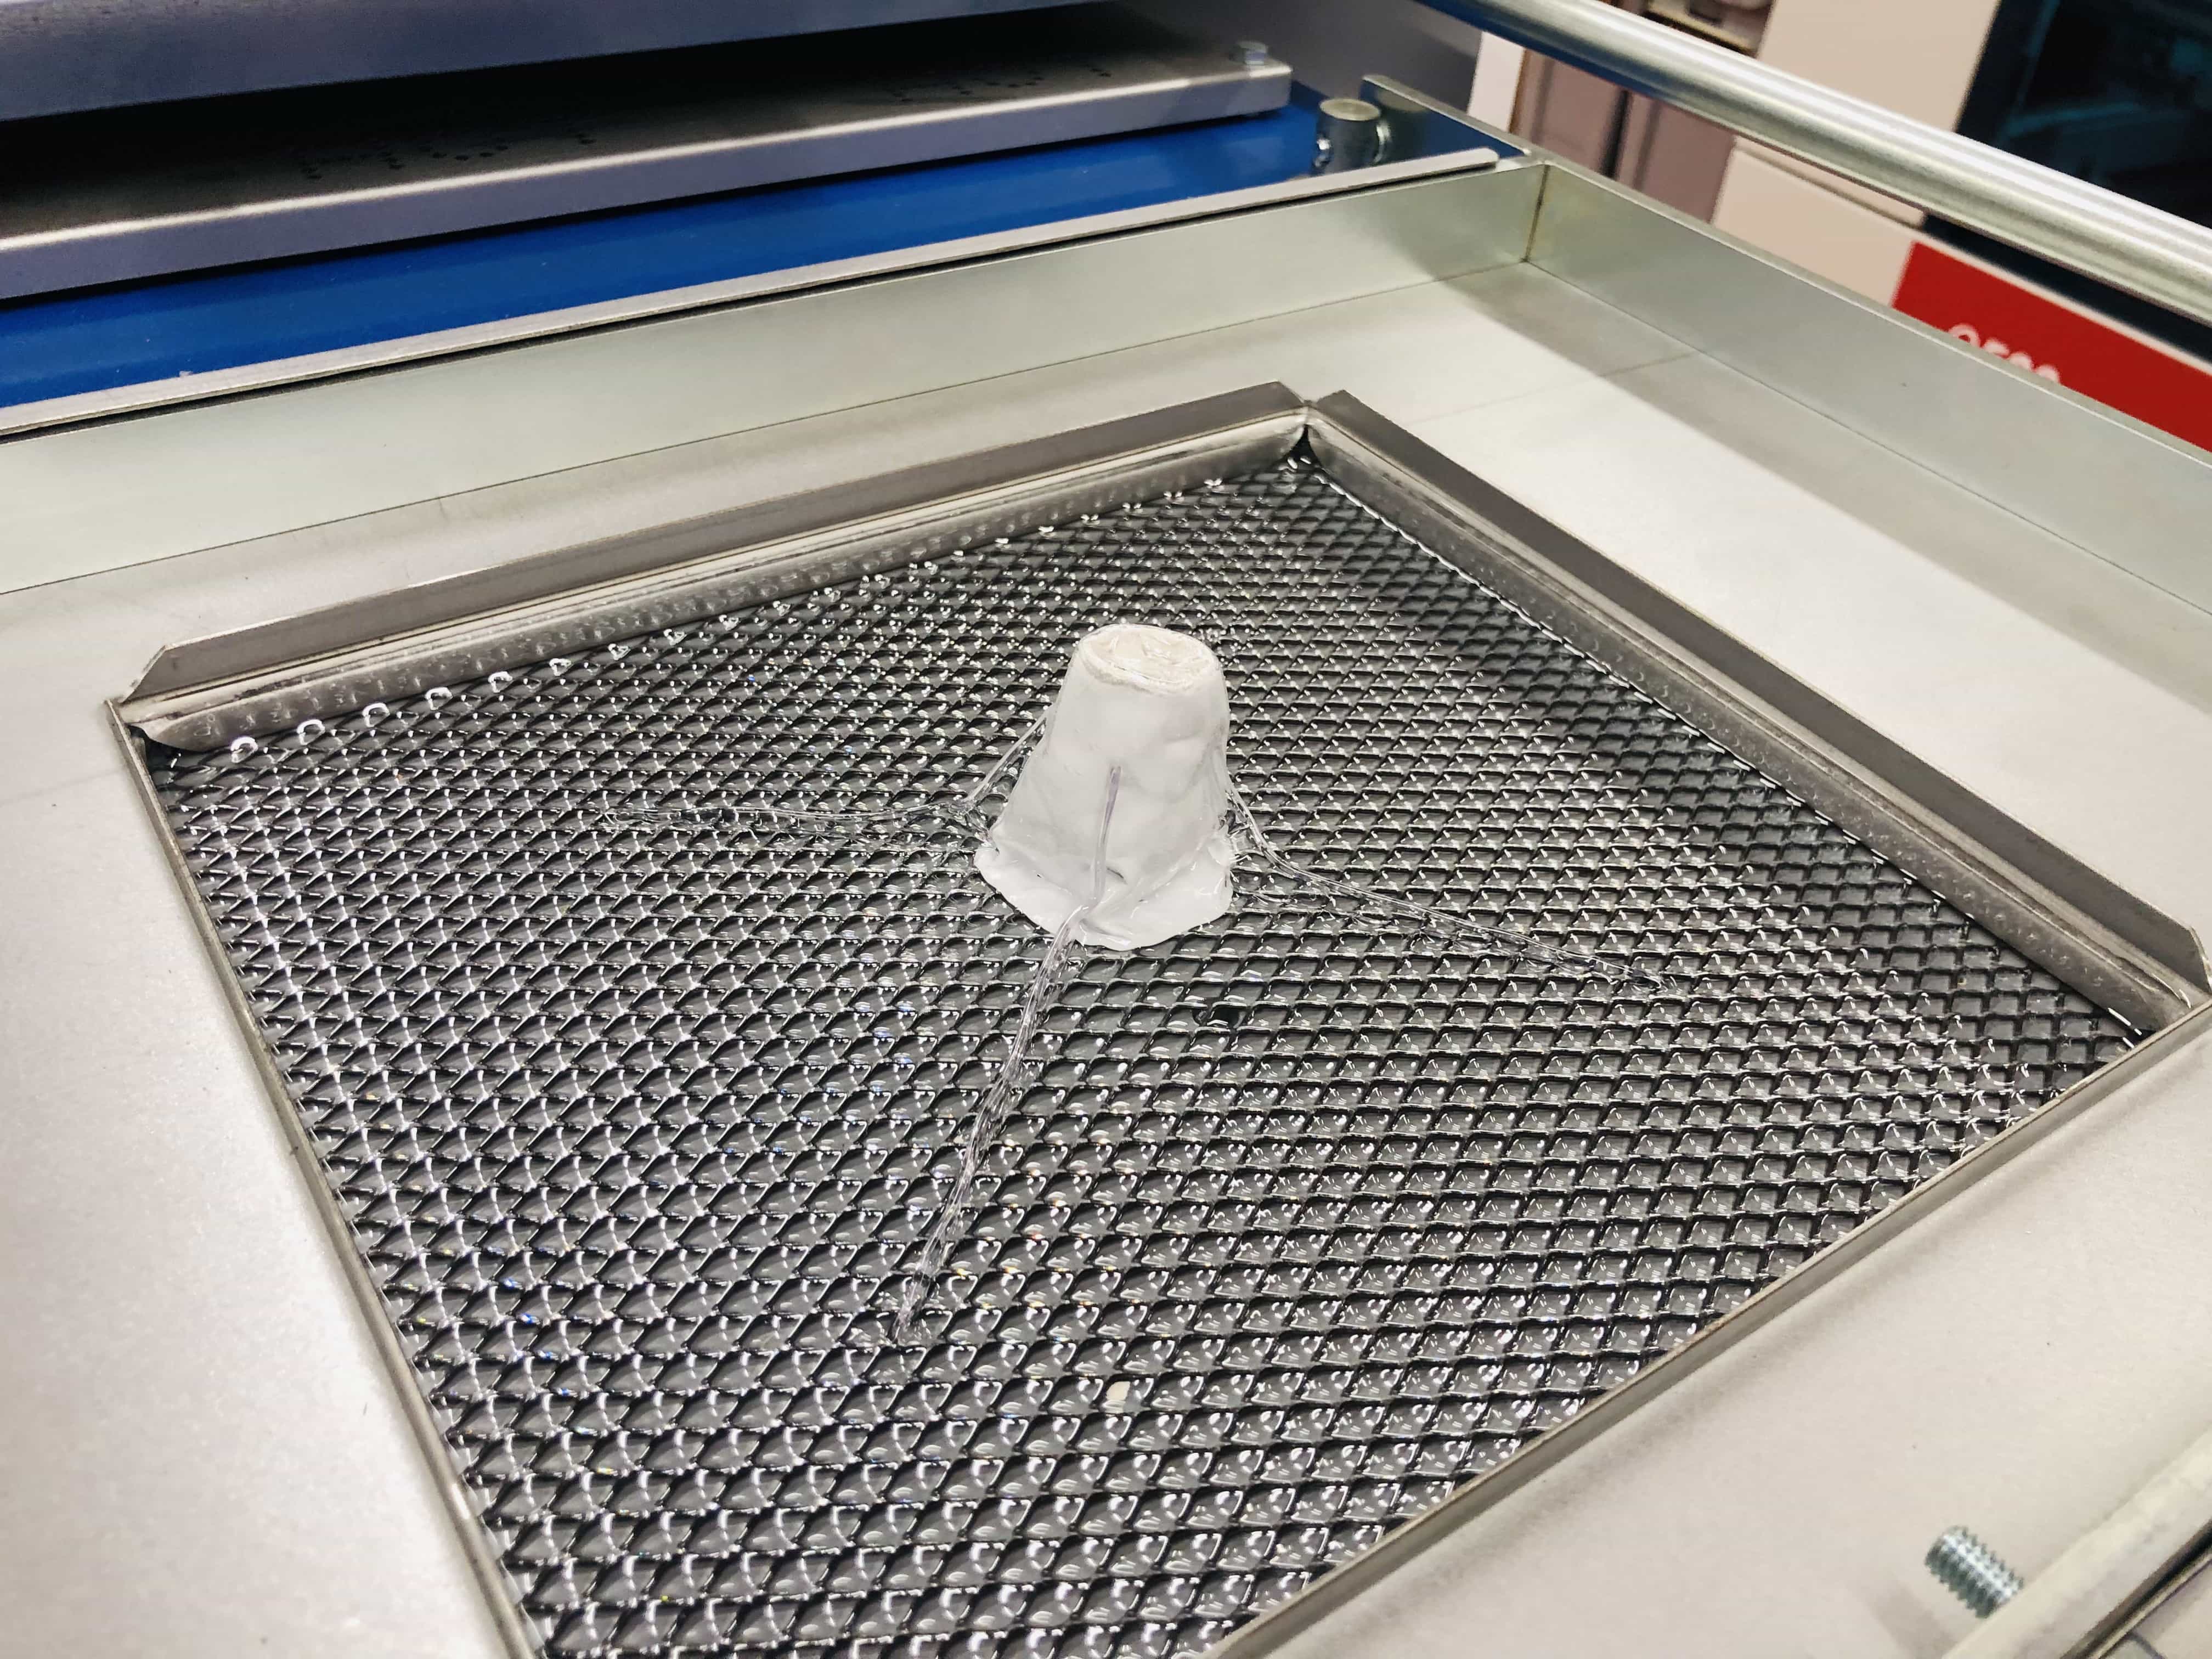
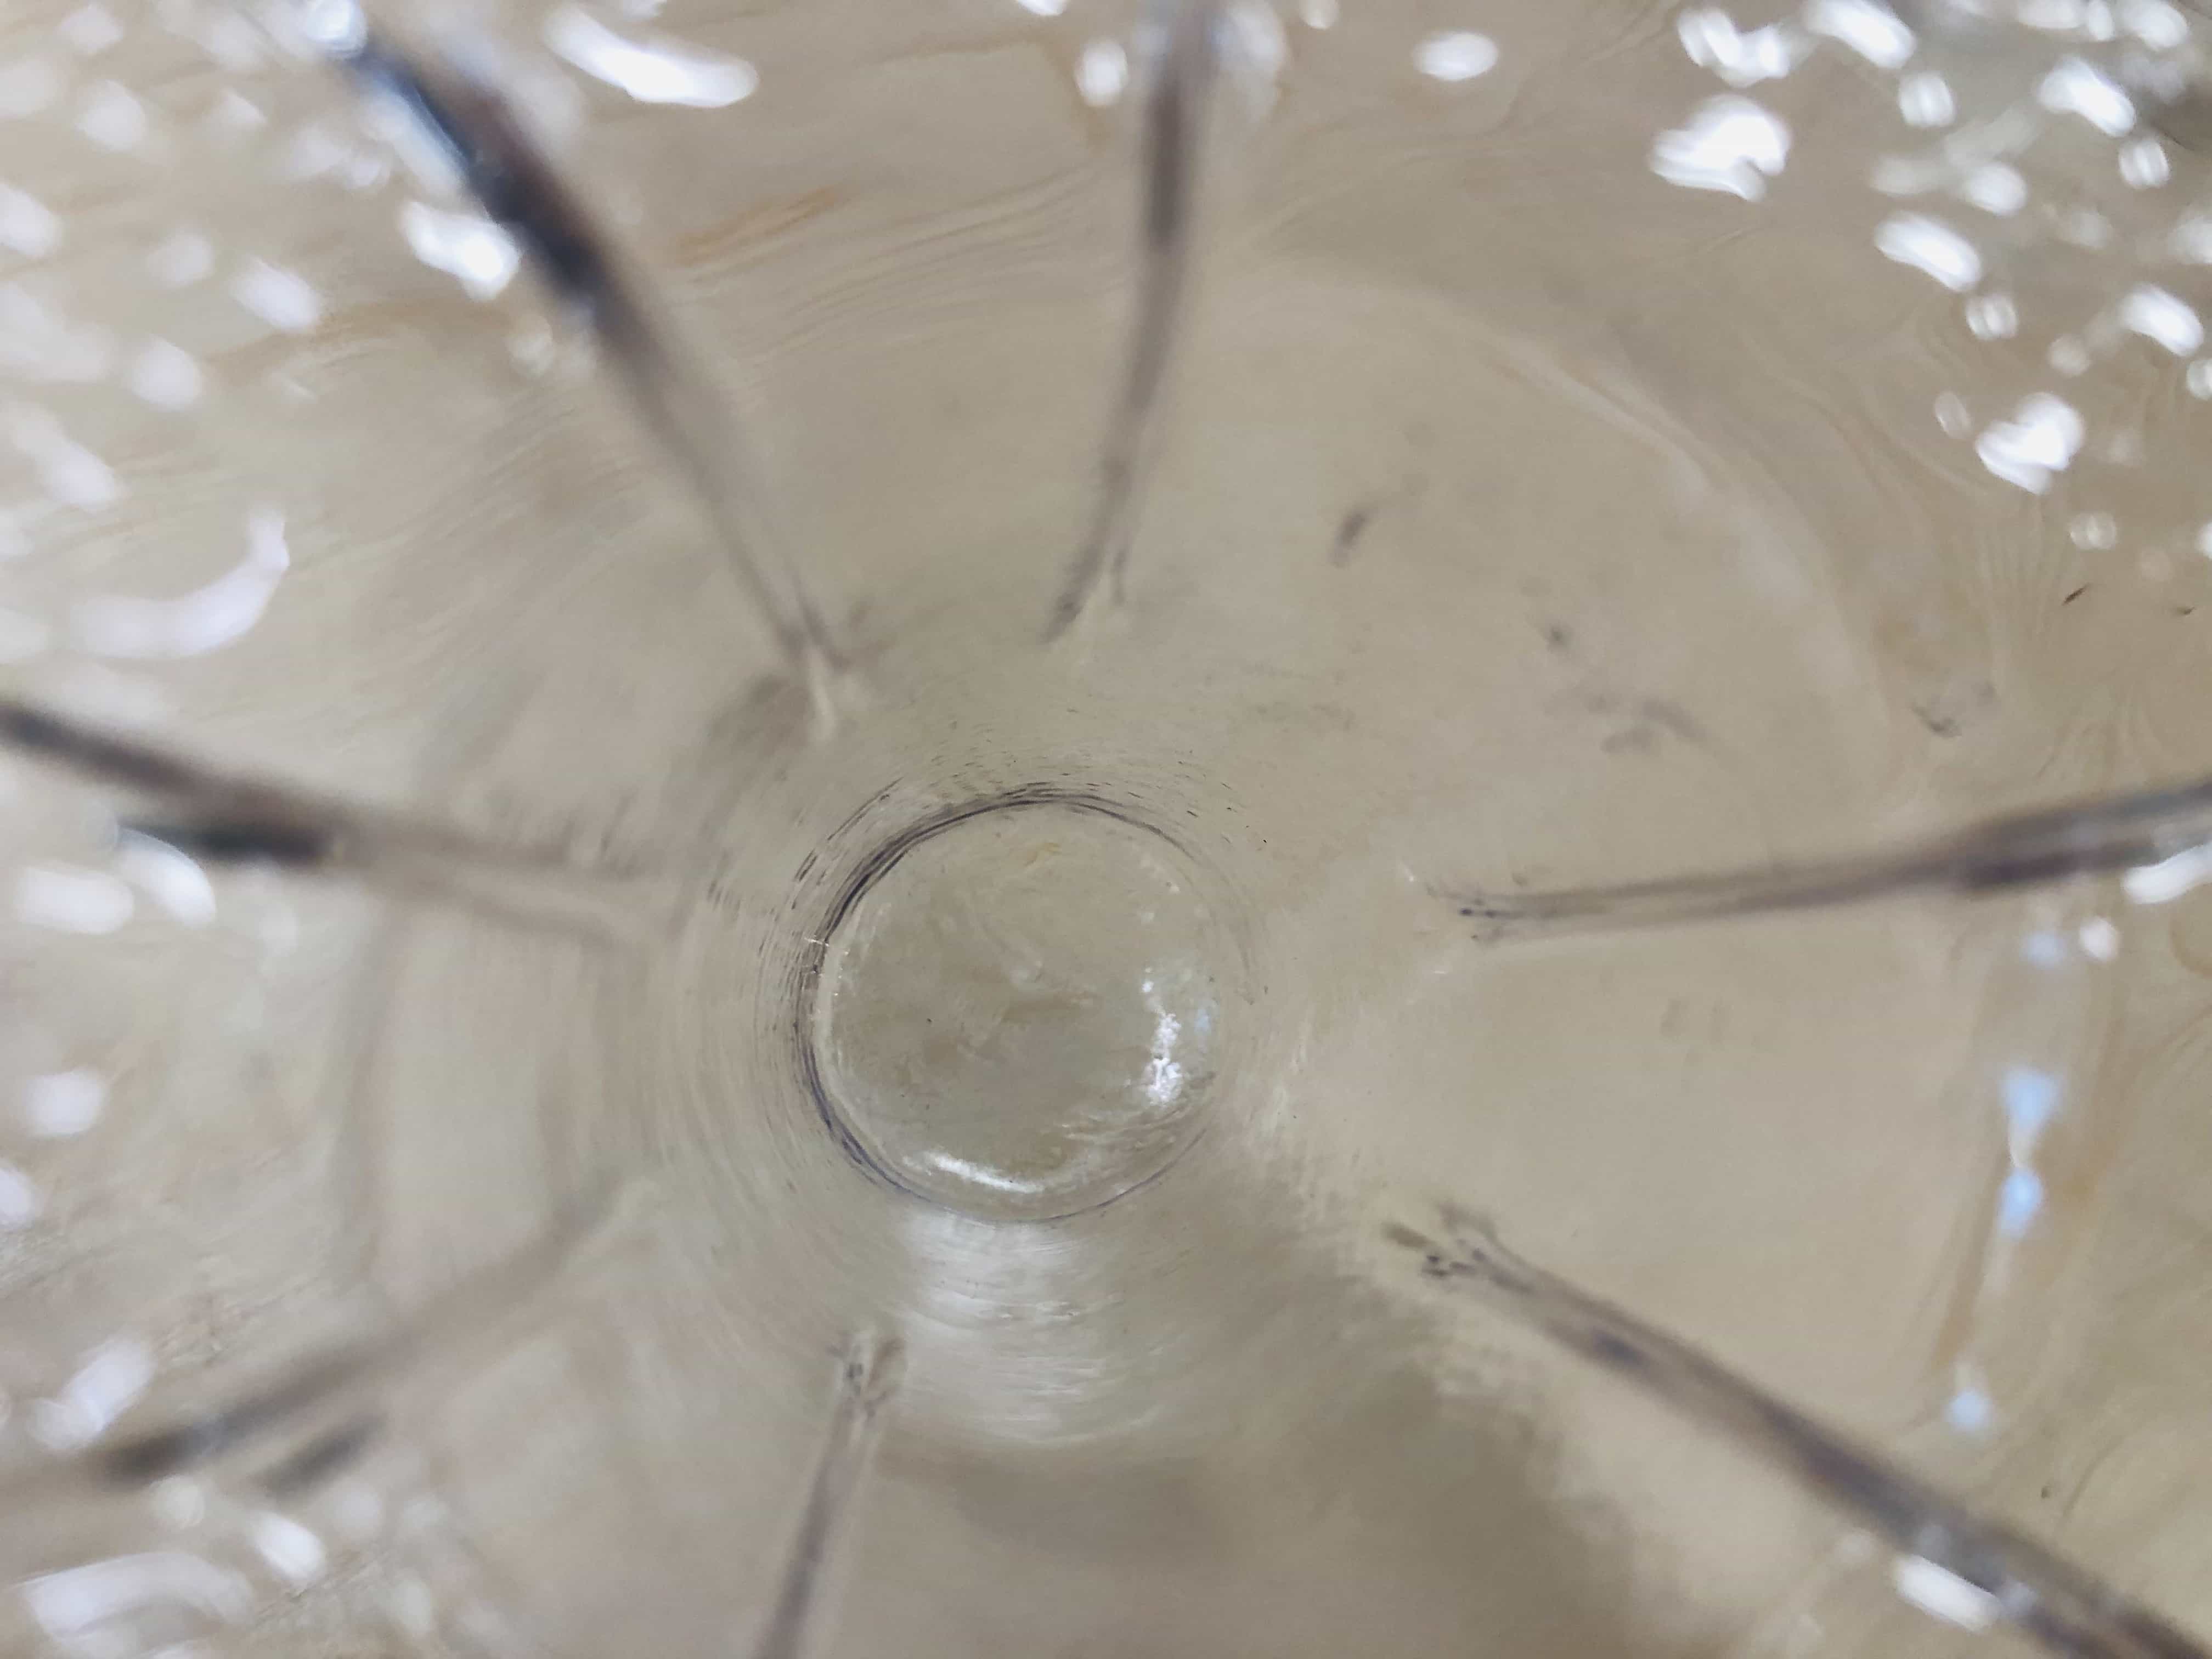
Here is my completed mould:
2nd attempt
What went wrong the first time?
Quite simply, my model was not strong enough to withstand the pressure of the plastic being pulled across it. In the process my model was crushed which changed the intended shape of the mould.
How can I solve this?
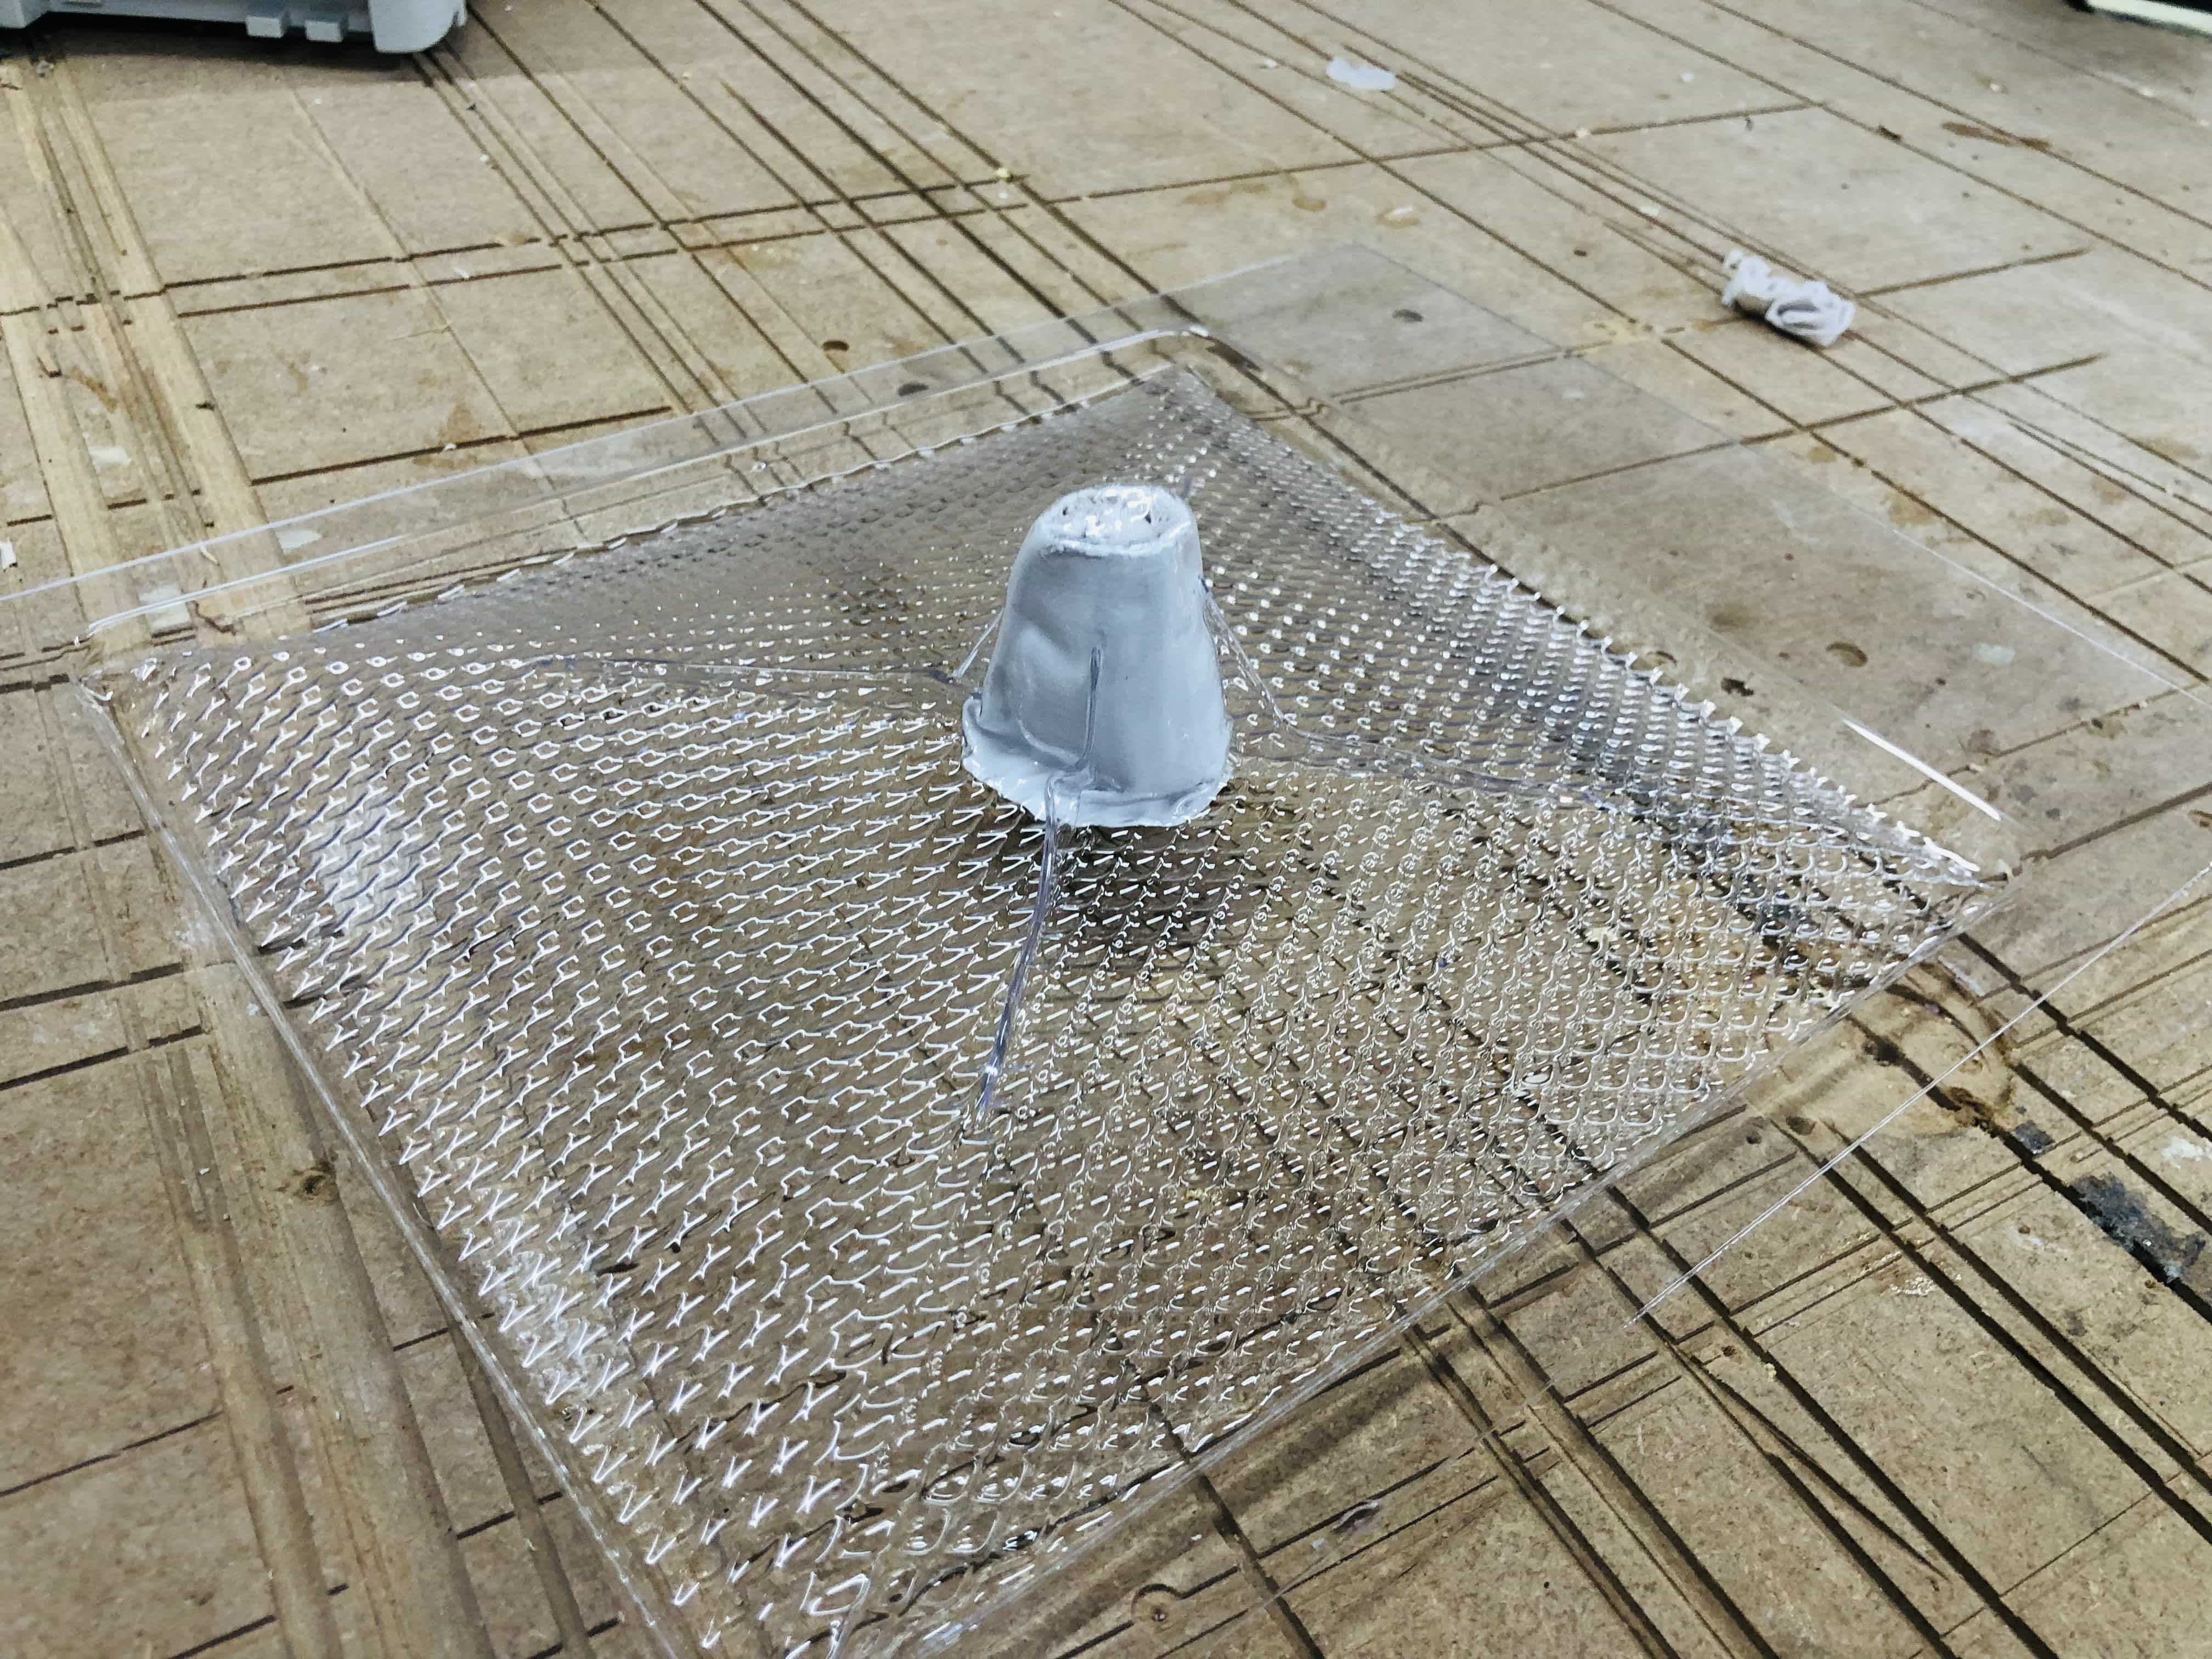
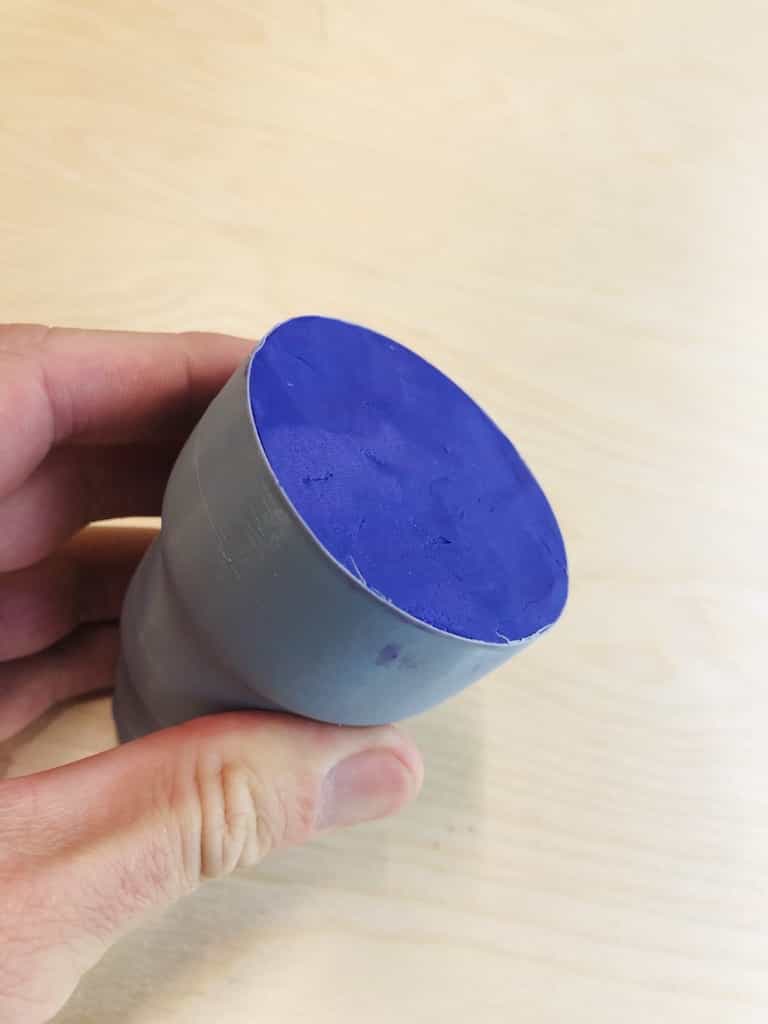
Ideally I would fill my mould with plaster but I don't have time for that today. I've decided to use kitchen towel which can be stuffed a lot more densely than the cloth I used last time. I'm also going to use white tack in the base because this will help to keep everything secured in place:
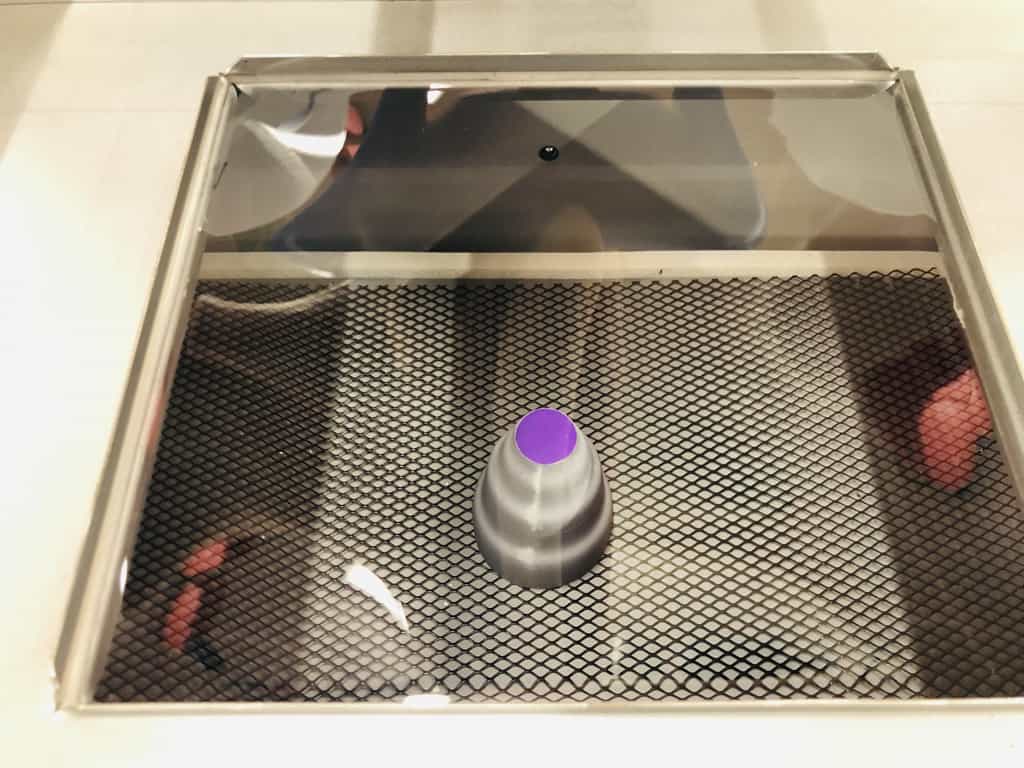
Success!
Its only a simple mould but I'm pleased to say everything worked really well. I've successfully made my first mould with the vac former:
3rd attempt with a stronger mould
I was not happy the way my model was crushed by the vac former. I decided to try filling with plasticine which felt like it should be stronger. I 3D printed a new vase, a little bigger than before and with a better shape. I stuffed it full with plasticine and it felt very solid:
Here it is in vac former ready to go:
Sadly the same thing happened again. The vac former managed to crush my solid lump of plasticine:

What have I learnt?
I really need to use something more solid for vac forming. Deep down I knew this but I didn't have time to let filler or cement dry. I thought I could get away with it using plasticine but I've learnt that you can't. I'll spend time on the vac former again after Fab Academy and I'll be sure to use solid moulds made with cement or similar.
Vase mode continued...
My tutor Andrew has suggested I explore vase mode in some more detail. I will be using Vase mode (not vac forming) as the new fabrication process for this assignment.
I watched the following youtube tutorial and made the notes below:
 https://www.youtube.com/watch?v=tba6KHk4qRk
What is vase mode?
The entire print is made with a single line of extrusion that winds around and around. It doesn't stop printing at any point. The print is hollow. everything is implemented in the slicer. You make your design with the intention of using vase mode but you create a solid body (not a vase shape).
Advantages:
- Fun
- Beautiful
- Quick
- Cheap
- Ability to make transparent prints
Constraints:
- Strength and rigidity. Prints will be flexible and weak. Can address this problem with a thicker nozzle but still mainly suitable for light duty applications.
- Overhangs - It will struggle to print more than a 45 degree overhang due to the lack of support.
- Changing filaments. There is a risk involved when changing filaments. Its safer to use a roll of filament larger than required, if available.
- We have control over the outer geometry but not the internal geometry
Design considerations
- Continuity - You can not have any breaks or gaps in your design. The extruder must be able to travel the full perimeter of your design, on every layer.
- Corrugations - If you need strength, you can gain strength across 1 axis by adding corrugations parallel to that axis. It will increase the amount of material used.
- Solid body. Your STL file should be a solid body, not a vase shape. The vase process is created in your slicer, not your CAD program.
Twist hex box
I followed this youtube tutorial to make a twisting hex box:
https://www.youtube.com/watch?v=uVWojB4TO9A
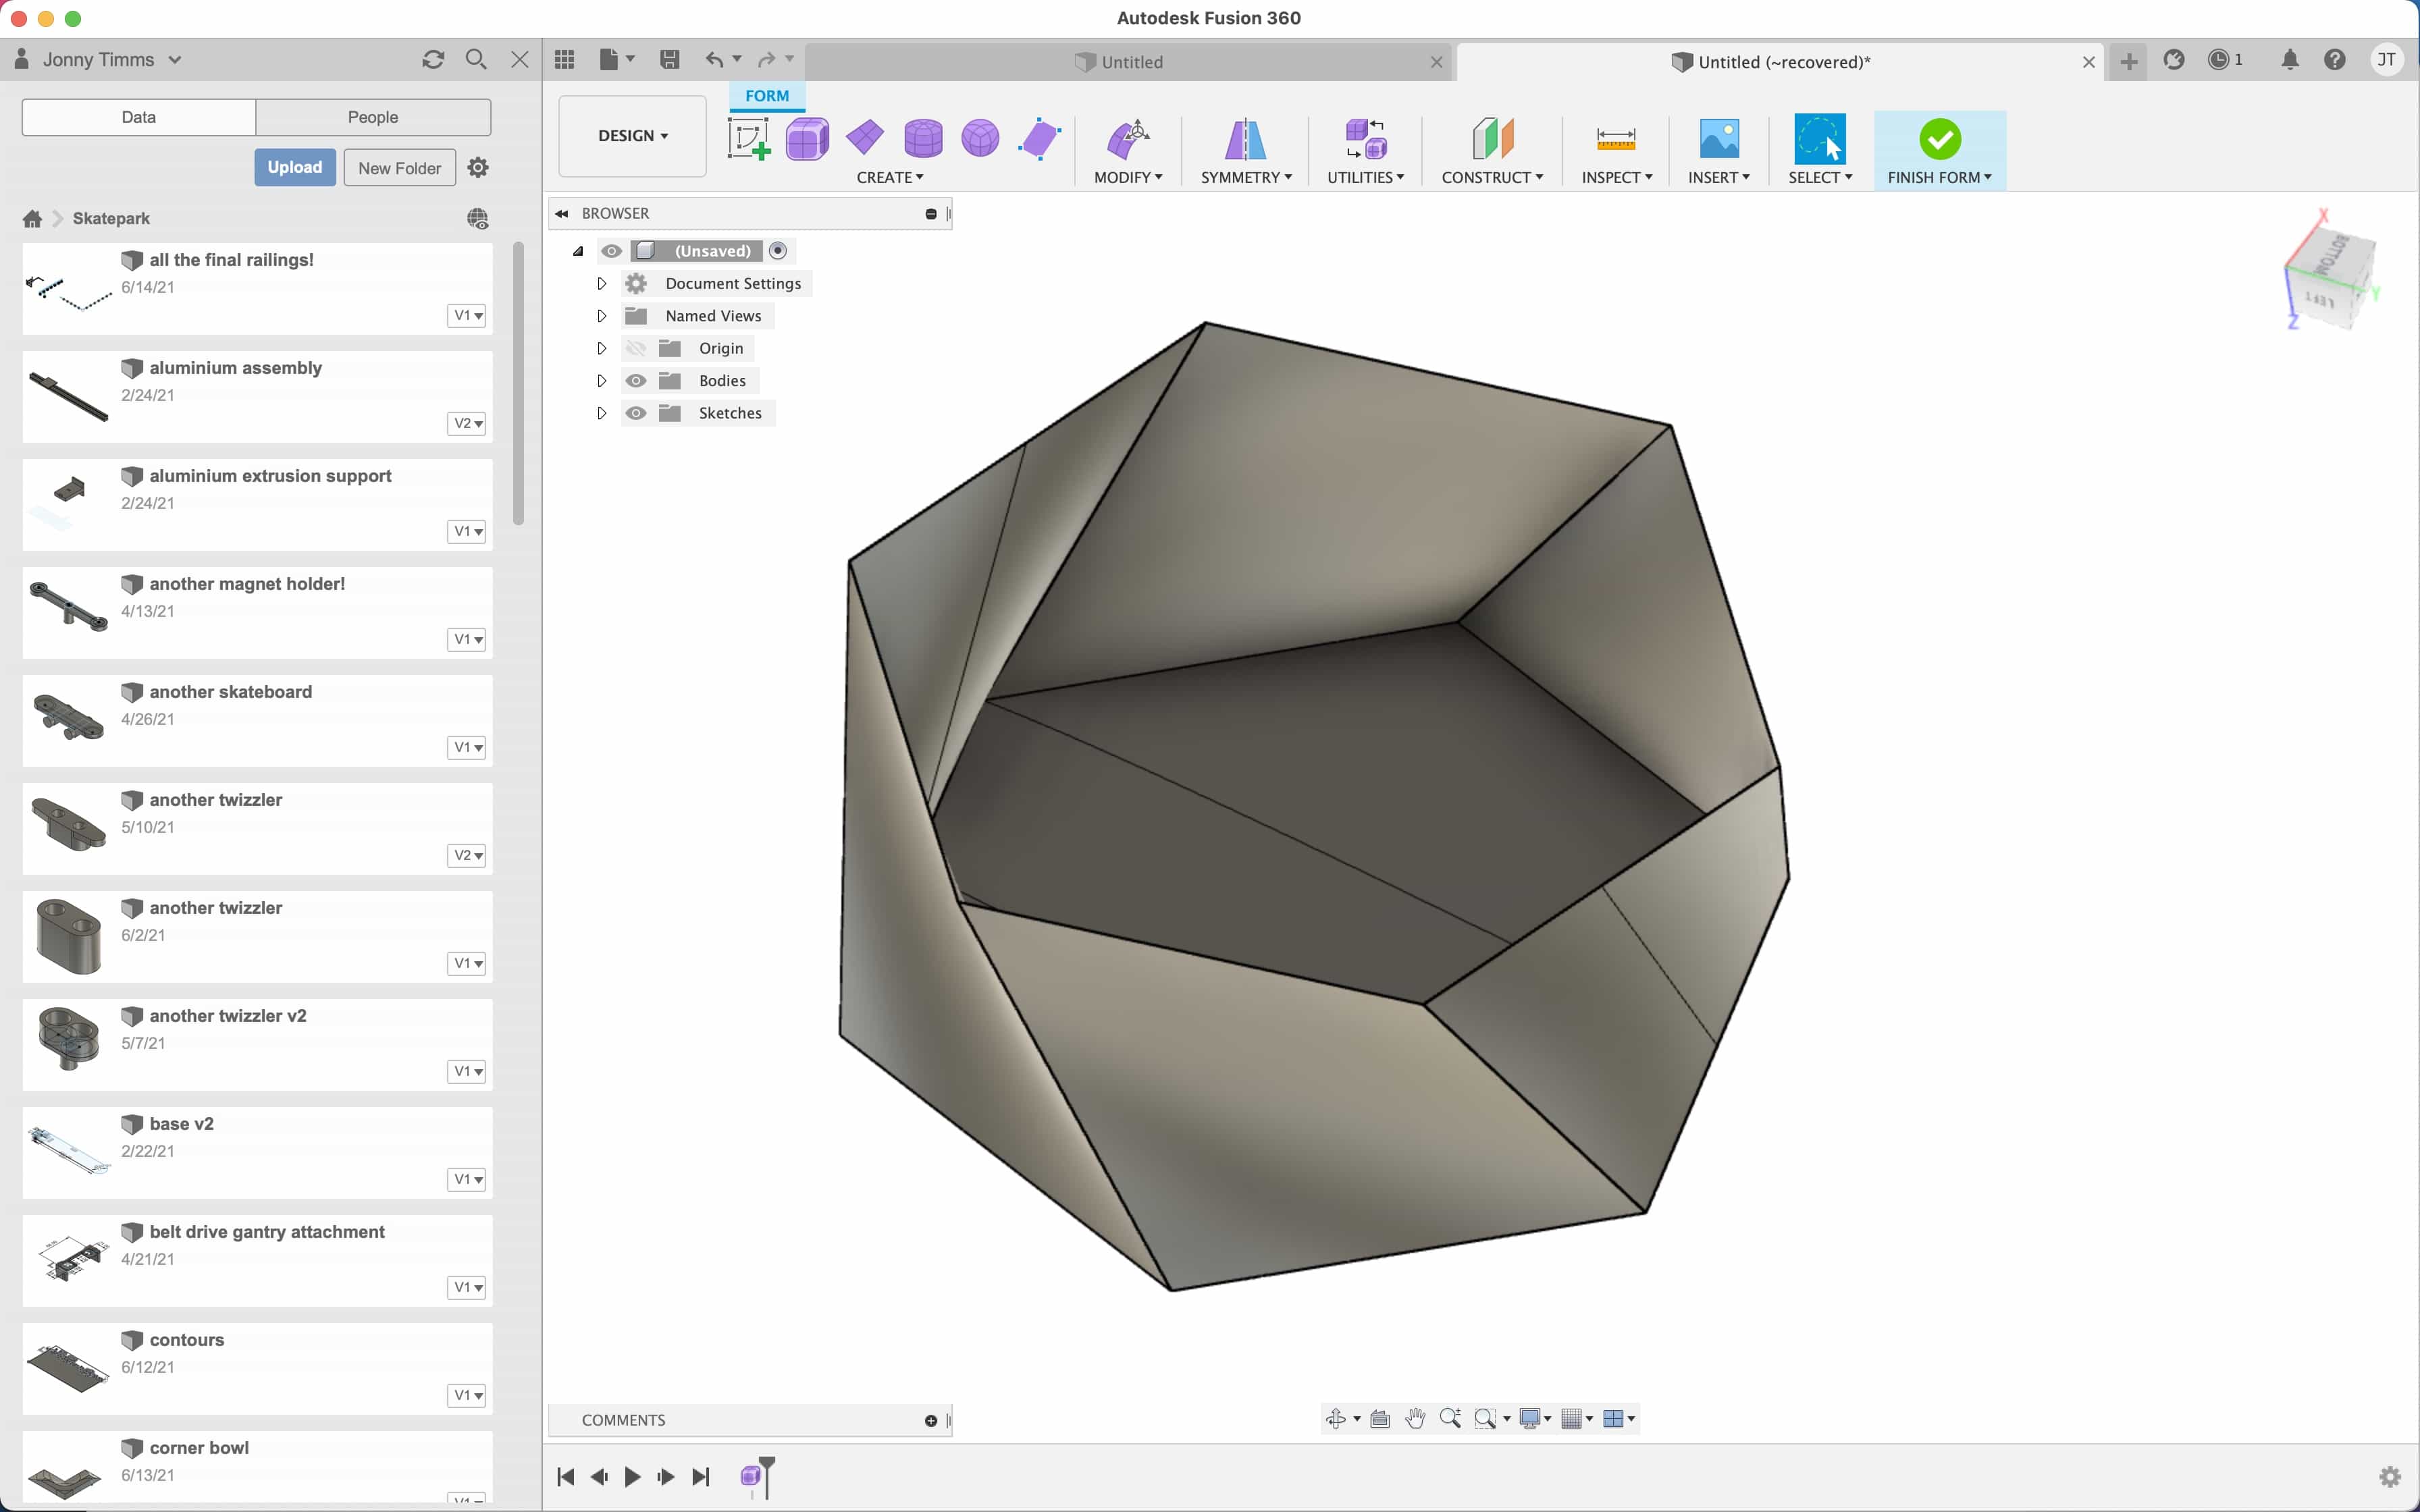
Unfortunately this tutorial was for Tinkercad and I am using Fusion 360. I decided to take the general idea and design my own from scratch. The first thing I did was to ignore the design considerations above and create a vase shape in Fusion 360:

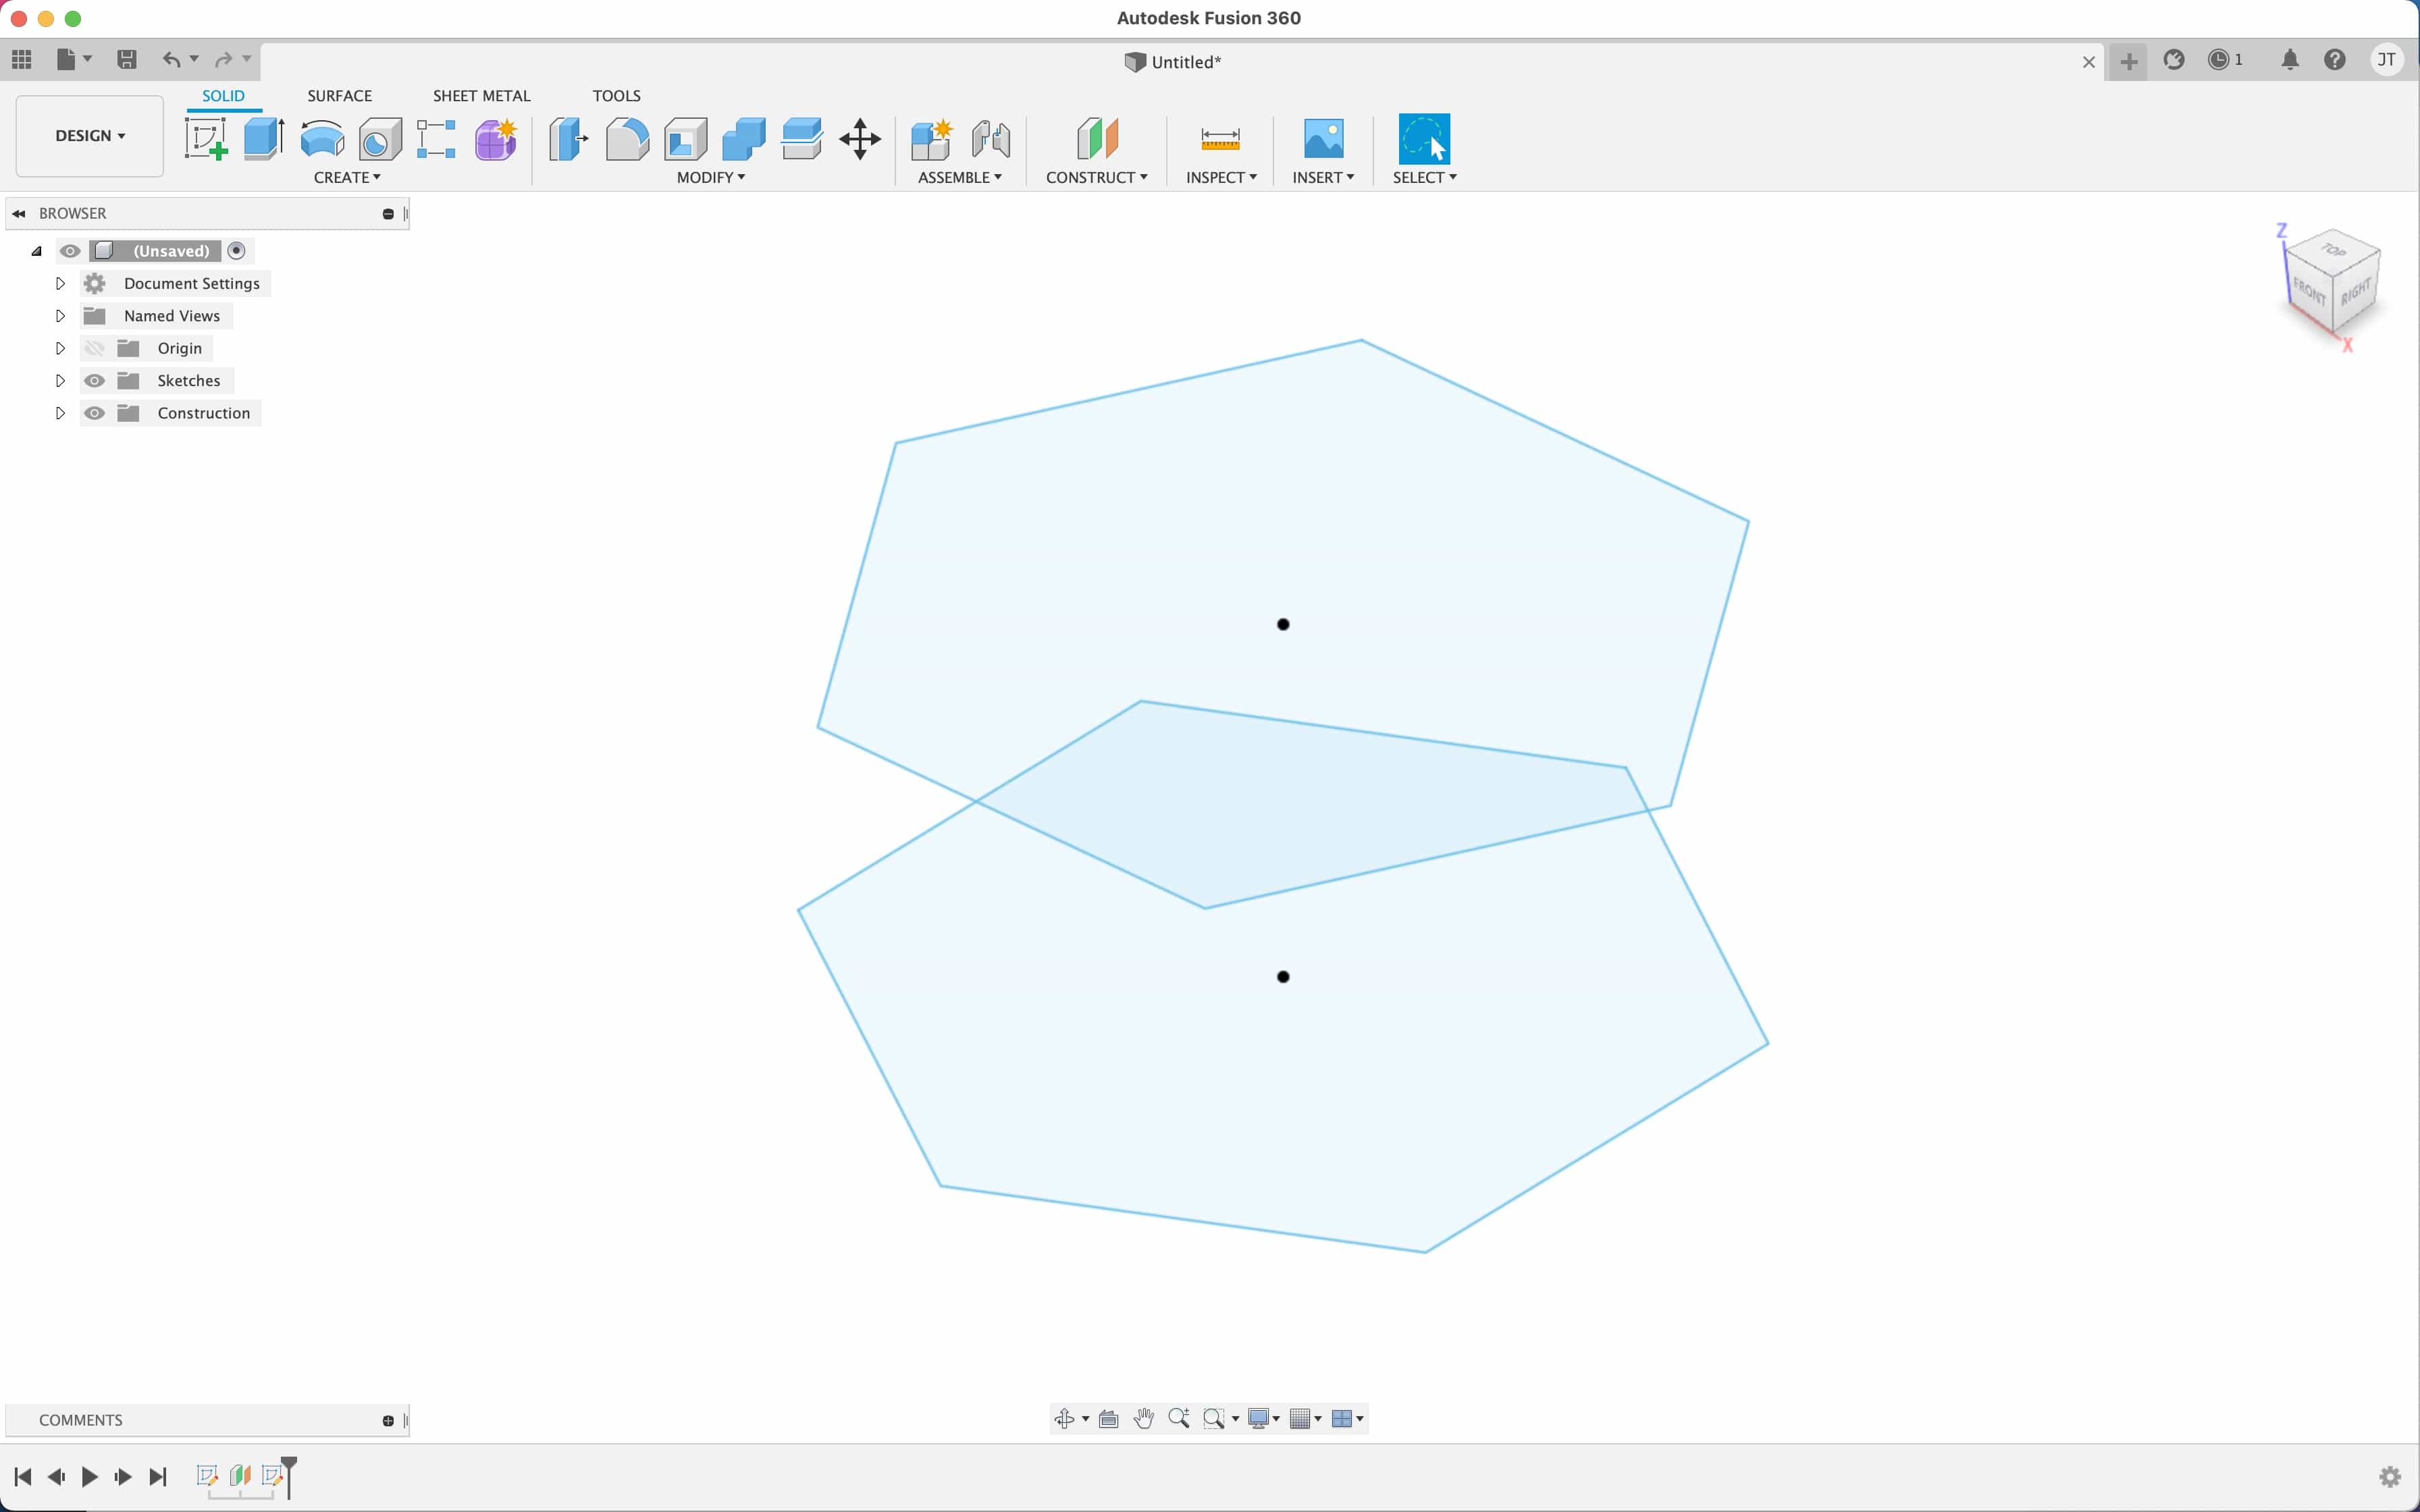
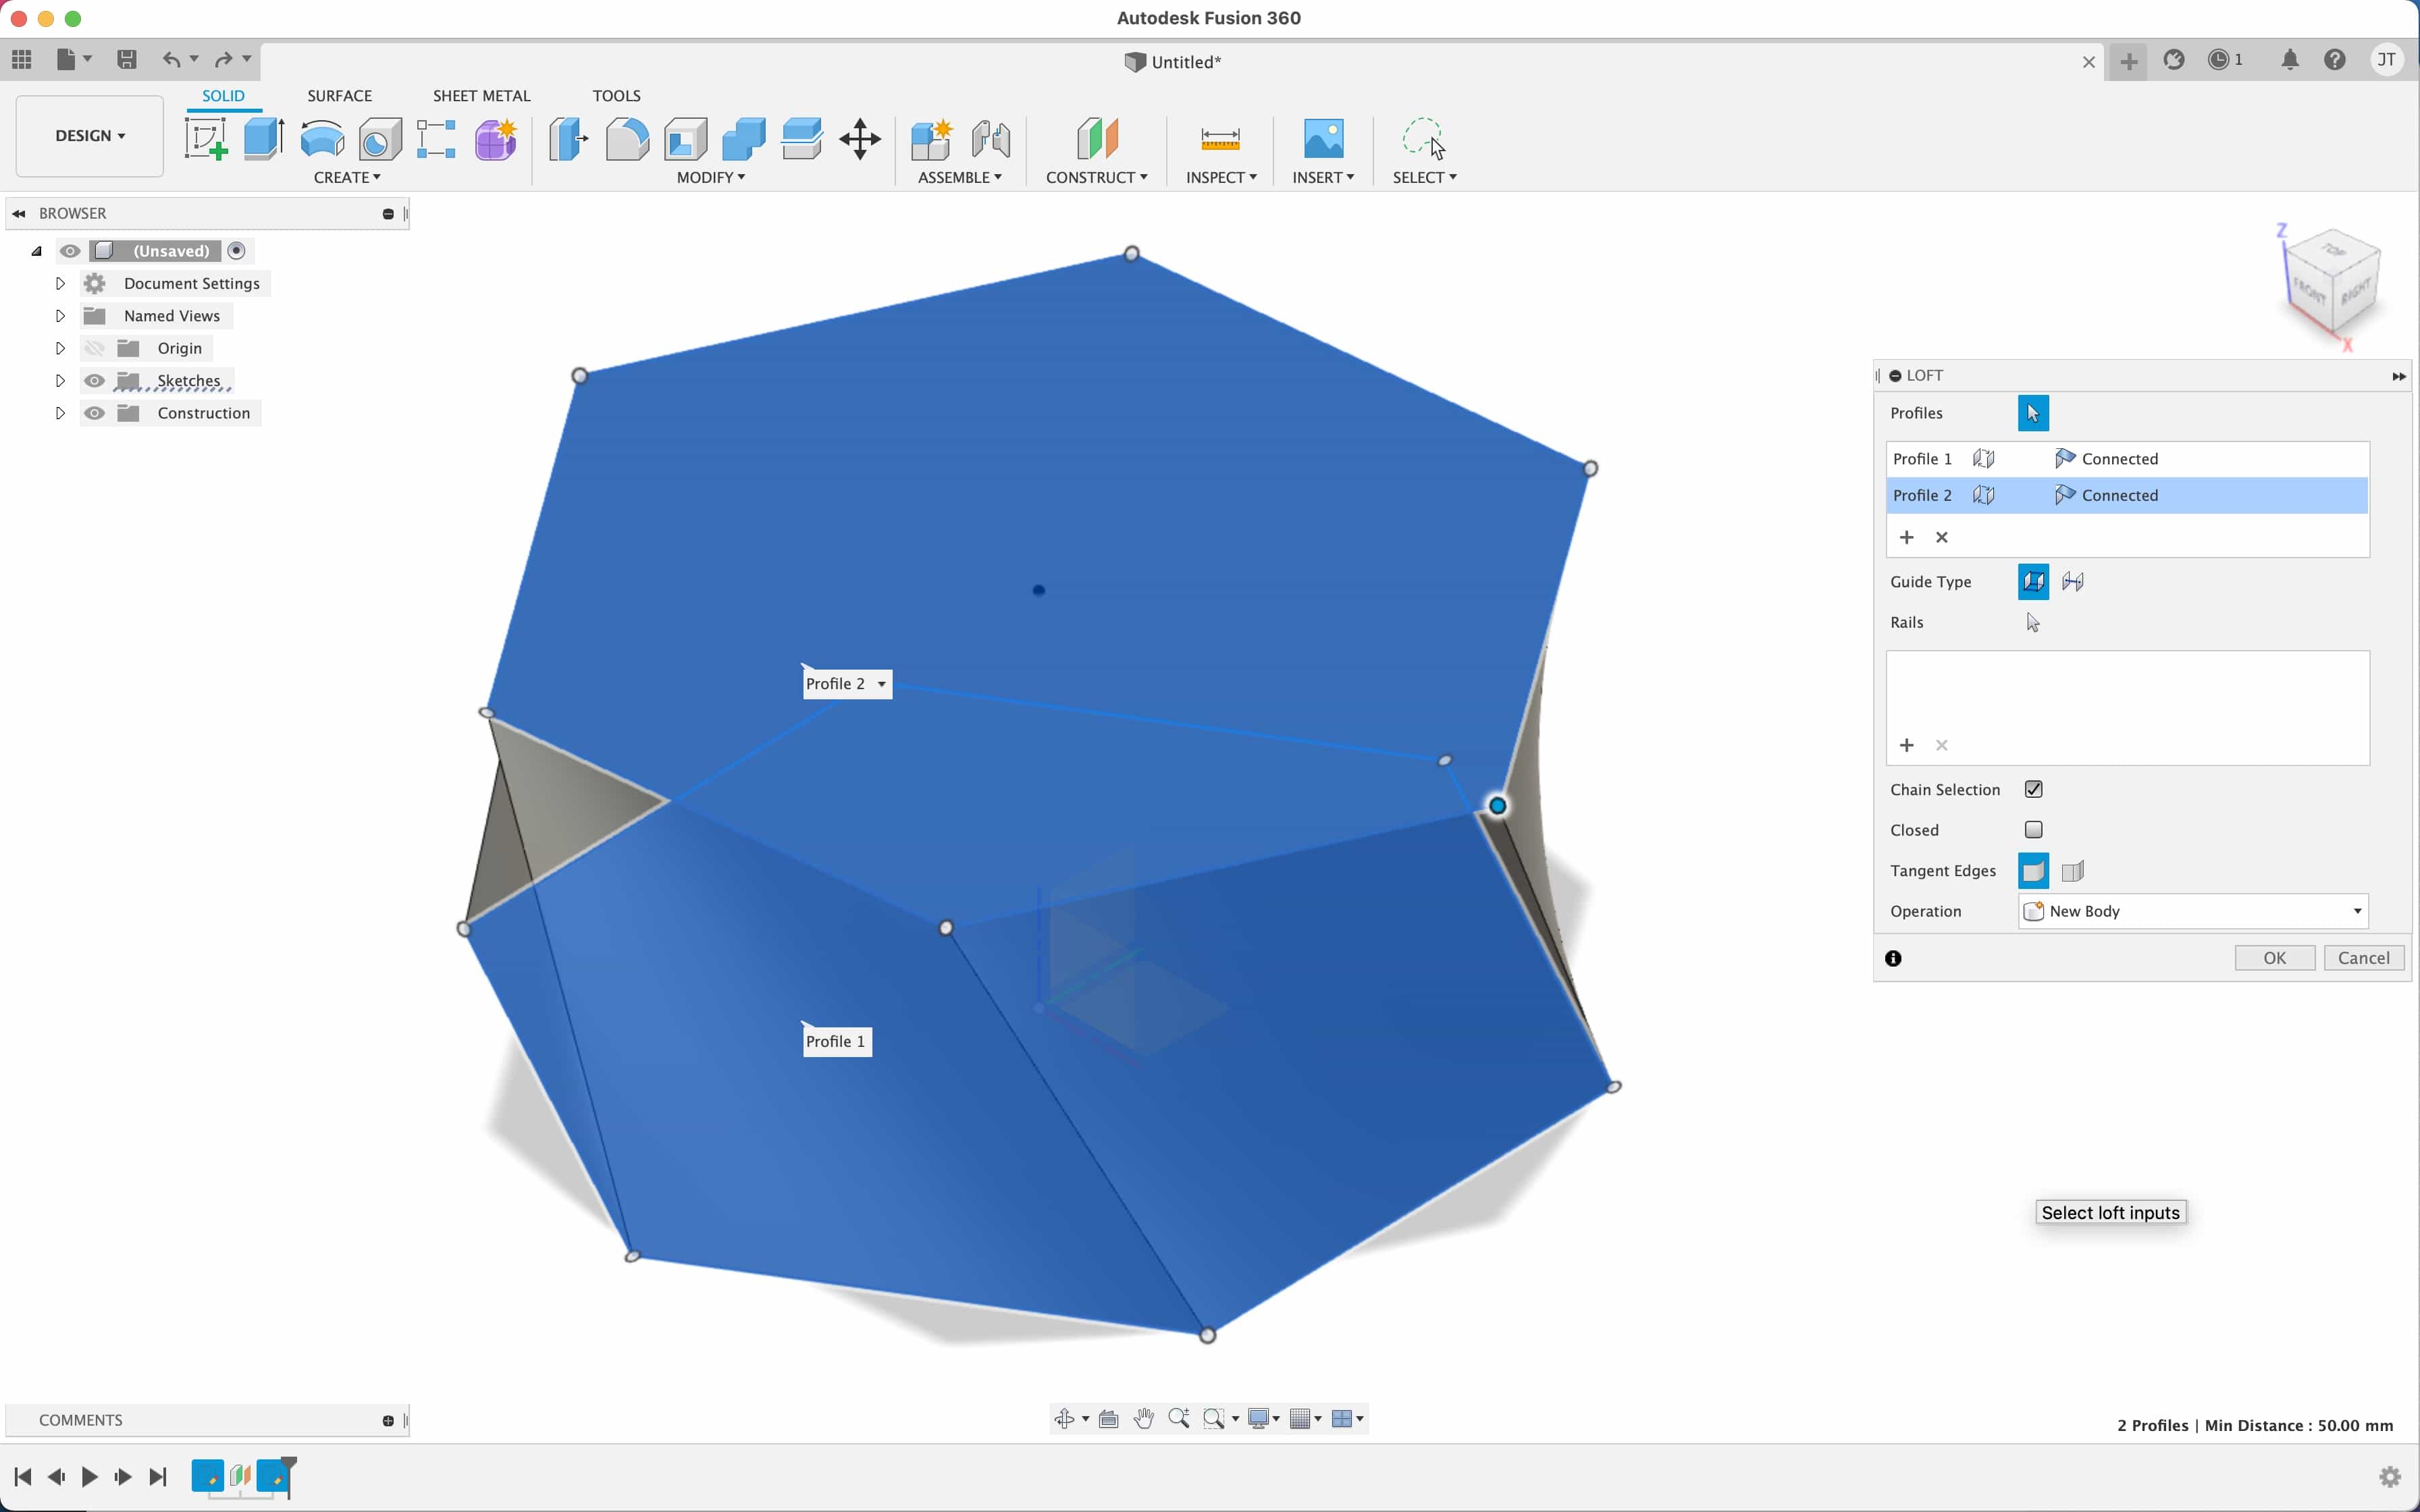
I totally forgot that I needed to create a solid body, not a vase. So I started again and created 2 polygons on parallel planes, then lofted them together:
I've sent the design to Cura to do the slicing. There are 3 important settings. Firstly, you need to tick the box that says 'Spiralise outer contour':
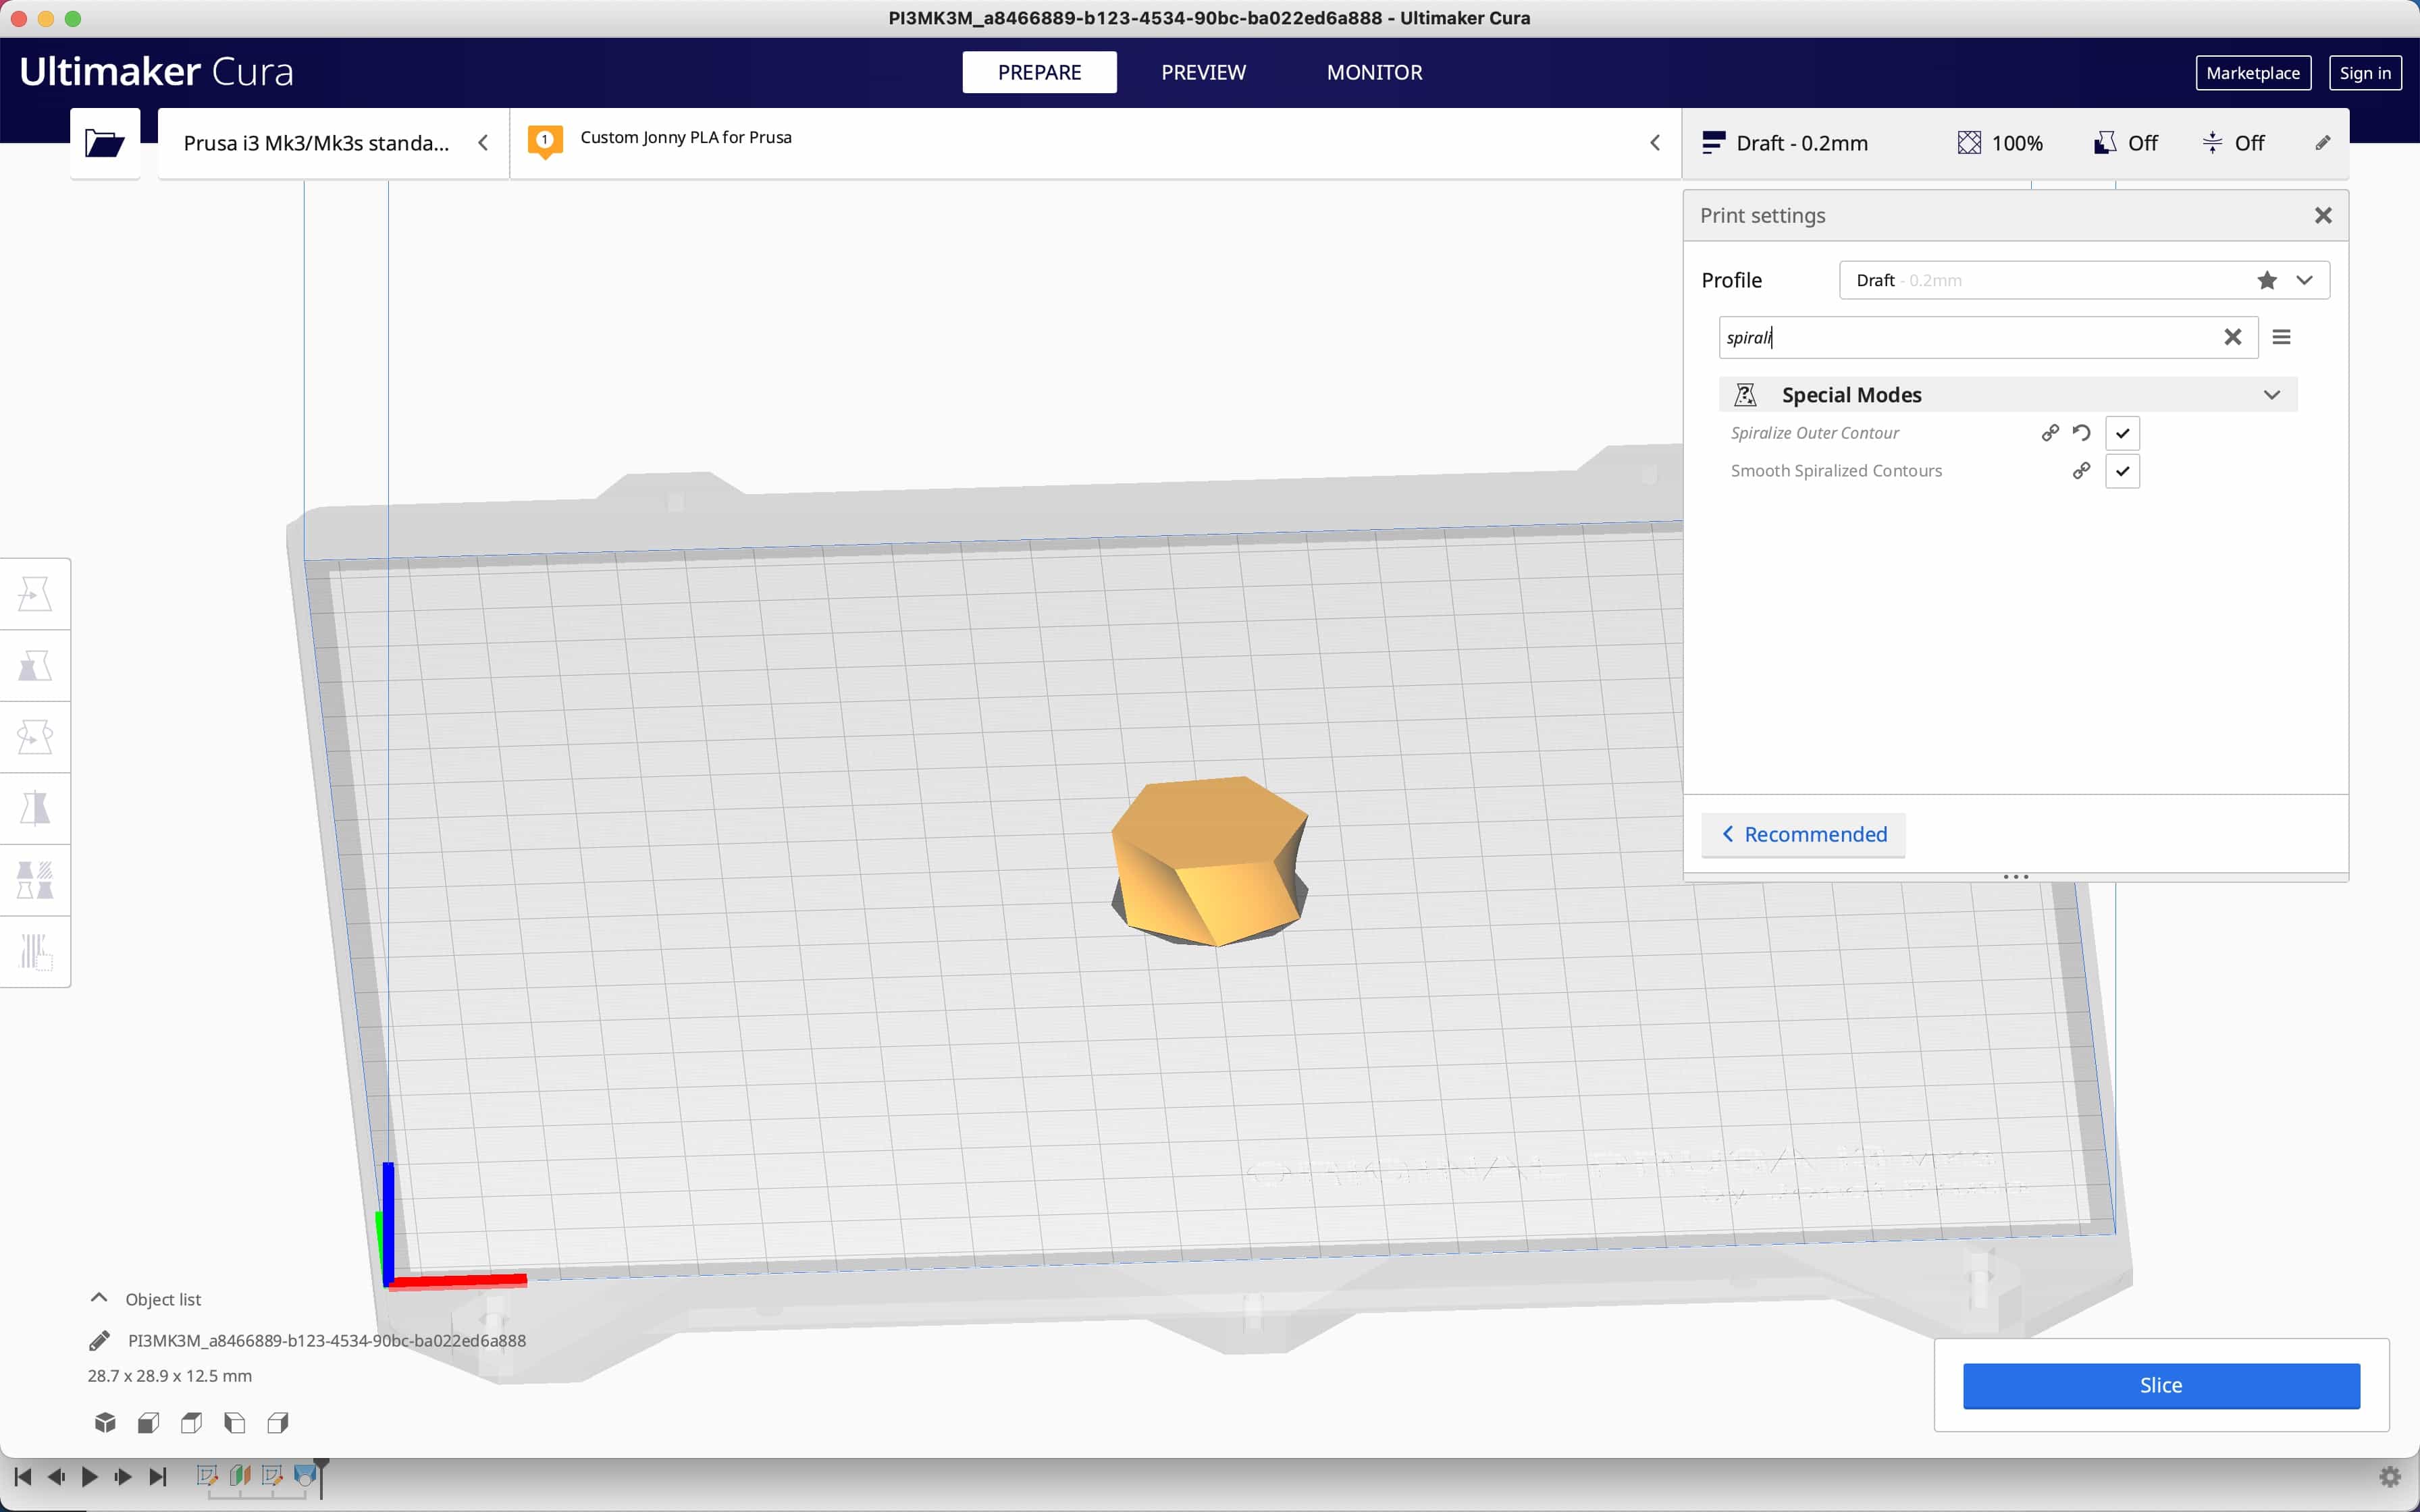
Secondly, you need to choose a suitable layer height. I've read conflicting recommendations online and so I'm going to take an average of the advice. I'm using a 0.4mm nozzle and so I have decided to do a test print using layer heights at 50% of my nozzle size. So this first print will have layer height of 0.2mm:
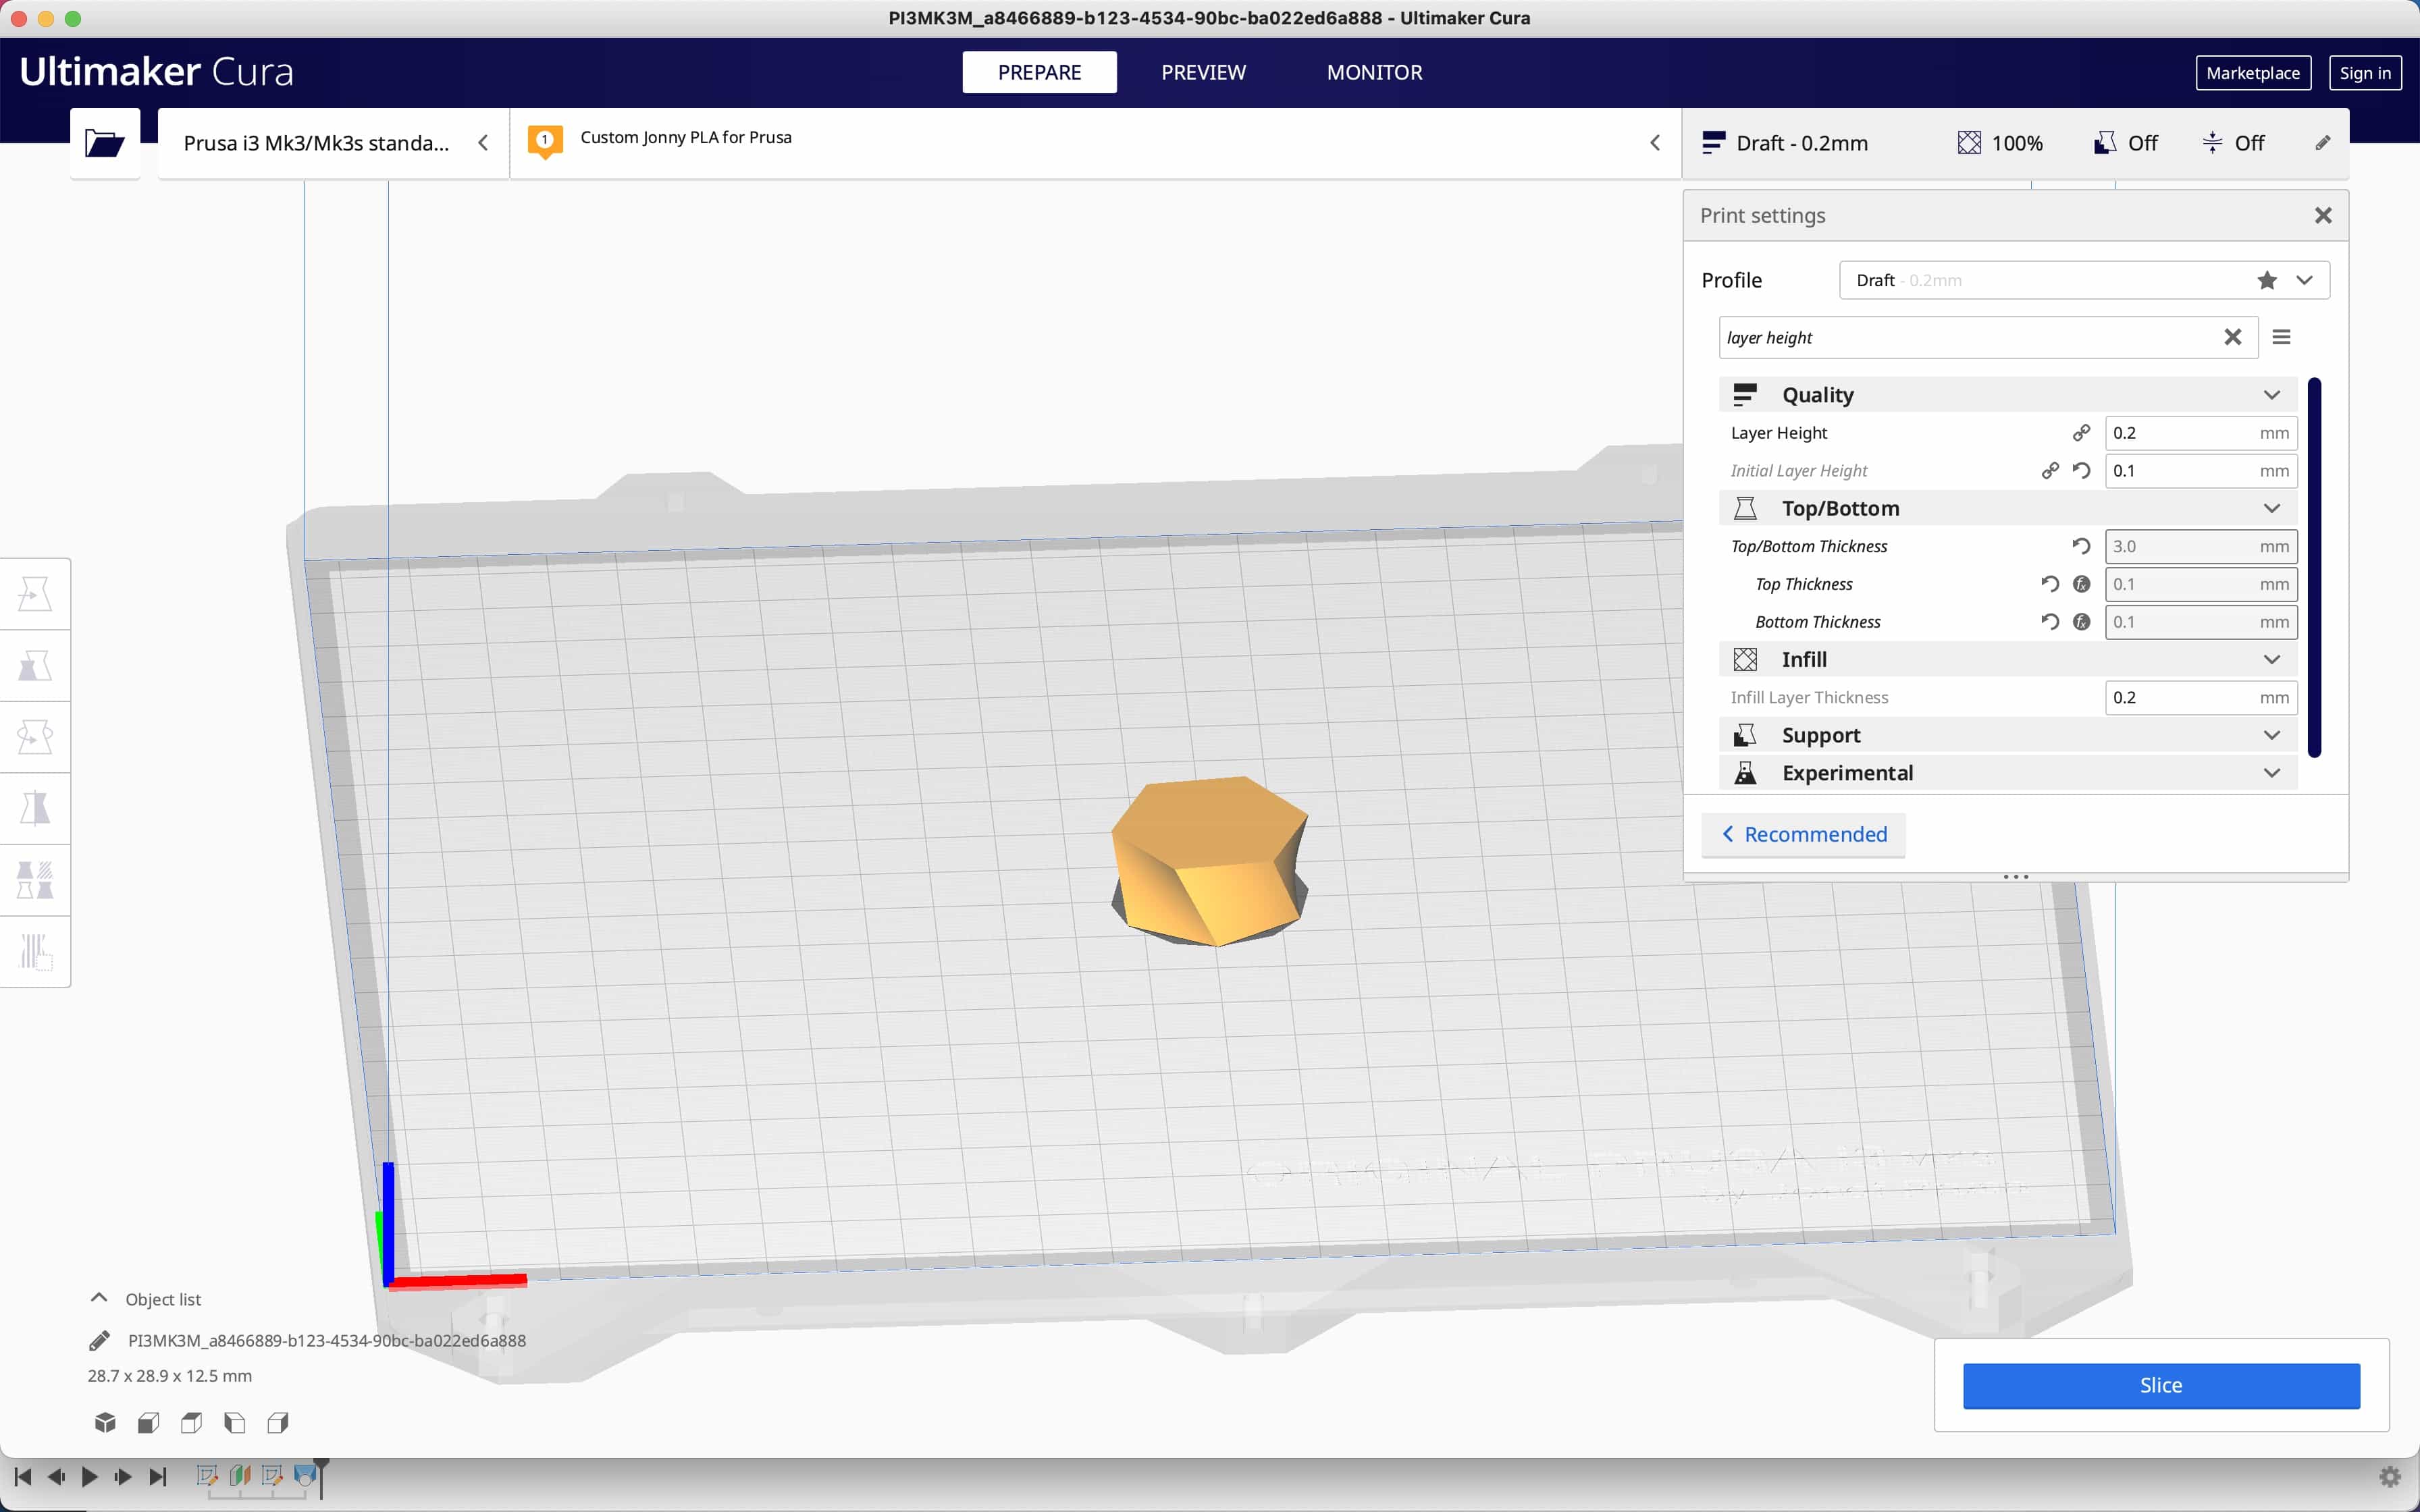
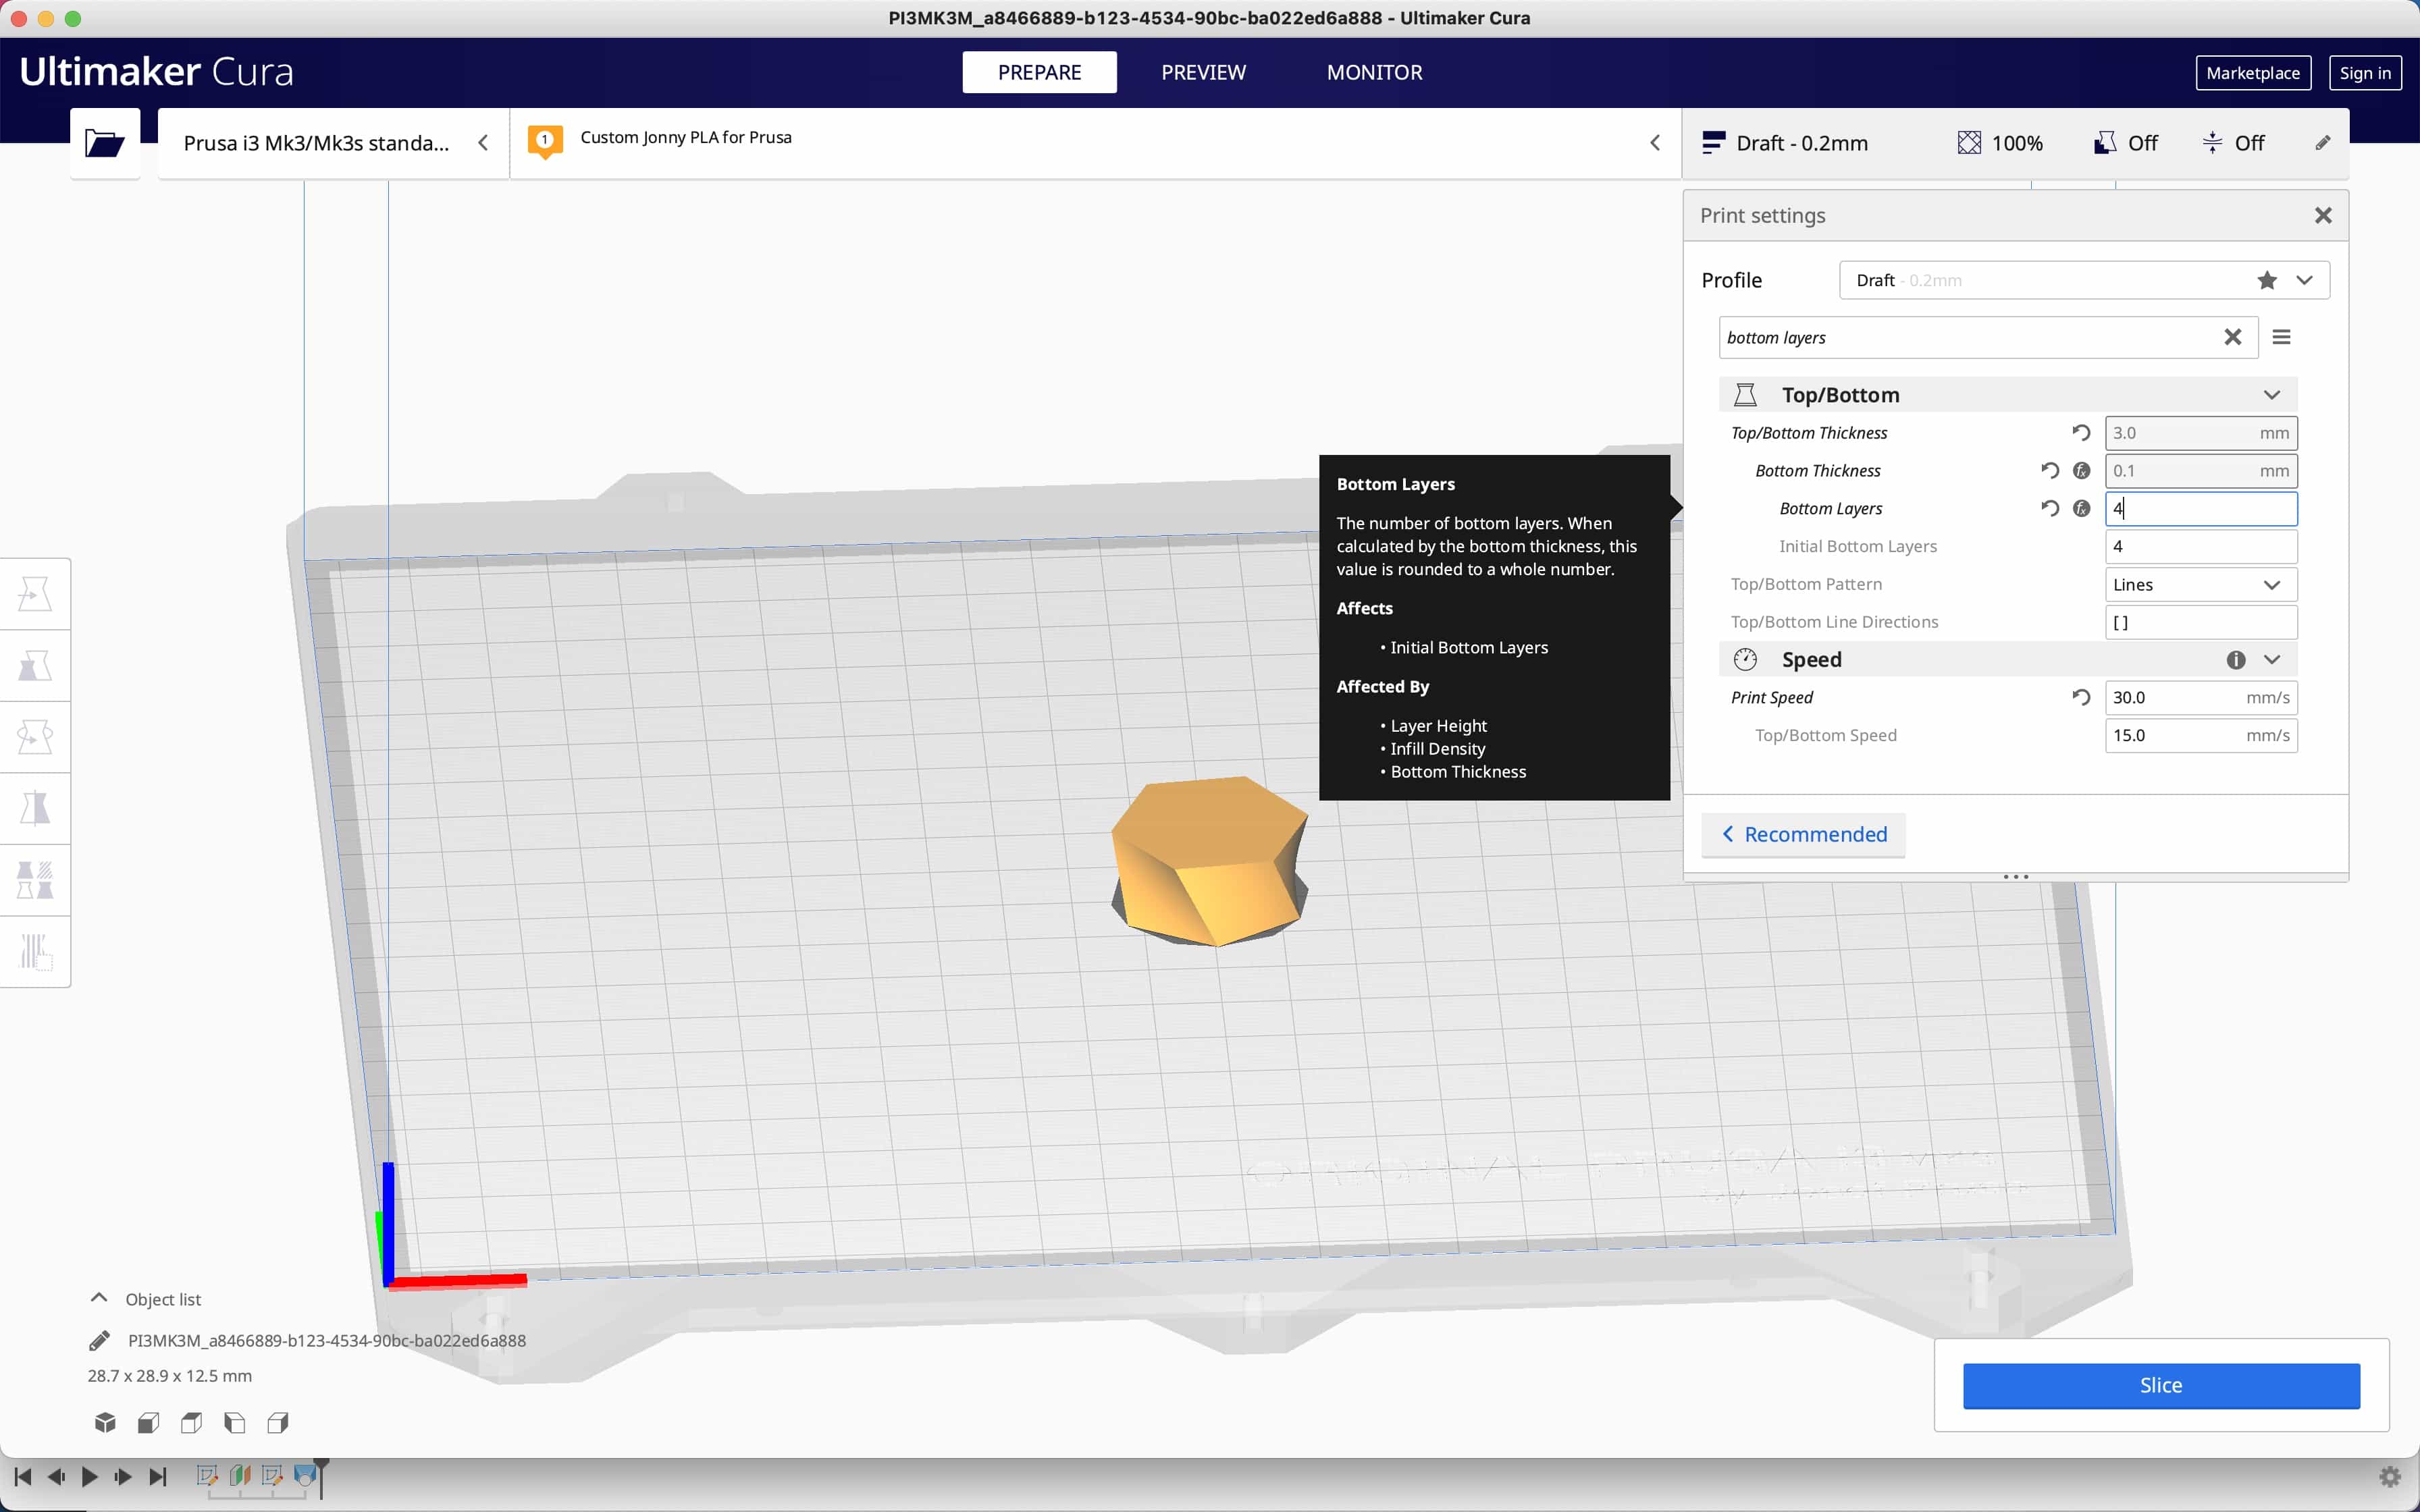
Finally I need to set the number of bottom layers. Some designs may require 0 bottom layers. Given that I am making a box, I require a base and so I've decided to set it to do 4 layers which will give me a base of 0.8mm. I don't think its worth making it stronger given that the walls will only be approximately 0.4mm wide anyway:
First test print at 50% of final size
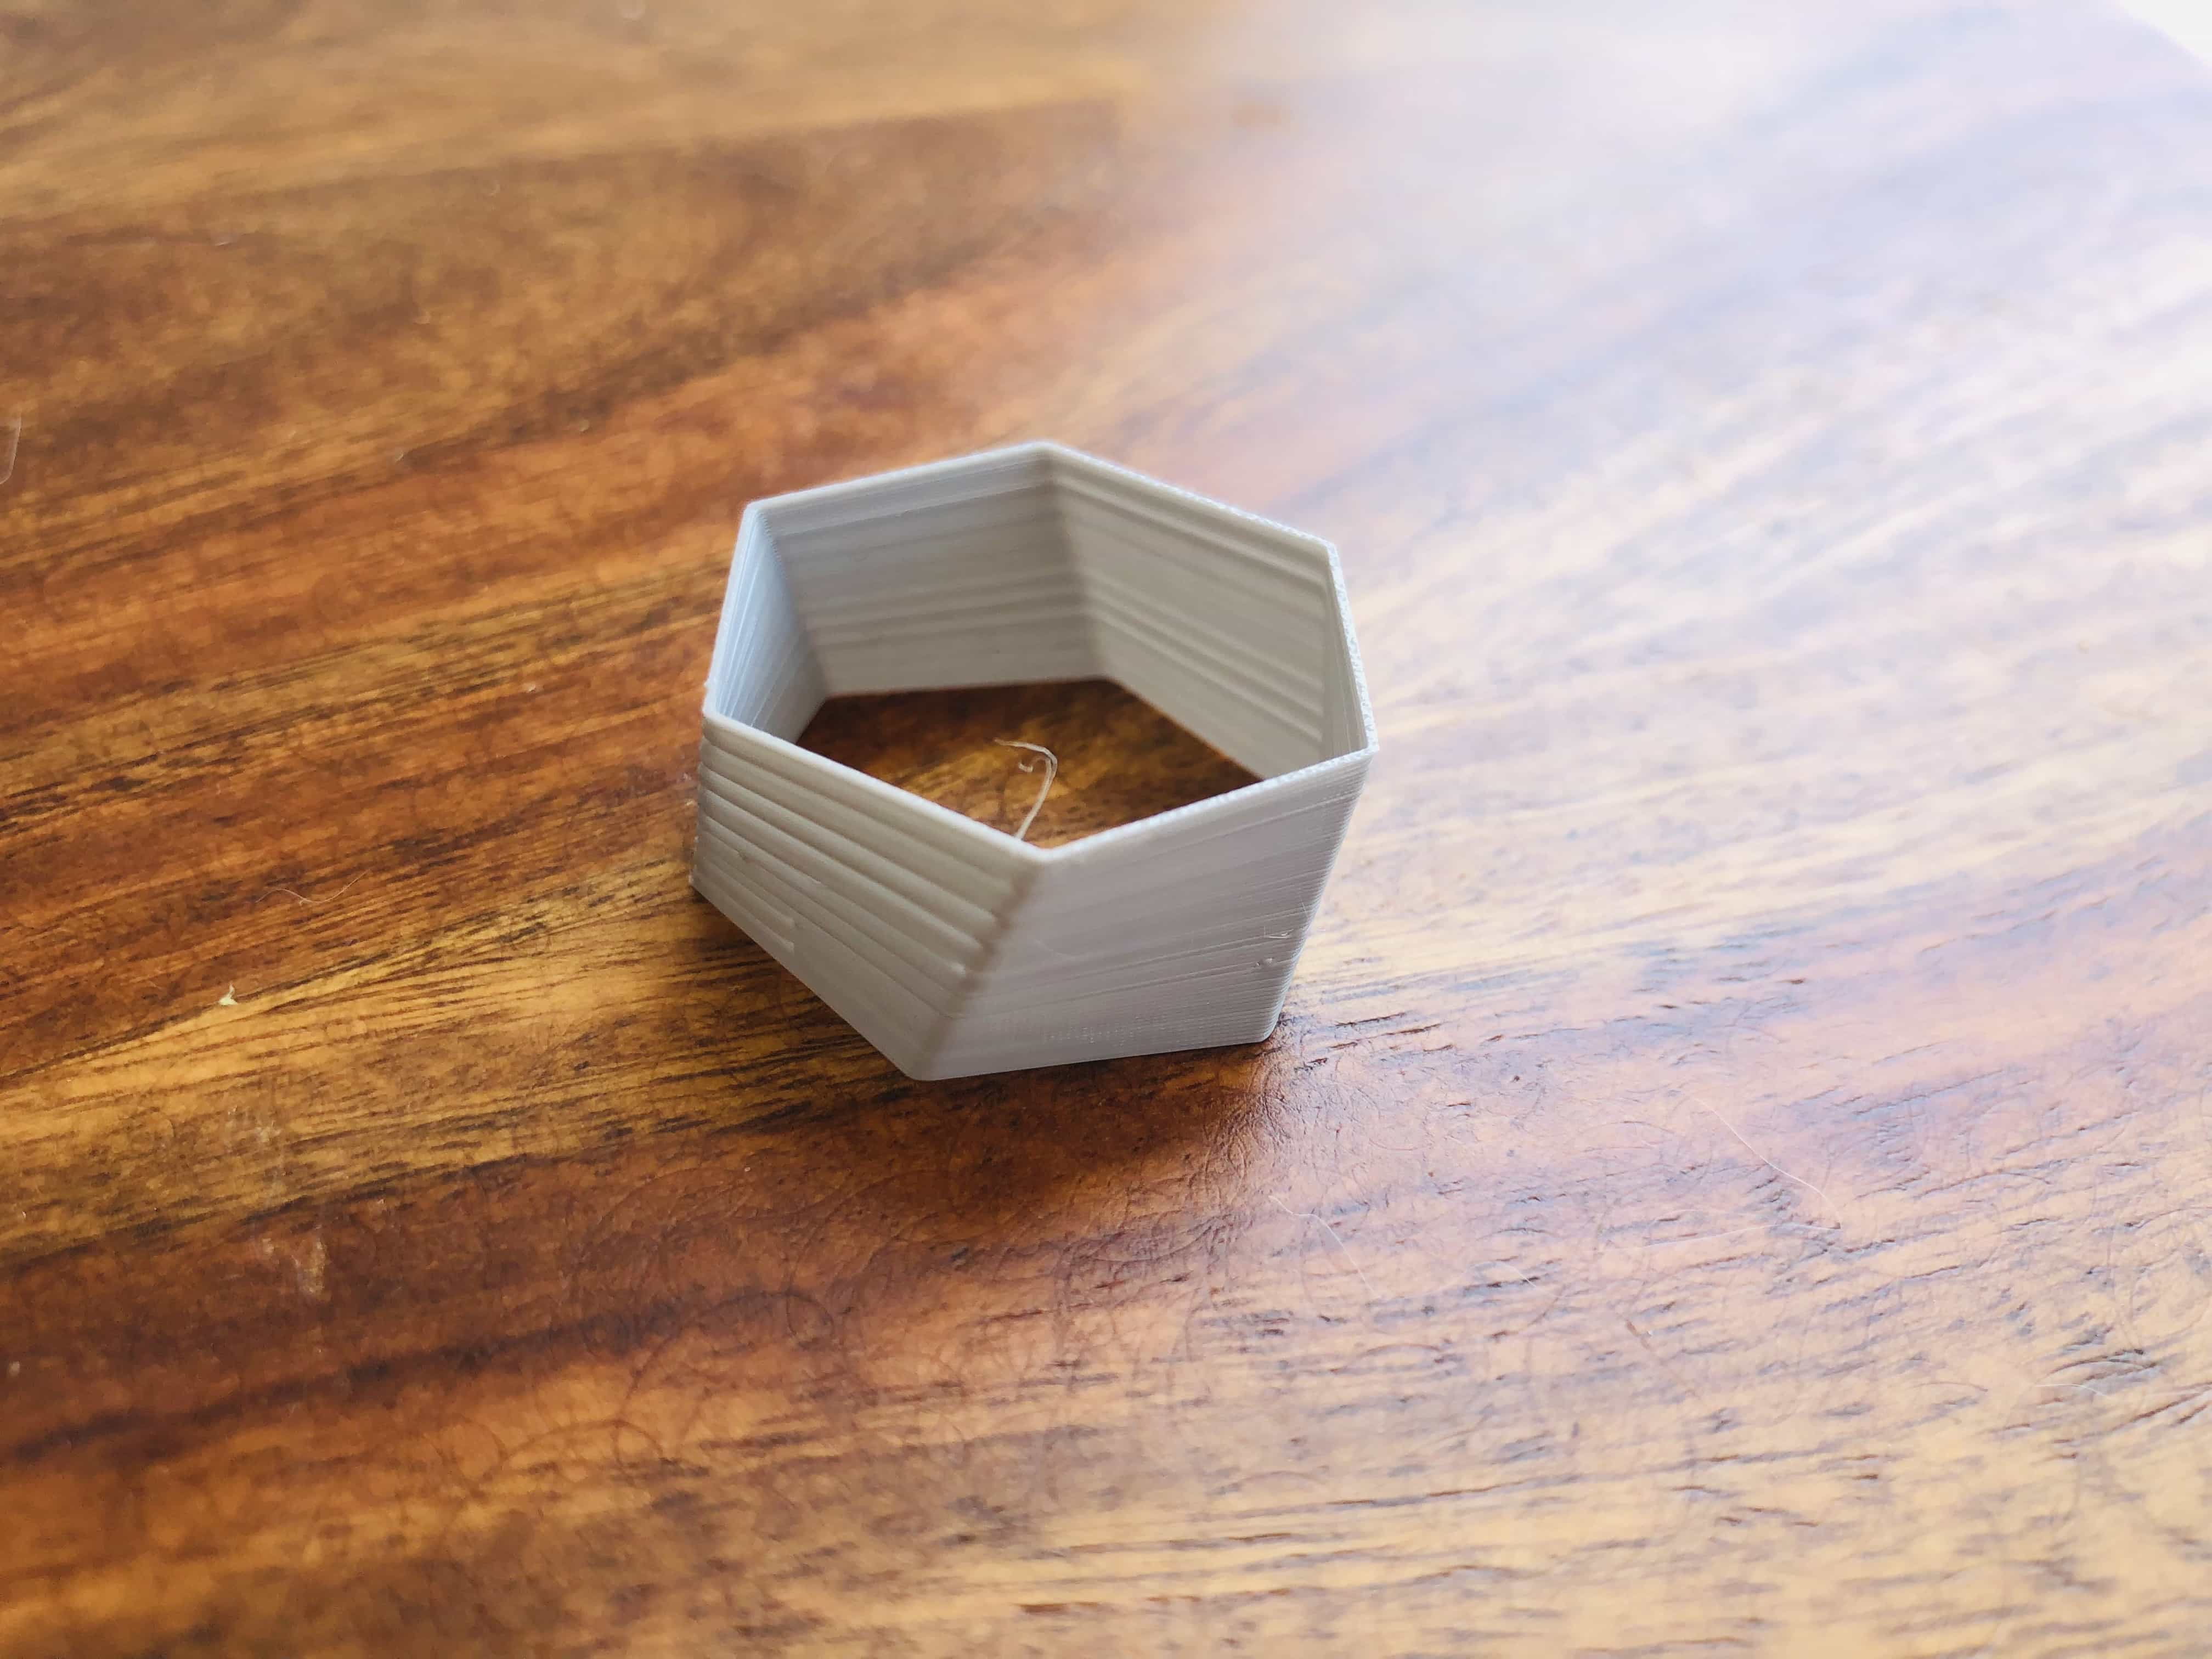
My first print came out without a base. I'd accidentally set the number of base layers to 0:
I added 4 base layers and printed again:

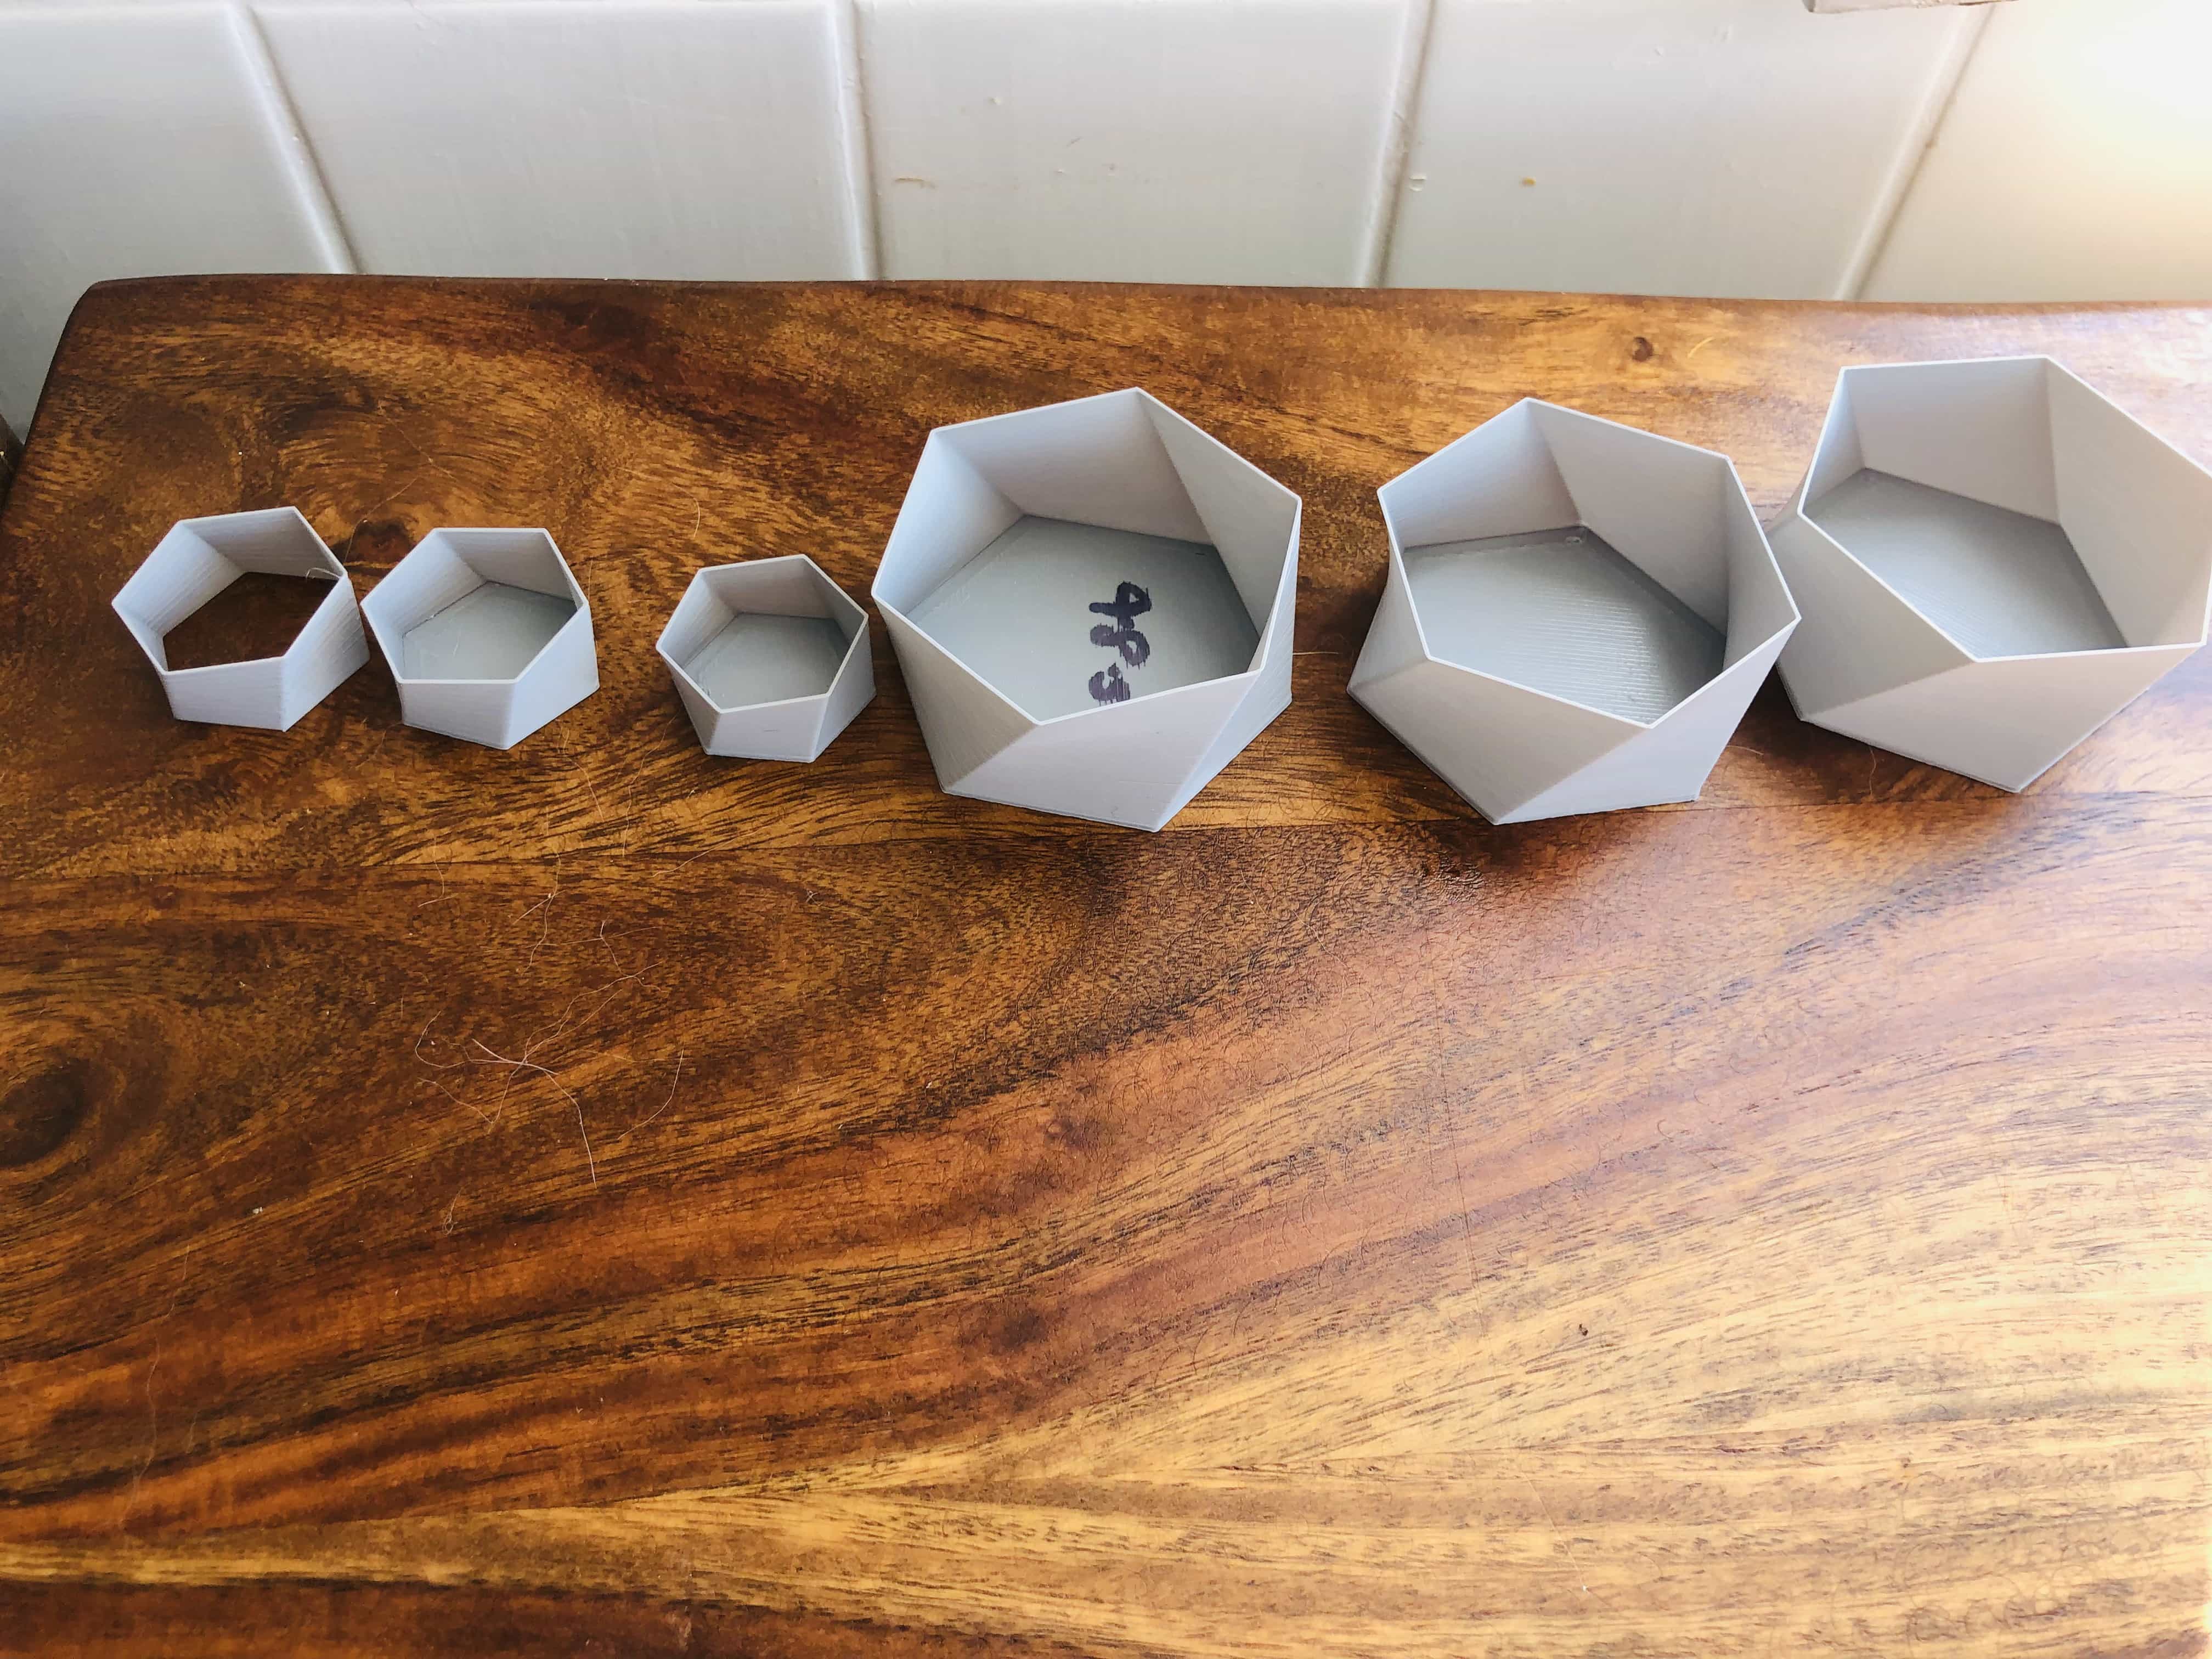
Now I needed to print the inside part. It needs to be smaller and I decided to make it 1.5mm smaller in diameter. Given the 0.8mm width of the walls (0.4mm x 2) this is giving an additional gap of 0.7mm, in between the outer and inner parts. It sounded about right, so I went ahead. I'm pleased to say that they actually fit together just right. Here they are pictured side by side:

Next was to make it full size (width of 50mm). Here is the outer part:
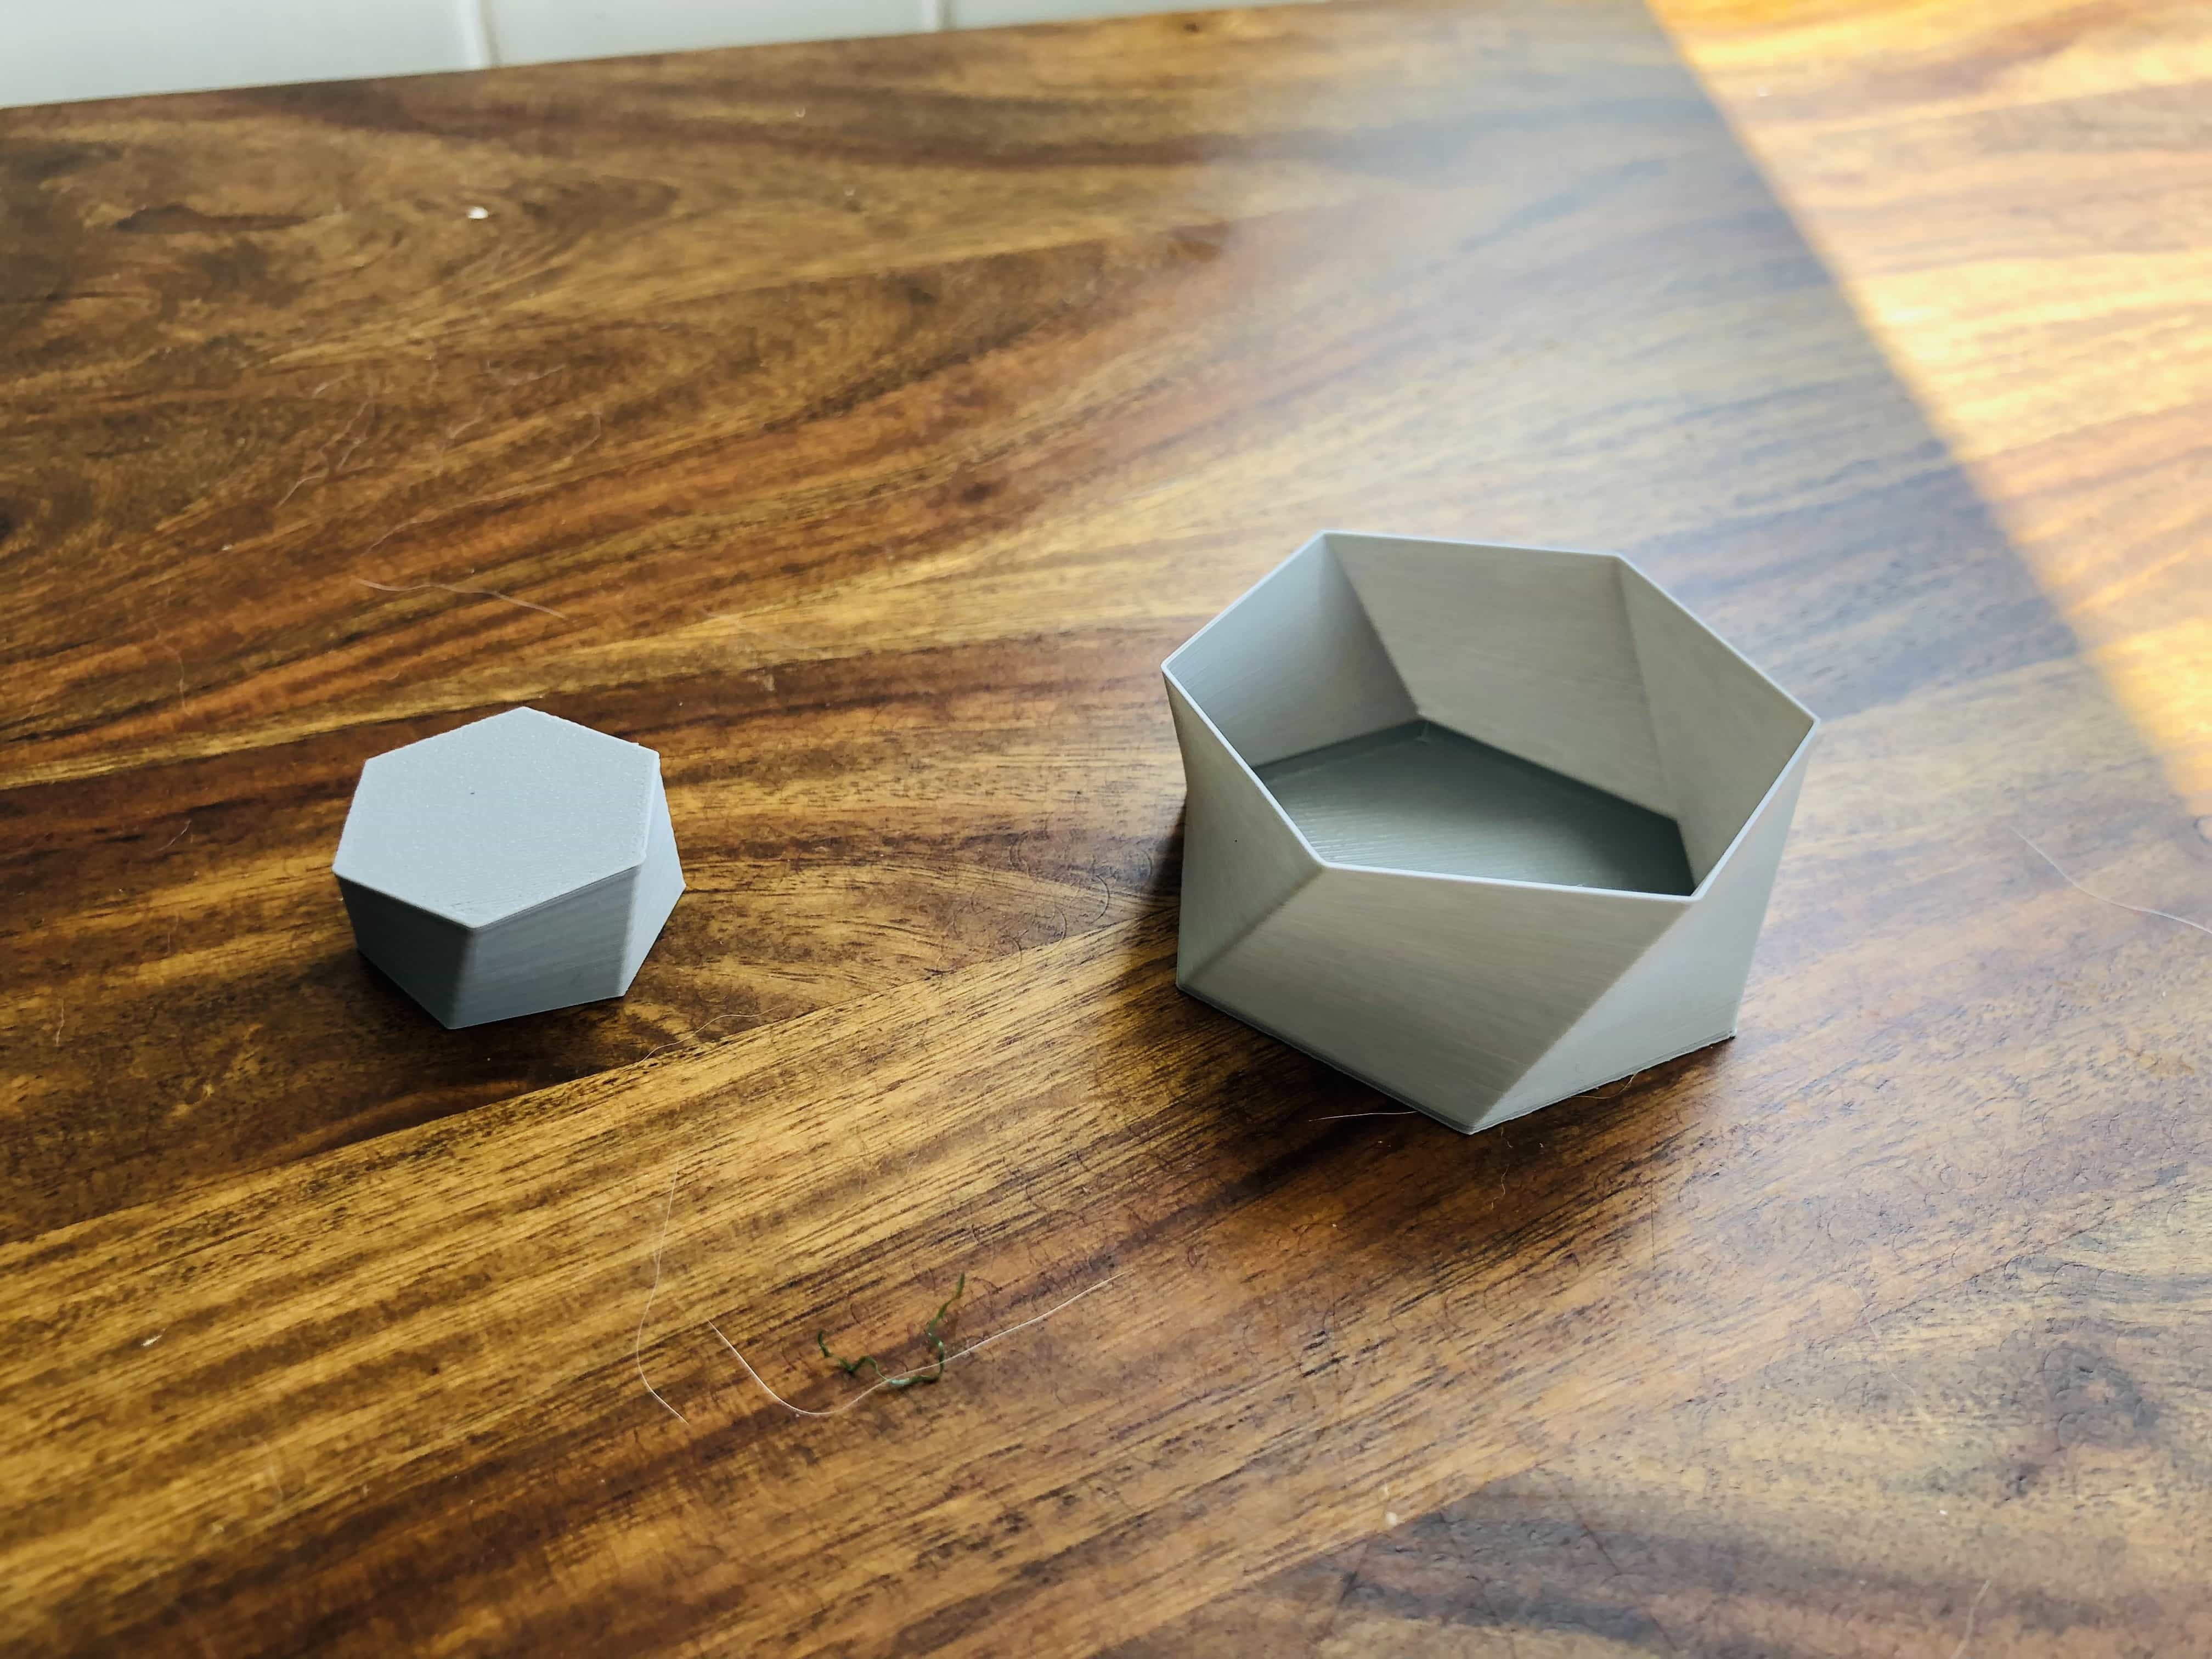
I made the inner part with a diameter 1.5mm less than the outer, same as before. Unfortunately that didn't work this time. I tried again with a diameter that 3mm less and it fit great. Here are all the parts I made on this journey:
This video shows the two parts fitting together. As you can see, when you drop the top half, there is some resistance to break its fall. That is just the air pressure between the two parts and it feels pretty satisfying.