
Week 12 - Molding & Casting
assignment
group assignment:
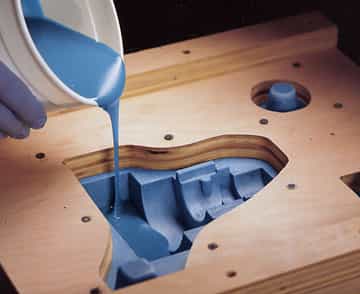
review the safety data sheets for each of your molding and casting
materials, then make and compare test casts with each of them
individual assignment:
design a mold around the stock and tooling that you'll be using,
mill it (rough cut + (at least) three-axis finish cut),
and use it to cast parts
Tutorial with Andrew
Katie mixed 25ml with 25ml
Silicone comes in part a and part b. they always come with a mix ratio. our silicone is 1 for 1 by volume. if the density was different between the two, the ratio could be given by weight rather than volume.
1 to 1 by volume or 1 to 1.3 by weight
meaningful shelf life
good to buy small uanatities due to the small shelf life
once you start mixing, you're wearing ppe and it gets messy and you can't touch stuff. think about your work environment and try to work as a team
katie suggested double gloving
use the bio-lab
do not pour down the drain. best thing is to let cure and dispose of the product
if youre short of mixed silicone use waste silicone and/or other objects to fill the space
Safety
What must you wear when using the silicone?
Glasses, long sleeves and gloves
What type of gloves should you wear?
Vinyl. Latex gloves are not suitable because they inhibit the cure of the rubber.
Mixing & Curing/
How long should you mix the 2 parts?
3 minutes
How should the mixture look when it is ready?
Uniform colour with no colour streaks
How should you pour the mixture?
Pour in a single spot at the lowest point of the container. A uniform flow will help minimise trapped air.
How much should you pour?
Pour half an inch past the highest point of the model surface
How long does OOMOO 30 take to cure?
6 hours
Model, Pre-Mould and Mould.
Ok so this has been confused me a little. There are 3 steps to the casting process:
1 - I need to design and make a pre-mould from wax.
2 - I need to make a silicone mould from my wax pre-mould
3 - I need to make a resin model using my silicone mould.
Step 1 - 3D design
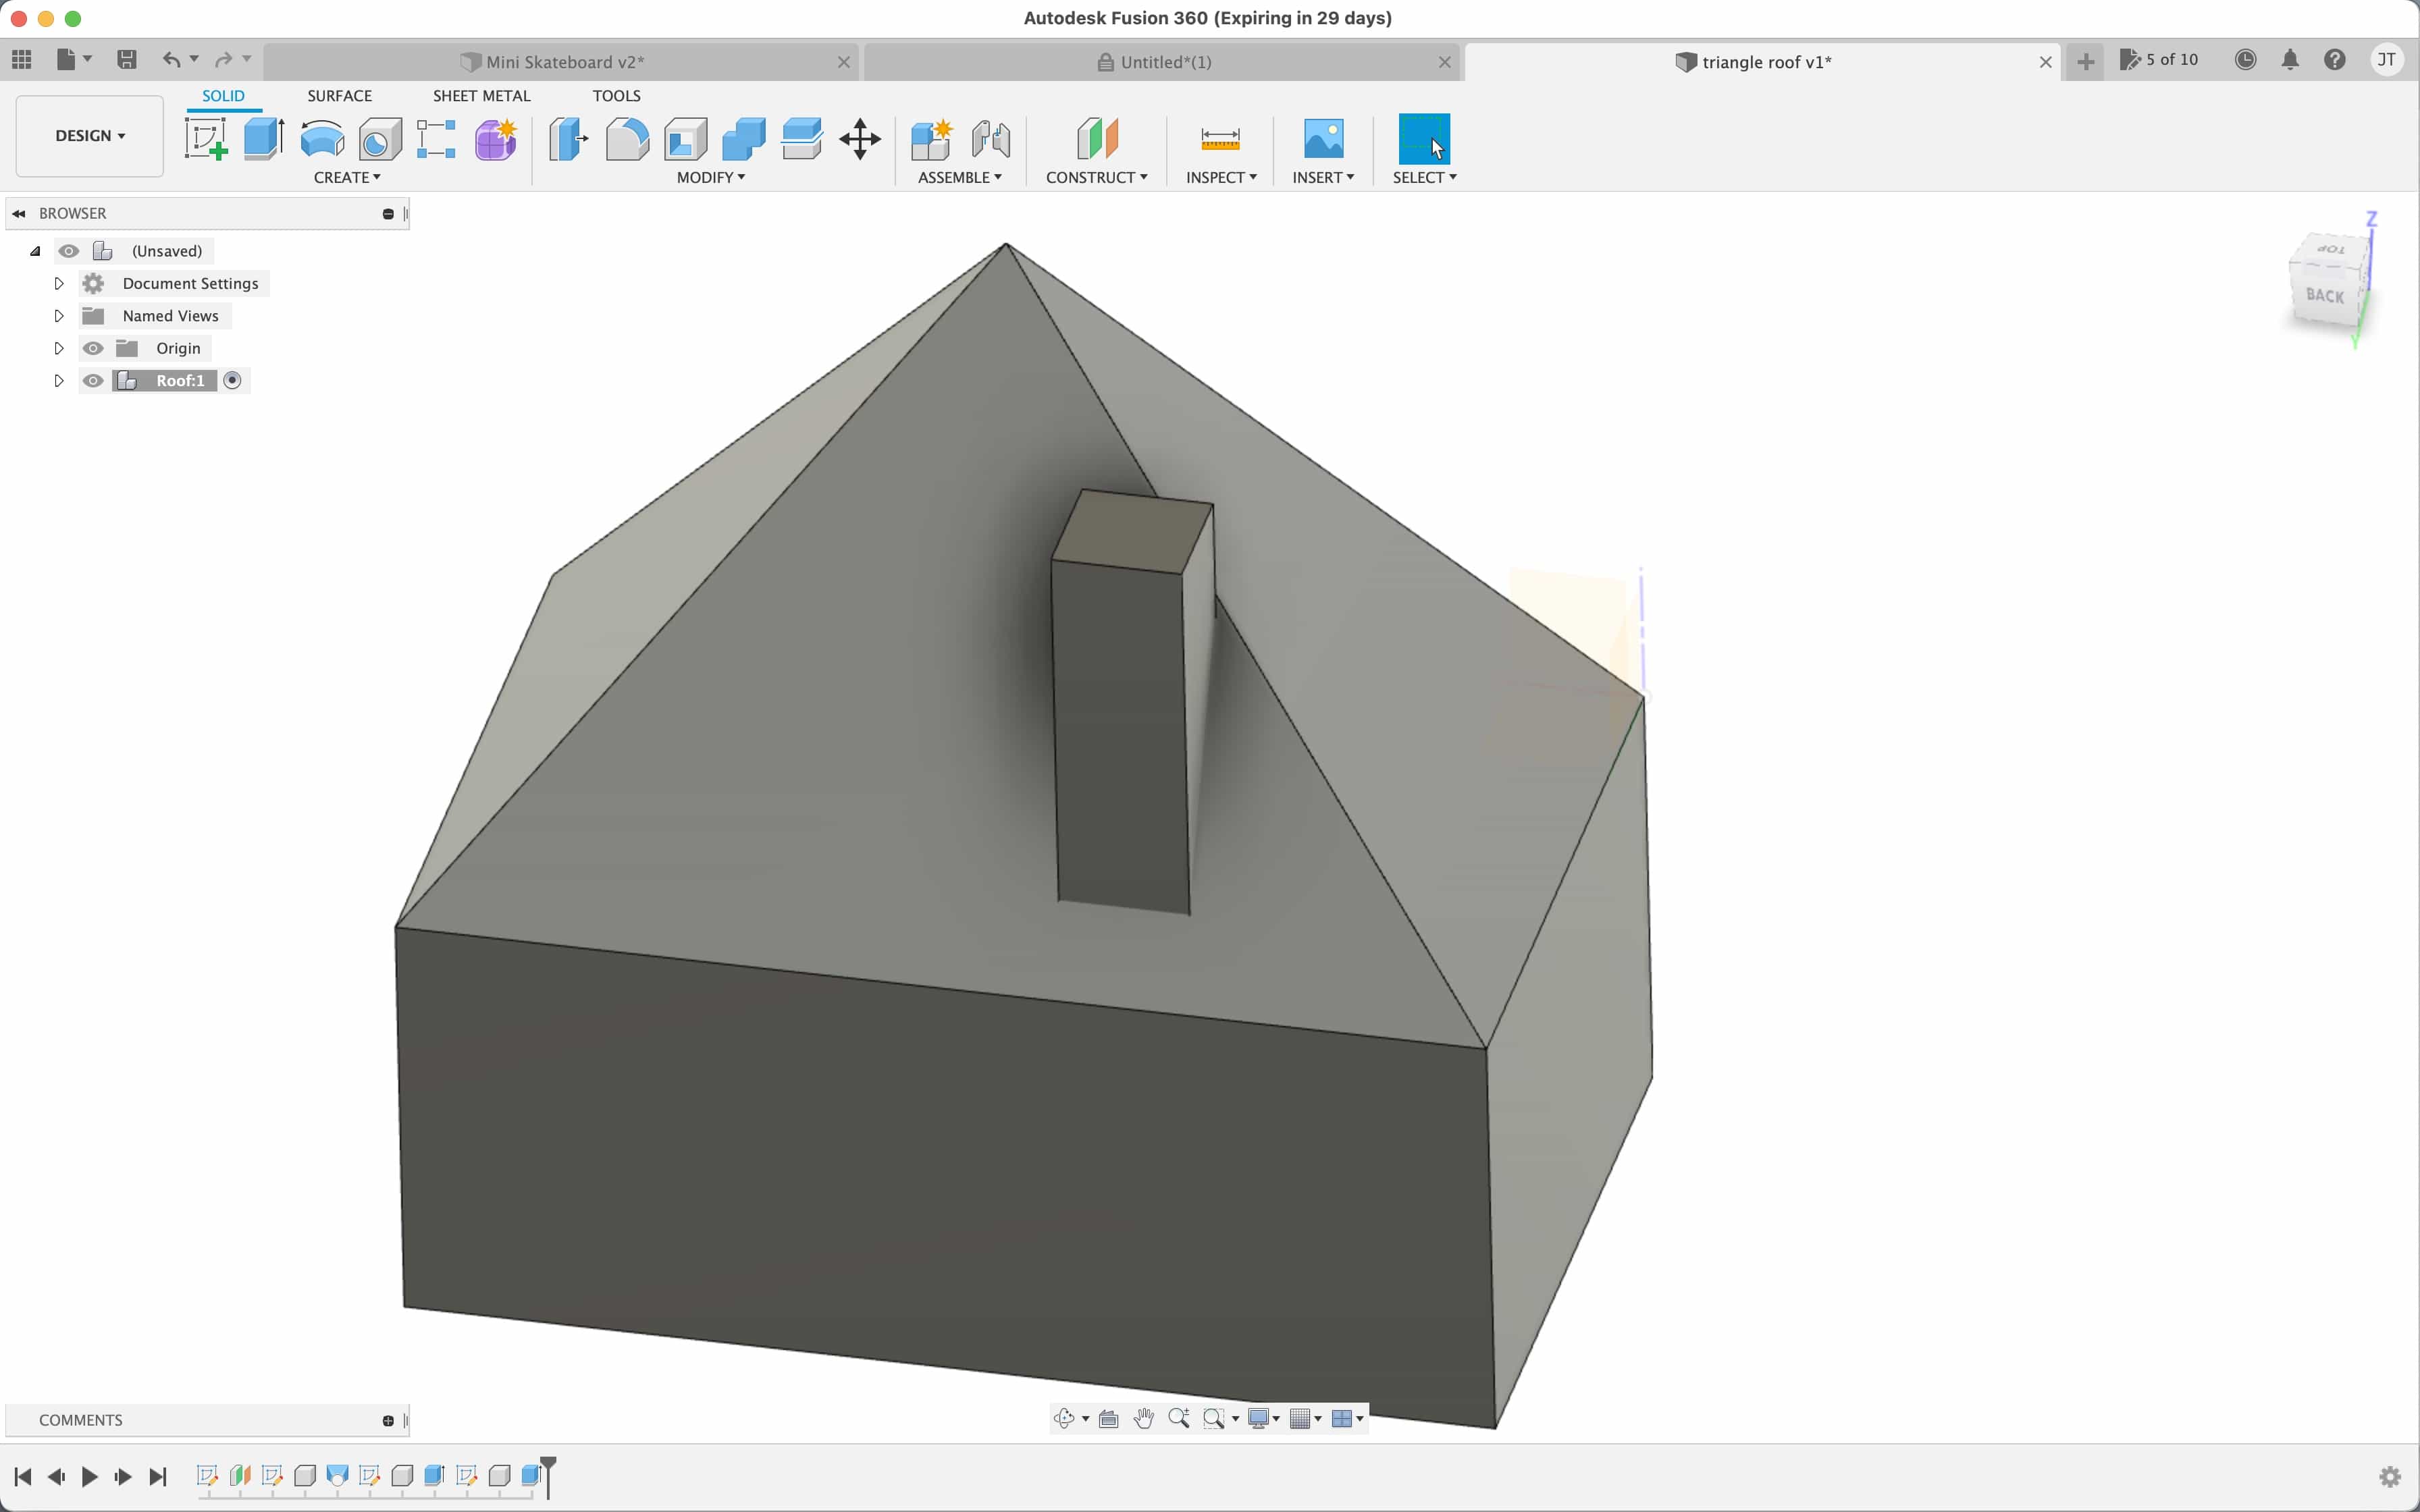
I'm going to do these 3 steps in reverse order, using Fusion 360 . My first step is to design my final resin model. I'm going to make a small house with a chimney. This model could potentially be used in my final project.
I've chosen to keep the design simple for now:
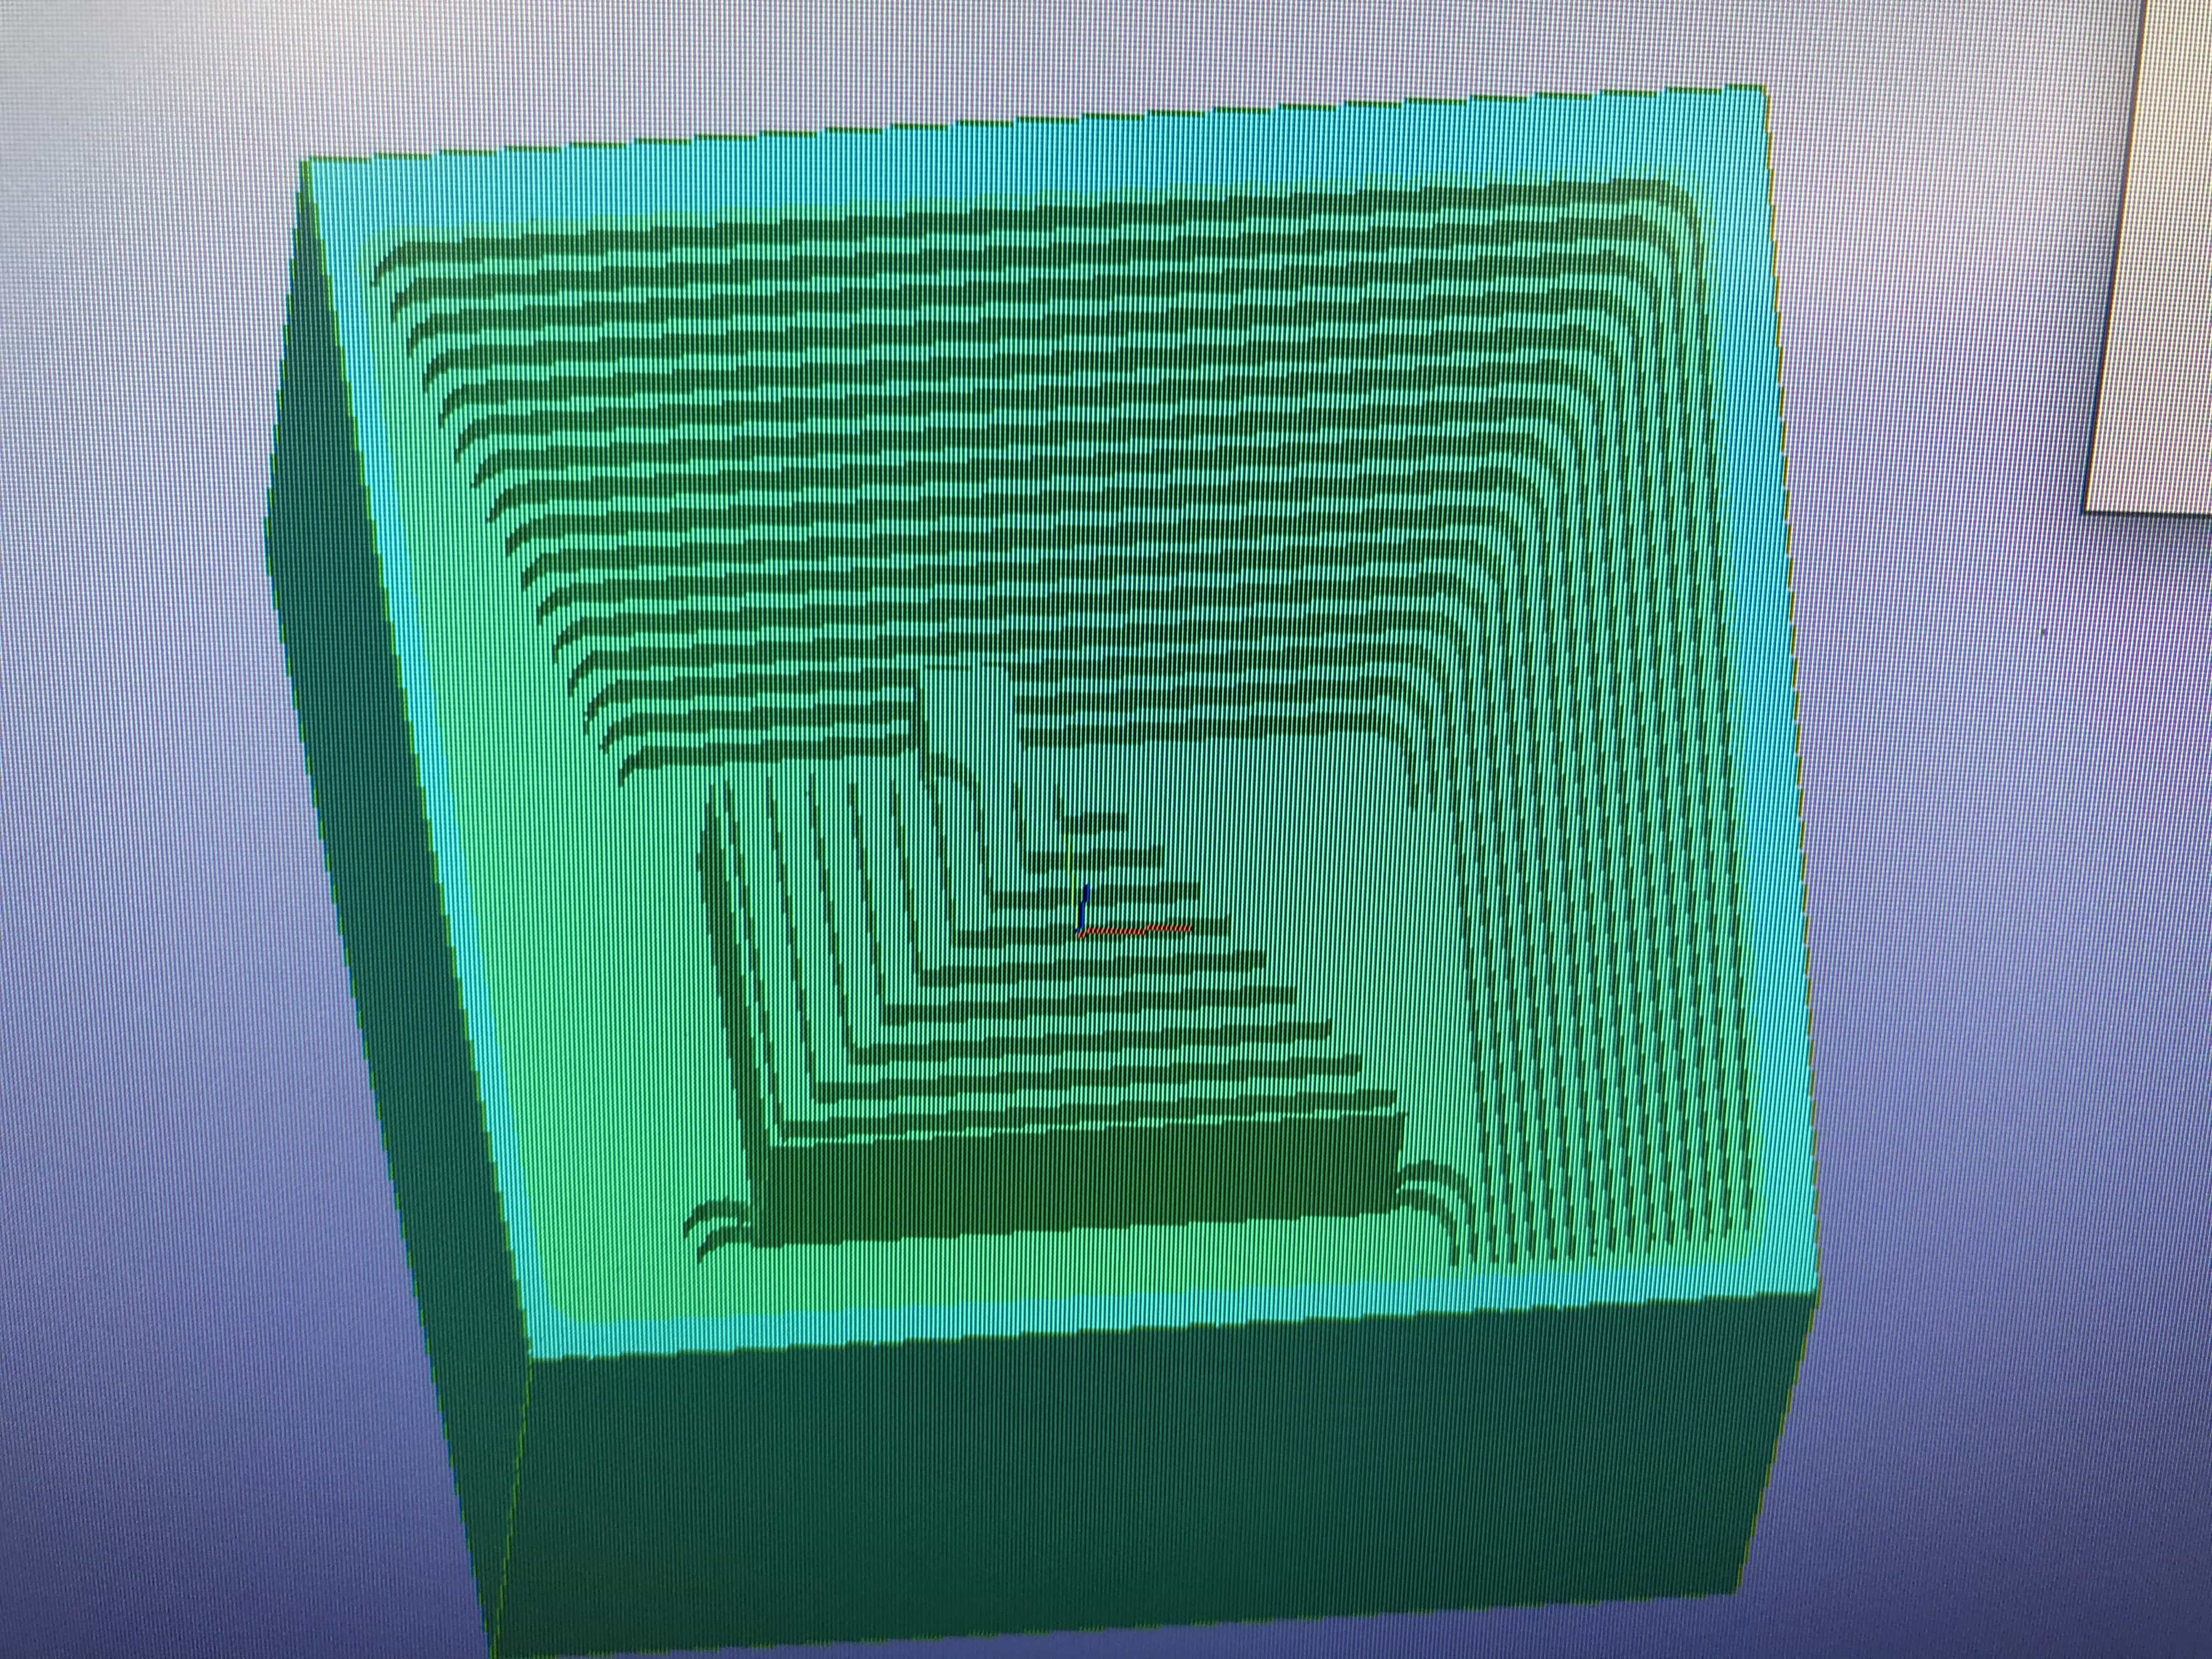
The next step is to make a model that when filled with resin, would produce the house above. I've started with a large cube that surrounds my initial model. I've then used the 'combine' tool and selected 'cut' to cut my initial model from the large cube.
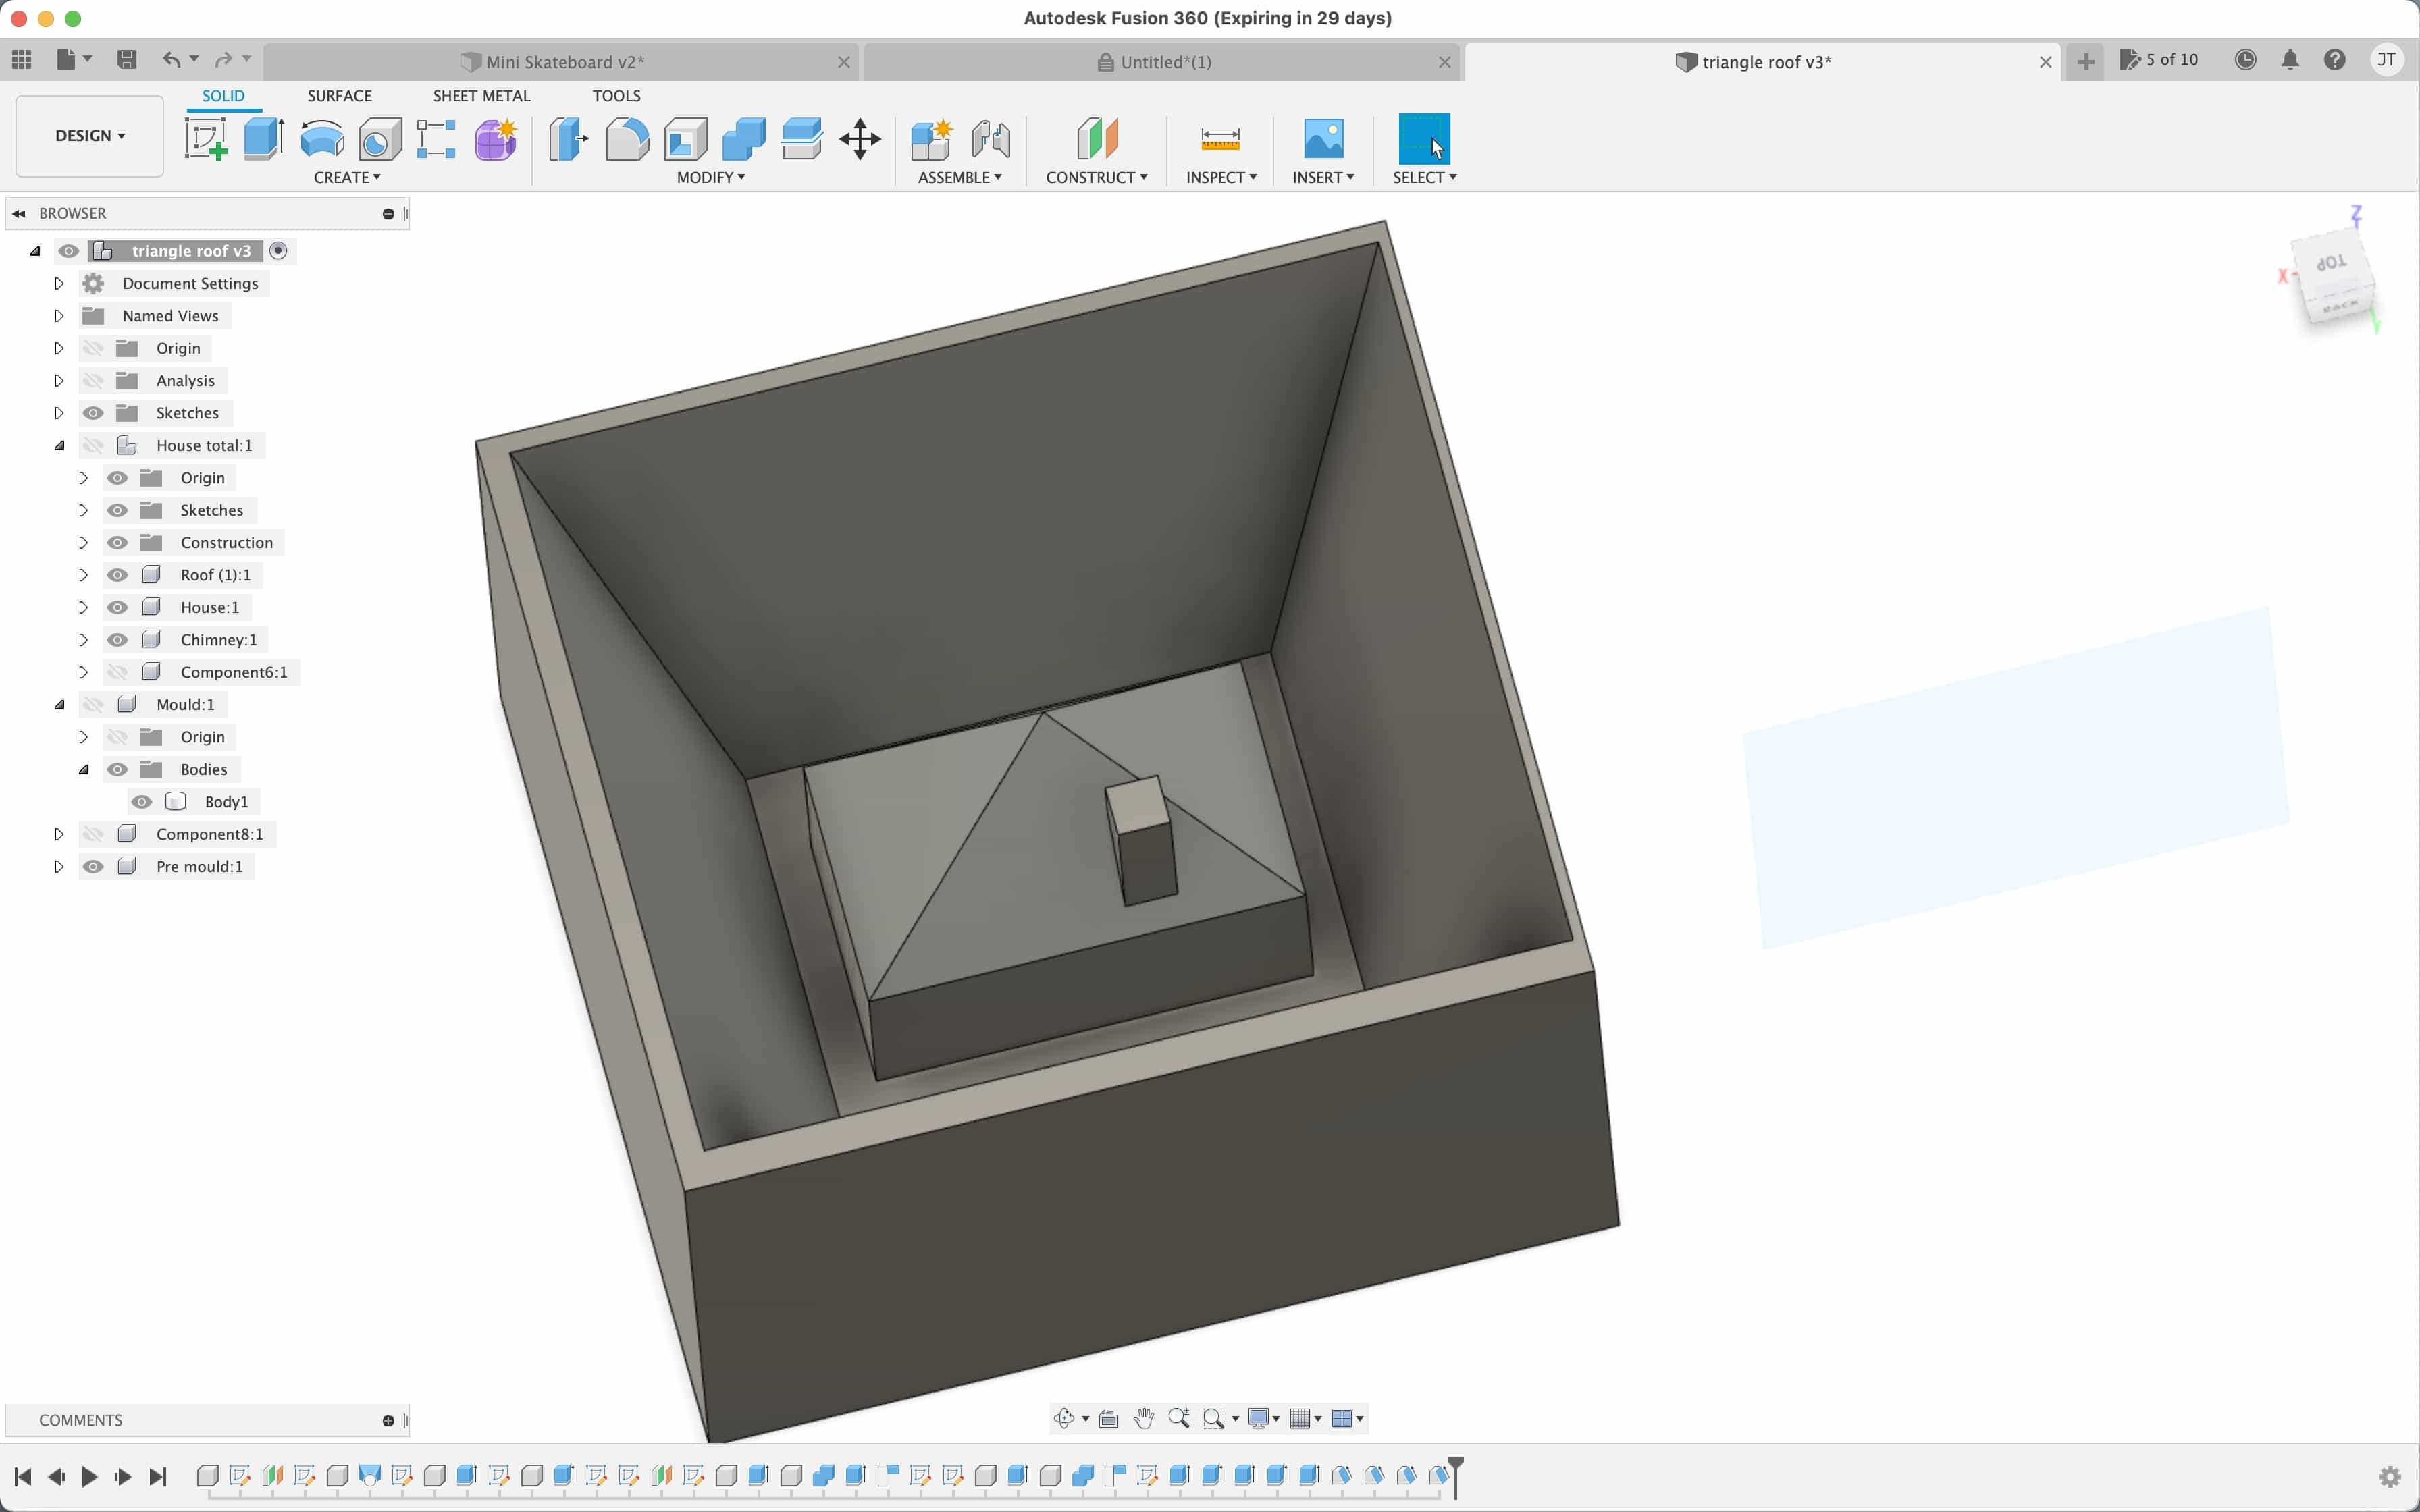
The image below uses a section analysis to help illustrate what I've made:

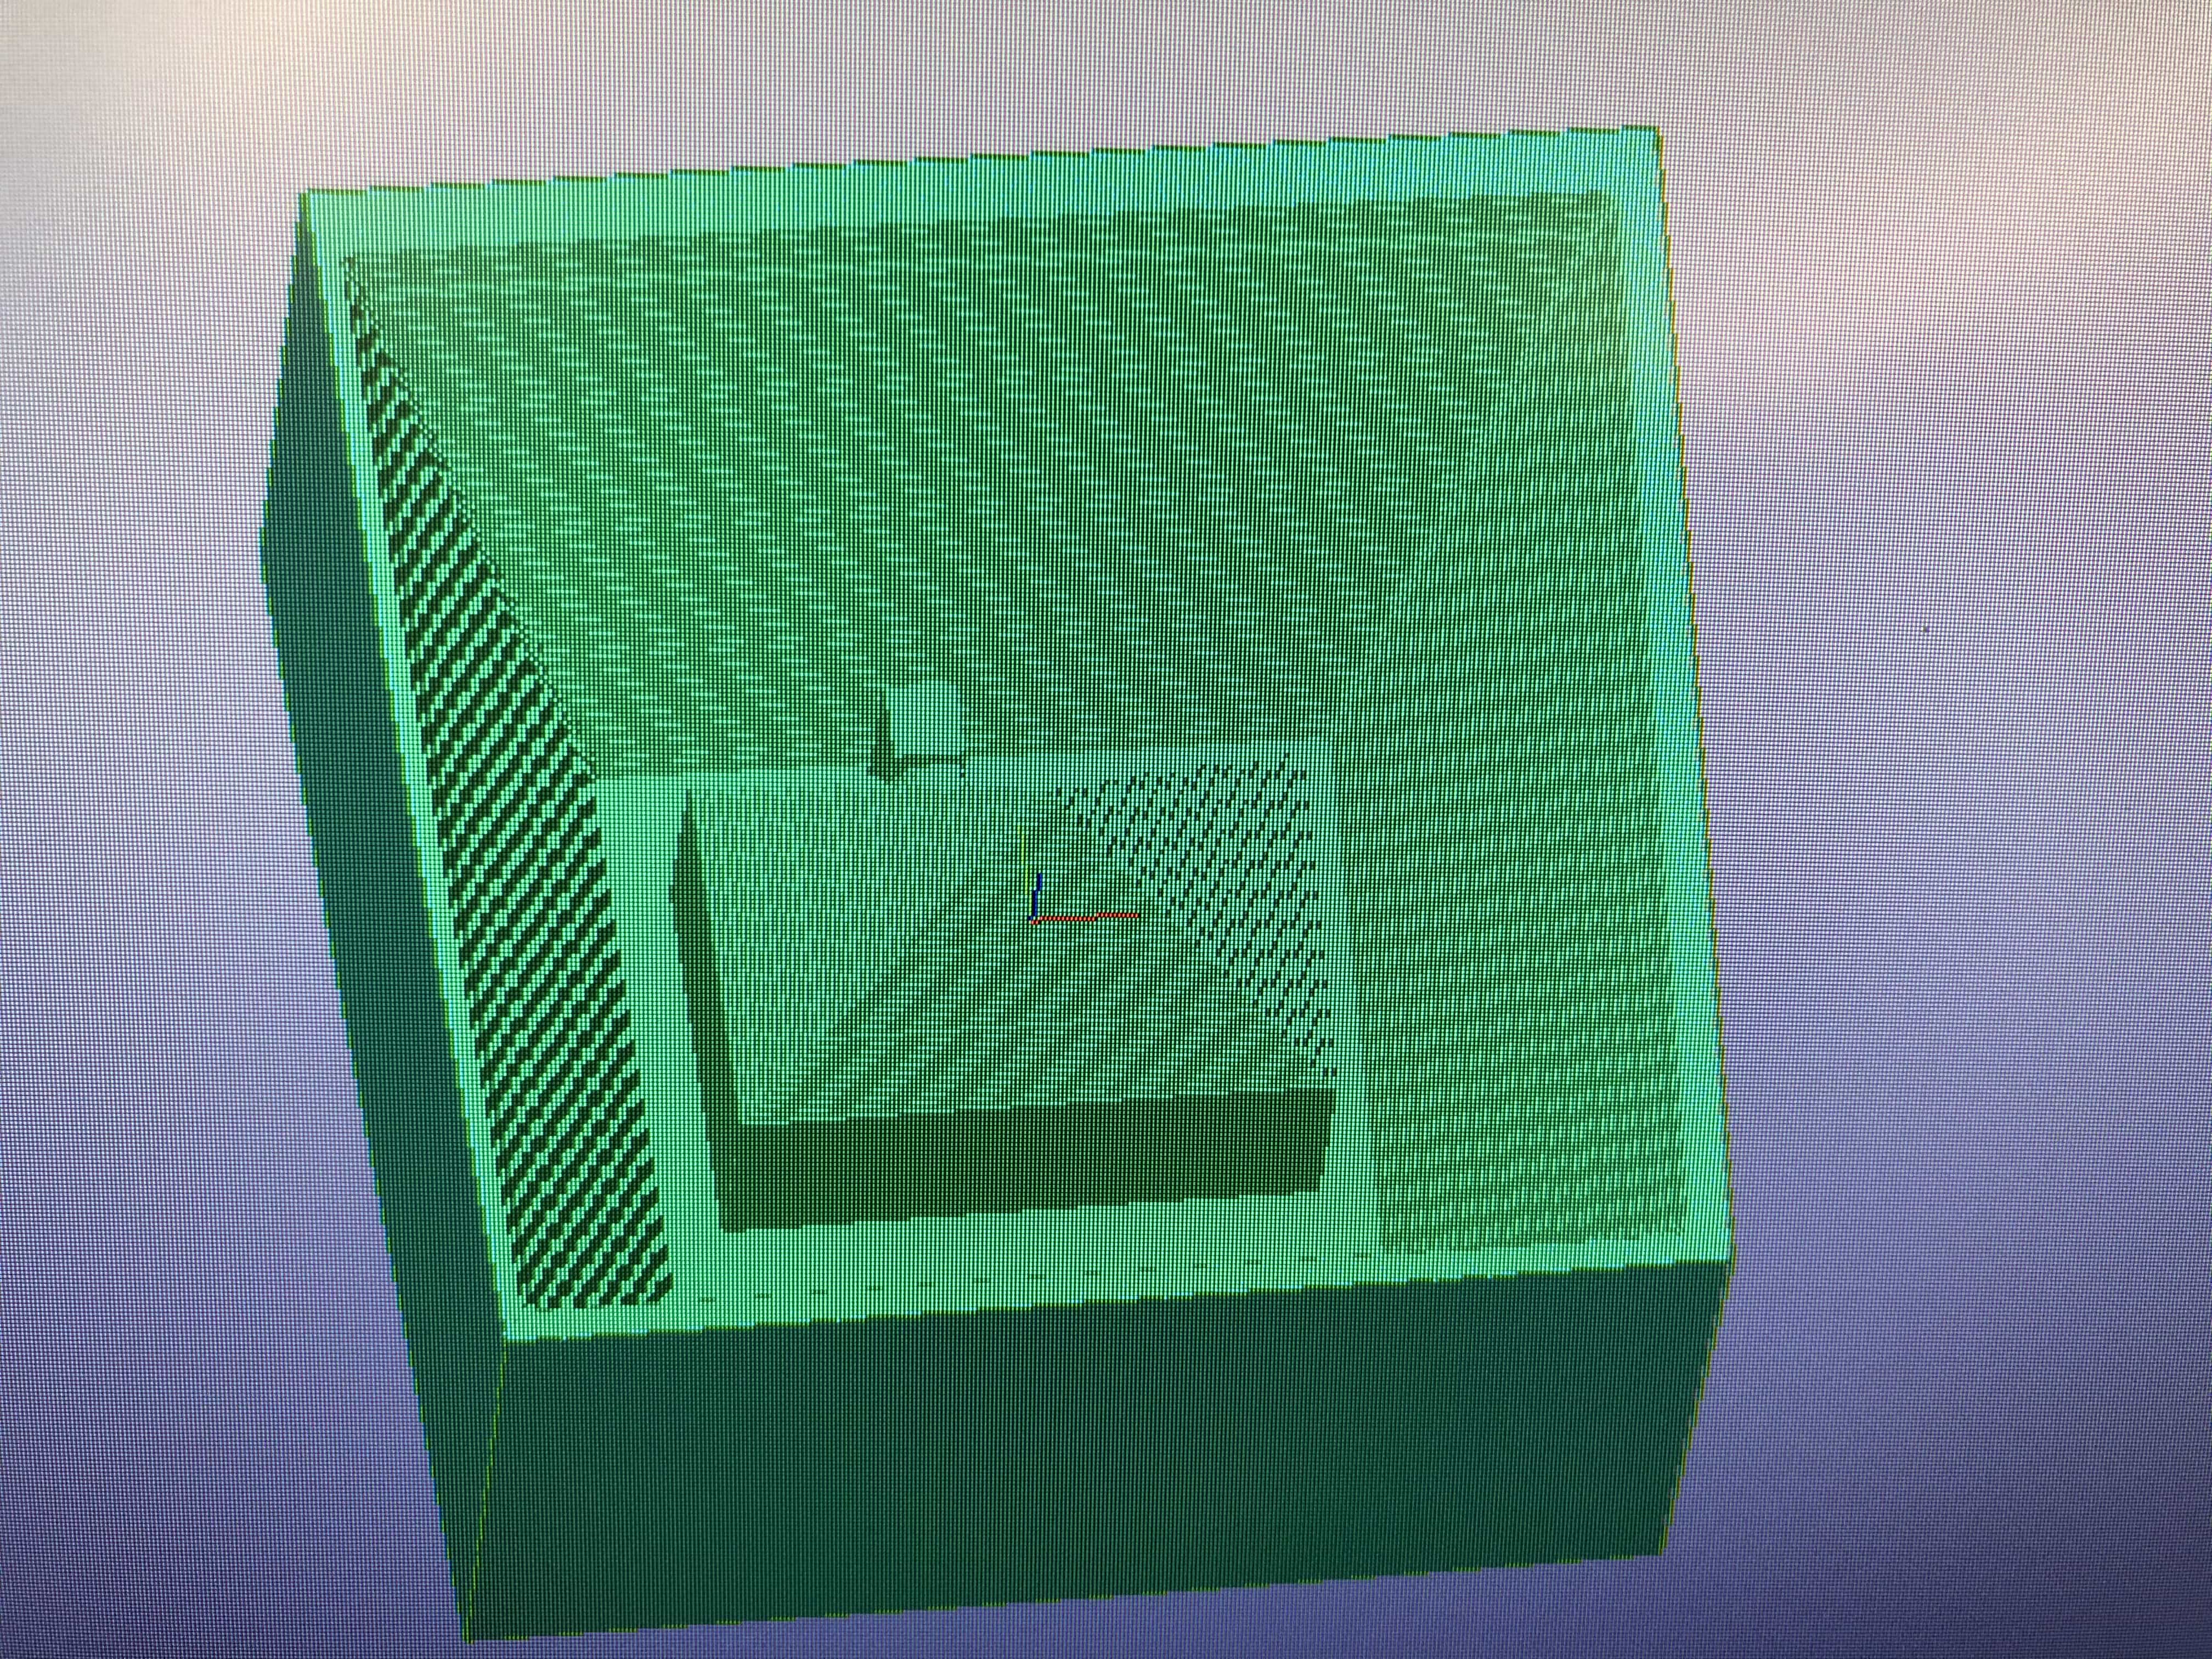
Now I need to create a model that when filled with liquid silicone, would create the mould design above. I've done the same process again, using the 'combine' tool to cut the model above from a large cube.
This is my pre-mould:
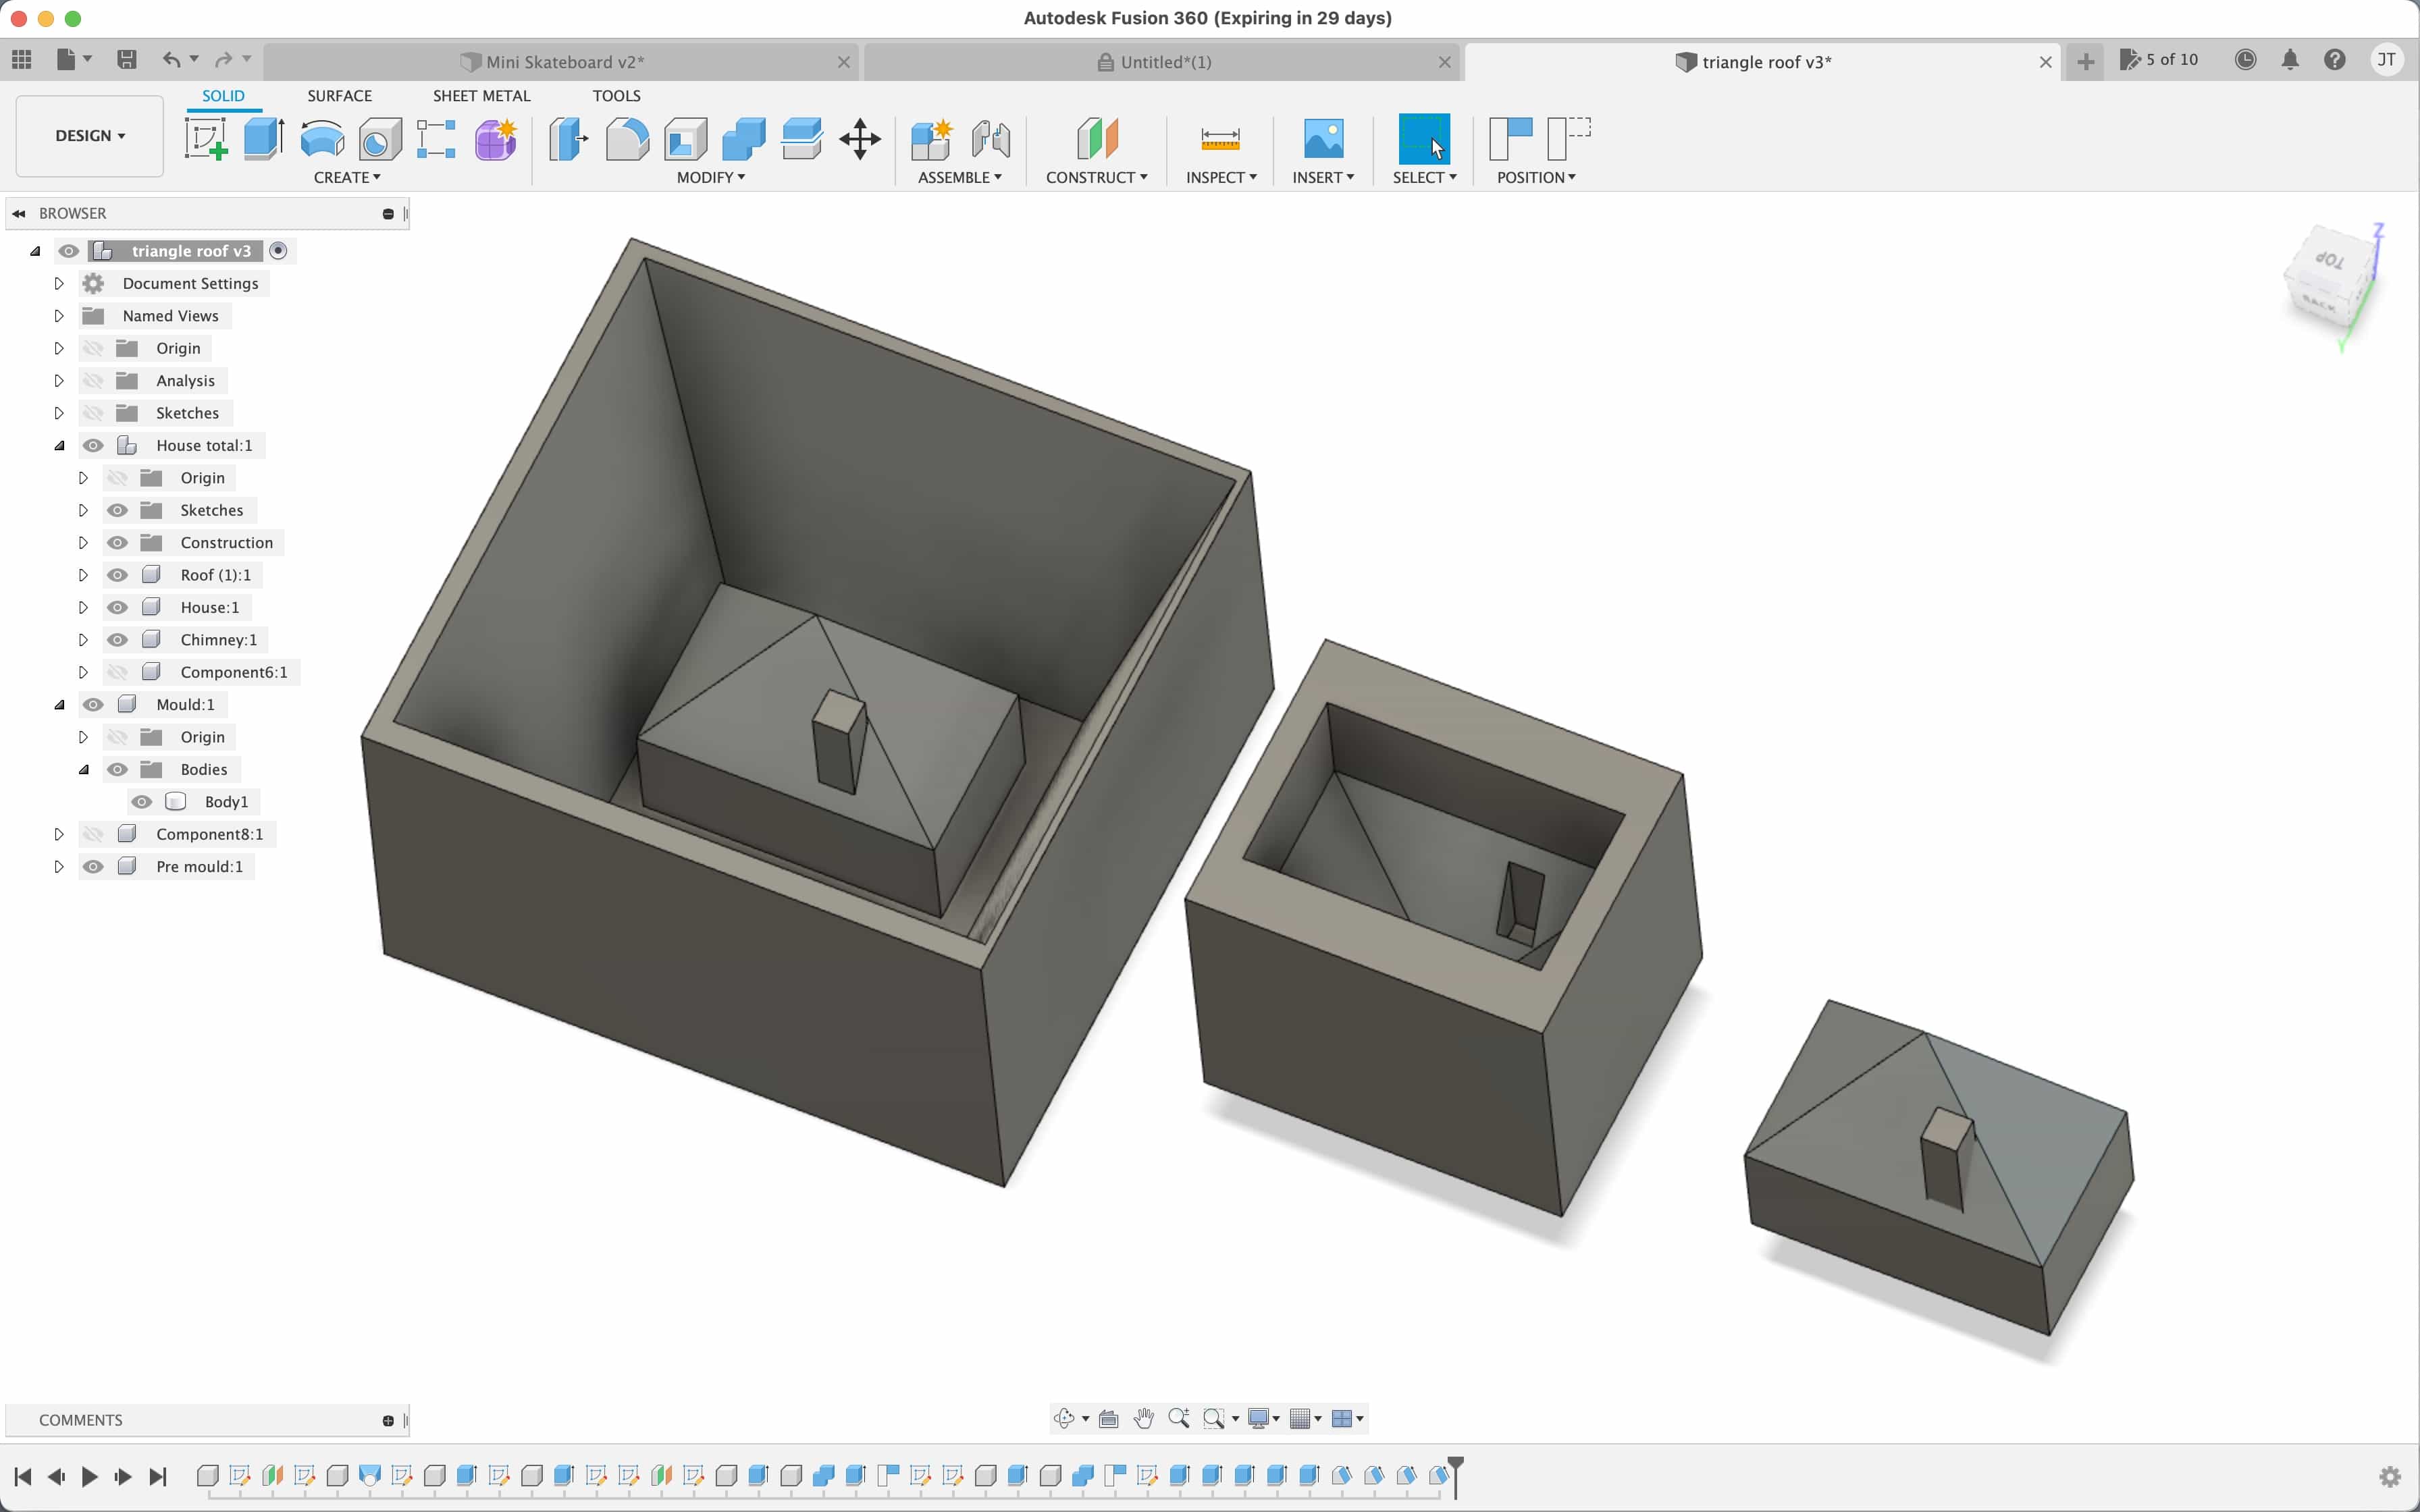
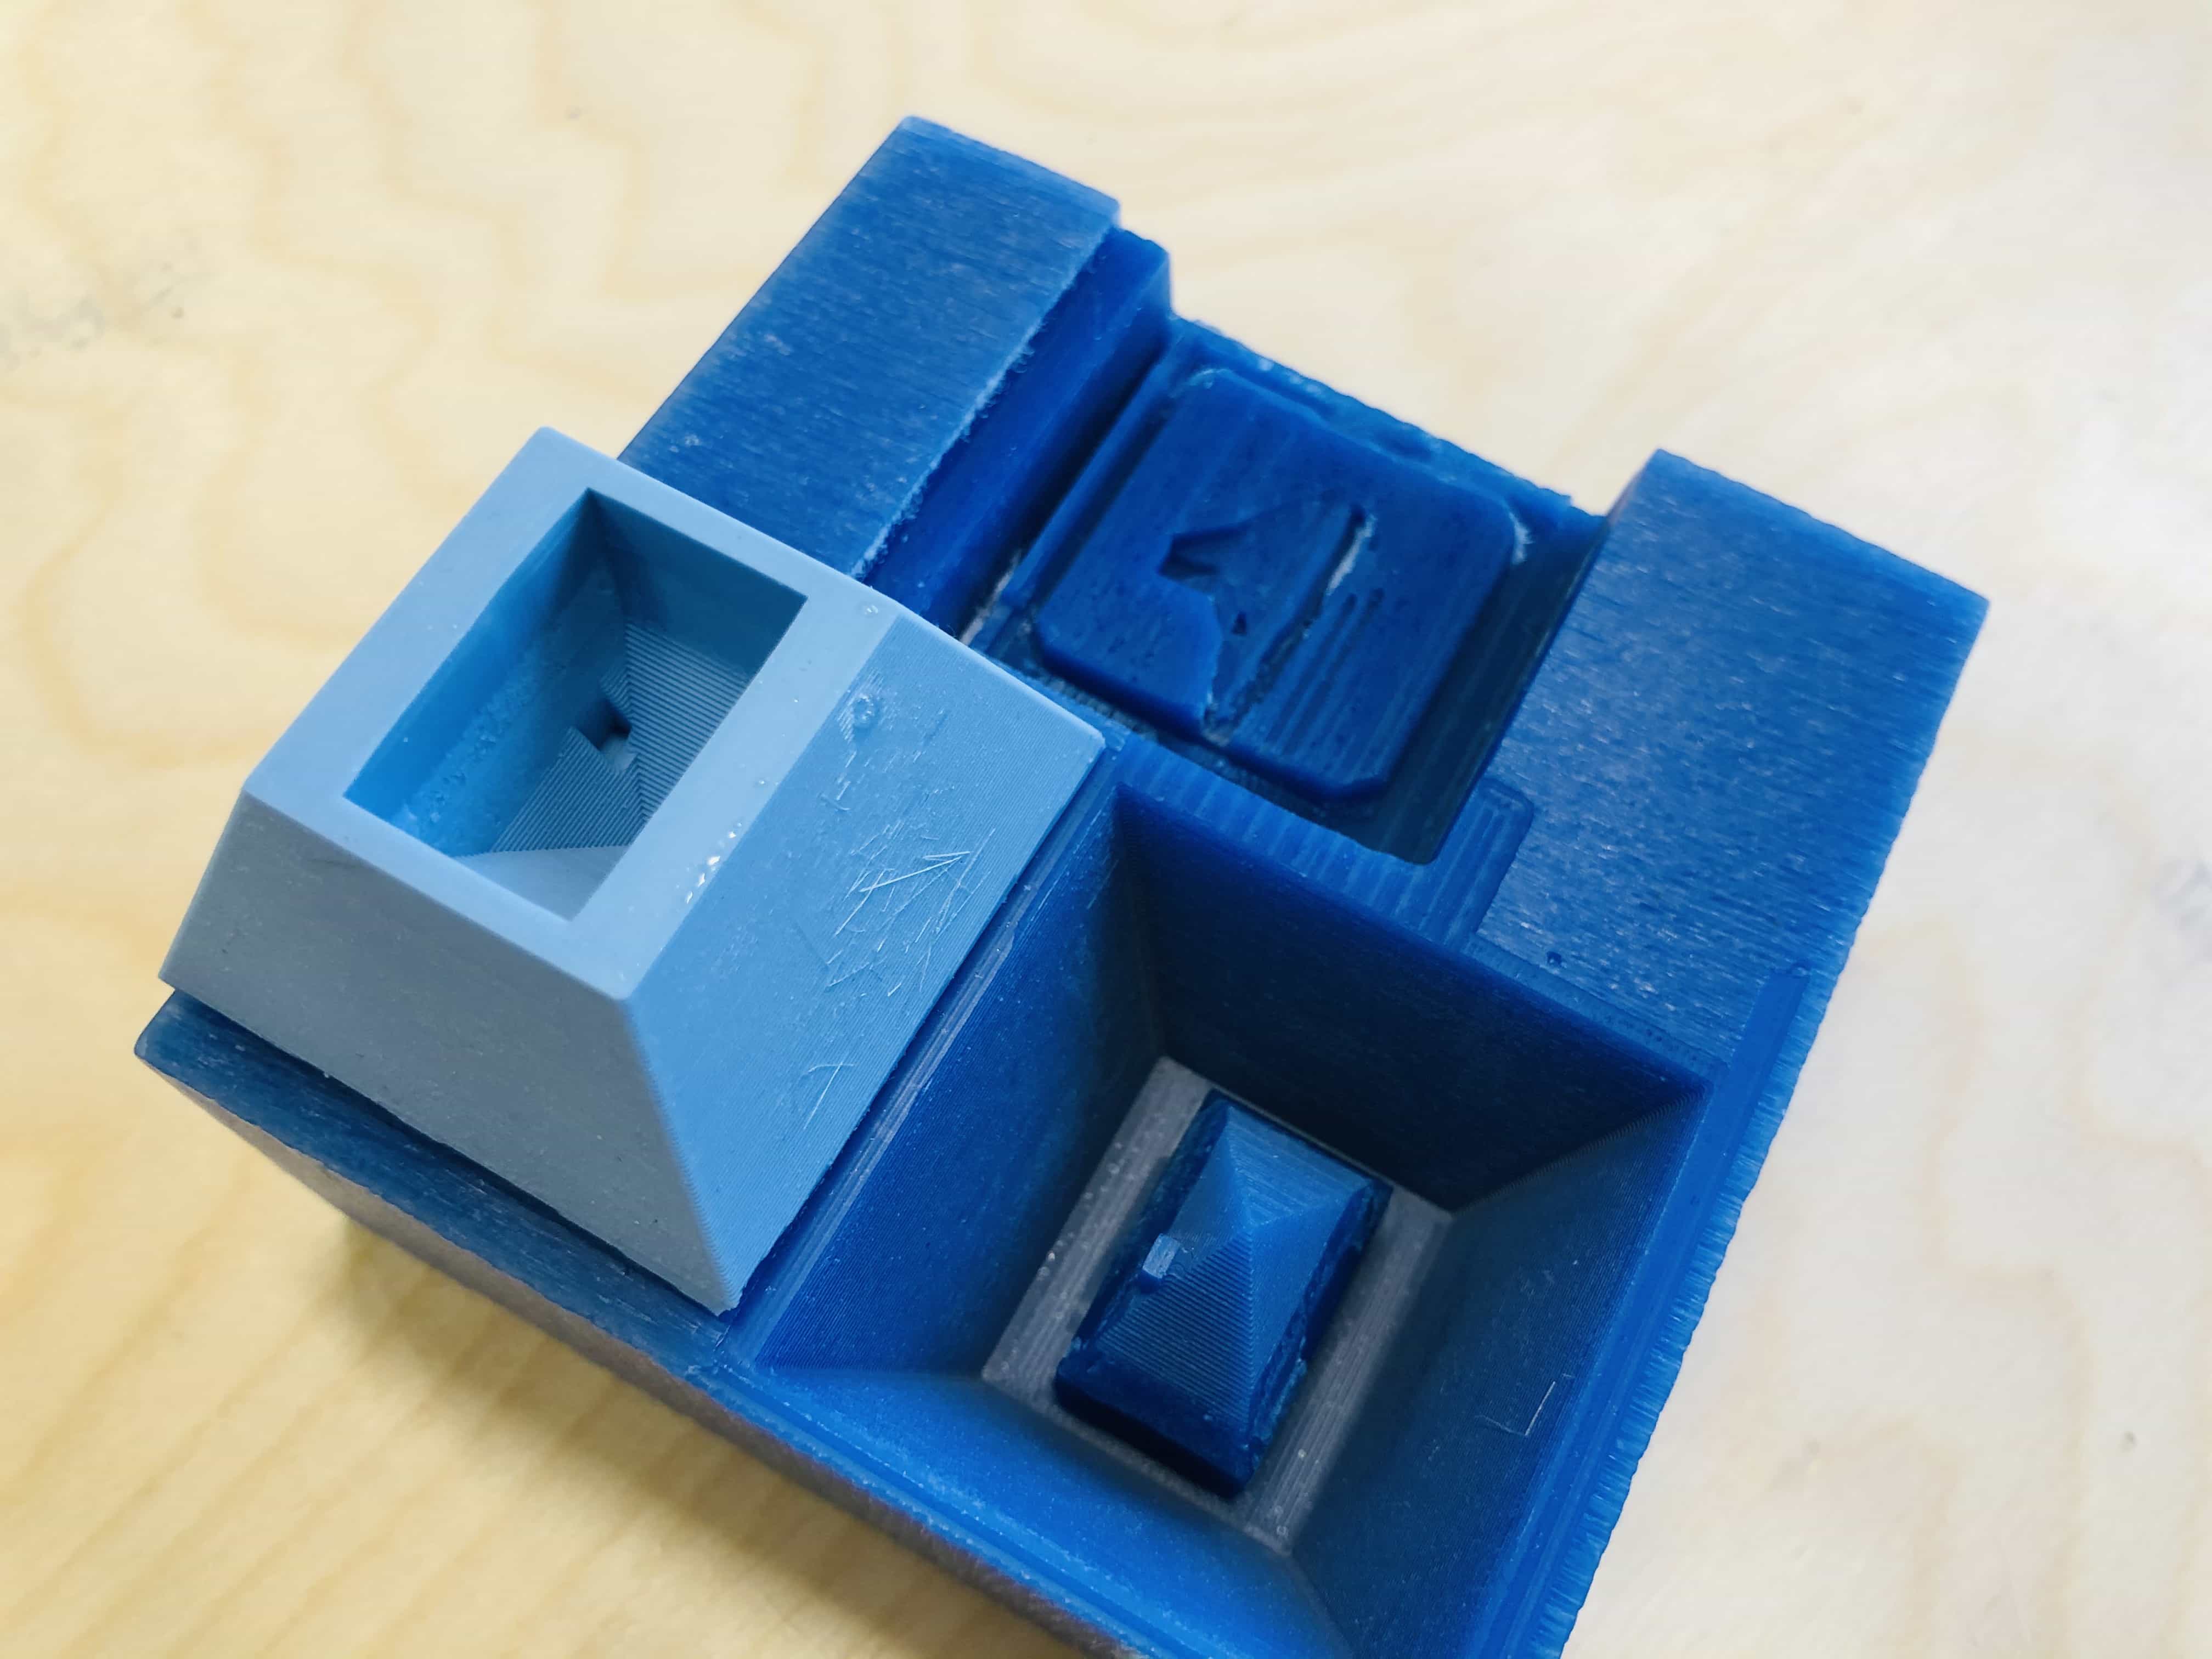
This image below shows the process. Left is pre-mould to be made from wax, middle is the mould to be made from silicone and the right is the final model which is to be made from resin.
Step 2 - Milling the Pre-Mould
I've set up my cad file for the pre-mould. I'll be using the MDX-540. There will be toolpaths, one for roughing using a 3mm bit and one toolpath for finishing, using the 1mm bit. I'm going to use square ends for each bit.

Below shows the model after the roughing cut:
Below shows the model after the finishing cut:
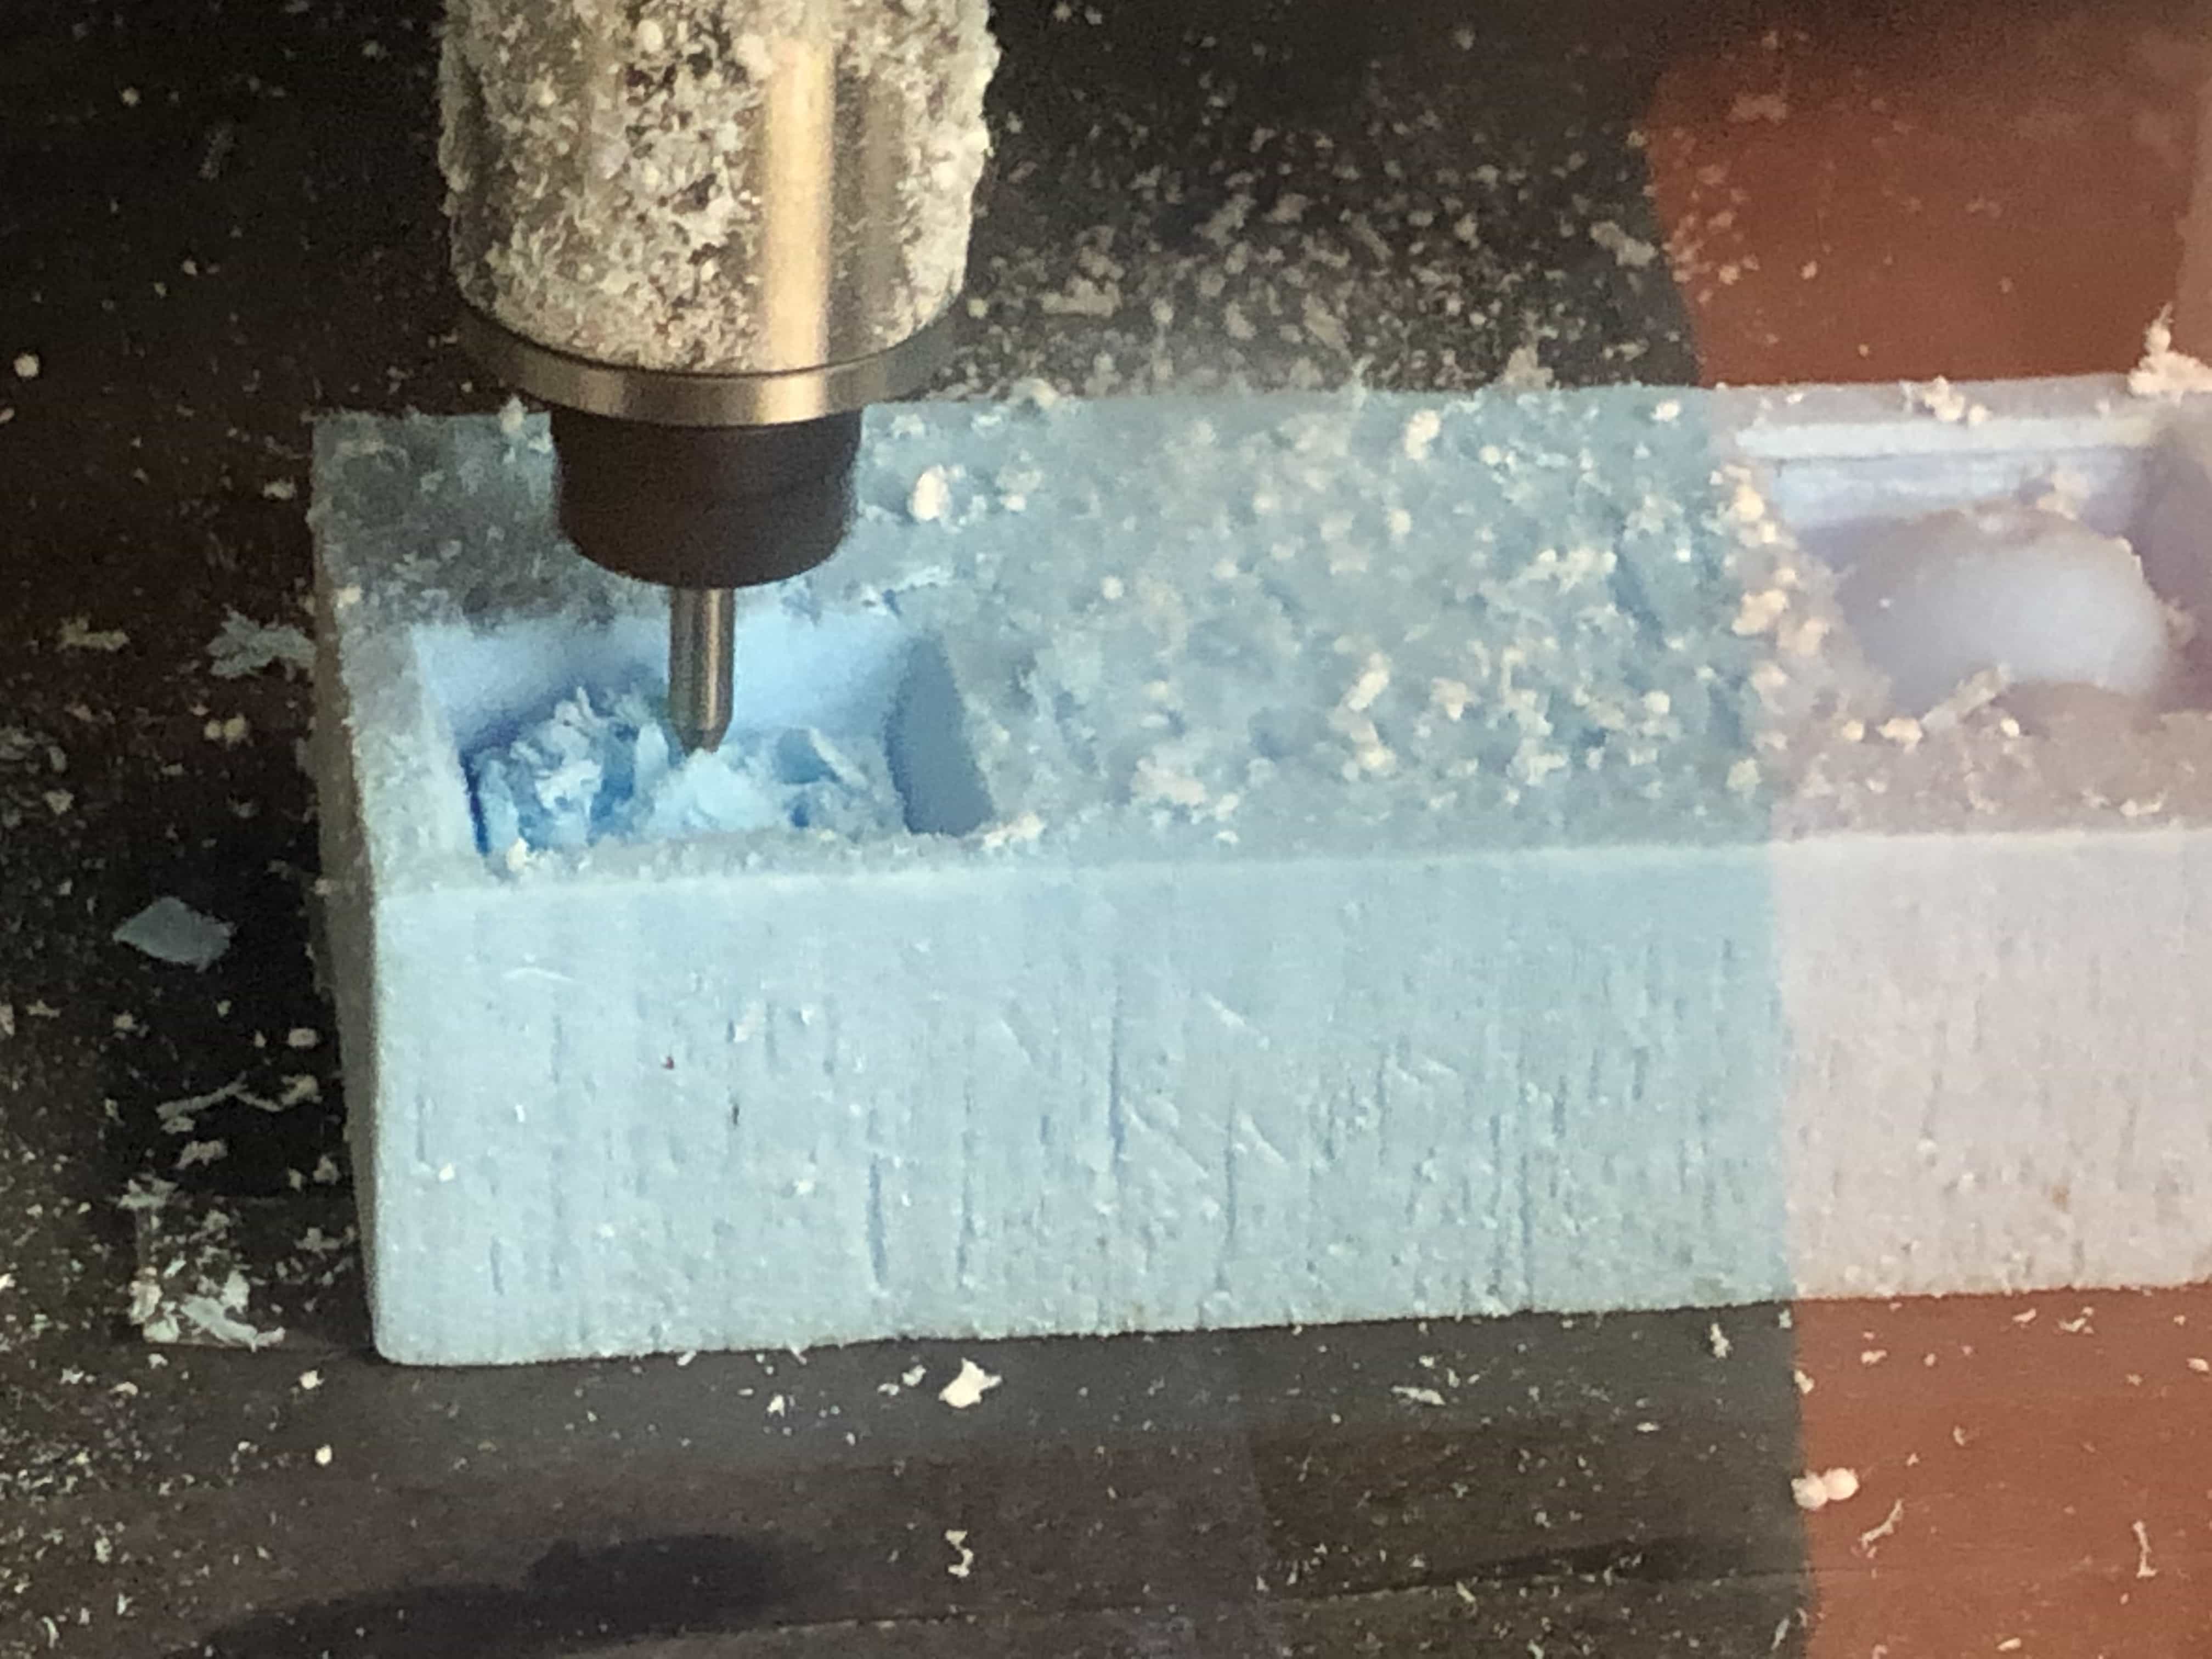
I'm going to practice first with some cheap foam:
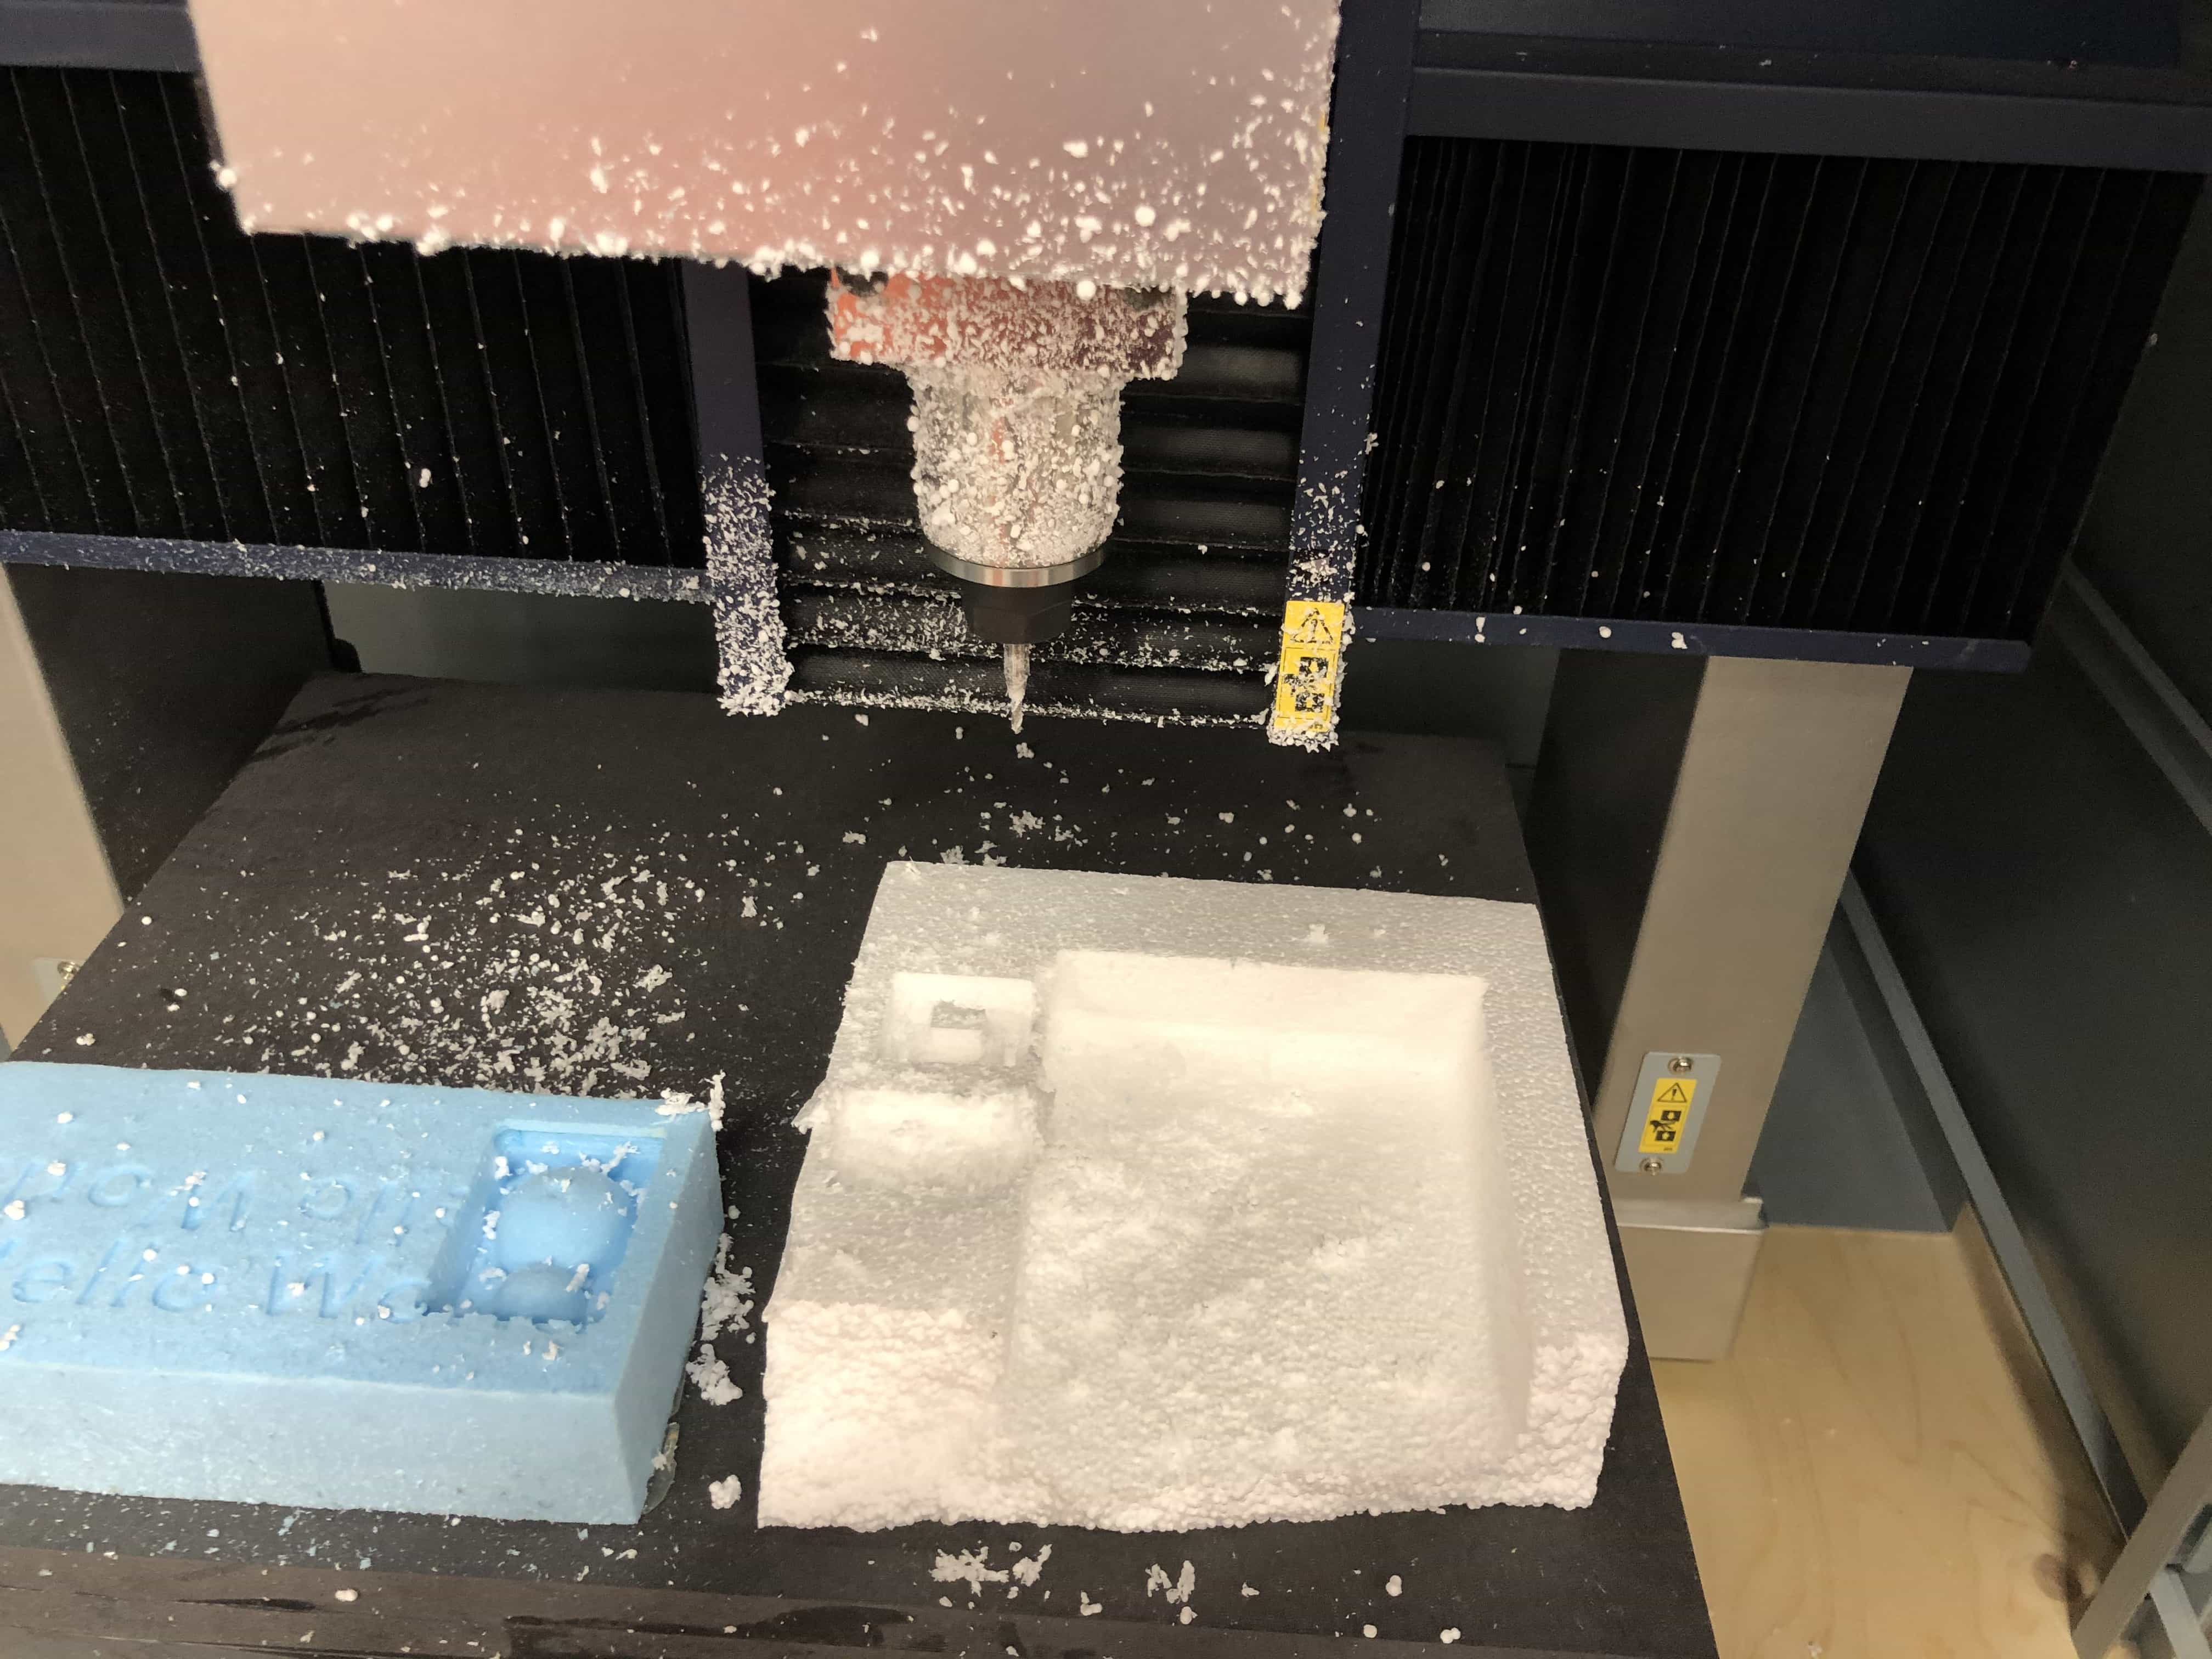
This looks to have worked ok so I'm going to test again using some modelling foam:
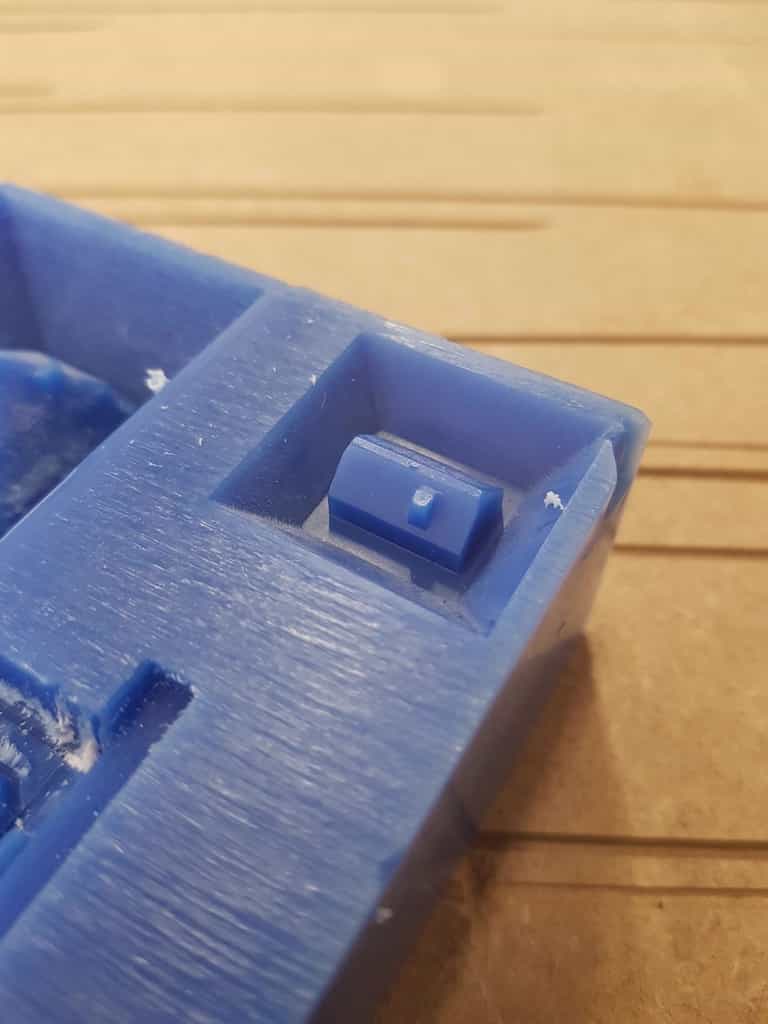
The modelling foam cut looks good so I'm ready to test on the wax. This is my lump of wax pre-cut. I've set the origin on all 3 axis and I'm using the top surface for the Z axis:
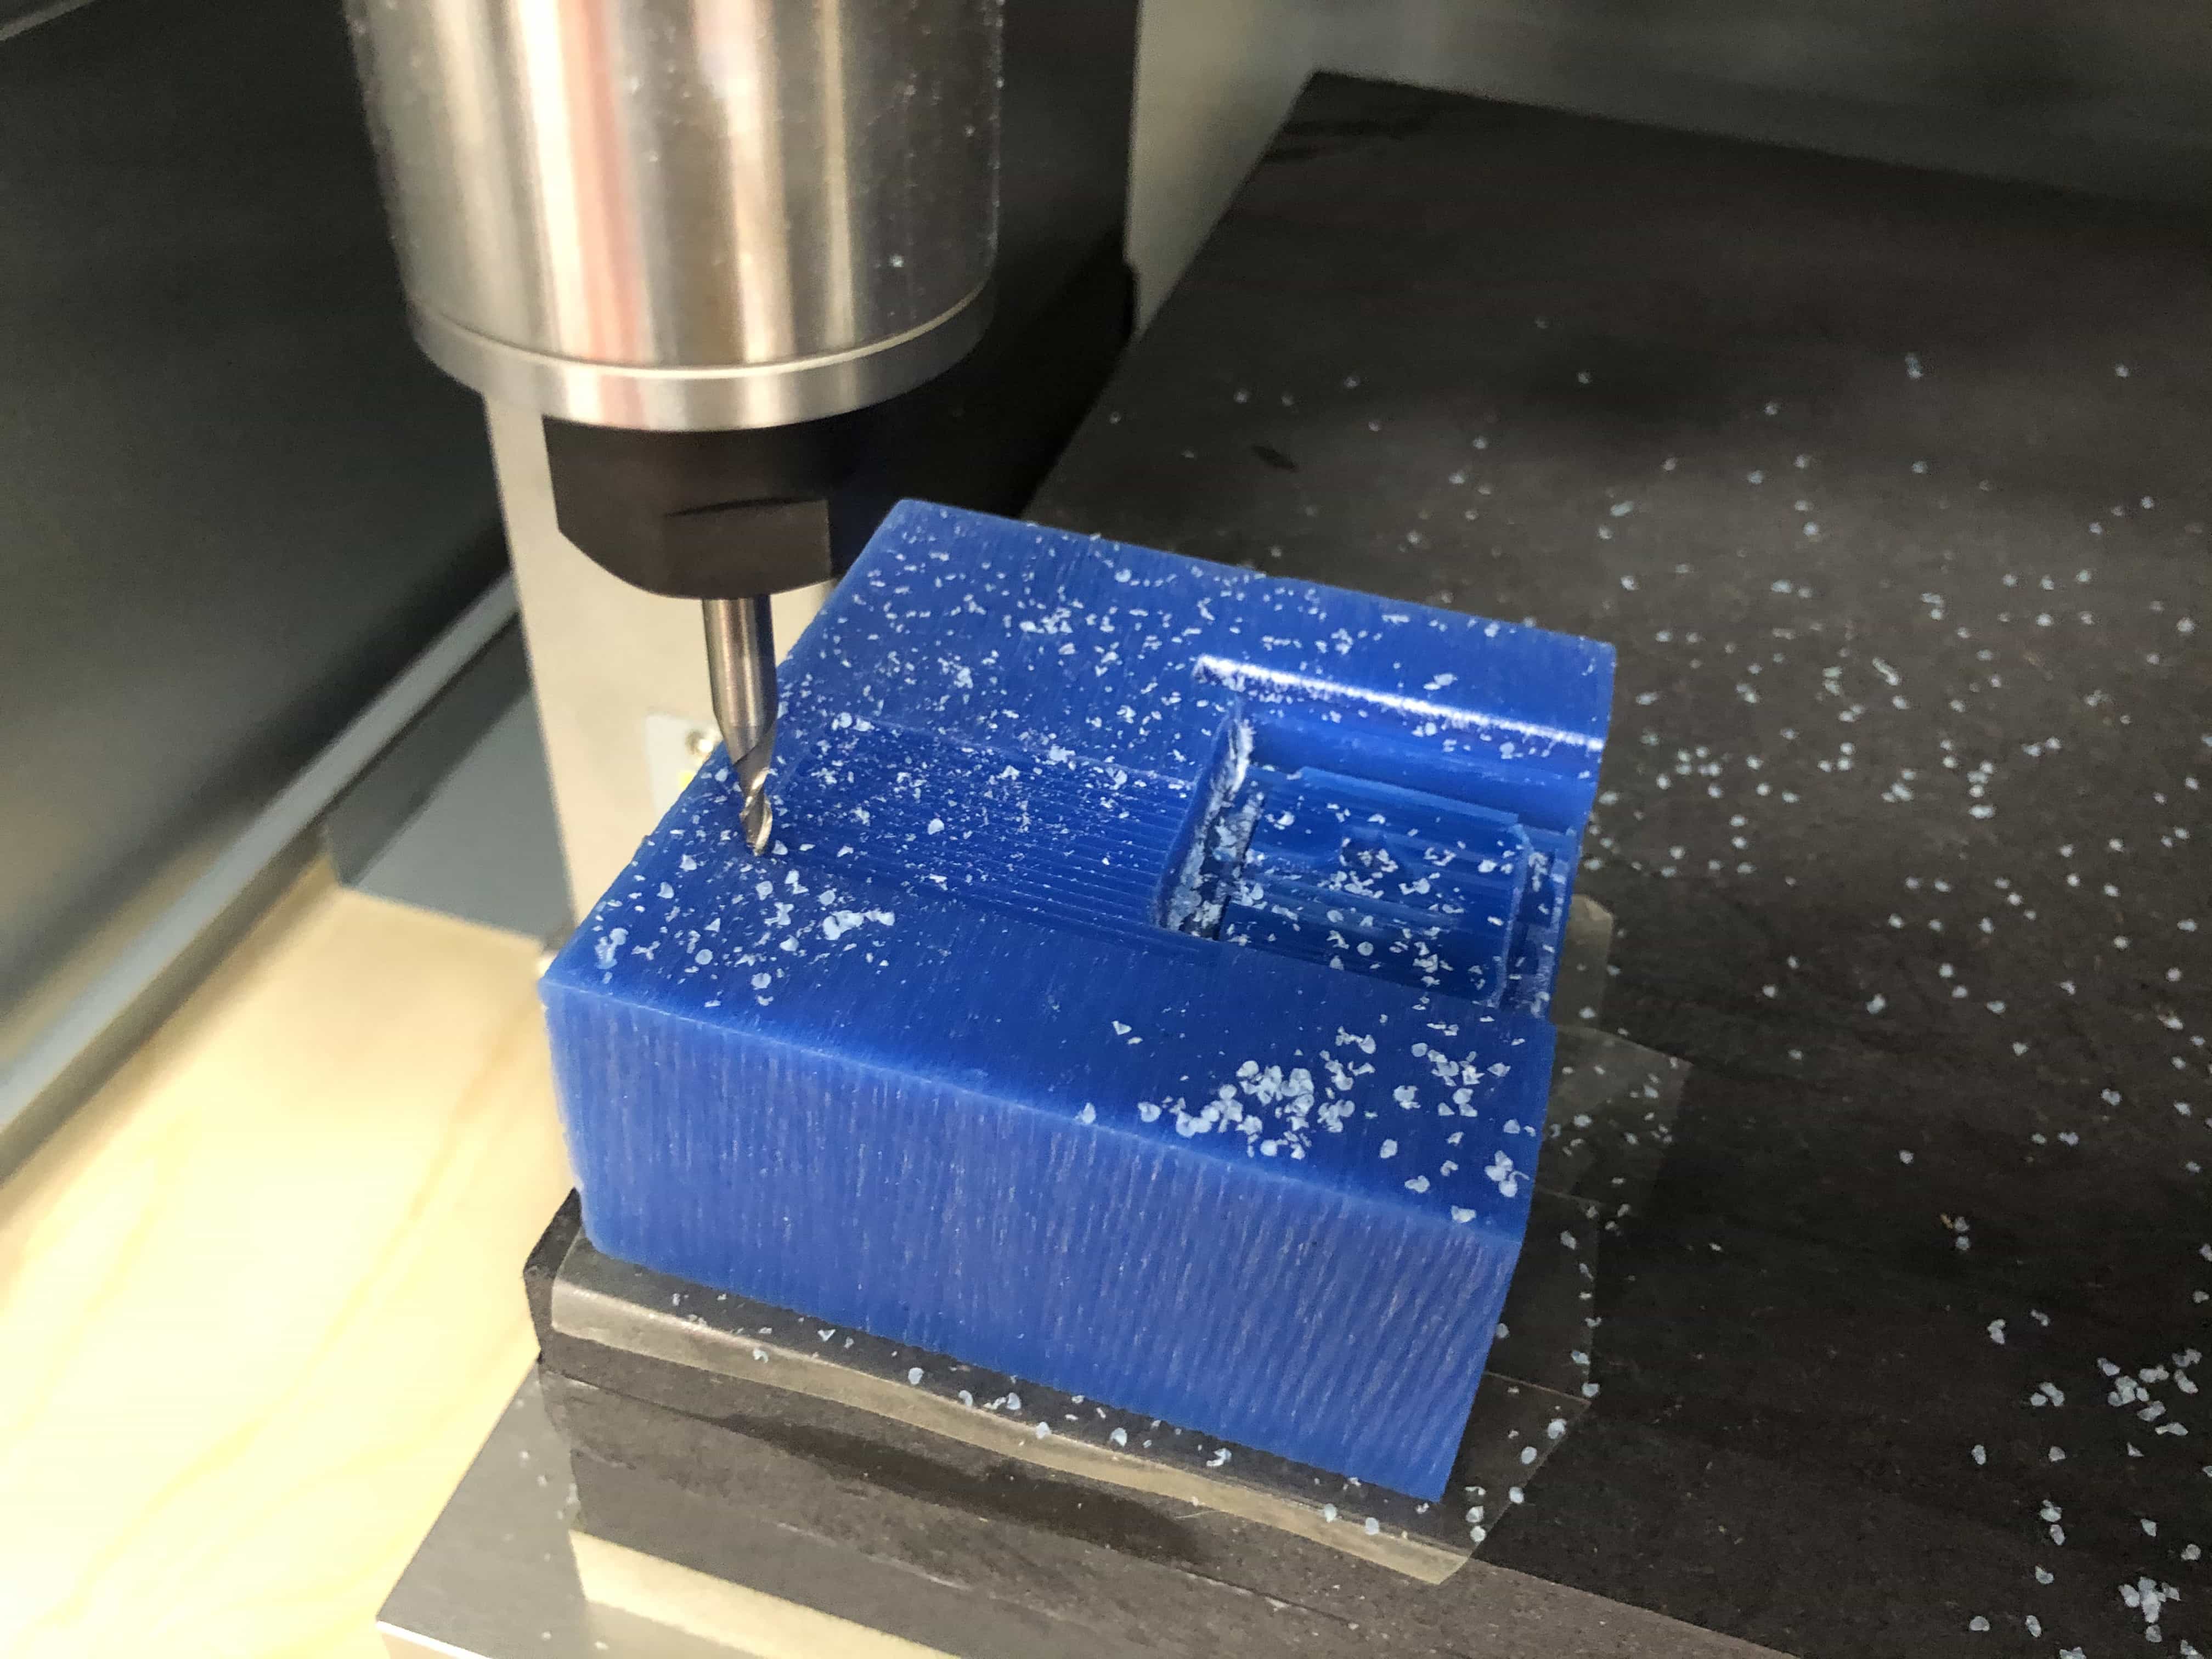
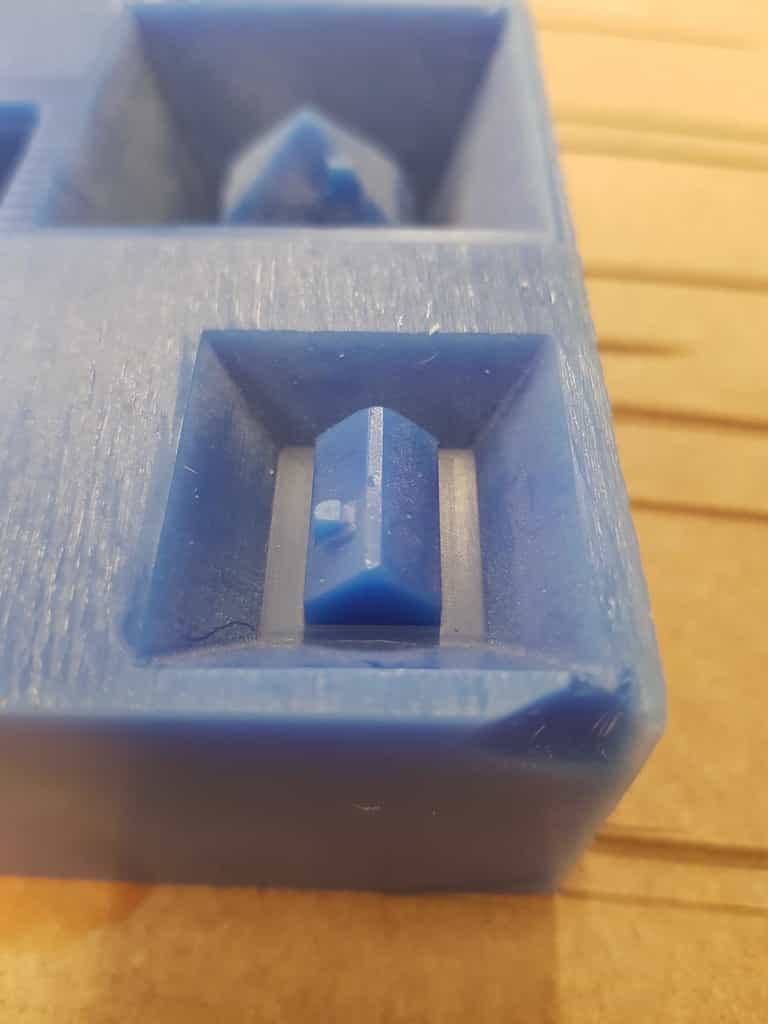
Here is the model after both toolpaths are complete. It looks ok, but it has not come out quite as expected.
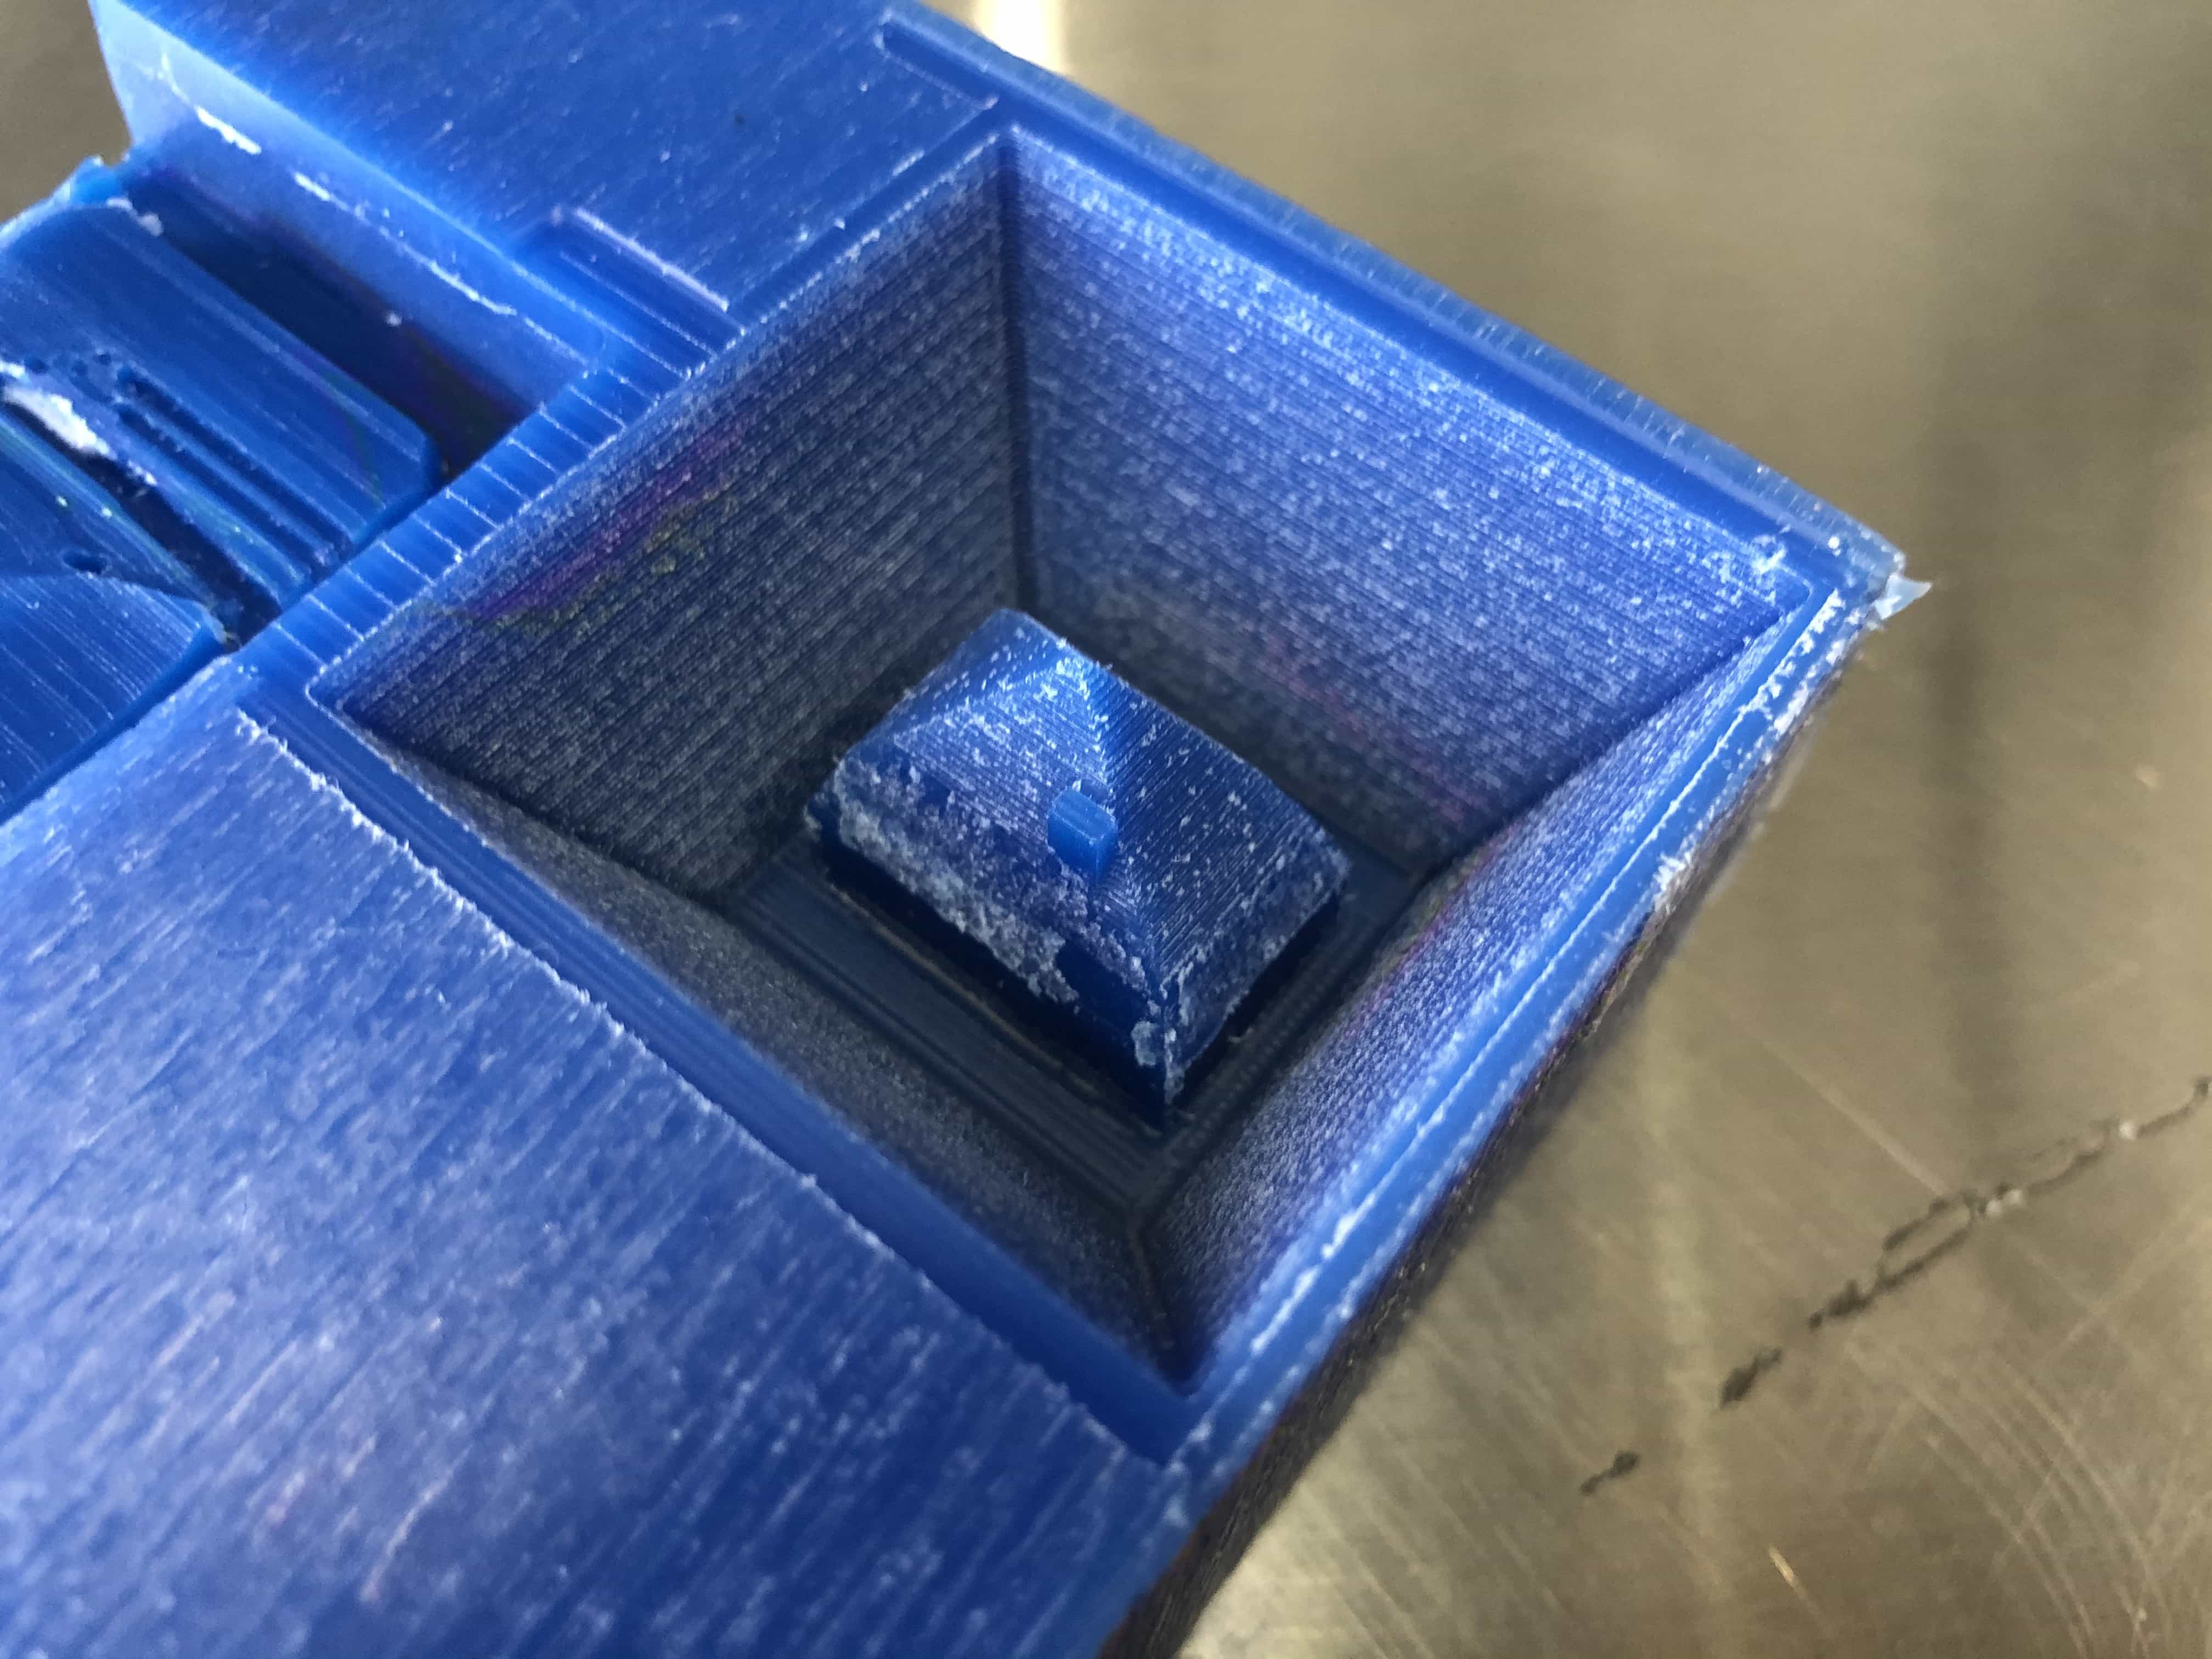
What went wrong?
There has been an endmill shoulder collision. When the endmill has been pushed down to mill out the deepest part (to create the wall of the house) the end mill has collided with the corner of the roof. As a result, the house loses its clean edge at the intersection of roof and wall.
Now I'm actually quite happy with the design in spite of this issue. It still looks house-like and I'm keen to not waste expensive wax on making a new mould.
In the future I can solve this problem in one of 2 simple ways:
- Use a different endmill that has a longer shoulder
- Change my design to have lower walls or a more rounded roof top.
Step 3 - Making the silicone mould
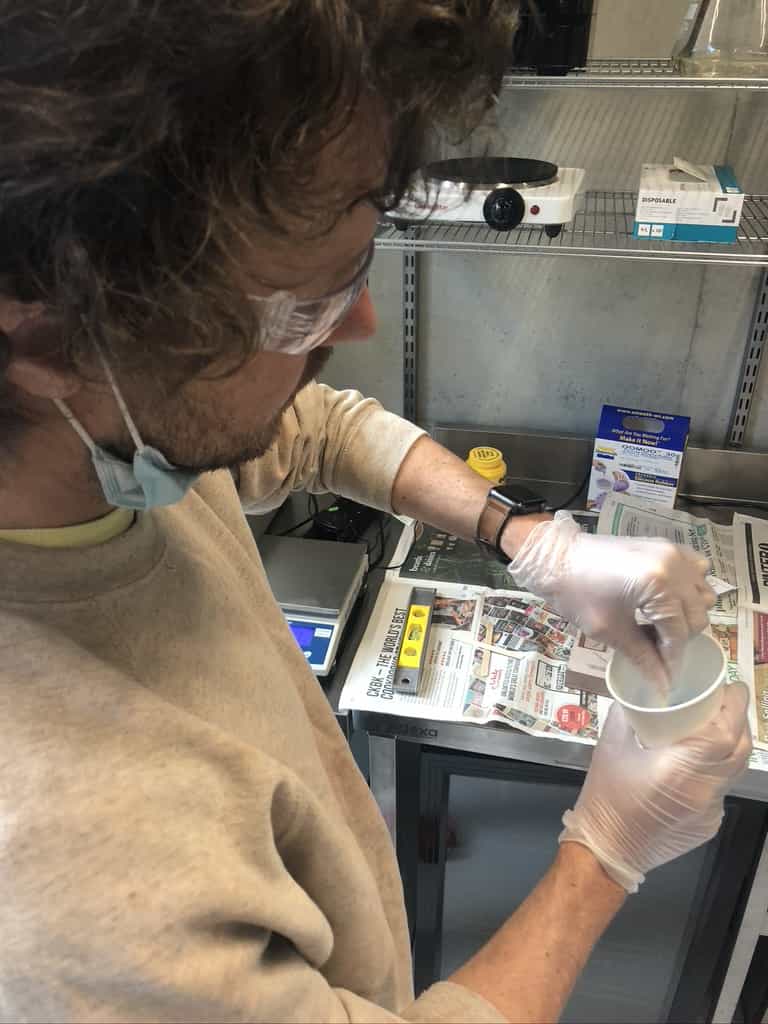
Quick remind of the 3 key safety tips:
- Wear long sleeves
- Wear safety glasses
- Wear vinyl gloves
Test run using my tutor's Pre-Mould
I've mixed the silicone for 3 minutes using straight strokes across the cup. Its important to avoid circular motion as that can push air into the mix. I'm going to use our vacuum chamber to remove air bubbles from the mix. This video shows the first time we tested the vacuum chamber. Probably we shouldn't be this excited about a vacuum chamber!
INSERT VACUUM VIDEO HERE
I decided to do a little test run as this was my first time using silicone. I mixed the 2 parts and weighed our the correctly ratio. (1.3 parts B to 1 part A).
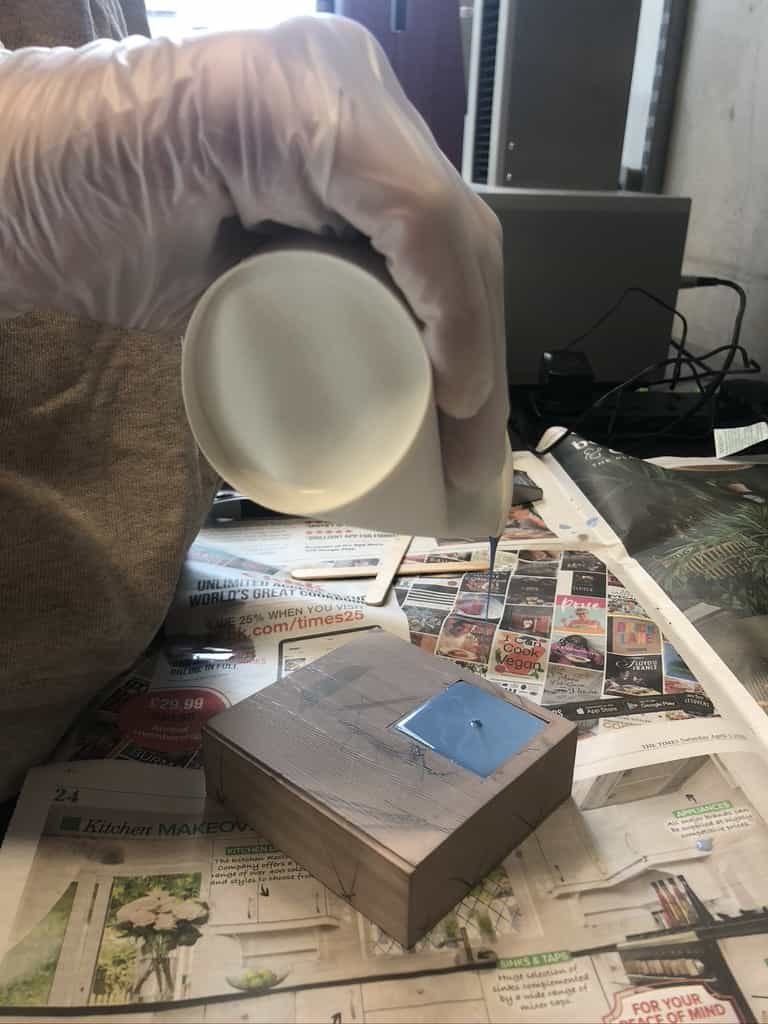

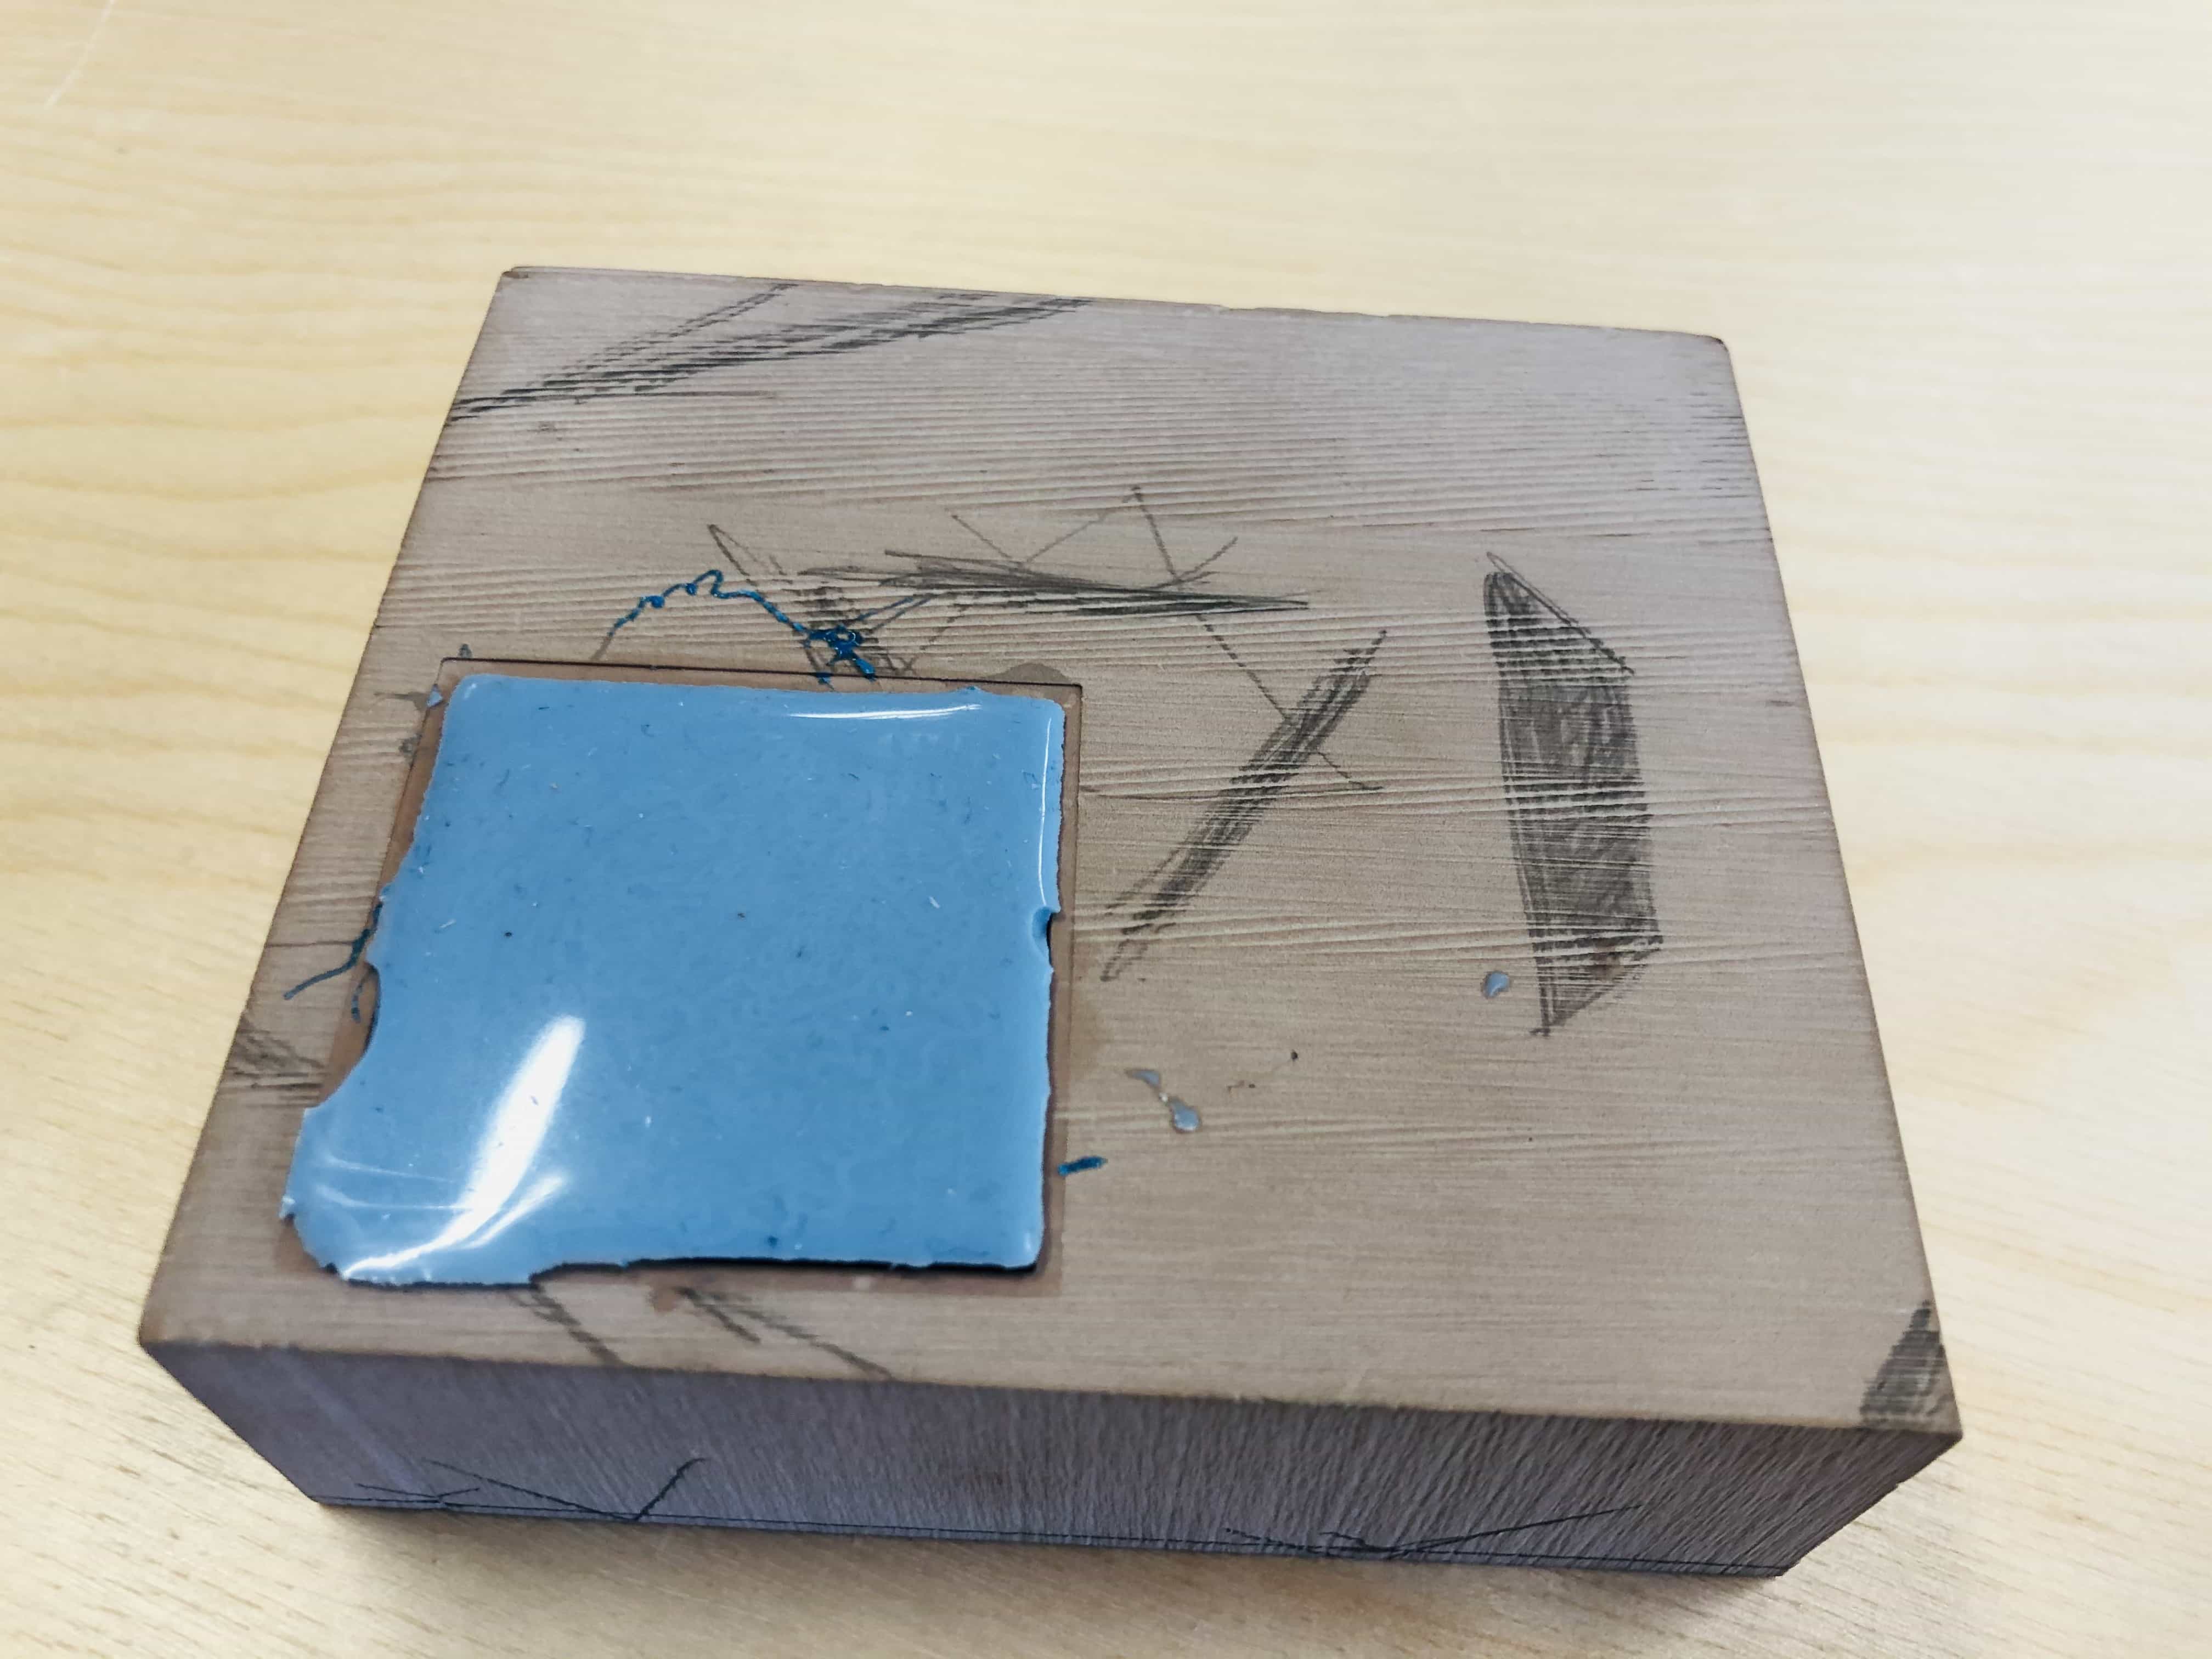
I filled the pre-mould with a very slow and consistent pour and then left it for 6 hours. Here is my tutor's pre-mould before and after I filled with silicone:
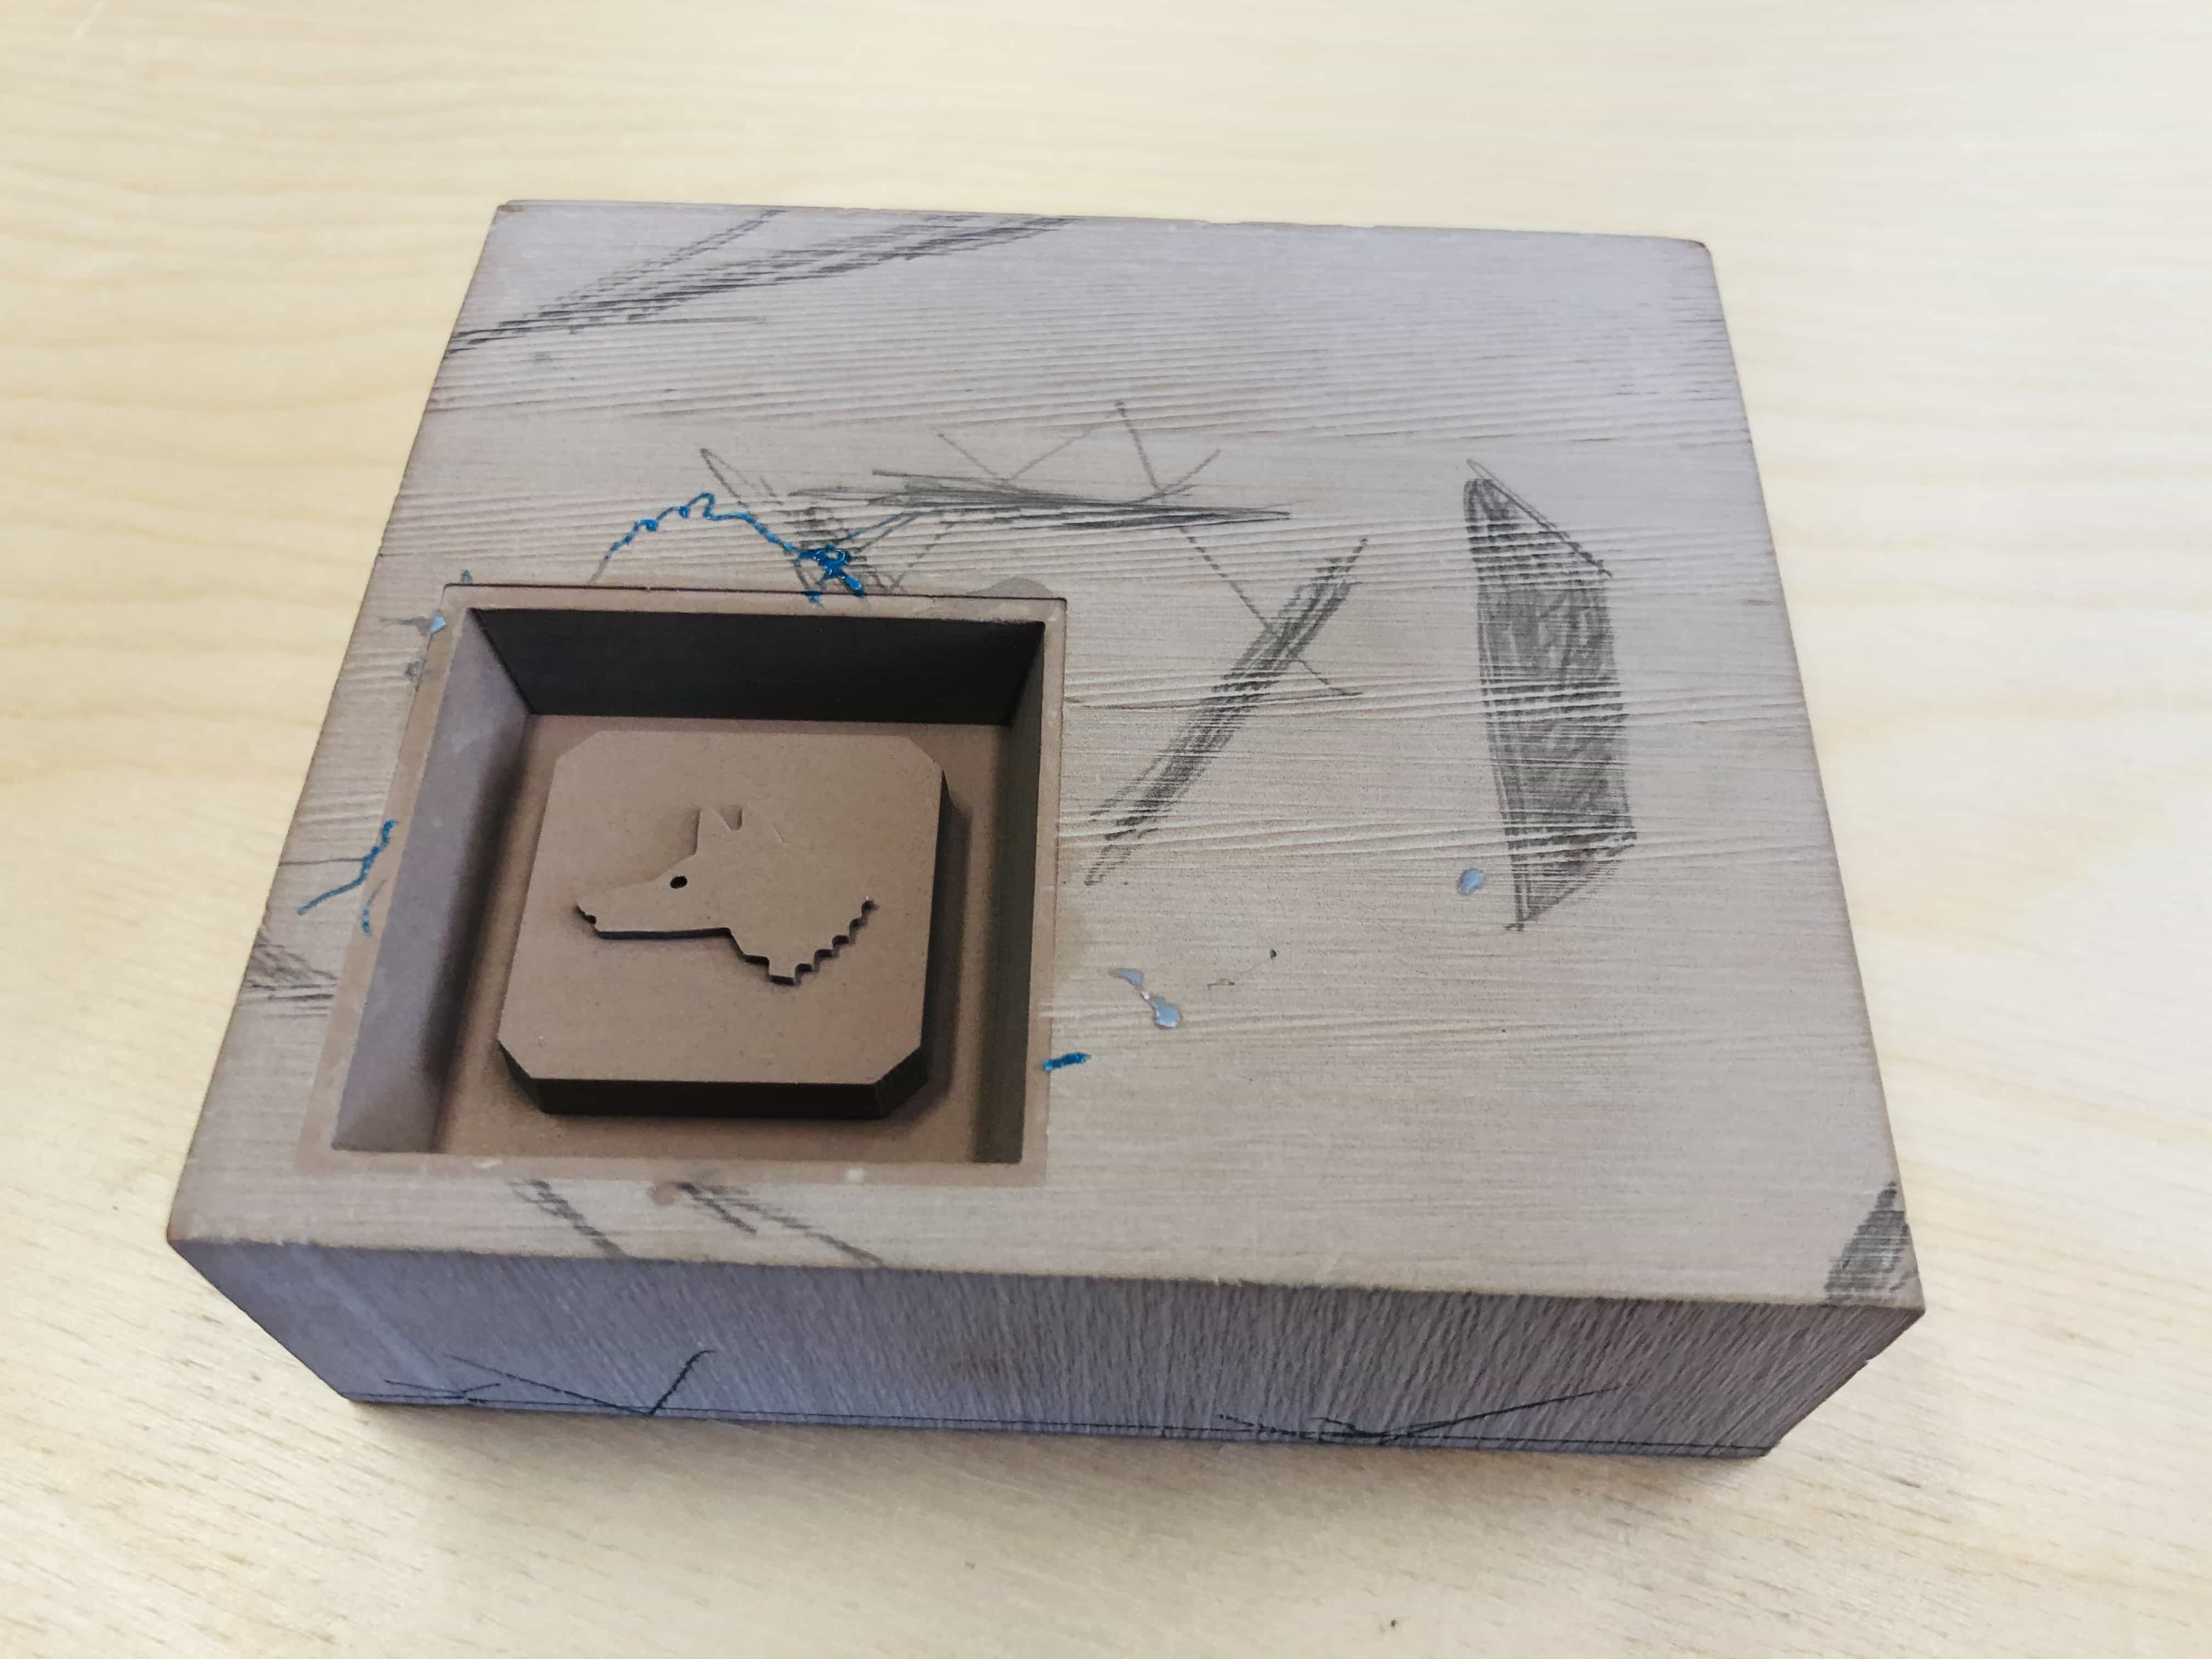
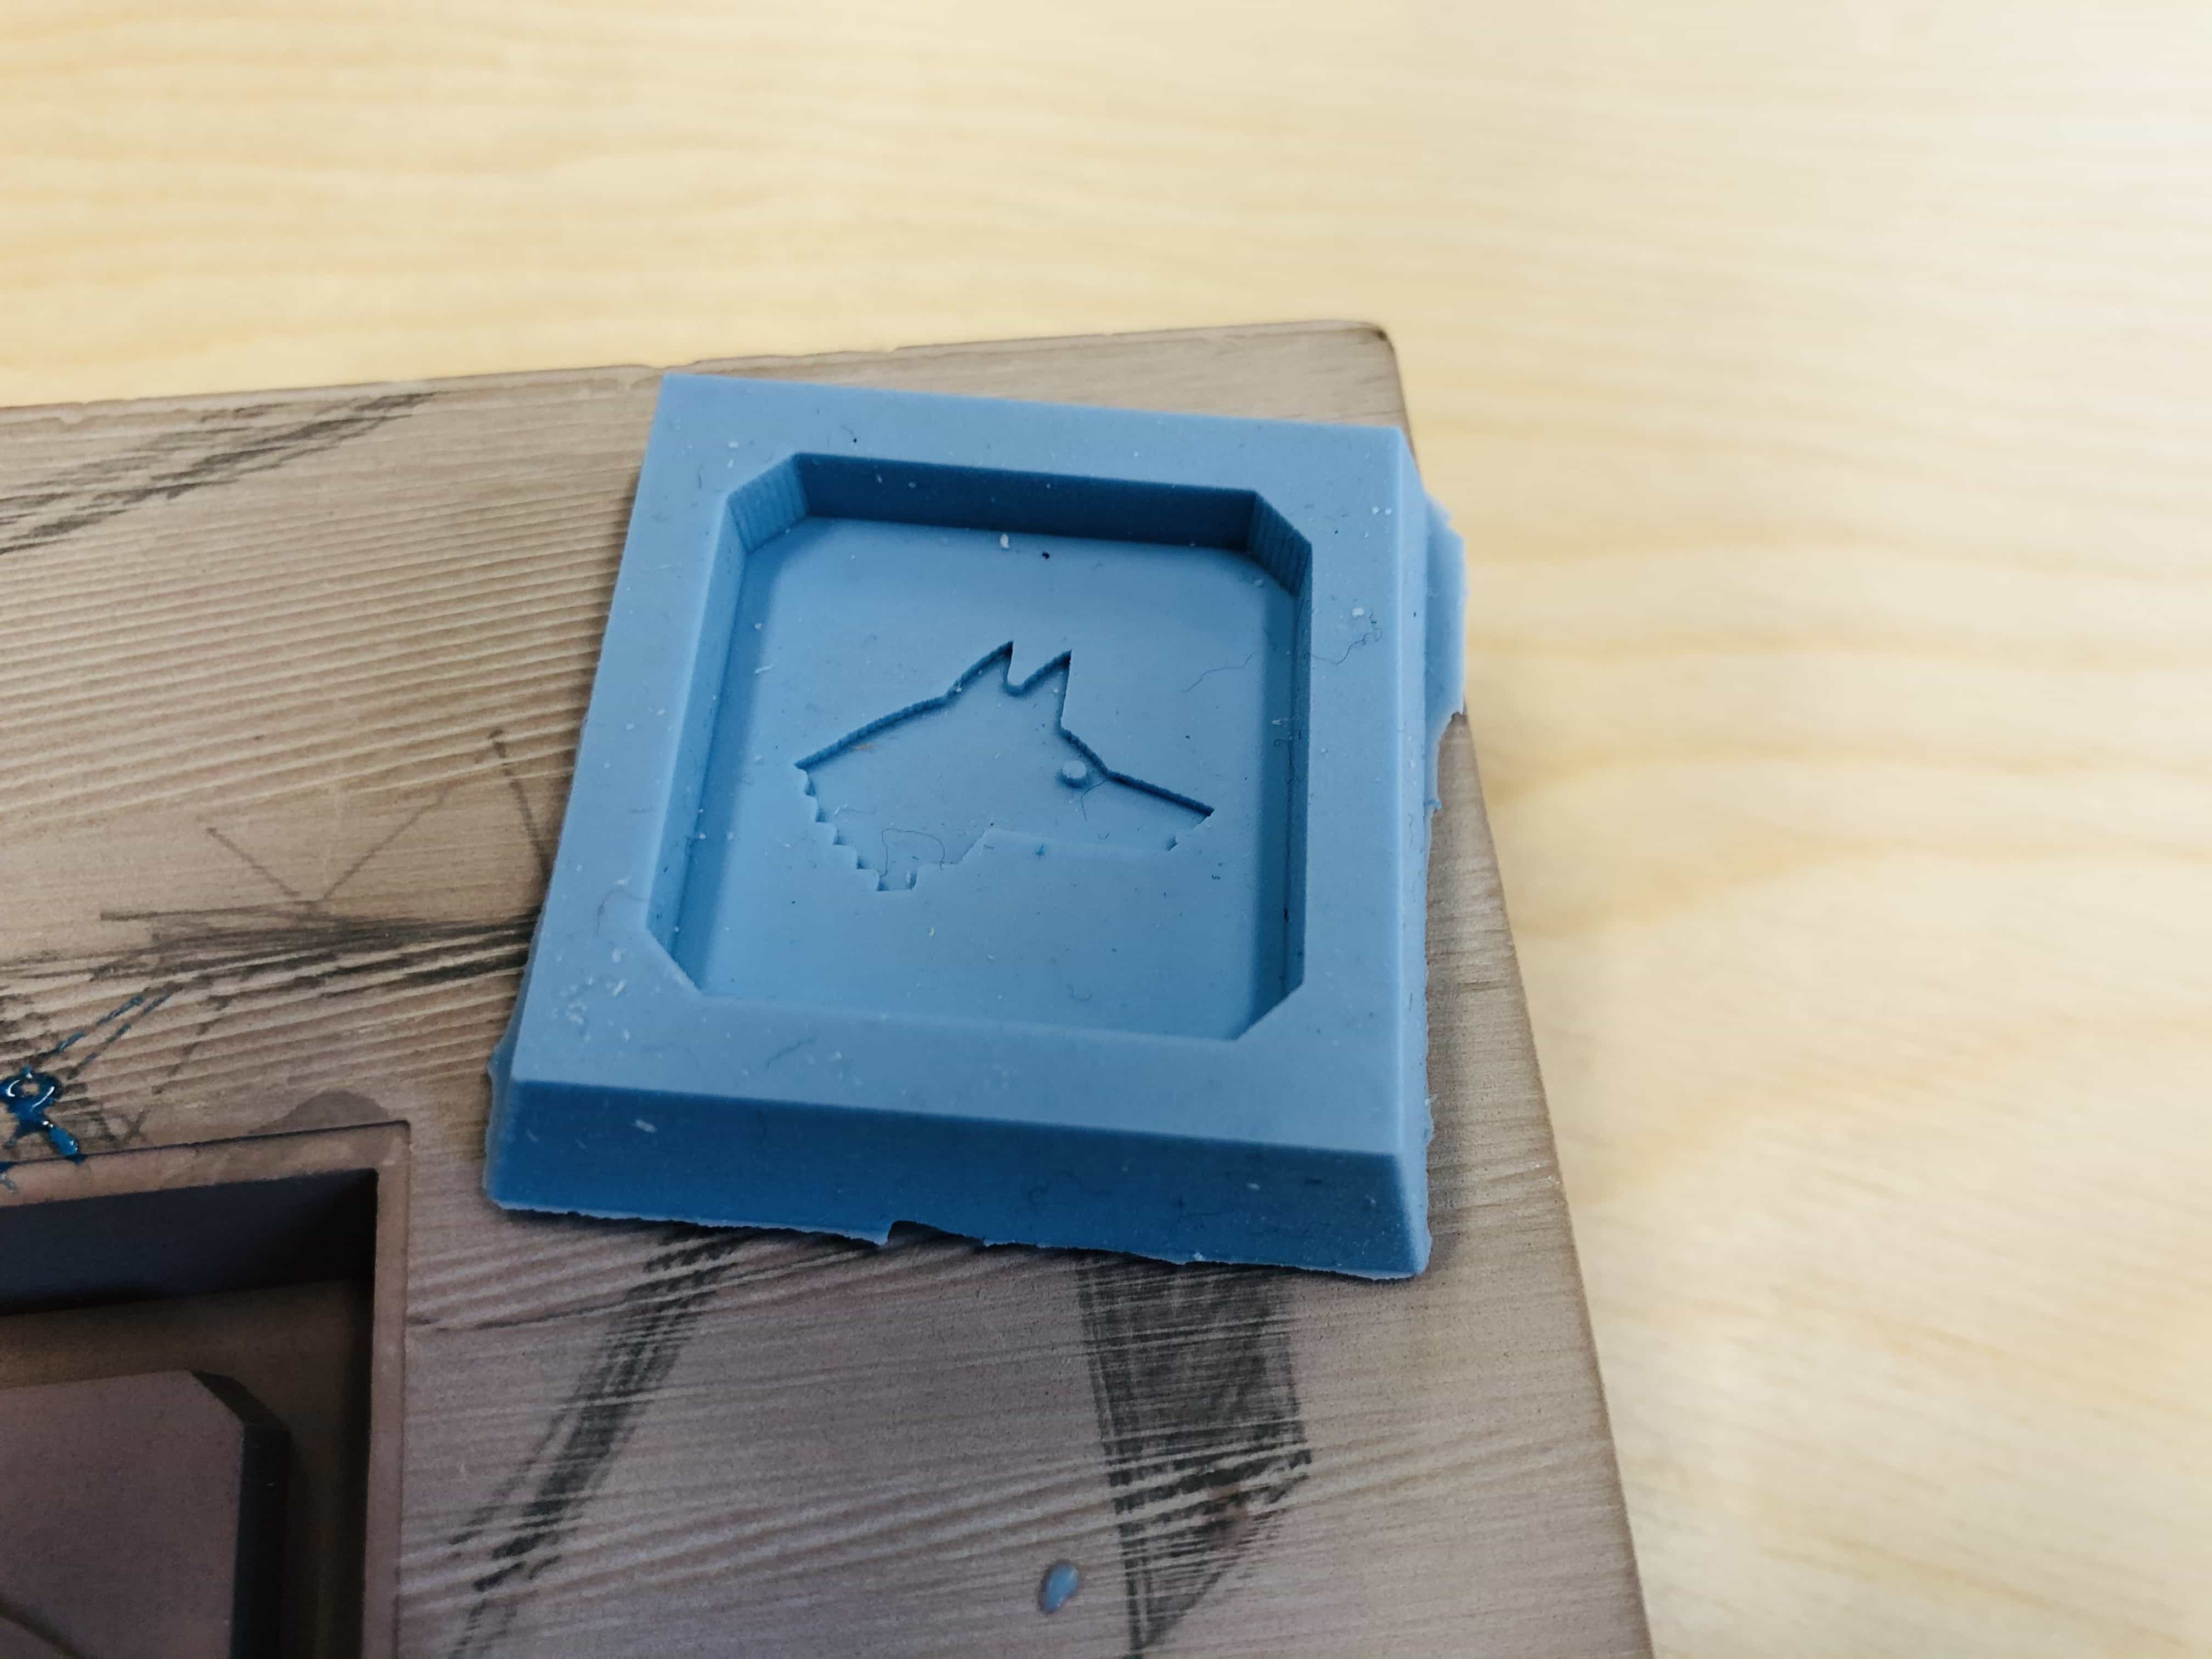
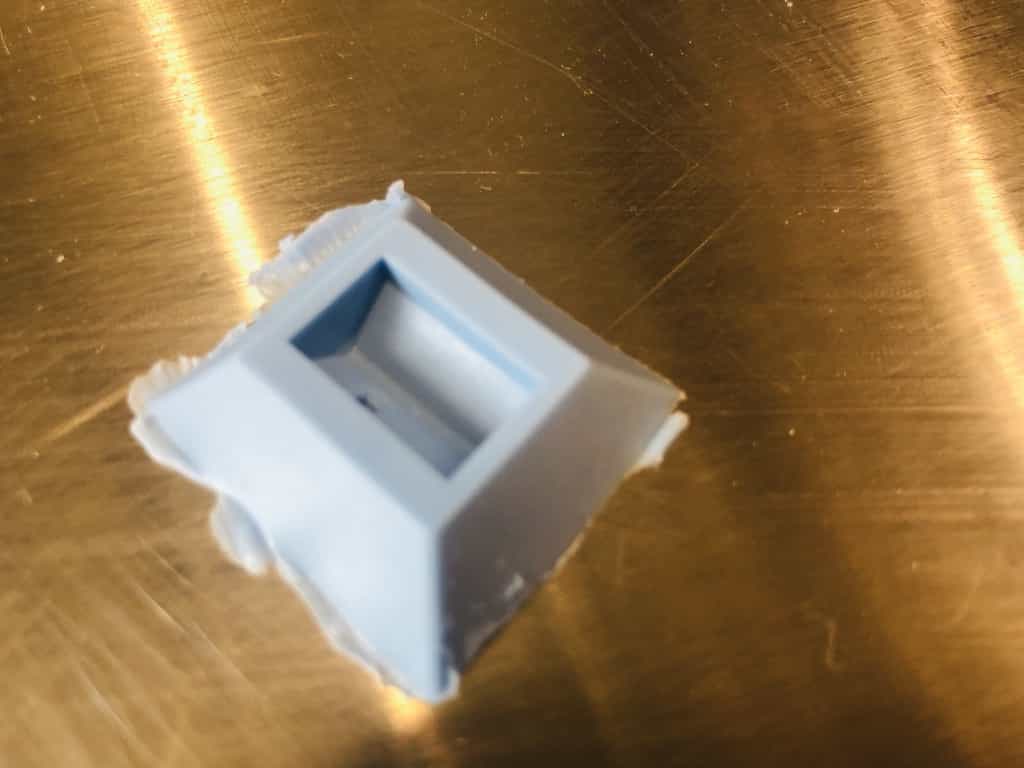
Now here is my first silicone mould:
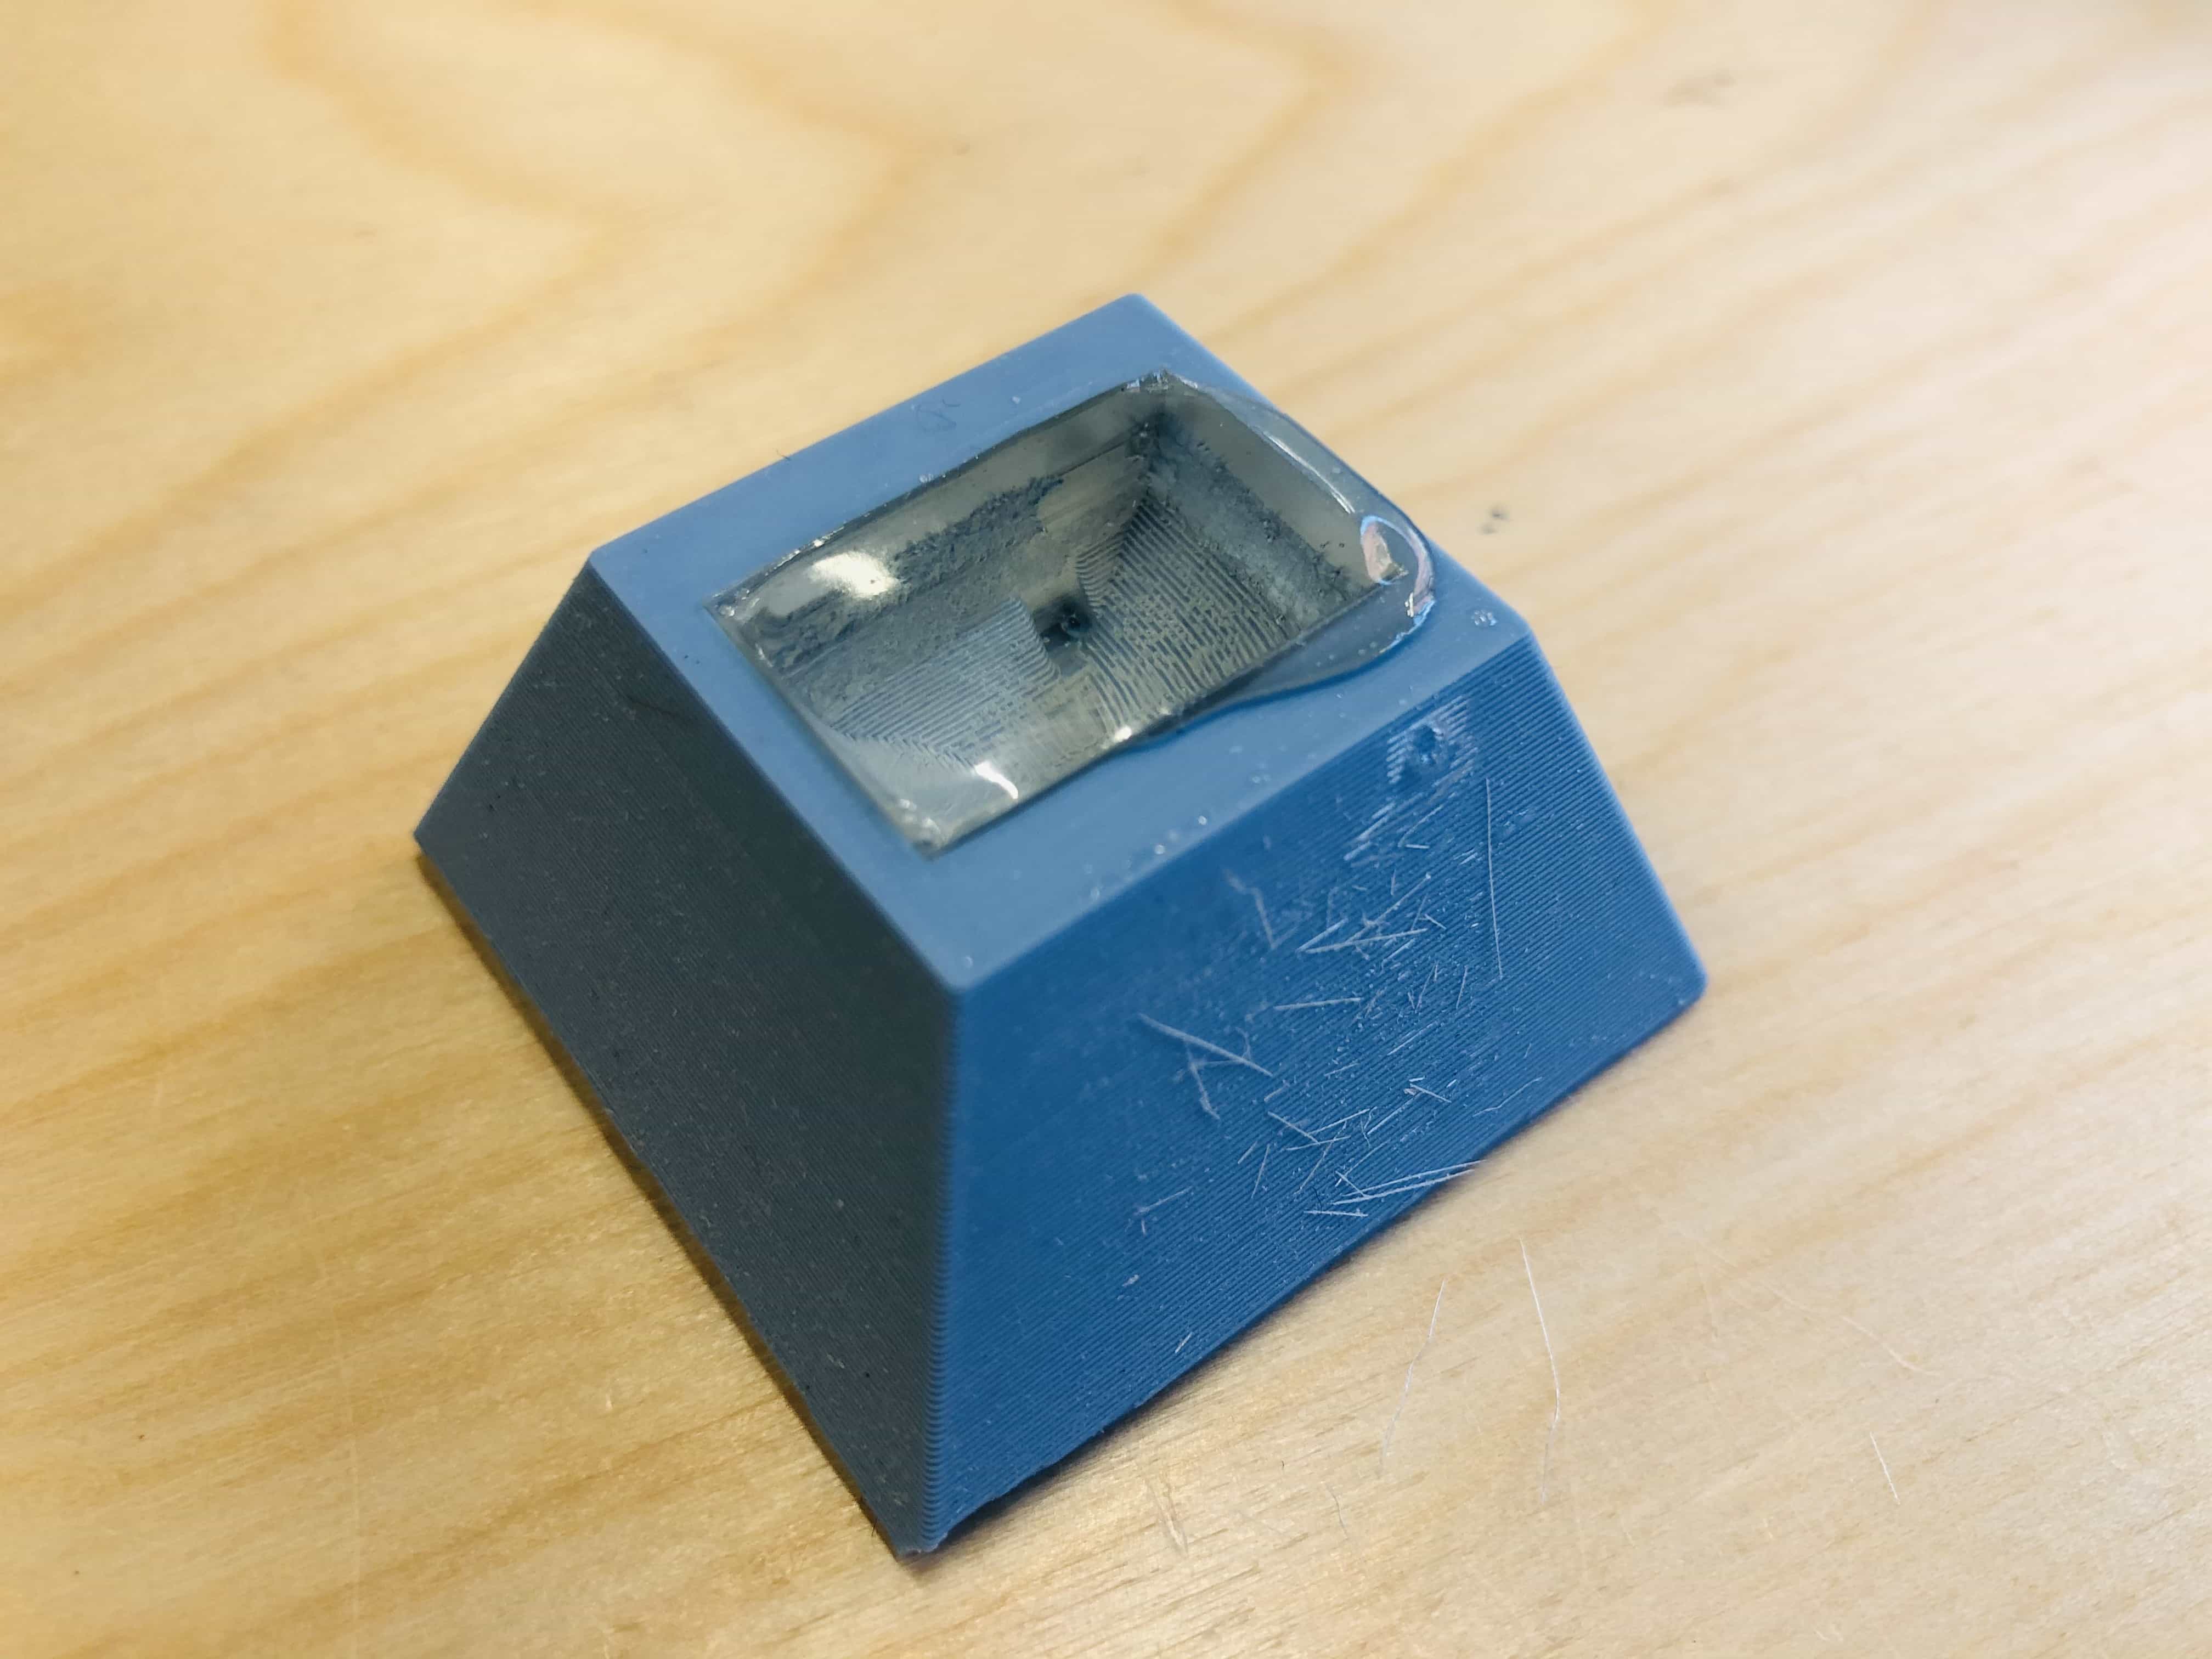
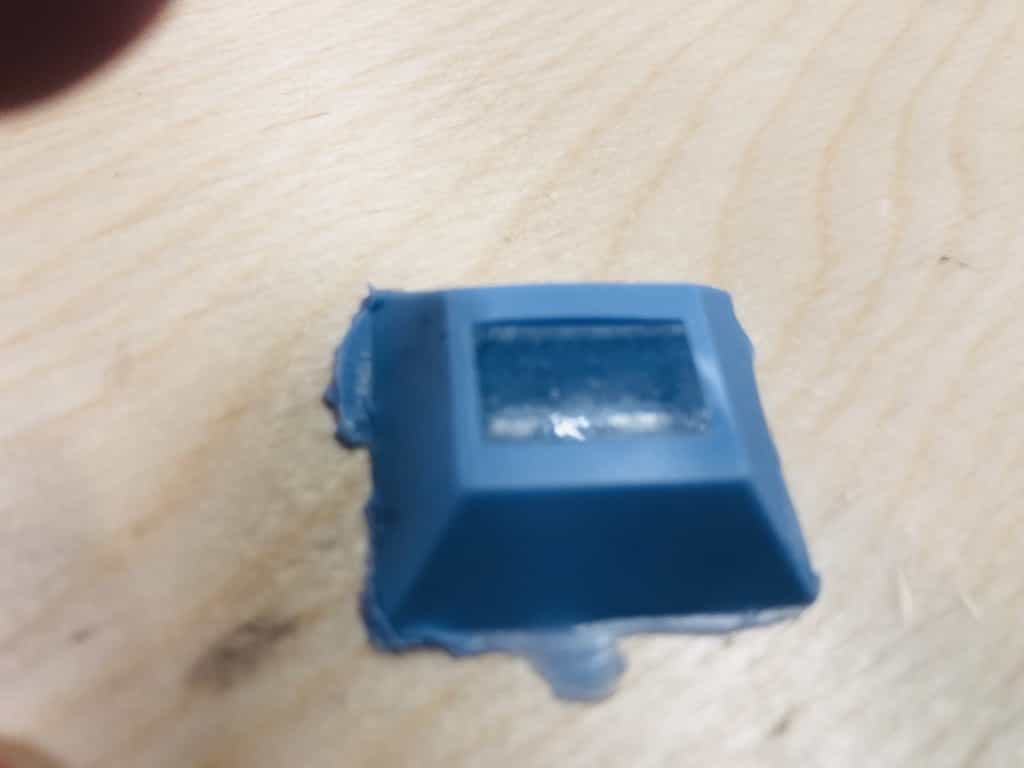
Now time to try using my own pre-mould. Here is the silicone mould for my own design:

Step 4 - Making the part
I've mixed my resin and gently filled my silicone mould:
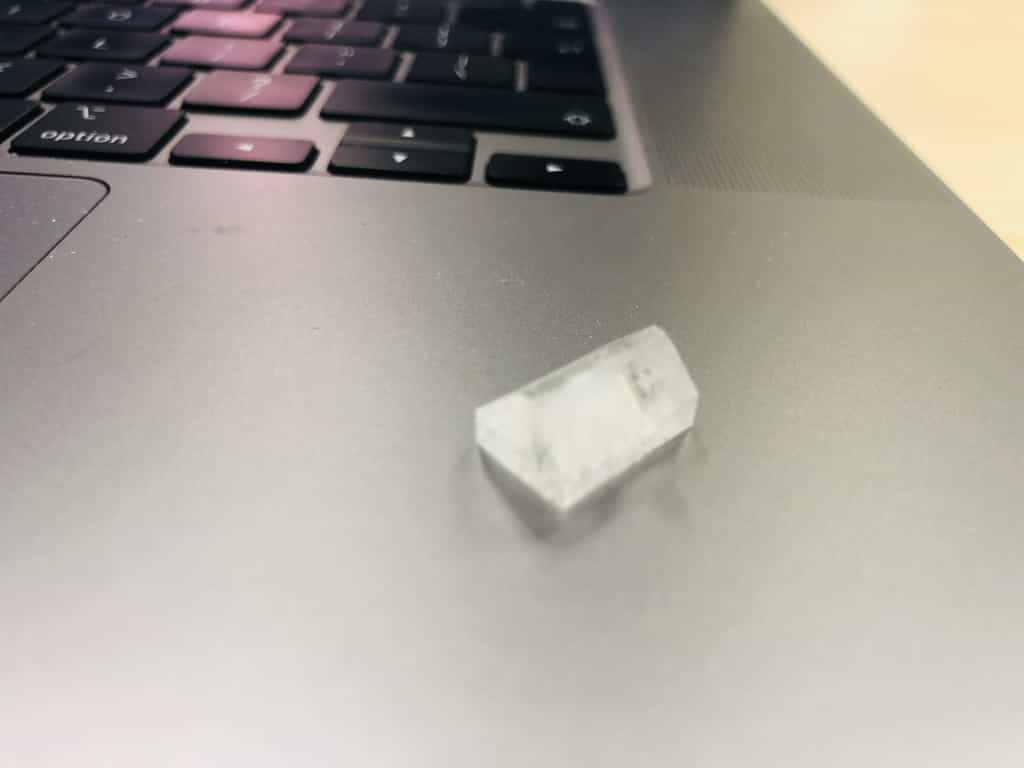
Here is my first part made from resin:

There looked to be too many bubbles so I'm going to try again but will leave the resin in the vacuum chamber for a lot longer. Last time was 15 seconds. This time will be 90 seconds. Here is the 2nd attempt:
2nd attempt
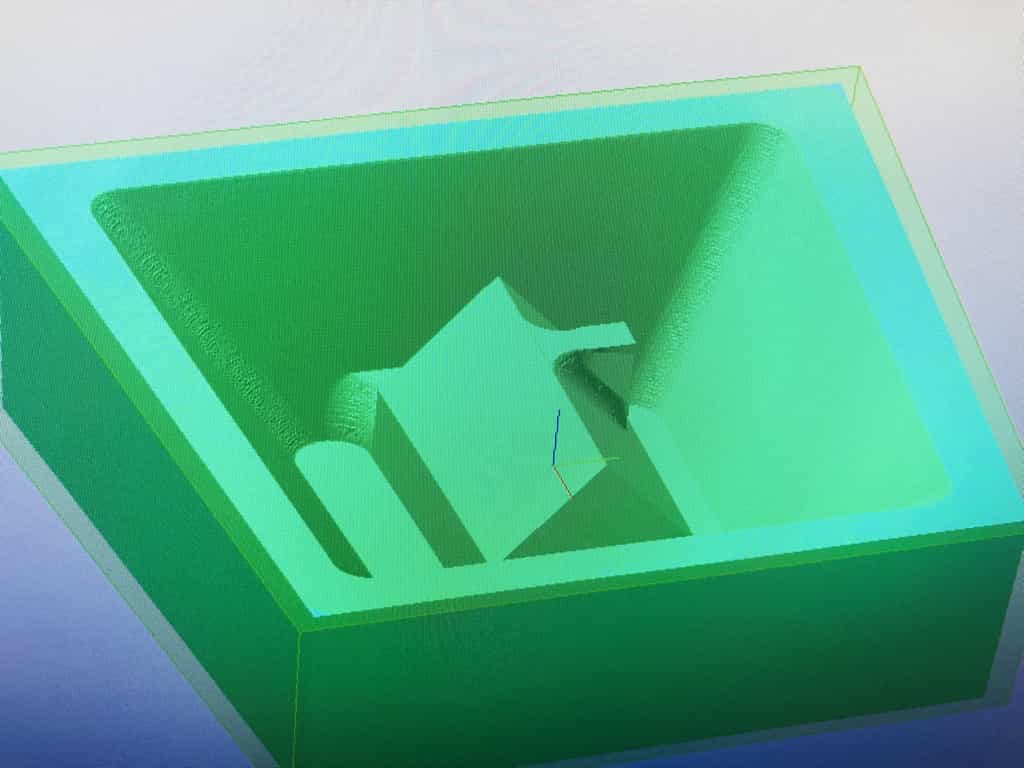
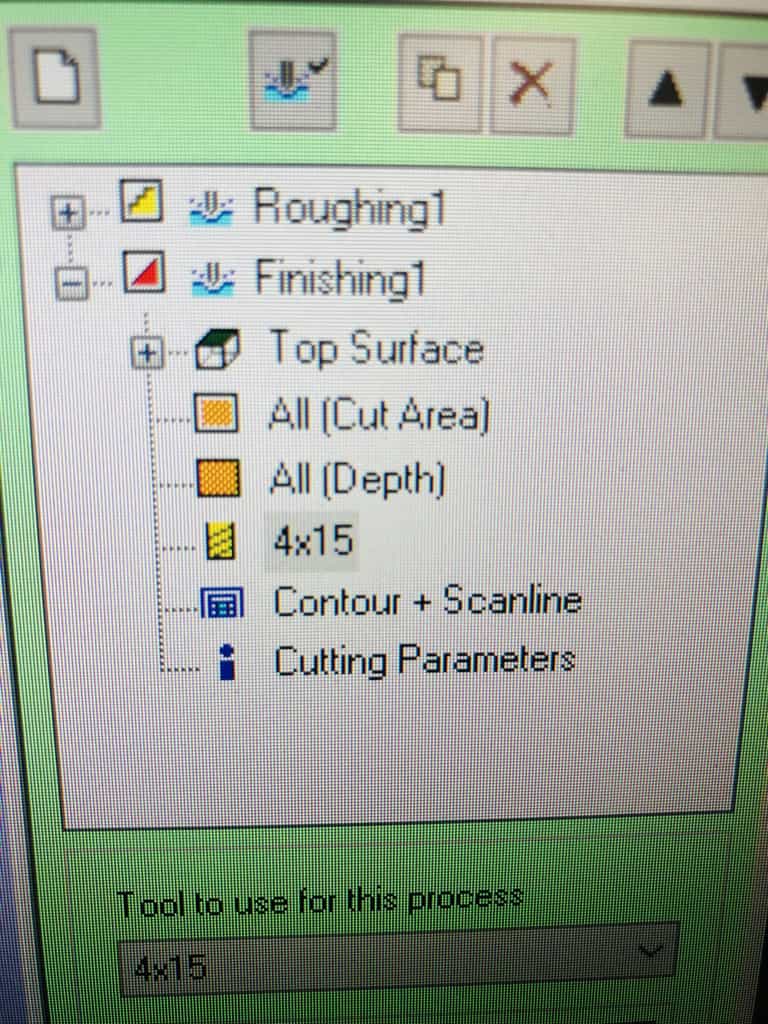
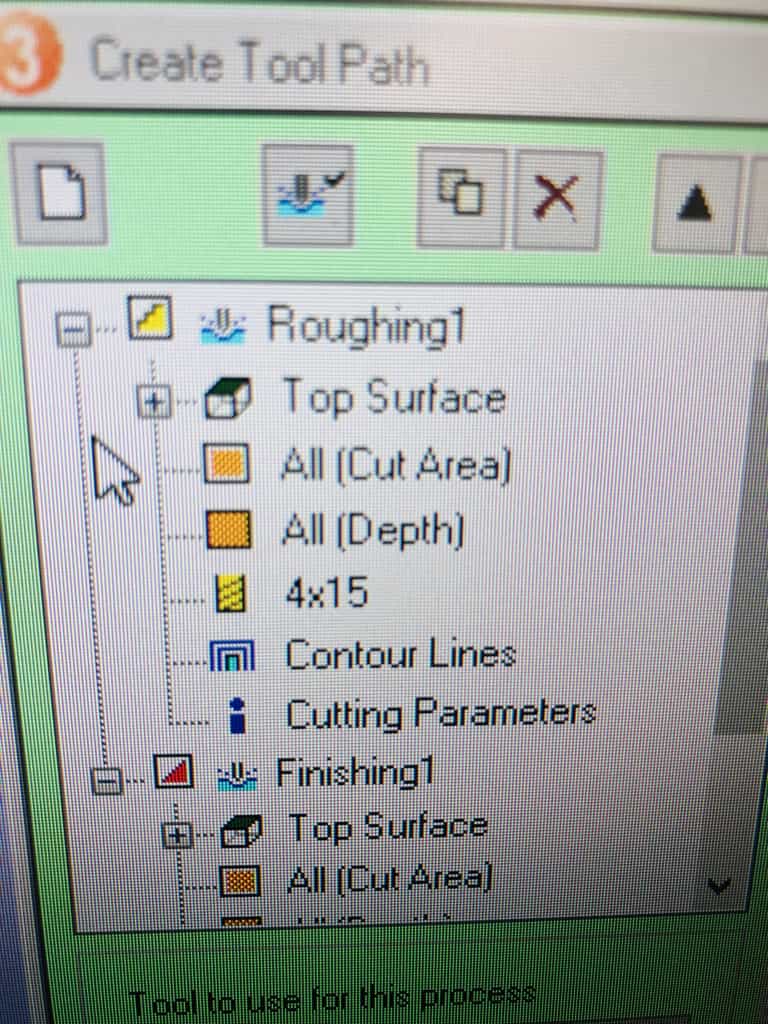
I have been advised by Yuichitamiya, my assessor, to try this again. The problem is that my pre-mould did the 'roughing' toolpath, but not the 'finishing' toolpath. As a result, the roof of the house is not smooth and the quality of final model is poor.
I've decided to use a 4mm mill bit. This mill bit has a longer shoulder which is good for avoiding collisions on the roof of the house. It is too wide to make the chimney but actually, I prefer to not cut chimney this time. On 2 occasions my chimney broke off because it is too small. I can make bigger design with bigger wax but it is expensive and I think it is better to make small designs when practising skills. I am happy with the chimney moulded into roof. I've set up my rough and finish toolpaths using the new millbit:
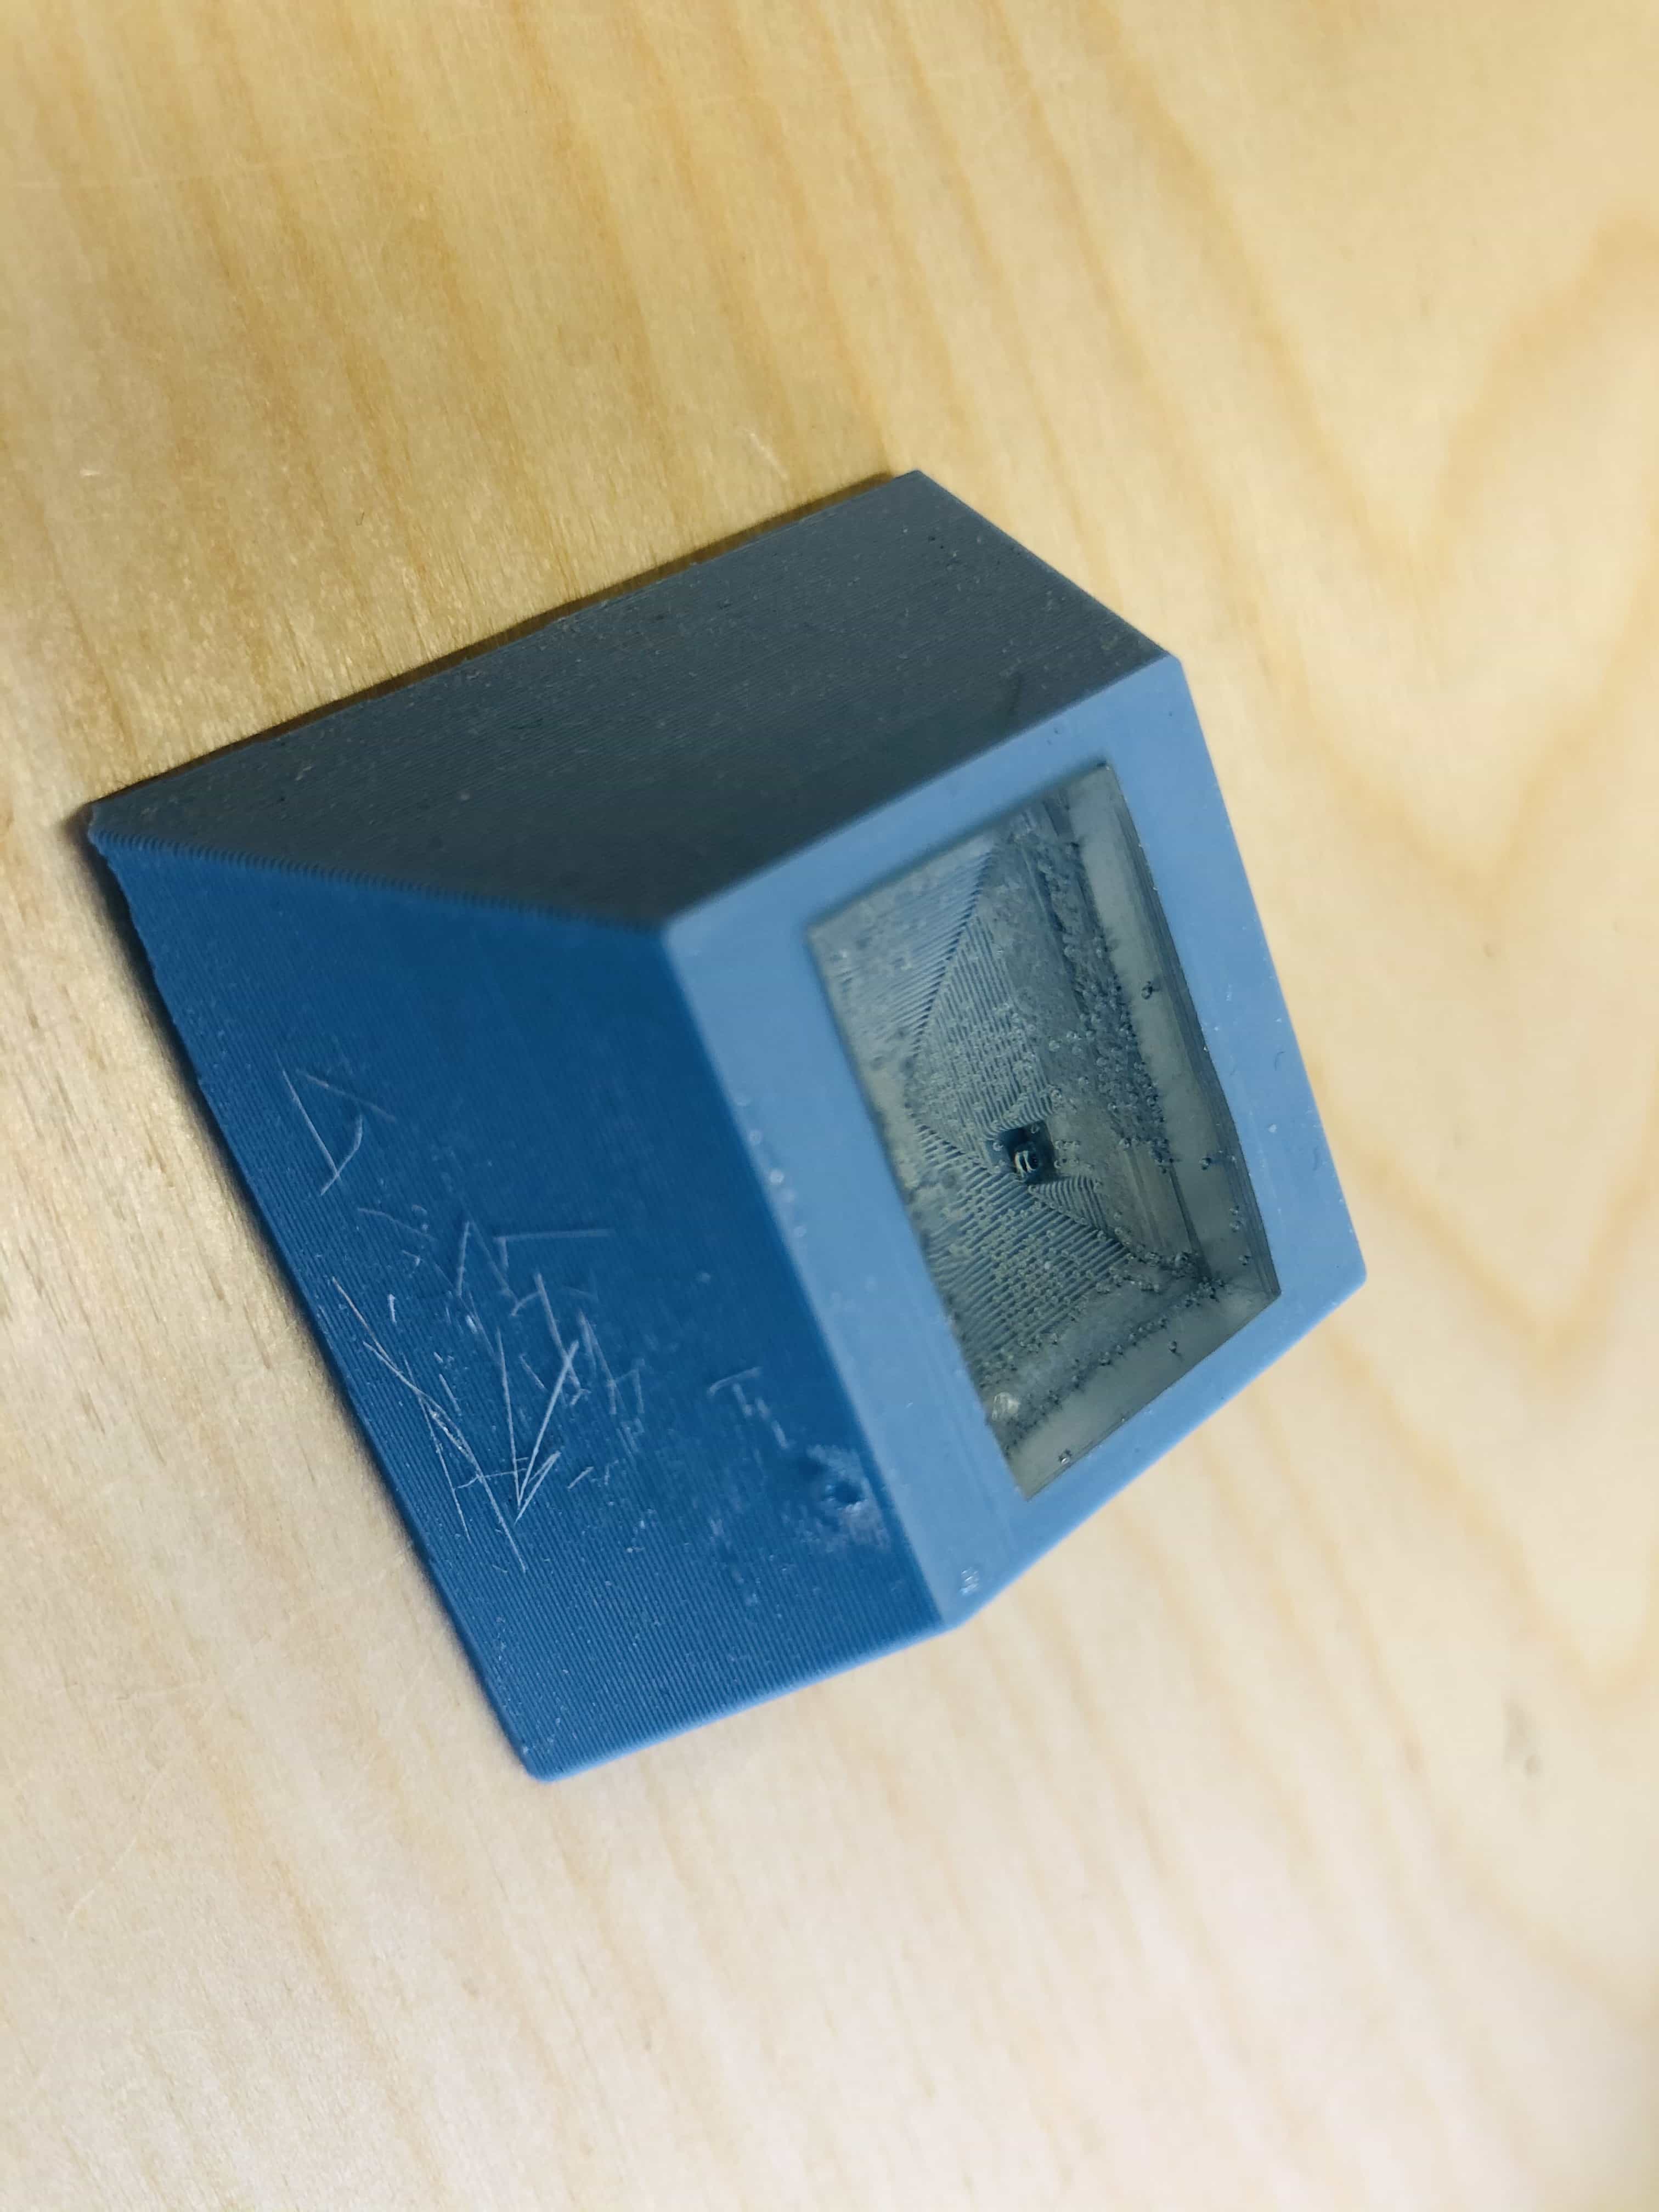
I'm pleased to say that this has come out a lot better. You can see the smoothness on all the surface
The silicone mould is good. You can see that the surface inside is a lot more smooth:
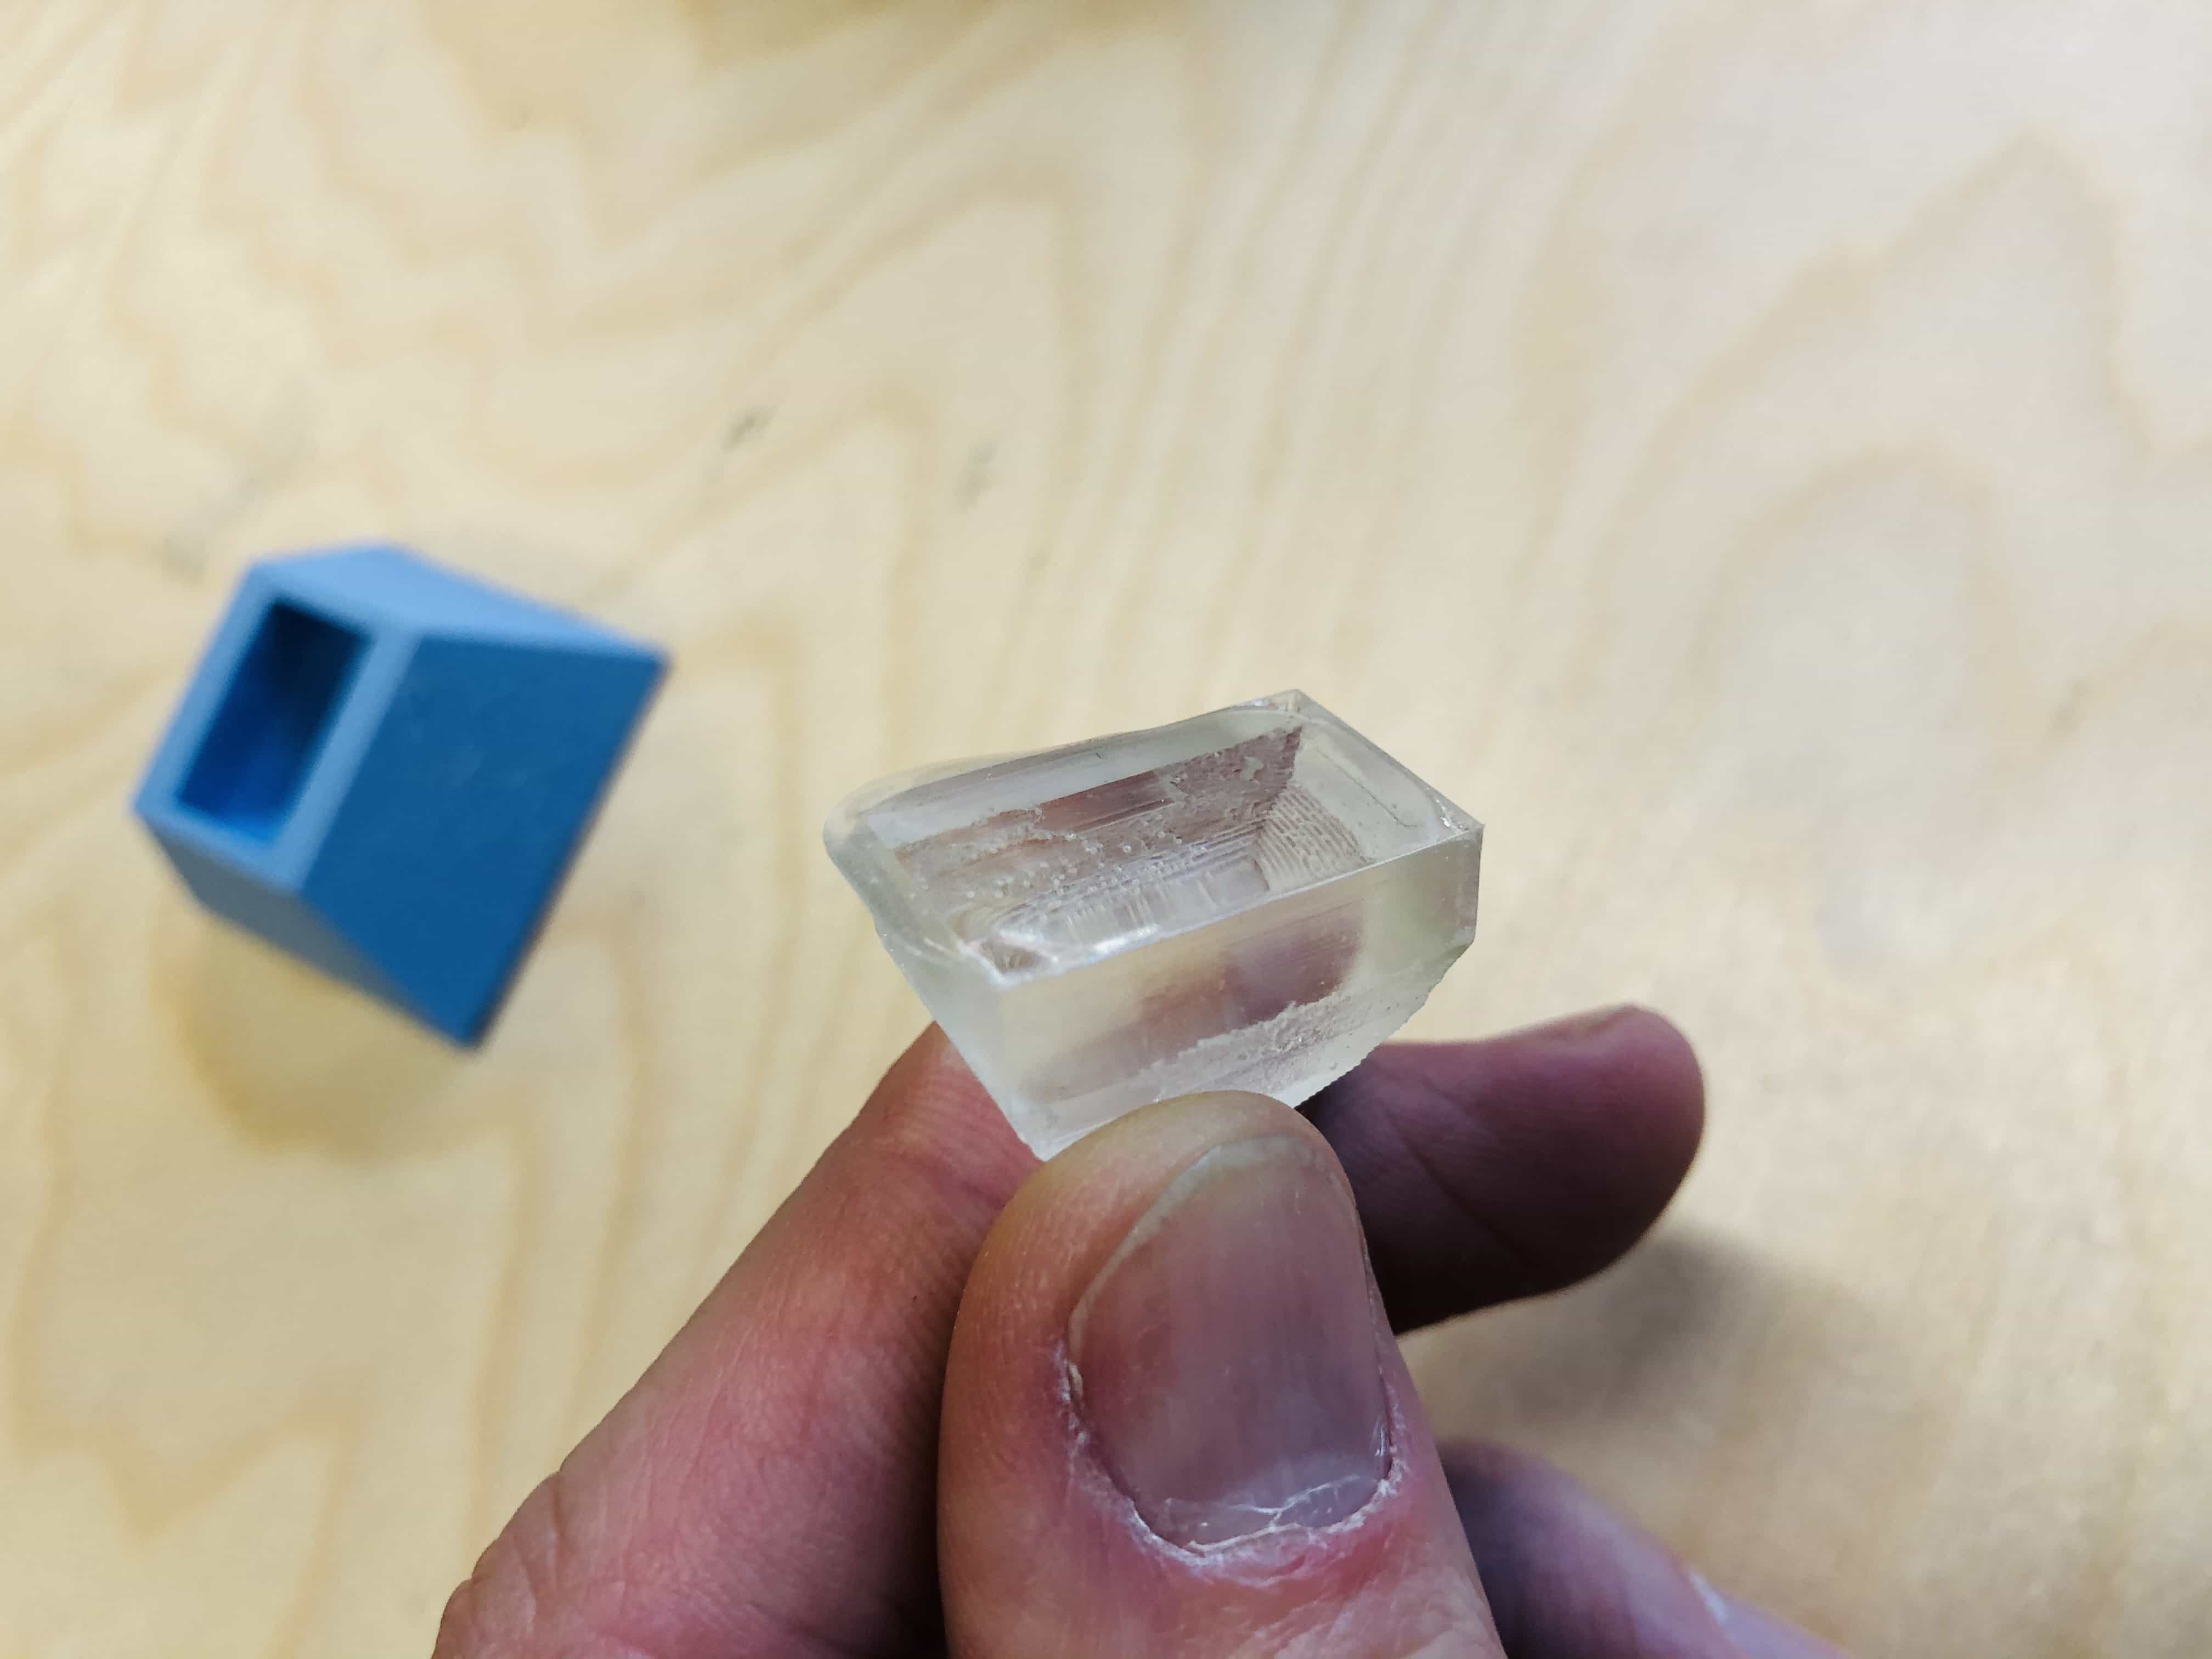
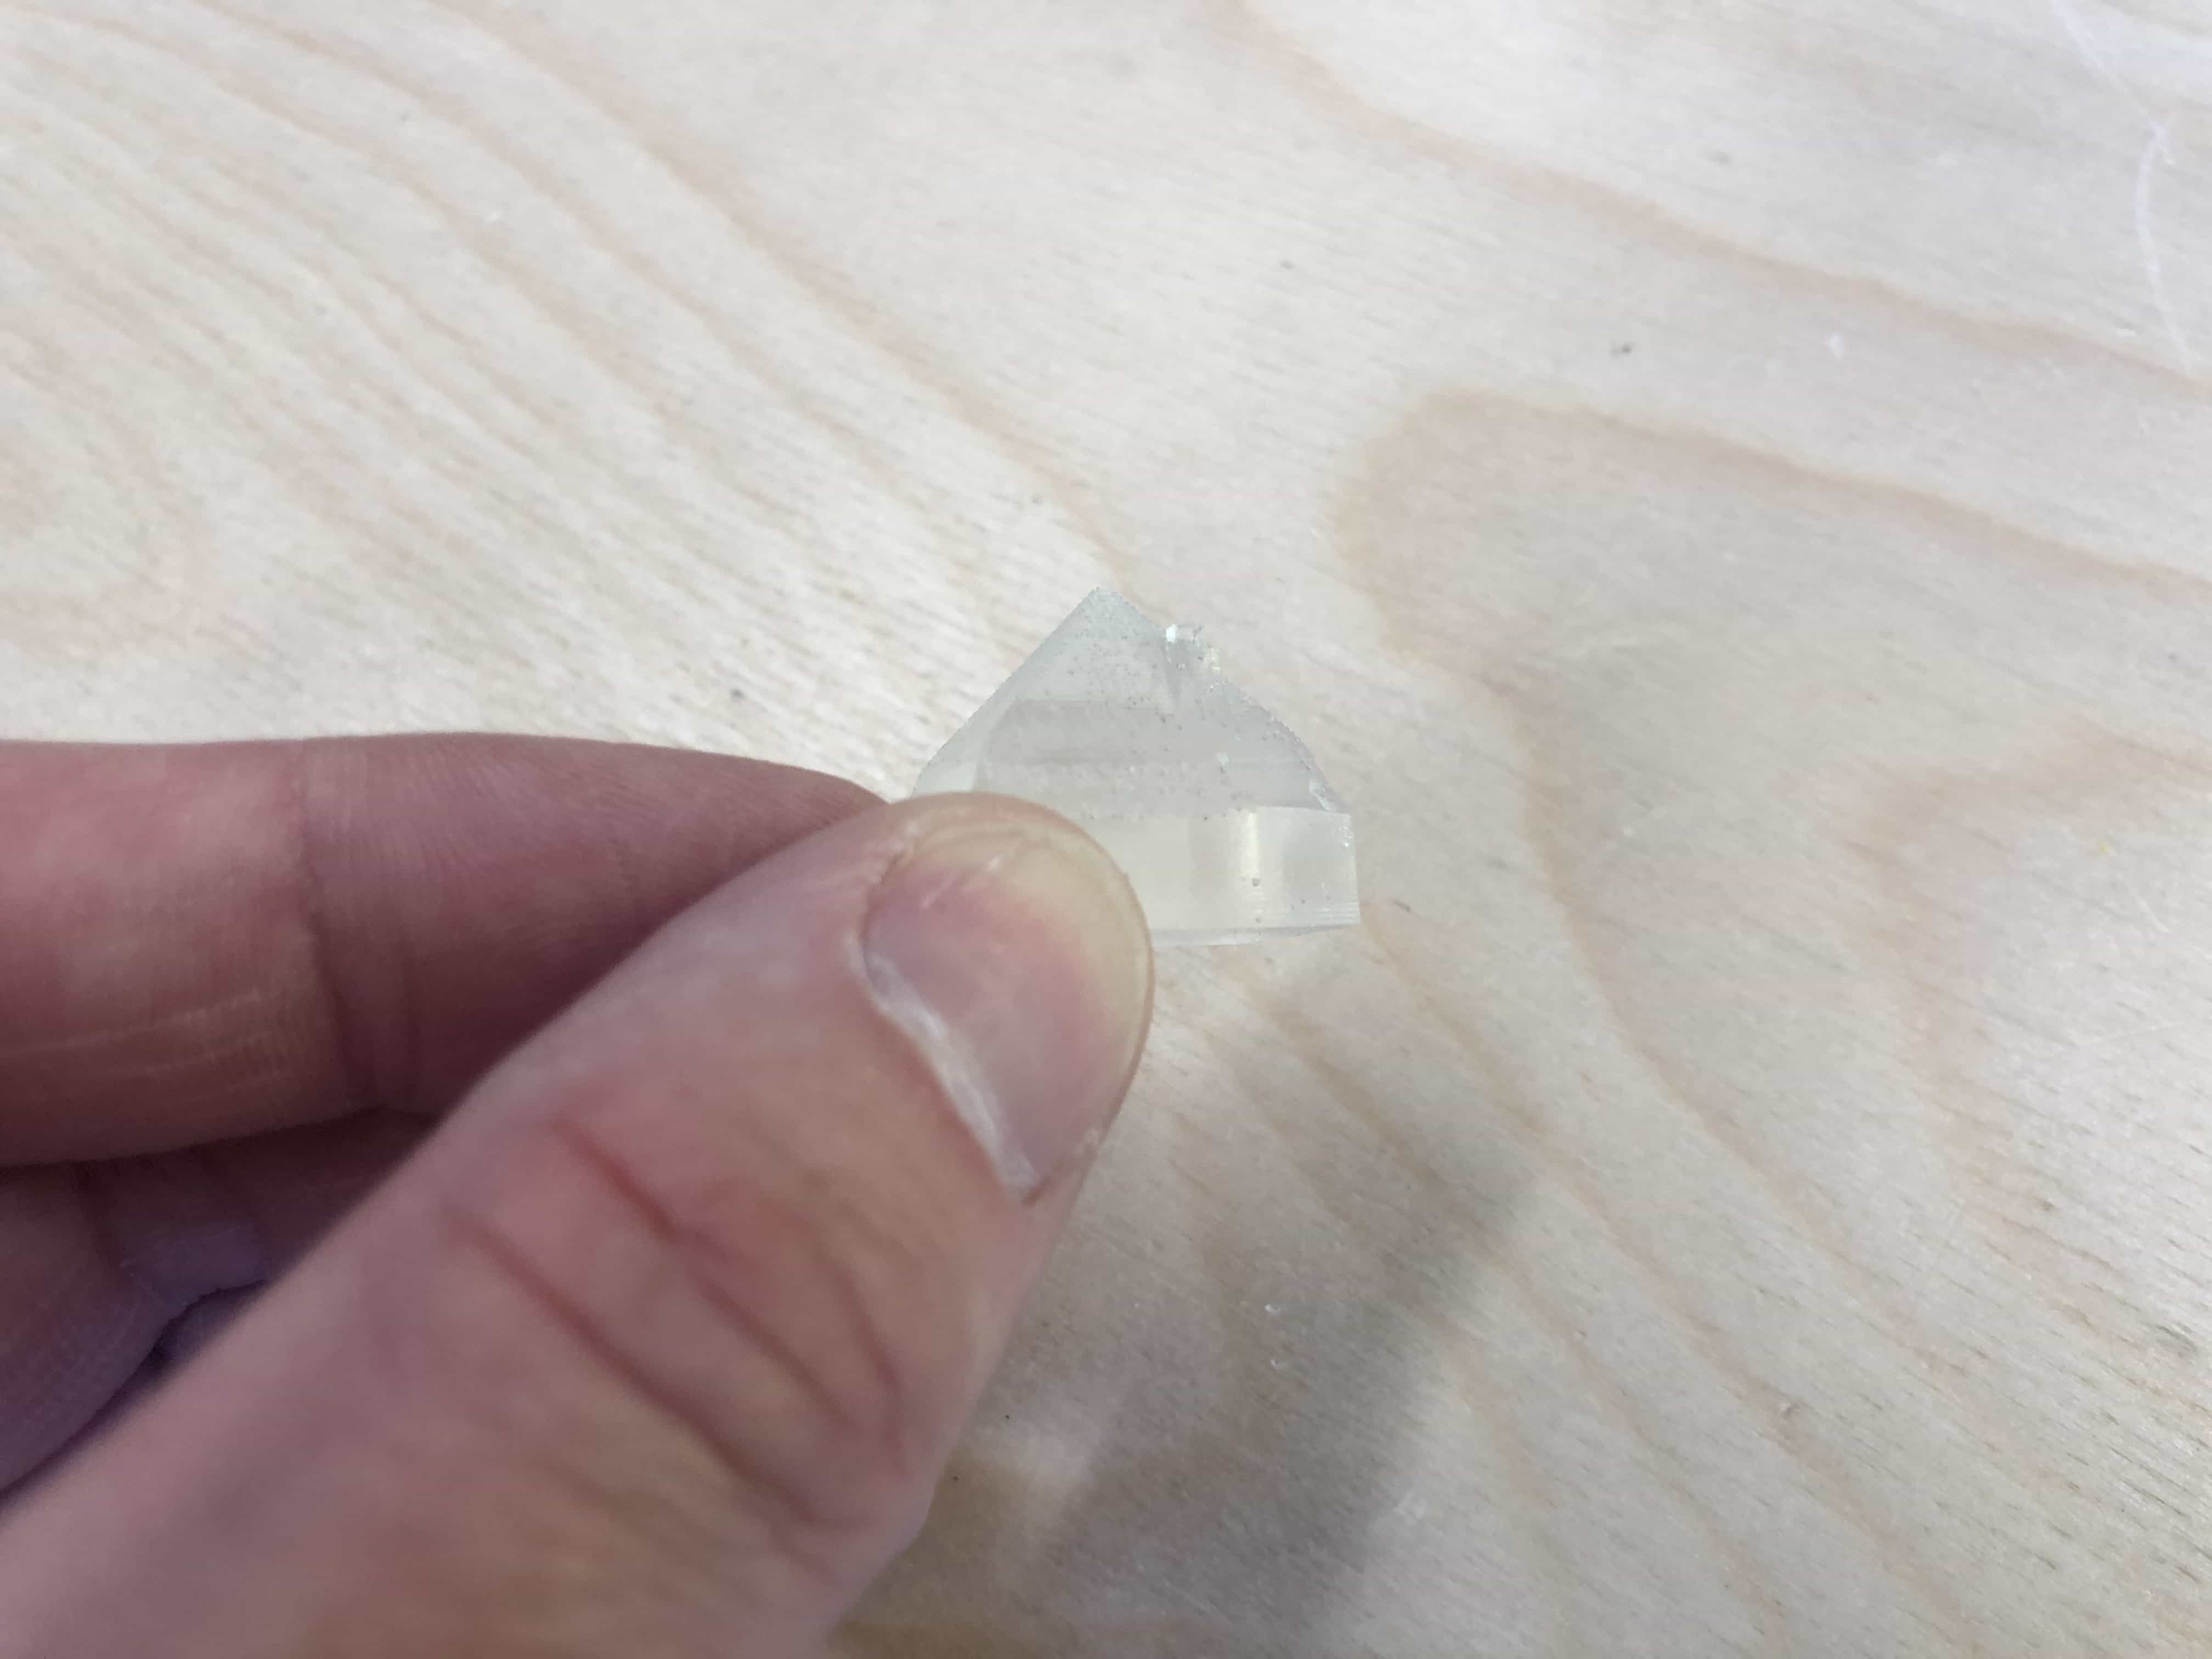
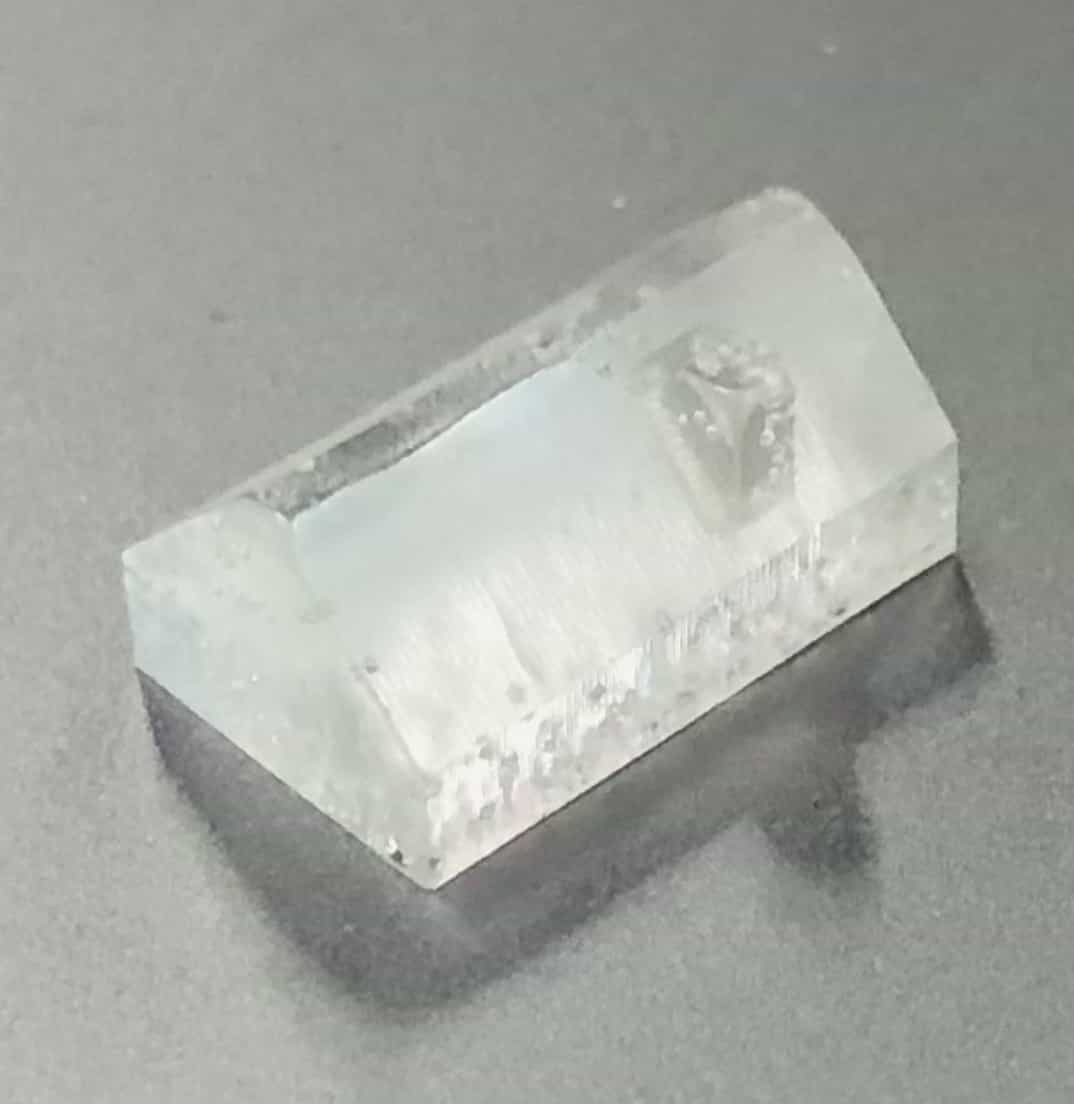
The resin has come out nicely. It is very small but the surface is totally smooth now:
Files for download
Link to group assignment:

Back to homepage: