Project Management
Making your website
This week all the research is about how to develop your own website and how to organize your time in this period to have a fluid learning. This website is the place where you can see all the development week by week, by other students, by teachers and by all those curious who want to take a look around here. Personally, I don't know anything about web pages, or <html> language, but let's investigate!
I must thank Cristian Loayza for the great support provided this week, to help me understand in a dynamic way how all the elements of a website work.

GitLab Account
Week 1 Assignment
📆 January
Understandingmy website
In the class each student has a user in the GitLab cloud of the Fab Academy. Each one must upload and update their own repository within the general repository. To achieve this weekly update, get my website scheduling, and make the connection to the GIT, I had to read about various concepts.
Web programming has several elements that I needed to understand before programming my website. I learned that it is like a layer cake, and you can create layer by layer that complement each other and give that special flavor and unique appearance to your cake.🍰(Your website)
Here is a description of some important terms to know about the repository:
- Version Control System: It's a system that records the changes made to a set of files over time. Using a VCS means that if you ruin or lose files it will be possible to easily recover them.
- GIT: It is a Version Control System (VCS) created by Linus Torvalds, a software that allows to record all the change history of a set of files in a specific project. Usually, it is used by programmers who work in collaboration with source code during software development.
- Repository: Any project that is being executed in GIT whose changes are being registered.
- Commit: It's each one of the changes registered in the GIT history of a project. Each developer of a project can record their changes.
- Branches: New paths that the project takes, normally there is a branch called MASTER, where the main project is. You can generate Branches, isolated copies where you can modify what you need without compromising the main project.
- Clone: It's an exact copy of your repository. Usually when you start working on software or join a team the first thing you do is clone everything on your local computer. For this course we all have to make a clone of our repository previously loaded in the main repository, and then start modifying it on our PC and updating it day after day.
- Terminal or command line: It helps you write the commands related to Git, where we tell Git the action we want to perform.
Cloud repositories:
- Repository: Any project that is being executed in GIT whose changes are being registered.
- GitLab: It is used to work in a distributed team, for example in different countries as in the case of FabAcademy. There are companies that give you a platform to use Git in the cloud. In other words, you have your repositories in the cloud. Each student's repositories are Remote Branches, and the FabAcademy repository is the master. These repositories can be public when they are OpenSource, as in our case. Others may be private.
- GitHub: It is a company that provides a service to have your repository hosted in the cloud, administer and manage it.
Here are other important terms to know about the web:
- HTML: Typed language that helps you organize the content of a web page. It would be like the first layer of the cake, the vanilla cake. Here we will be defining paragraphs, headings, we will put images or data tables.
- CSS: The programming language that we use to style an HTML document, it describes how the HTML elements should be displayed, this would be the second layer, for example the chantilly, it is already giving flavor.
- JavaScript: Programming language that allows you to give interactivity to your web page. That is, complex functions, such as interactive maps or animations, would be the third layer of the cake, such as the Dragon ball decoration on top of the cake. This makes your cake unique.
In addition, code editors and libraries will be needed to customize your website:
- Visual Studio Code: It is a source code editor that allows working with various programming languages, works in Windows, Os X, GNU, Linux and contains tools to develop web pages. Supports managing your own keyboard shortcuts and refactoring the code. It is free, open source and provides a utility to download and manage extensions with which you can customize and enhance this tool.
- Bootstrap: It is a framework with a series of front-end tools for the layout of web pages. It has a great bookstore. It combines CSS and JS and helps to style the elements on a web page. It allows the construction of responsive web sites and applications, which means that the web pages are designed to work on desktop, tablets and smartphones, in a very simple and organized way.
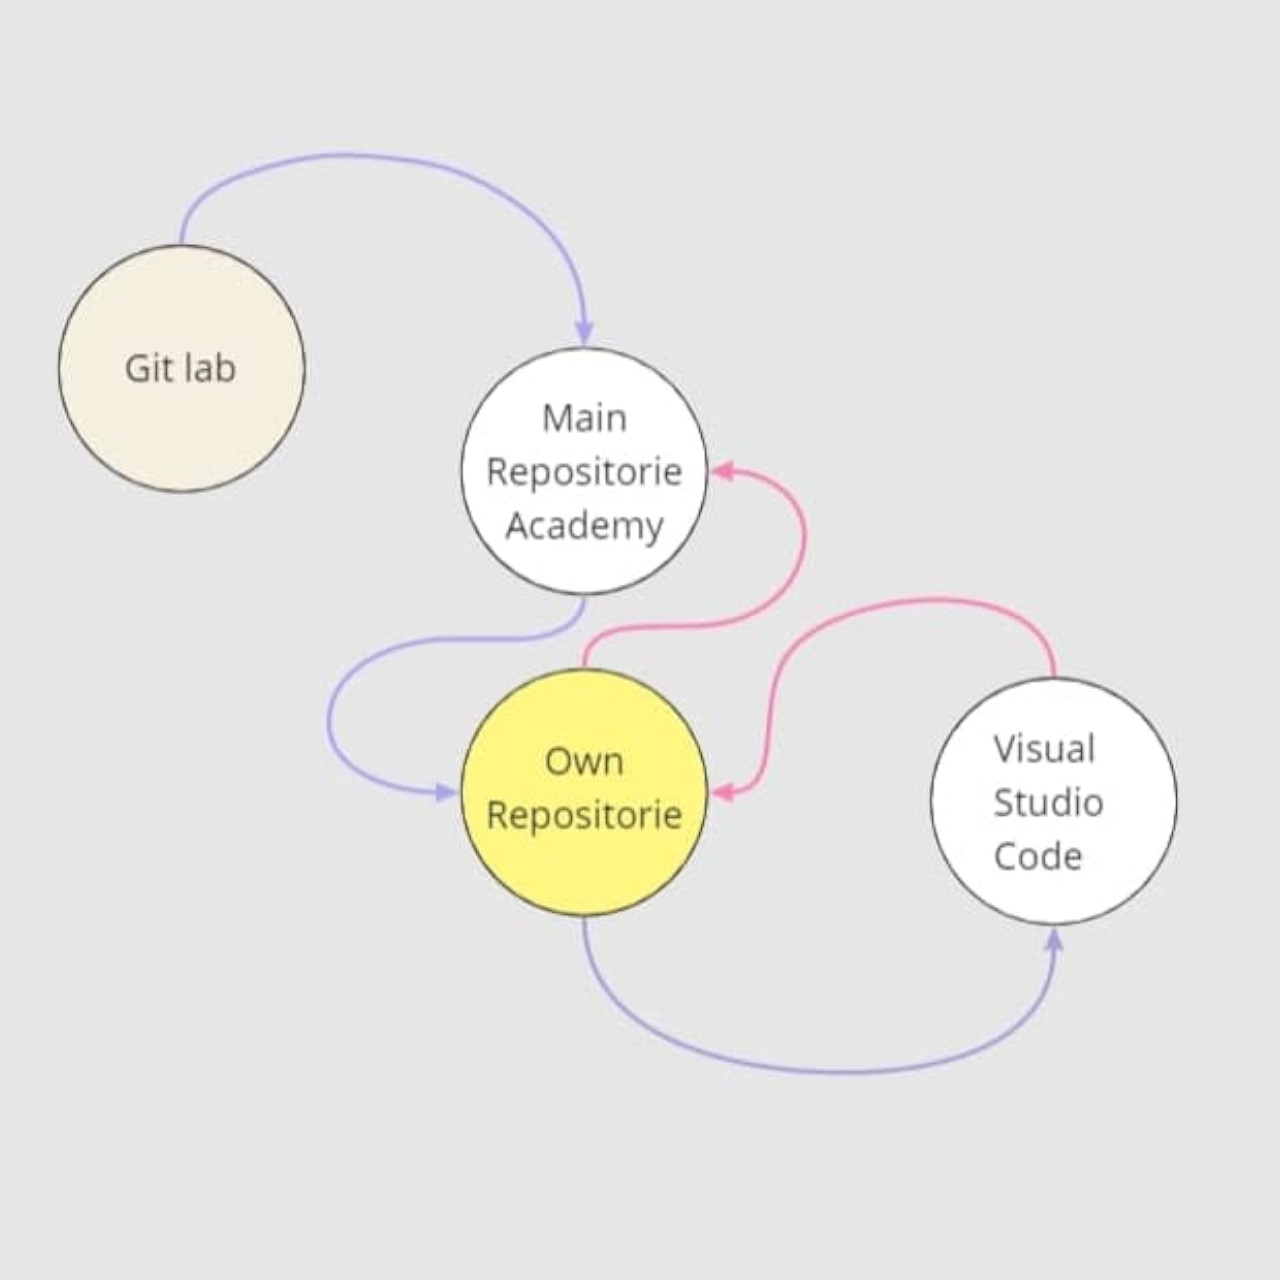
My repository flow
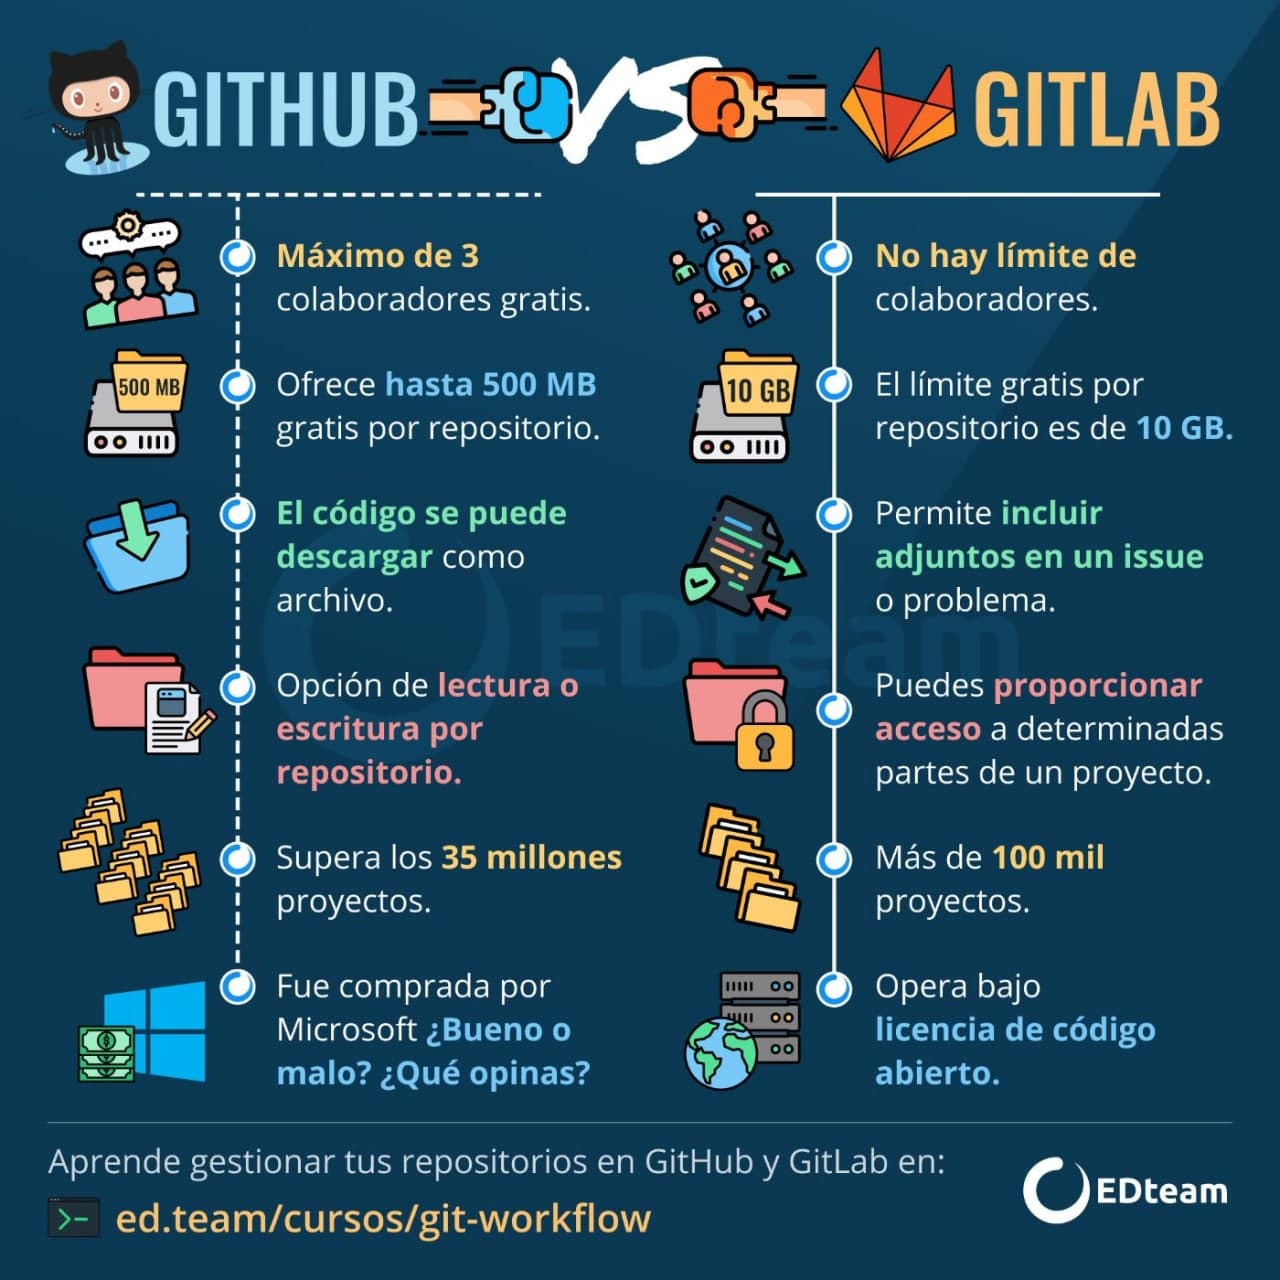
Differences between Github and GitLab-Source EdTEAM
How to clone my repo
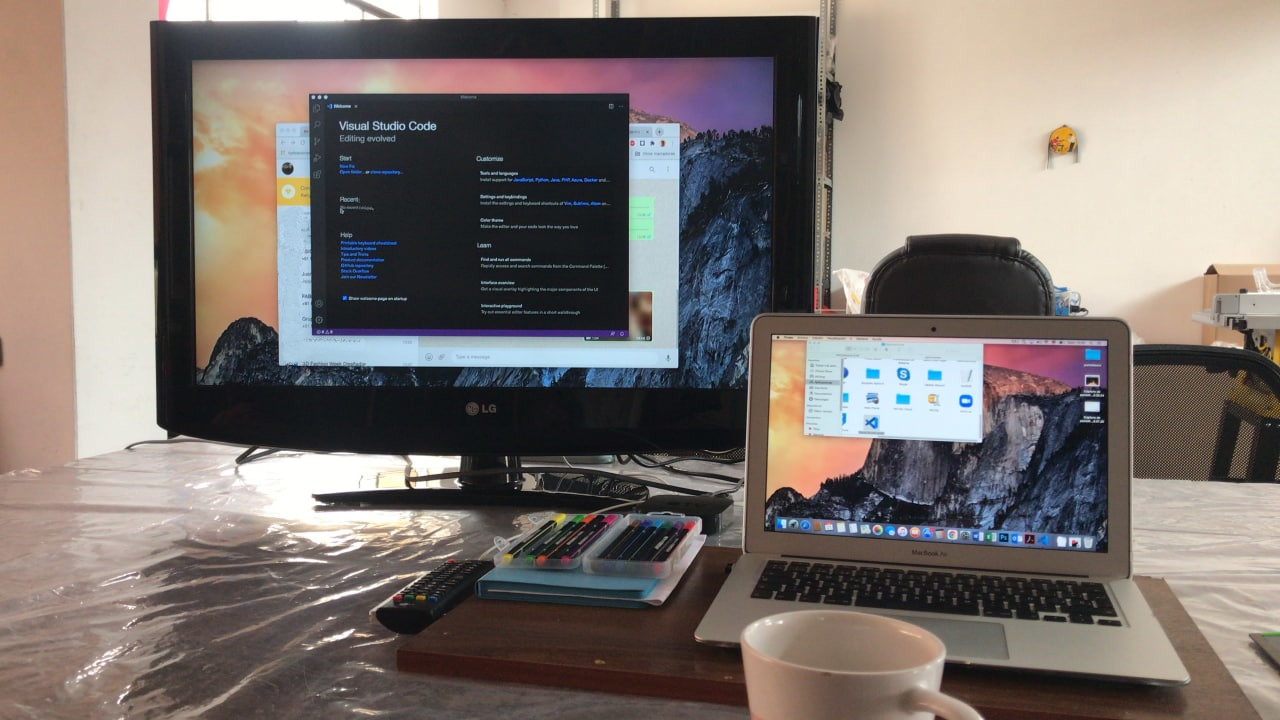
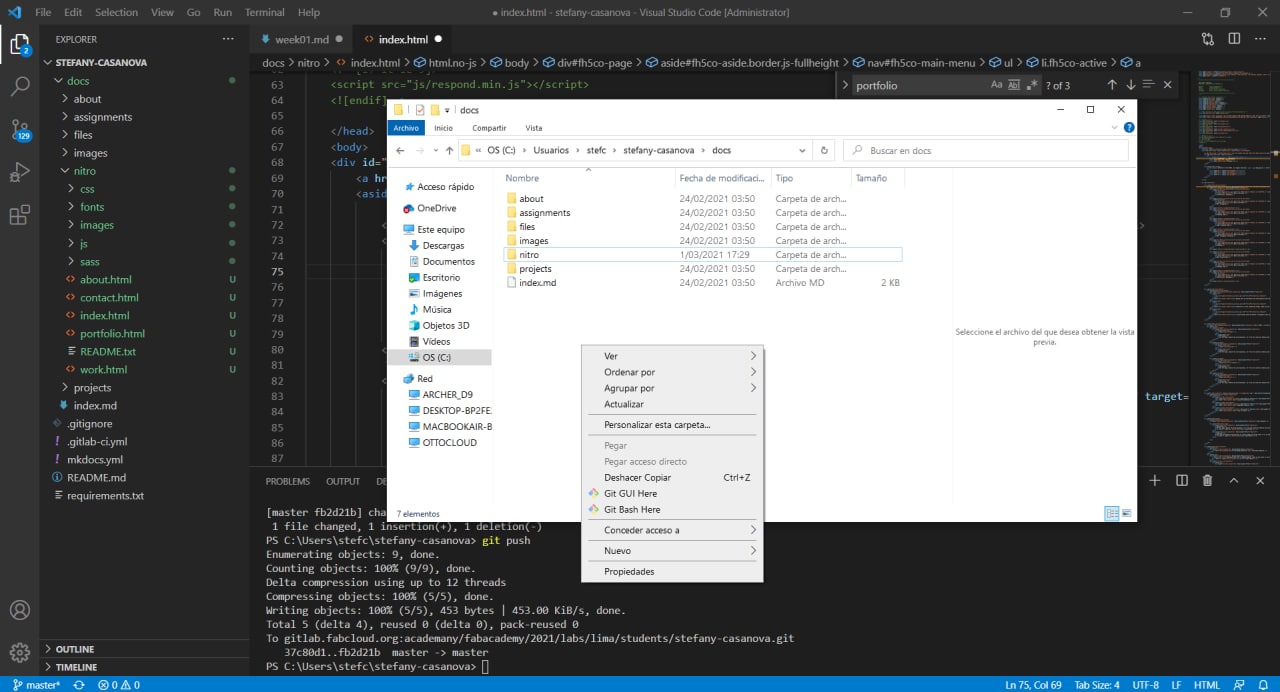
As a first step, I connected the GitLab hosted repository of the FabAcademy with my local repository and visual studio code. I recommend writing the codes on the command lines rather than copying them. When you copy and paste sometimes some scripts are moved that you don't need and that's why the command doesn't work.
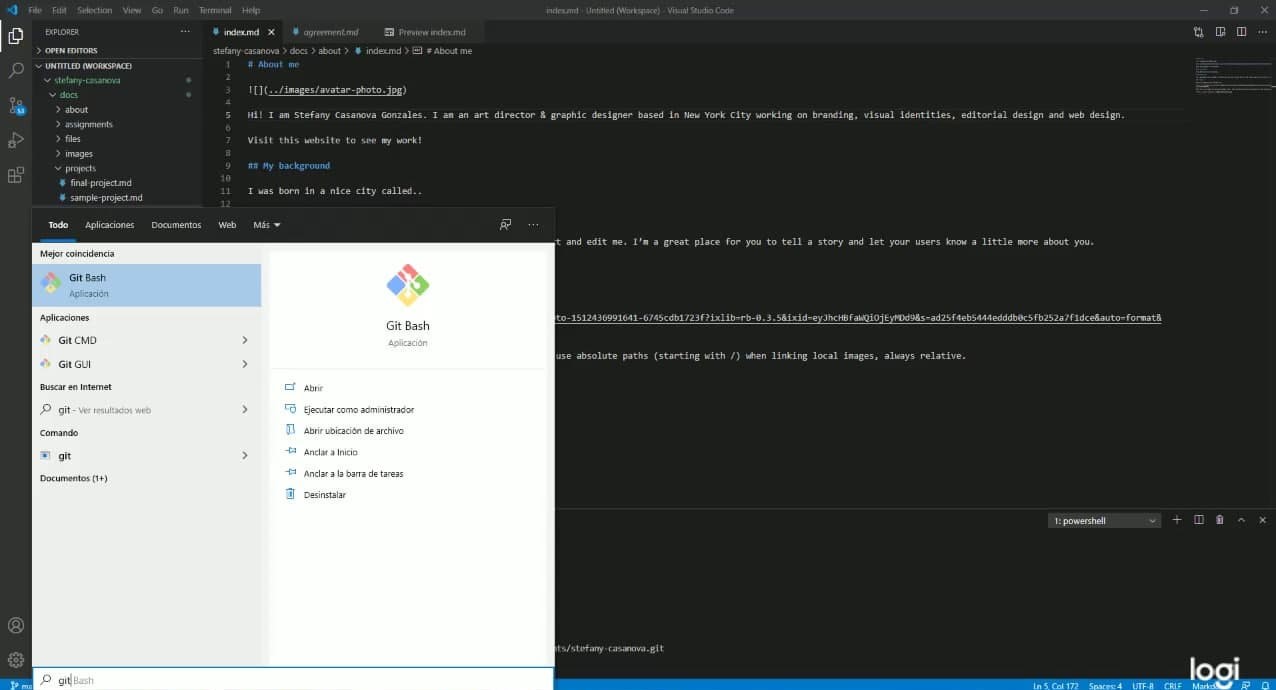
- Download and install Git. From here.
- Open the GitBash command terminal
- Add your username
- Add your email
	$ git config --global user.name "YOUR_USERNAME"
	$ git config --global user.email "YOUR_EMAIL"
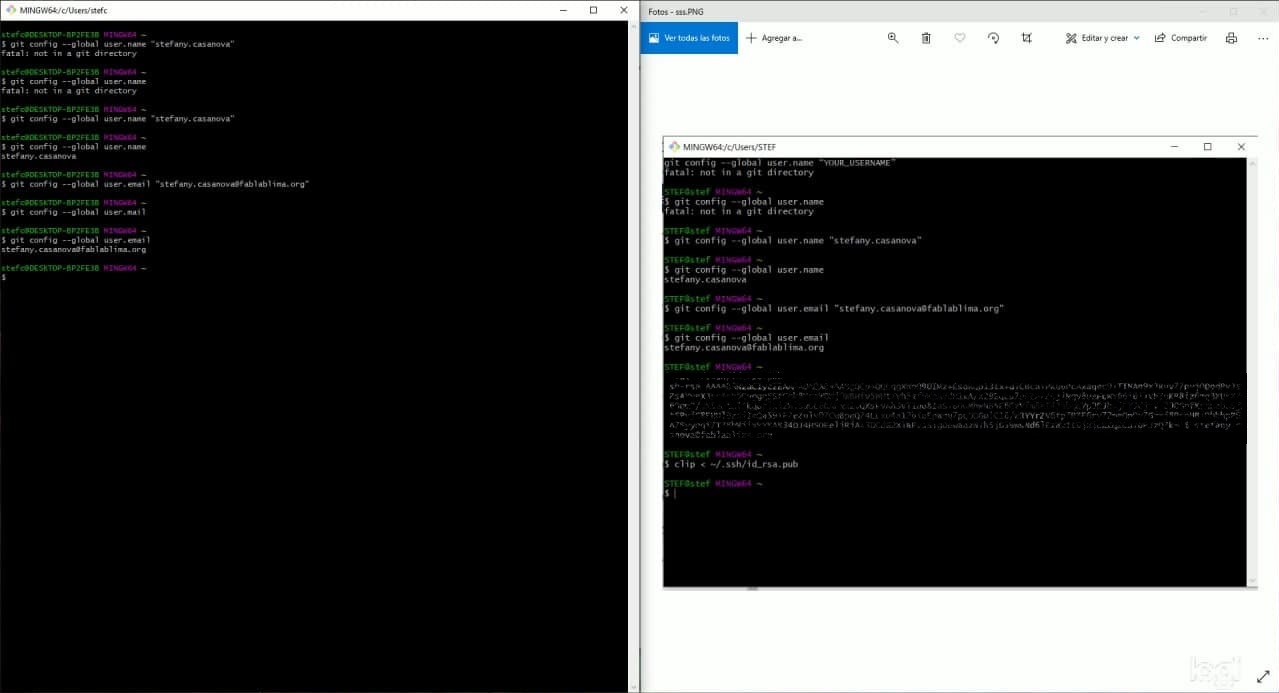
- Check if you have a generated SSH key with the following command
$ cat ~/.ssh/id_rsa.pub
- Generate your SSH key.
$ ssh-keygen -t rsa -C "$your_email"
- View and copy your Keygen in a safe place.
- Then go to your GitLab account on the web and copy your Keygen there.
- Finally, write the command for clone, and from your GitLab user, copy the Clone with SSH address (from the blue button) in your GitBash command line.
$ git clone git@gitlab.fabcloud.org: academany / fabacademy / 2021 / labs / nameoflab / students / name-name.git
- And voila, you will have cloned your repository on your C disk.

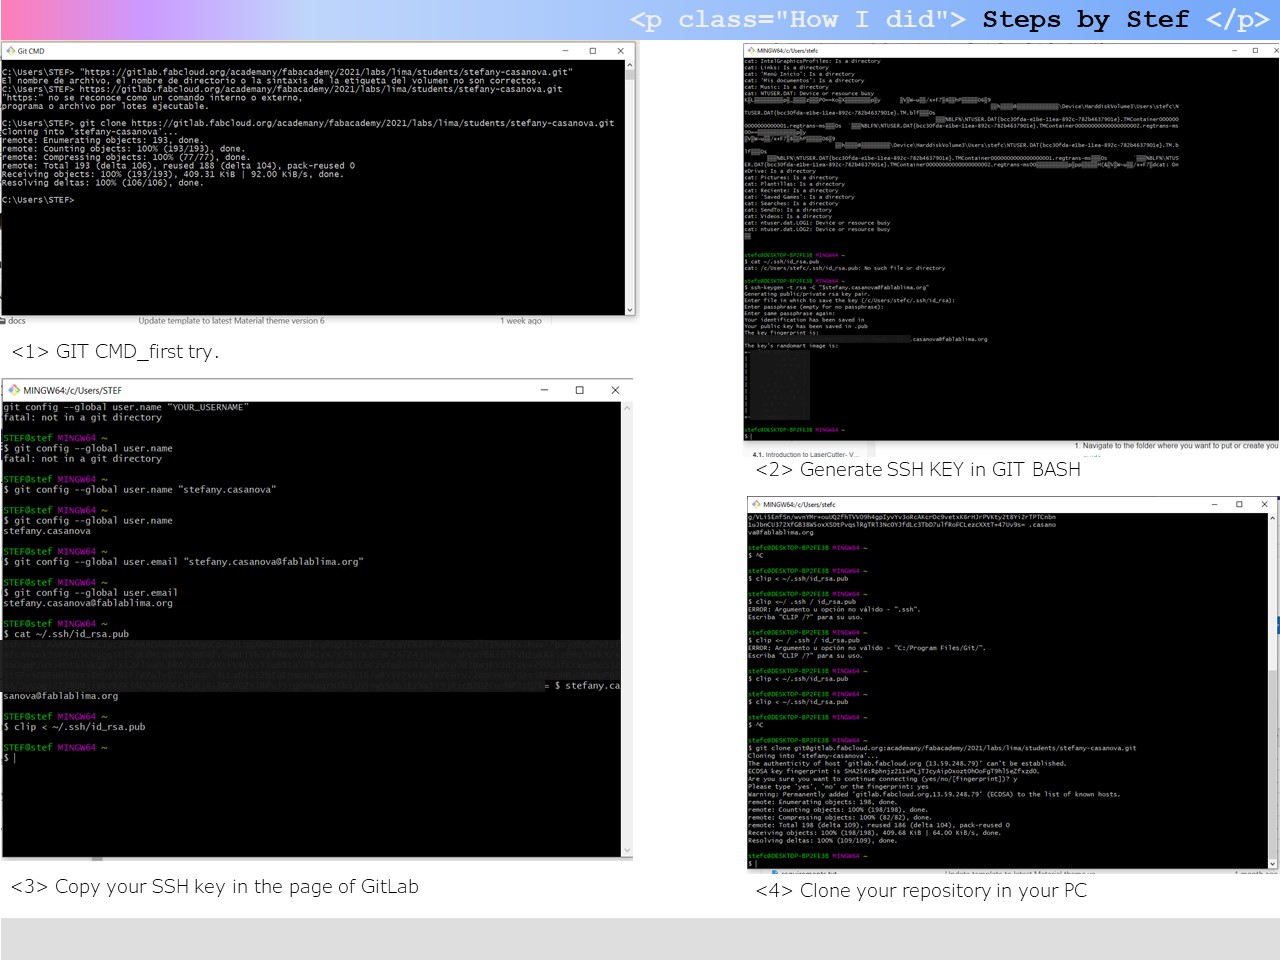
Install GIT
GitBash_GitCMD_GitGUI
Remember that you can check that your user is set, you retype the command in GitBash $ git config --global user.name , press Enter and your name or username should appear.You can do the same to check that your email is set correctly. $ git config --global user.email

GitBash_Setting User Name
GitBash_Setting & Checking my email
Git configure
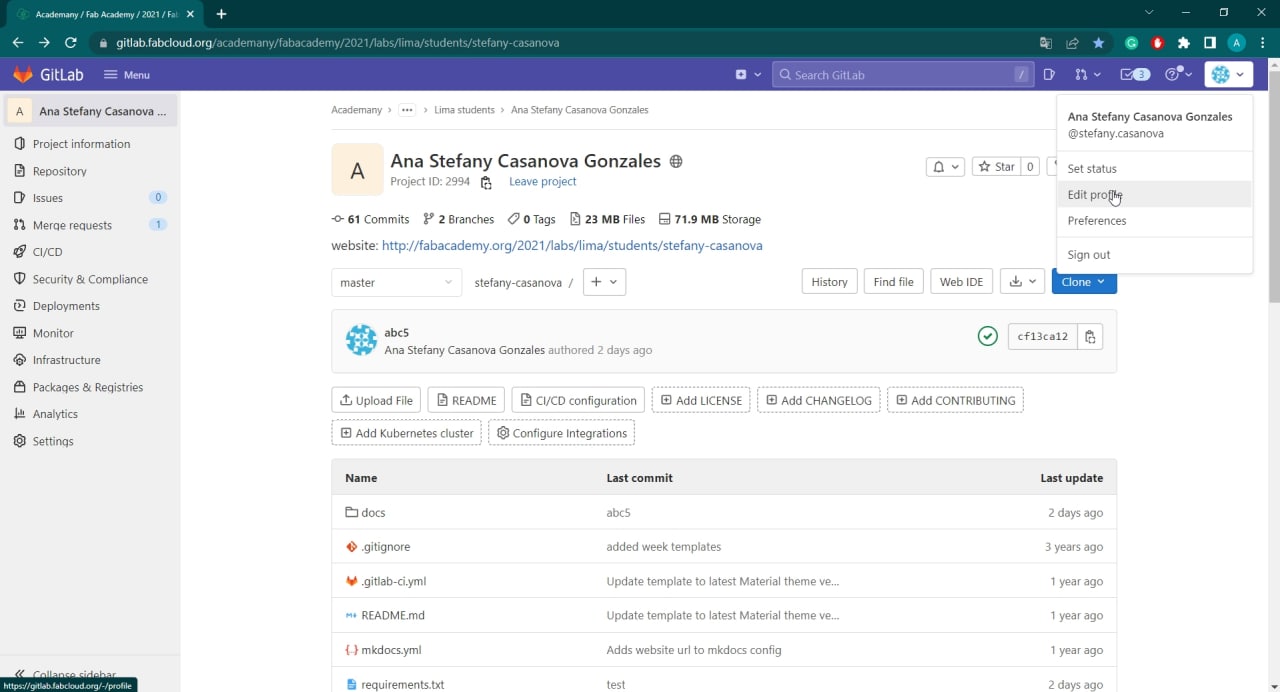
GitLab User_Edit profile
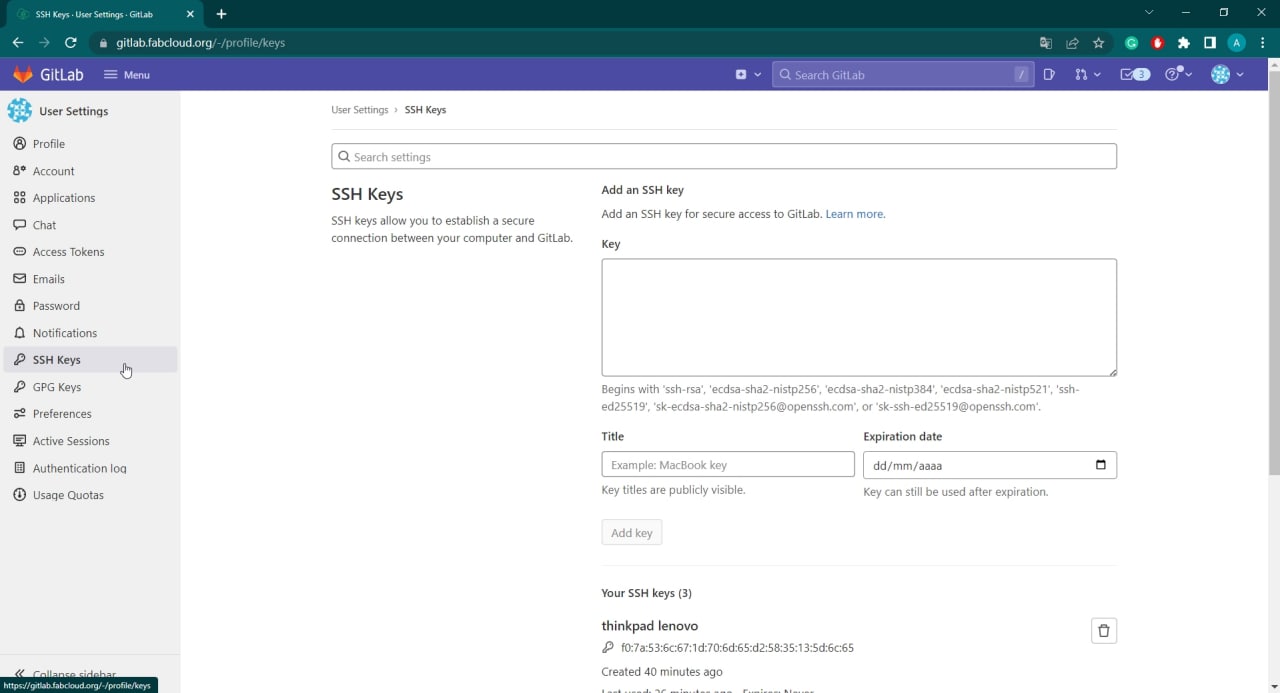
GitLab_SSH Key_Add Key
Building my website:
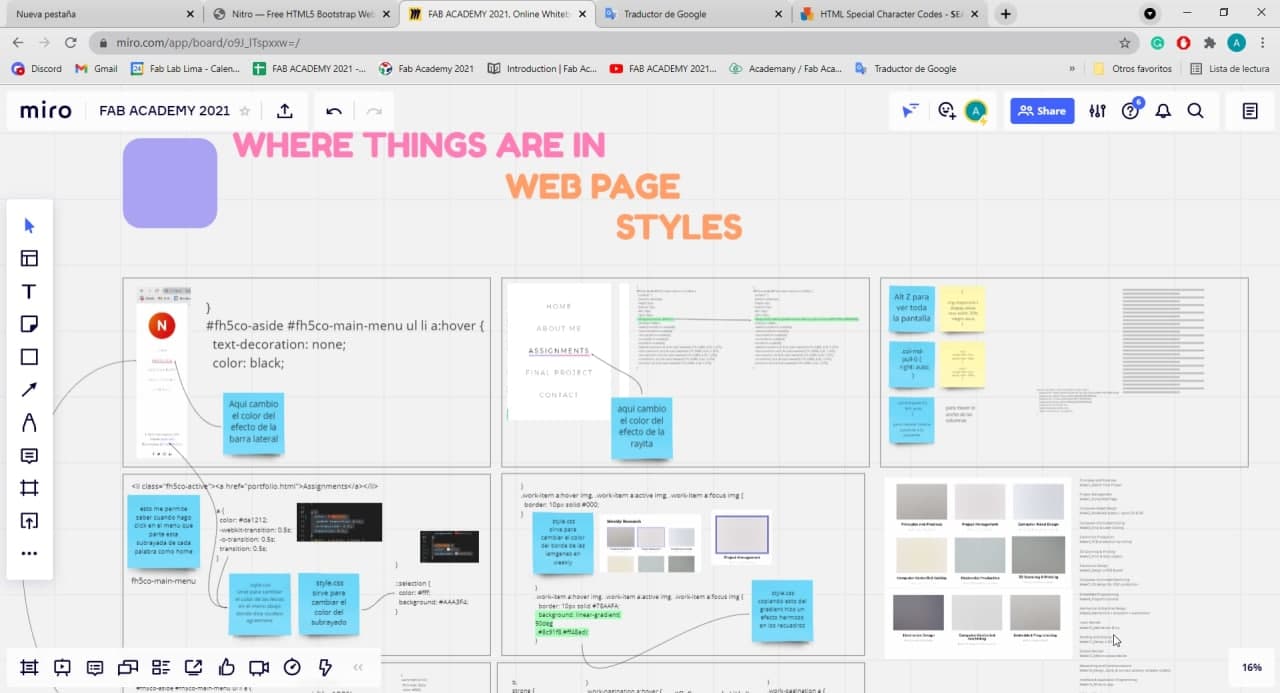
There are many code editors, development frameworks, and testing tools in this world. It's important to keep a few things in mind before writing the code for your website. This is why I planned all this a bit before I started.I made a color palette that I was going to use and created an account on the Miro board , which has been very useful for me to put all my notes week by week. These are the steps I followed to start editing my page:
- First I downloaded and installed the Visual Studio Code software.
- Then I opened my cloned folder in Visual Studio Code.
- And I did my first push. For this I used the following commands:
	git pull
	git add .
	git commit -m "change you did"
	git push
All the previous steps serve to clone the folder of your web (or repository) hosted in the cloud on your computer and in this way, you can work on it locally. This is why, as you progress with your documentation, you must update your website, week after week, in your remote repository. Every time you update the information, it's compiled and finally displayed on your website. You can use the Git Bash command line or the Visual Studio Code command line itself. I used the second.
- Git pull helps you to download the latest version/copy of the cloud repository to your local repository. This command is very useful if you work on a team project, or for example, if you work on your website on more than one computer. In any case, it's always better to use it to avoid errors.
- Git add . it's used to upload all the files and compile at once.
- Git commit -m "nameofcommit" allows naming the push or update that is about to be done, committing the changes, and recording as a snapshot the version to be pushed.
- Git push is the command that pushes the update of the website (the commit) from the local repository to the remote repository.
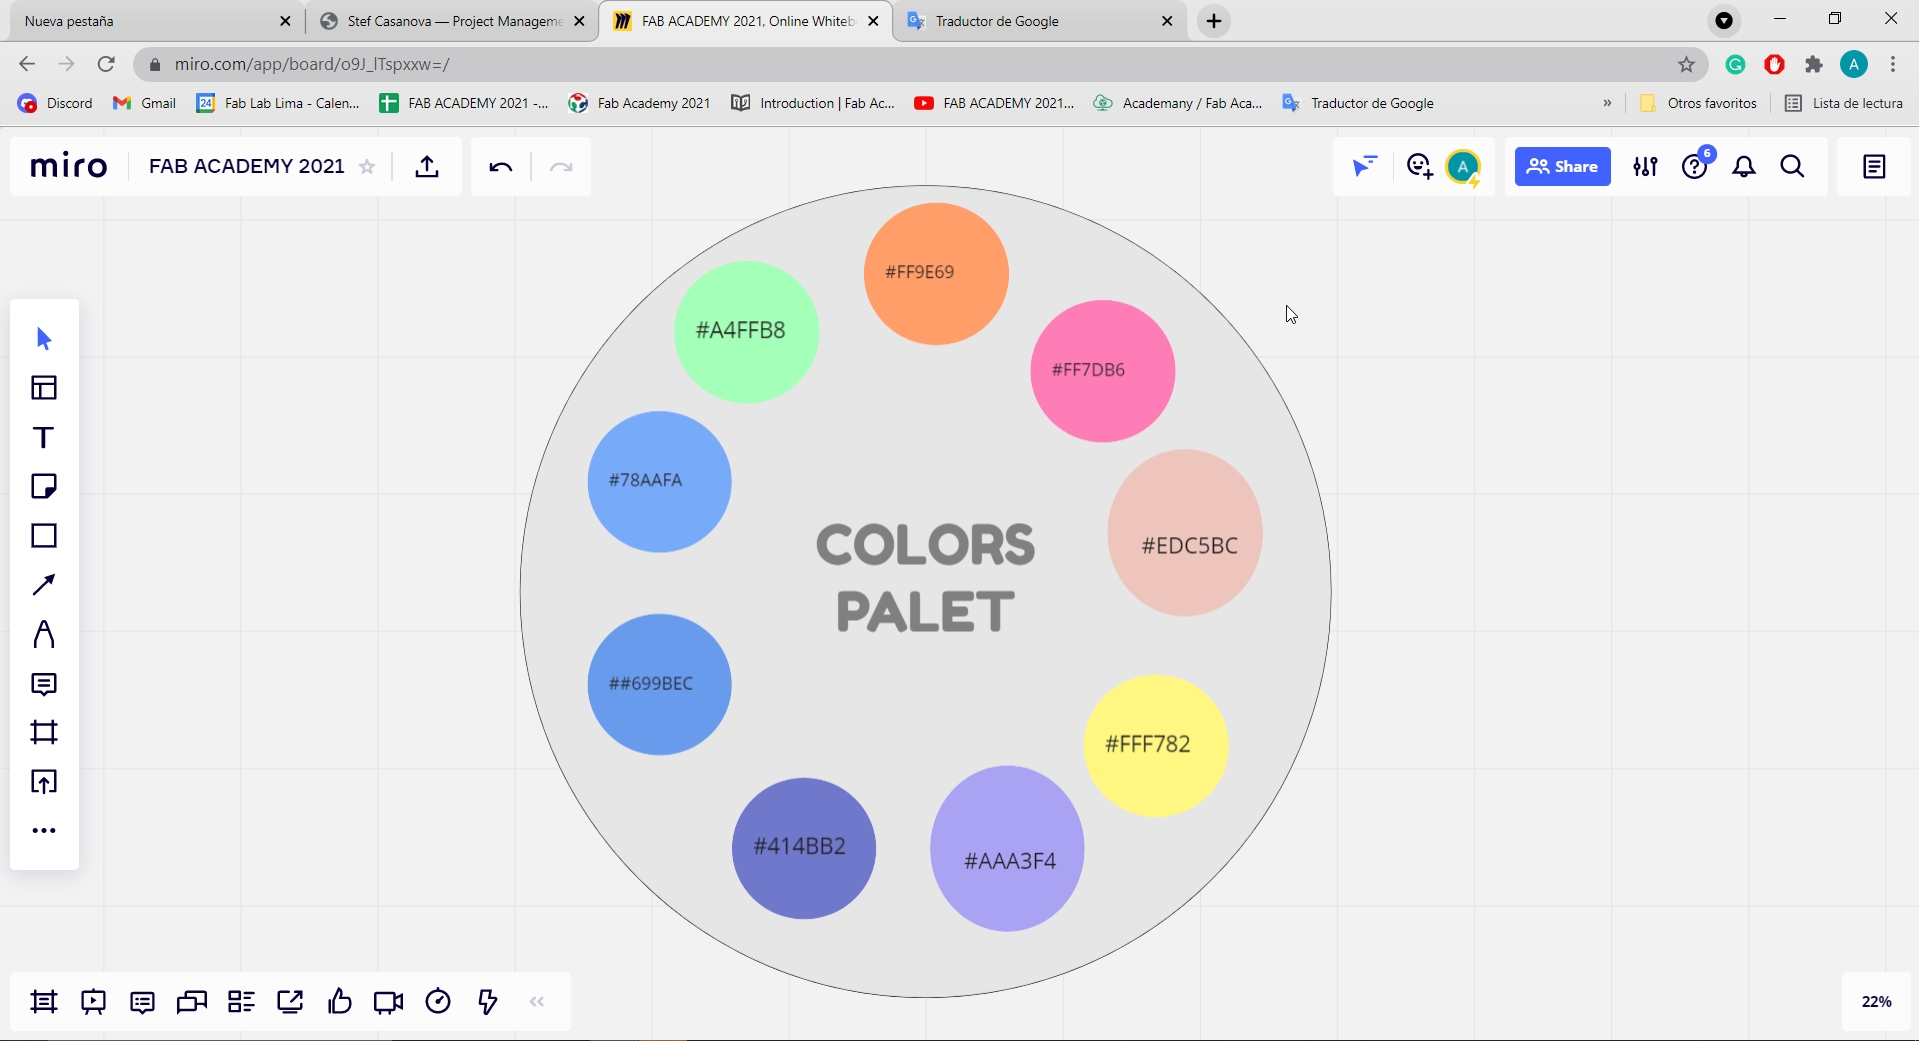
Colors palette
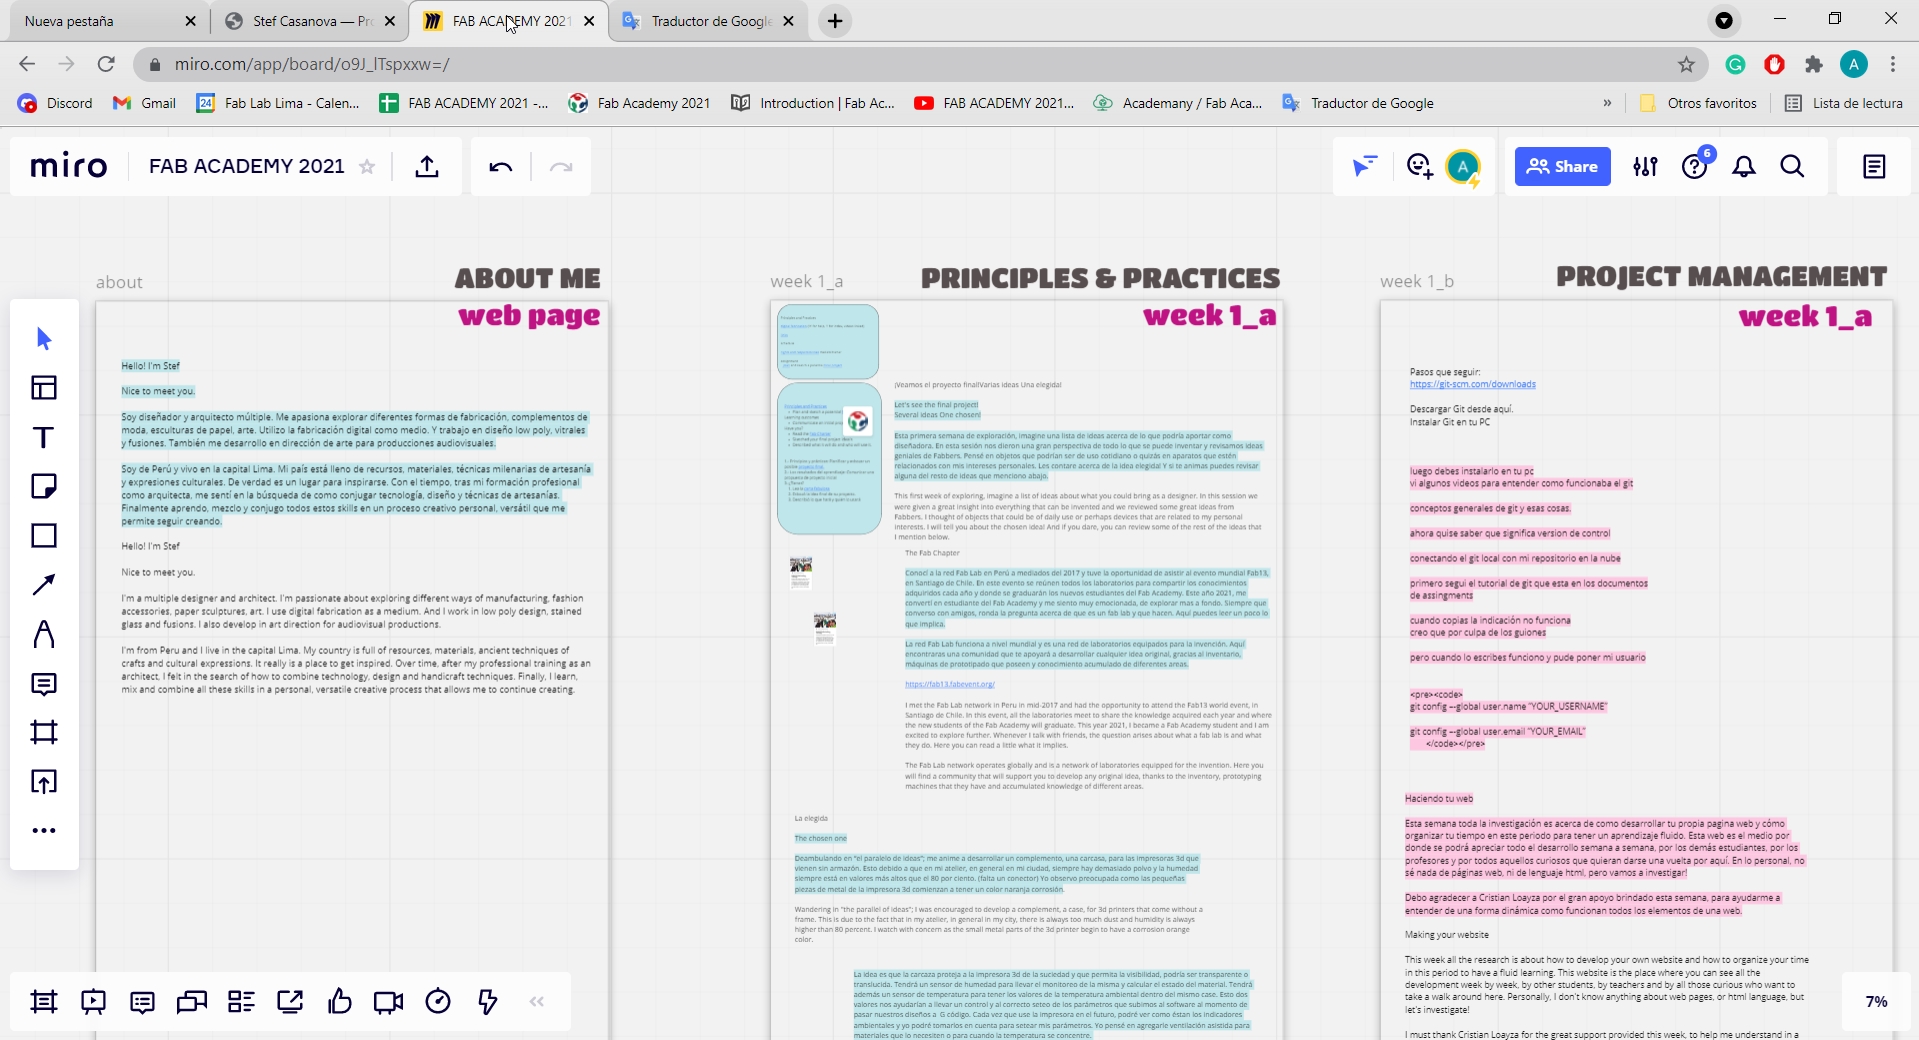
Management in Miro
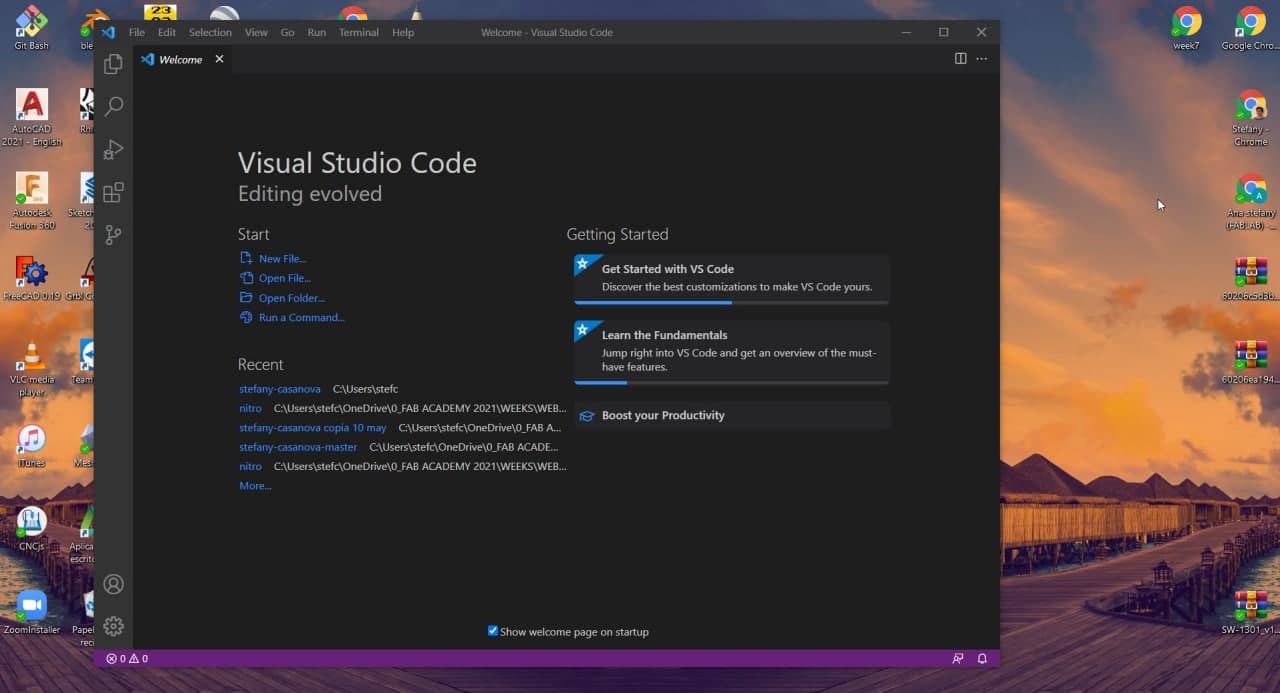
Installing Visual Studio Code
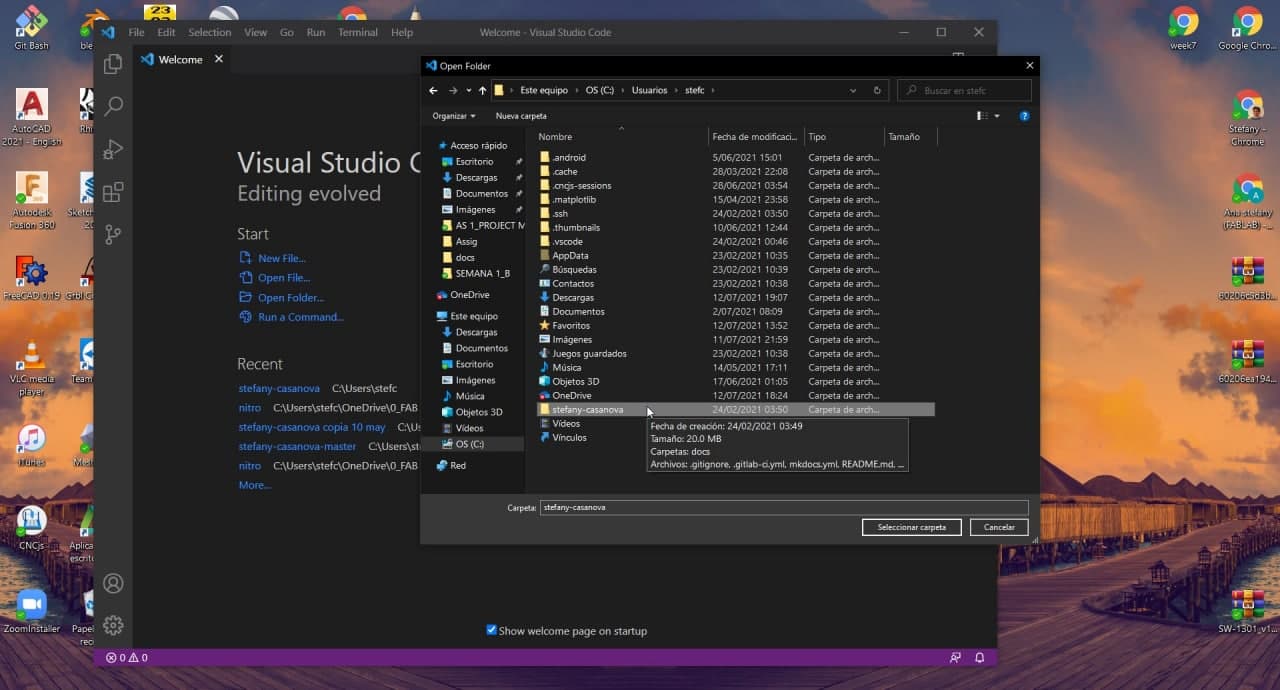
Open web folder in VSC

First Change
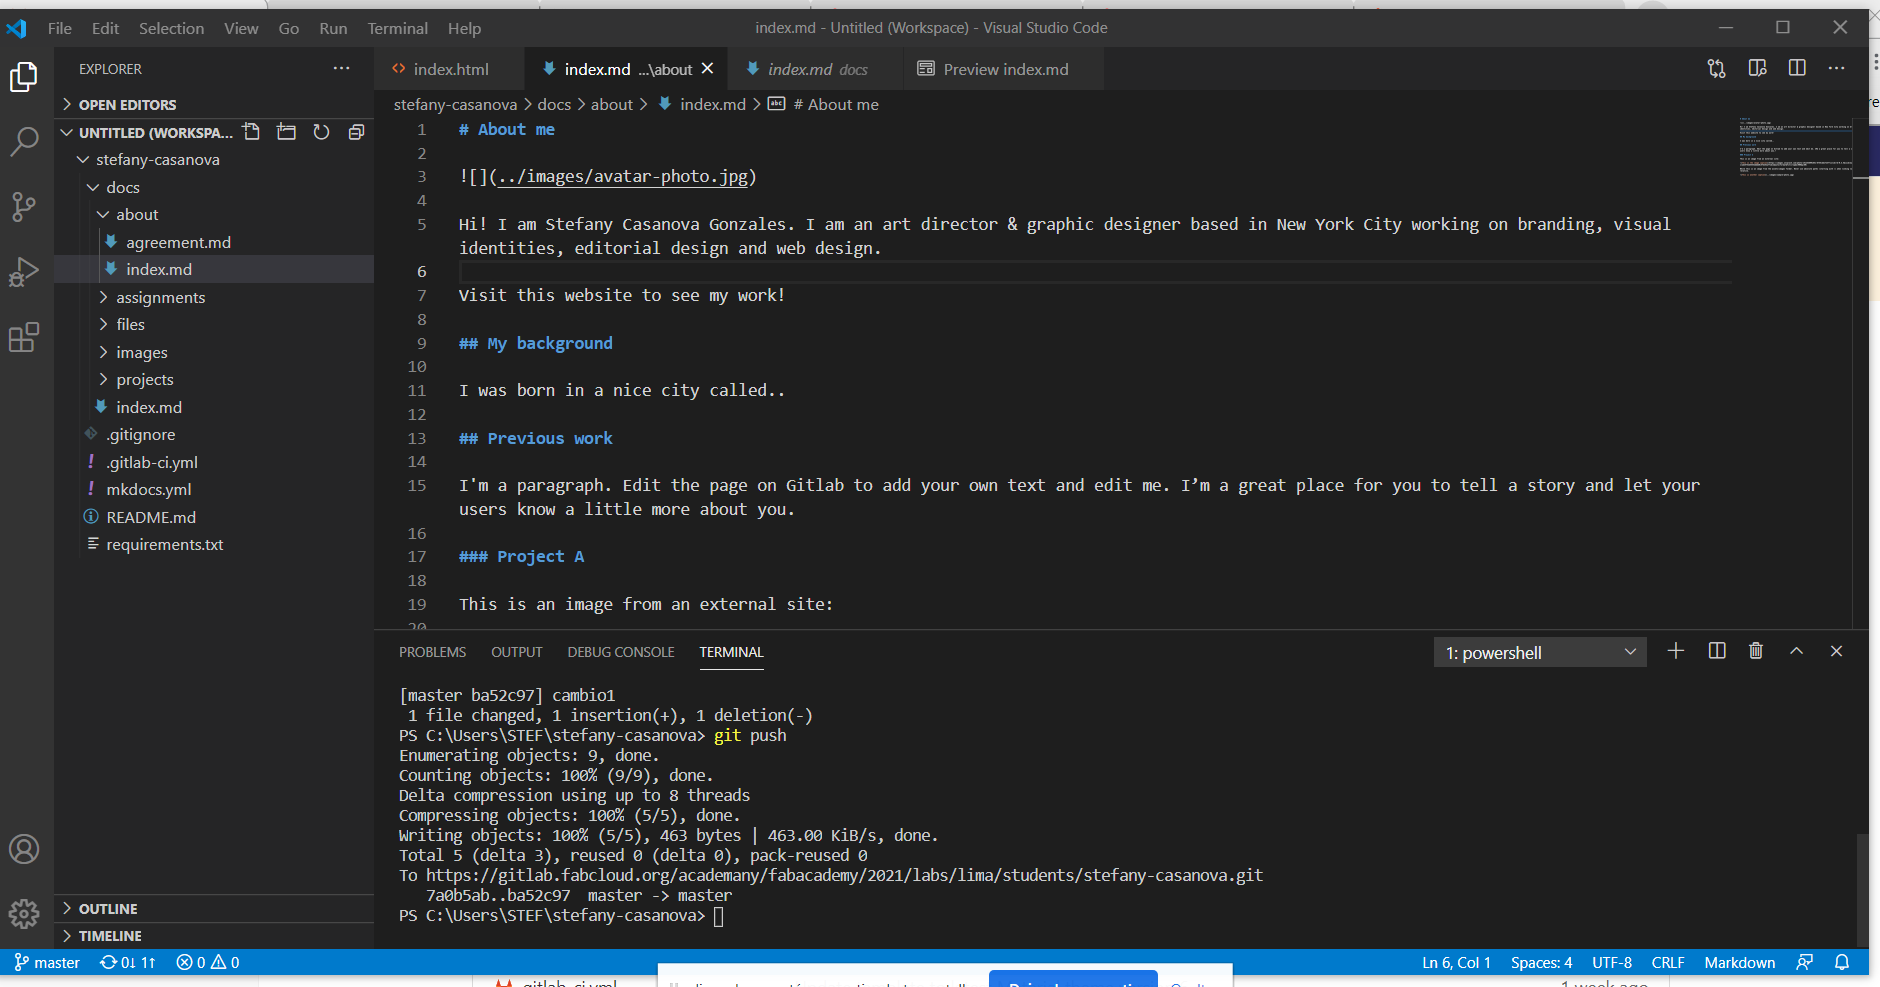
First Push
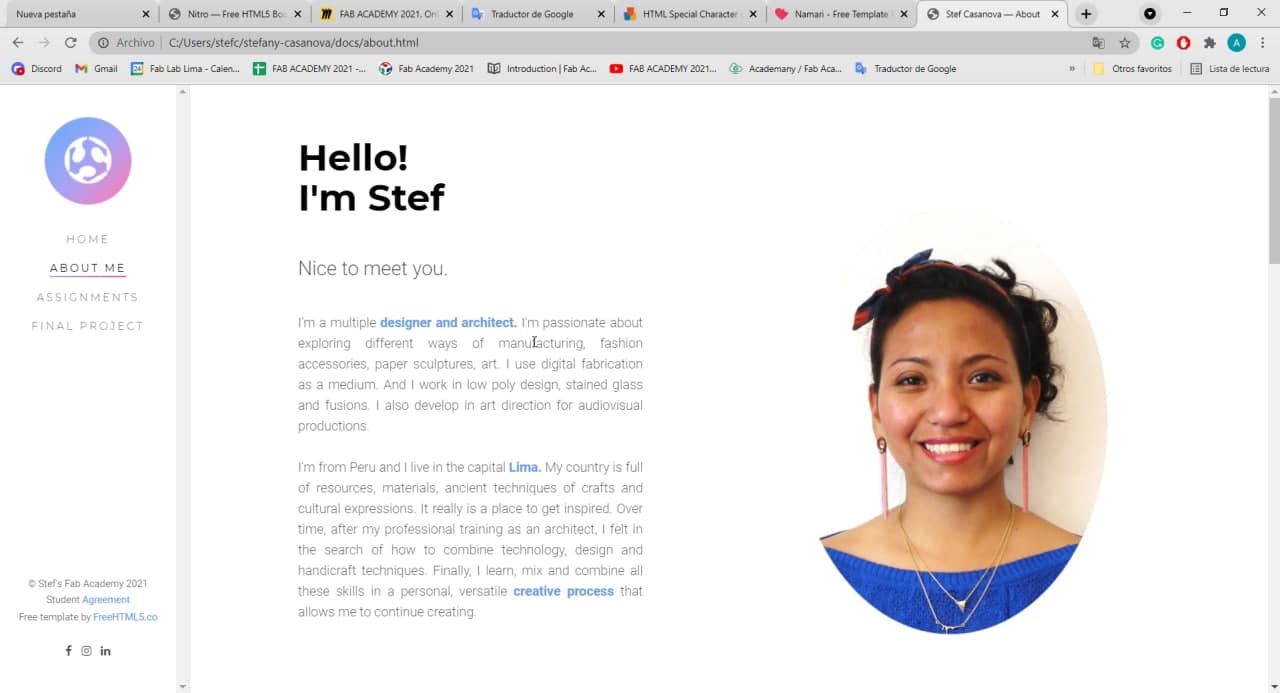
I changed my name on the first push and uploaded it to the repository to see if everything worked correctly. And it worked. 🌞
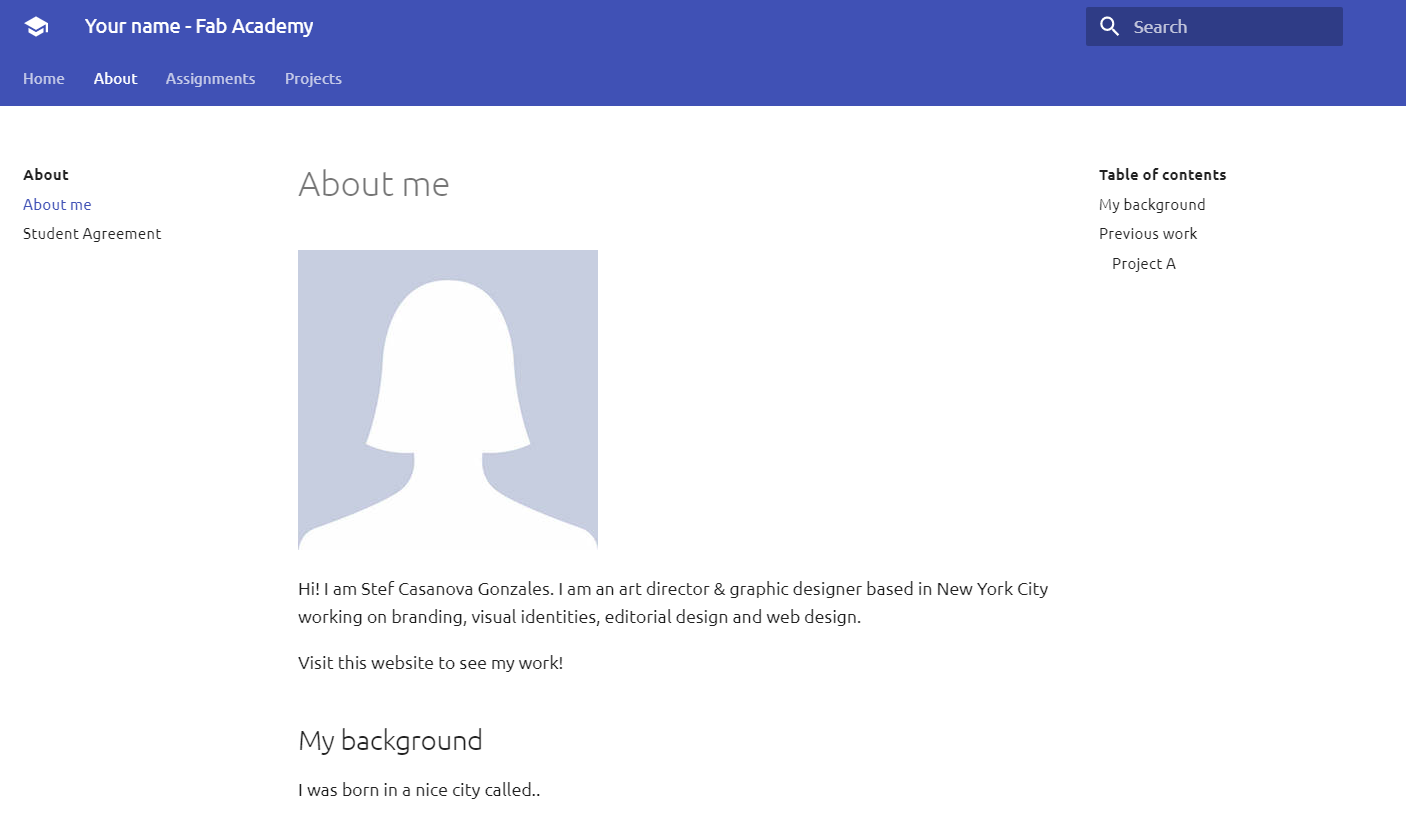
My first push in web page
A bitof style
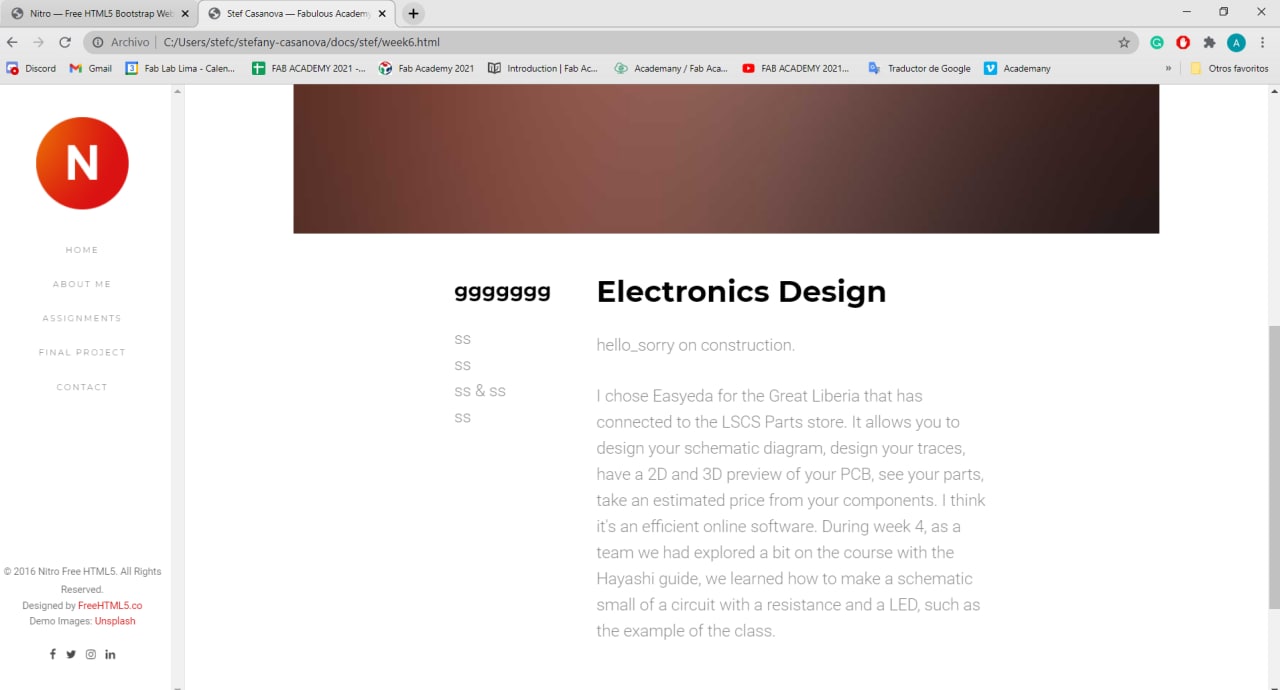
Finally I looked for a Bootsrap template and started modifying it to style my page. I downloaded it from here. The most practical way I found to work was locally with VSC, so you can generate your templates and changes, save with Control S, and finally load the HTML document in your browser, to see how it looks.
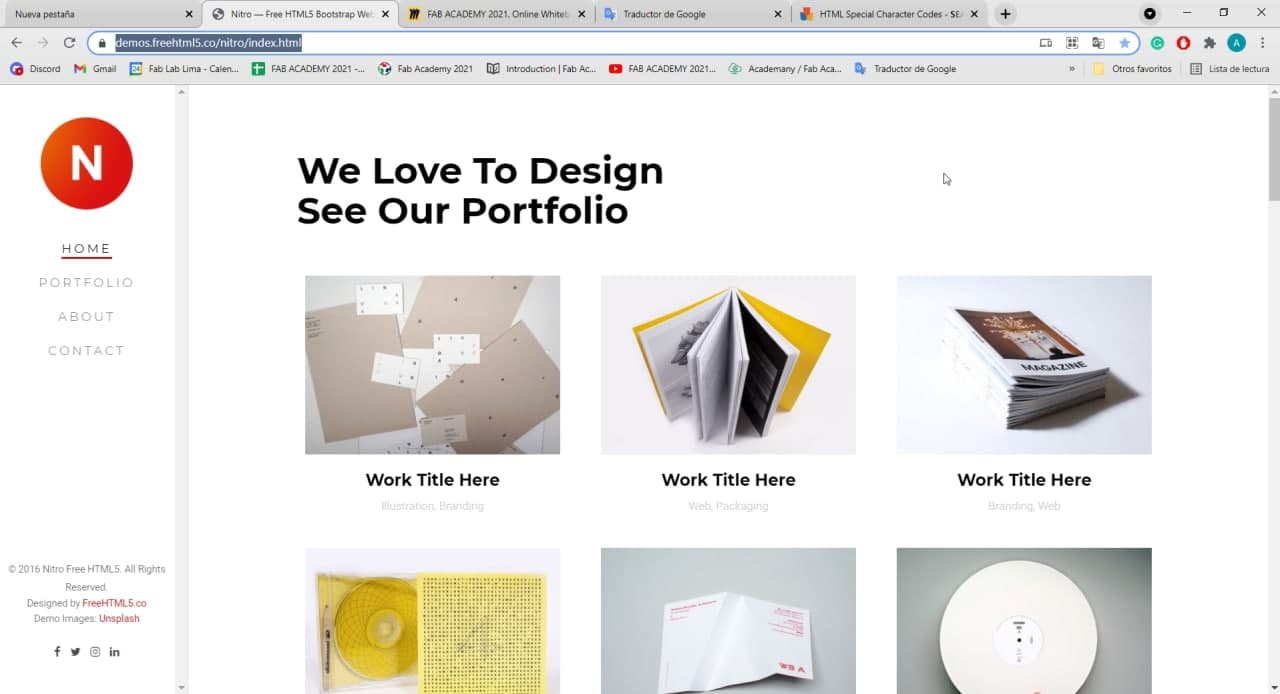
Bootsrap Template I Used
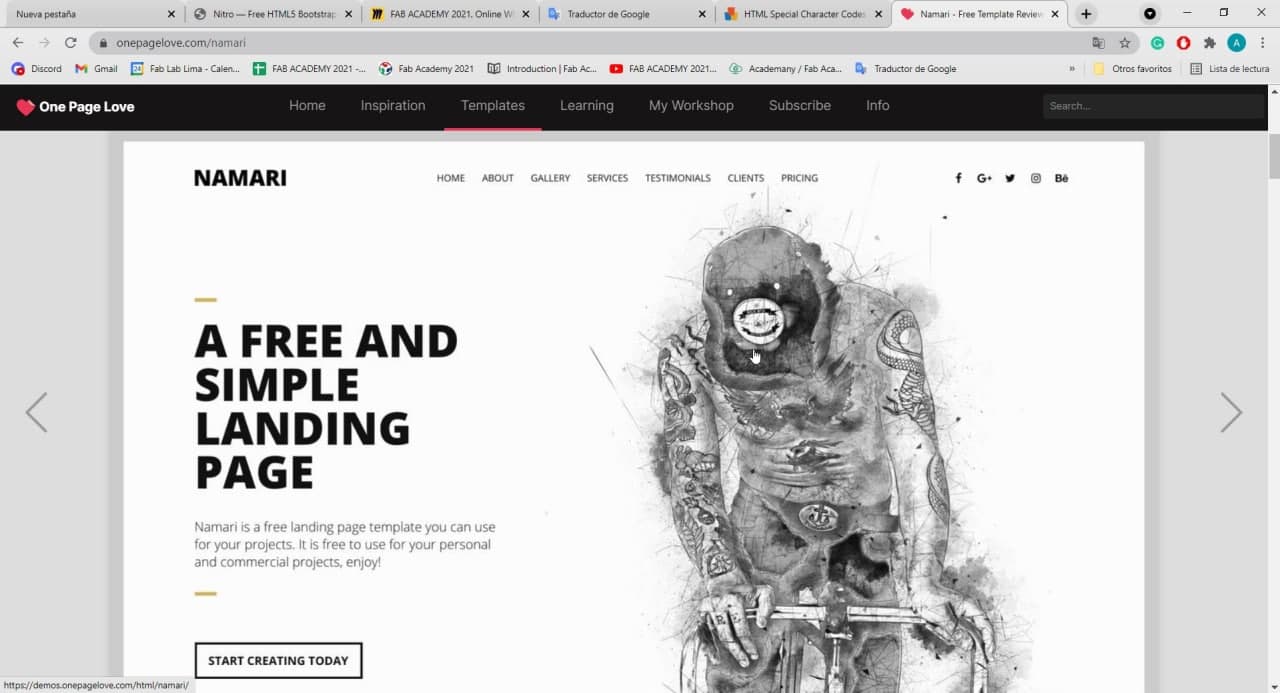
Bootsrap template
Opening folder of the template in VSC
Modifying the template
Commands to edit web

Website edition
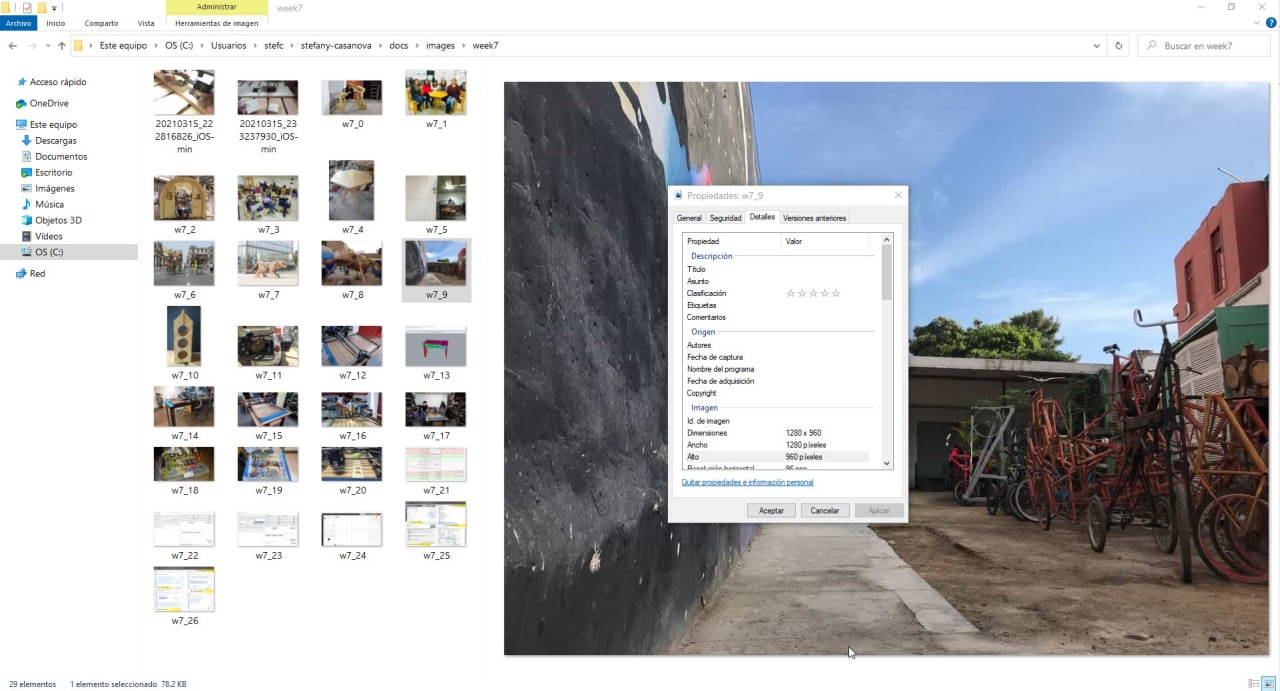
Image compression
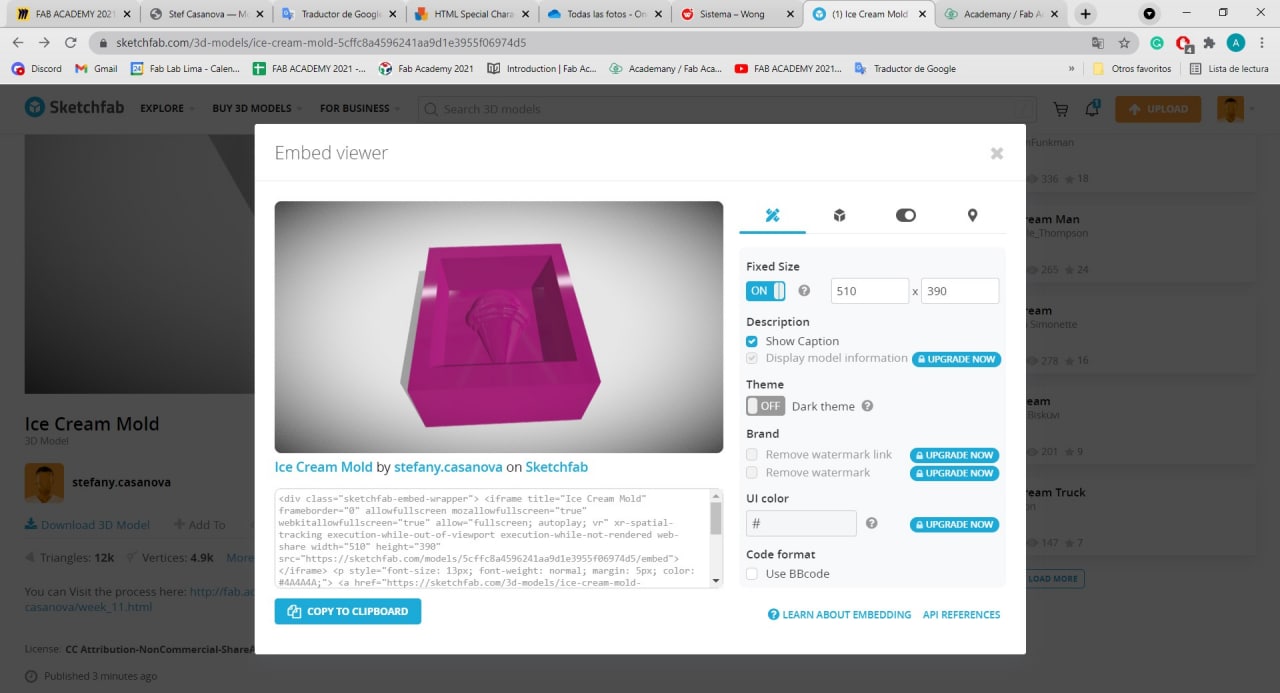
Embedded
How does my page look
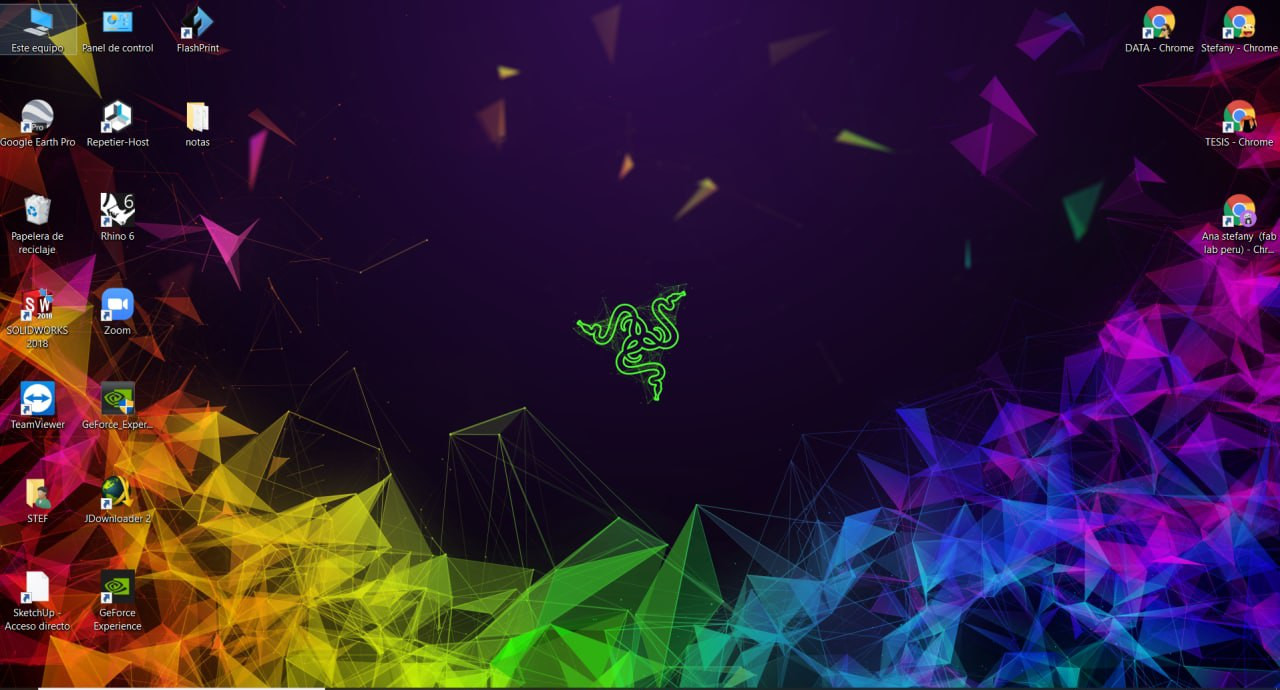
Tidy up your desk
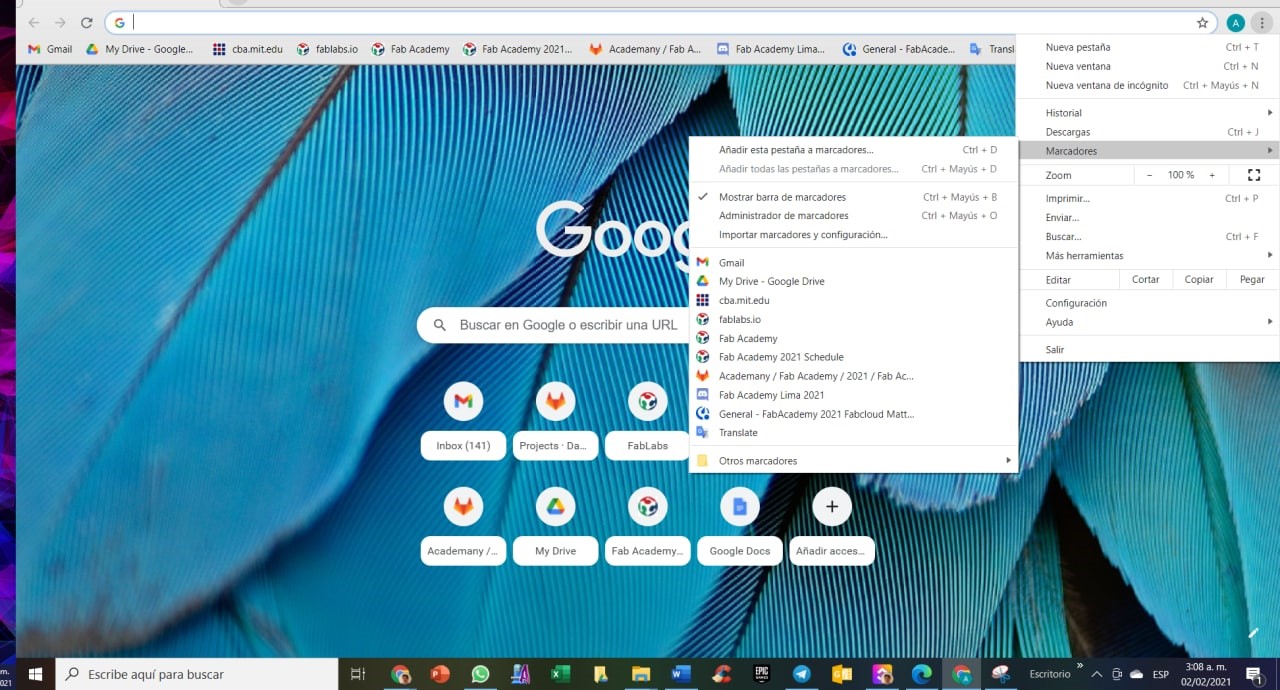
Save all your links
AboutLearning
-Thanks to Mayra, I discovered that there is the magic tool 🔎Inspect🔍, on any website you are browsing. You just have to right click on any part of the page that you want to review. Or press Ctrl + Shift + I. In the lines of code that will appear, you will be able to modify colors, text values, and commands and you will be able to see the preview of these changes. Don't worry, you won't really modify anything, once you update everything will return to normal in your browser.
-If you work with a Bootstrap-based template, I recommend that for any content that you want to add and don't know how, you visit the documentation tab of Bootstrap itself. First look for the version your template is built with, so that you get the correct tutorials. I used this guide
-I learned that working and organizing your HTML documents with the greatest possible care is very efficient when designing your website. I also recommend that you generate a template and based on that you can develop all the other weeks.
My Verdictfrom what I learned
-It's very important at the beginning of this course that you order and clean your PC, because you will certainly need memory space. And you must also order your browsers and keep all your links at hand. For a more efficient work.
-The world of web design is very diverse and gigantic, I really enjoyed learning this week, but I am still a puppy on this subject. There is a lot of information on the web, and free courses you can learn from.