Relearning HTML in 24h
January 2022
I remember when I was 13 years old and my computer teacher at school decided to teach us how to program a web page, the Hayashi of that time asked himself every day when entering the computer room: "What the hell is it going to do for me to know how to program a page web” , 12 years later life slapped me and told me: “Your time has come” , what life doesn’t know is that 12 years have passed and I have more memories of the girl I liked than of what I learned in computing. Welcome to my first week of Fab Academy.
It is impossible? The first thing you need to know before immersing yourself in writing any letter in any html program is that behind every web page there is a human being like you and me, so it is not an impossible task. Follow these simple steps and you will feel the Next Wozniak of HTML.
The software
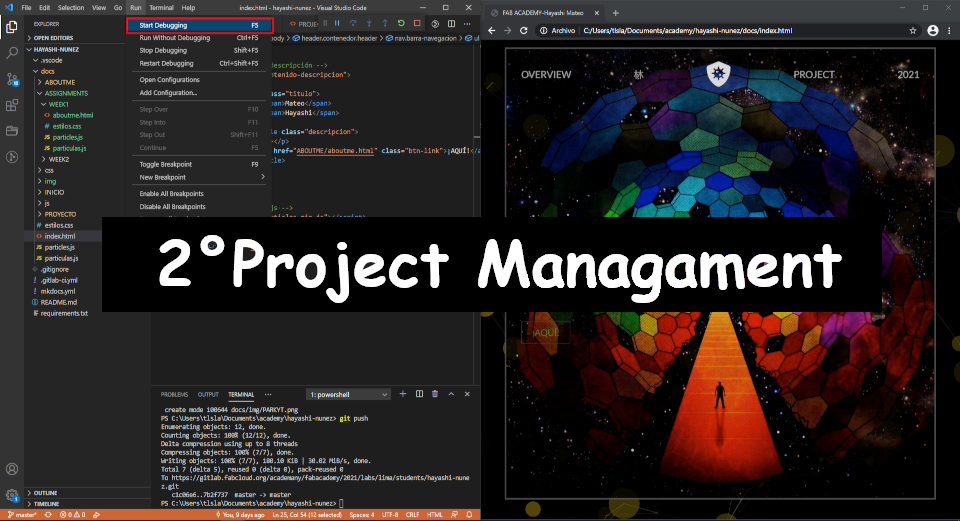
Let me tell you that there is no single software to create web pages, however I do not want to add 2 more numbers to my measure of myopia by spending more hours in front of the computer writing more lines. The program that worked wonders for me is called Visual Studio Code (https://code.visualstudio.com/) and it is the one we are going to work with throughout this academy (however you can choose any other).
The installation process is very simple and only requires a couple of clicks, the only complicated thing is like $%&#! I connect my gitlab repository (or whatever is used in later years) with my work in visual studio code, follow these steps and you won't be up until 4am figuring out how to do it:

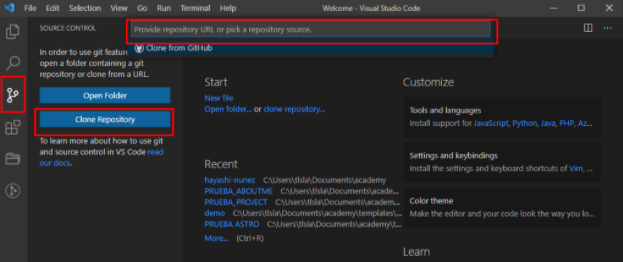
-Go to your git repository then you must copy the https code to clone your repository, finally you must paste the code in the visual studio code box as shown in the image below.
-We already have everything ready but don't sing victory yet, we have the most important thing left: Activate the push! .For this task, just write the following in the visual studio code “git push” terminal.

-In the new terminal we must write “git push” and then the following screen will appear where you will have to enter your git account and that would be it, you are now ready to send updates to your repository with the following commands in the terminal: “git add -all” , “git commit -m “commitname” , “git push”.