3D Scanning and Printing
Group Assignment
In this assignment I have to:
* Test the design rules for your printer(s)
* Document your work and explain what are the limits of your printer(s) (in a group or individually)
Machine Test:
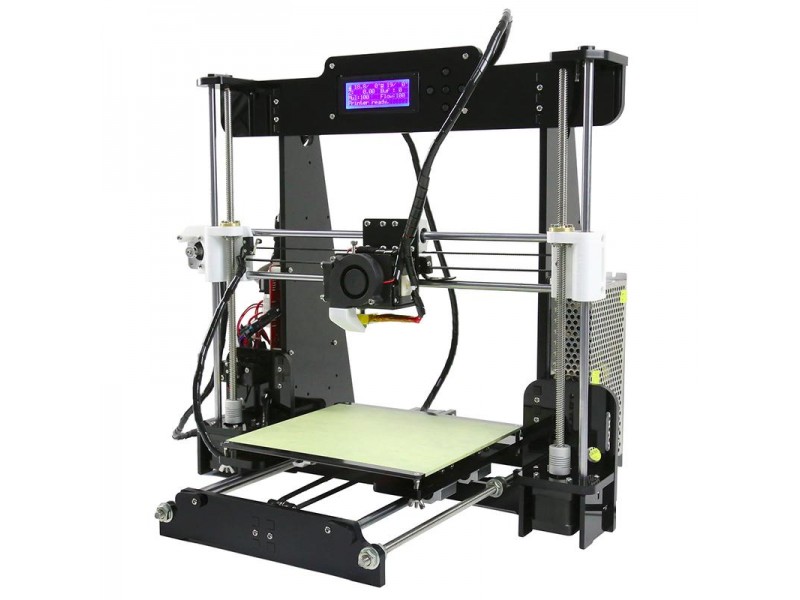
In FabLab Libya, we have Anet A8 3D printer which is
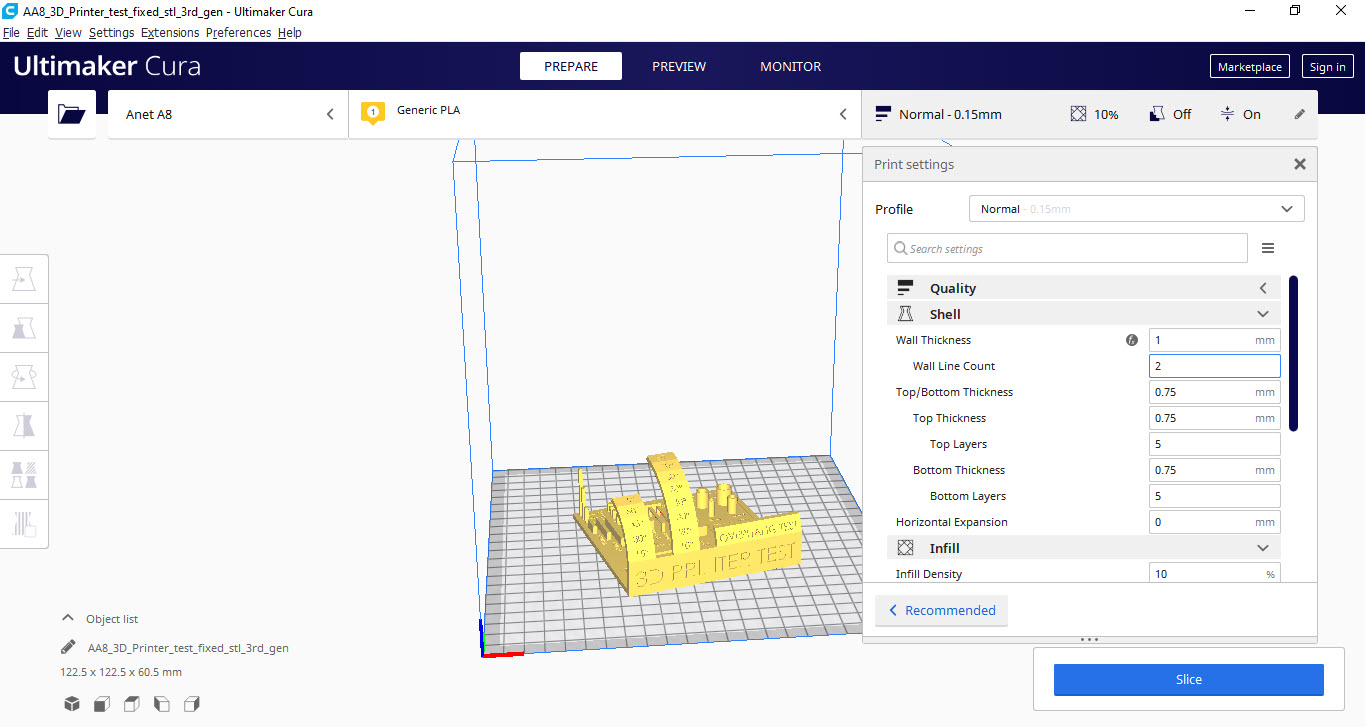
 To test my machine I downloaded the test file from the FabAcademy site. Then I used Ultimaker Cura to generate G-code with the next settings:
Layer Height =0.15, Wall Thickness =1 mm, Infill Density= 10 %.
To test my machine I downloaded the test file from the FabAcademy site. Then I used Ultimaker Cura to generate G-code with the next settings:
Layer Height =0.15, Wall Thickness =1 mm, Infill Density= 10 %.
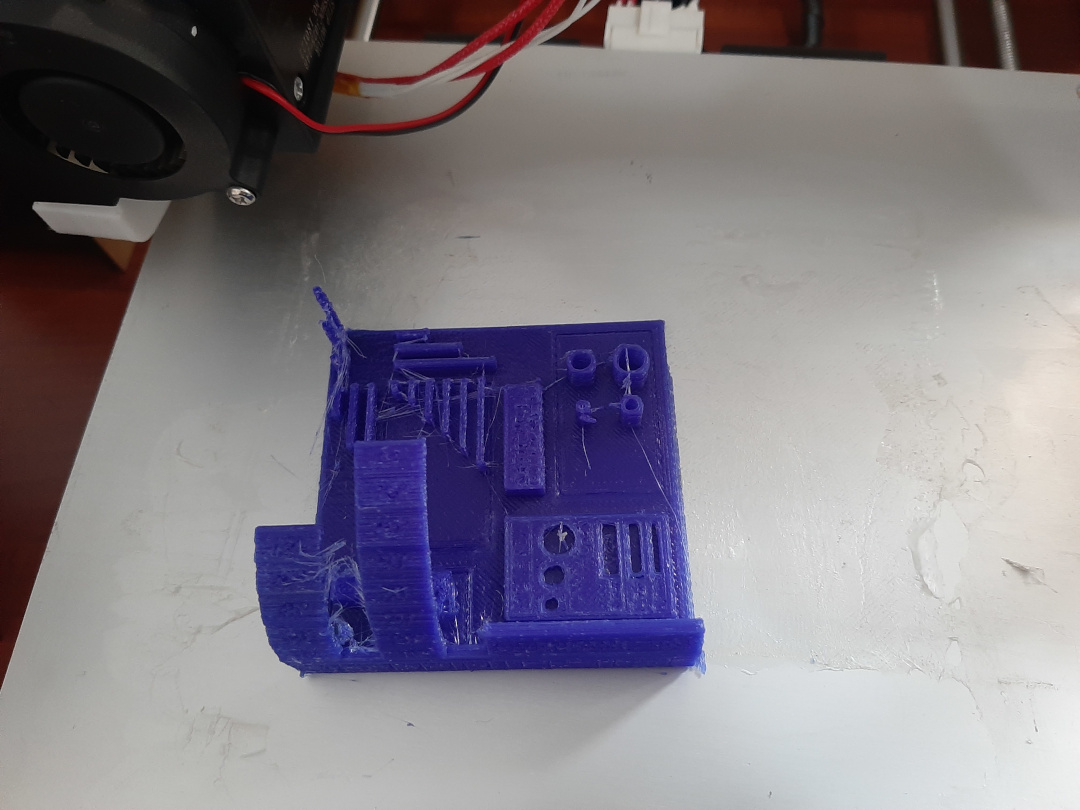
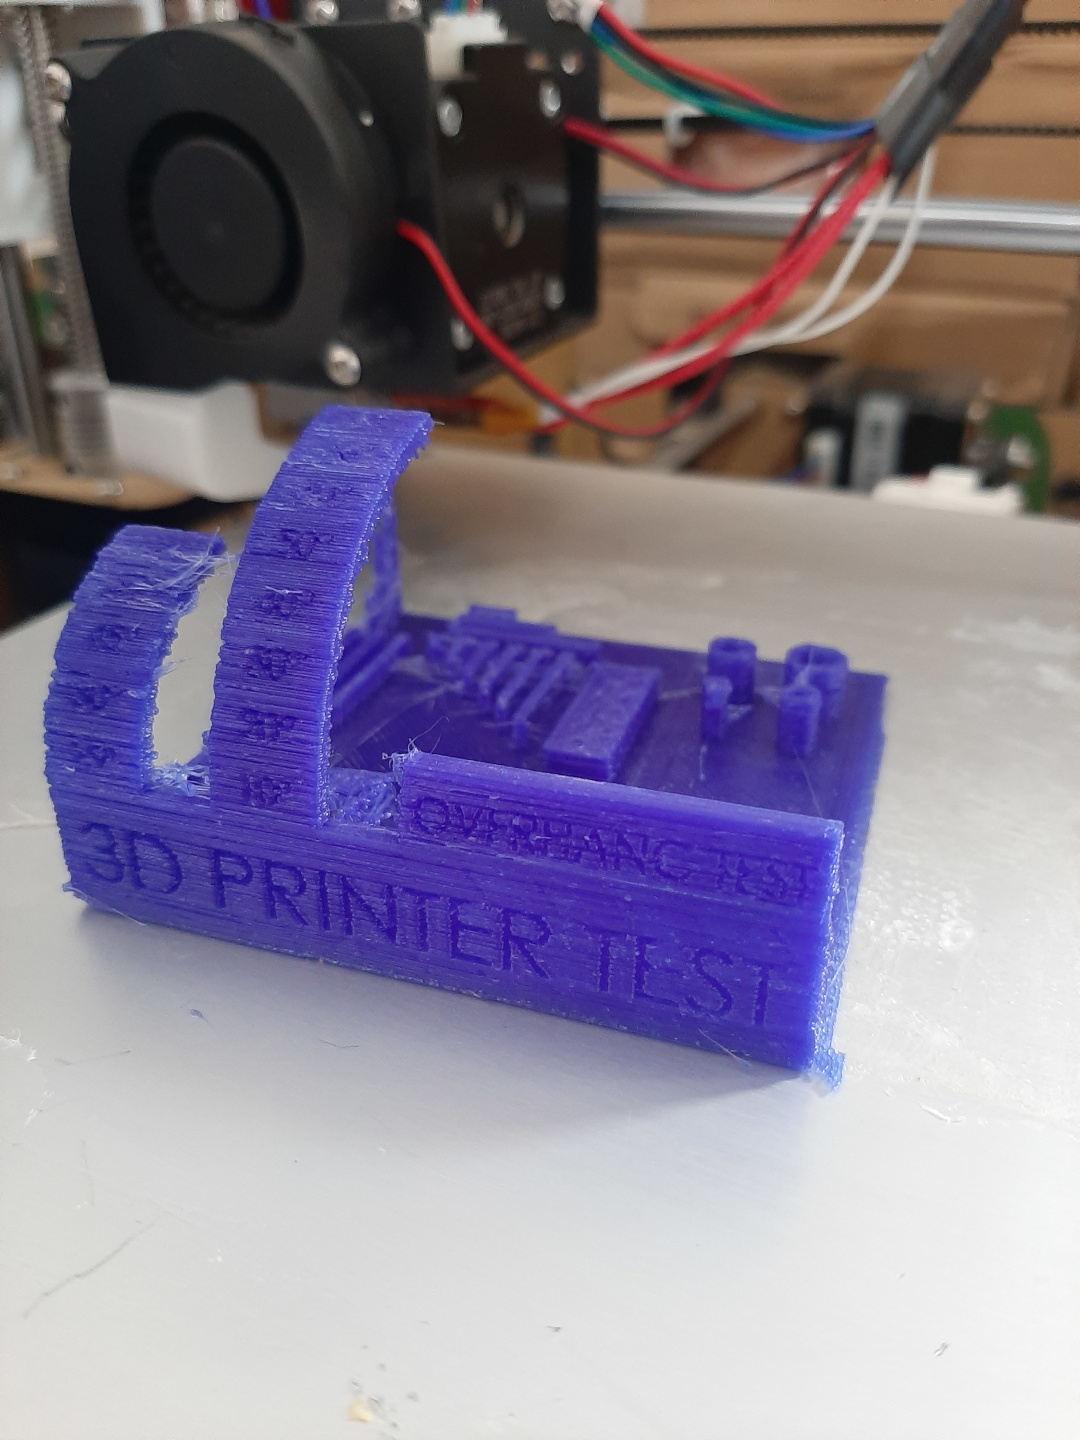
 After Printing the test file I get a good resolution as shown below:
Individual assignments
In this assignment I have to:
* Design and 3D print an object (small, few cm3, limited by printer time) that could not be easily made subtractively
* 3D scan an object, try to prepare it for printing (and optionally print it)
3D Printing:
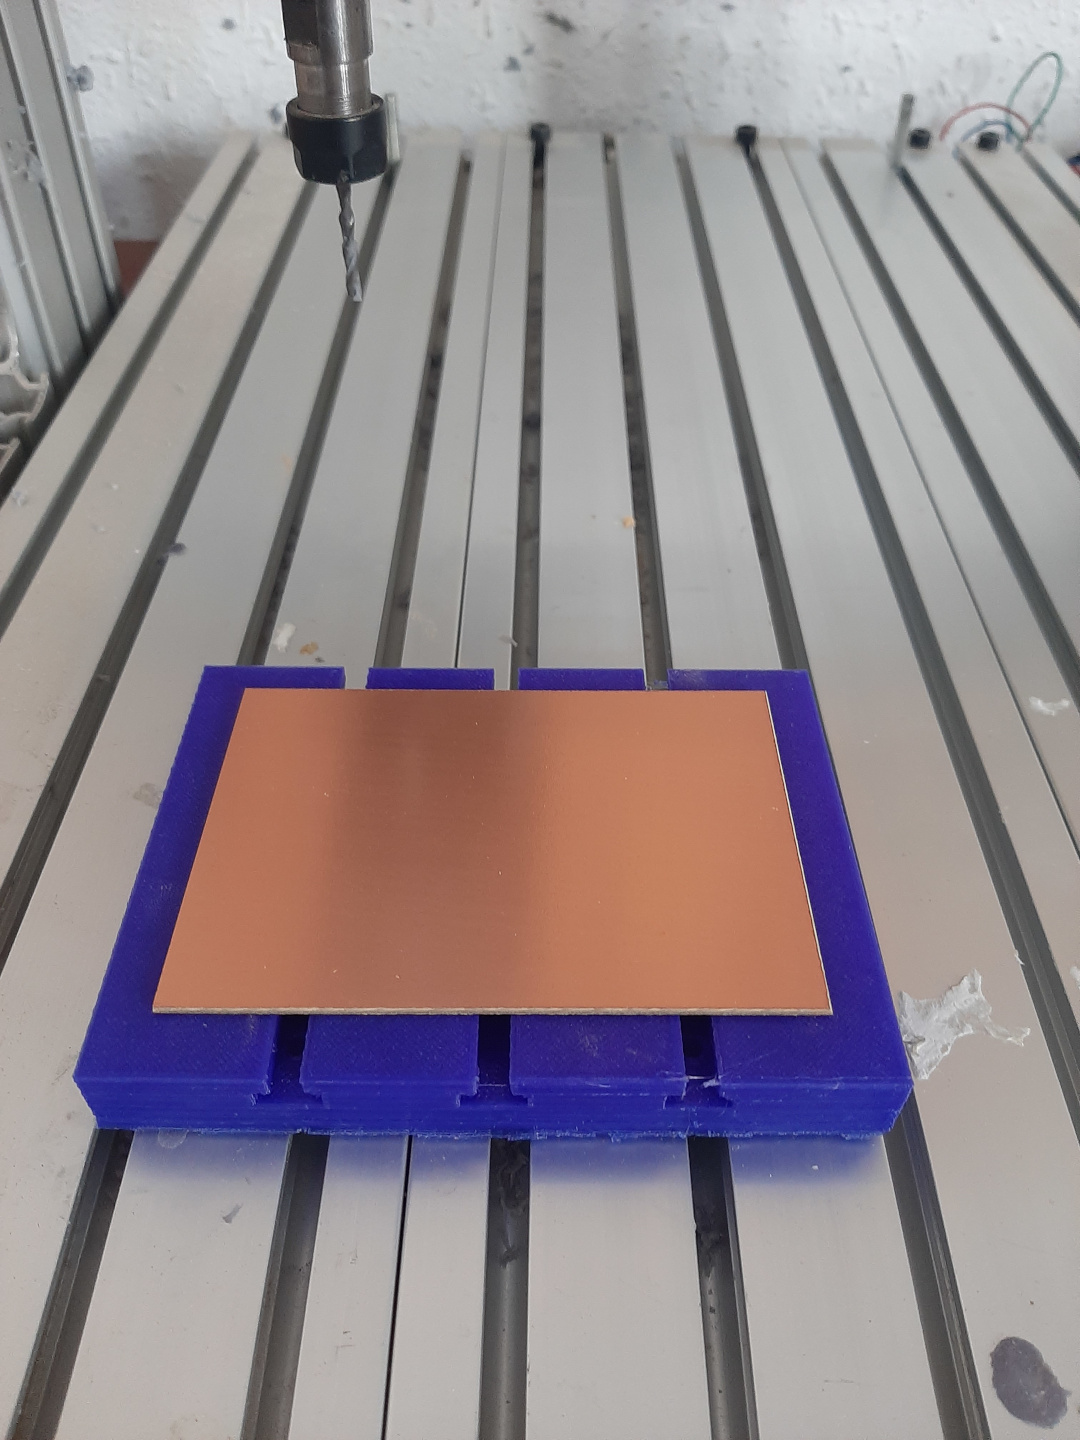
I designed a CNC plate for my CNC router to protect aluminum plate and tools if any error happened.
Because of my experience in SOLIDWORKS, I used it in designing.
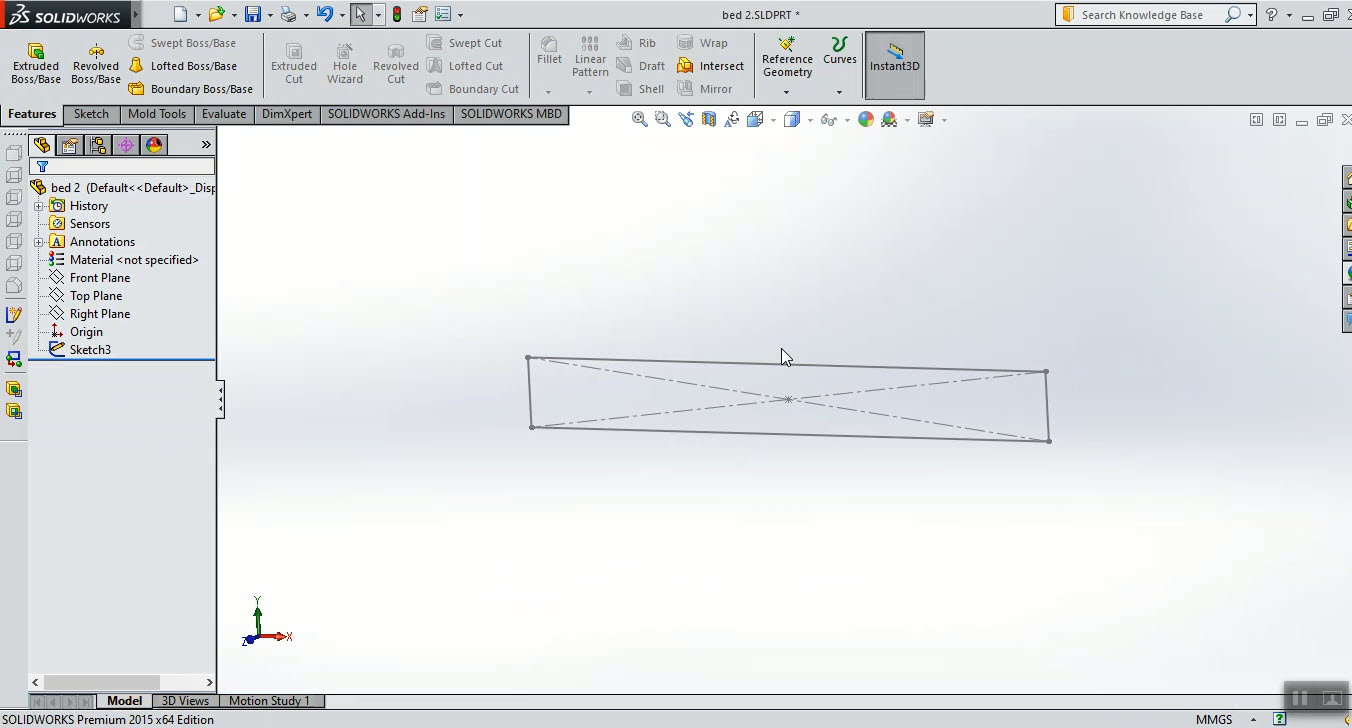
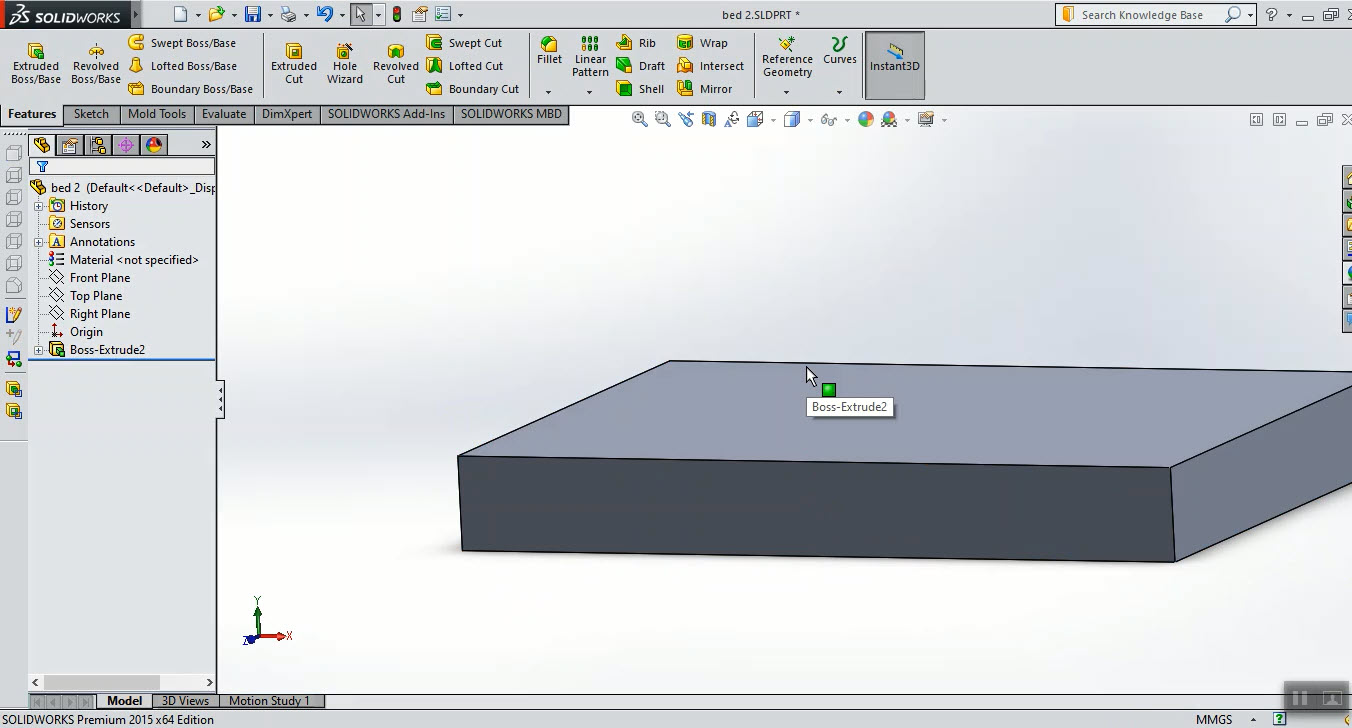
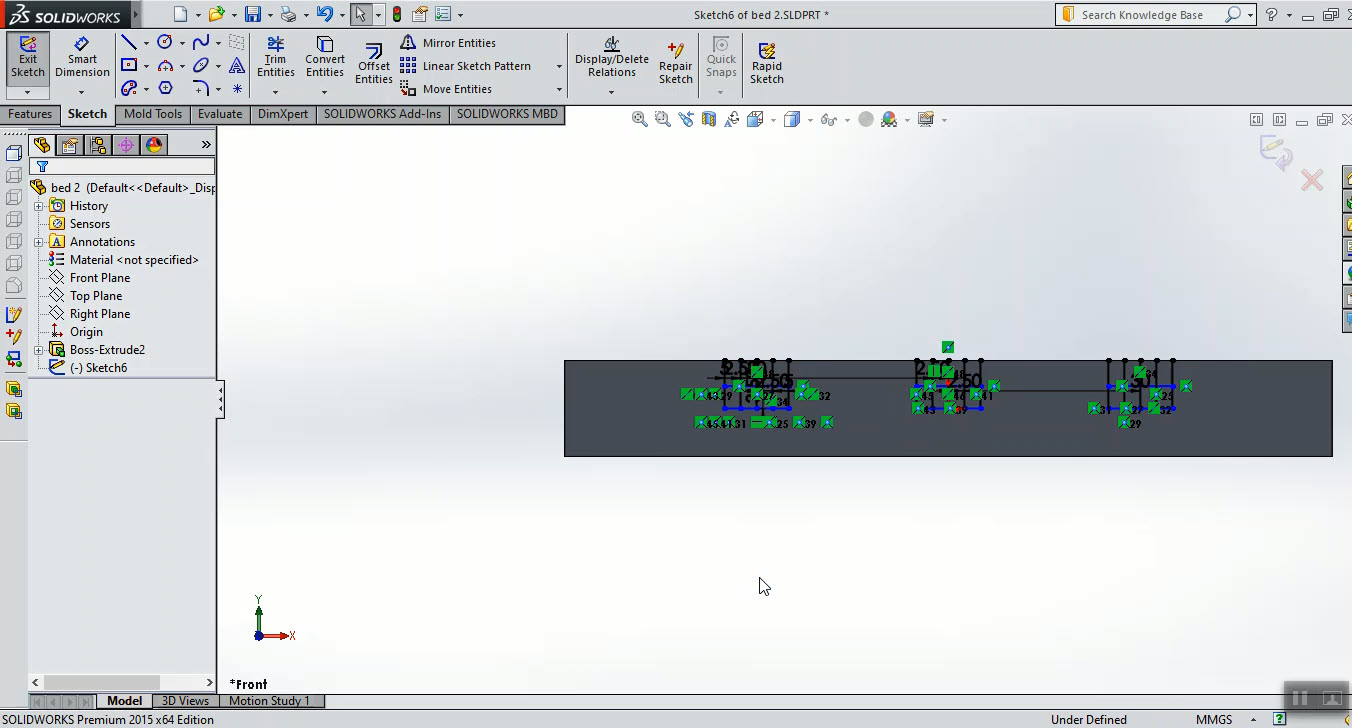
After selecting the plane, I draw a center rectangle and use Extruded Boss tool as desired dimensions.
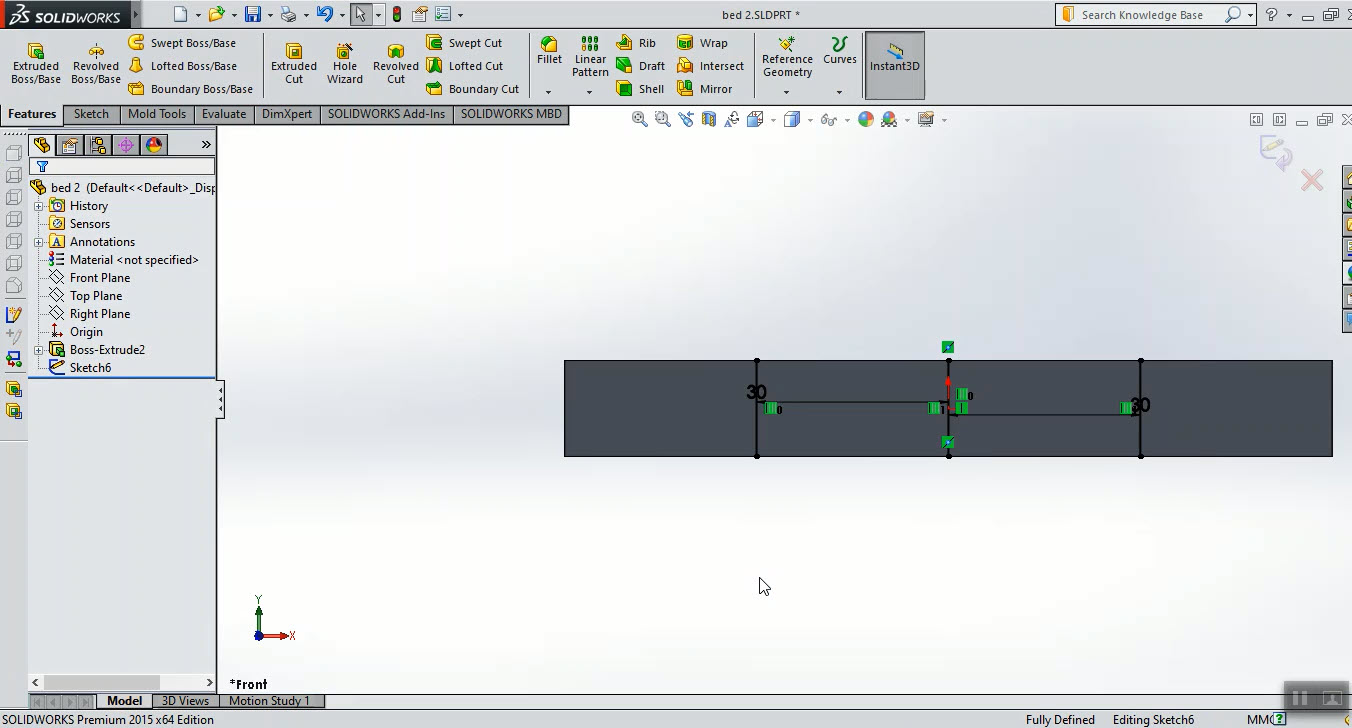
 After that, draw three parallel lines, the space between them depending on the holes in the CNC plate.
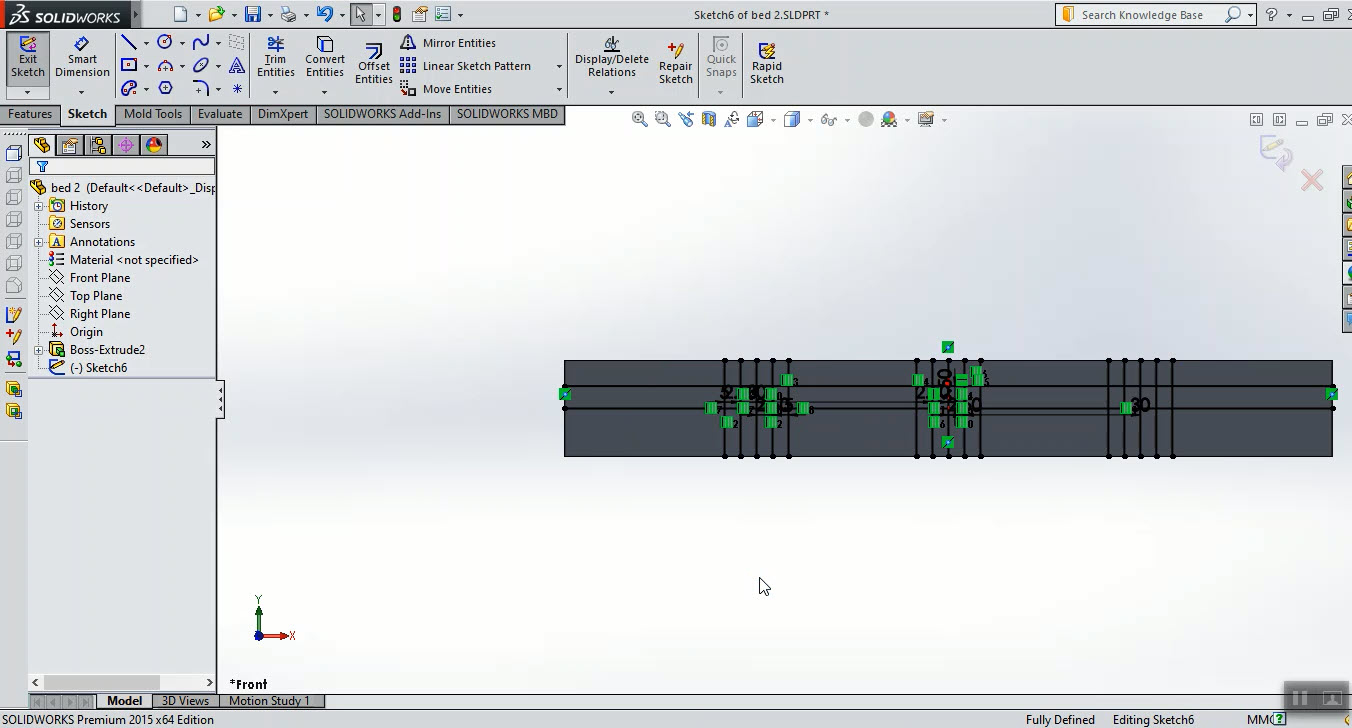
 After Adding lines to get the hole shape I used Trim tool to delete unwanted lines.
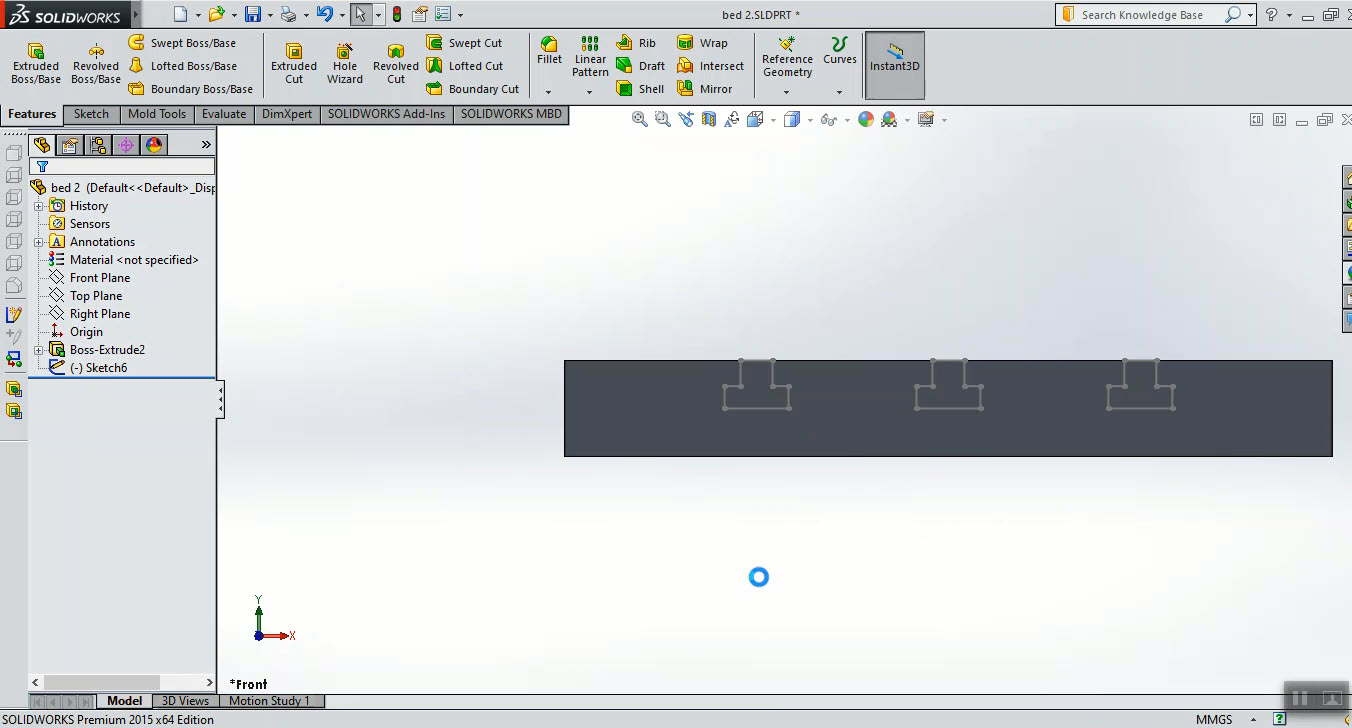 Now, using Extruded Cut tool to make the holes.
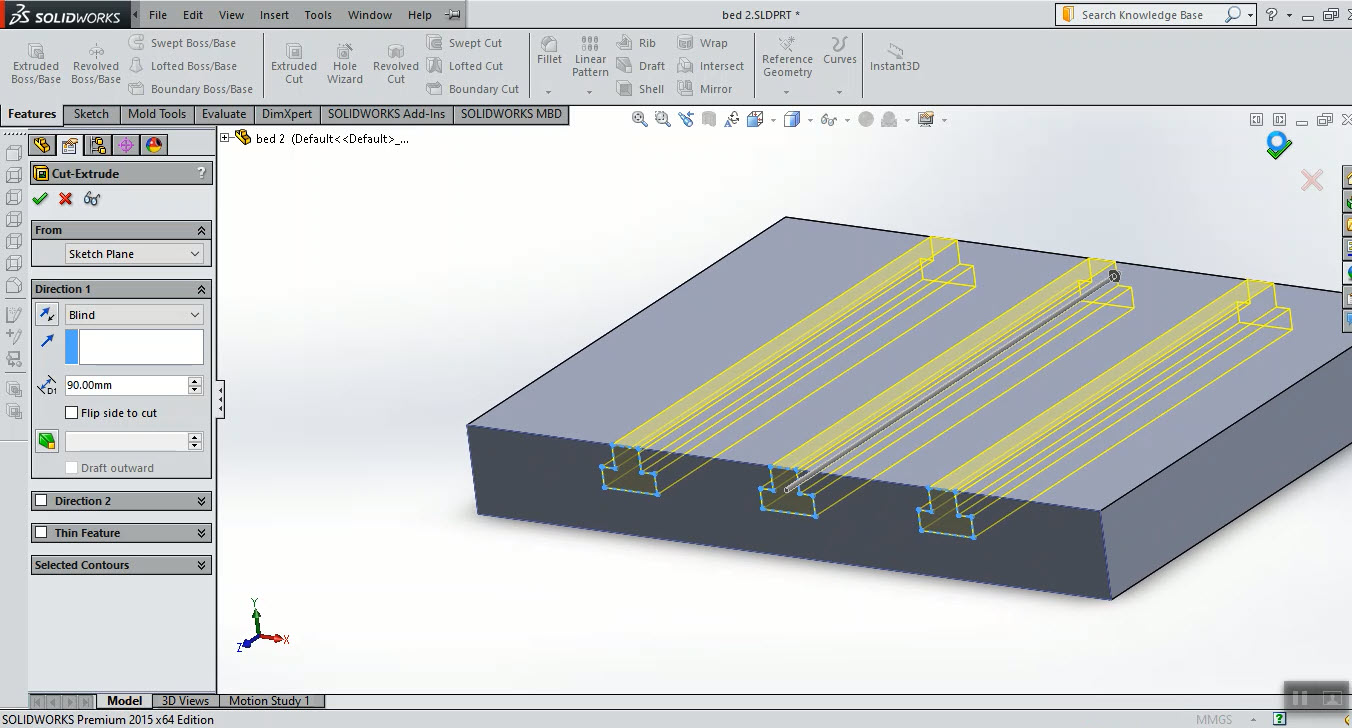 Now the design is ready:
 Save it a STL format to print it.
3D Printing:
To print my design I used Cura again with same settings above:
Save it a STL format to print it.
3D Printing:
To print my design I used Cura again with same settings above:
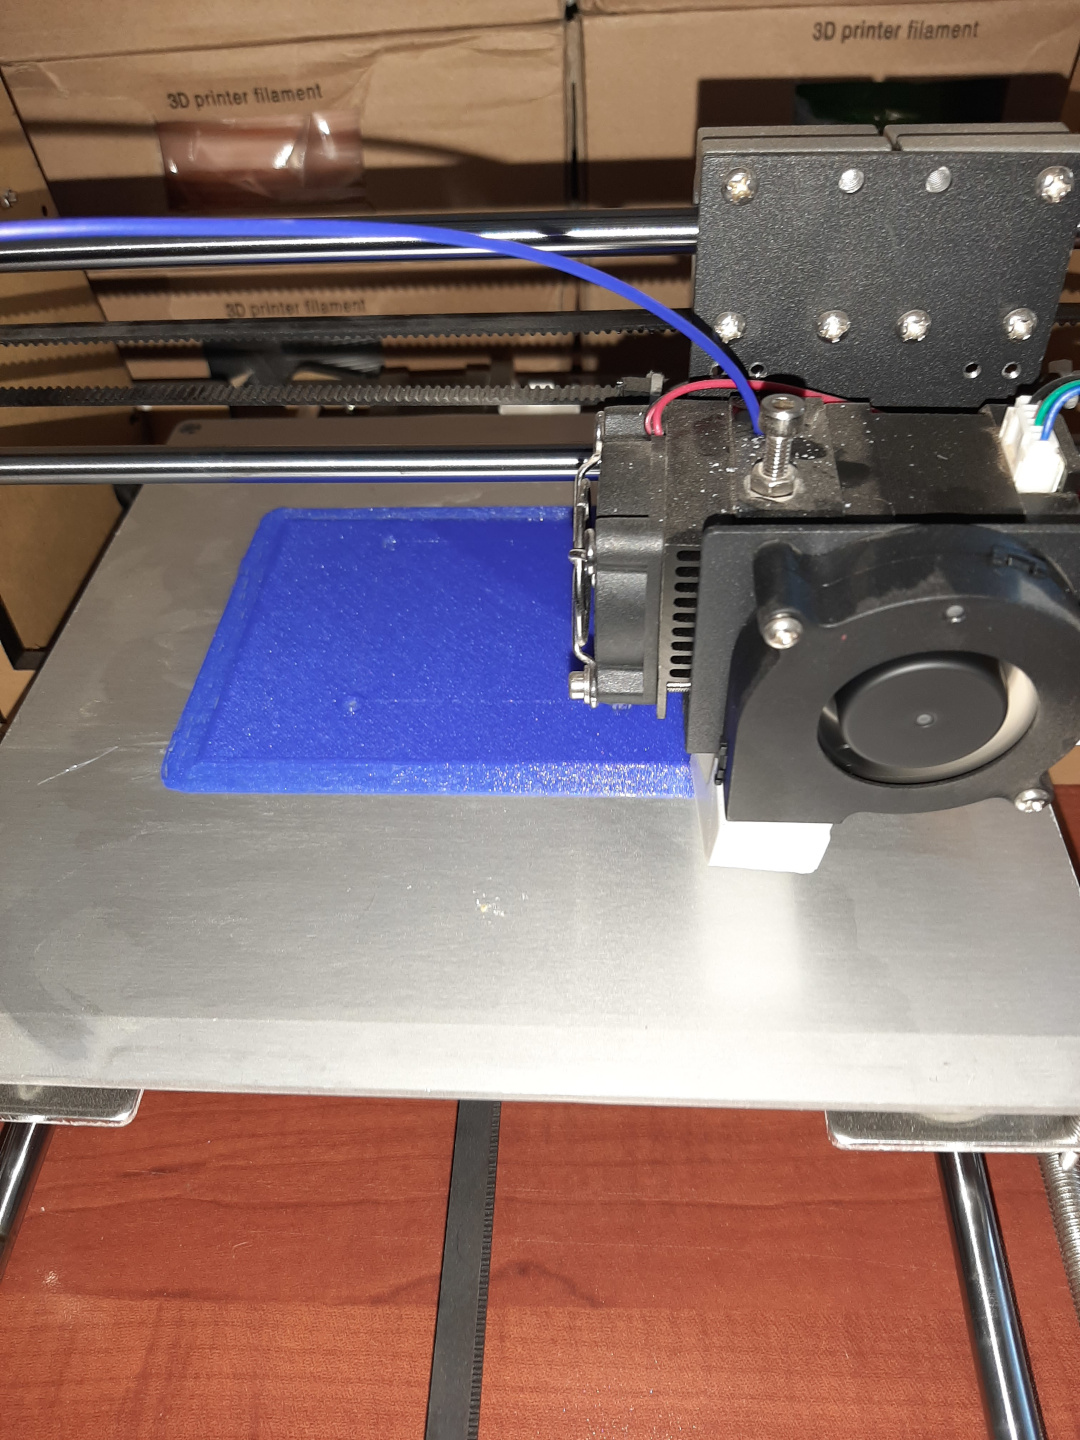
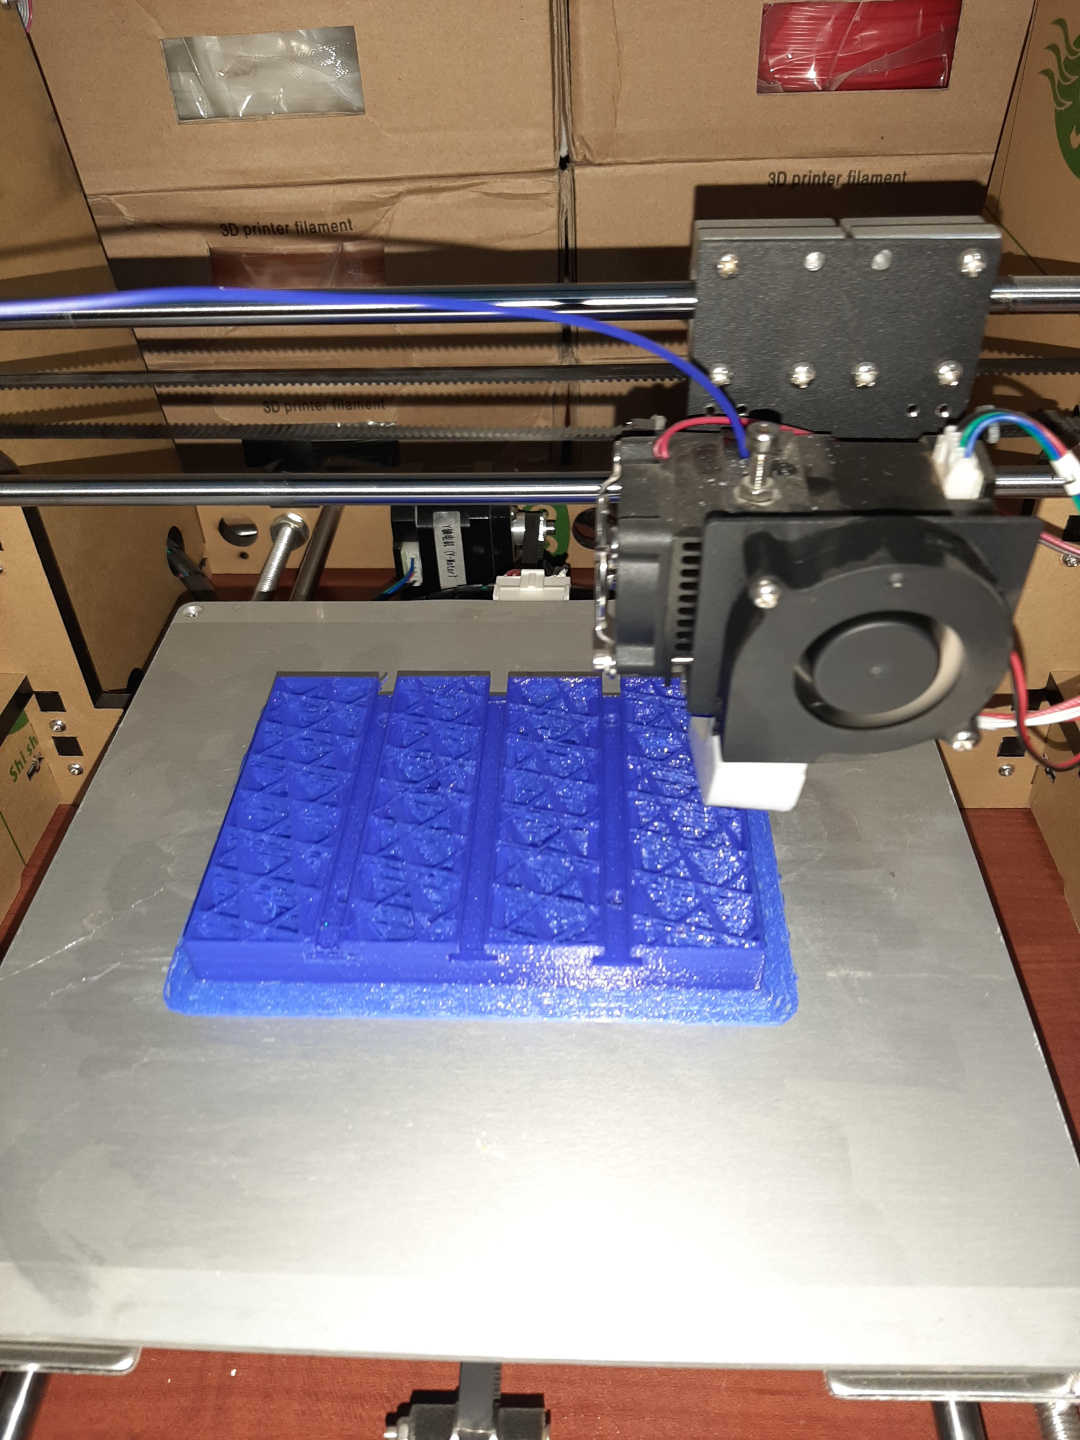
 Now, every things are ready. Let us start printing:
 After more than 6 hours, we get:
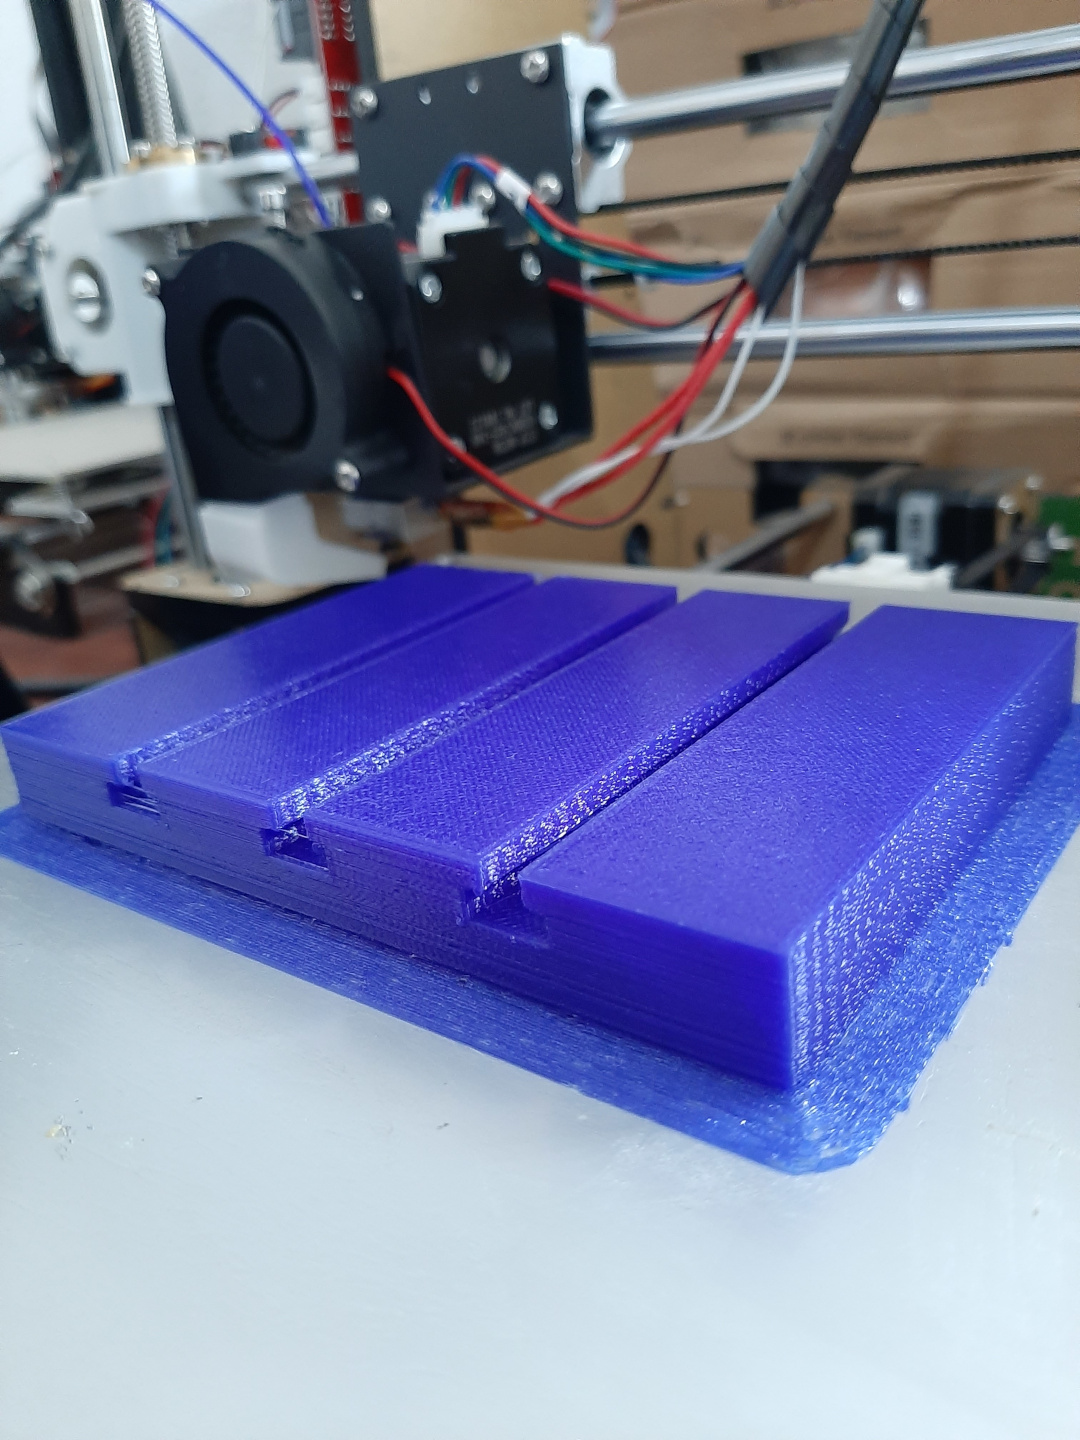 Now, my tools and CNC bes are save.
 3D Scanning:
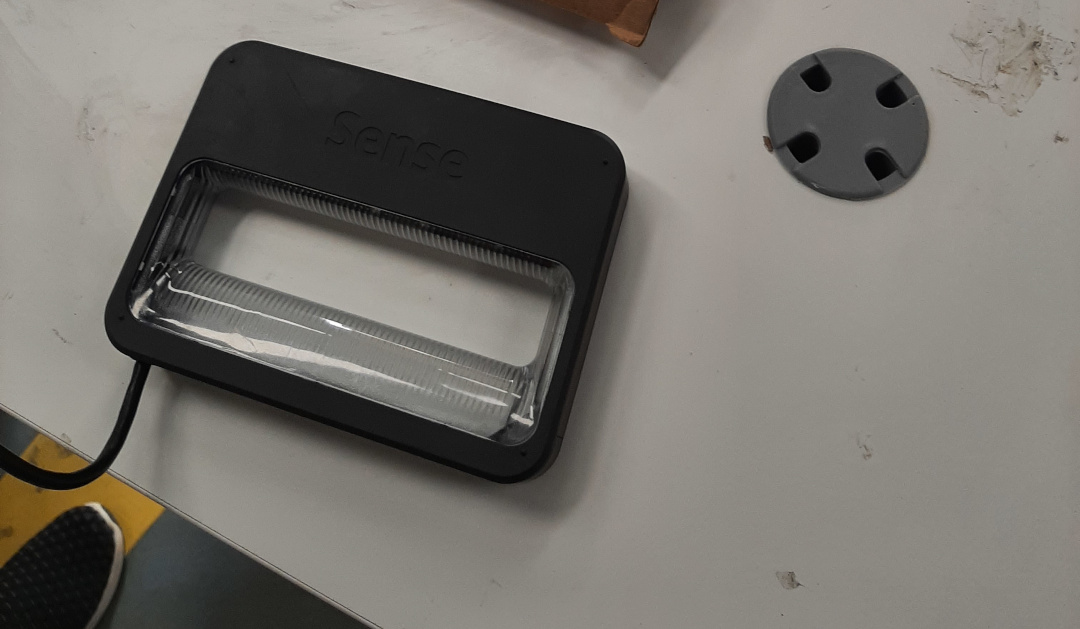
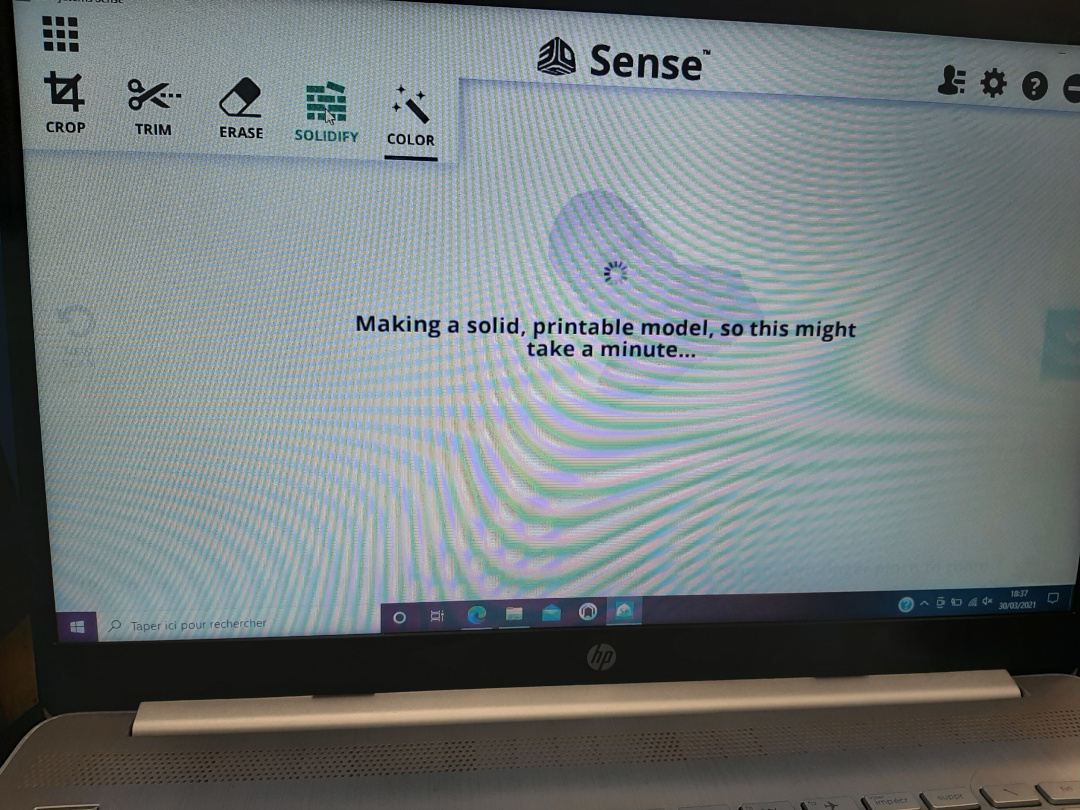
In this assignment I used Sense 3D Scanner From 3D SYSTEMS.
3D Scanning:
In this assignment I used Sense 3D Scanner From 3D SYSTEMS.

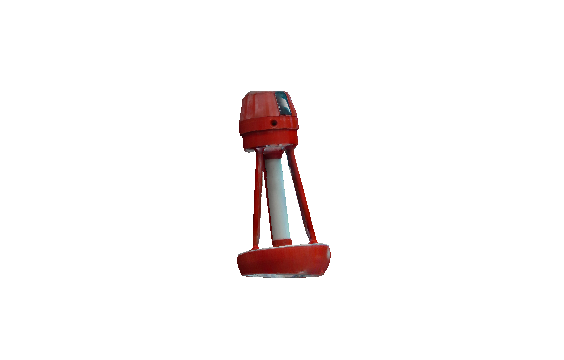
 I choose a marine buoys to scan.
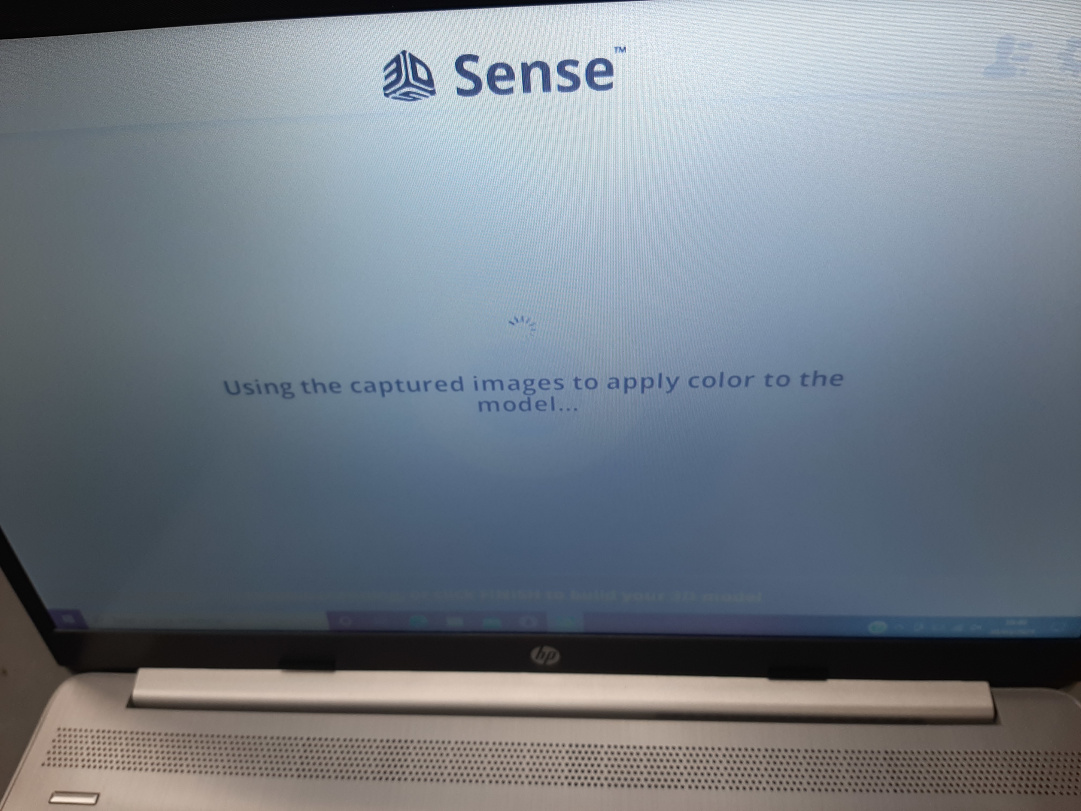
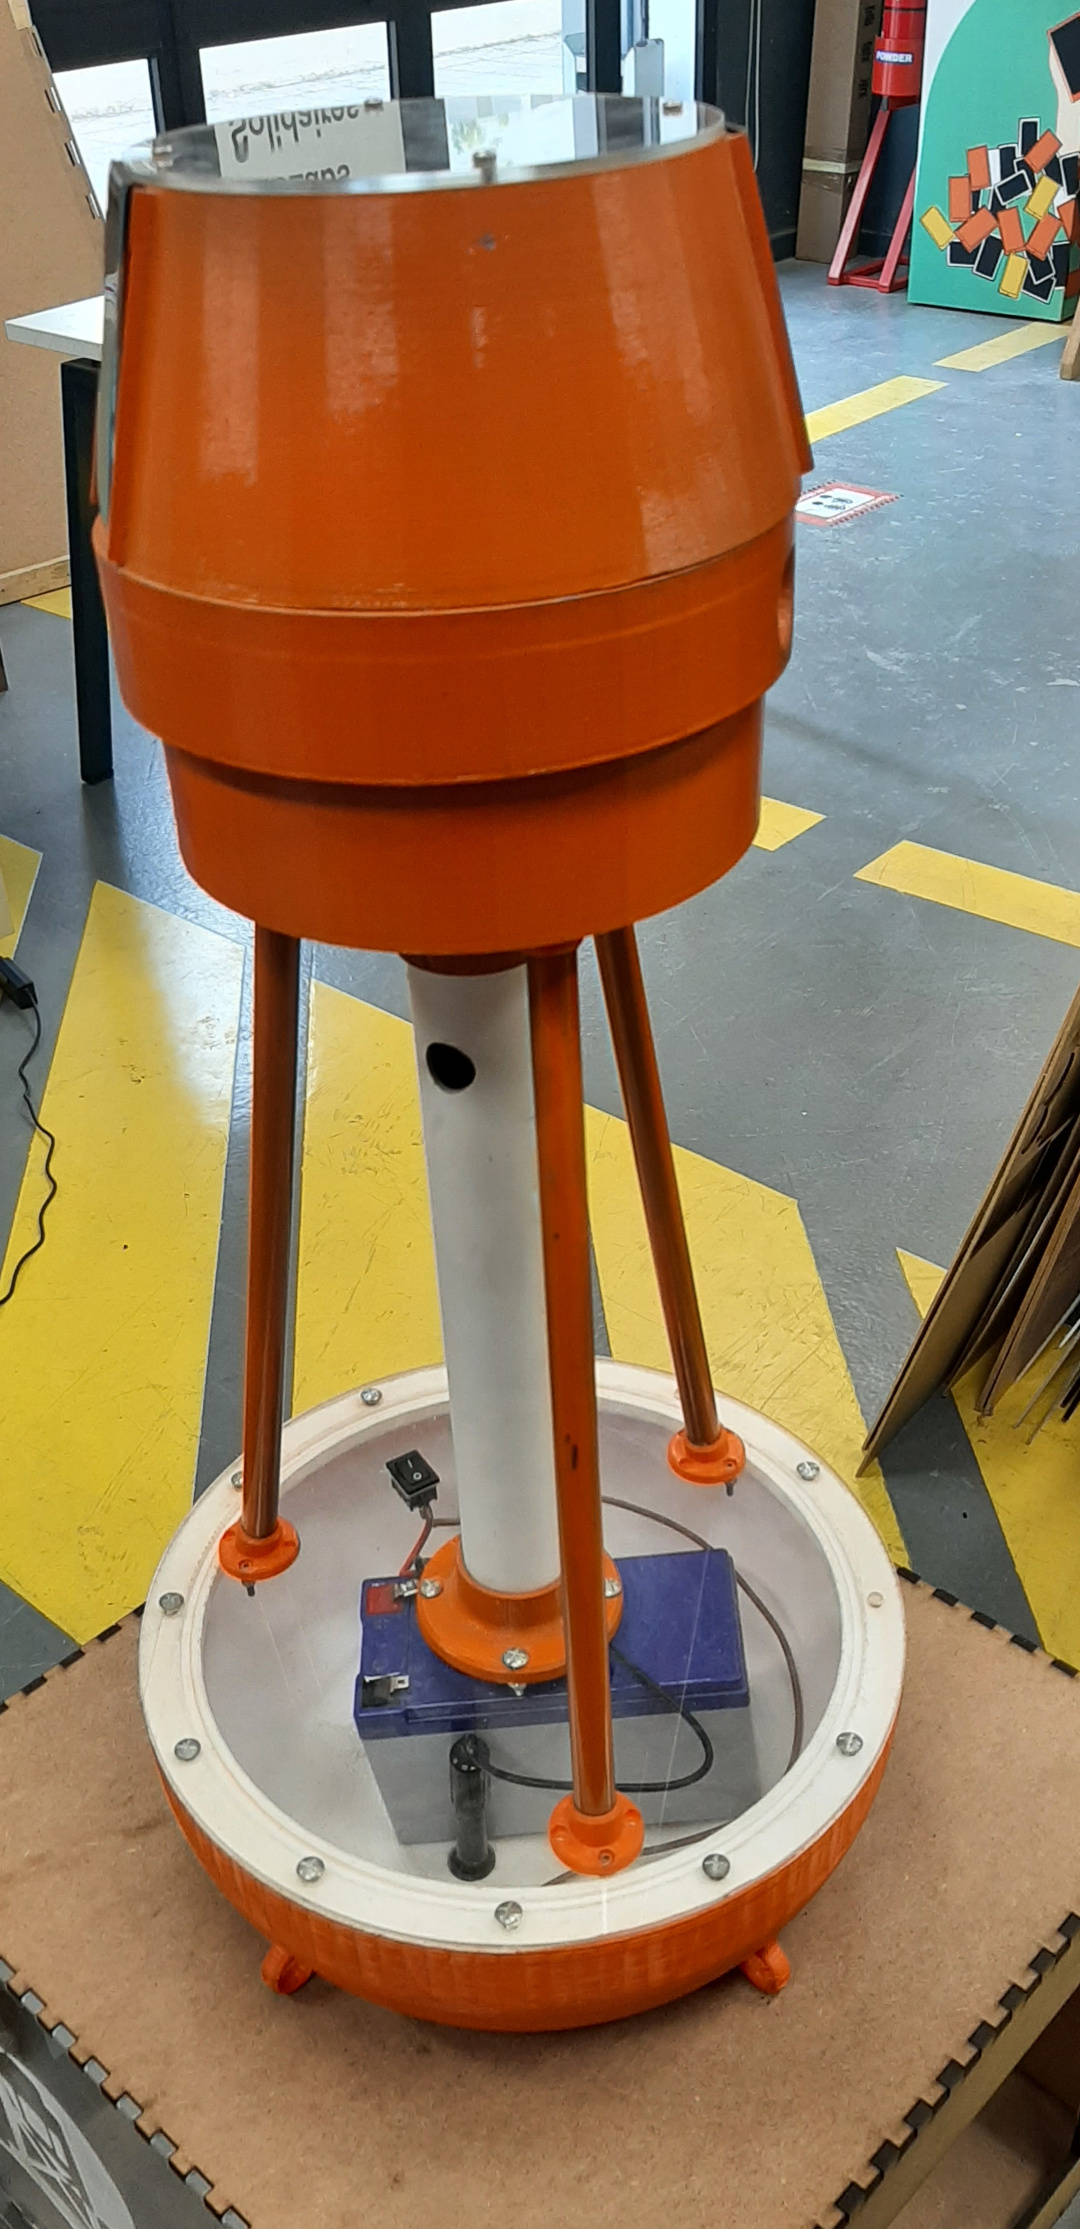 3d scanning needs very soft movement. After many efforts I get an accepted result.

Download Links