Molding & Casting
Group Assignment
* Review the safety data sheets for each of your molding and casting materials, then make and compare test casts with
each of them
I have use Certi-Vex CE 210 which is a two component, 100% solids, solvent.
structural construction multi purpose epoxy adhesive.
For the EPOXY product I found a technical data sheet with limited safety instructions.
* Use gloves during use and wash your hands after use.
* Avoid eating, drinking or smoking while use
Individual assignments
In this assignment I have to:
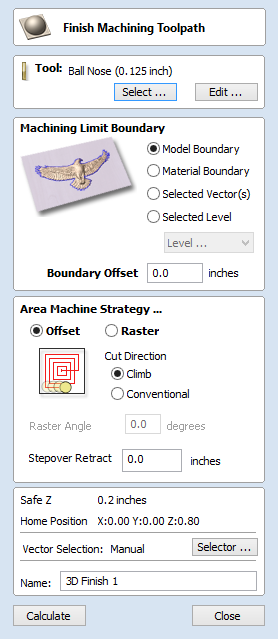
* Design a mold around the stock and tooling that you'll be using,mill it (rough cut + (at least) three-axis finish cut),
and use it to cast parts.
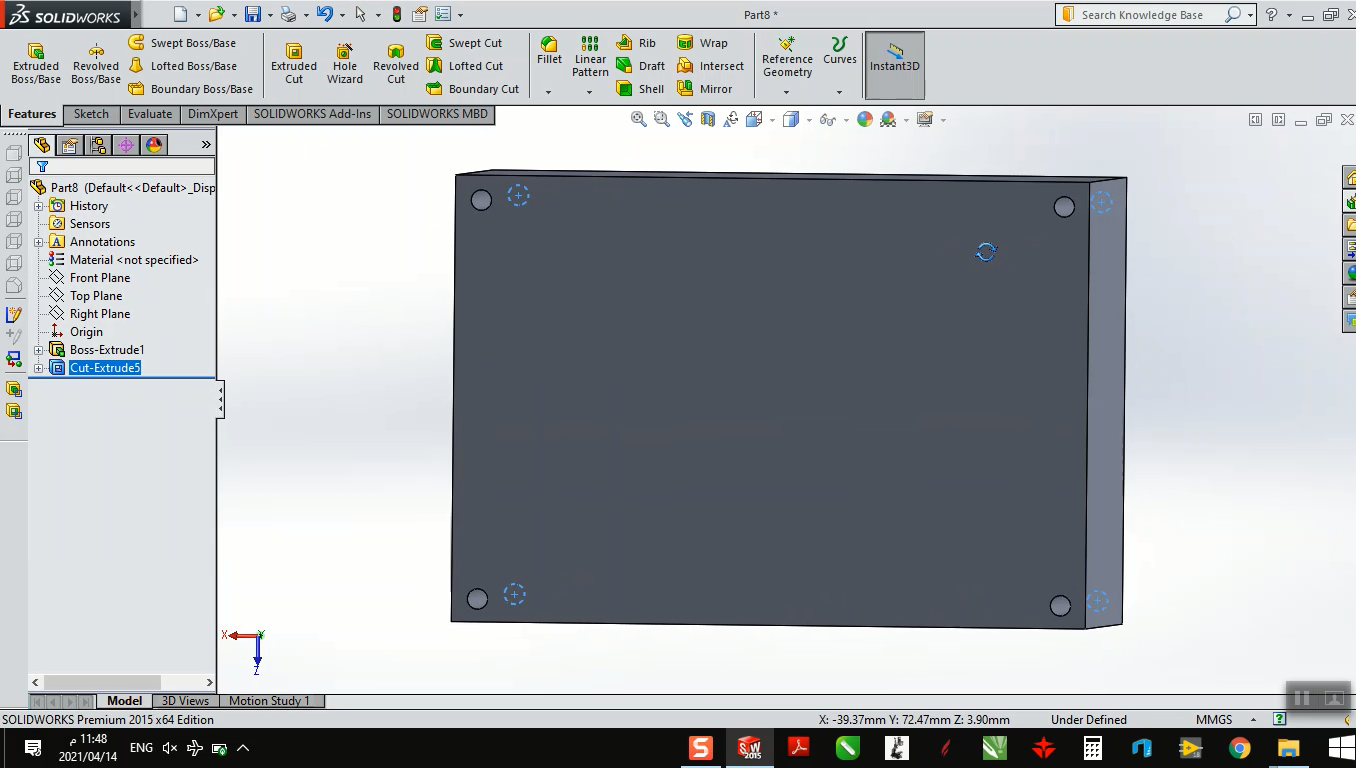
In this assignment I decided to make a cover for my circuit when attached to the final project model.
3D Design:
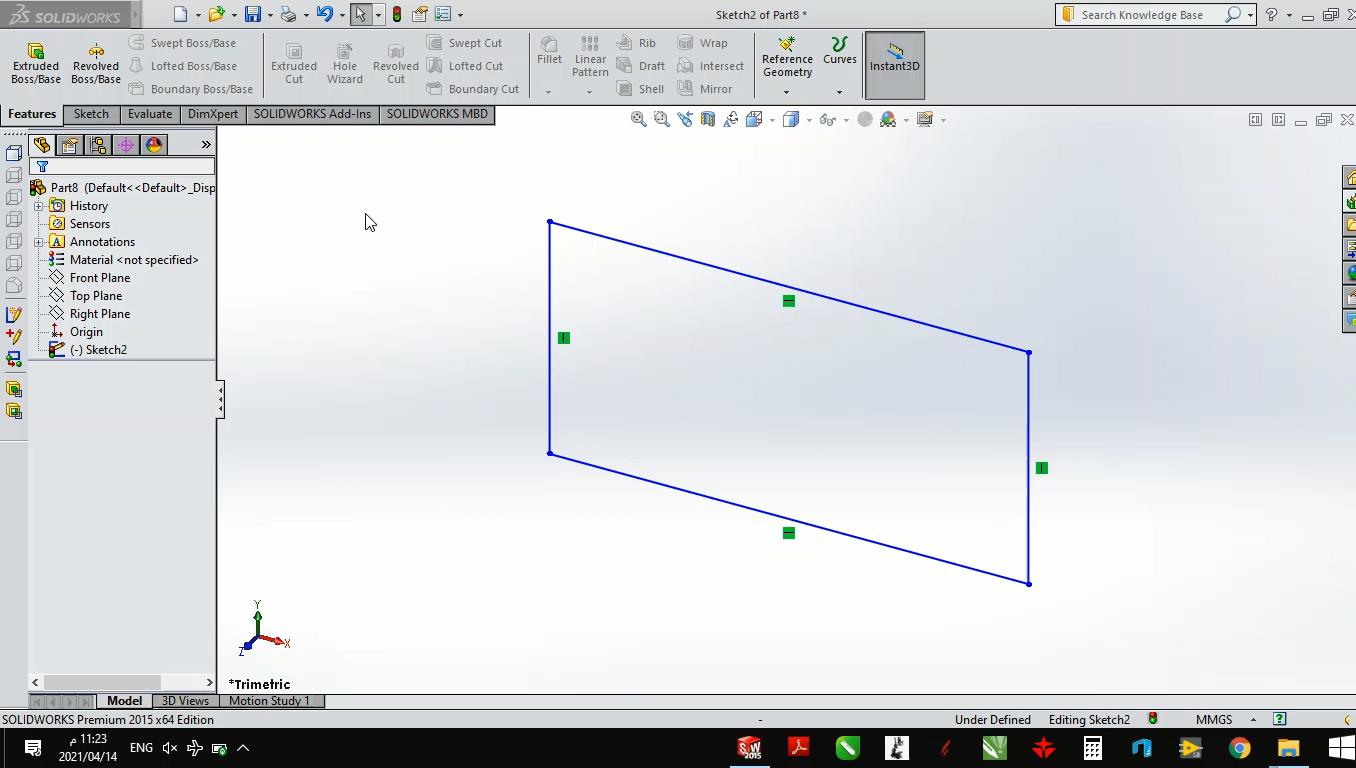
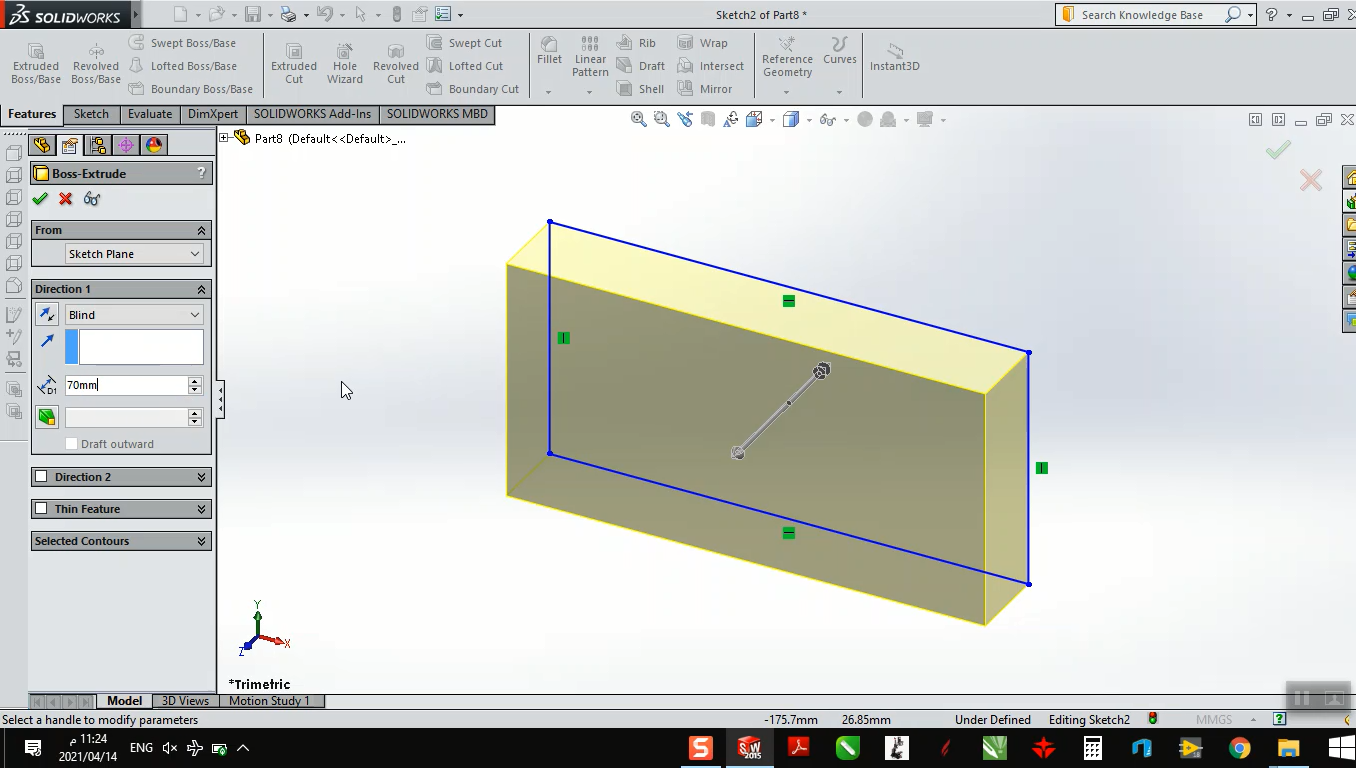
I used SOLIDWORKS to design the cover. First I draw a rectangle and use extruded boss to extude it and create a solid object.
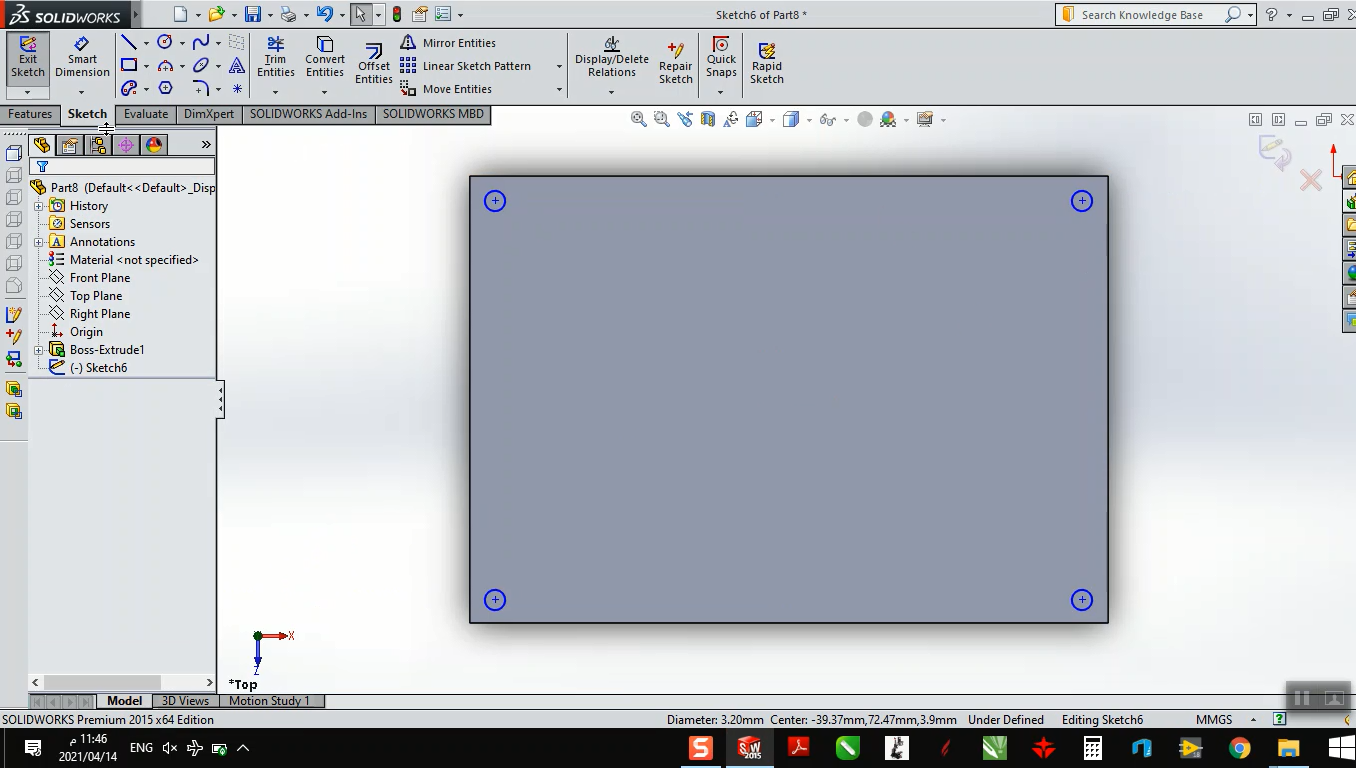
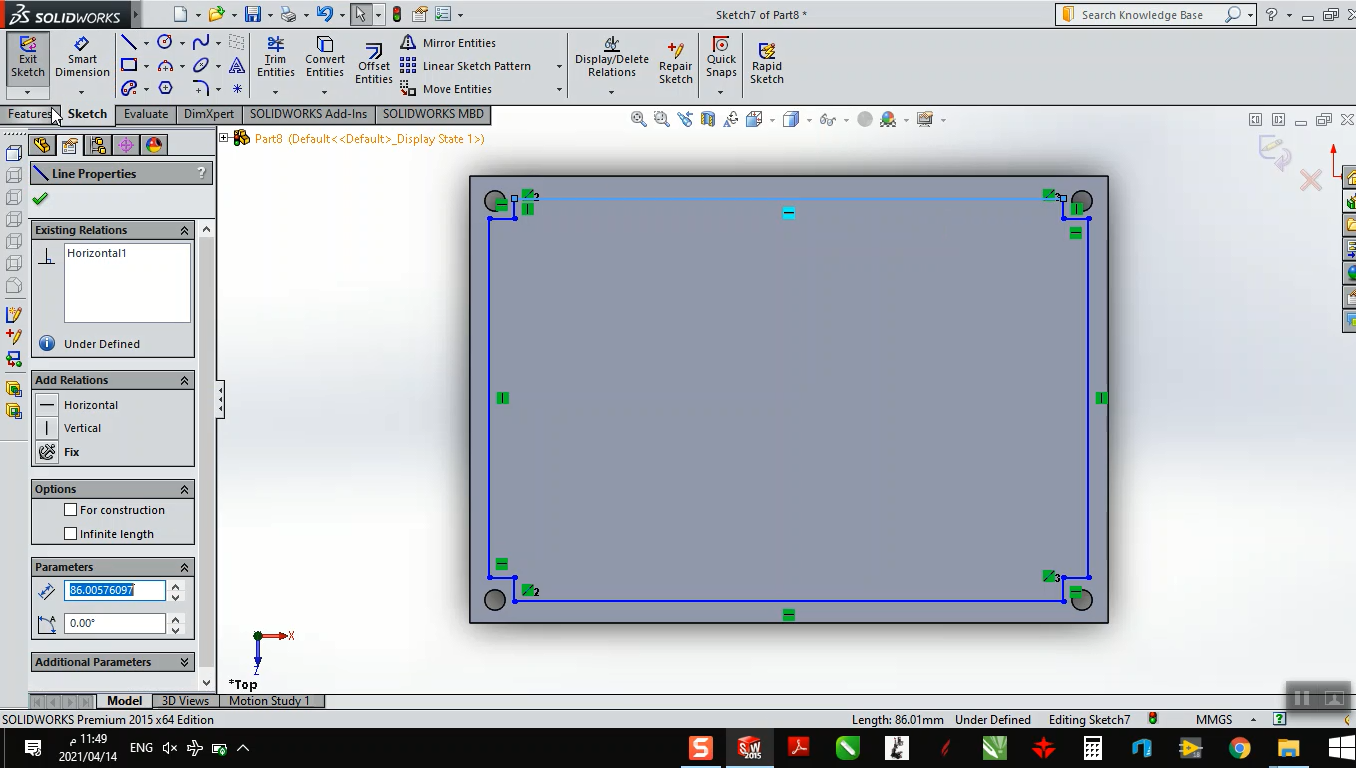
 Next, I draw four circles for the skrews and use extuded cut to make holes.
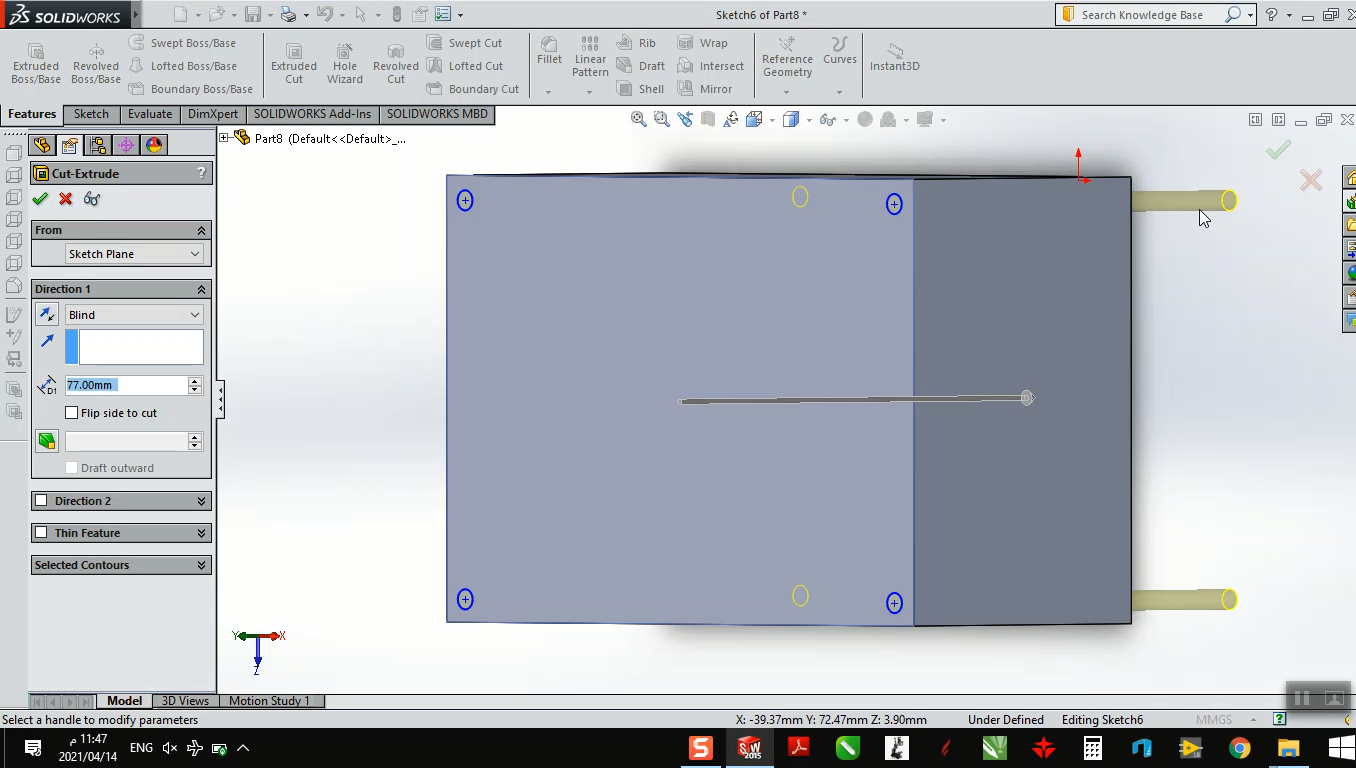
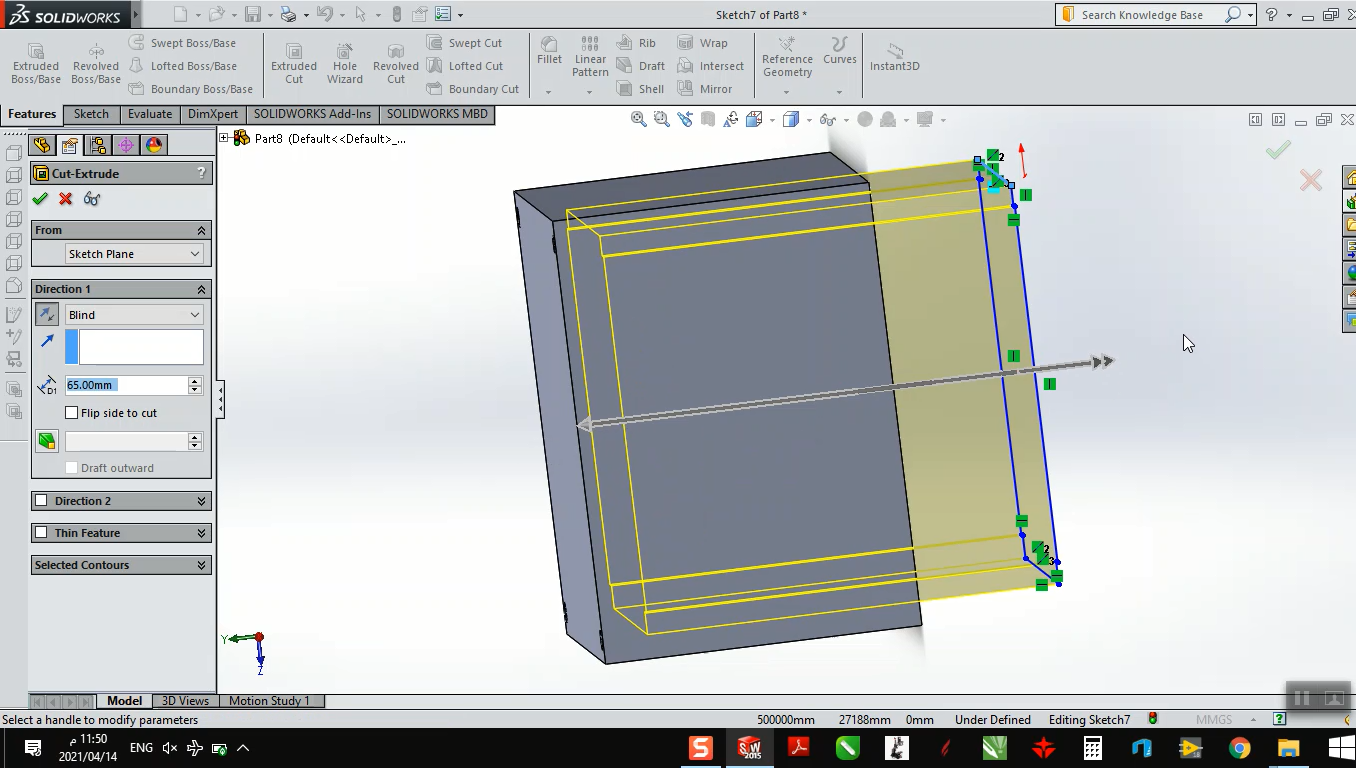
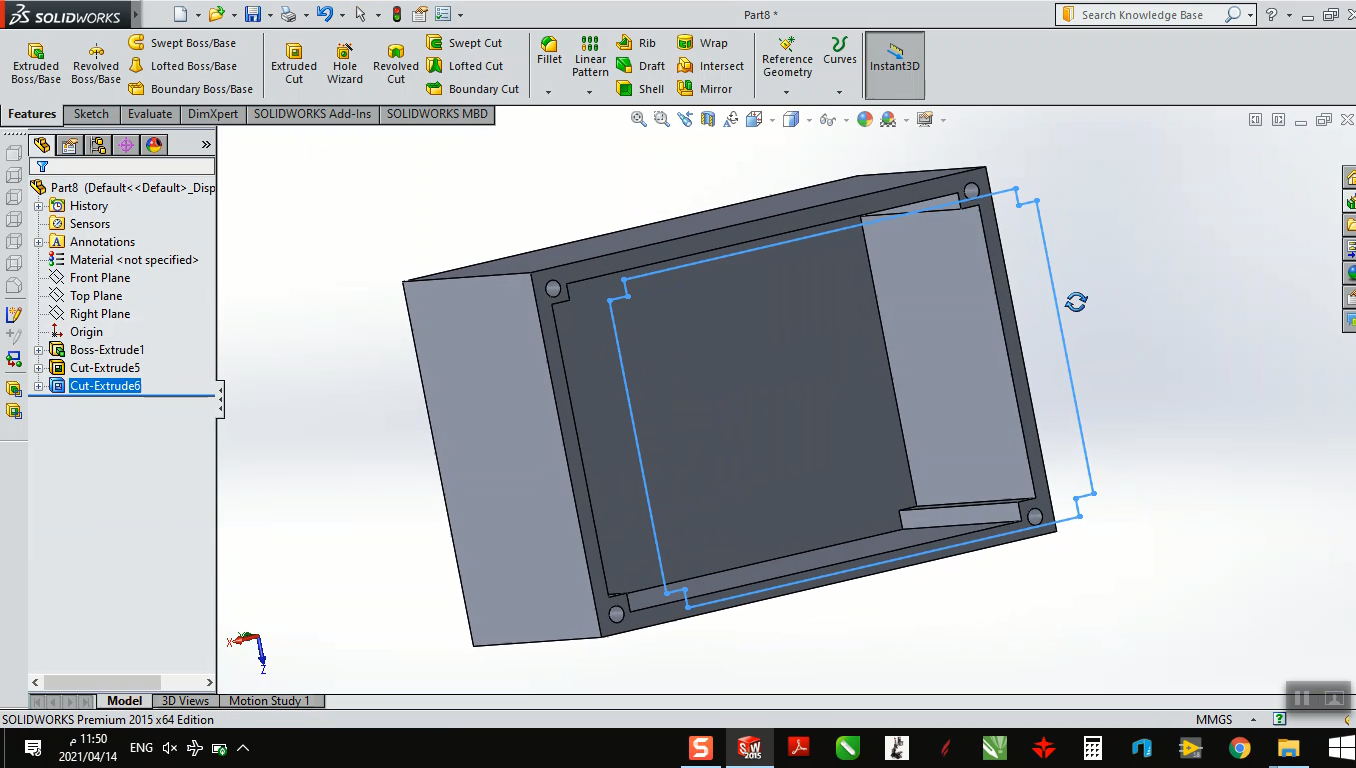
 Again I draw another rectangle and use extuded cut.
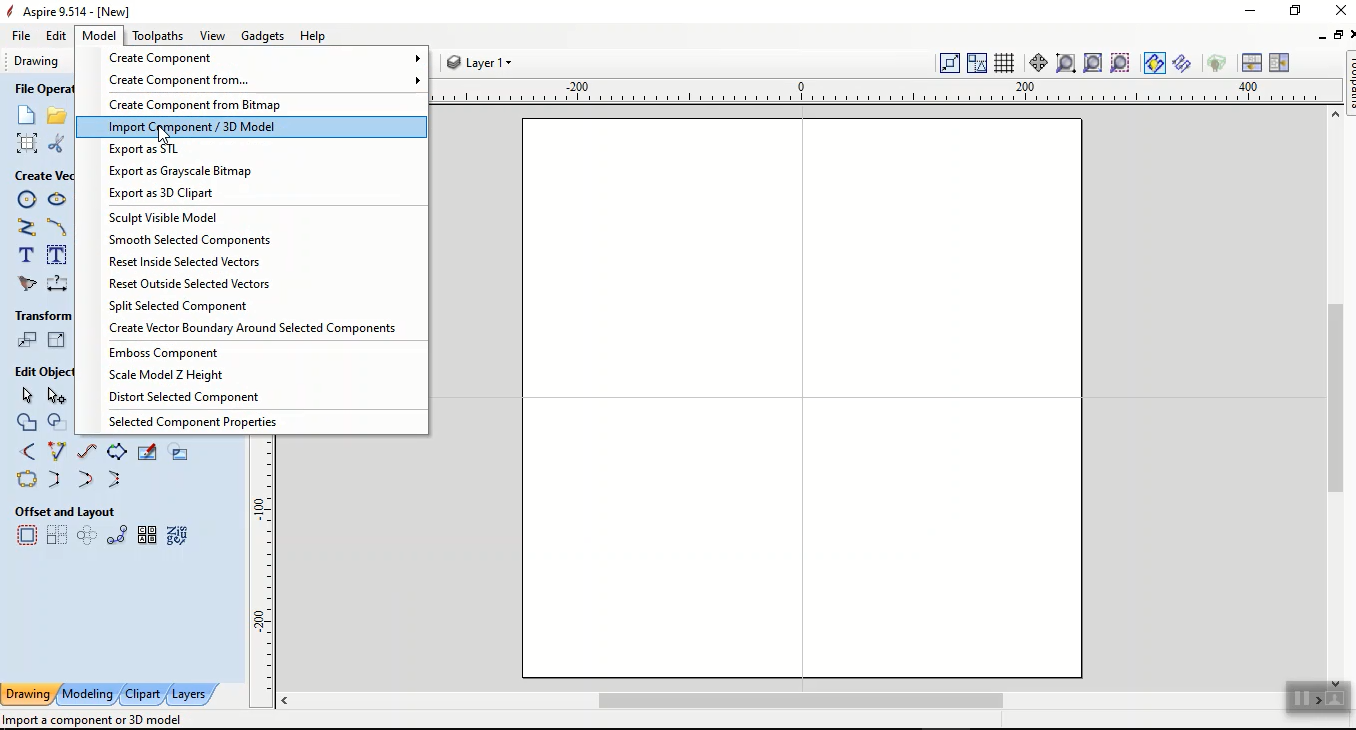
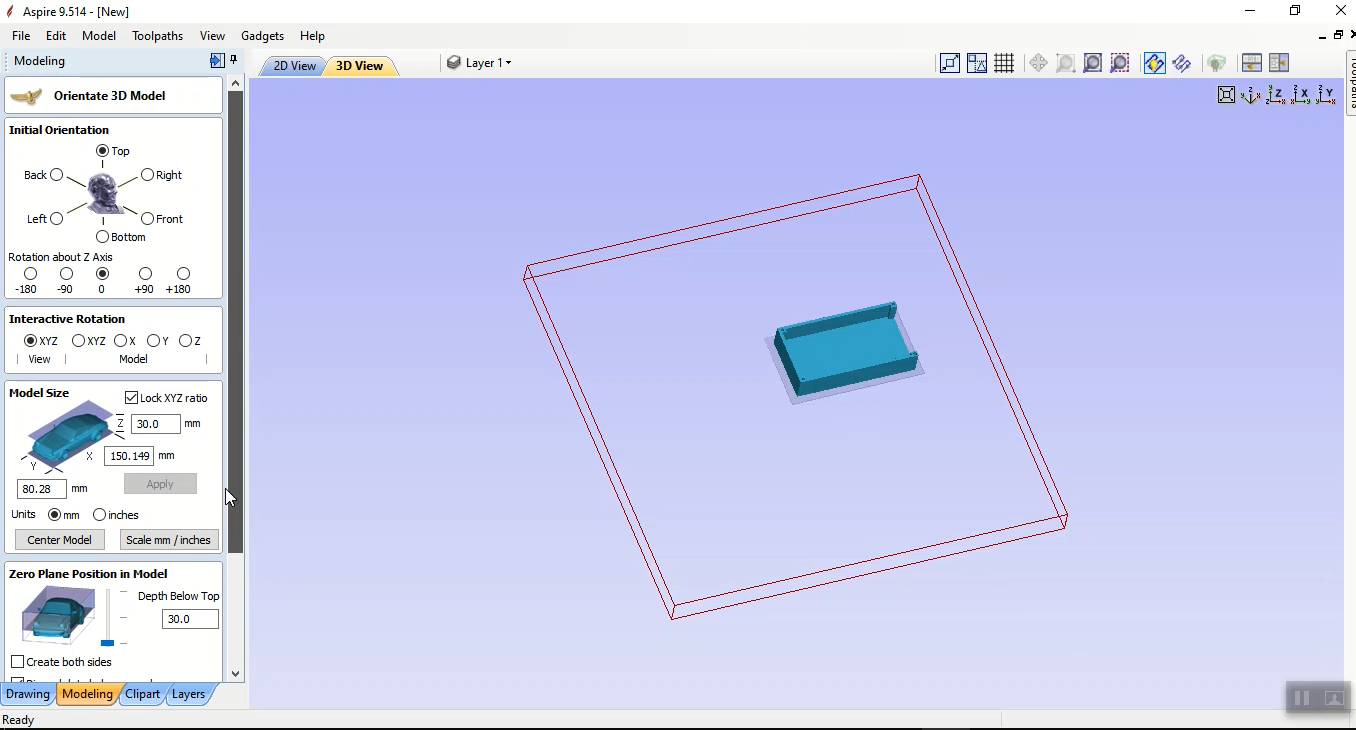
After that I used Aspire software to create G-code for my CNC.
 First step is importing 3D model as STL format and change the object position.
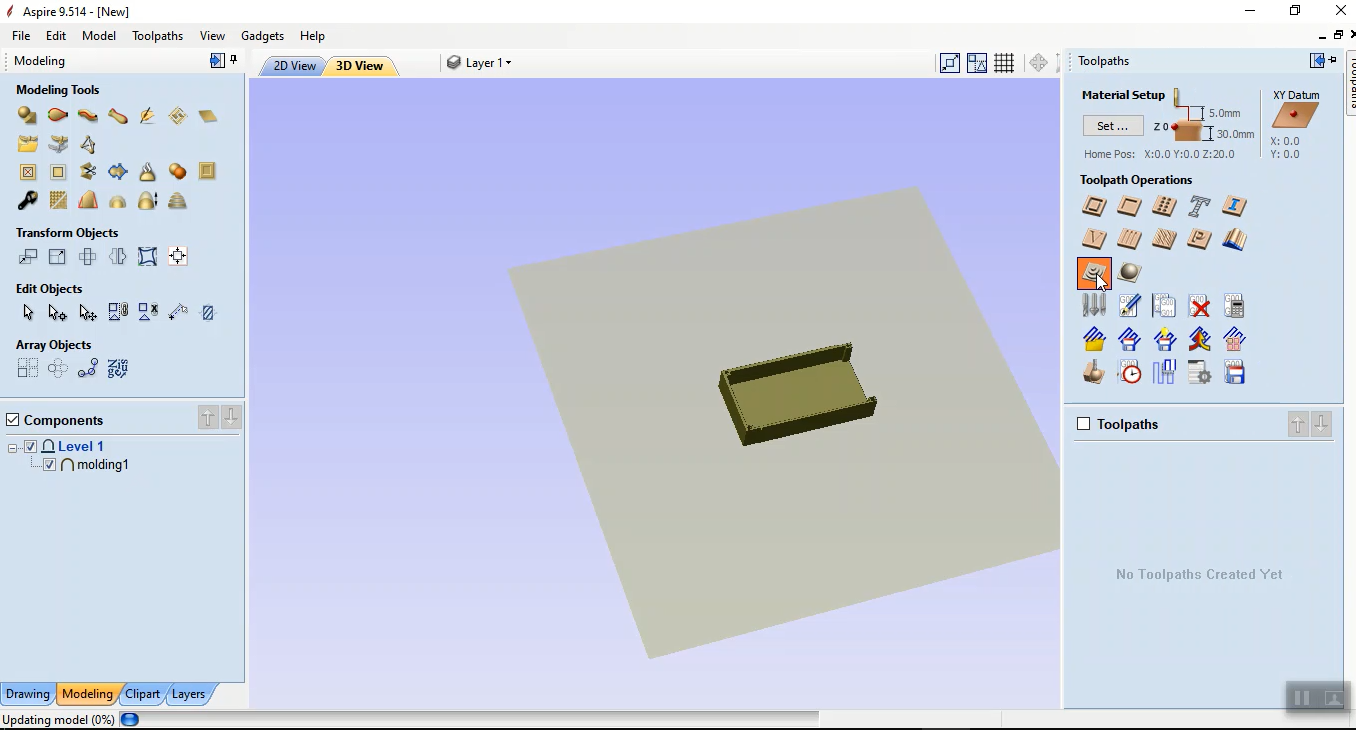
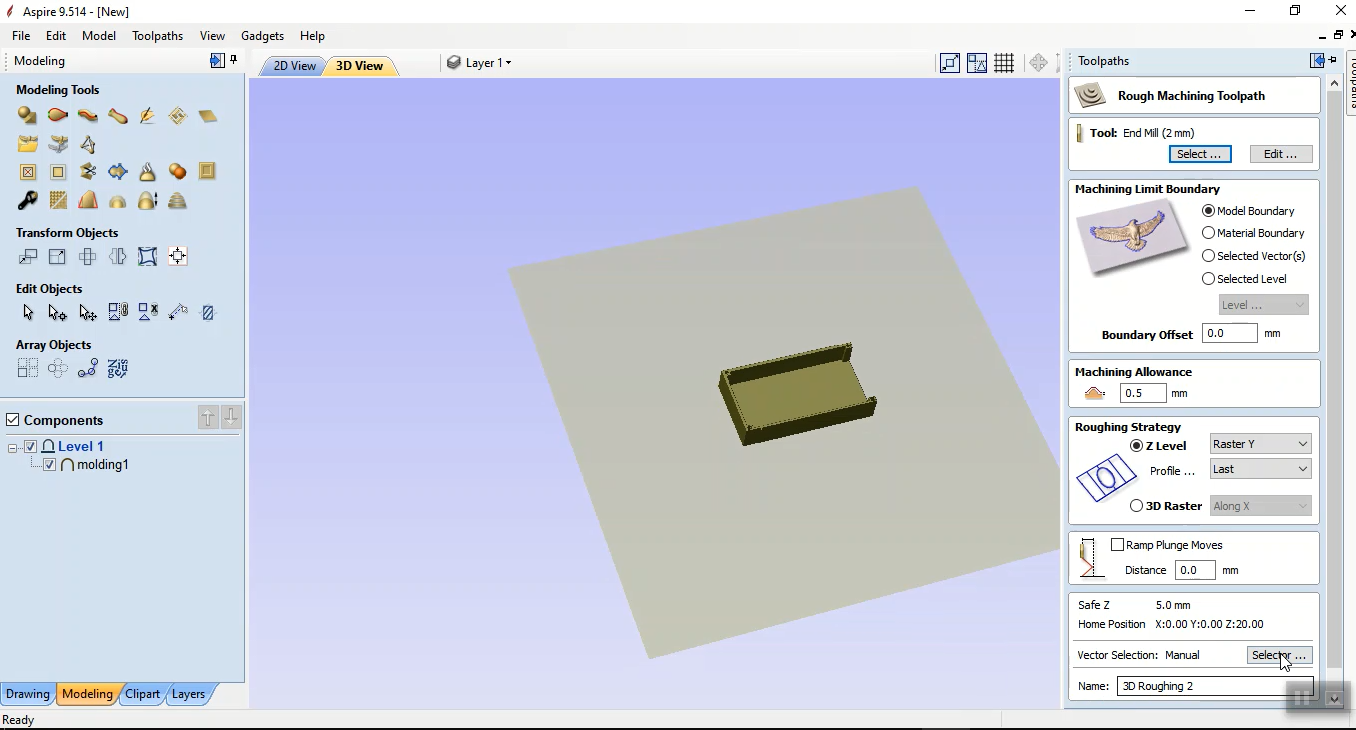
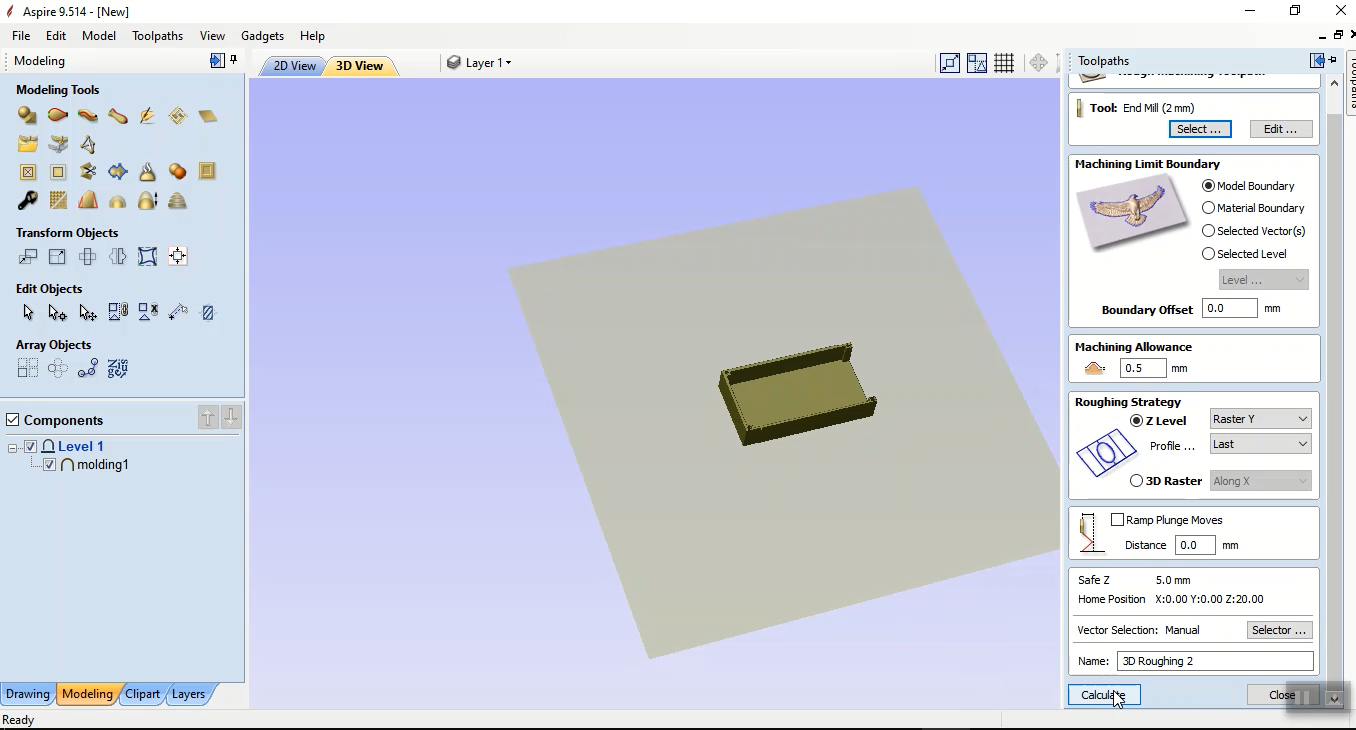
 next, I choose 3D Roughing toolpath tool to engrave the mold. In this step I choose the drill bit tool (I used end mill 2 mm) then
press calculate.
next, I choose 3D Roughing toolpath tool to engrave the mold. In this step I choose the drill bit tool (I used end mill 2 mm) then
press calculate.
 Aspire simulates engraving process as shpwn in this video:
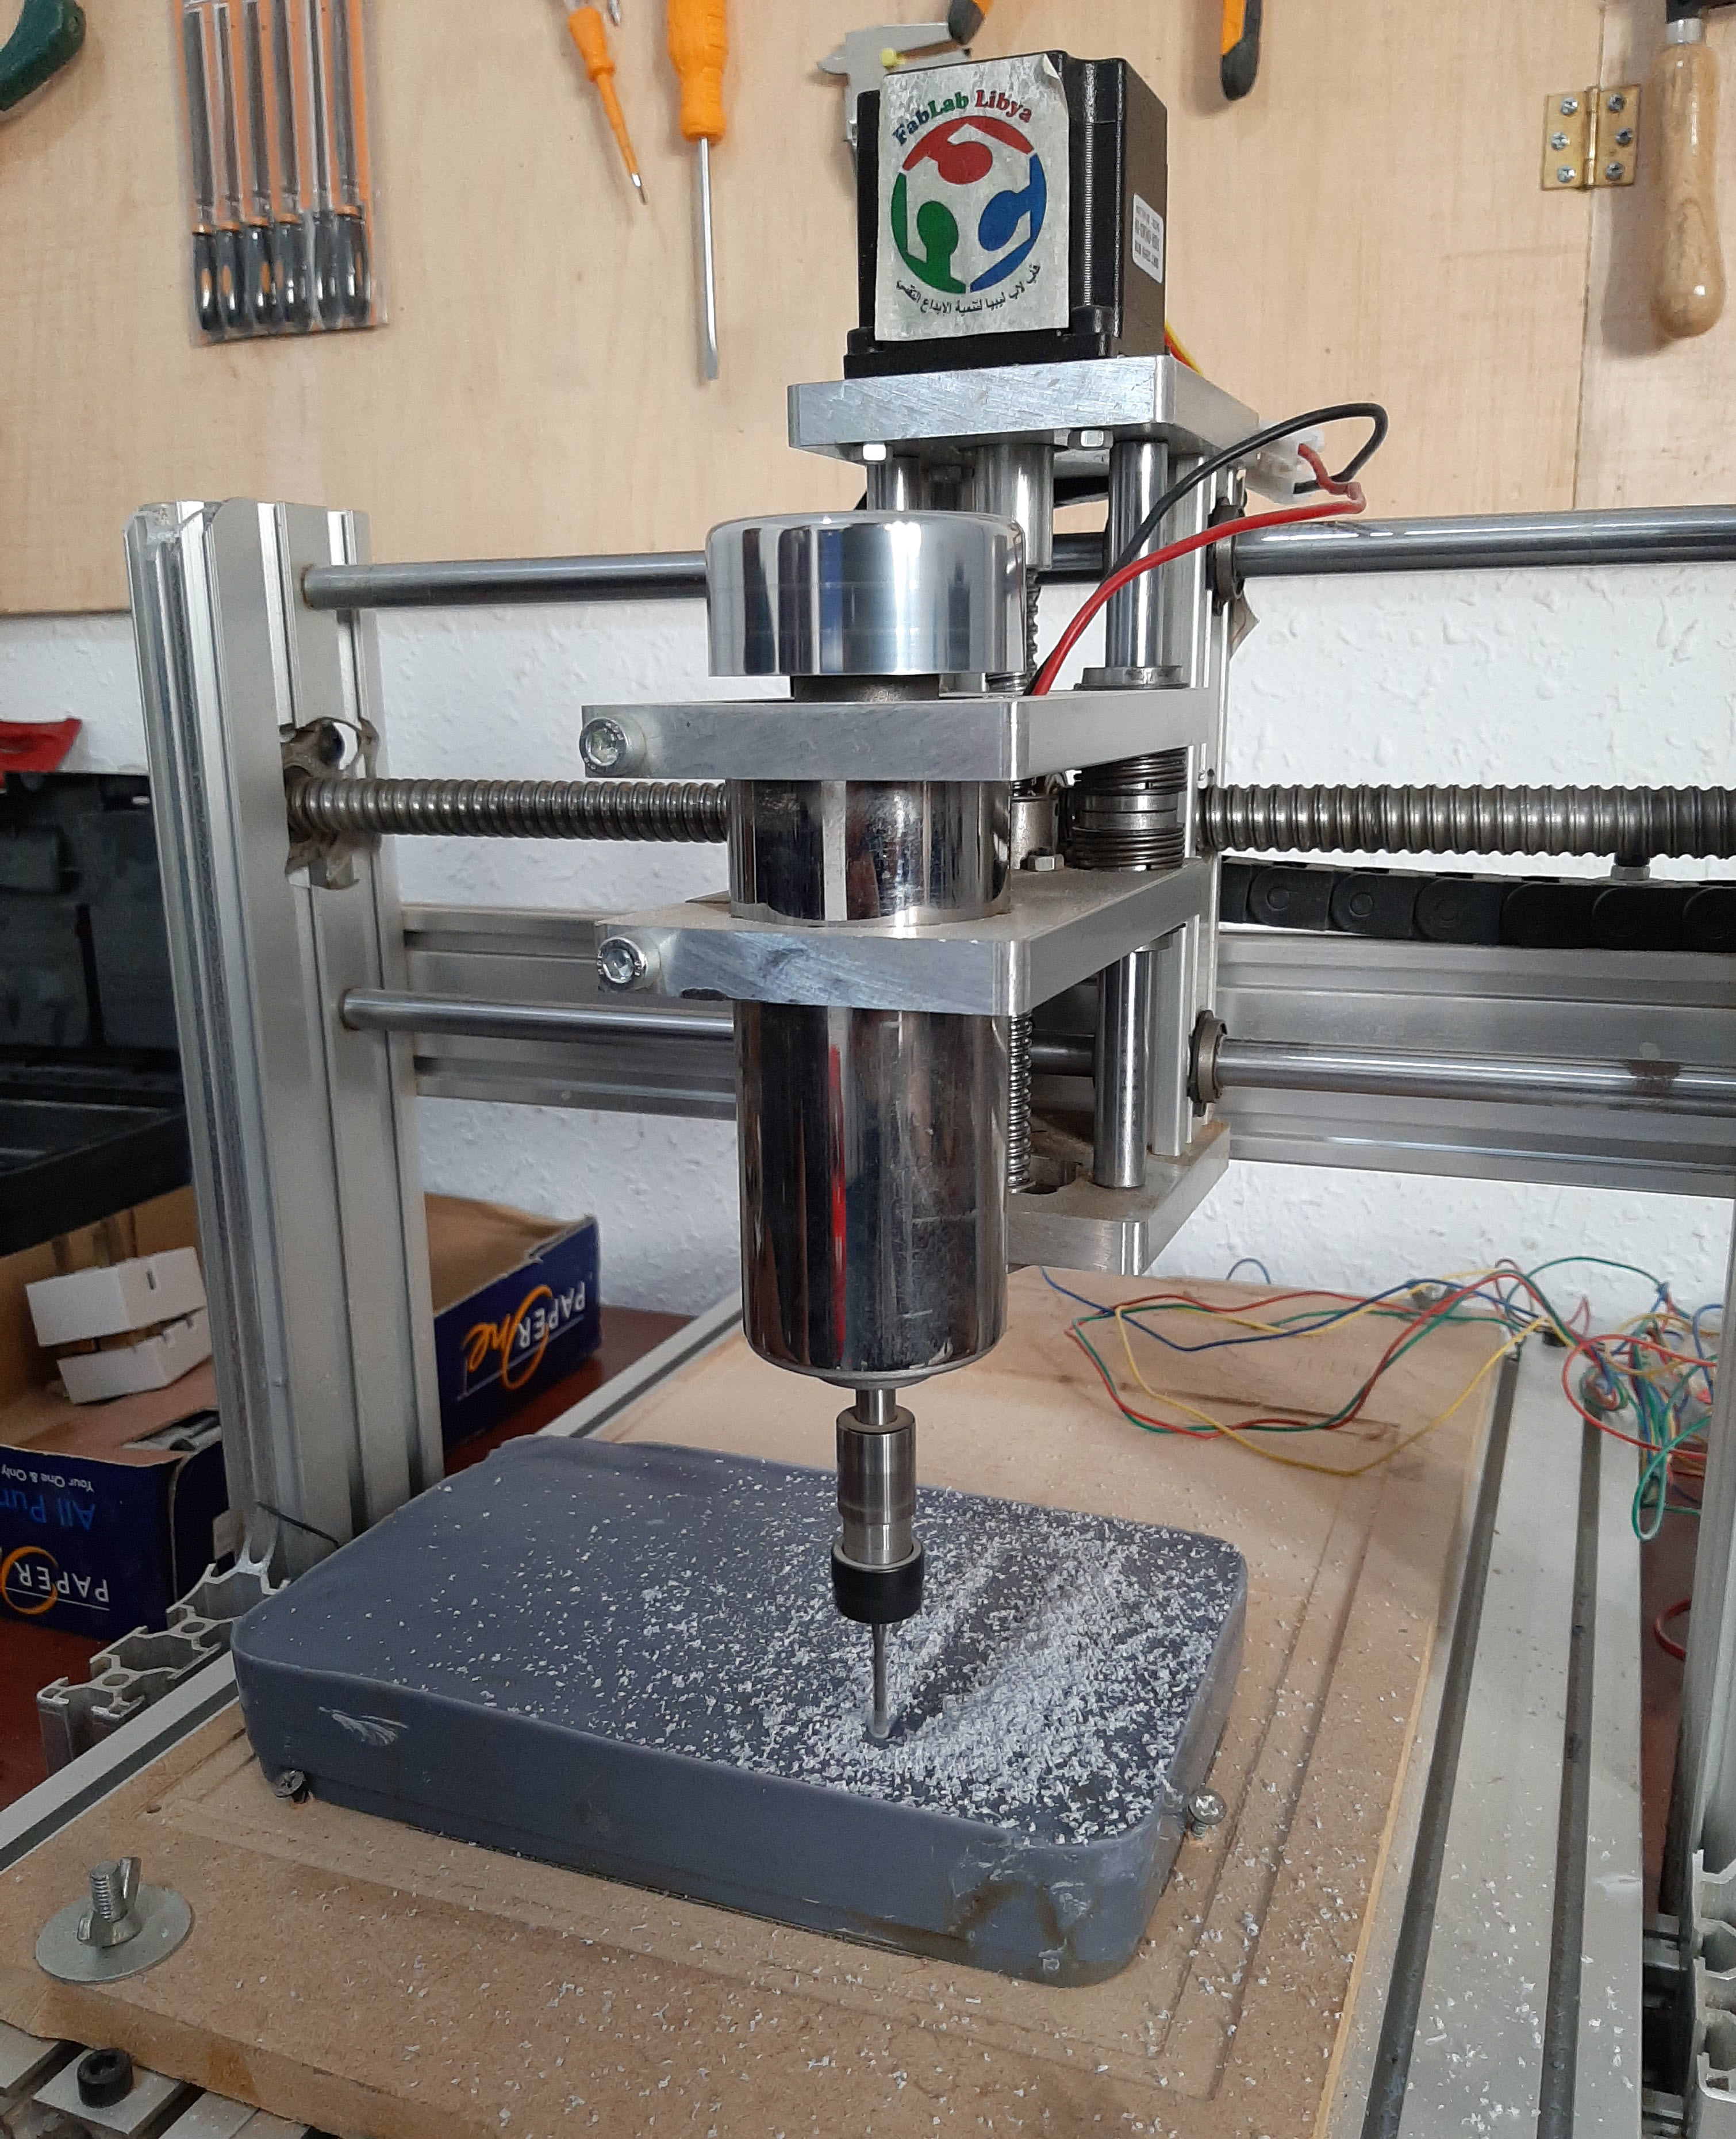
I used a melted wax to make a mold. I attached the mold to the CNC by using a small screws.
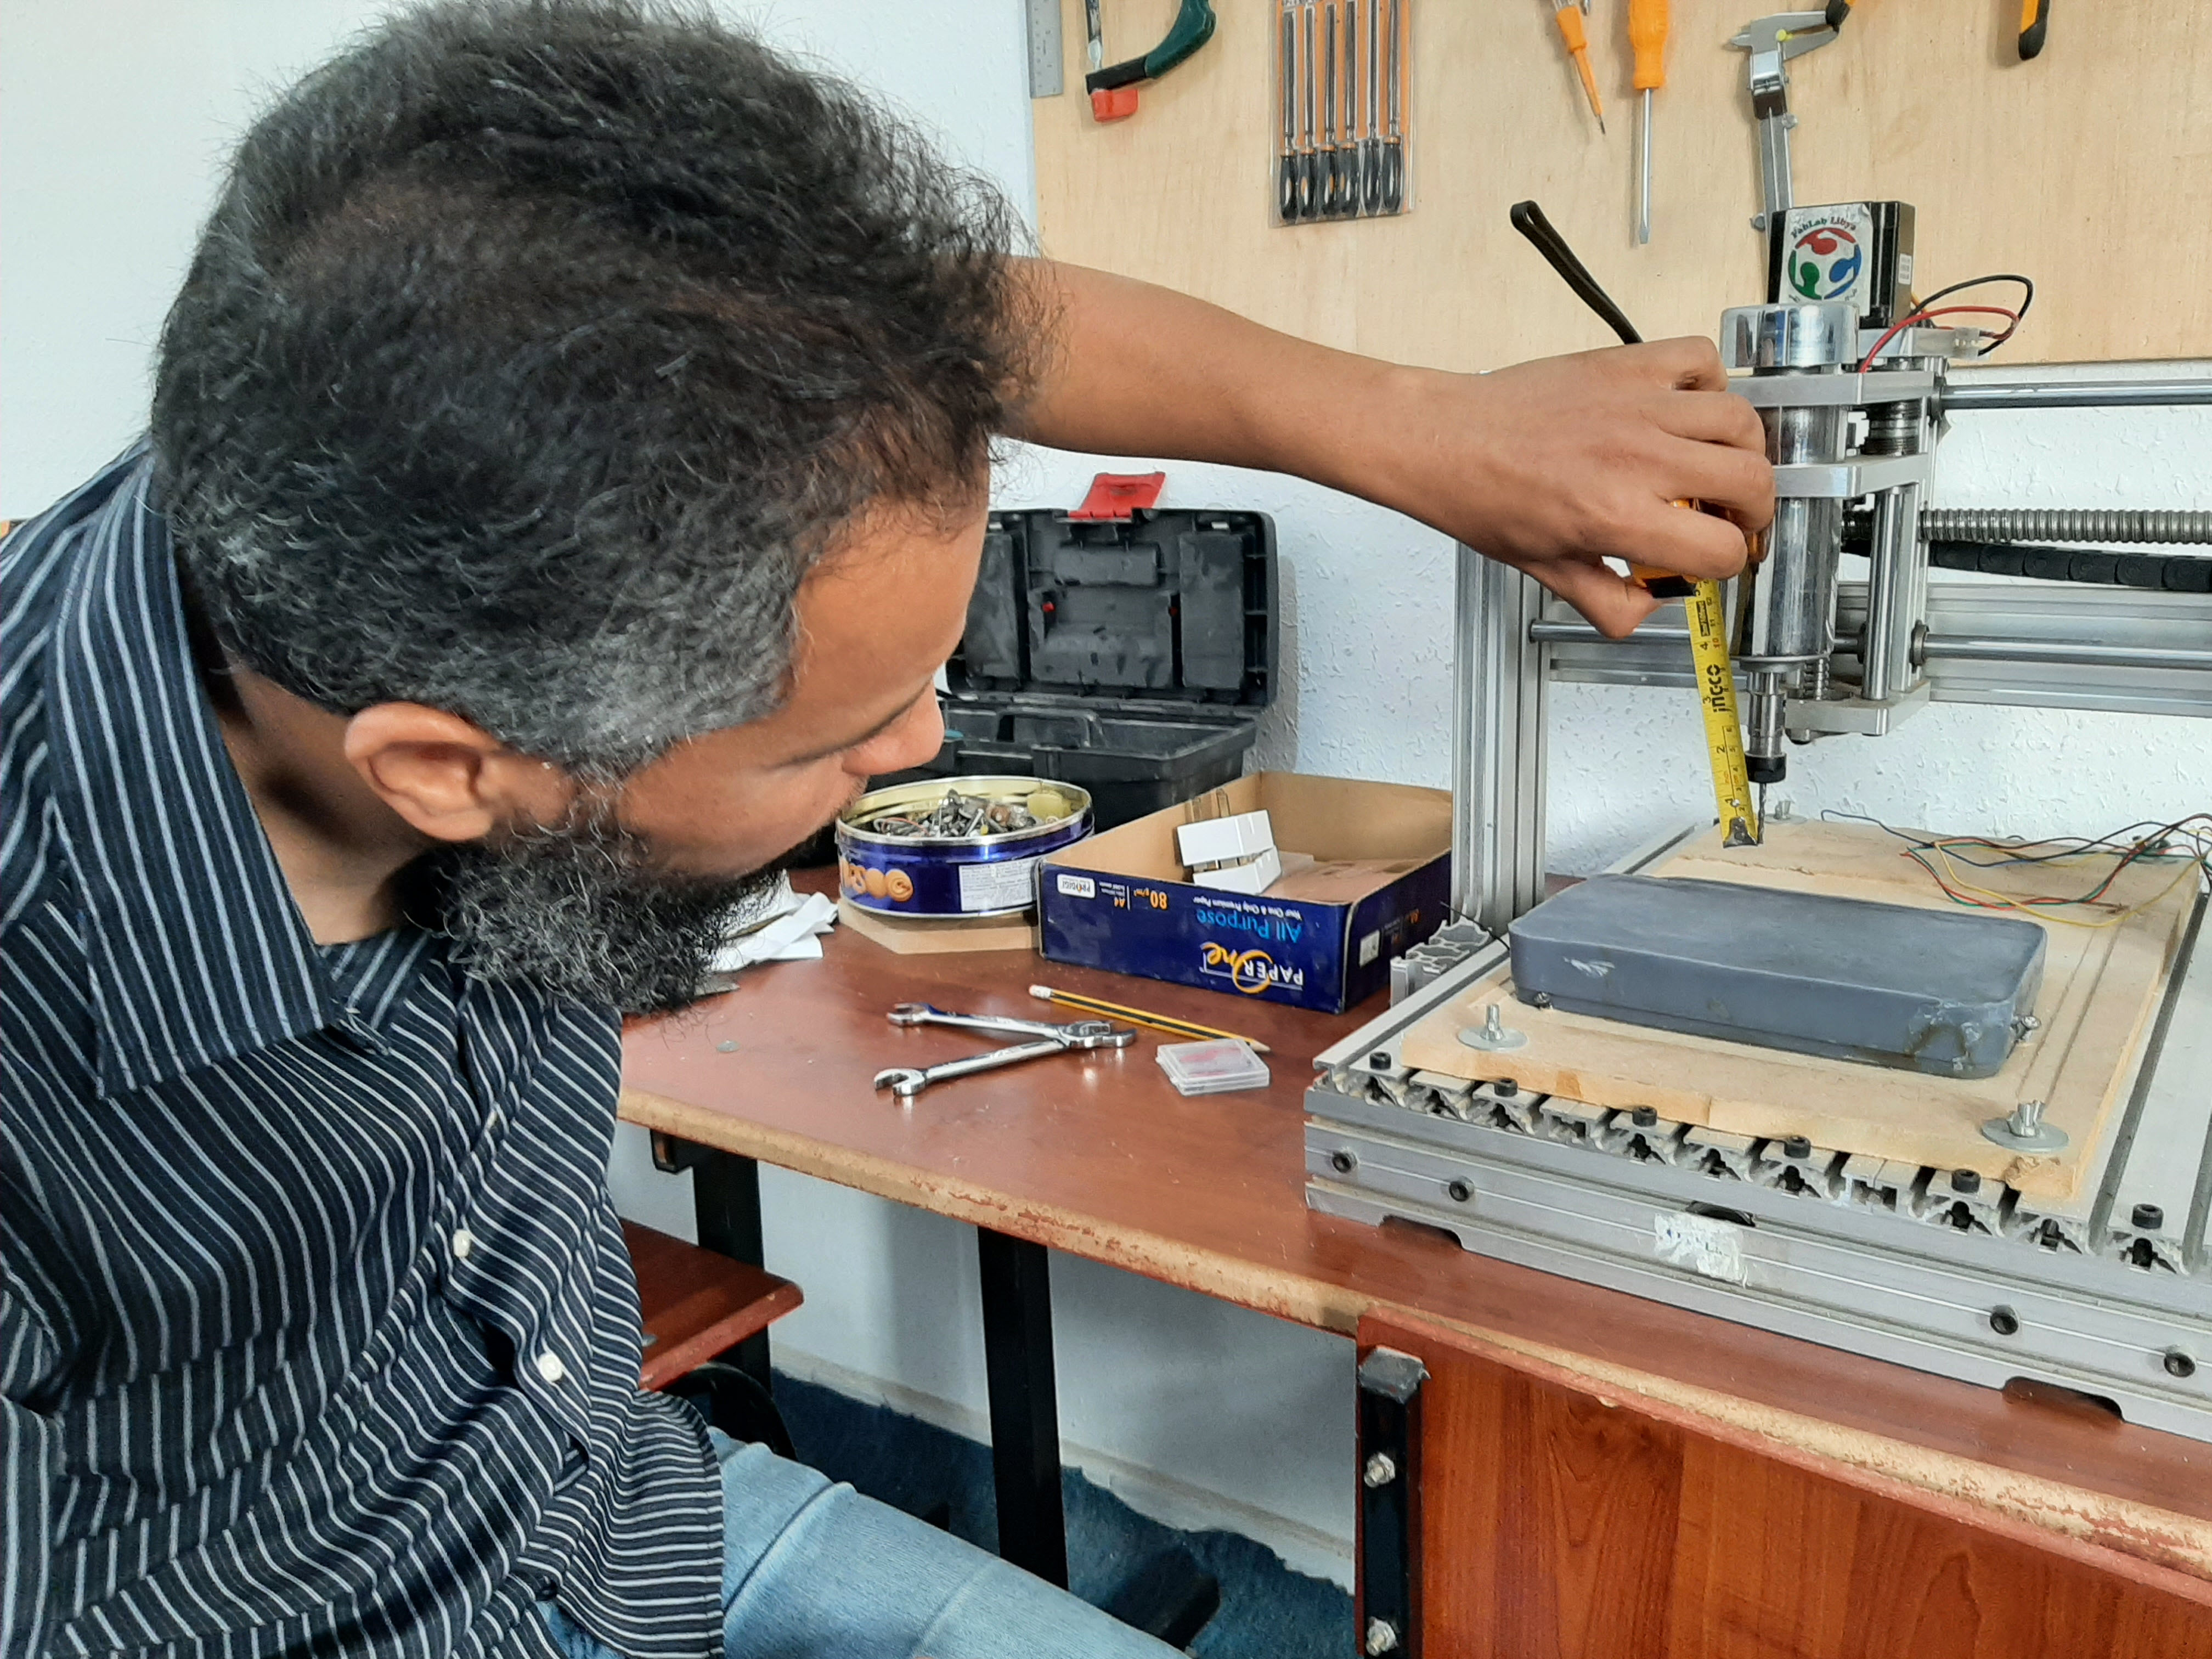
 To avoid any damage in my mold I measured the drill bit length before starting.

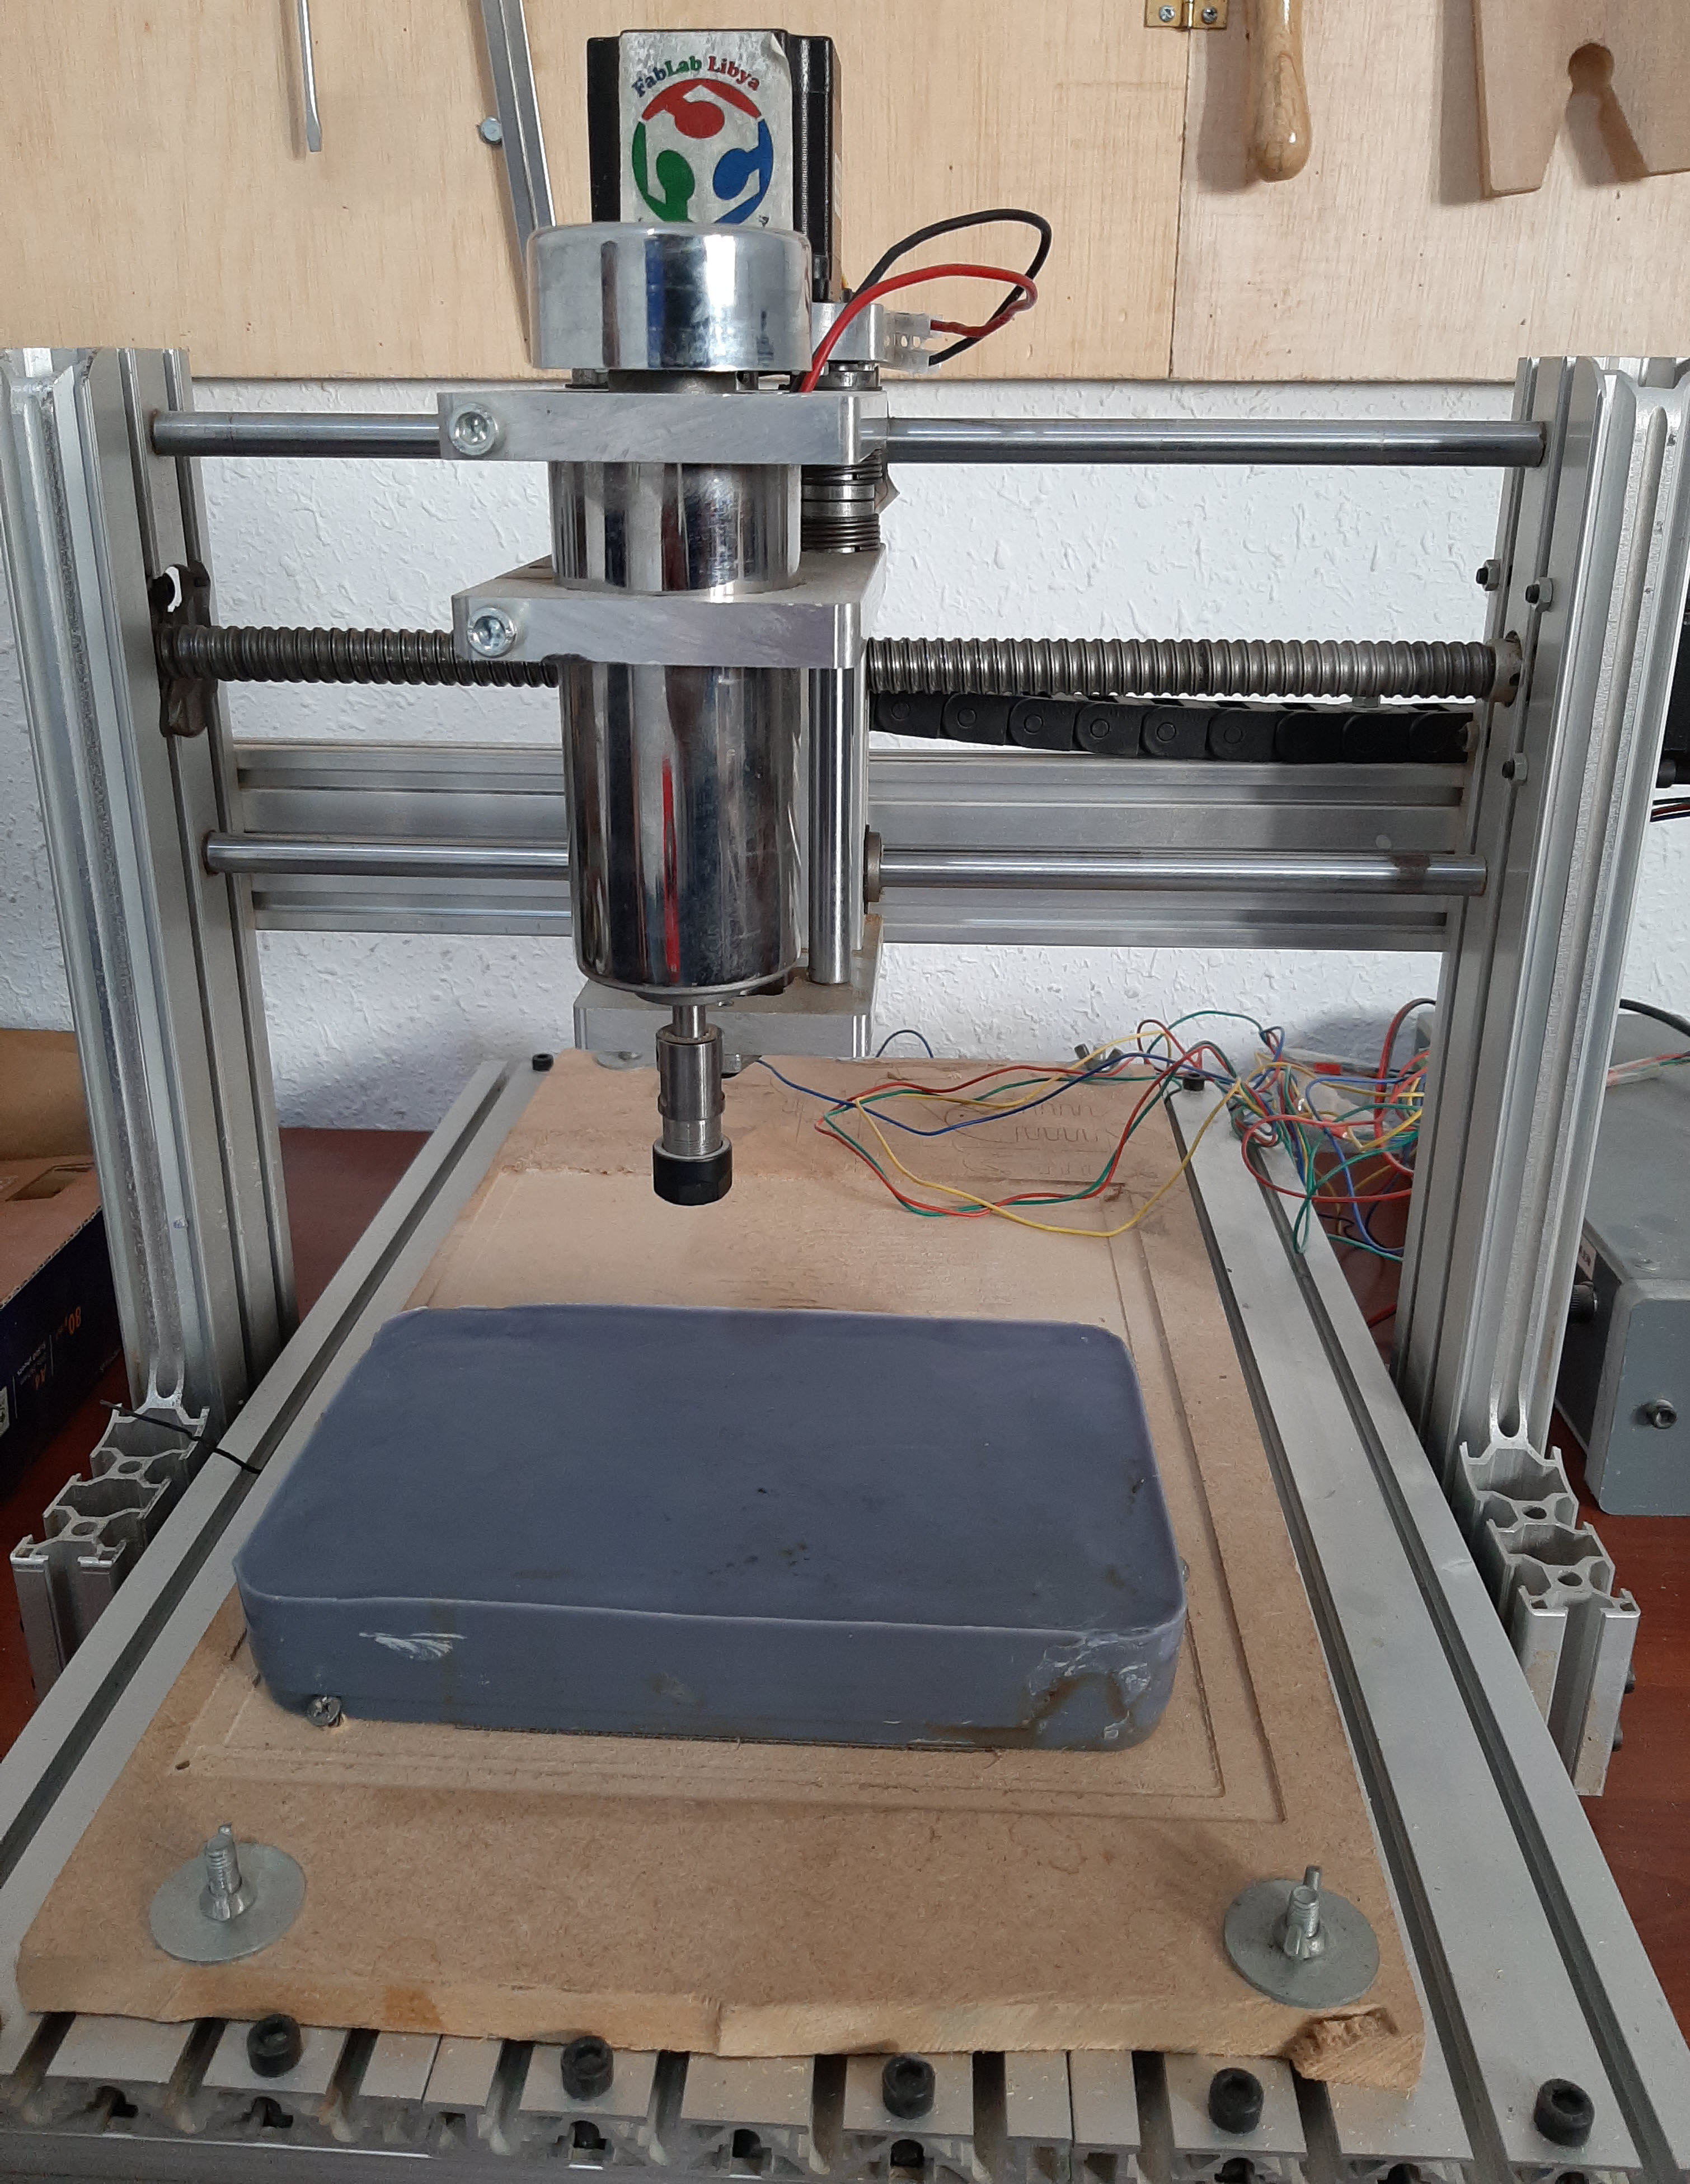
 Now, CNC router is ready now. It is the time of Mach3Mill software to control the machine.
 Set the x-y-z of the machine and start:
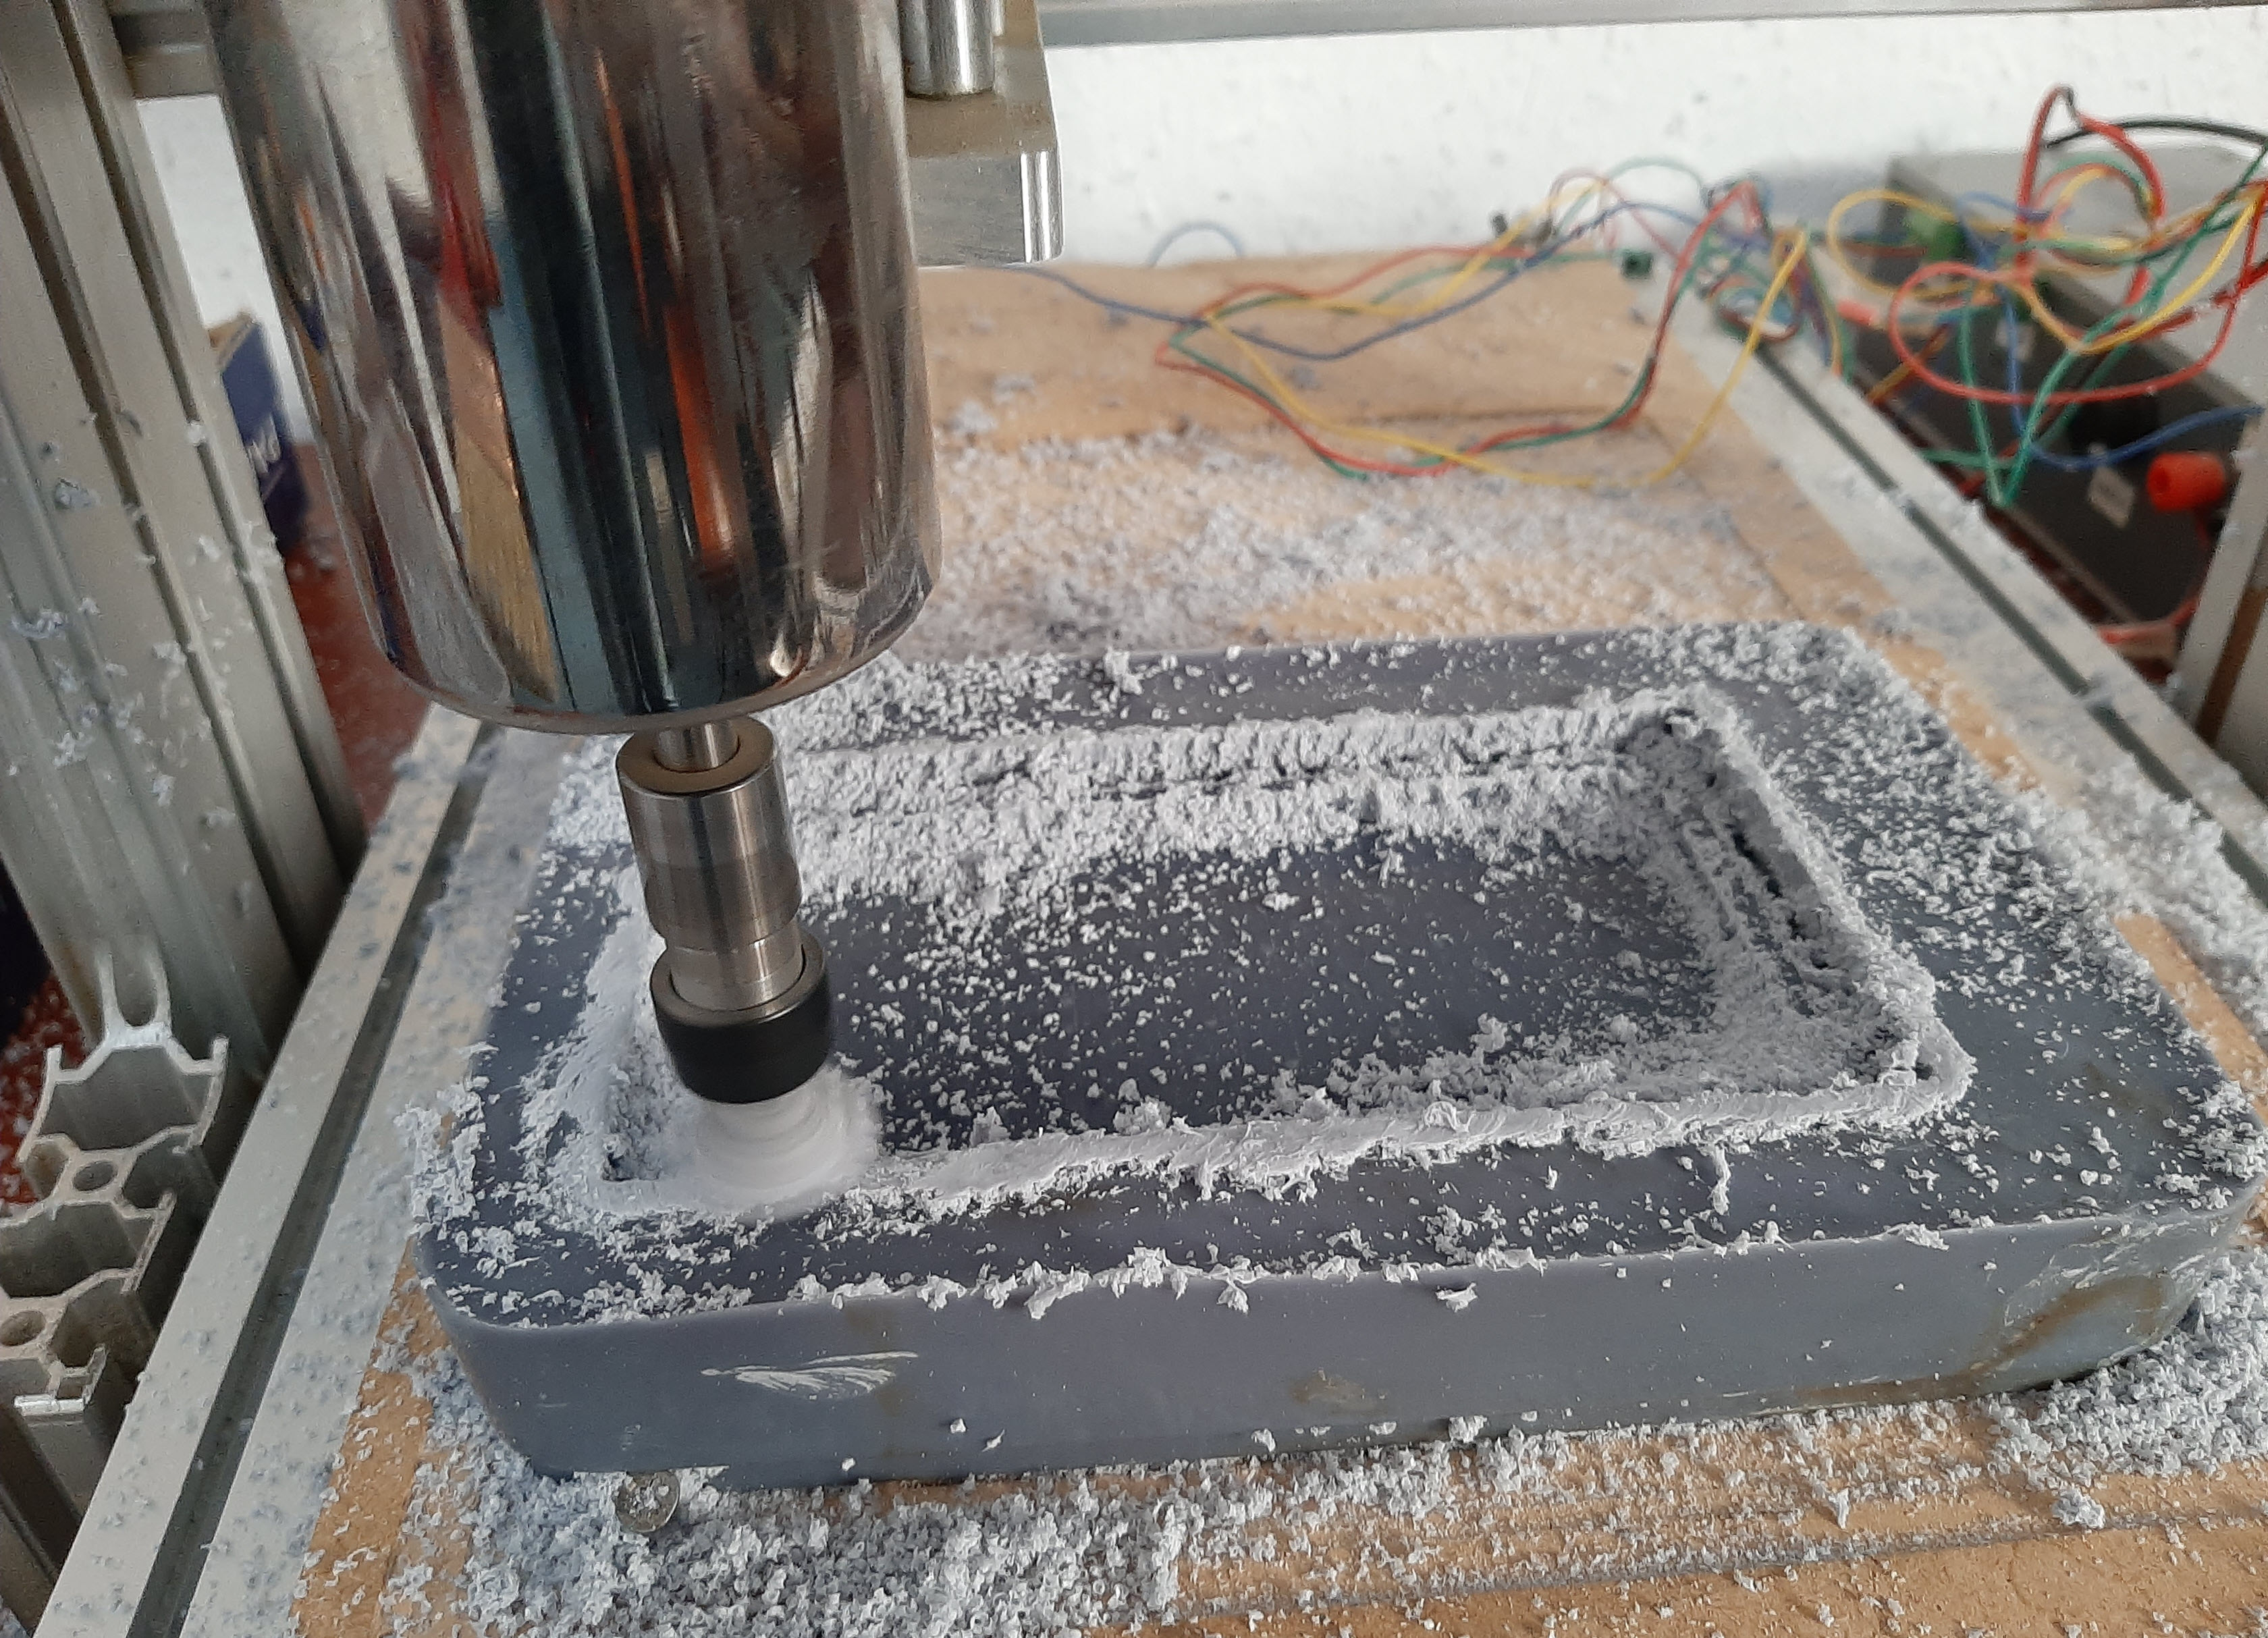
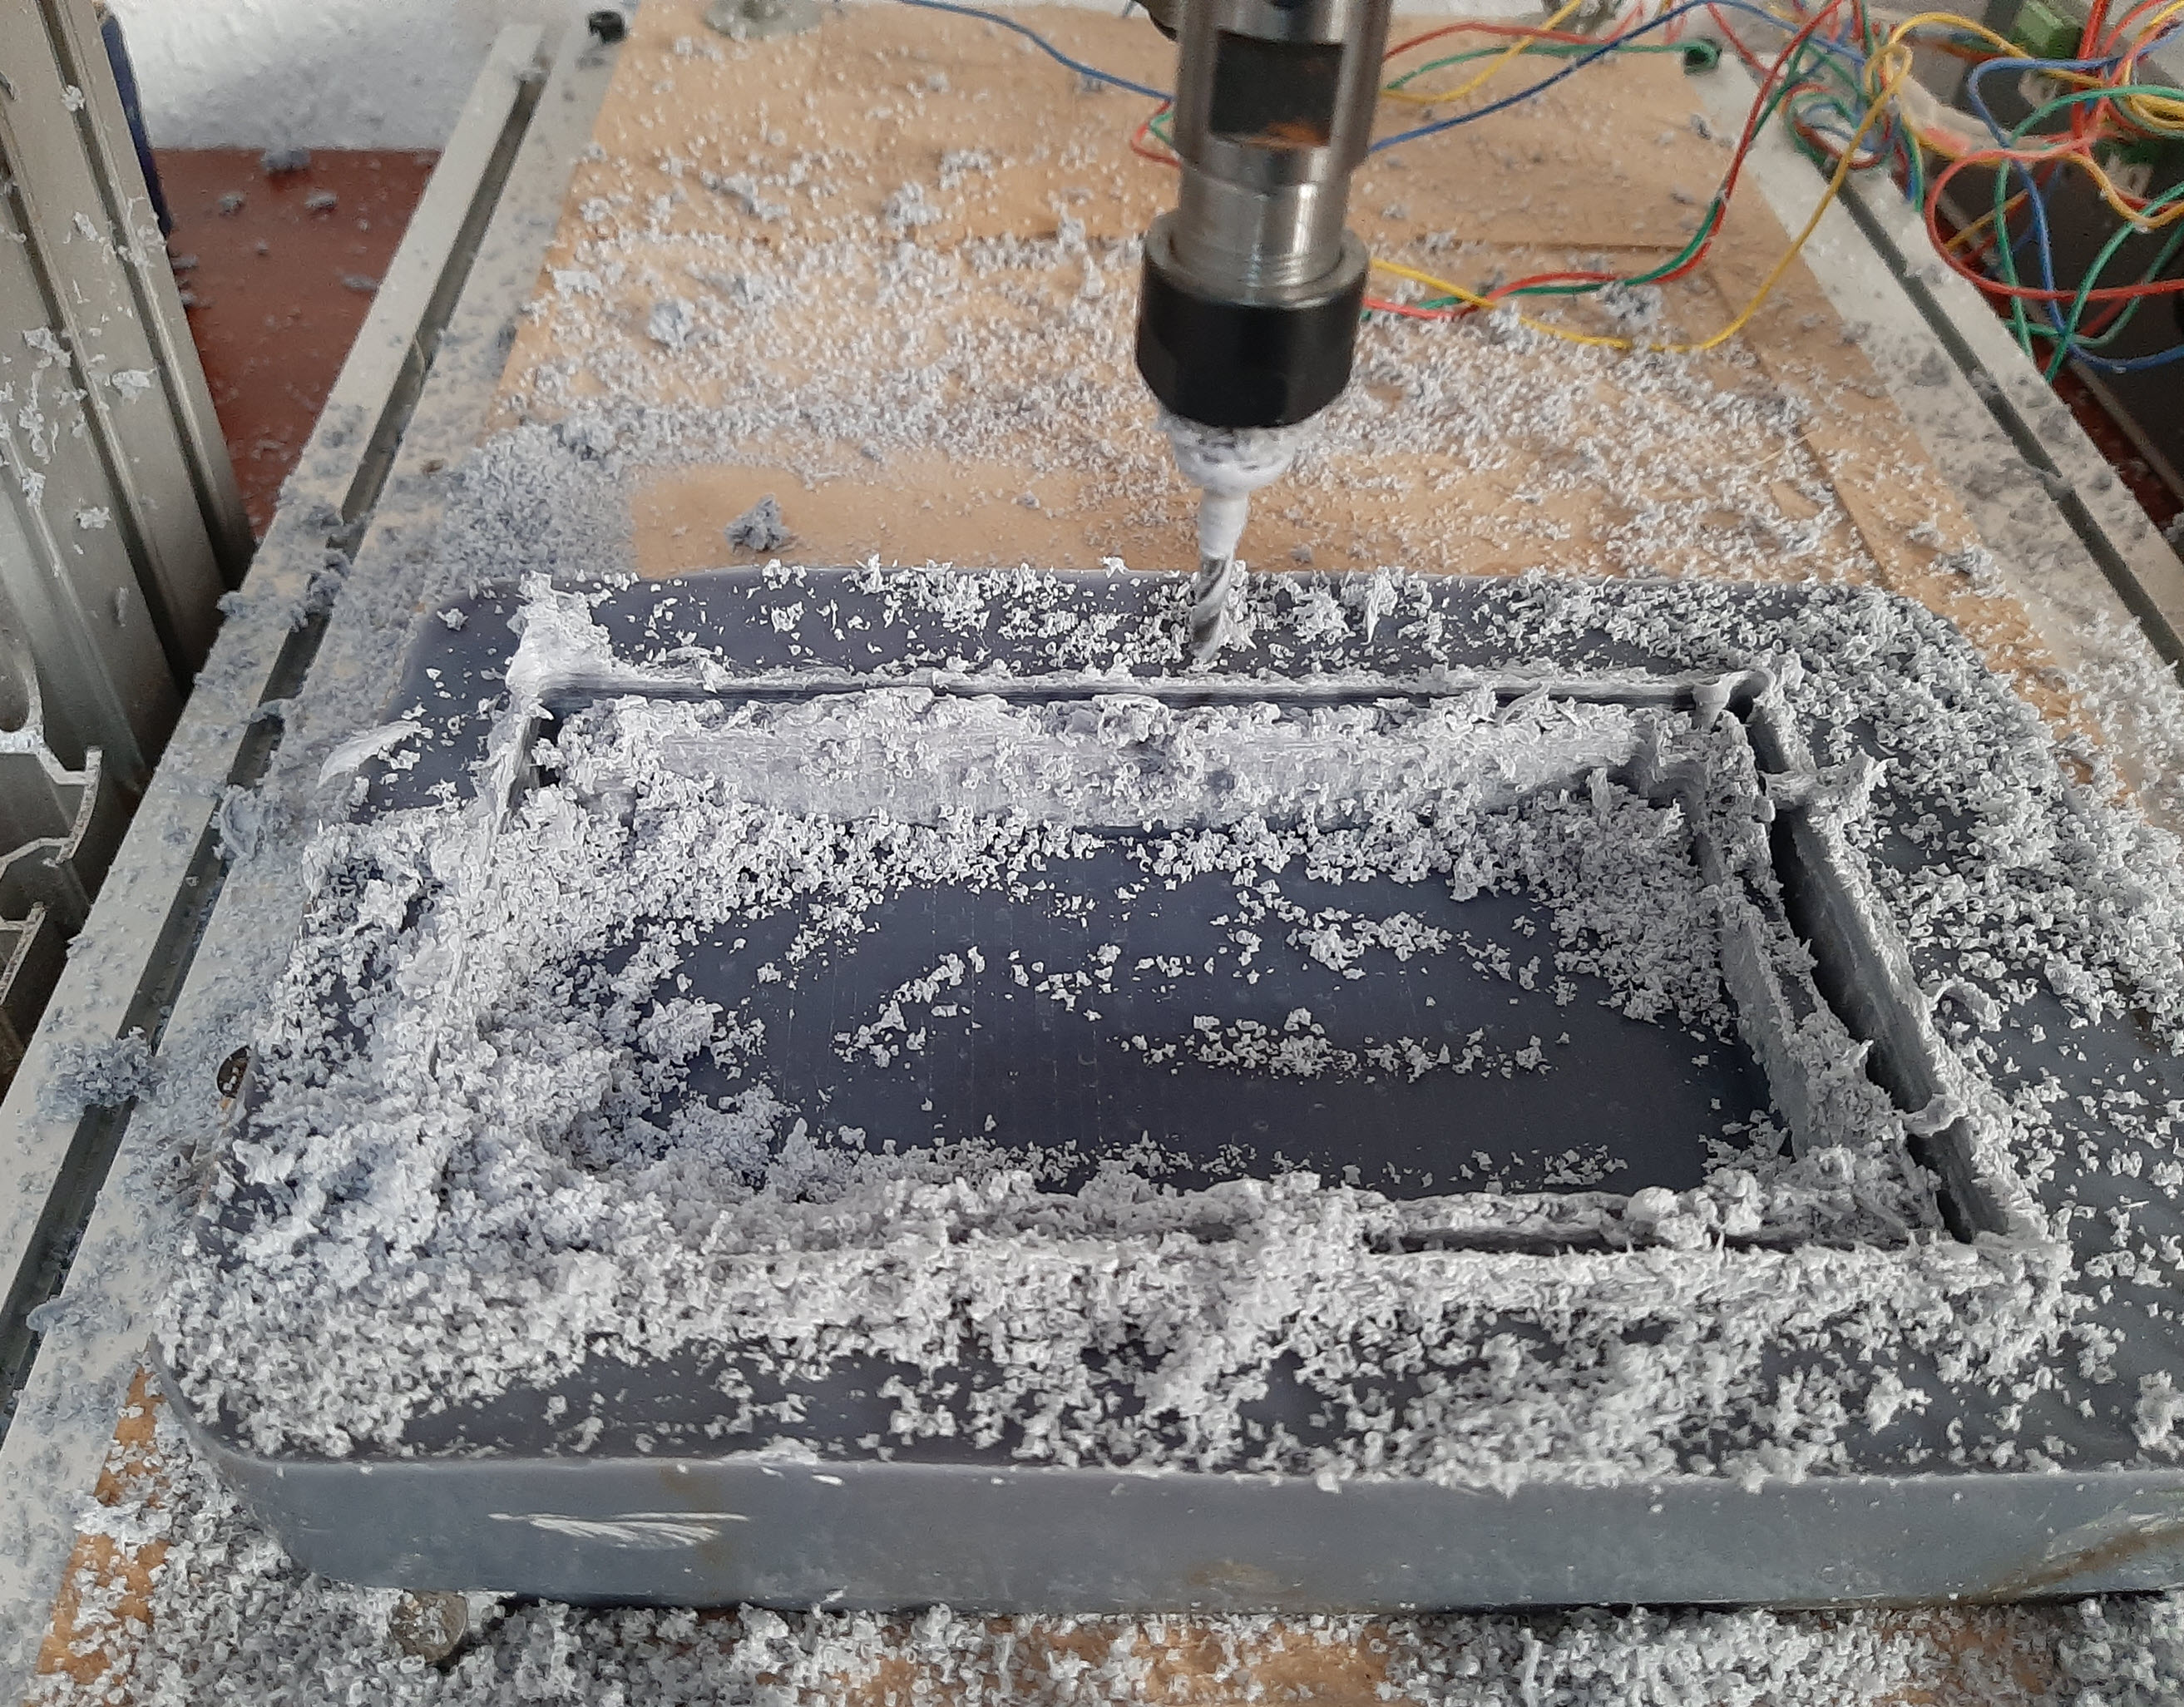
 Finally, I get:
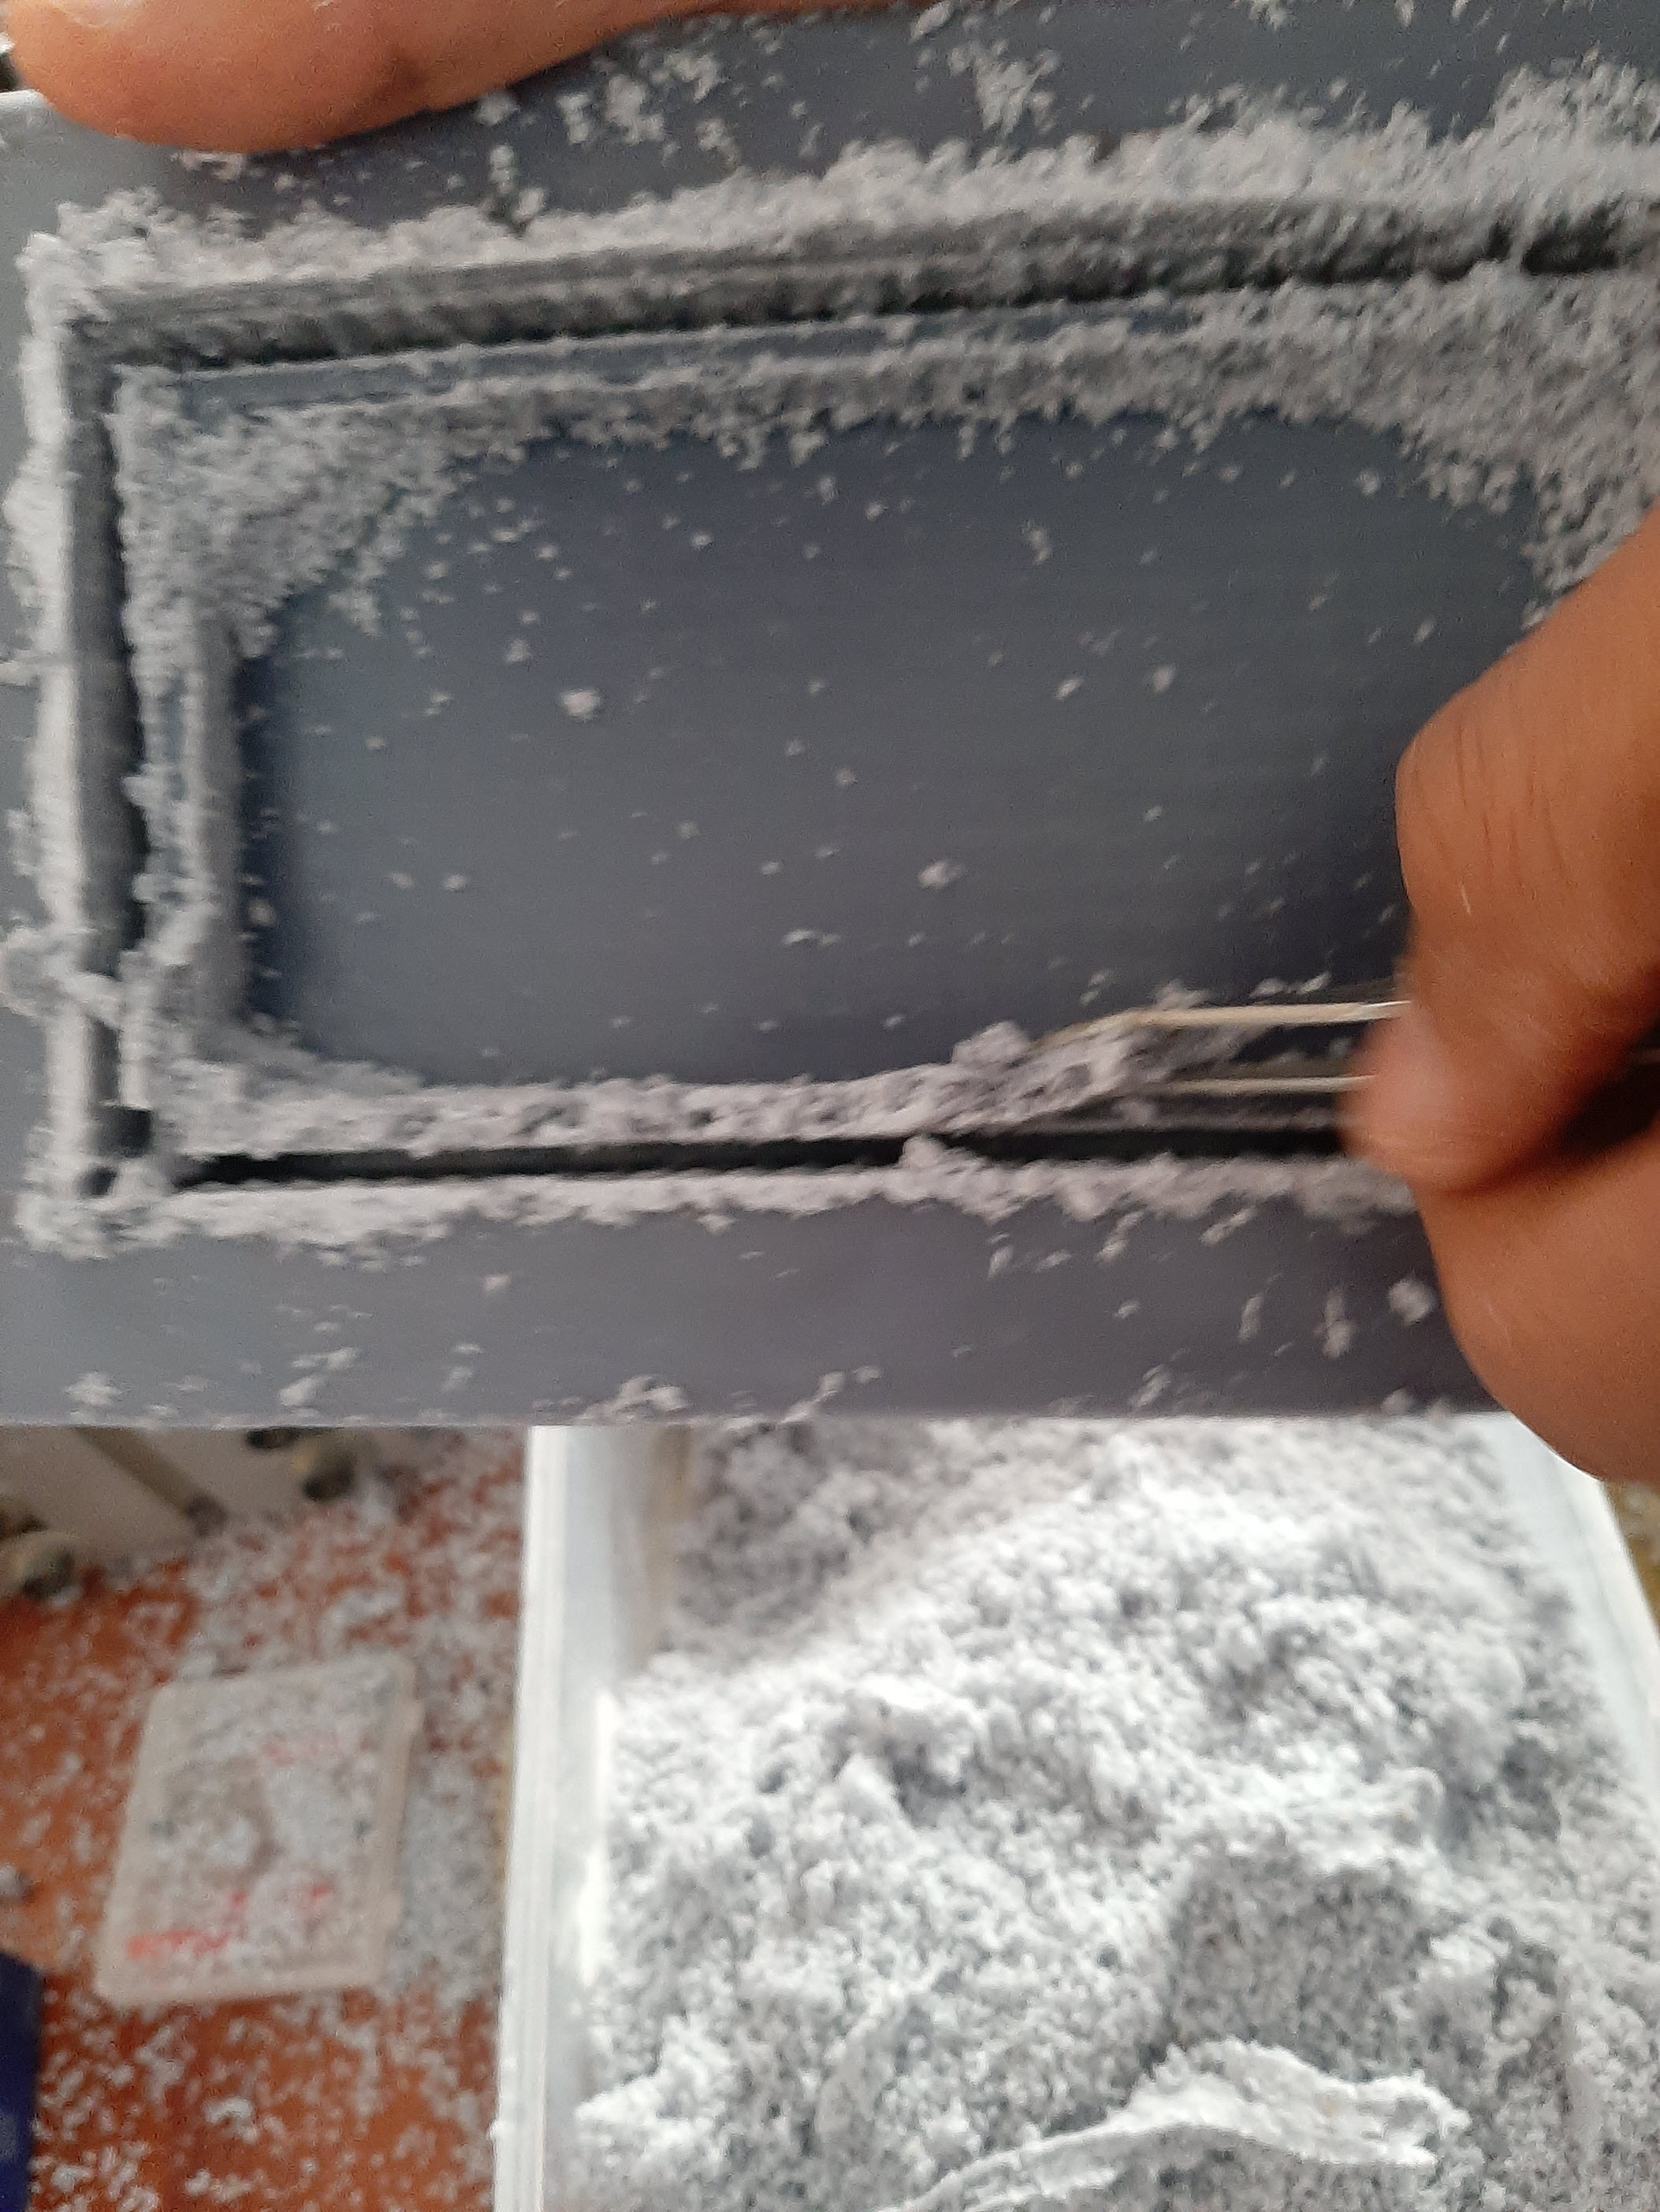
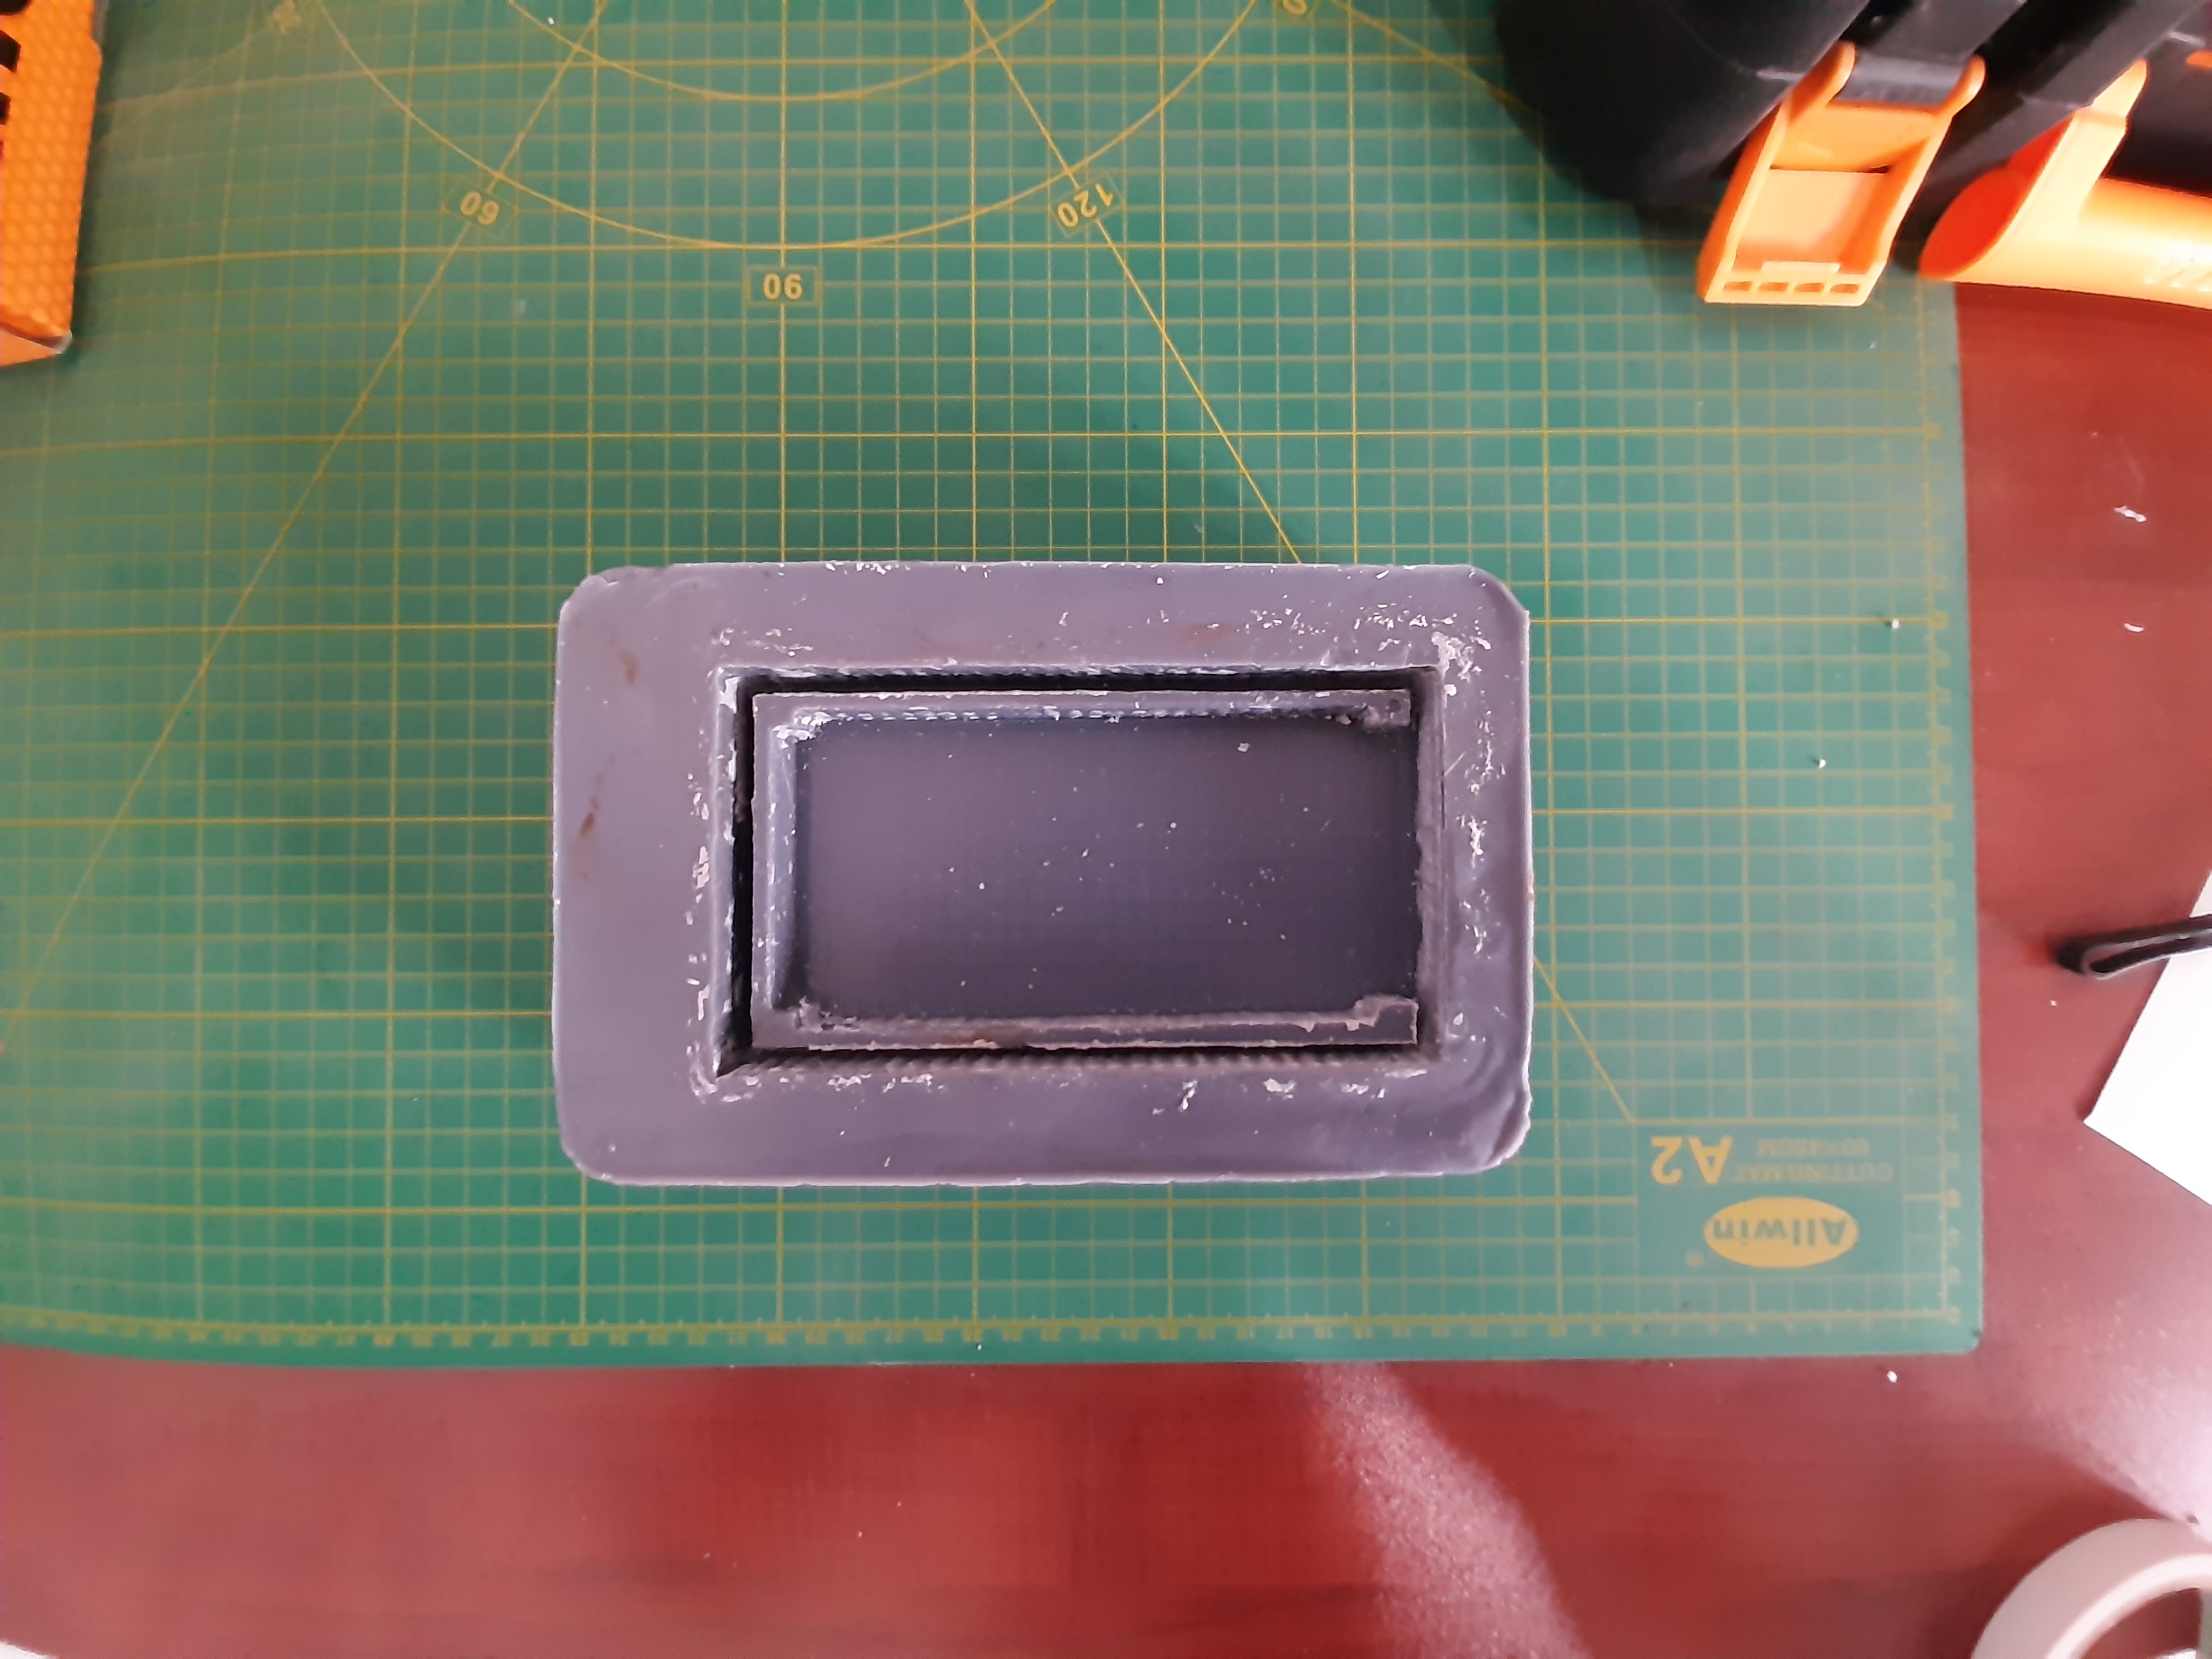
 After cleaning:
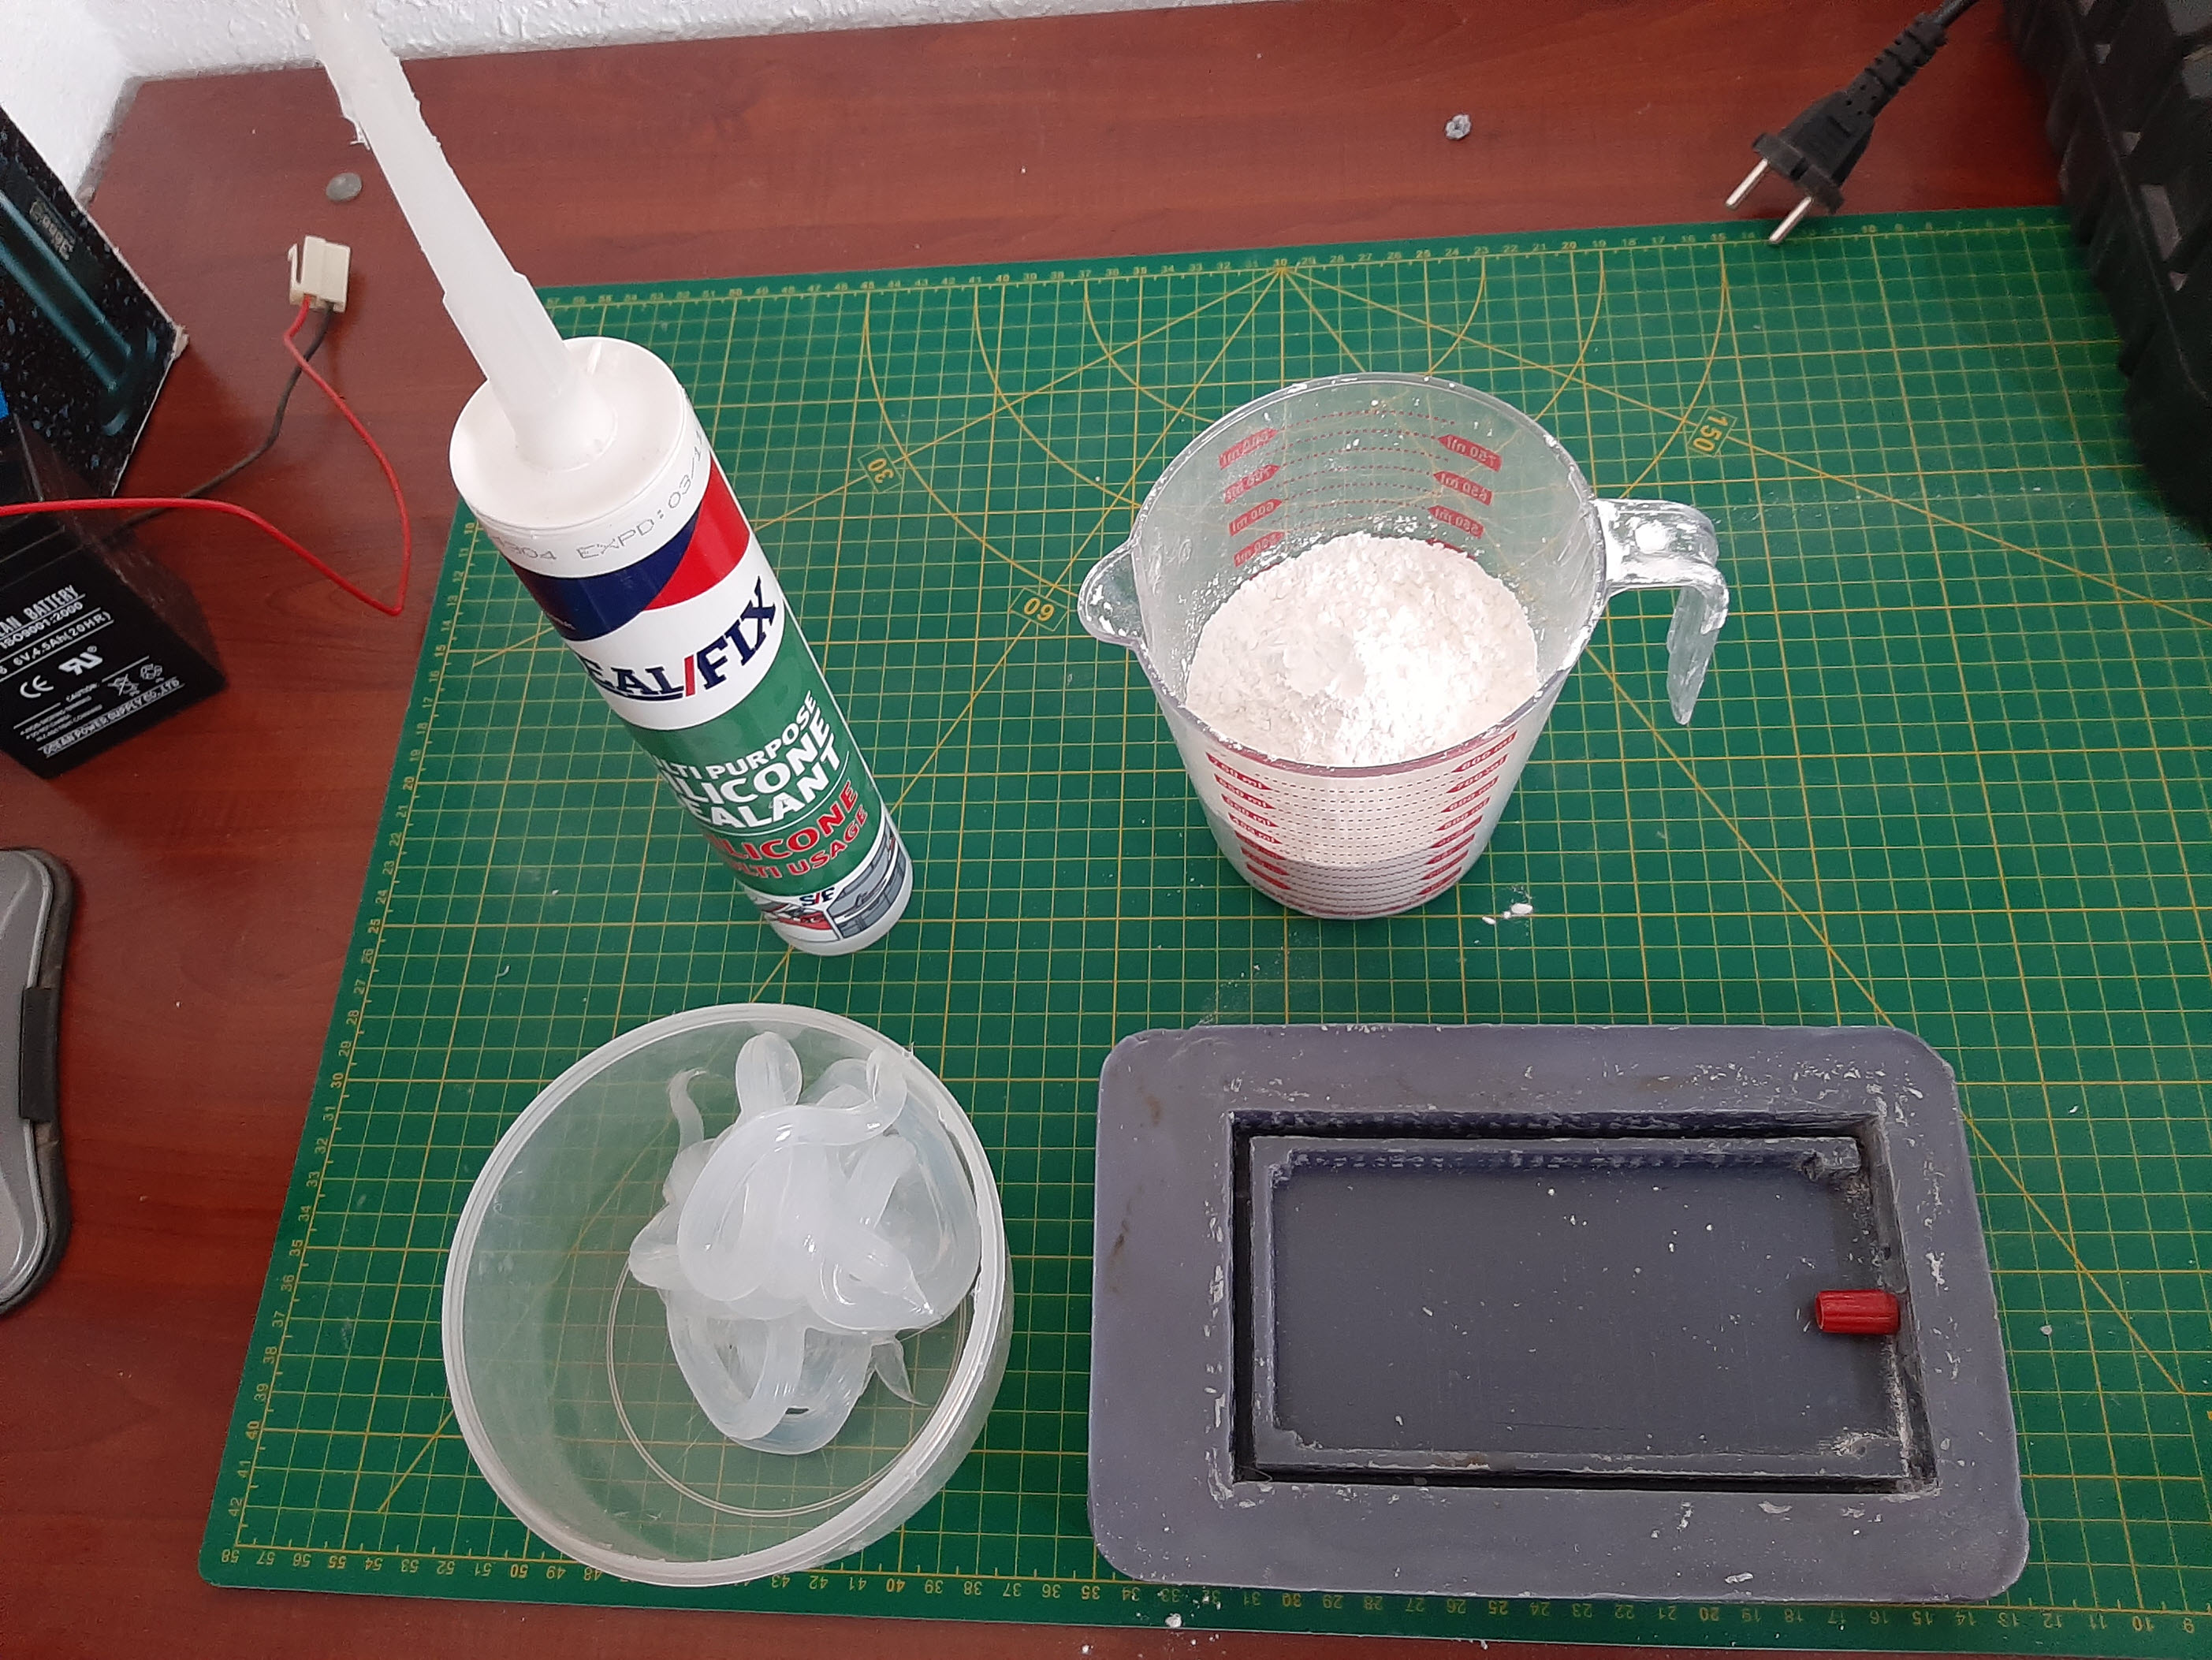
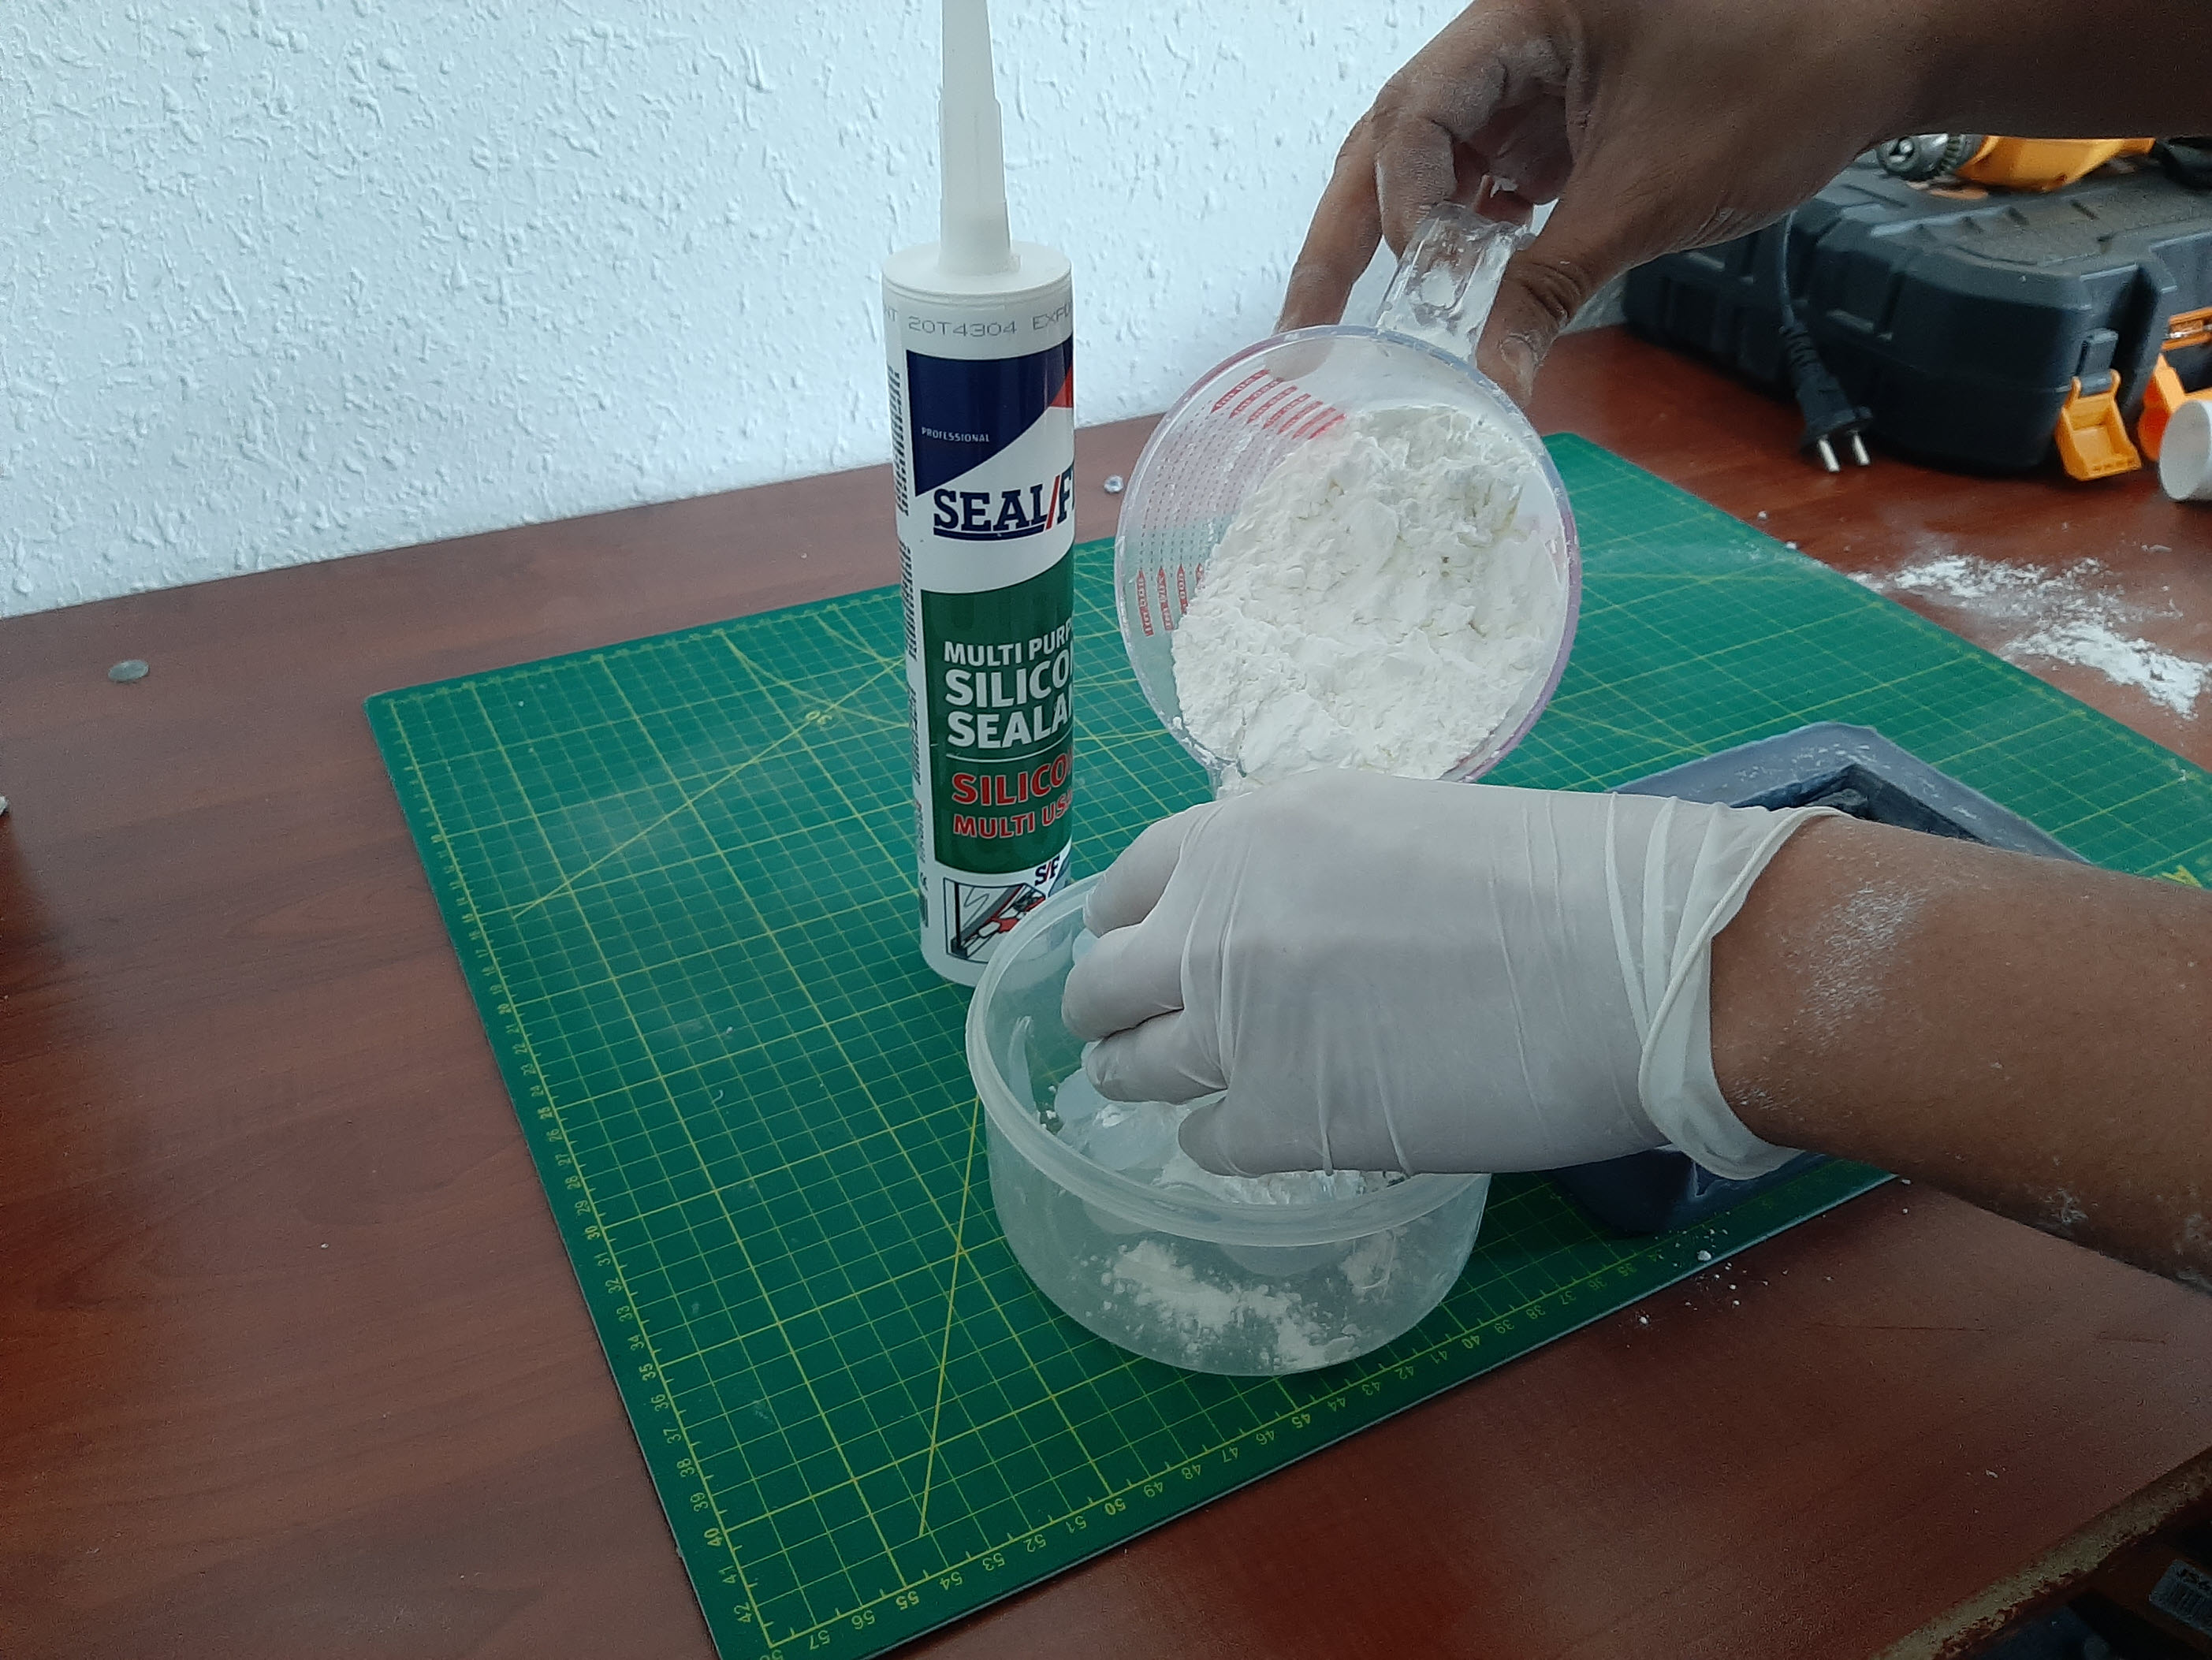
 Now it the mixing time, I used selecon and cornstarch and mix them with 1:2 ratio.
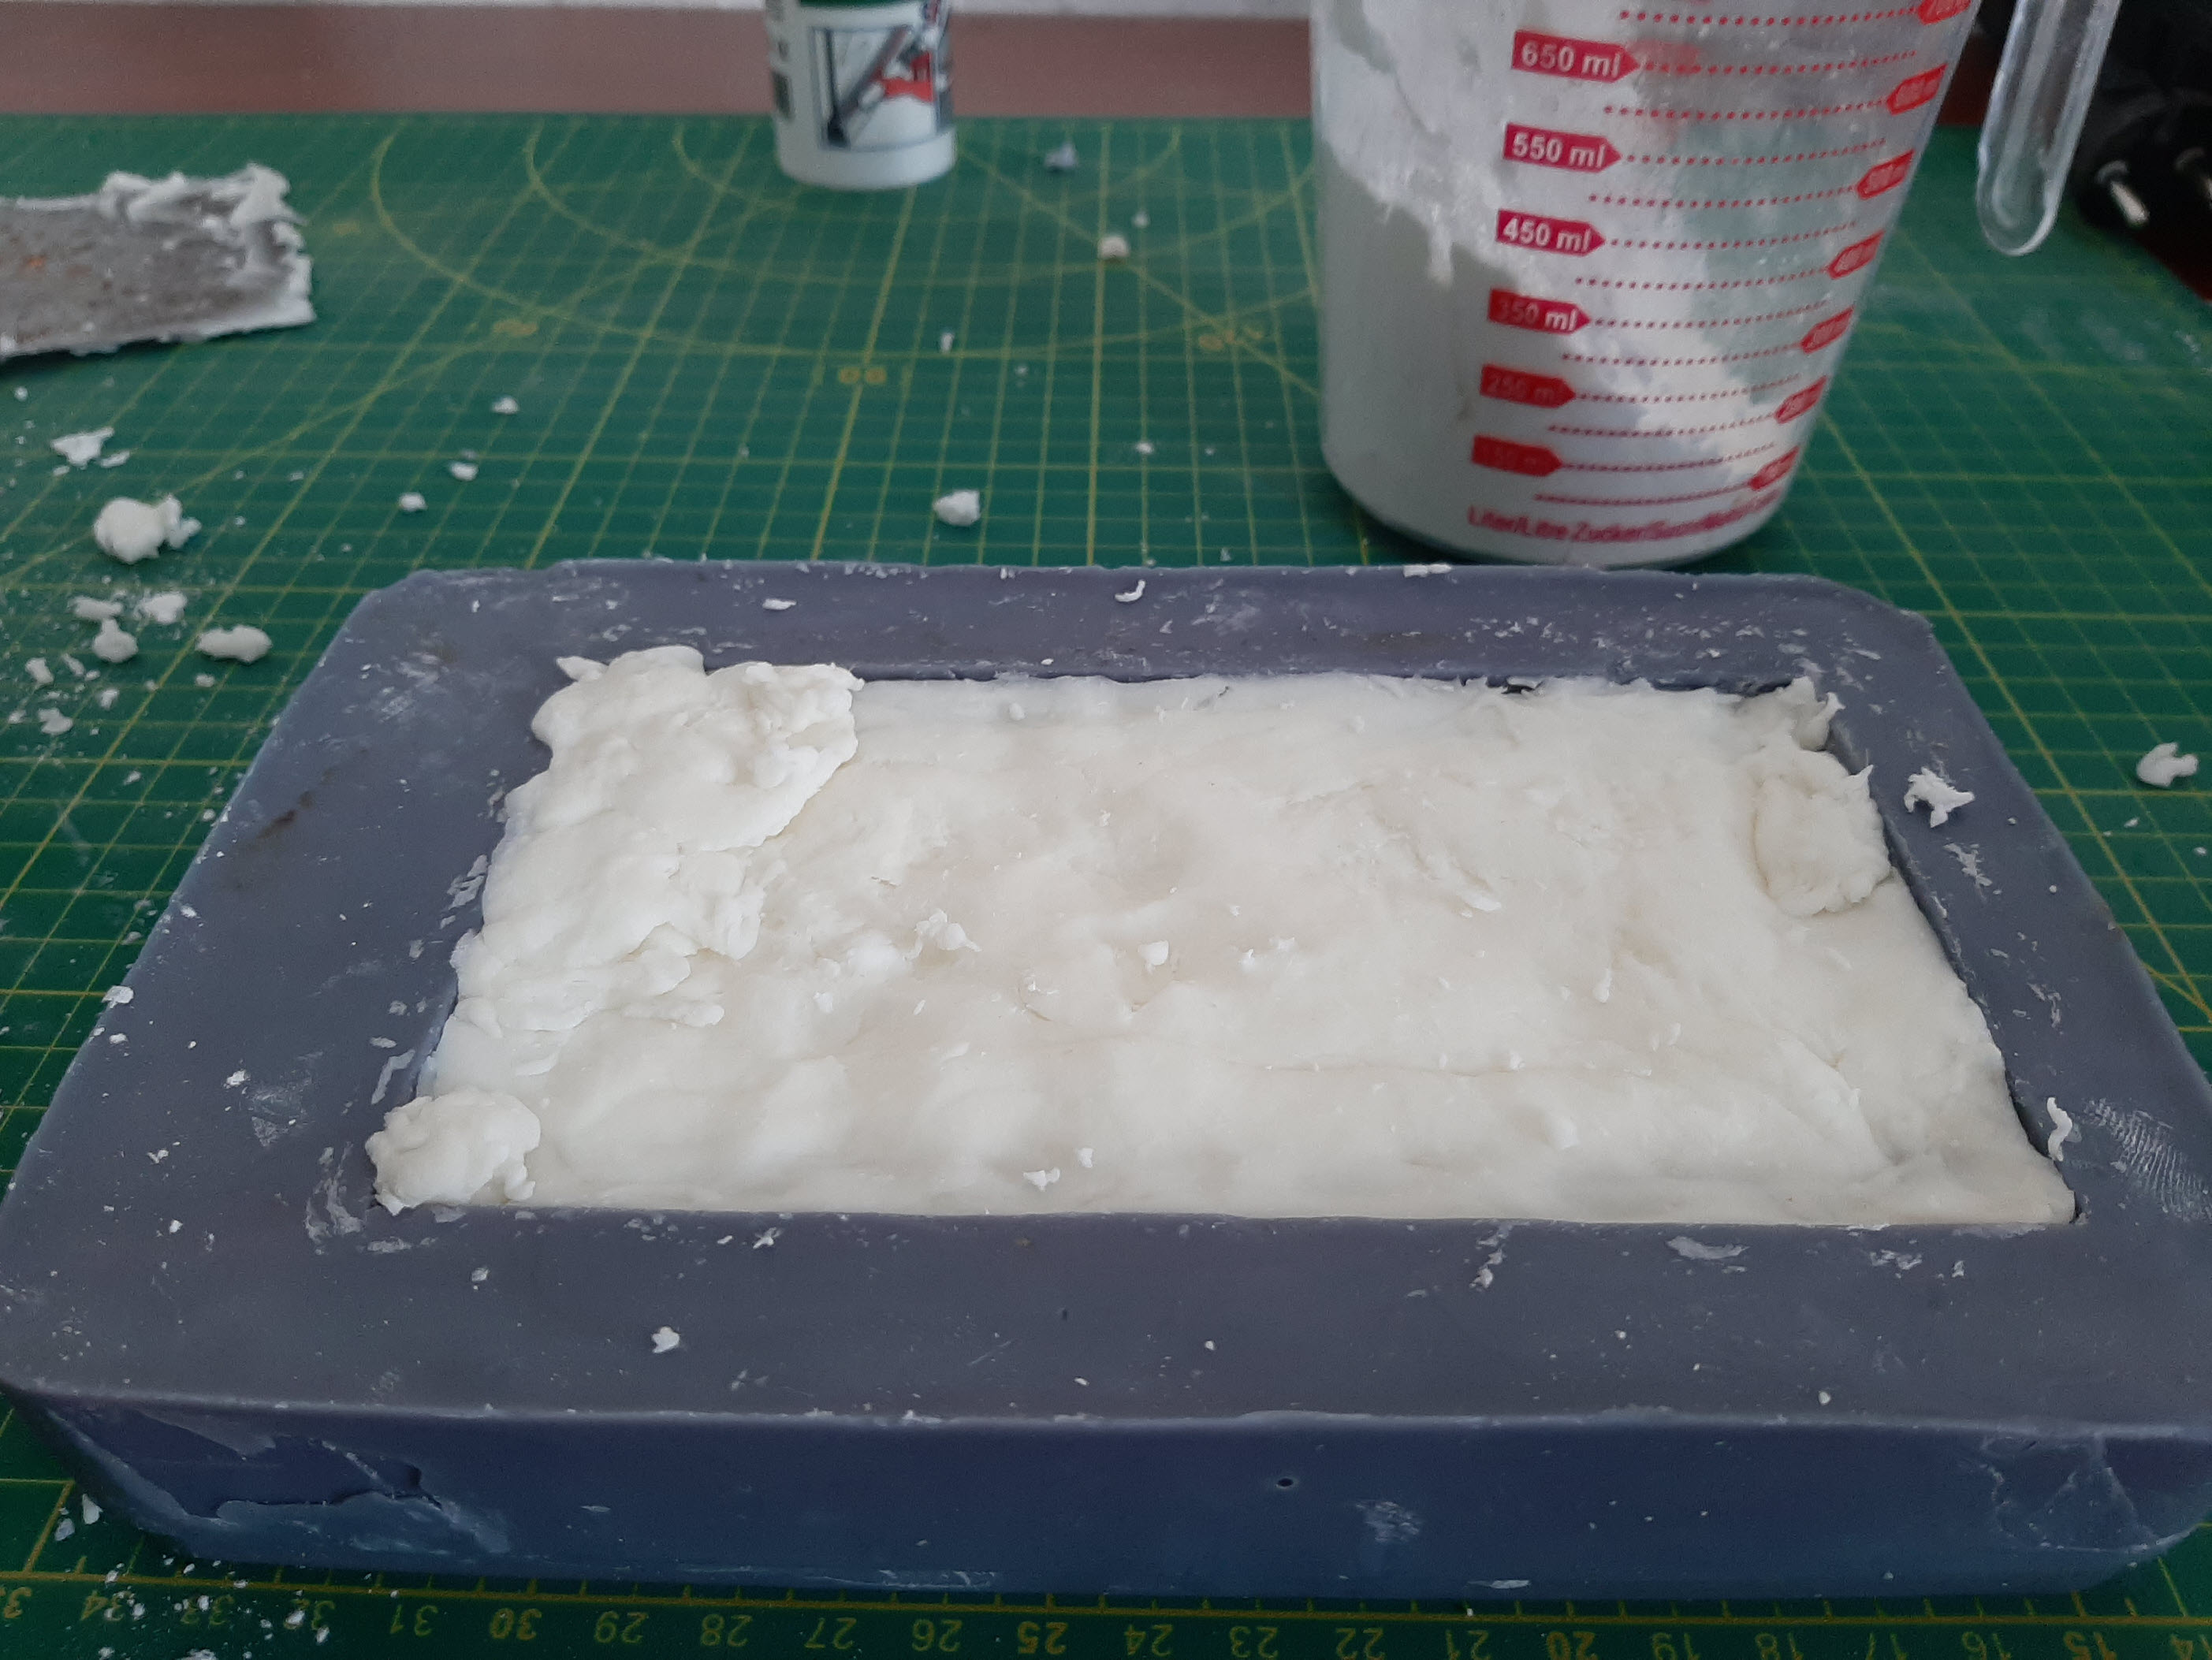 Now it is ready:
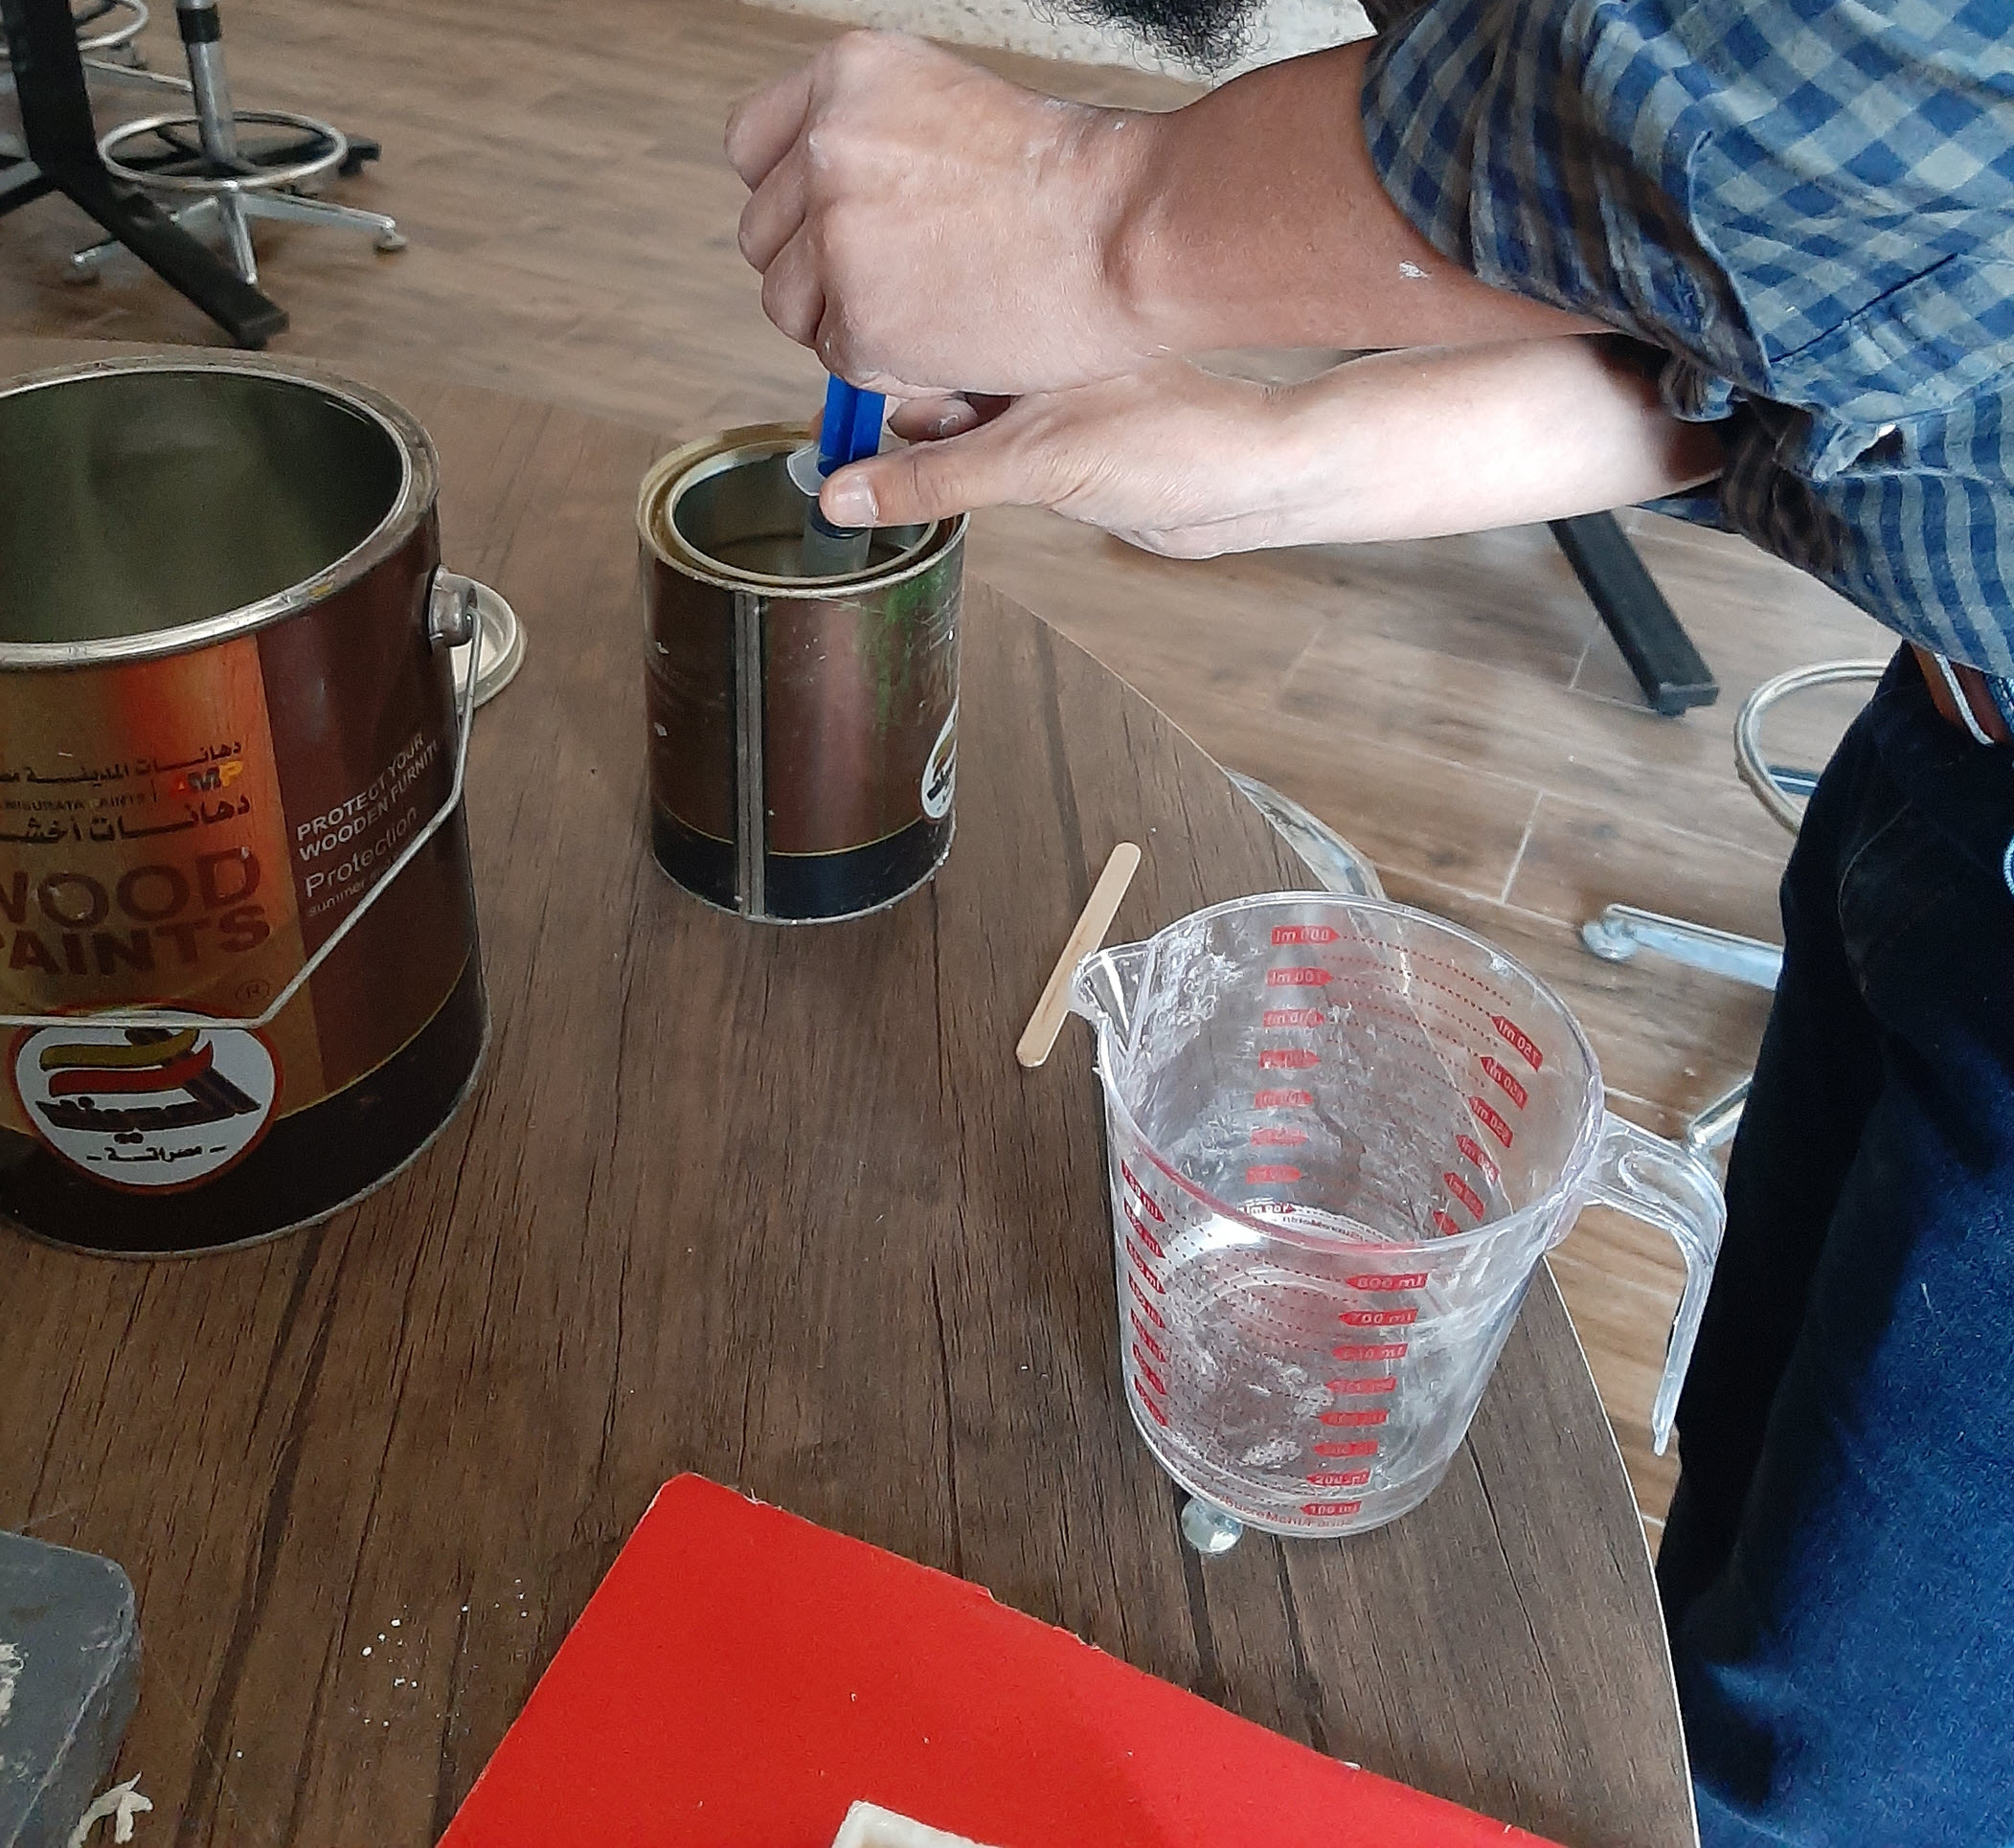
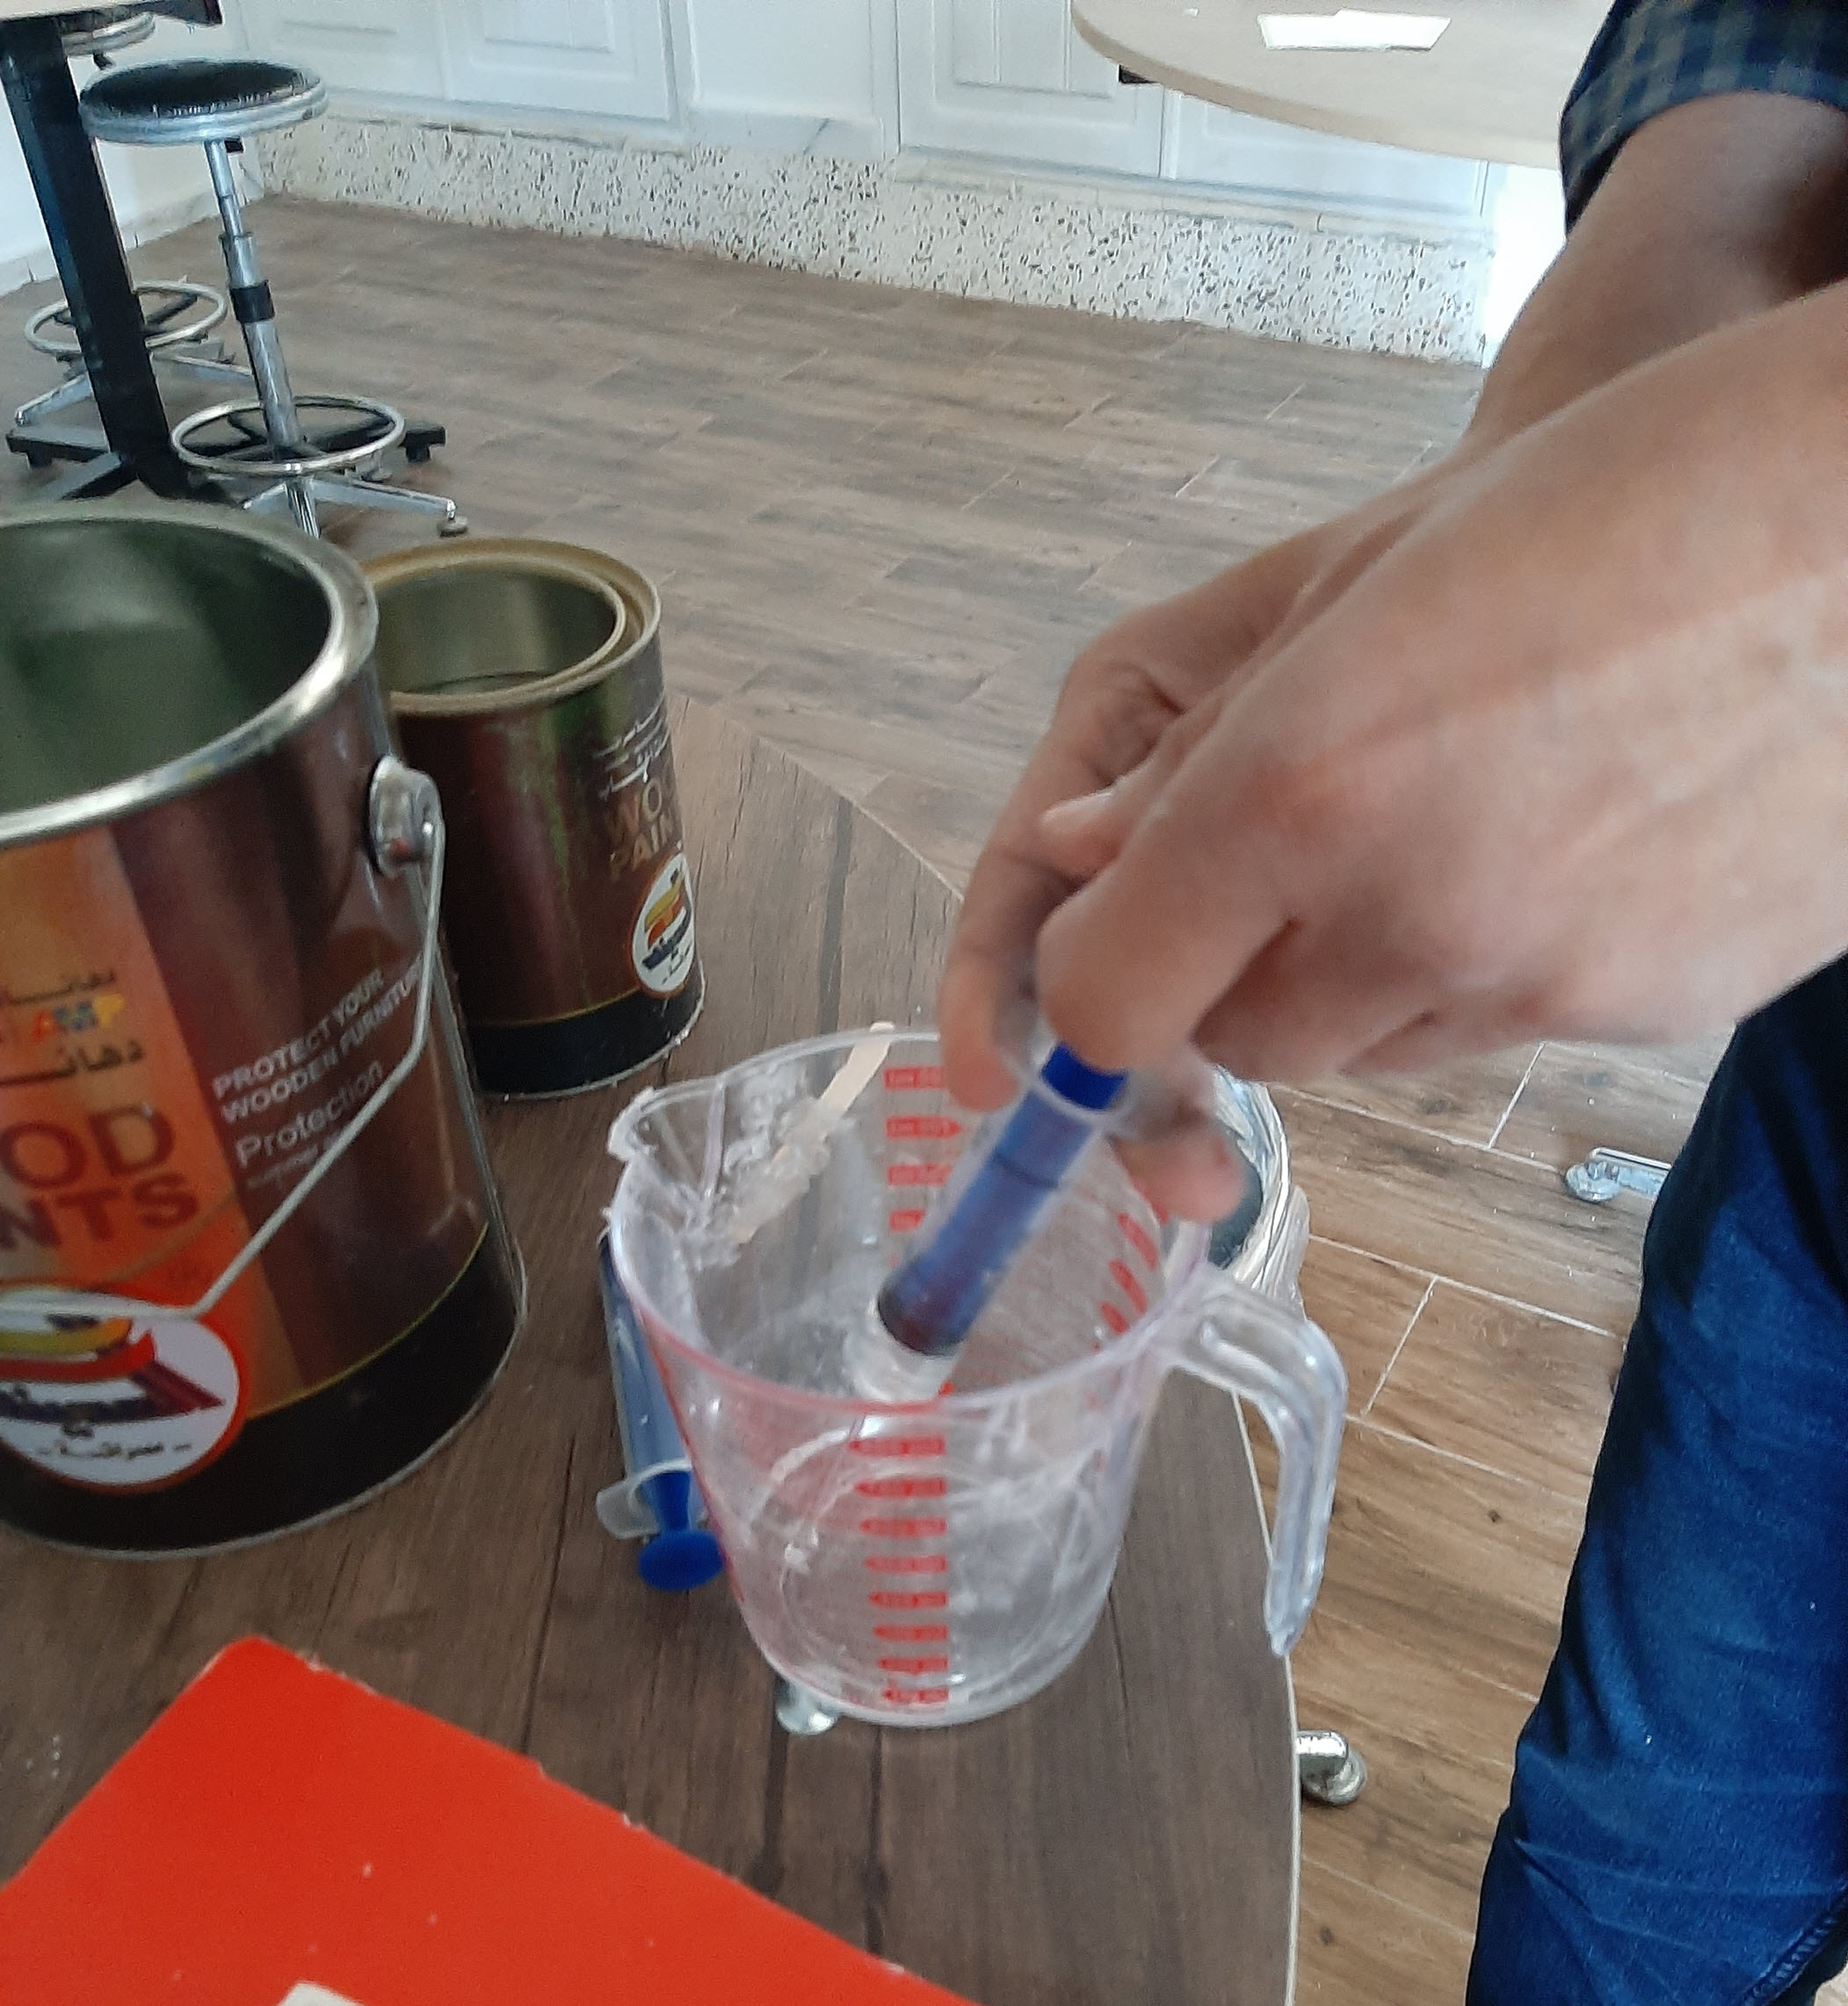
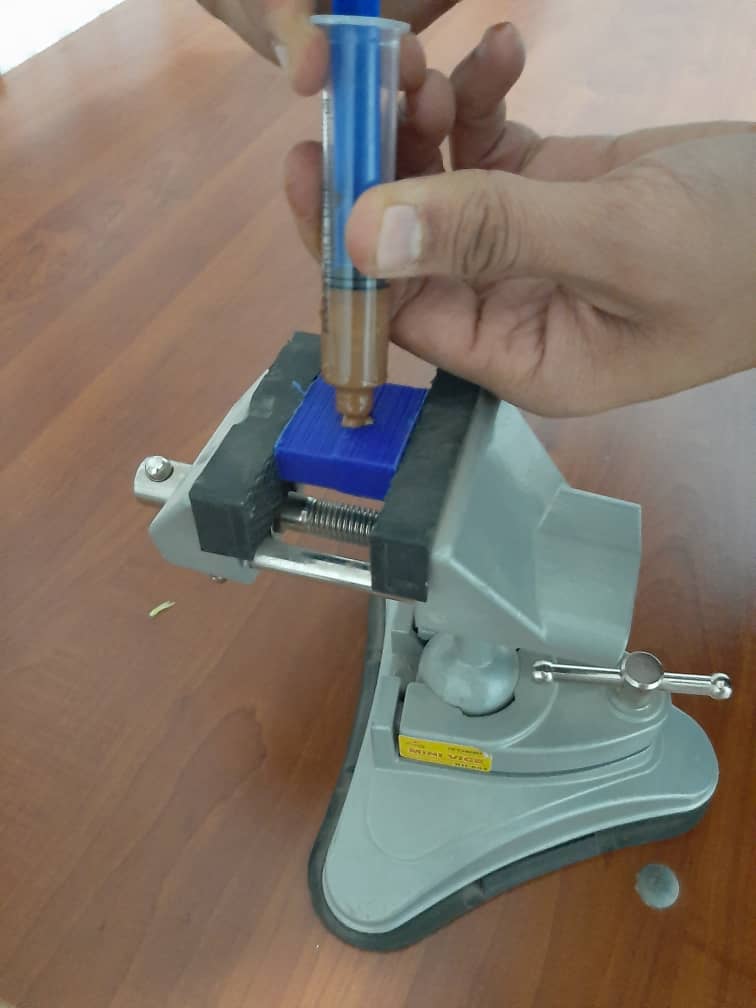
 Then I mixe epoxy resin:
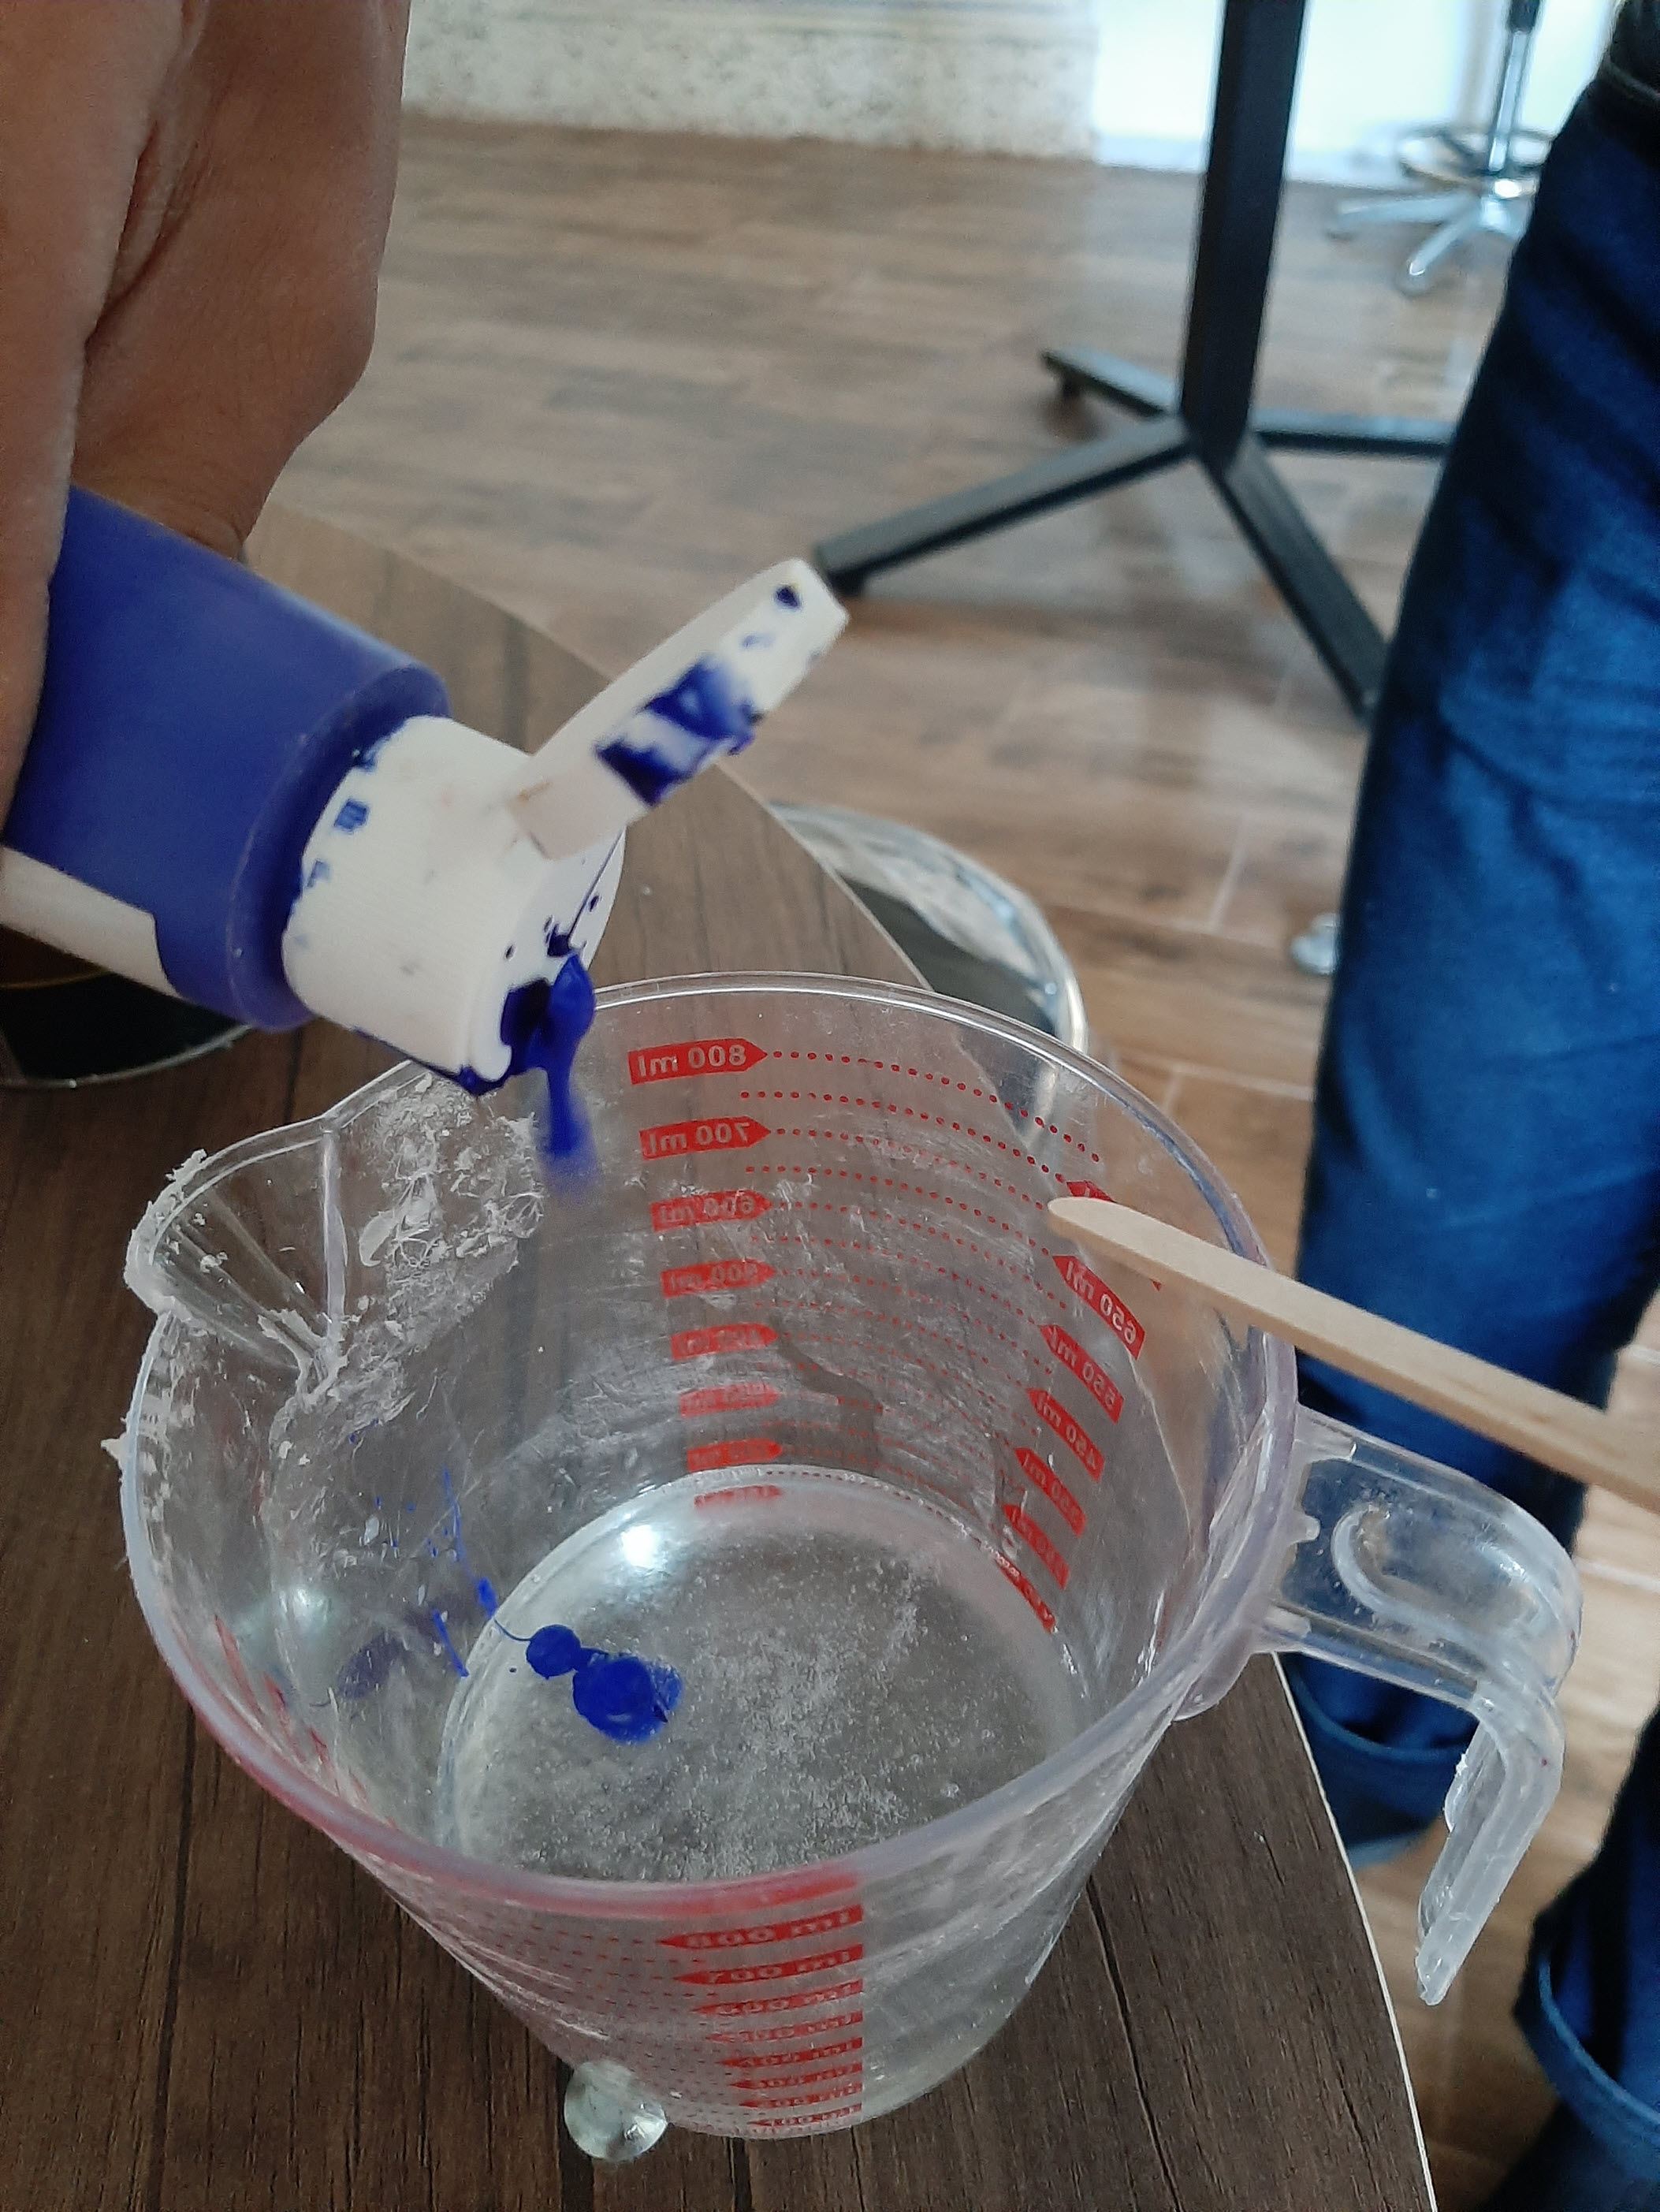
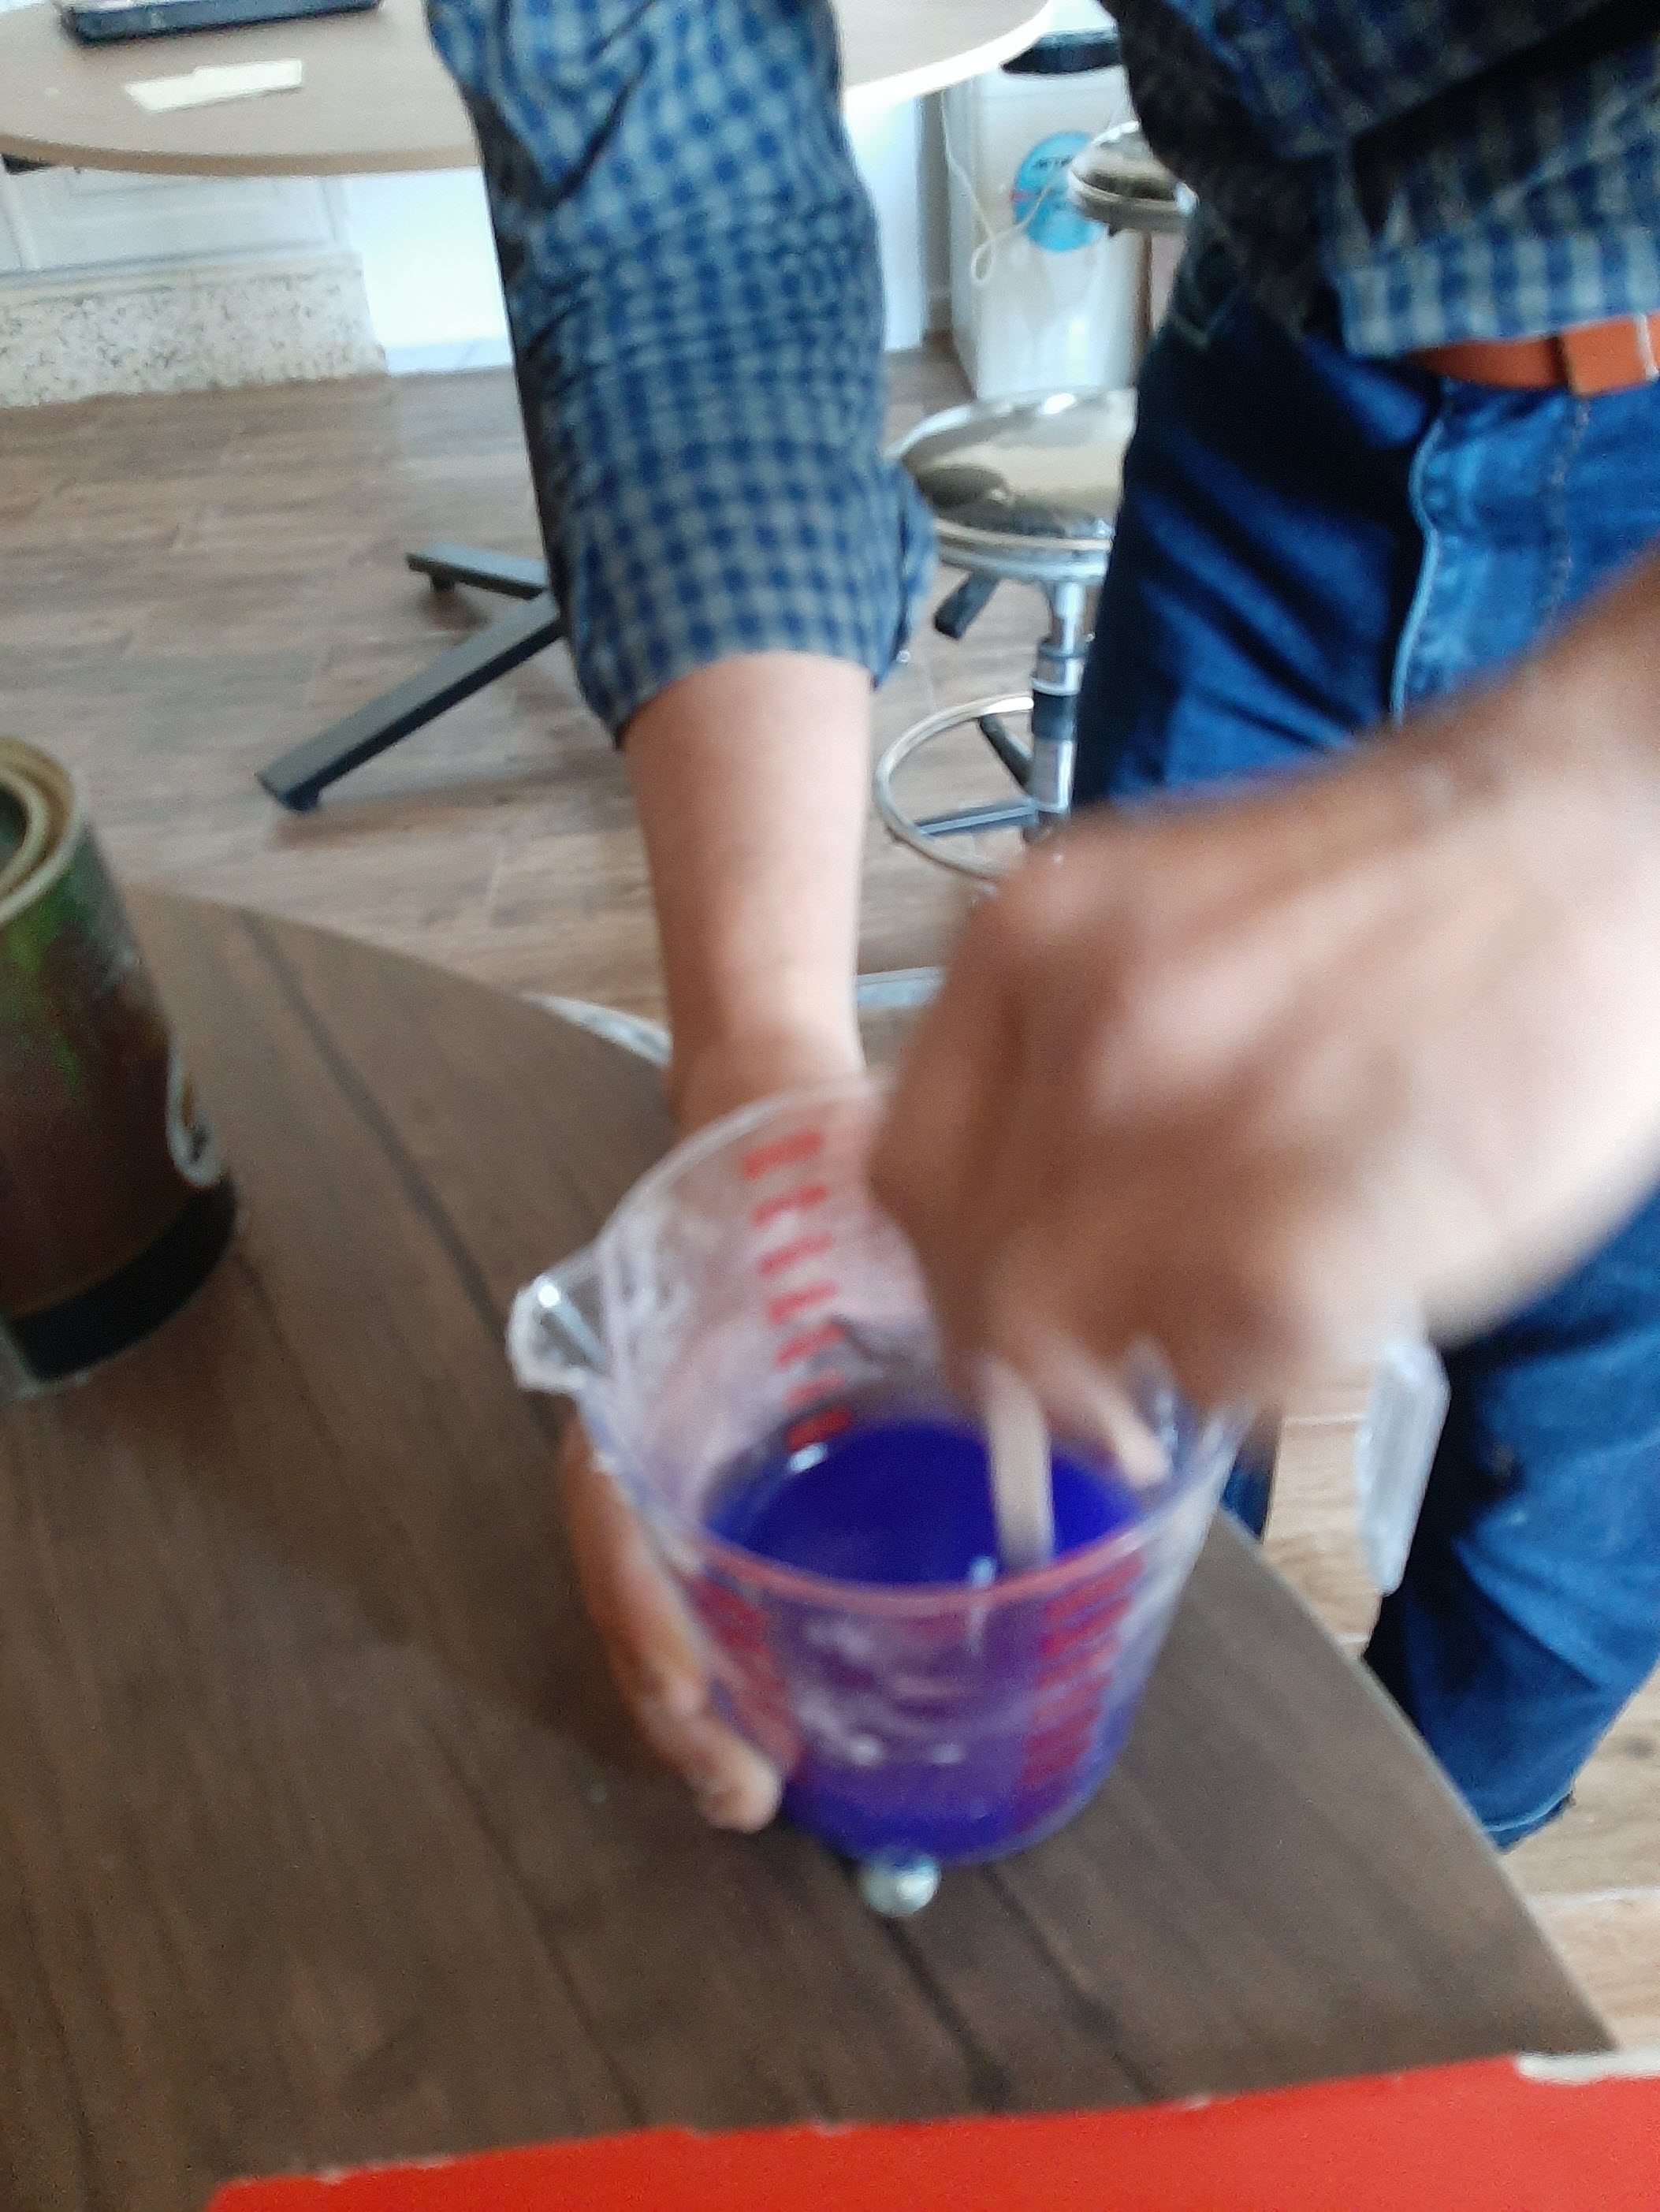
 I added some acrylic to color the resin:
 And mixing for three minutes.
 Now, pour the epoxy in silicon mold:

 And after waiting for 24 hours:
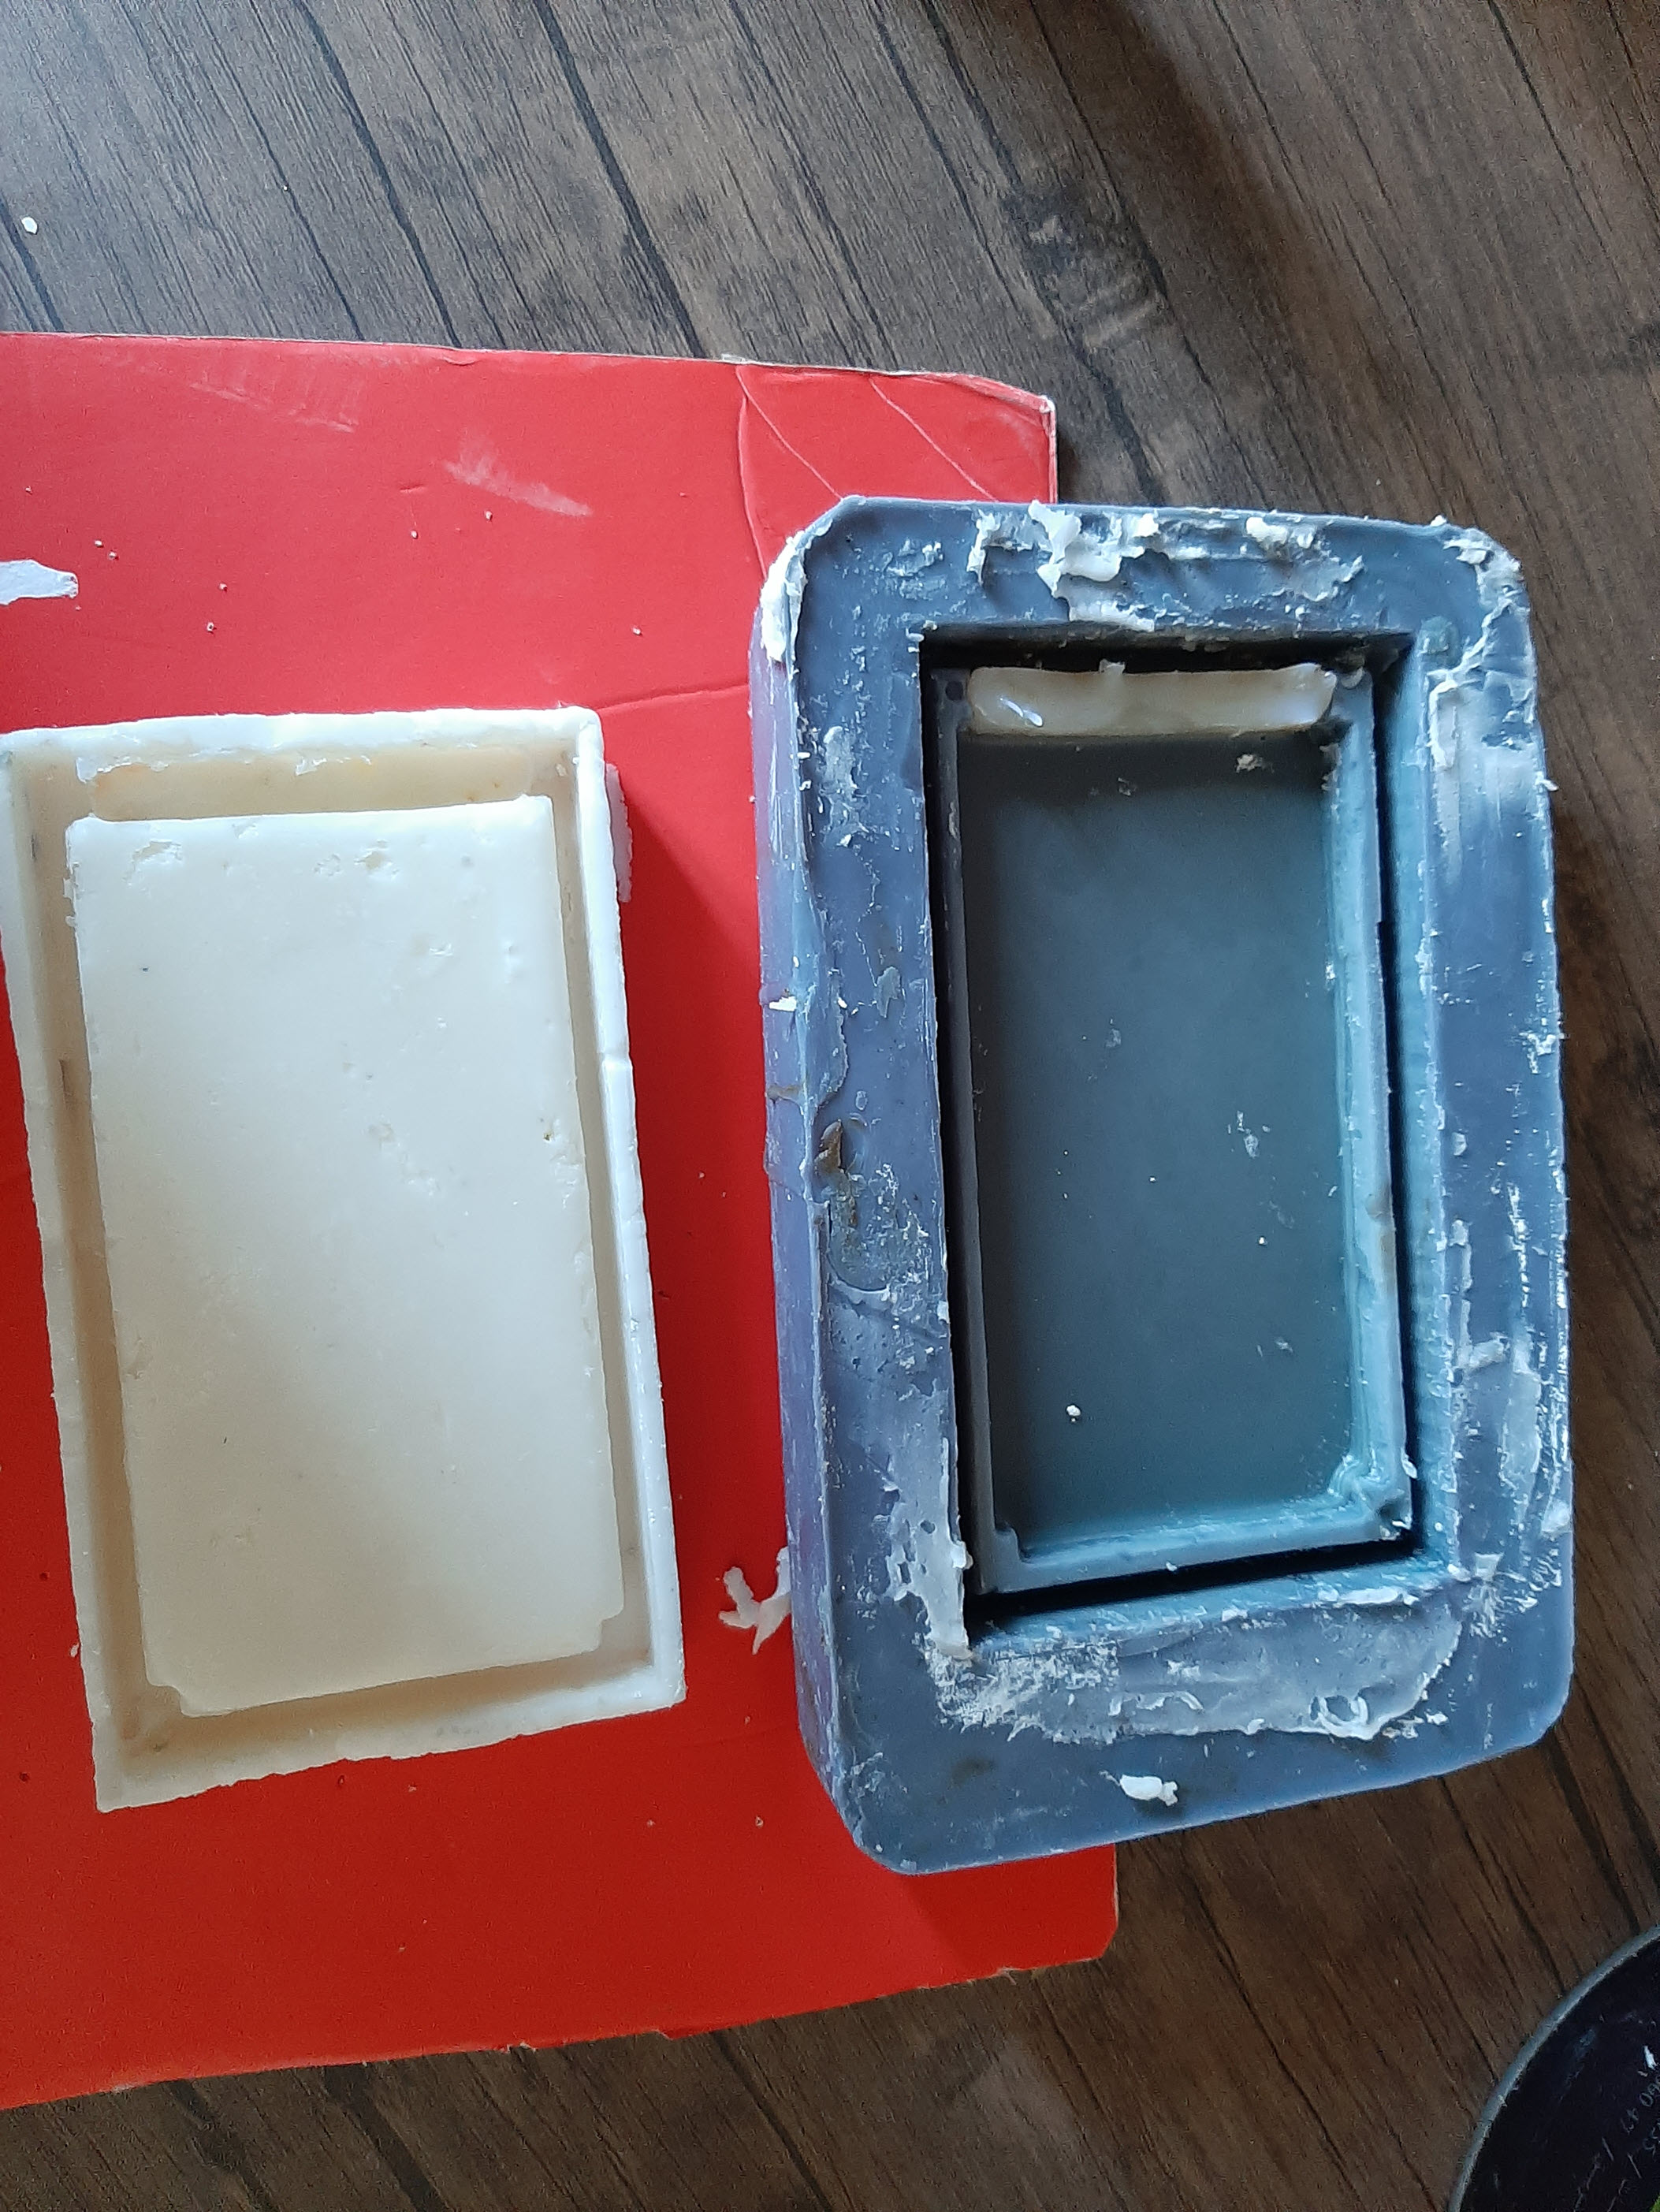
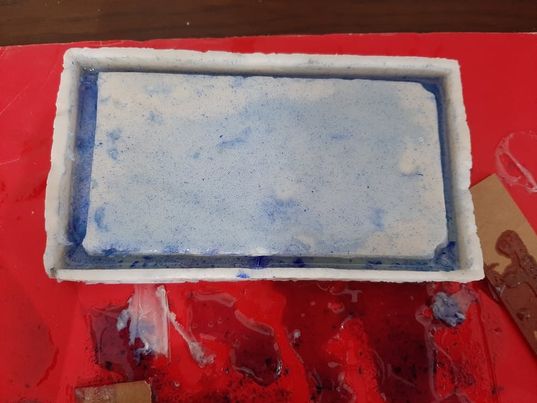 finally, my mold was failed. I will try again.
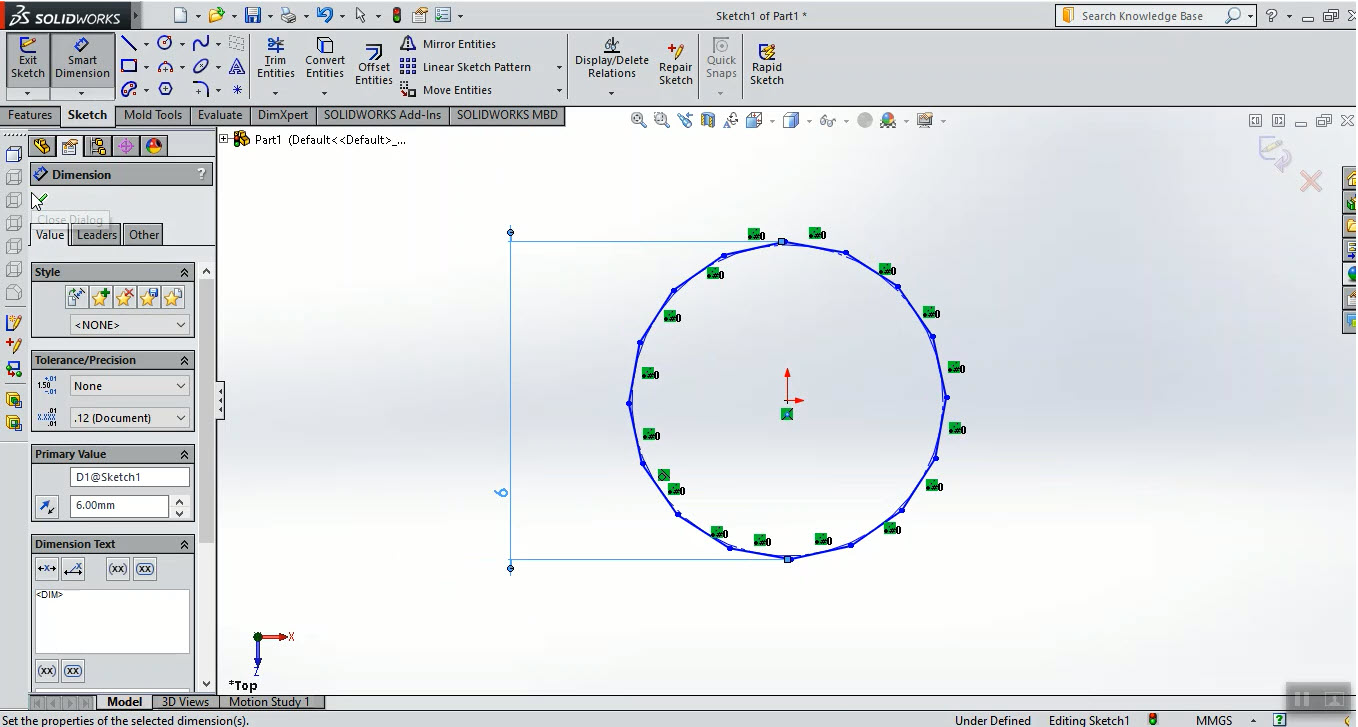
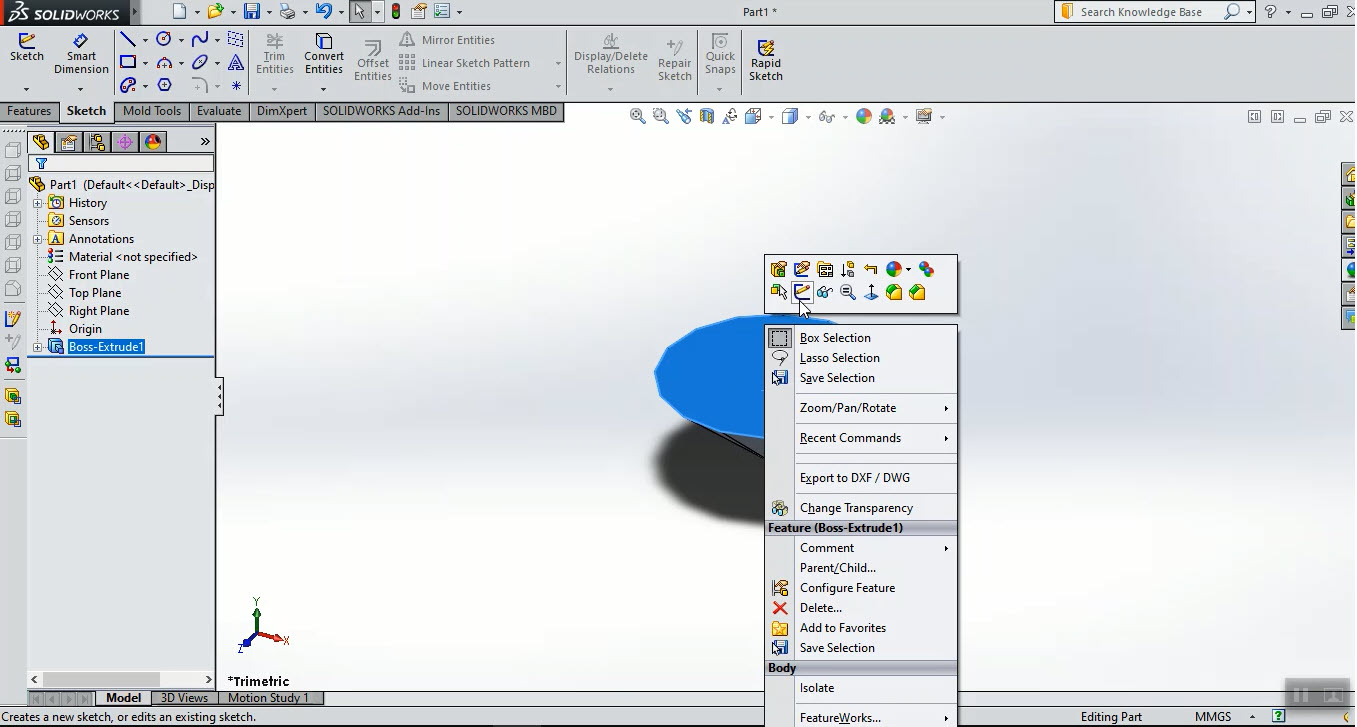
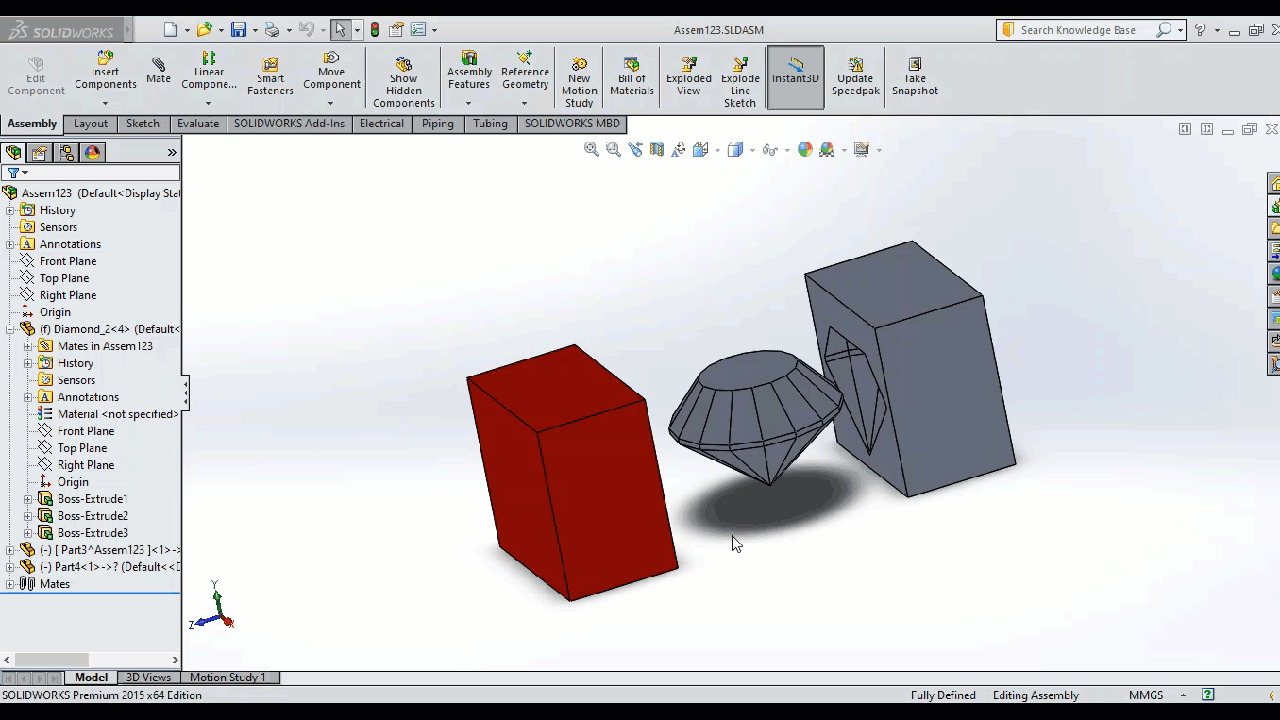
Second attempt is to design a mold in shape of diamond for chocolate.
I used a tutorial video to draw a diamond in SolidWorks.
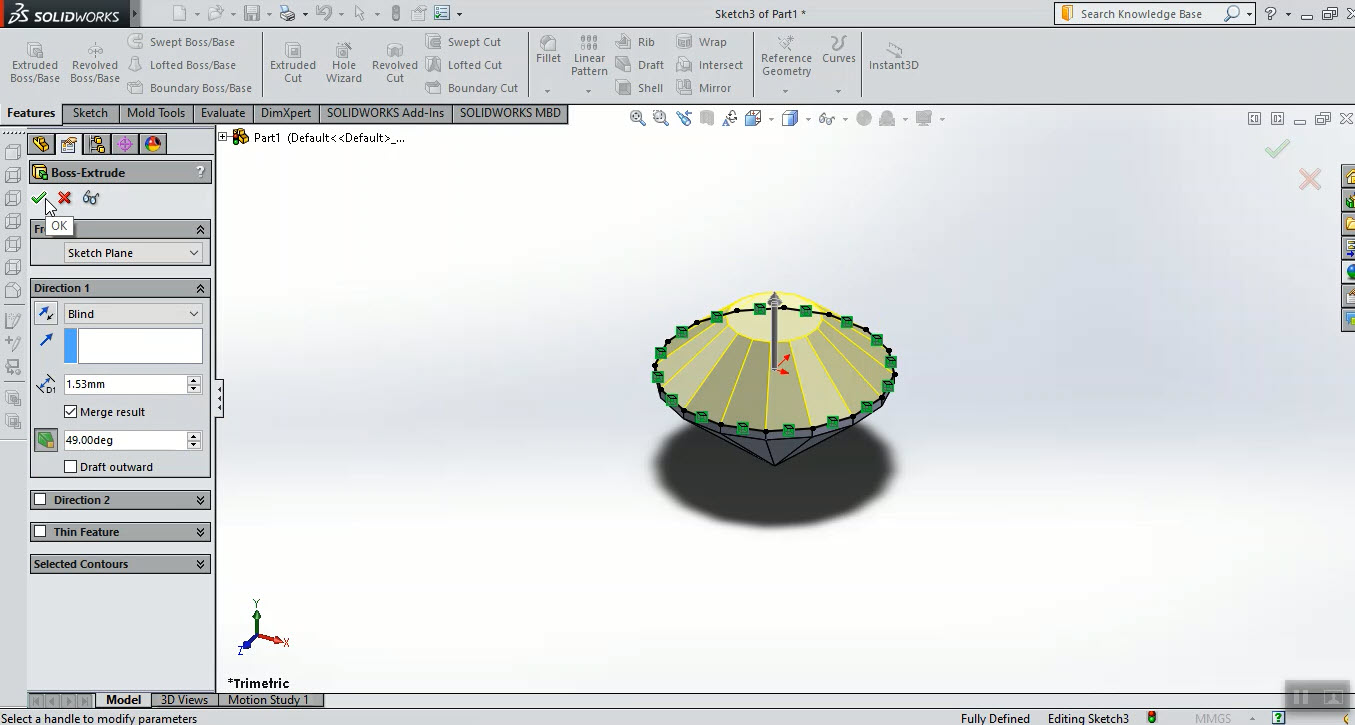
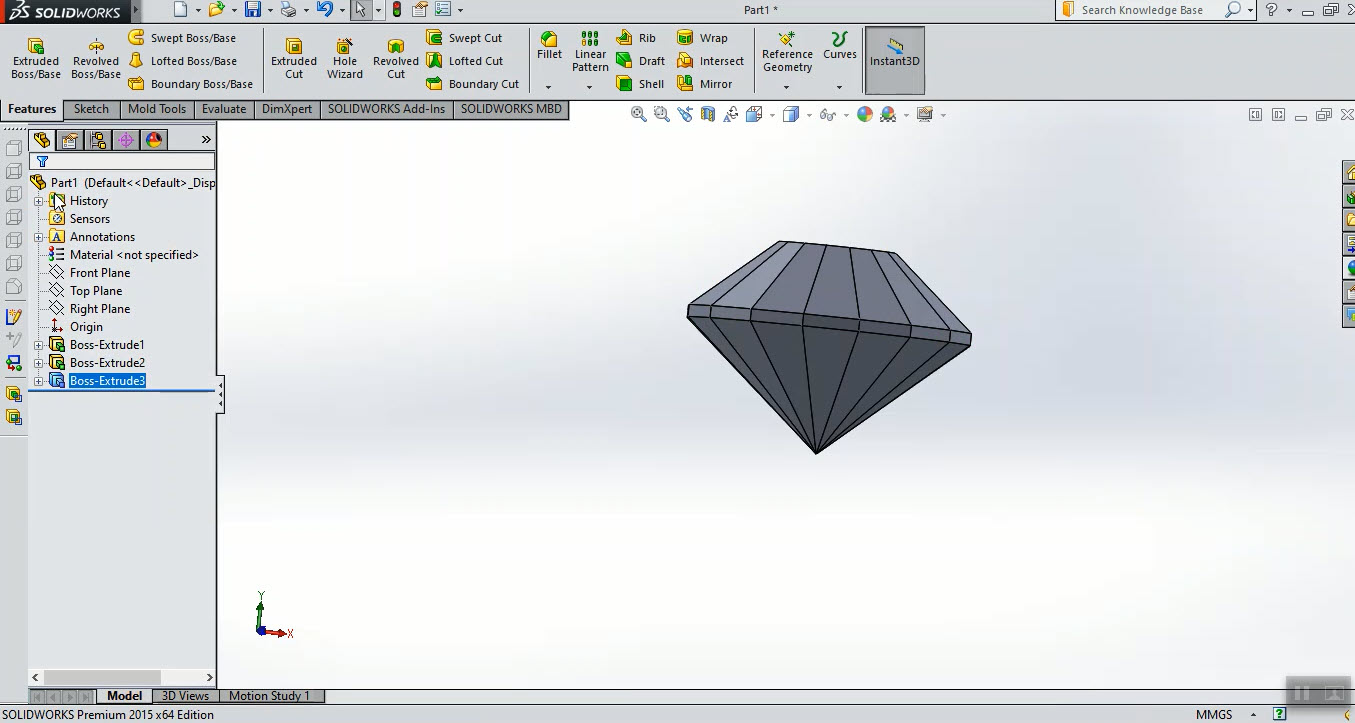
First, I draw Polygon with 16 Sides, then I used Boss-Extrude tool.
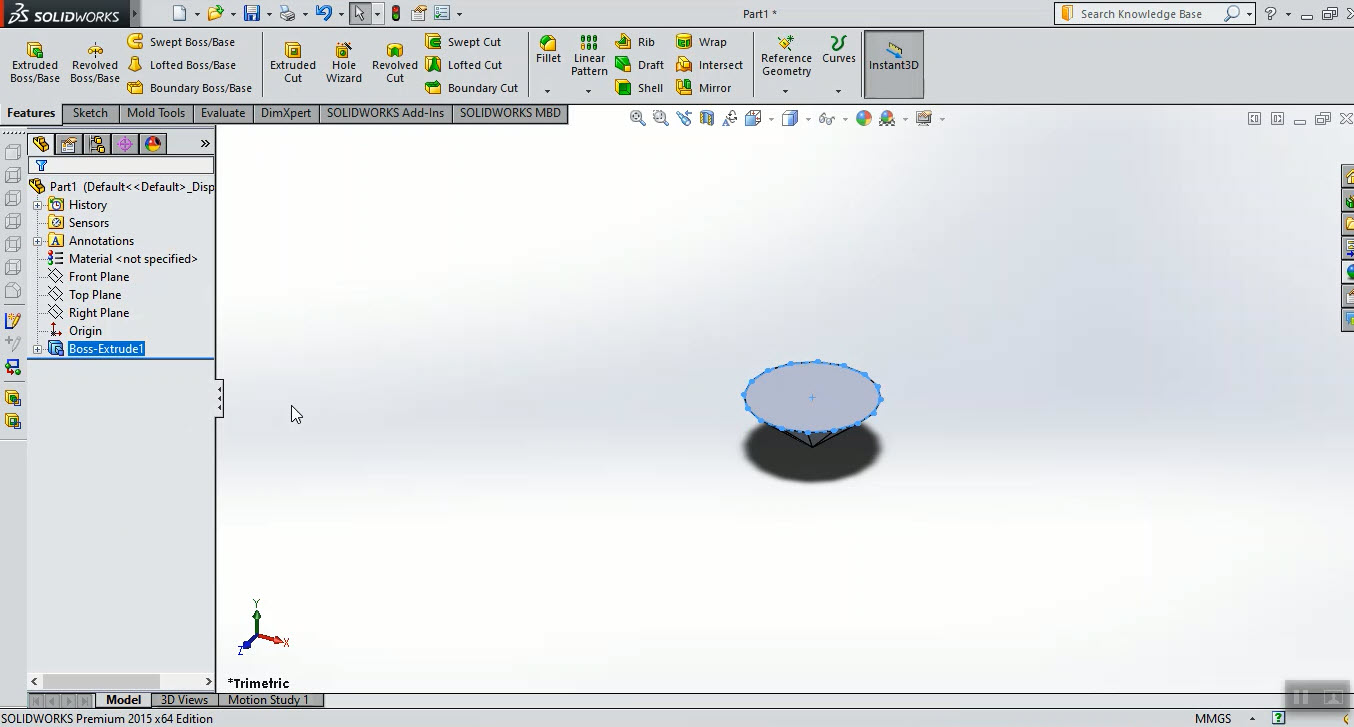 Then I used Convert Entities tool to add same shape above the first, again used Boss-Extrude.
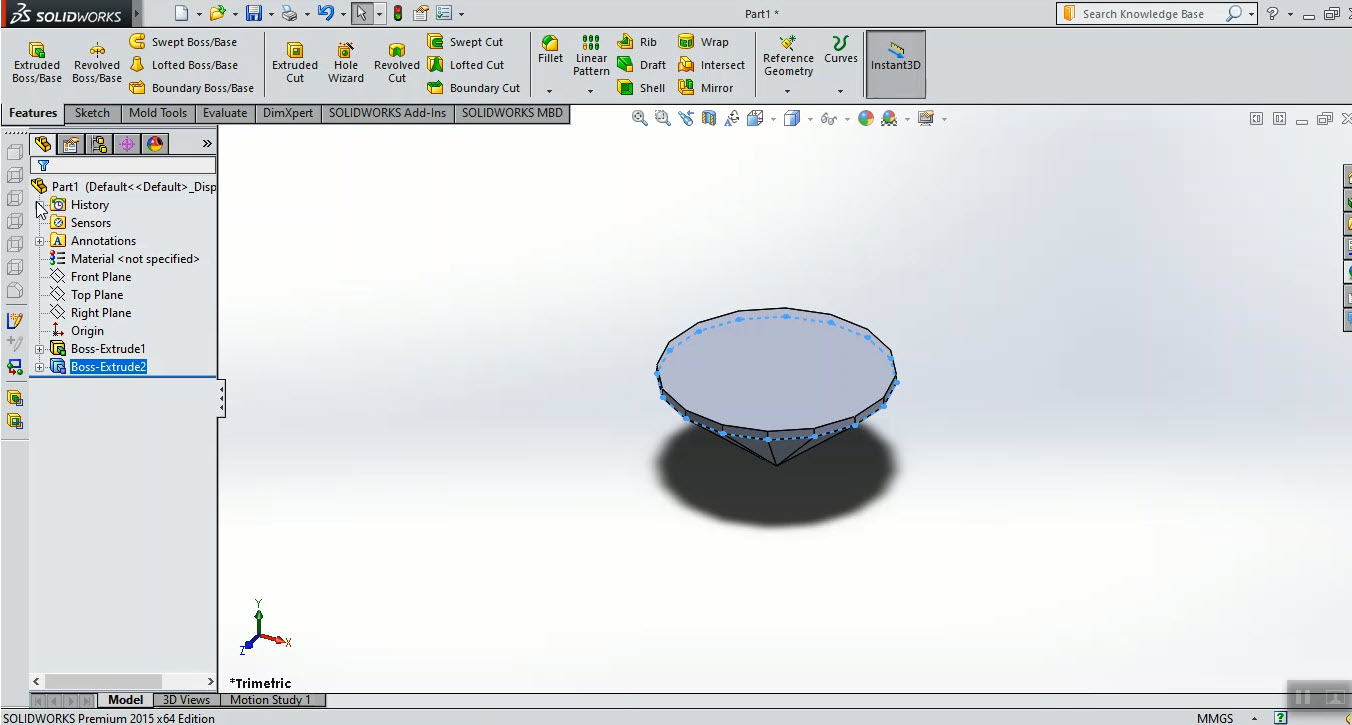 Repeat same steps with different parameters.
 To make a mold shape, a tutorial video is very helpful.
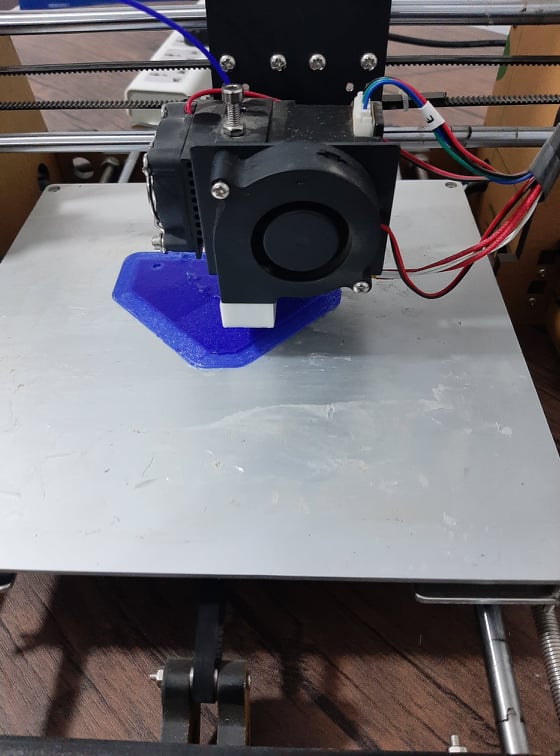
 After saving as STL file, I used 3D printer to print two parts of the mold object.
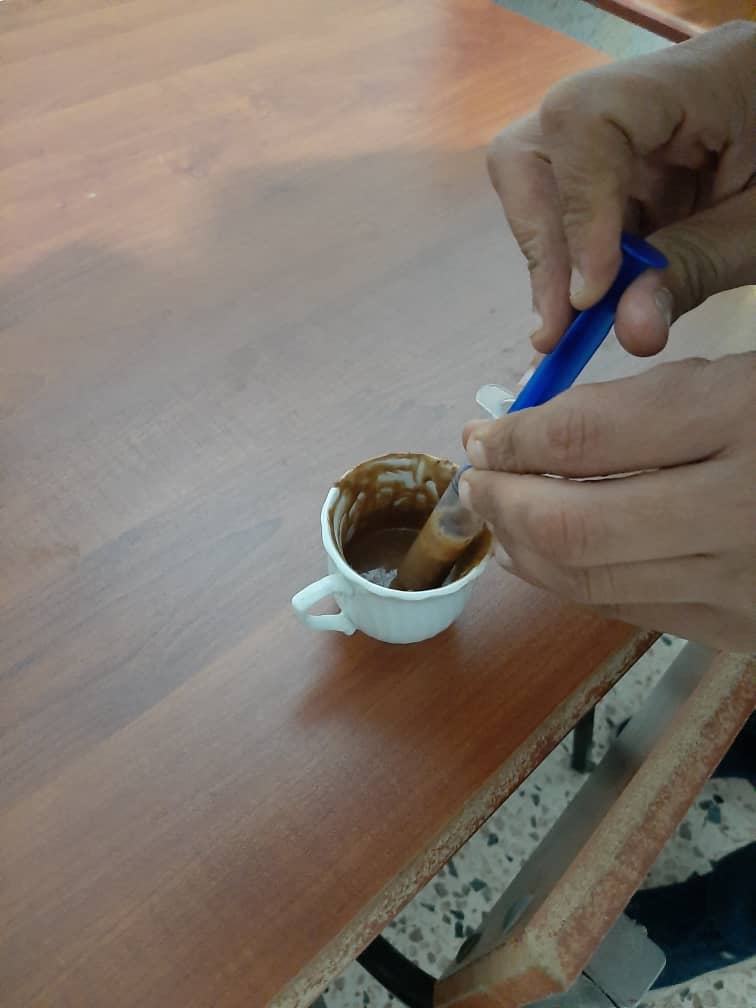
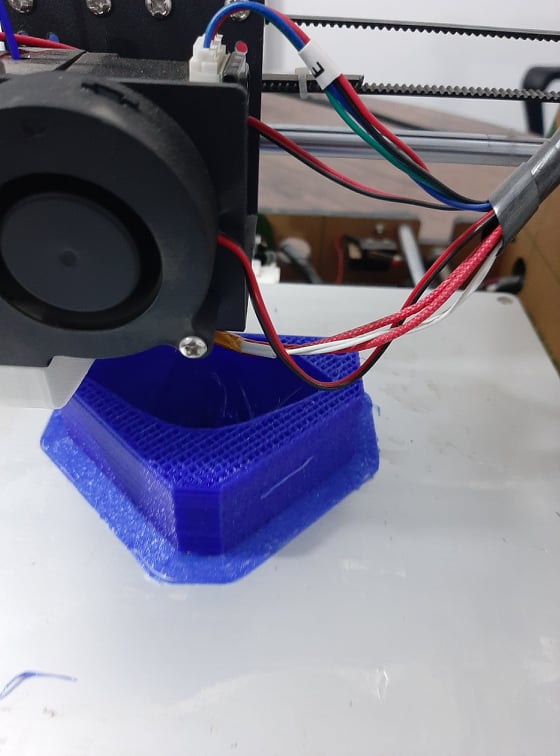 I filled the mold parts with melted chocolate and put it in refegerator. After short time I remove one side and get:
 IN subtractive manufacturing processes first step is roughing cut. In this step bulk amount of material is quickly removed from workpiece.
A higher feed rate is used. It cannot provide good surface finish and close tolerance.
IN subtractive manufacturing processes first step is roughing cut. In this step bulk amount of material is quickly removed from workpiece.
A higher feed rate is used. It cannot provide good surface finish and close tolerance.
 After roughing cut, a finishing cut is carried out to improve surface finish and dimensional accuracy.
Very low feed rate and depth of cut are employed. Stock removal rate reduces in finish pass but surface quality improves.
After roughing cut, a finishing cut is carried out to improve surface finish and dimensional accuracy.
Very low feed rate and depth of cut are employed. Stock removal rate reduces in finish pass but surface quality improves.
 This video shows the two processes:
vacuum de-gassing process:
In some cases we need to vacuum de-gassing.
Vacuum degassing is a process to remove trapped air bubbles easily from silicon mixture using a vacuum chamber and a vacuum pump as shown
in this video.
Degassing is a crucial step after mixing (sometimes degassing is also required after casting) to eliminate residual pores in the slurry.
These pores can be introduced during either mixing or the chemical reaction, or they can form as a result of entrapped air during casting.
Place your solution in a side-arm flask with a stir bar and use a rubber stopper to seal off the top. Place the flask on a stir plate and
turn the plate on so the stir bar is spinning at a medium speed.
Vacuum chambers are for removing air from high viscosity materials like silicone rubber before pouring.
They are also ideal for for making bubble free castings.
This video shows the two processes:
vacuum de-gassing process:
In some cases we need to vacuum de-gassing.
Vacuum degassing is a process to remove trapped air bubbles easily from silicon mixture using a vacuum chamber and a vacuum pump as shown
in this video.
Degassing is a crucial step after mixing (sometimes degassing is also required after casting) to eliminate residual pores in the slurry.
These pores can be introduced during either mixing or the chemical reaction, or they can form as a result of entrapped air during casting.
Place your solution in a side-arm flask with a stir bar and use a rubber stopper to seal off the top. Place the flask on a stir plate and
turn the plate on so the stir bar is spinning at a medium speed.
Vacuum chambers are for removing air from high viscosity materials like silicone rubber before pouring.
They are also ideal for for making bubble free castings.
Download Links