Week11
Molding and Casting
Go to:Group assignment Individual assignment
Group assignment
Review the safety data sheets for each of your molding and casting materials
Make and compare test casts with each of them.
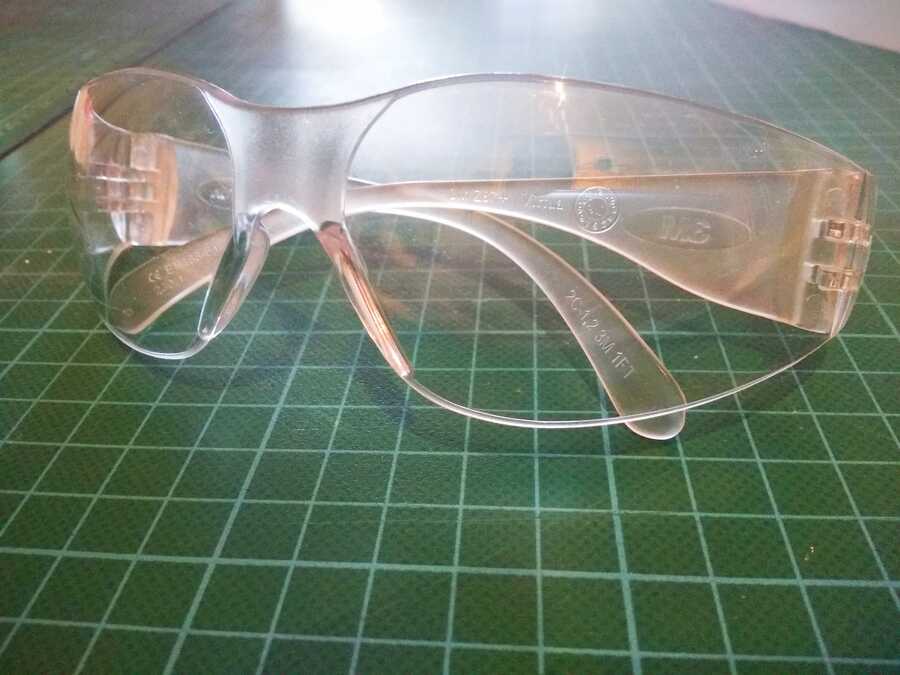
This week, I am going to use wax, silicon, alginate, plaster and epoxy resin. As in the documentacion and safety datasheets, I will be doing this in a well ventilated area, wearing protective gear; latex free gloves, a mask and protecting my skin with clothing...

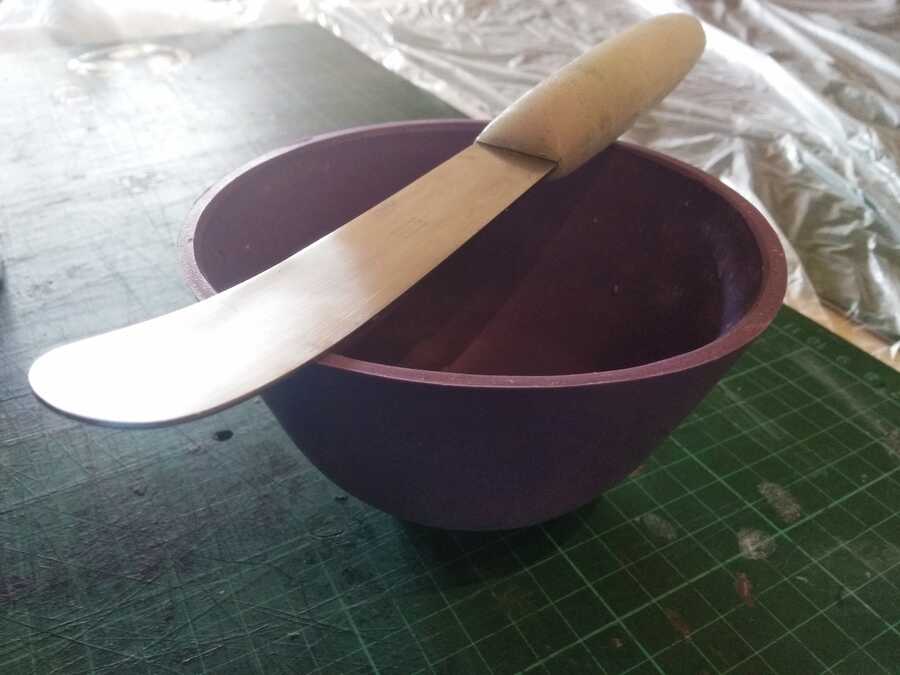
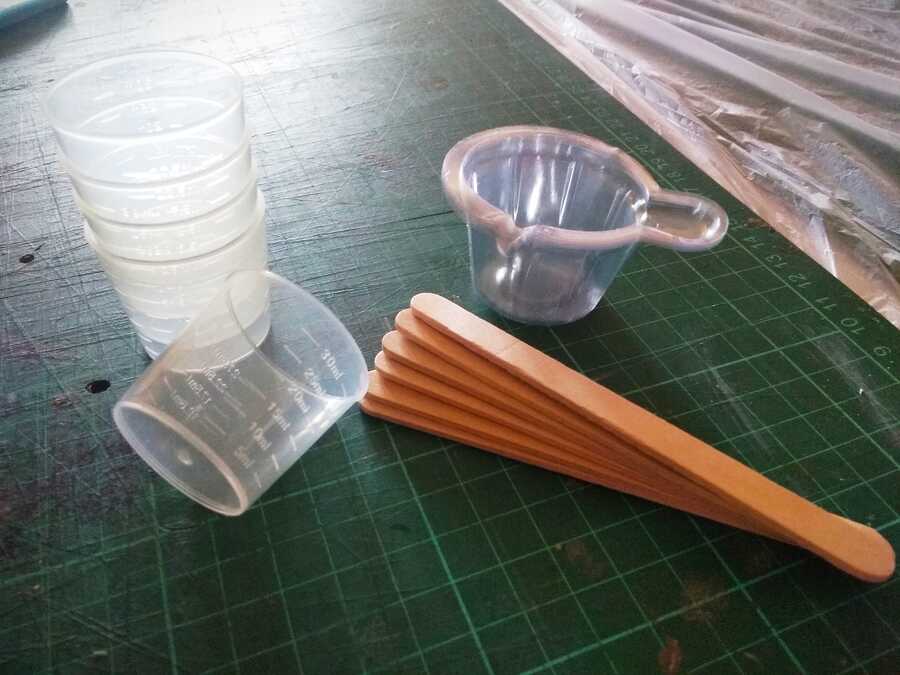
I am also using a rubber bowl and spatulas for most of the materials except for the silicon and resin (disposable dish and mixing tools)..
Here are the safety sheets for each of the materials I will be using. WAX: Freeman - SILICON: Plascil gel, Reschimica R30PRO - ALGINATE: Bestdent, Henry Schein, Alga cast - PLASTER: Druguix, Kimberlit - RESIN: Resinpro.
After reading the safety datasheet, I read the technical datasheet and prepare a small batch of each for testing, I used disposable cups I had here for the testing...
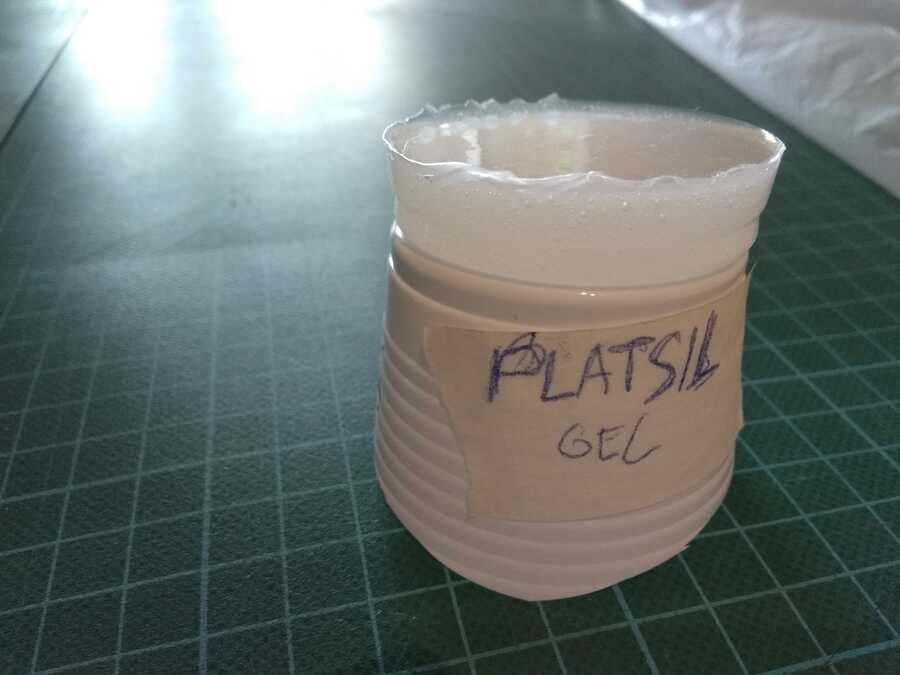
Silicon: Plasticil gel, only use nitrile gloves to avoid contamination. This type in particular cures within +/-30min.
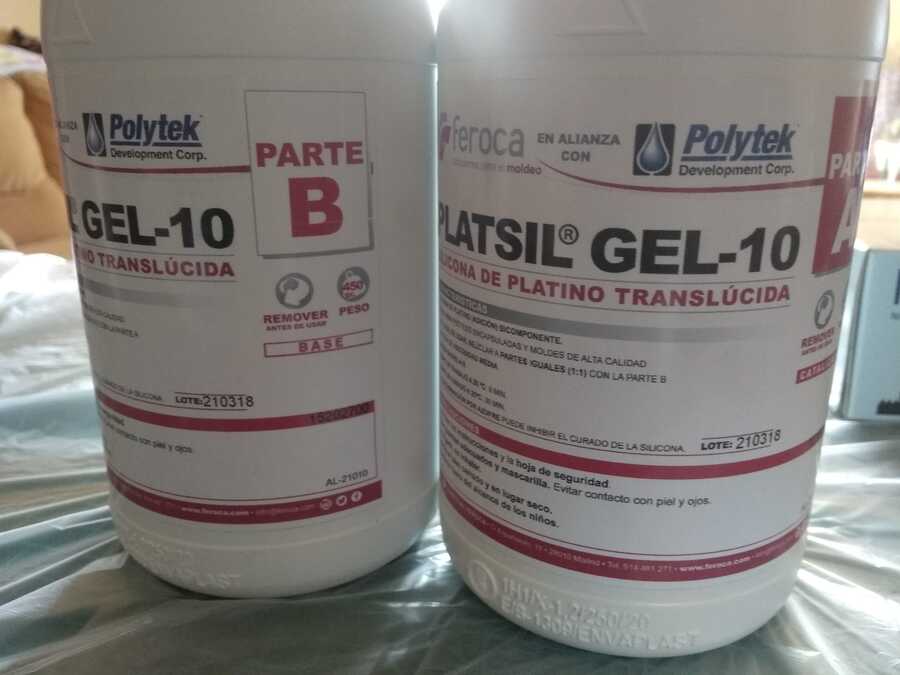
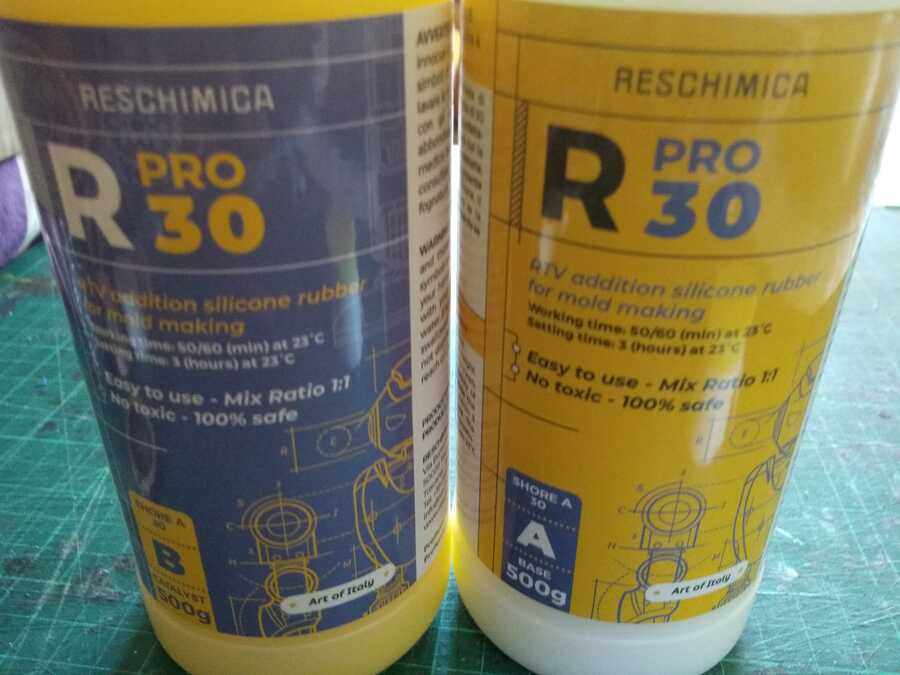
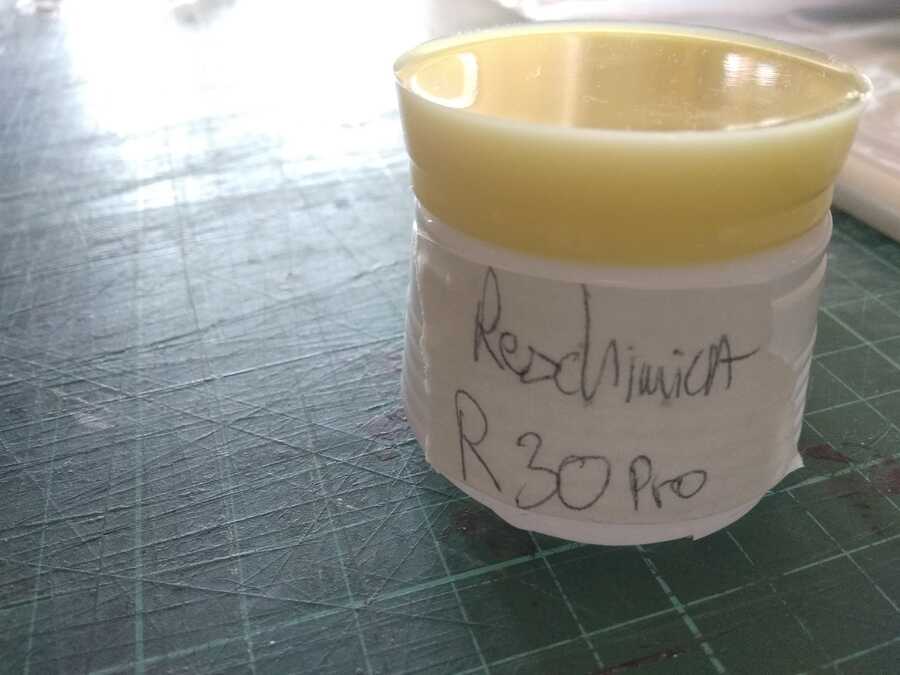
Reschimica R30PRO, longer curing time up to 3h depending on the size and temperature, the higher the faster.
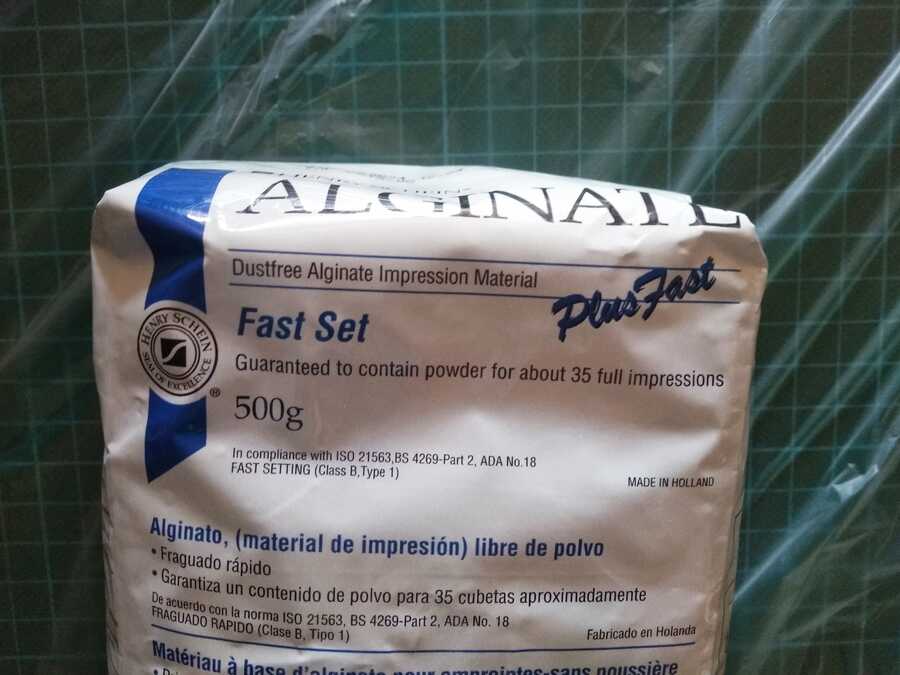
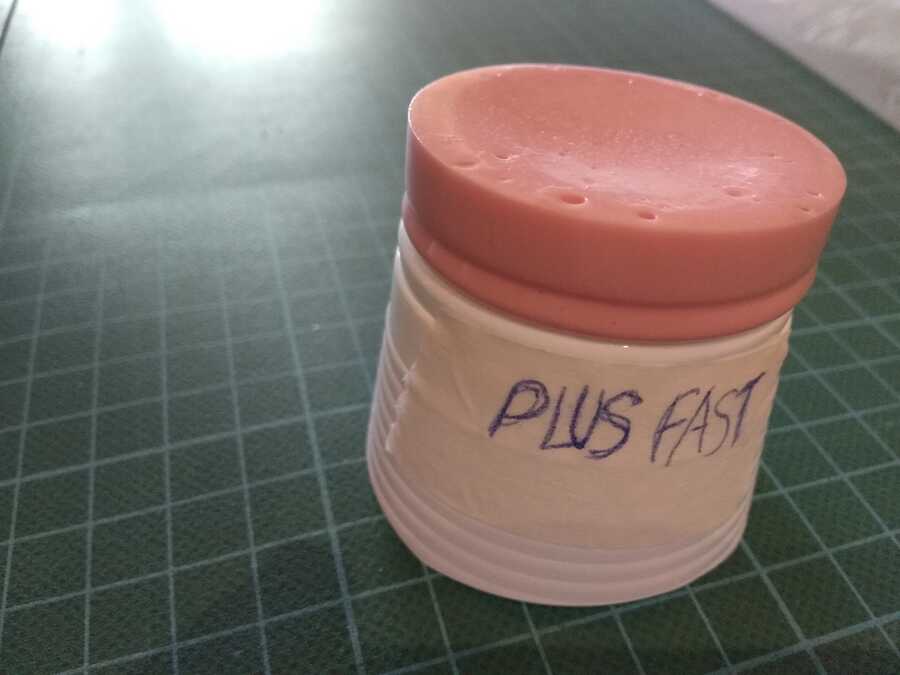
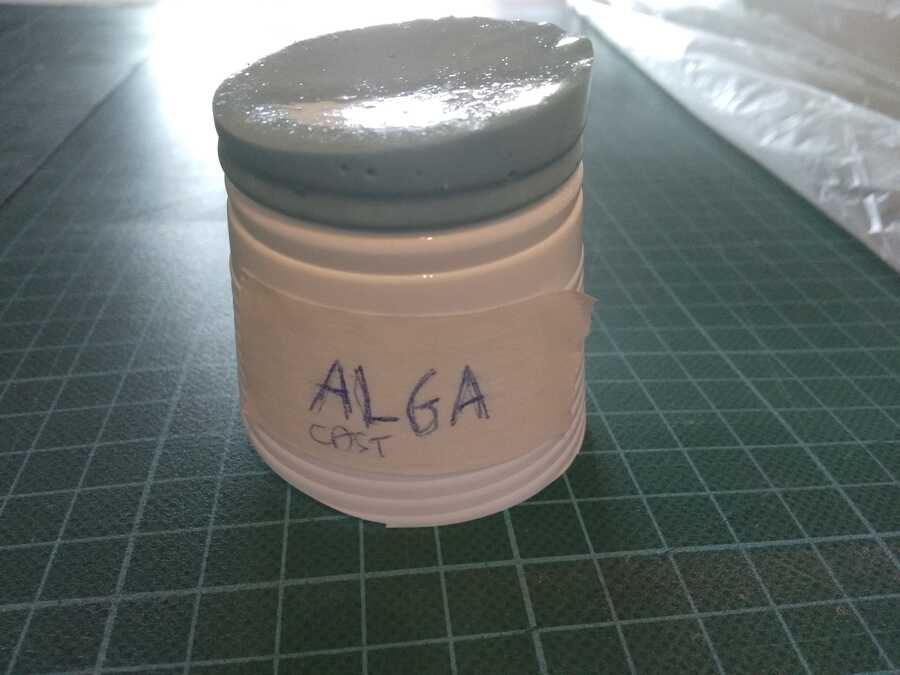
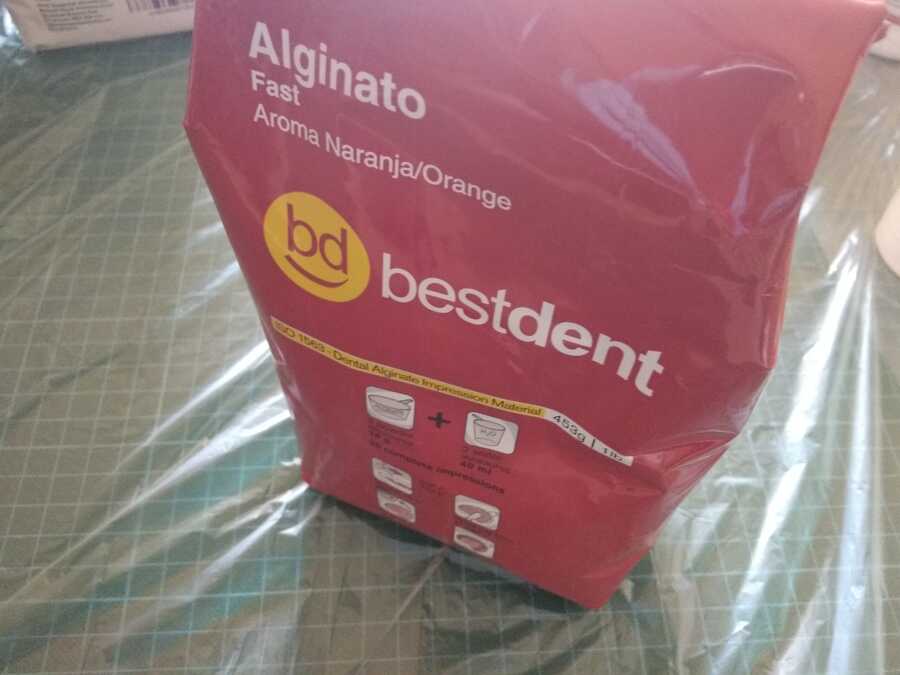
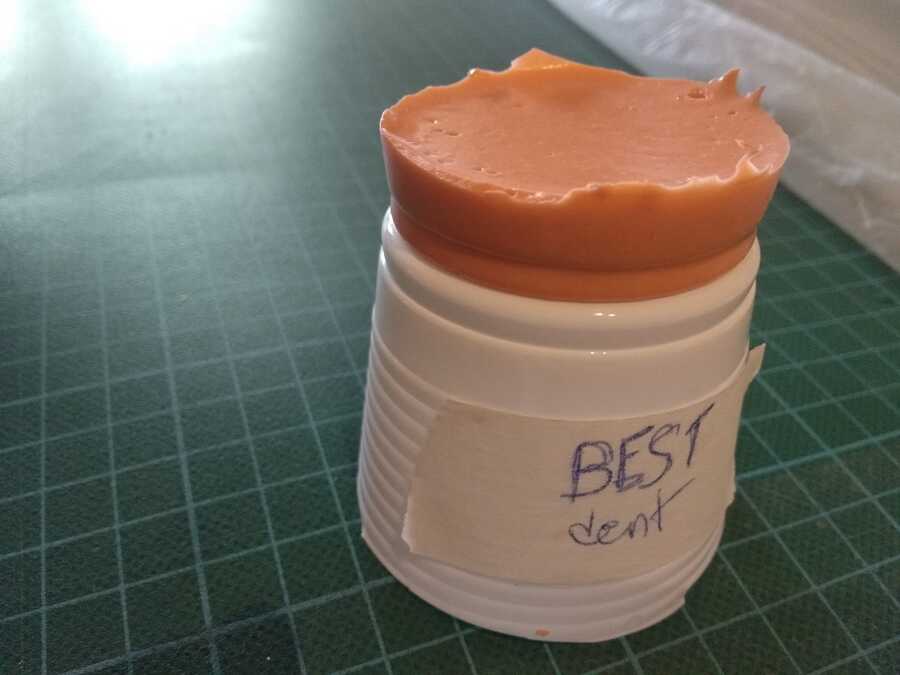
Aginate: Most of the alginate is for dental use except for the Alga cast that is for body only, overol it is a fairly safe material, that cure within 3-15 min and the bestdent smells and tastes like oranges.
Plusfast
Alga cast

Best dent
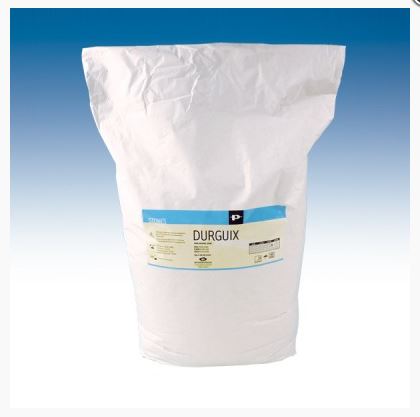
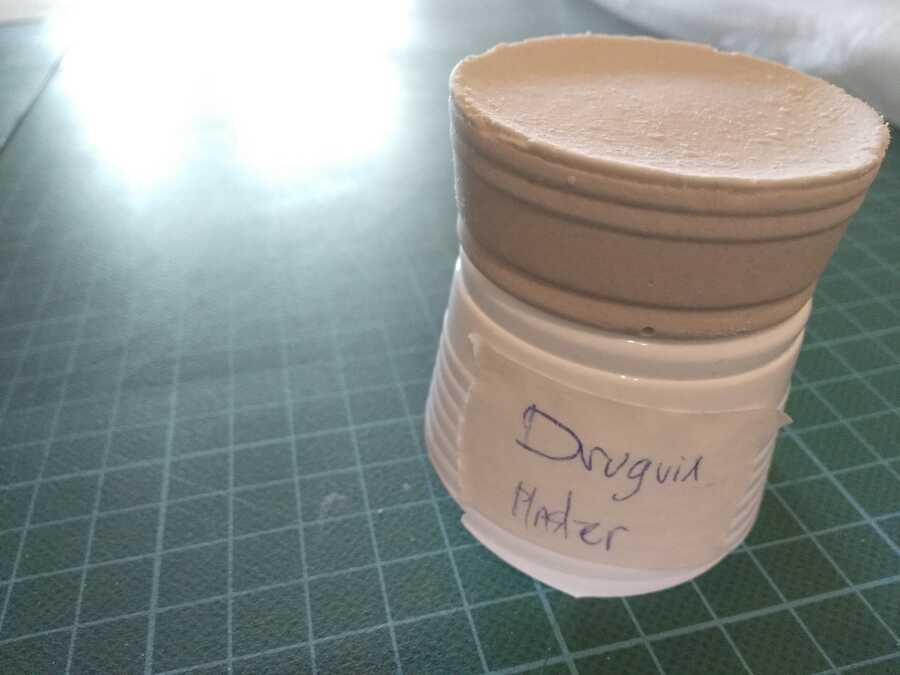
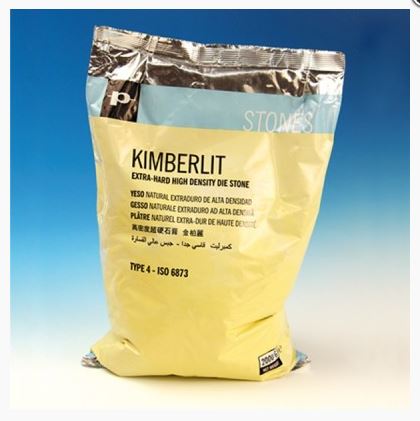
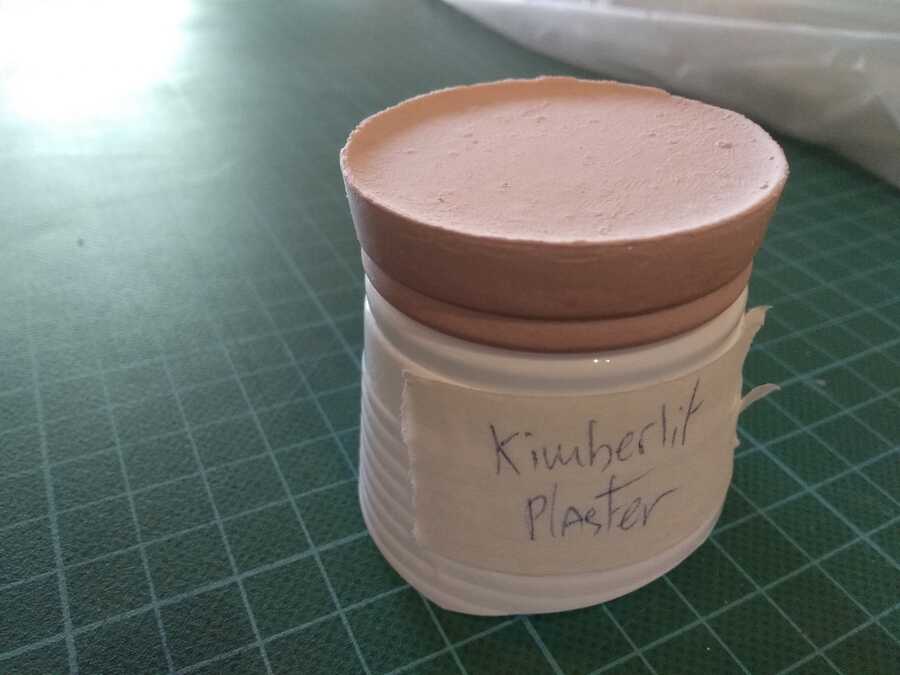
Plaster: the Druguix is a hard stone plaster for general uses in labs. The Kimberlit is an extra hard high density plaster. Both have the same ratio and times, 28-30ml/100g working (5min) final curing (12min).
Druguix
Kimberlit
Resin: Resinpro is an epoxy resin, it is considered hazardous and must be manipulated with care following the safety rules provided, it cures within 24h-36h full cure after 5 days.
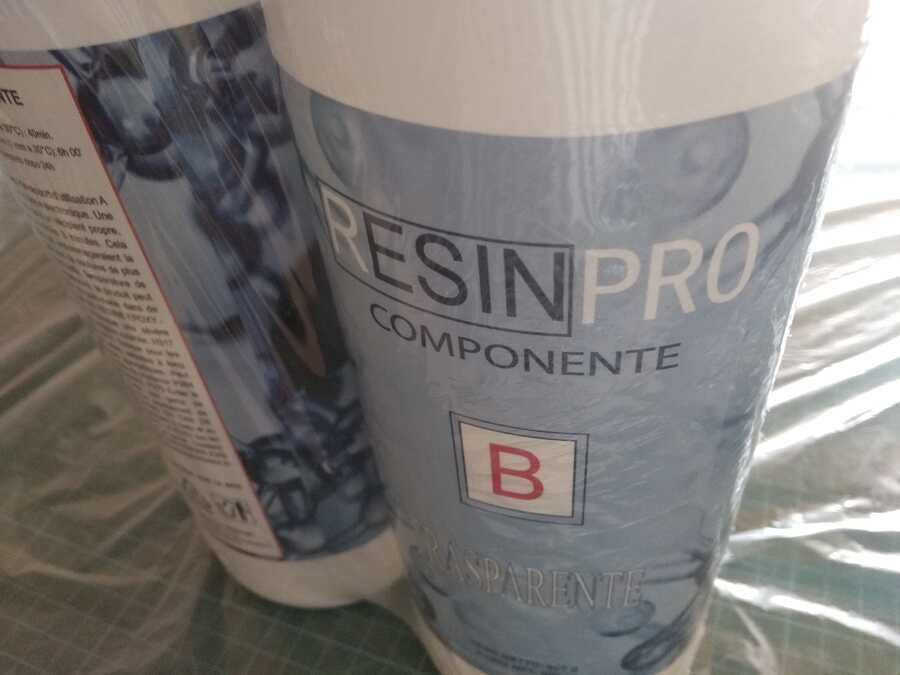
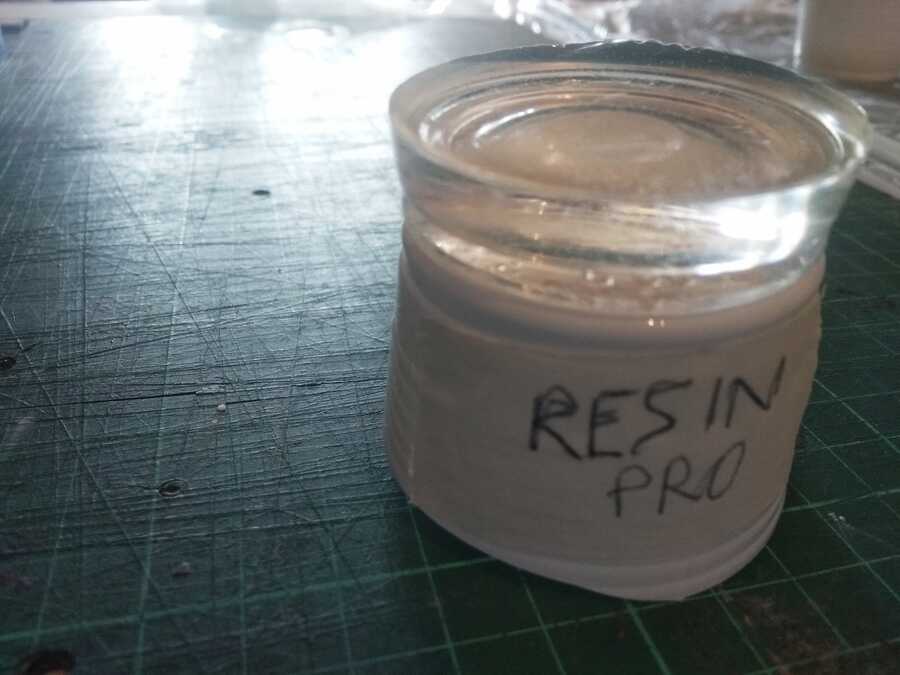
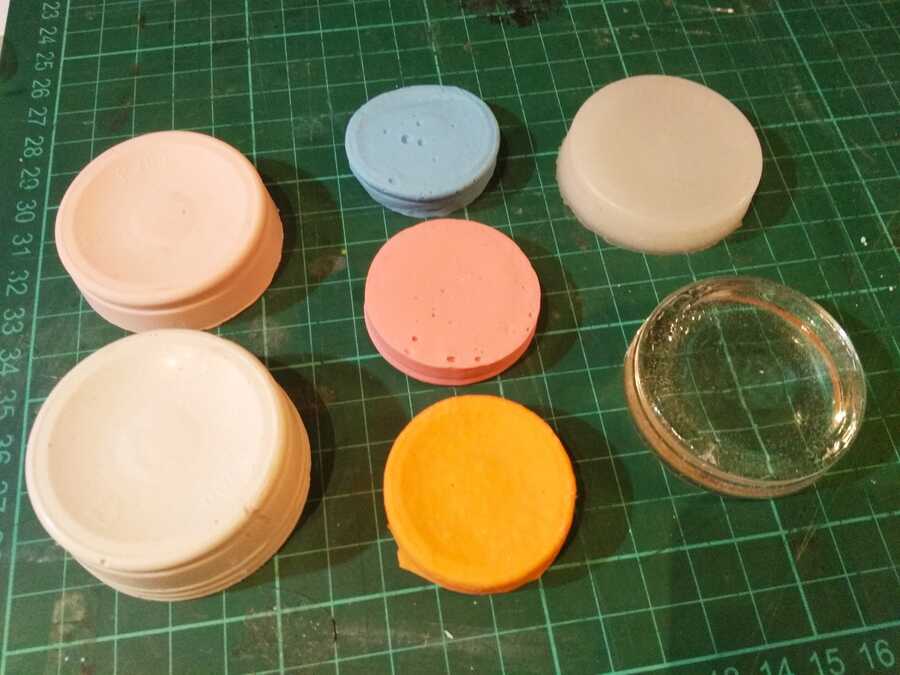
Here are the tests peices after a couple of days, the alginate has shrunk as it dried, works well for fast setting materials. Probably not the best to cast the 36h resin but platinium silicon rubbers can be cast dirrectly into it. No aparent changes for the resin and plasters that hold the size and details perfectly.
Go to:Group assignment Individual assignment
Individual assignment
Design a 3D mould around the stock and tooling that you'll be using, mill it (rough cut + (at least) three-axis finish cut), and use it to cast parts.
I am designing the mold in fusion360, I am using a corn teeth milling bit (3.175mm), a ball nose milling bit (1mm) and some Freeman blue machinable wax. Last week´s test with the laser engraved acrylic turned out quite rough, so I am doing another test to try and get a better/smoother touching pad for the user (more on that in the final project´s development page).
The fusion360 project fileAnd the .stlfile
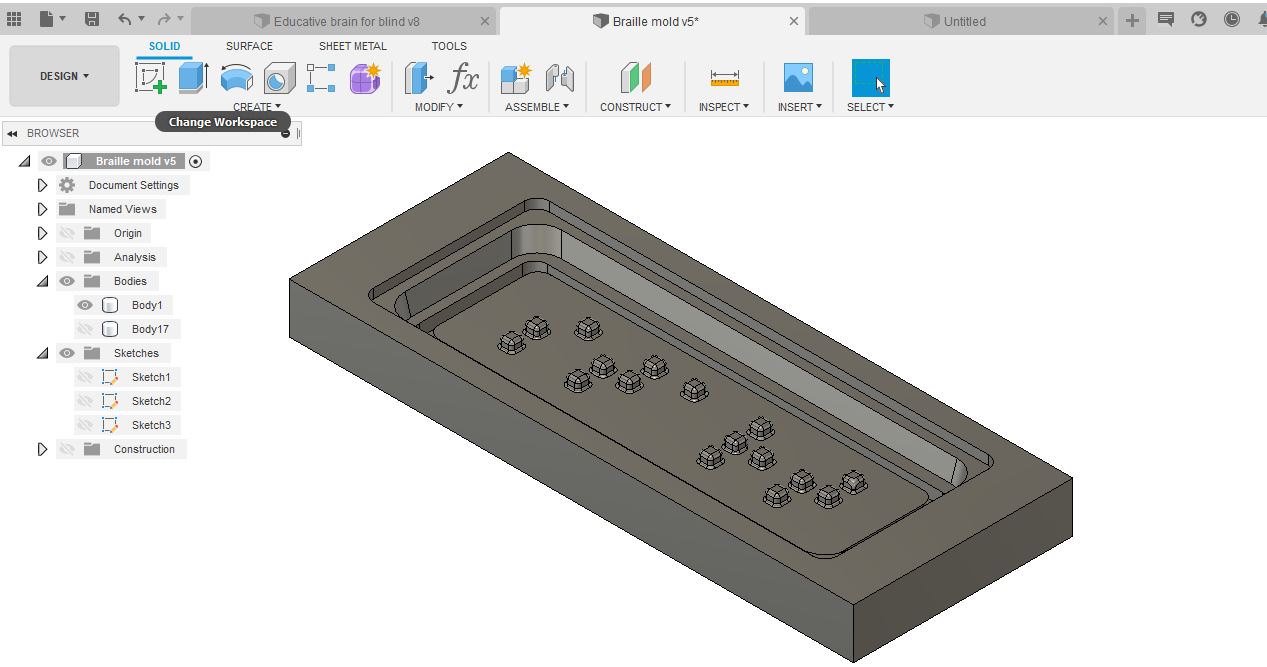
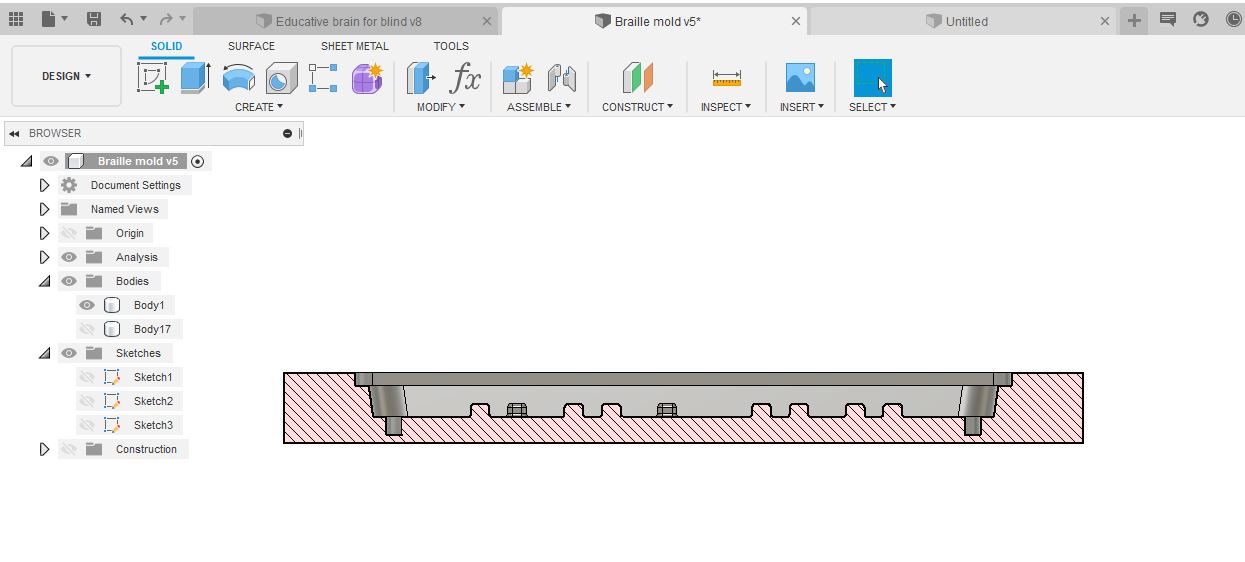
I also prepare the tool path in fusion. I am first clearing most of the material with the flat end mill (3.175mm) and finishing with the small ball nose end mill (1mm).
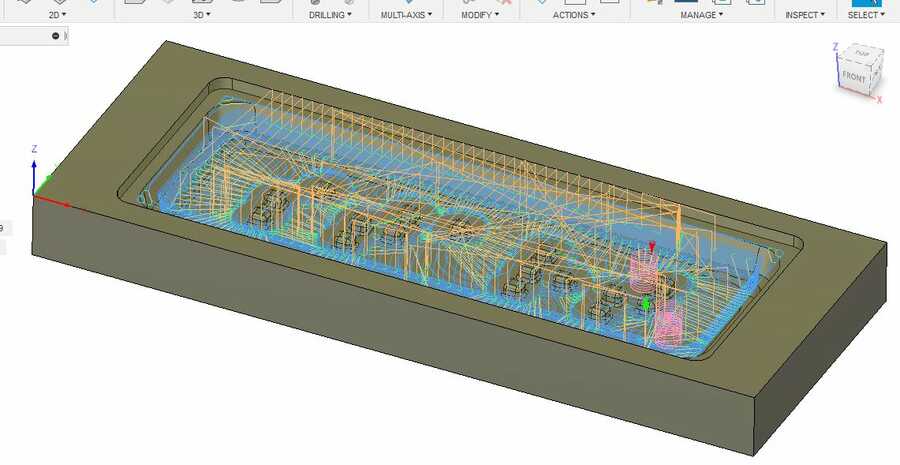
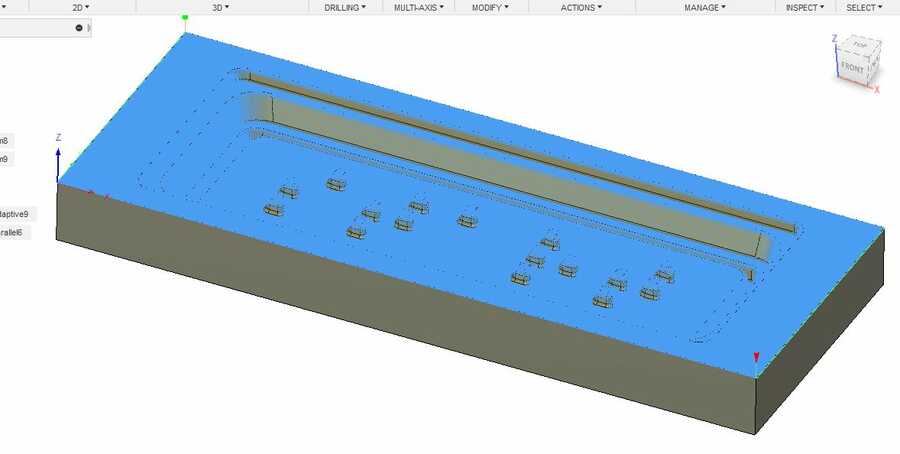
Here is some of the milling and the finish mold...
In Candle...
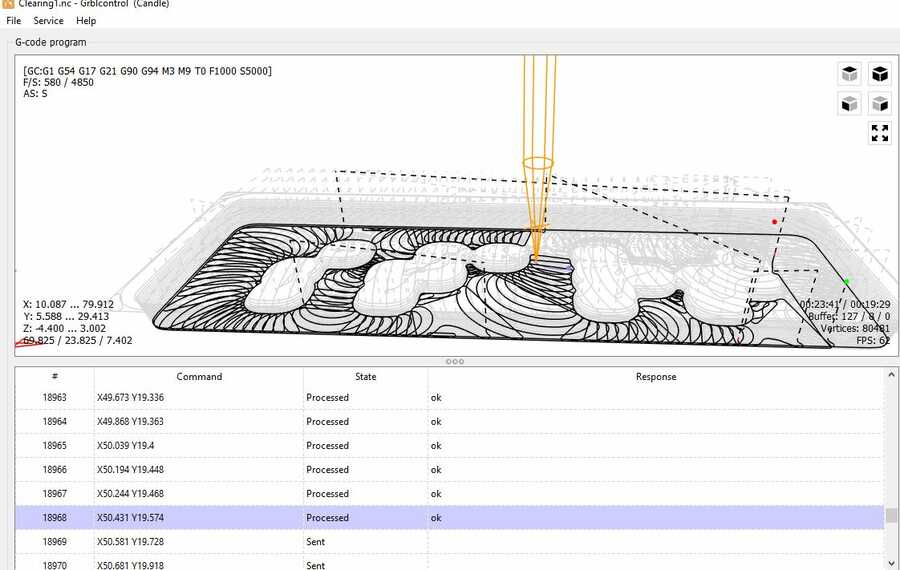
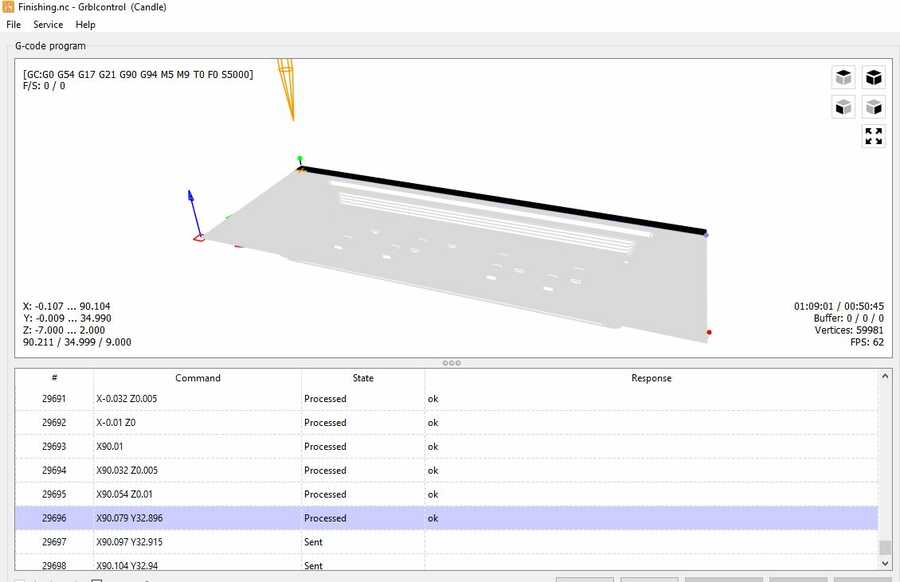
Clearing (about 30min at a speed of 400mm/min, spindle at 3500rpm, depth of pass max - 2+mm)
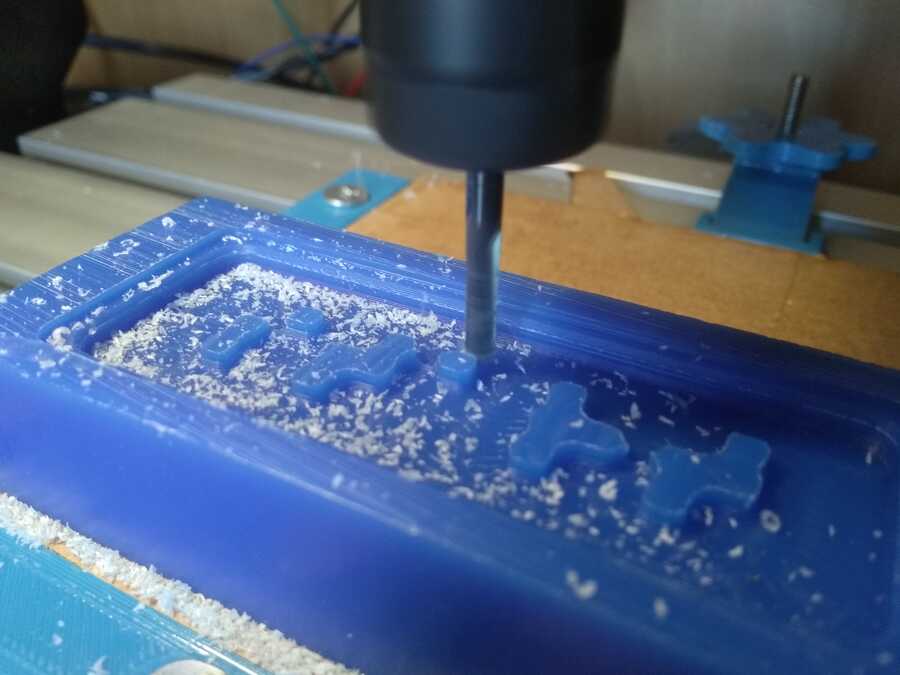
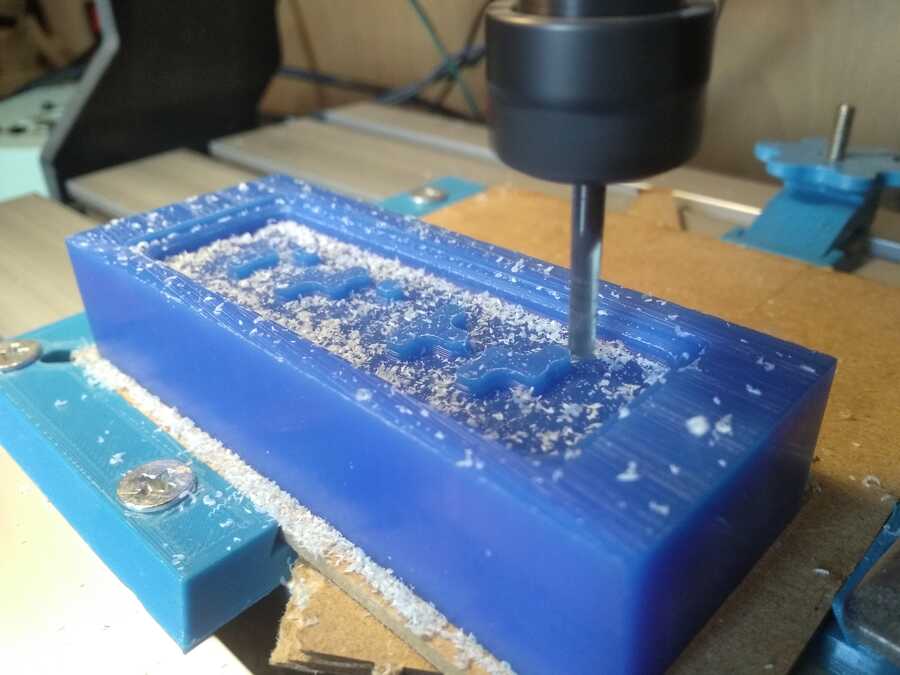
finish pass (just over an hour at a speed of 300mm/min, spindle speed 5000 rpm, depth of pass max - 1mm)
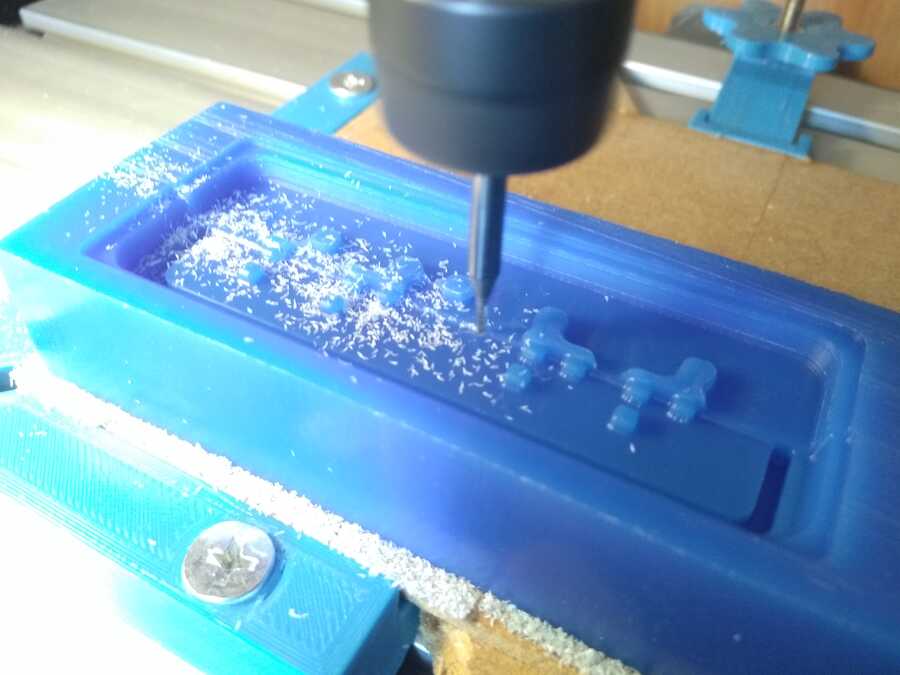
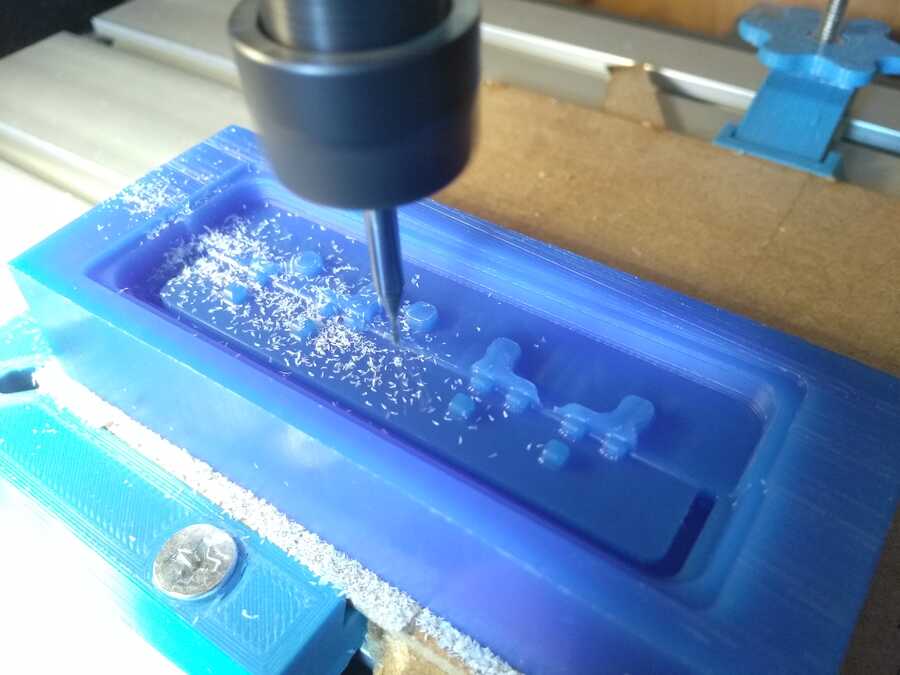
and the finish mold...
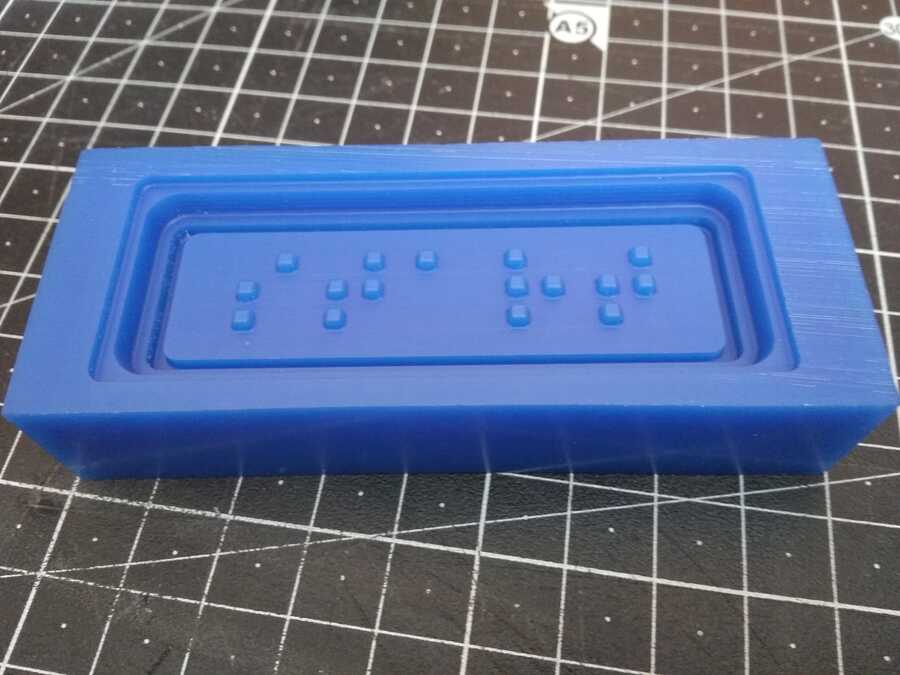
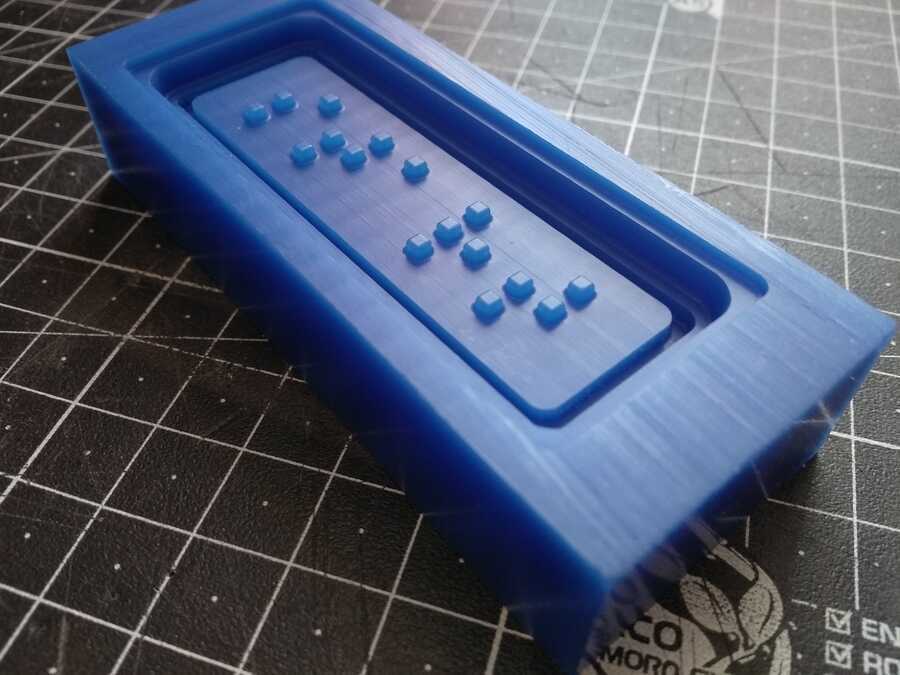
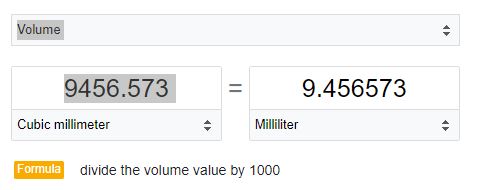
I am now back in fusion to check the volume needed for this particular mold. Using a construction plane, I can fill the mold and create a representation body. From this body, we can check the volume under properties, in my case...
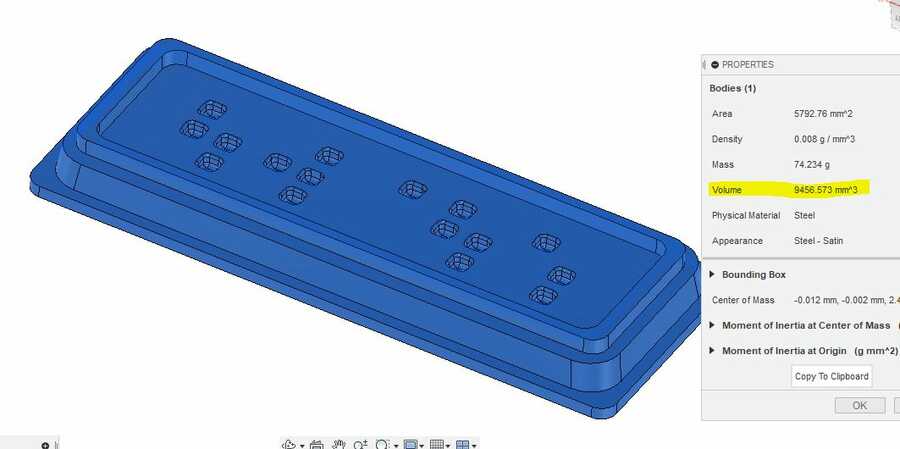
After conversion, I need about 10mL to fill my mold.
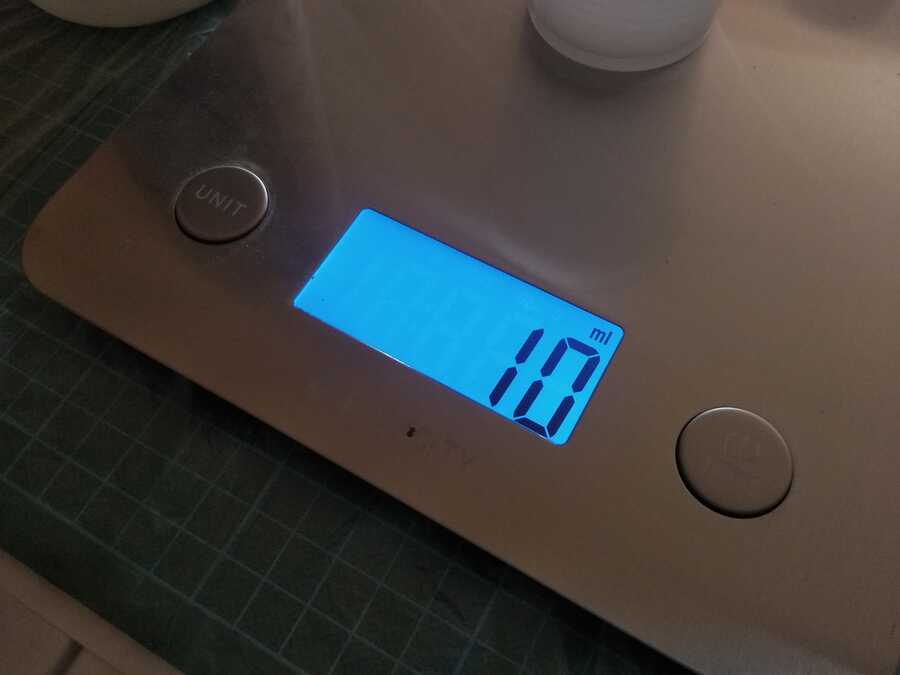
I am using a scale to make sure I have the right amount of part A and B (1:1)
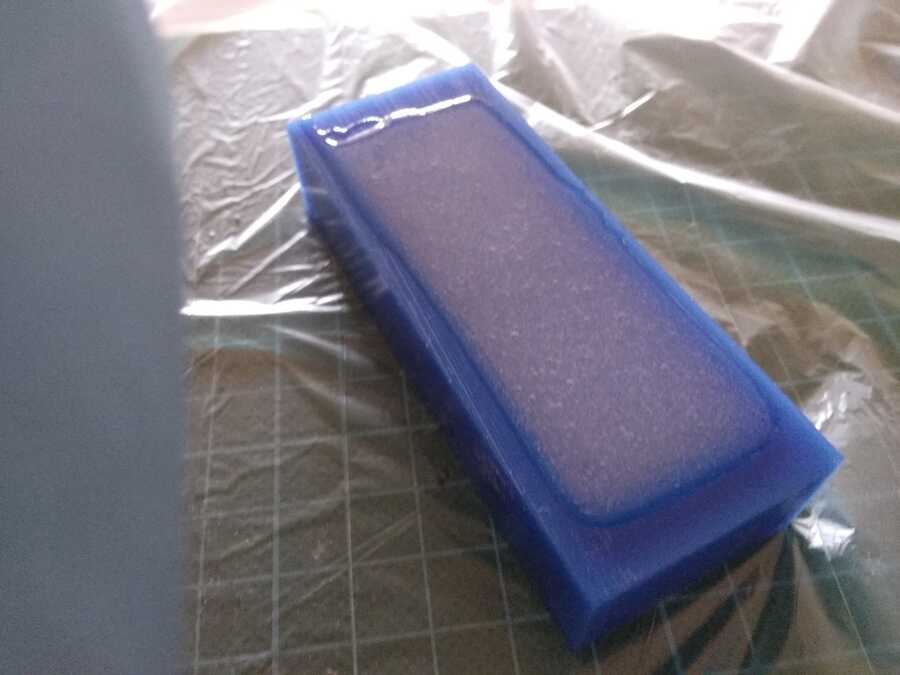
Pour the silicon in and according to the vendors instructions, it should be set in about 30min.
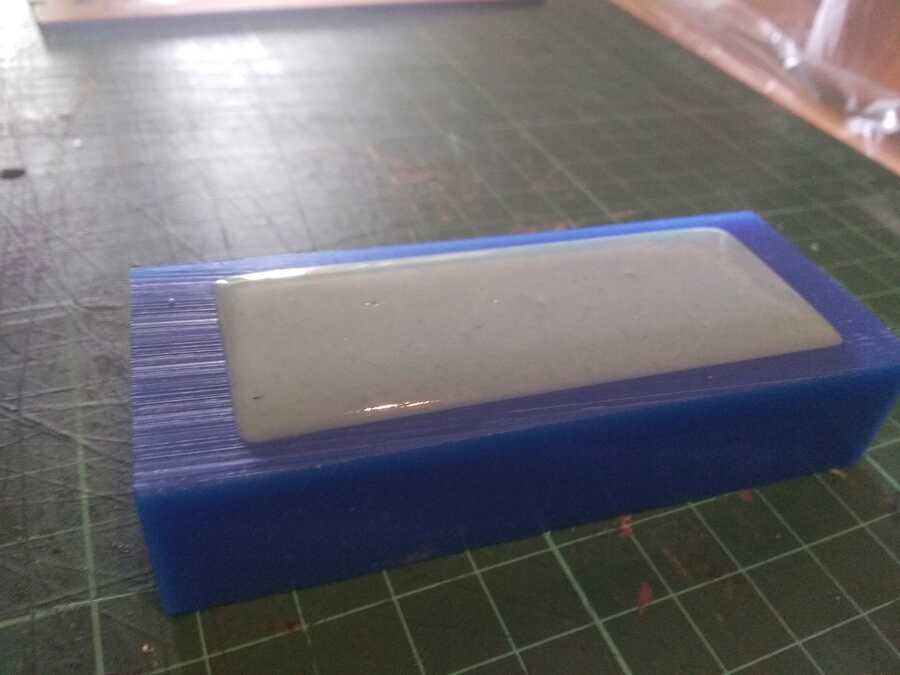
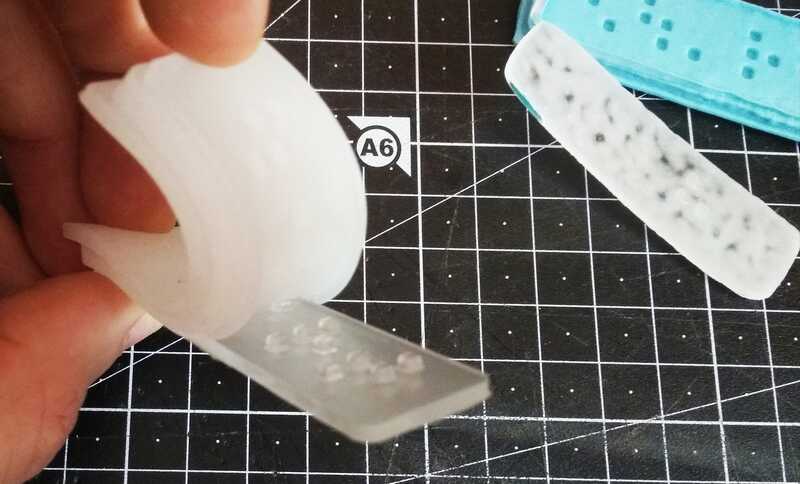
Here is how it turned out...
.jpg)
.jpg)
.jpg)
I made more mold with the algacast, and pour some resin, waiting for them to set now...
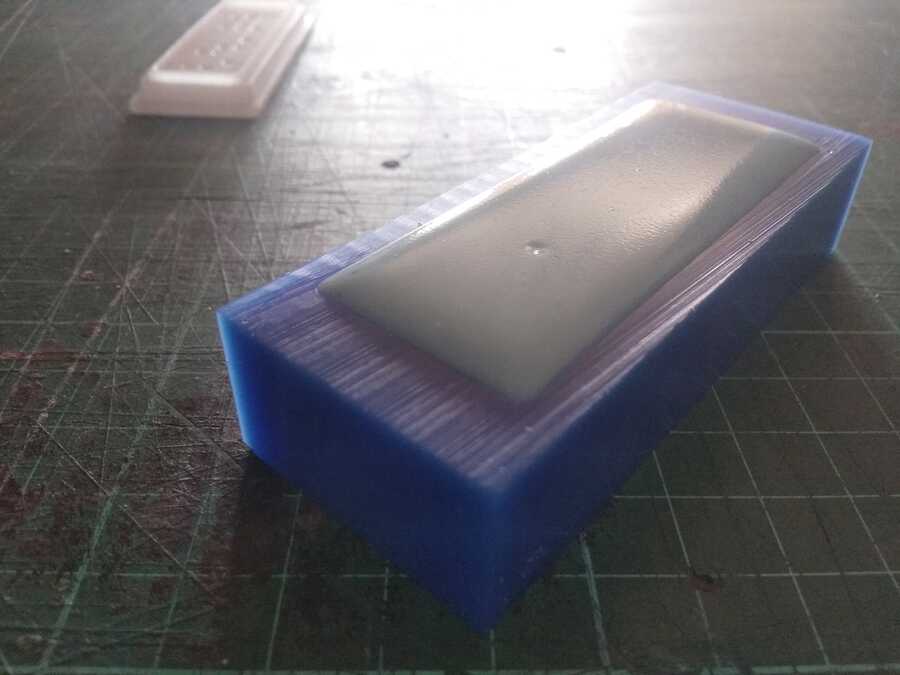
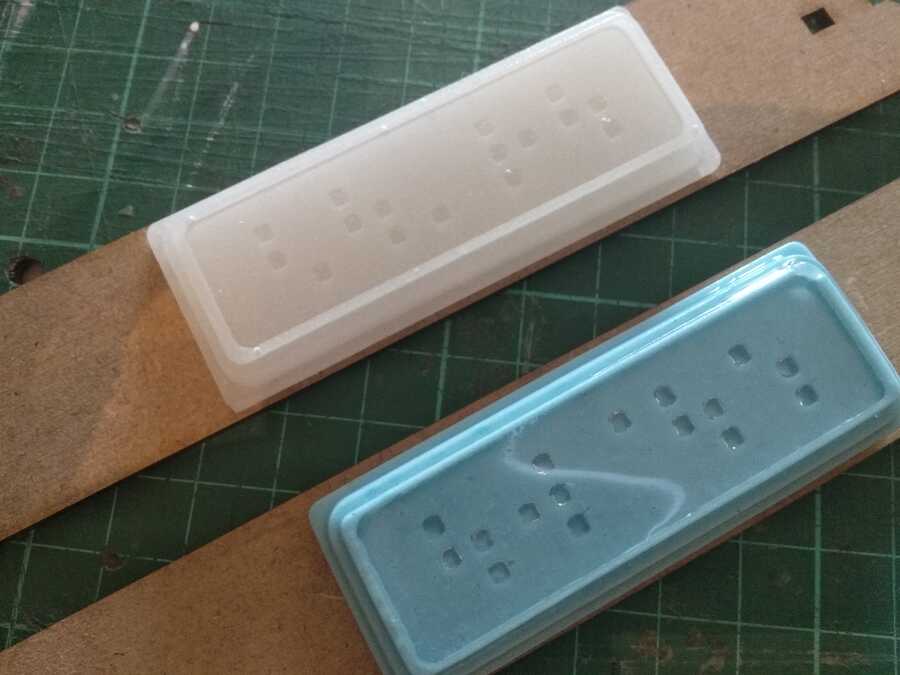
And some more...
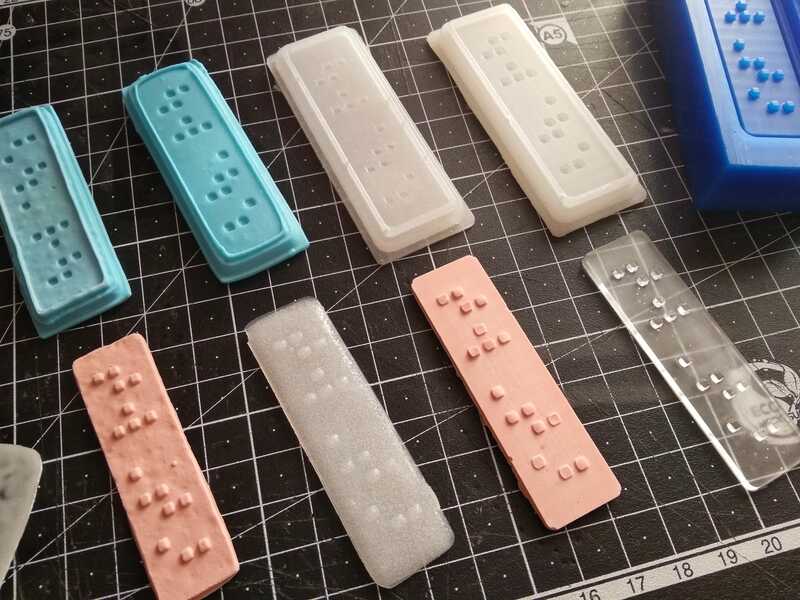
Second silicon mold with a few defects but it should usable.
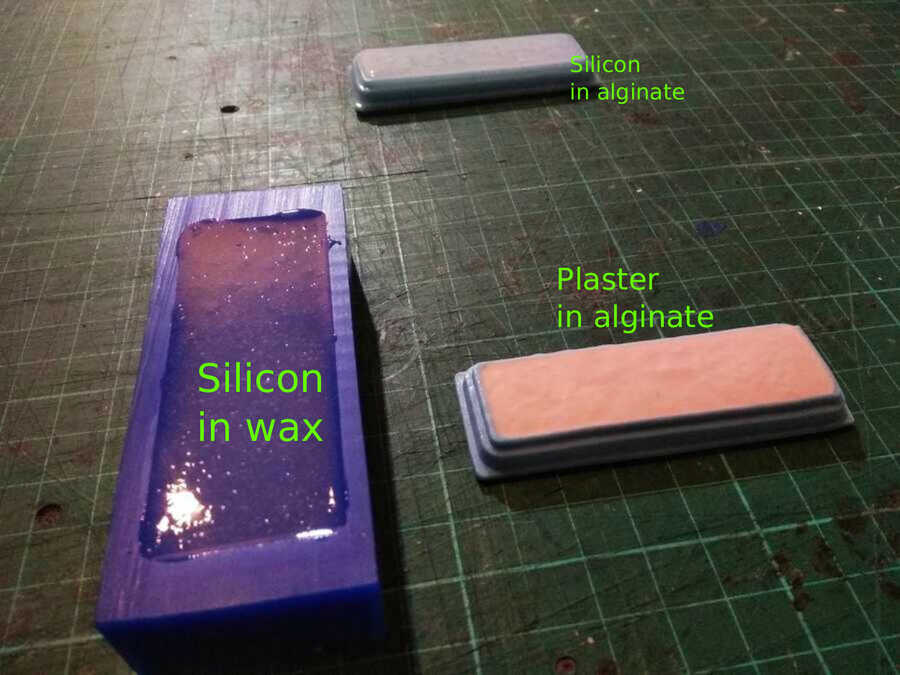
The silicon in alginate.
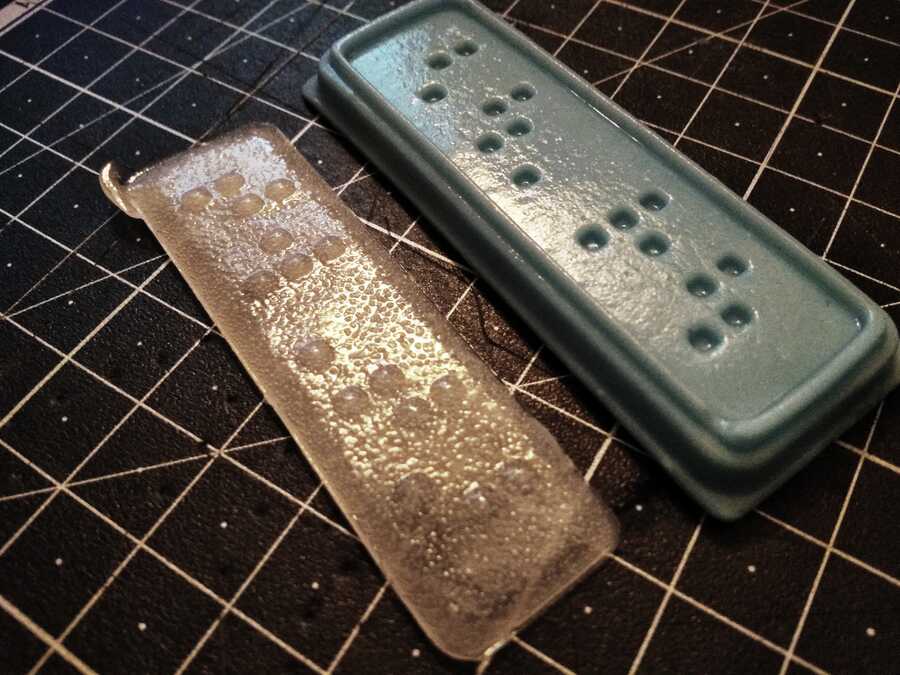
The plaster in alginate, it came out bended but that is because of the mold and fixable.
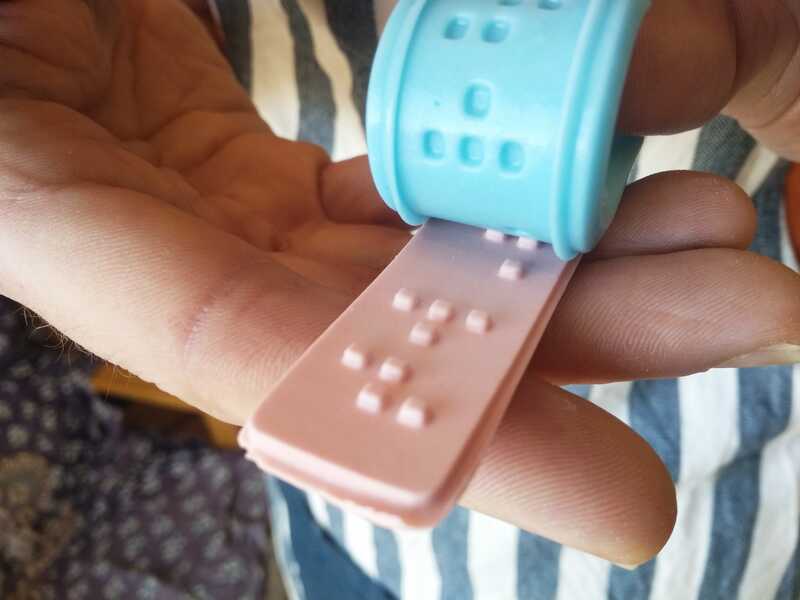
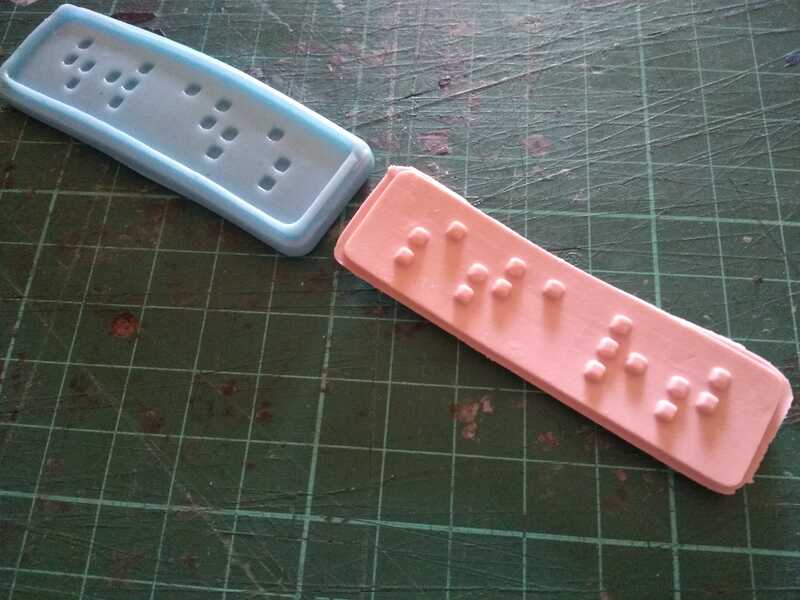
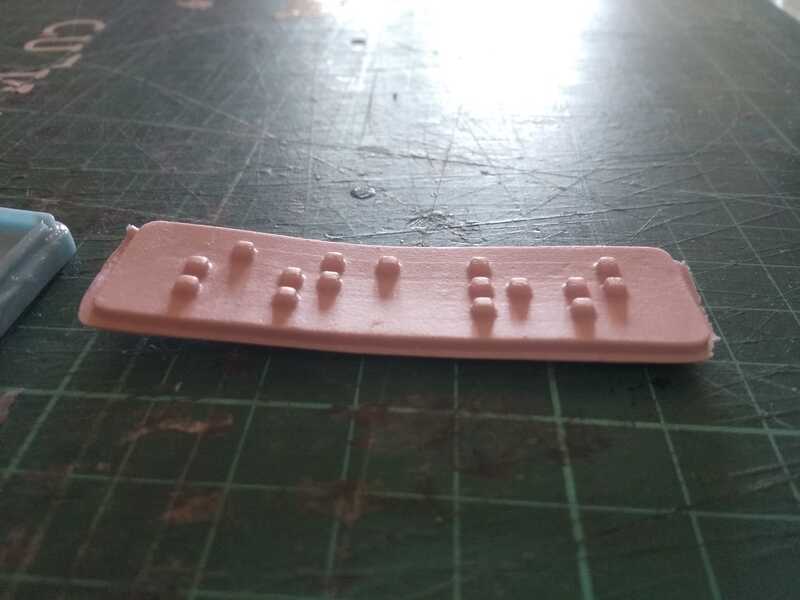
UPDATE: Here it is after a couple of weeks, the mold has completely dried out and shrink considerably.
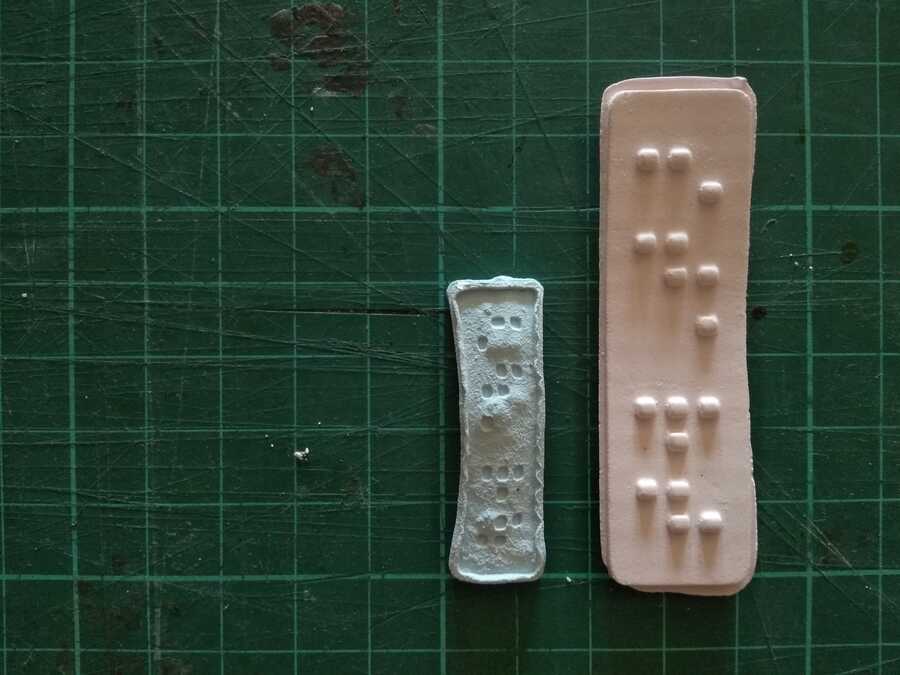
The resin in alginate, as enticipated, a fairly bad result, air gets trapped as the alginate dries up and shrink before the resin has time to set..
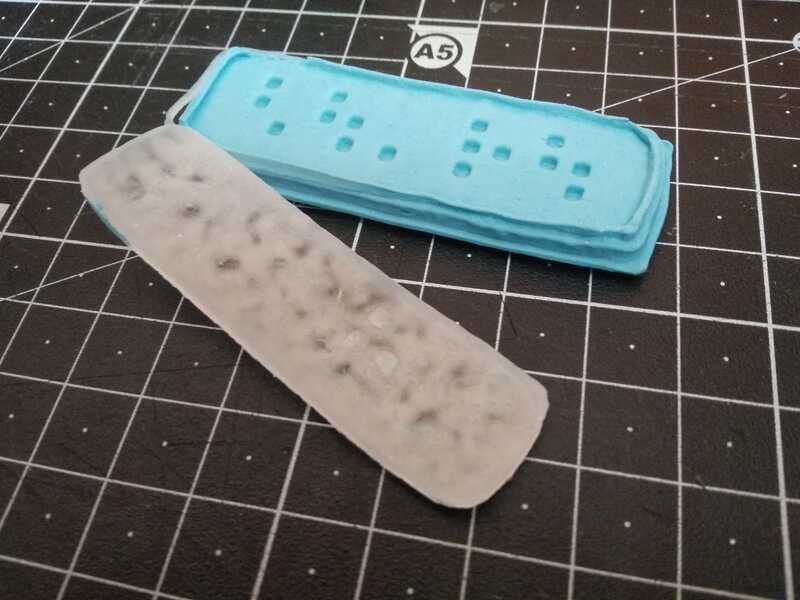
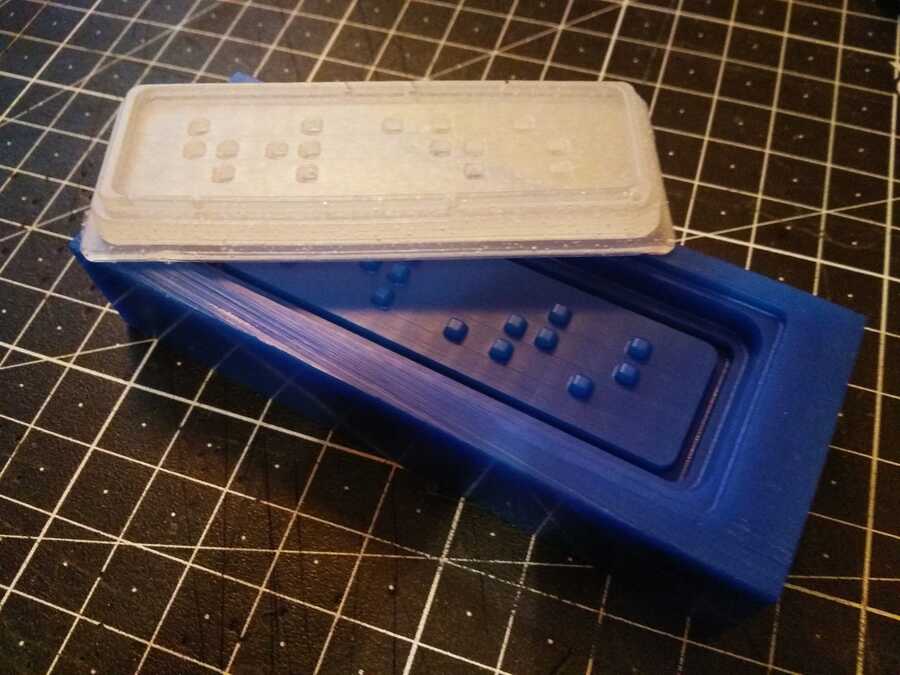
The plaster in silicon, I may have poured it too fast and some air got stuck in some of the gaps.
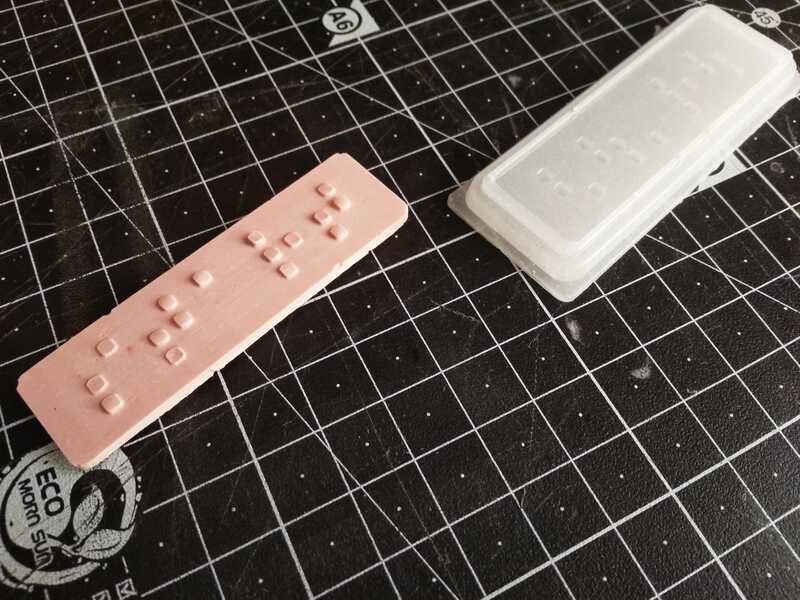
The resin in silicon, a few bubbles but by far the best result.
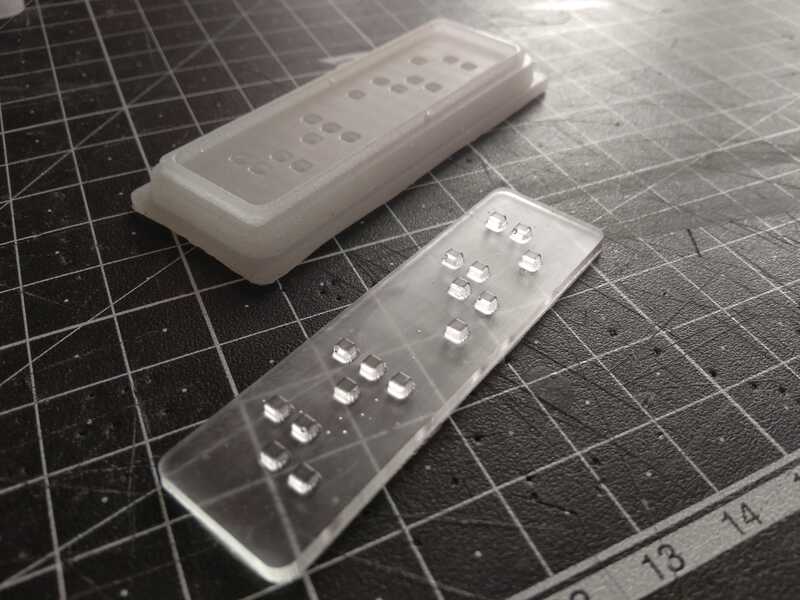
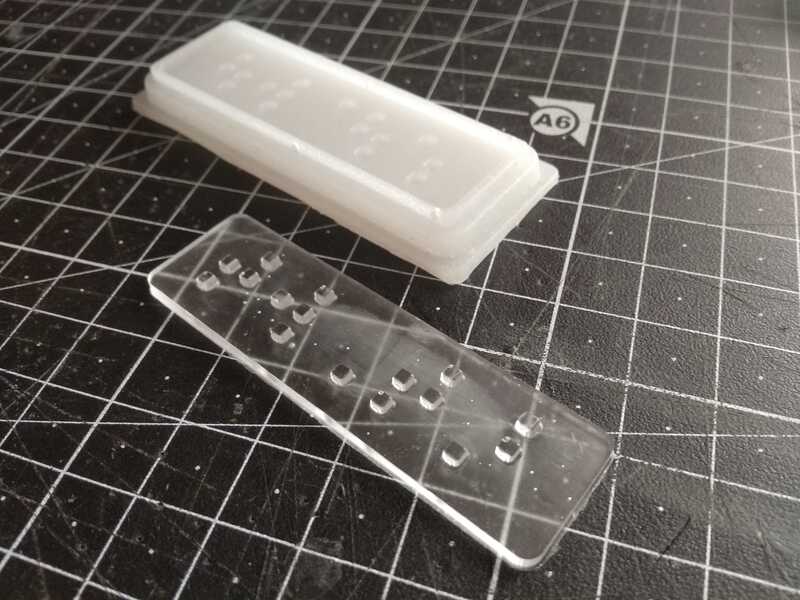
And all the results
Go to:Group assignment Individual assignment
Learning outcomes
Design appropriate objects within the limitations of 3 axis machining
Demonstrate workflows used in mould design, construction and casting
Have you?
Linked to the group assignment pageReviewed the safety data sheets for each of your molding and casting materials, then made and compared test casts with each of themDocumented how you designed your 3D mould and created your rough and finish toolpaths for machining, including machine settingsShown how you made your mould and cast the partsDescribed problems and how you fixed themIncluded your design files and ‘hero shot’ of the mould and the final object.
Key Learnings
- Alginate sets very quickly — prepare everything before mixing — have your mold container ready, your model secured and your plaster reinforcement strips cut before you mix the alginate. Once mixed you have only 2-3 minutes before it starts setting.
- The mold original must be completely sealed — any porous surface will stick to the alginate. Seal 3D printed parts with a coat of resin or varnish before using them as a mold original or they will bond to the cast material.
- Platinum silicone ratios must be exact — unlike tin silicone, platinum silicone is inhibited by sulfur compounds found in some clays, latex gloves and certain plastics. Use nitrile gloves and verify your materials are platinum-safe before mixing.
- Weigh your silicone components — don't measure by volume — mixing by weight is far more accurate than mixing by volume for two-part silicones. Even small ratio errors cause incomplete curing or sticky patches.
- Degassing removes bubbles but takes time — if you don't have a vacuum chamber, pour the silicone from a height in a thin stream to help bubbles escape naturally. Pour into the lowest point of the mold and let it rise slowly.
- Plan for electronics integration before casting — decide where motors, LEDs and wires will be positioned before the silicone sets. Creating channels or recesses for electronics is much easier at the design stage than after casting.
- Machinable wax is reusable — mill it, melt it down and cast it again. Don't throw away wax offcuts — collect and remelt them for future mold masters.
Related weeks
Week 5 - 3D scanning and printing —
The brain model was first 3D printed in PETG before being used as the basis for the mold master.
Week 7 - Computer controlled machining —
Machinable wax mold master was produced using CNC milling techniques developed this week.
Week 12 - Output device —
The coin vibration motors and RGB LEDs documented in Week 12 were cast directly into the silicone brain.
Week 15 - Wildcard week —
Additional molding and casting techniques explored as an extension of this week's work.
Week 19 - Project presentation —
The final silicone brain cast produced here became the centrepiece of the final project presentation.
Final Project —
Full documentation of how the molding and casting process was integrated into the complete system.