Introduction:
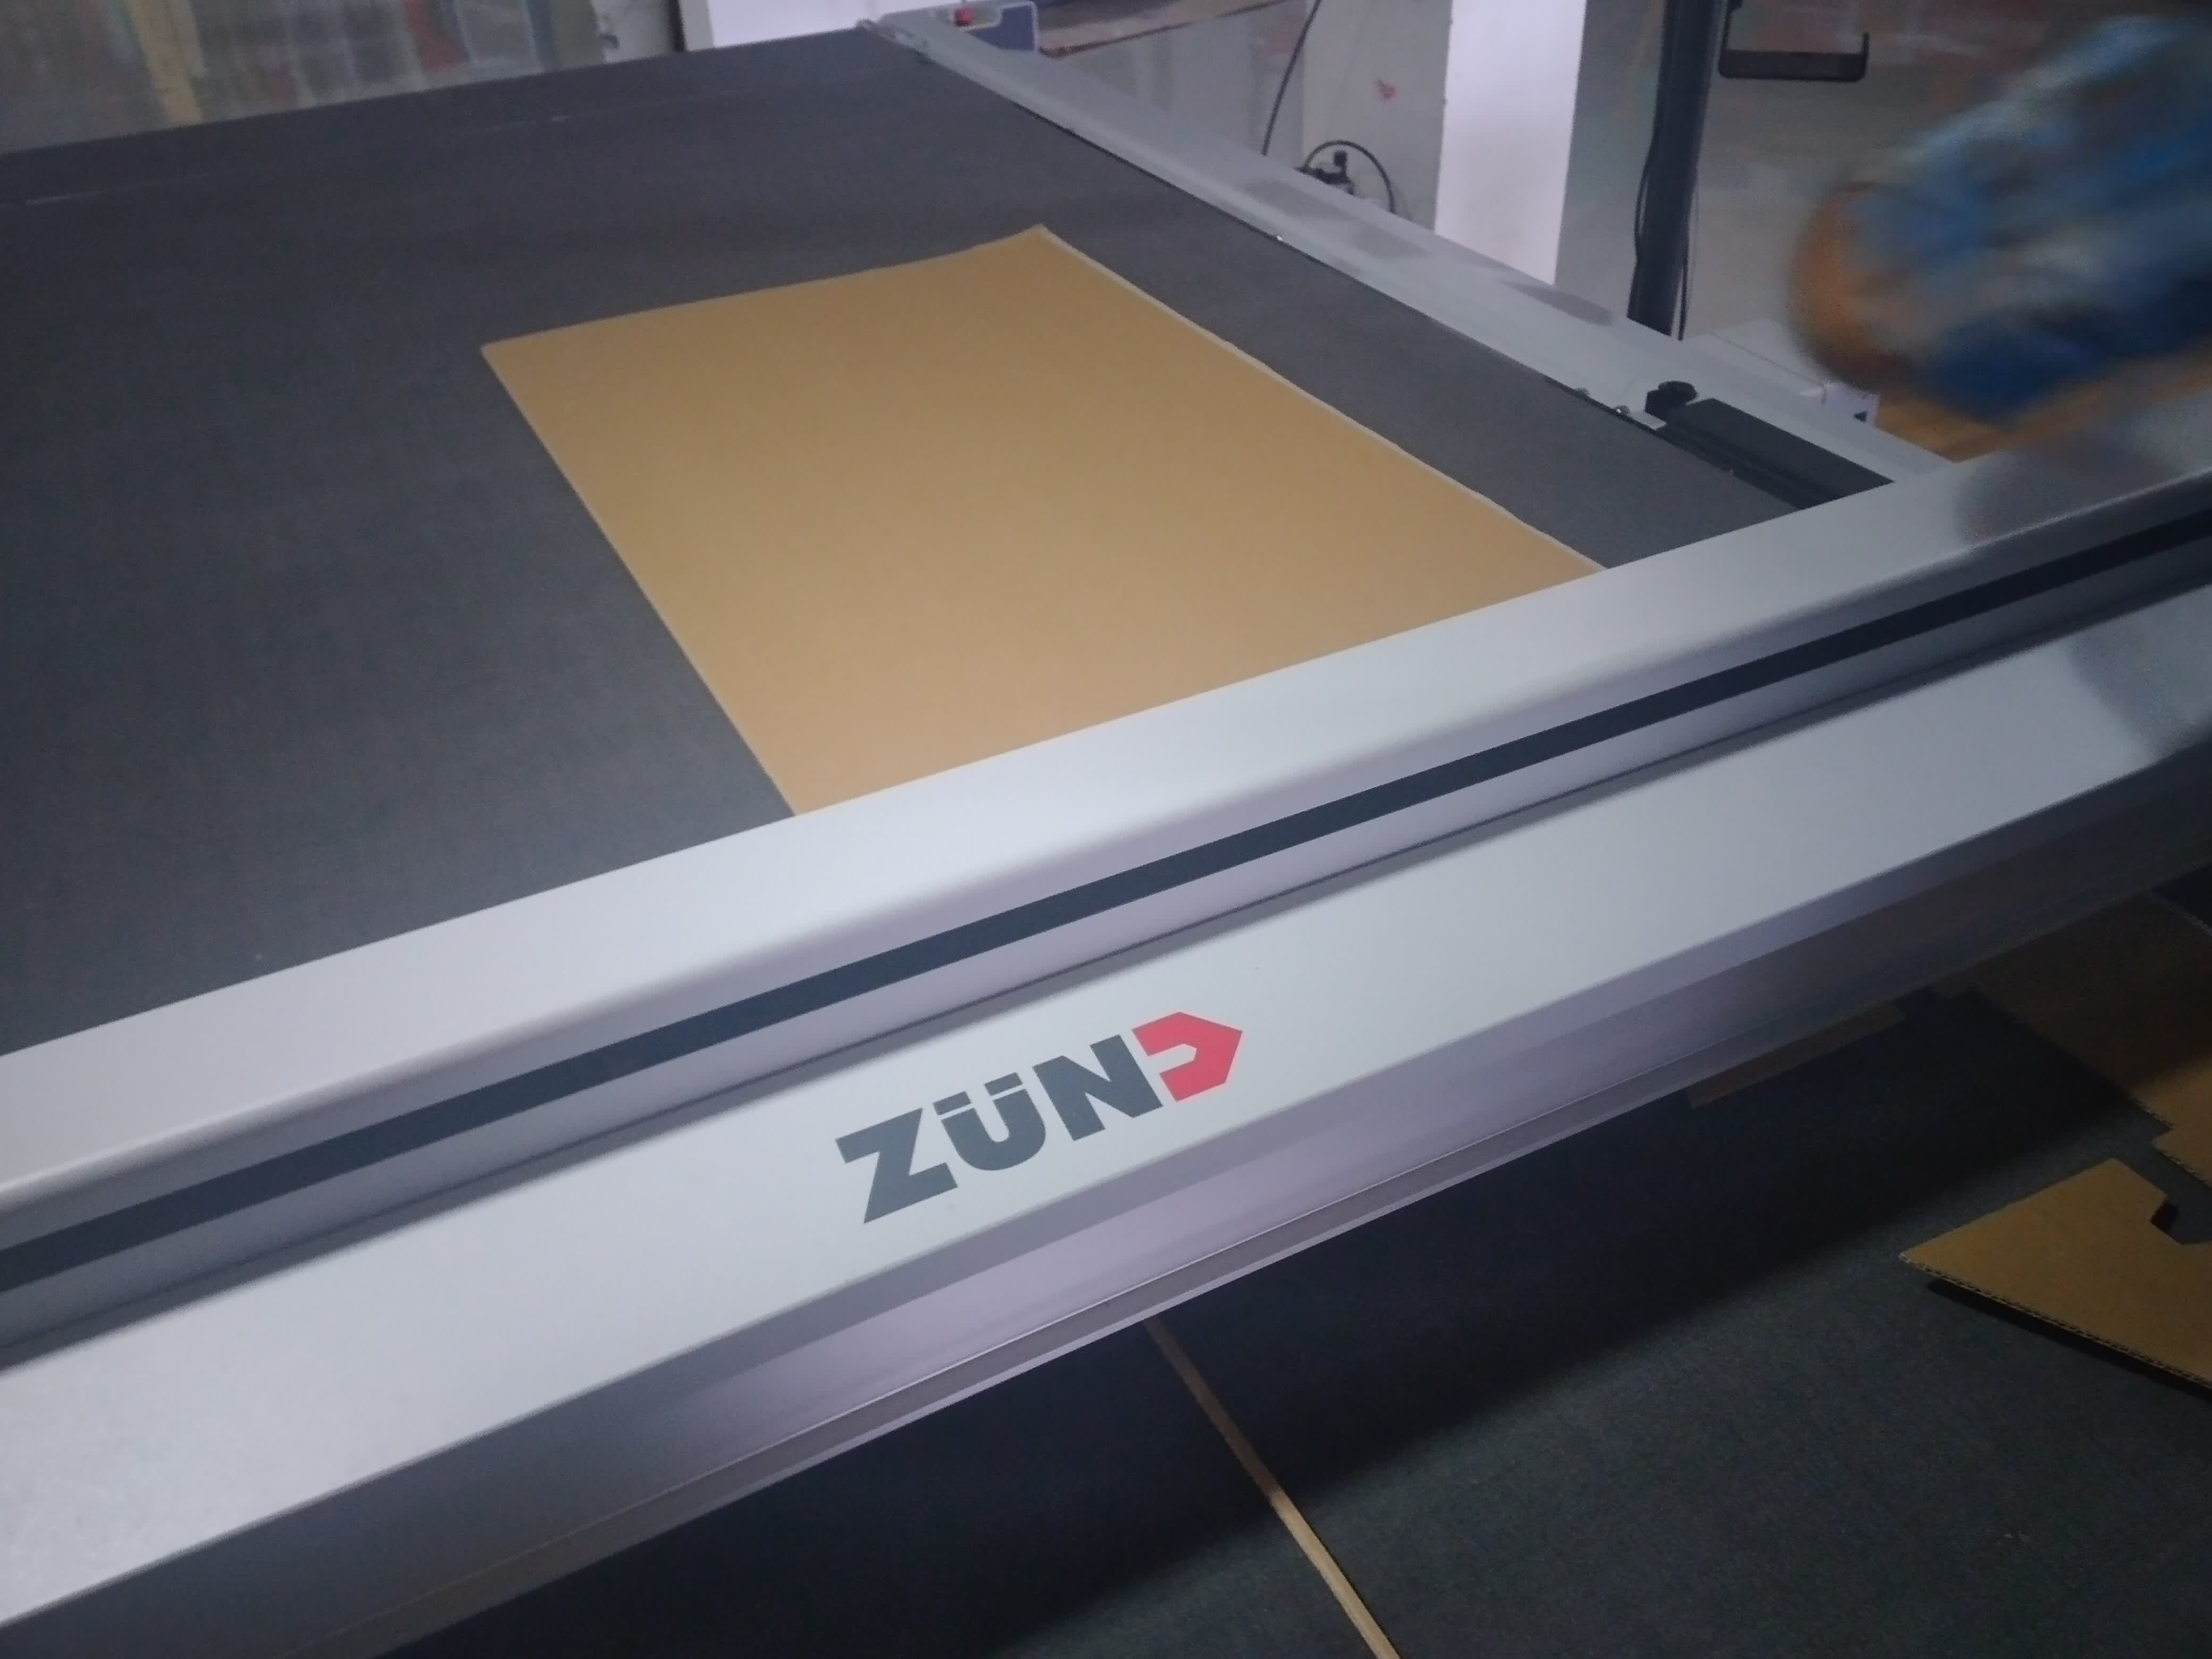
Zund G-3 L-2500:
-
Cutting:
- 1. Electric Oscillating Tool – EOT
- 2. Power Rotary Tool – PRT
- 3. Electric Oscillating Tool – EOT-250
- 4. Driven Rotary Tool – DRT
- 5. Pneumatic Oscillating Tool – POT
- 6. Wheel Knife Tool – WKT
- 7. Universal Cutting Tool – UCT
- 8. Passepartout Tool – PPT
- 9. Scoring Cutting Tool – SCT
- 10. Laser Module – LM 100W
- 11. V-Cut Tool – VCT
-
Kiss-Cutting
- 1. Kiss-Cut Module – KCM-S
- 2. Kiss-Cut Tool – KCT
-
Creasing:
- 1. Creasing Tool Type 1 – CTT1
- 2. Creasing Tool Type 2 – CTT2
- 3. Creasing Tool Type 3 – CTT3
-
Perforating:
- 1. Perforating Tool Type 1 – PTT1
-
Routing & engraving
- 1. Universal Routing Tool – URT
- 2. Automatic Router Bit Changer – ARC
-
Punching
- 1. Punch Modules – PUM
-
Marking & plotting
- 1. Marker Modules – MAM
- 2. Universal Drawing Tool – UDT
- 3. Raster Braille Tool – RBT
Controls
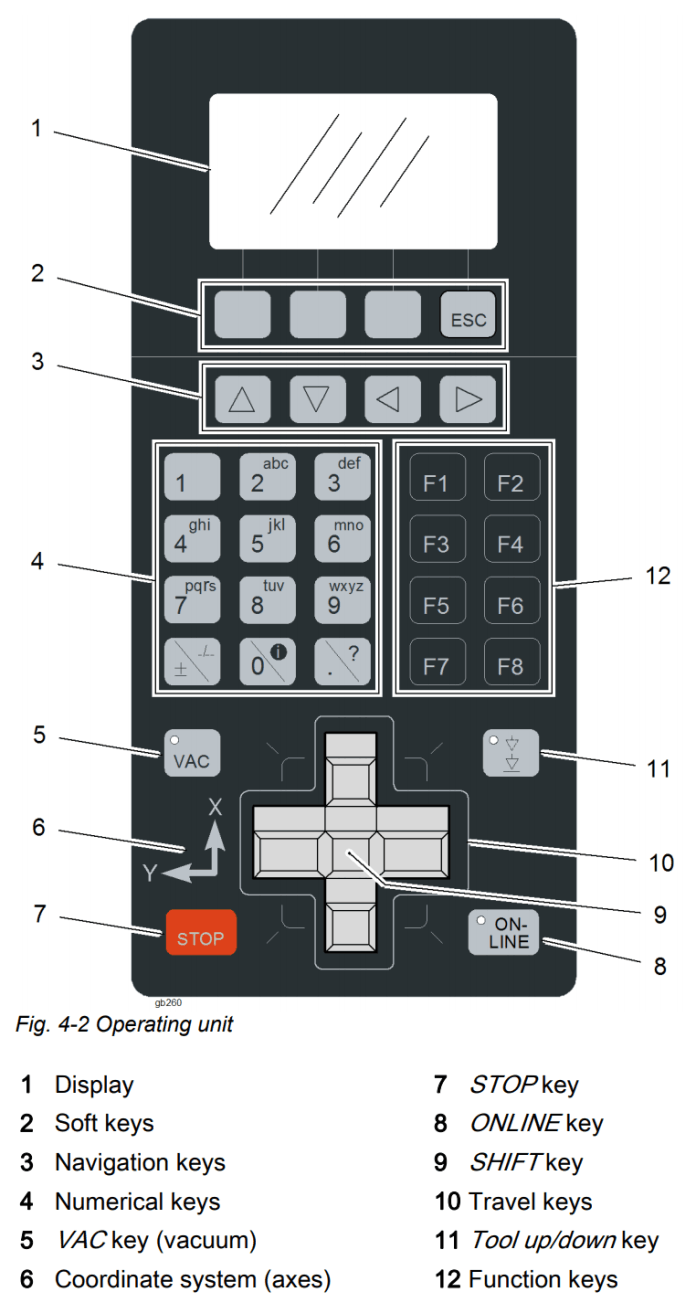
The console directly controls the cutter without going through the software. The console is used primarily for performing tool changes, turning the machine on/off and switching between online and offline mode. The gantry can be manually controlled by the travel keys and moved rapidly by holding the 'shift' key.
The Vacuum can be toggled on and off by pressing the 'shift' key and 'VAC' key. Pressing any of the travel keys of 'STOP' during a cutting operation will pause the job and raise the tool until the 'Online' button is pressed, resuming the job.
Light Barriers & Emergency Stop
The Zund has safety features to prevent injury during operation. The main feature is a series of 'light barriers' that are projected from one end of the gantry to the other on the front and back side of the cutter. If these beams are broken by someone reaching into the operating area, or if a piece of stock lifts up unexpectedly, the cutter will immediately stop operation. To continue the operation after everything is cleared from the table, press 'OK' then 'Online' to continue the cut from where it stopped.
While the light barriers are a soft stop, the red emergency stop buttons are a hard stop. When the emergency stop is pressed the operation immediately stops, cancels the current job and disengages the tools. To continue from an emergency stop the button must be twisted to be released, then follow the instructions on screen. The tools will re-engage and require initialisation and the job will need to be restarted from the PC.
If something begins to go wrong during the cut, such as the stock moves unexpectedly, the operation can be paused by pressing any of the grey directional buttons on the console or 'online'. The job can then be resumed by pressing 'online' once the issue is resolved.
Navigating Cut Center:
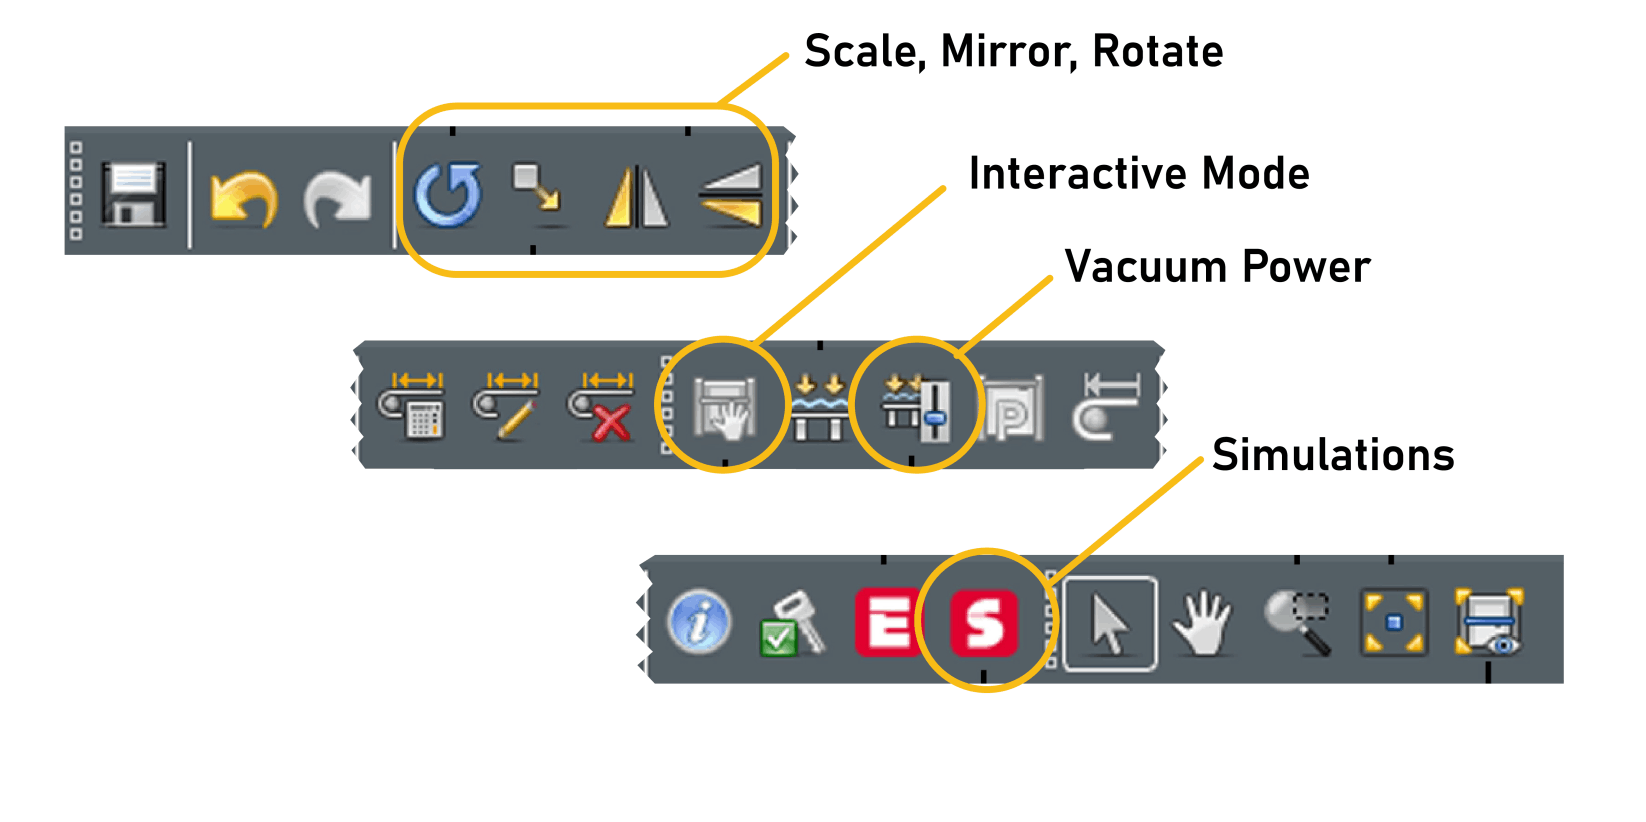
- Rotate, Scale, Offset and Mirror - allows adjustments to the objects before cutting
- Interactive Mode - Zund must be 'online' to activate interactive mode. Can control placement of cutters and set reference points from computer.
- Vacuum Power - Adjusts vacuum strength and can turn vacuum on/off.
- Simulations - Starts a simulation of job before it cuts/draws. Used to check material placement and ensure tool paths are correct
Operation Parameters within Cut Center:
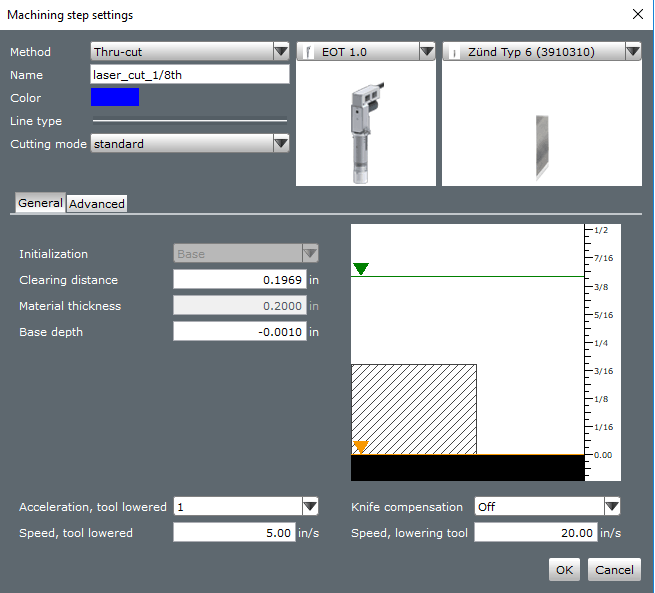
- 1. Method: The type of operation to be performed. Each material has a set of available operations depending on its characteristics.
- 2. Name: What the layer will appear as on the right hand side of the screen. Color: The color the layer will render as on the screen.
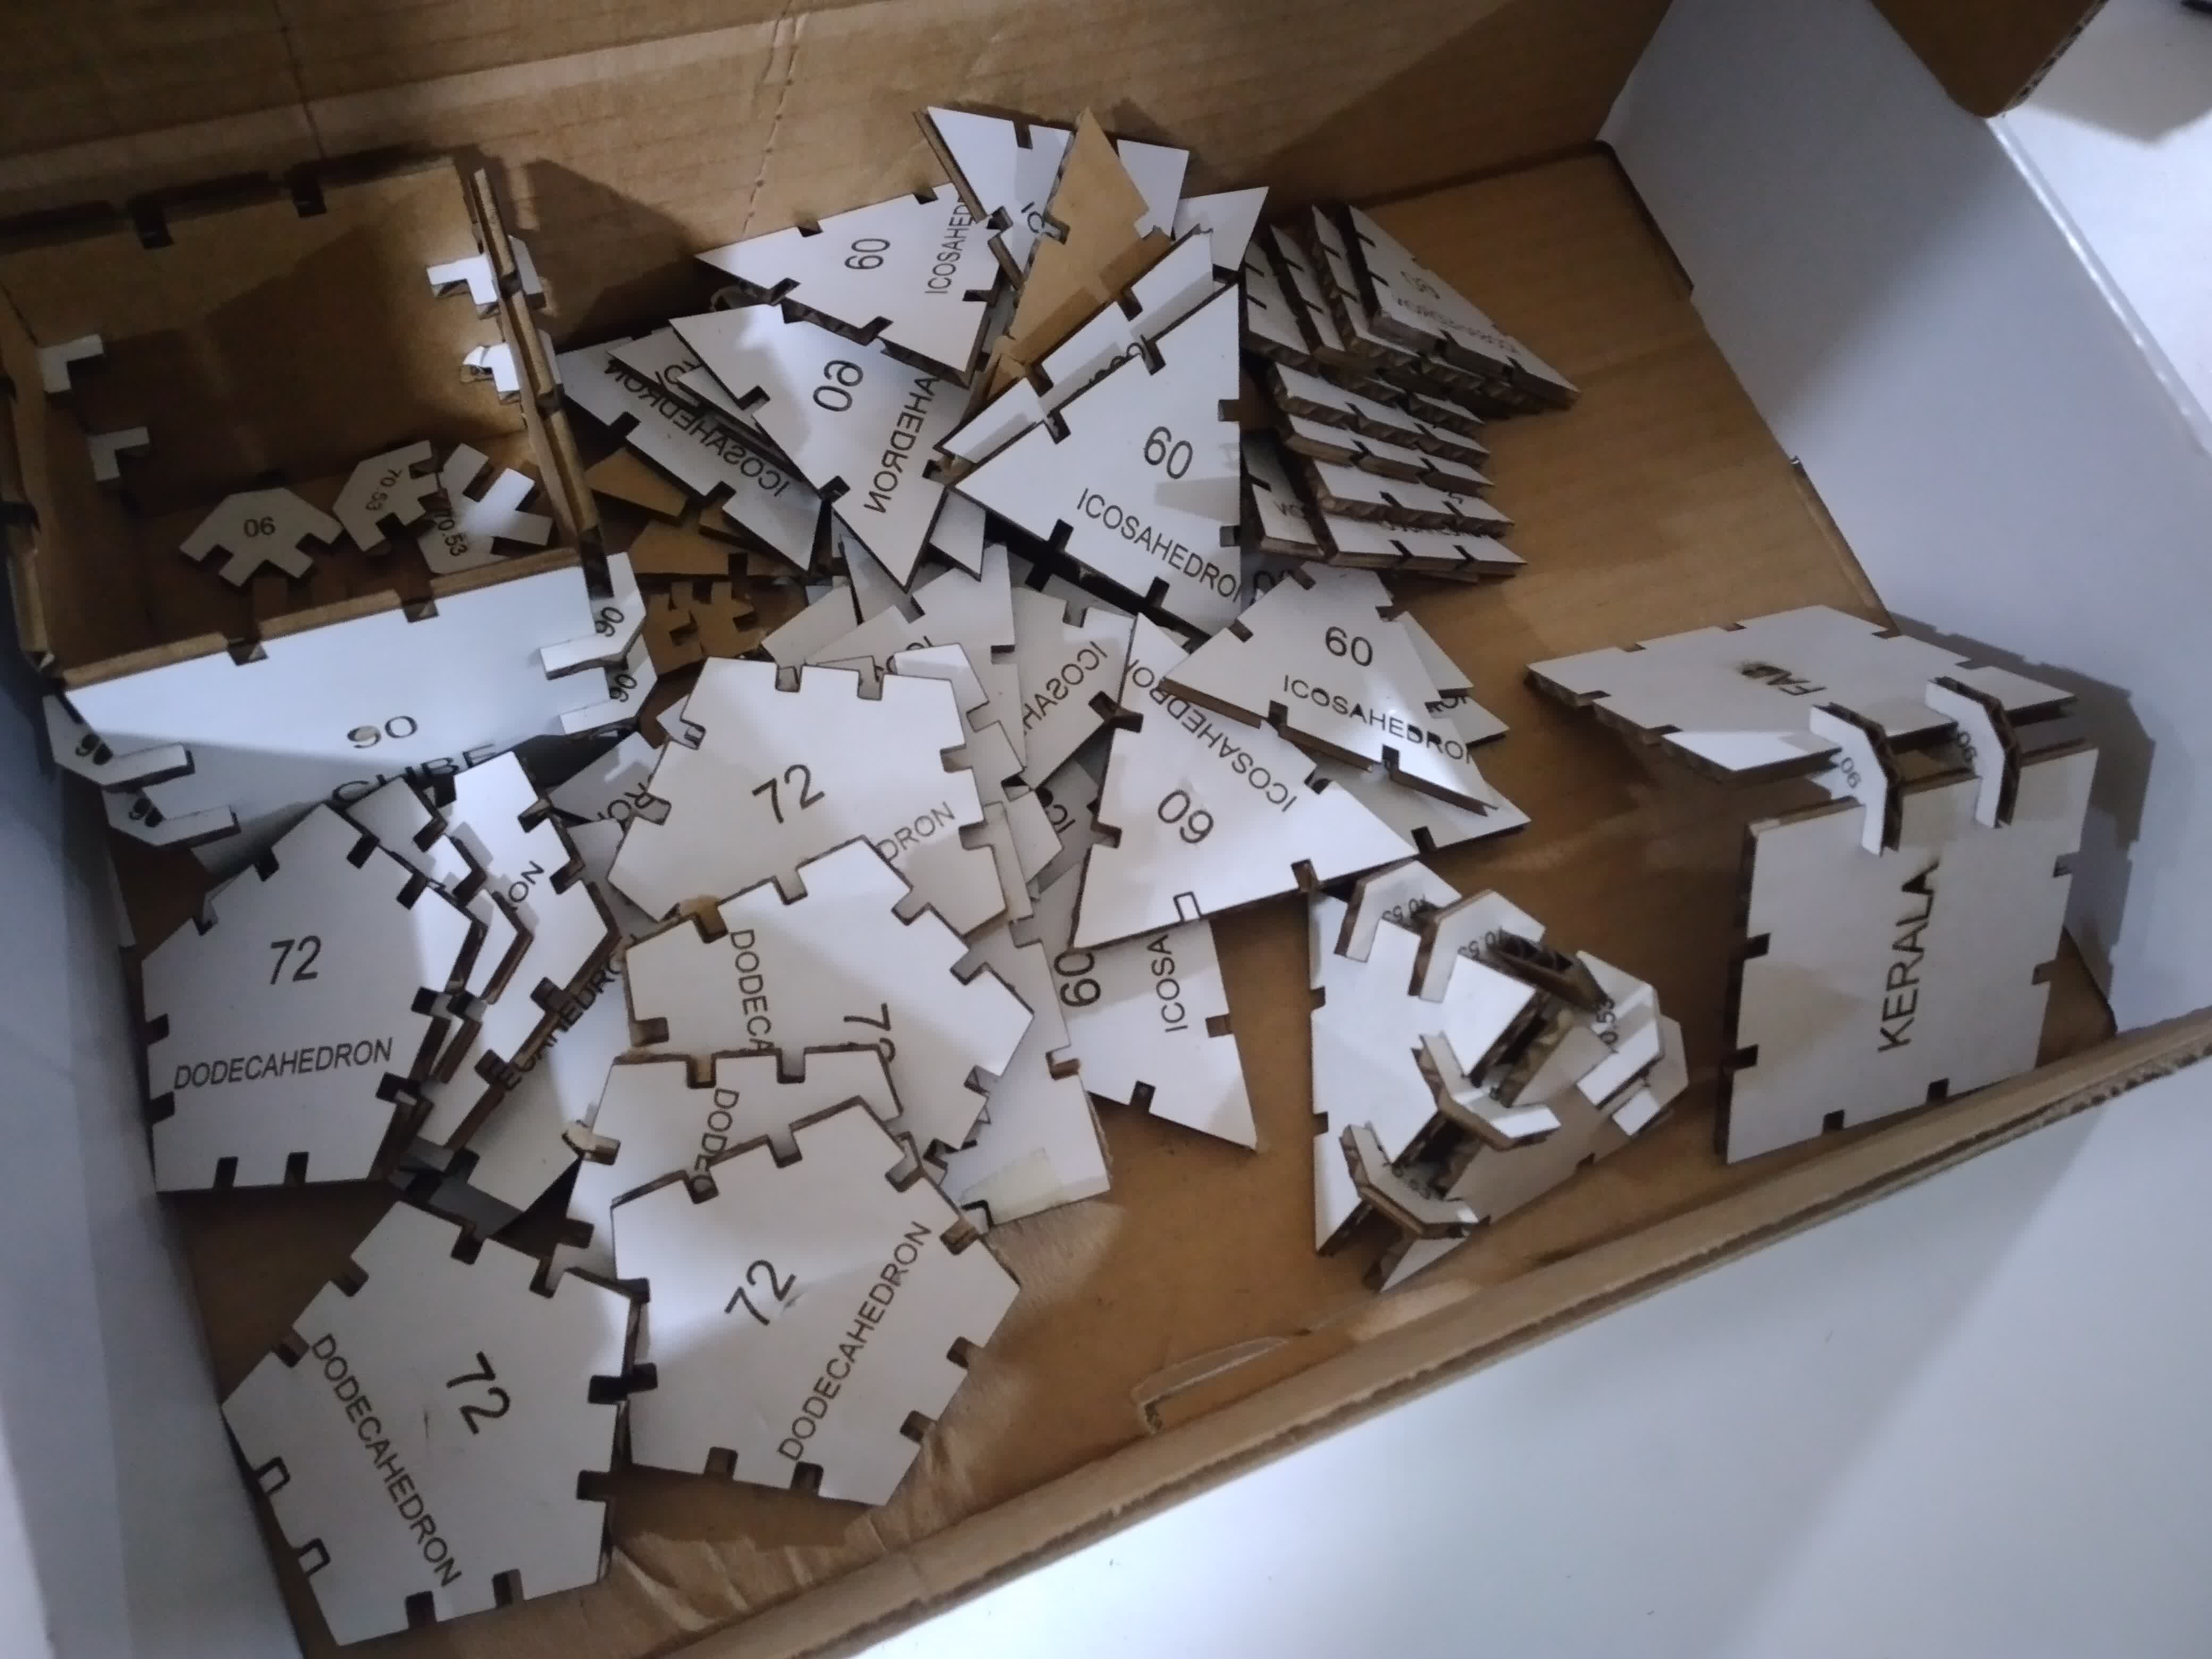
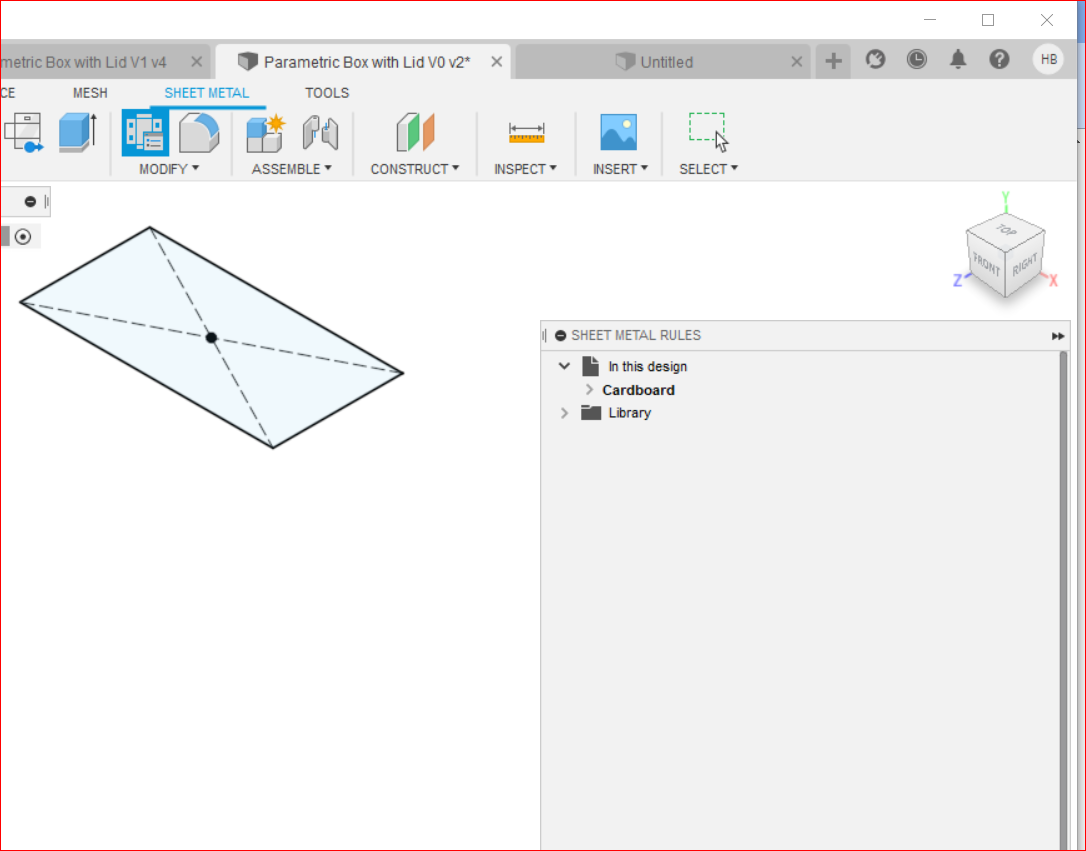
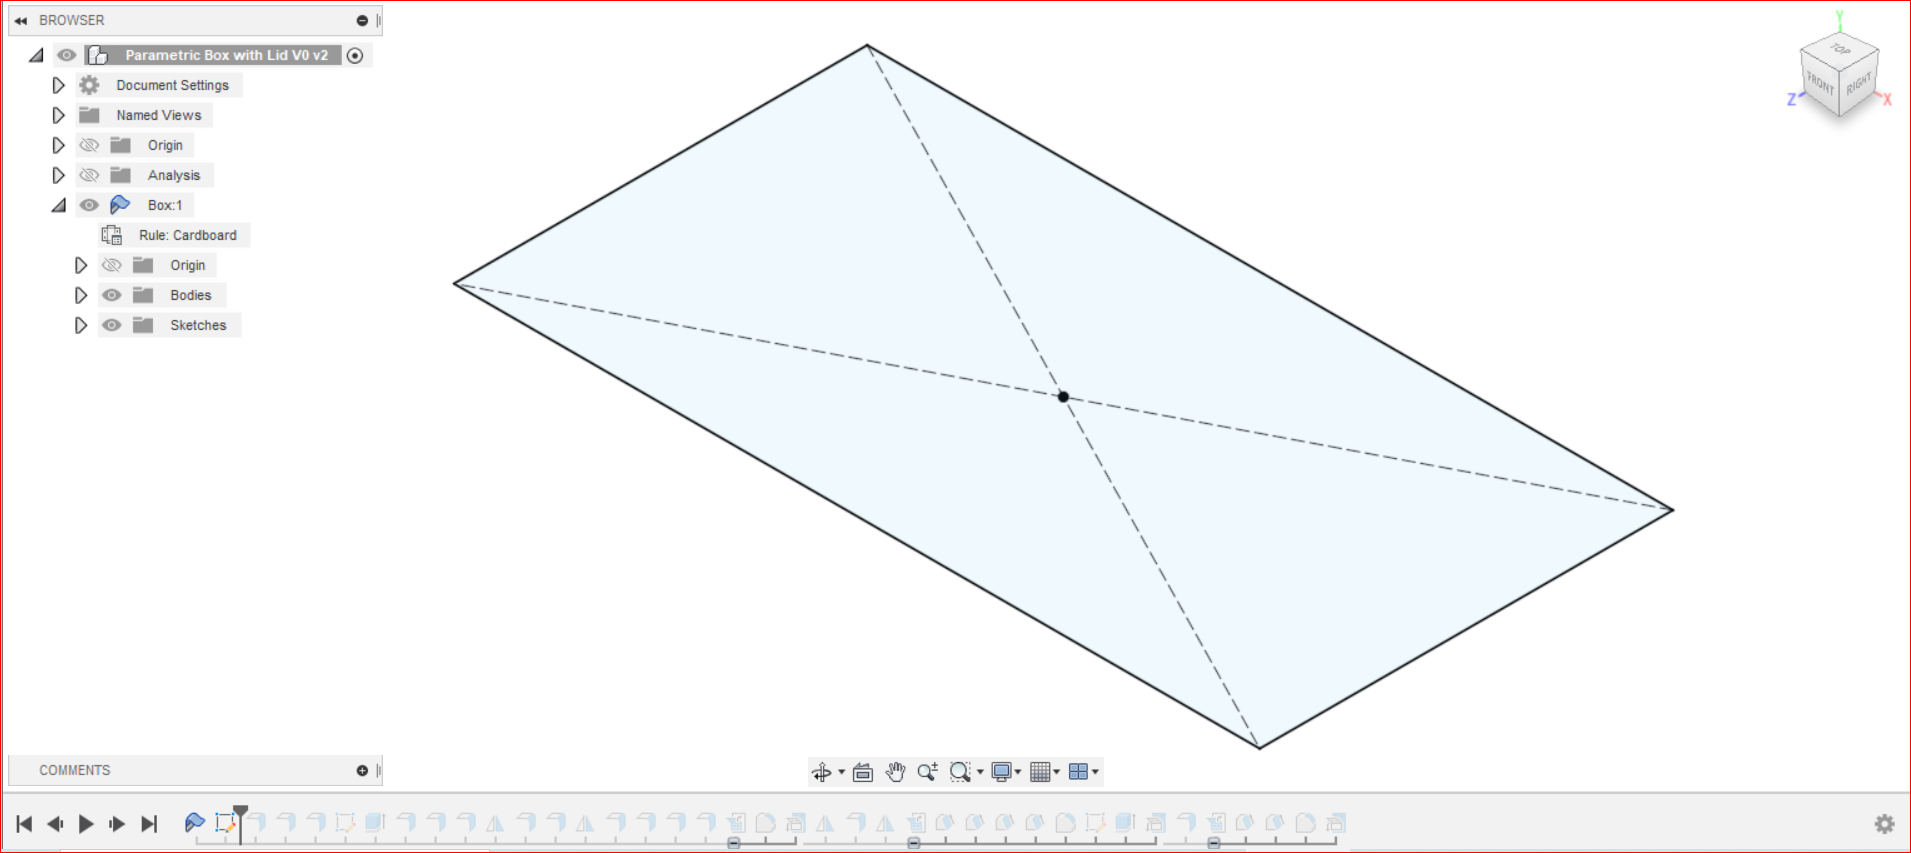
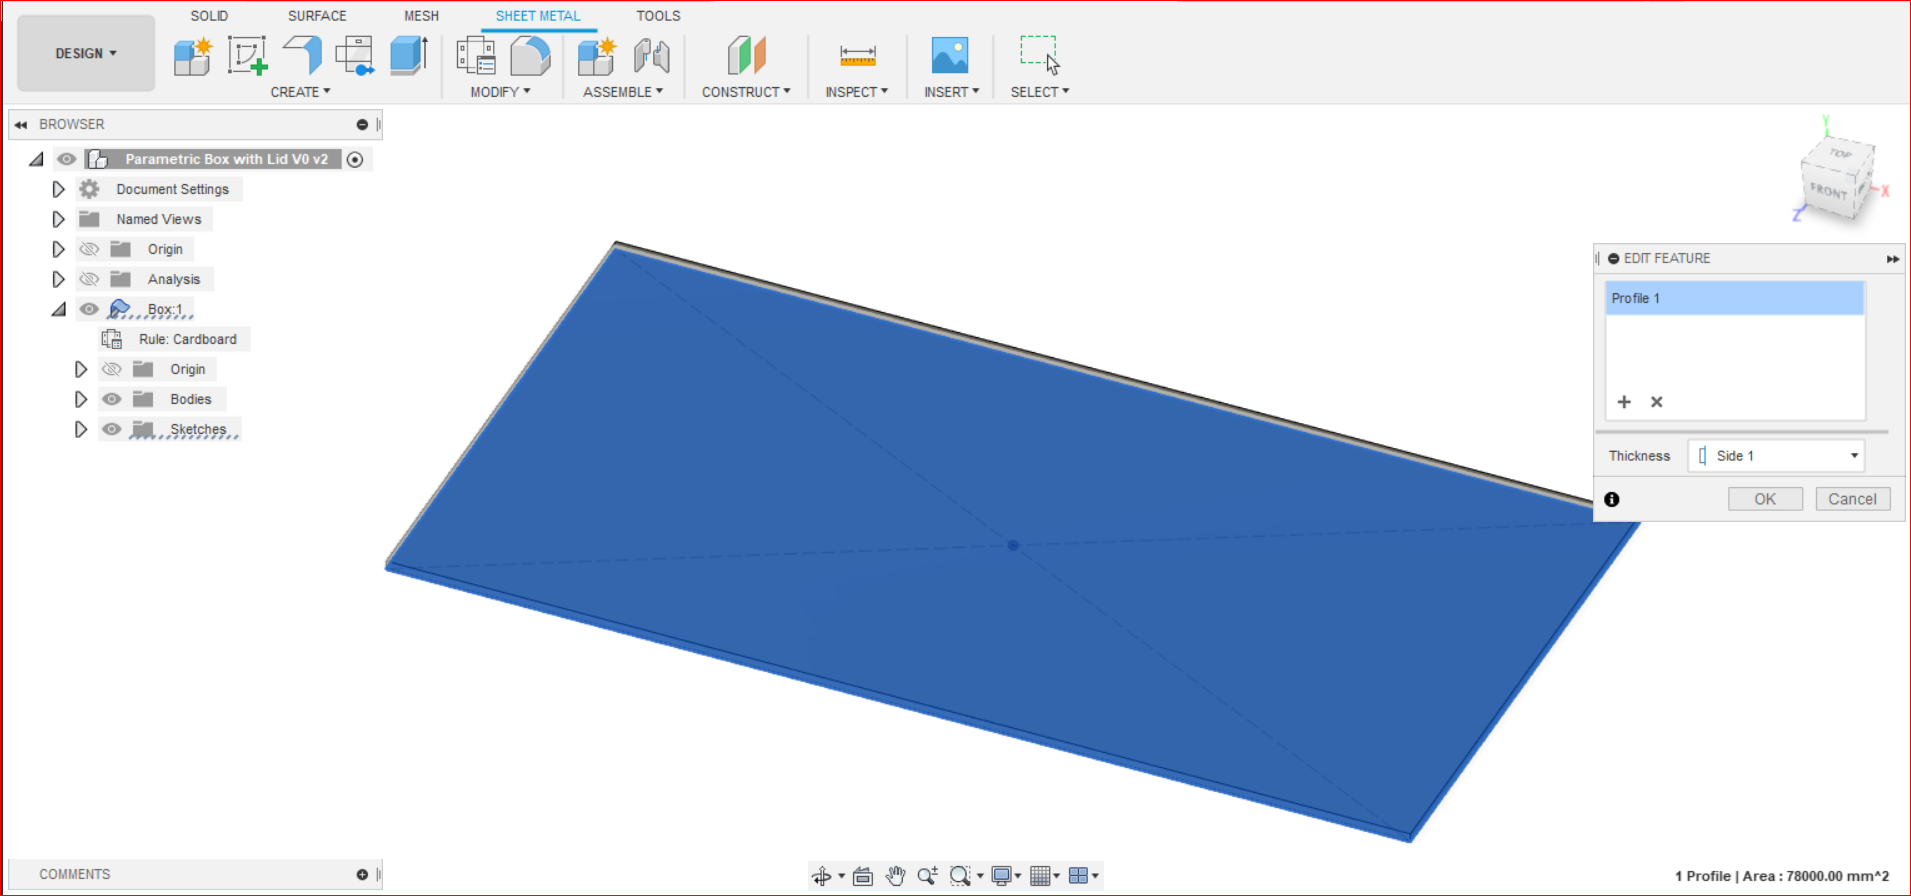
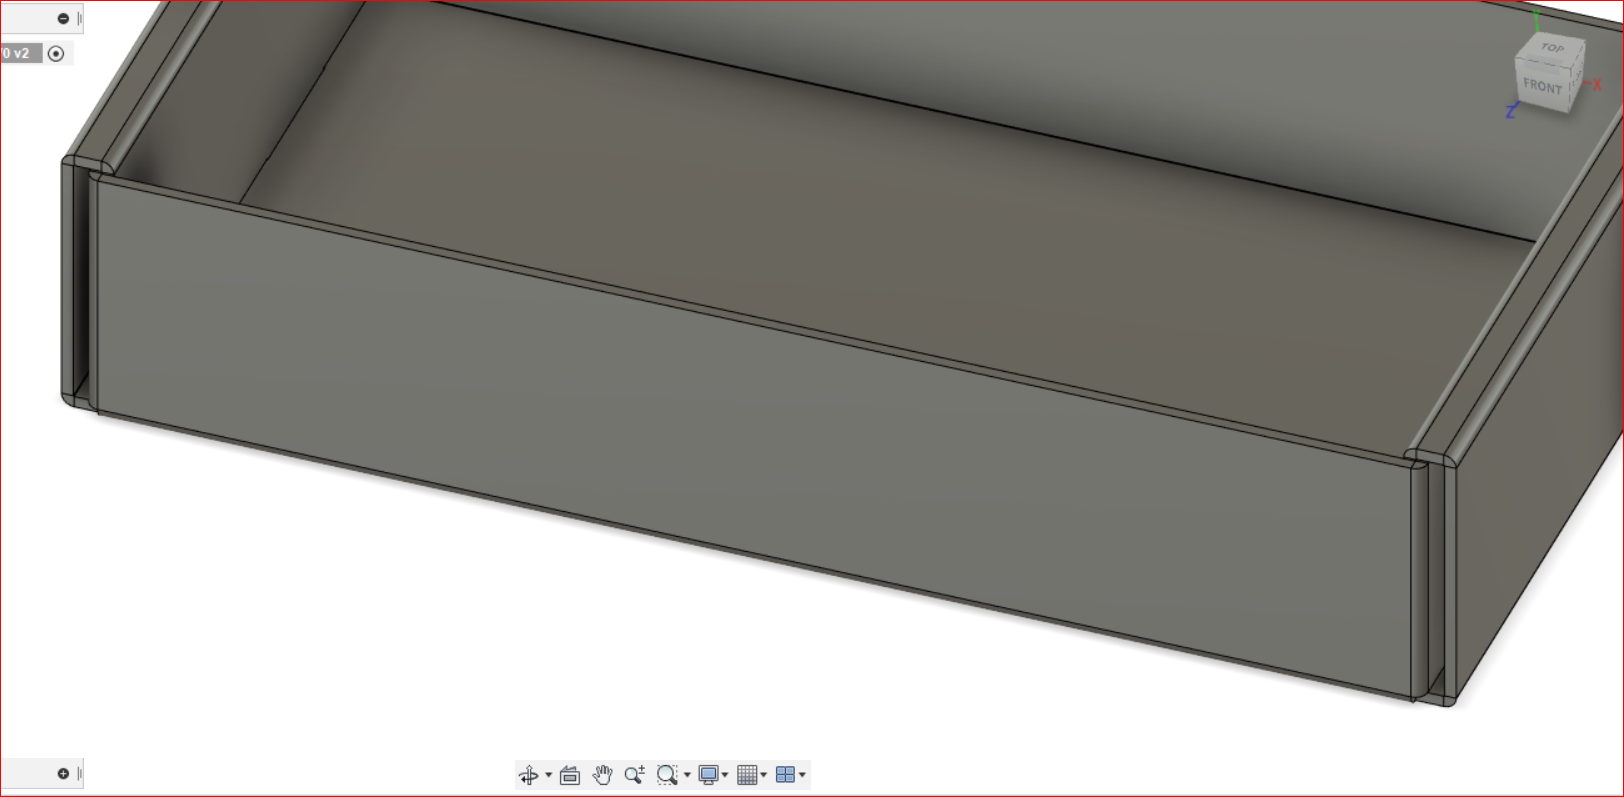
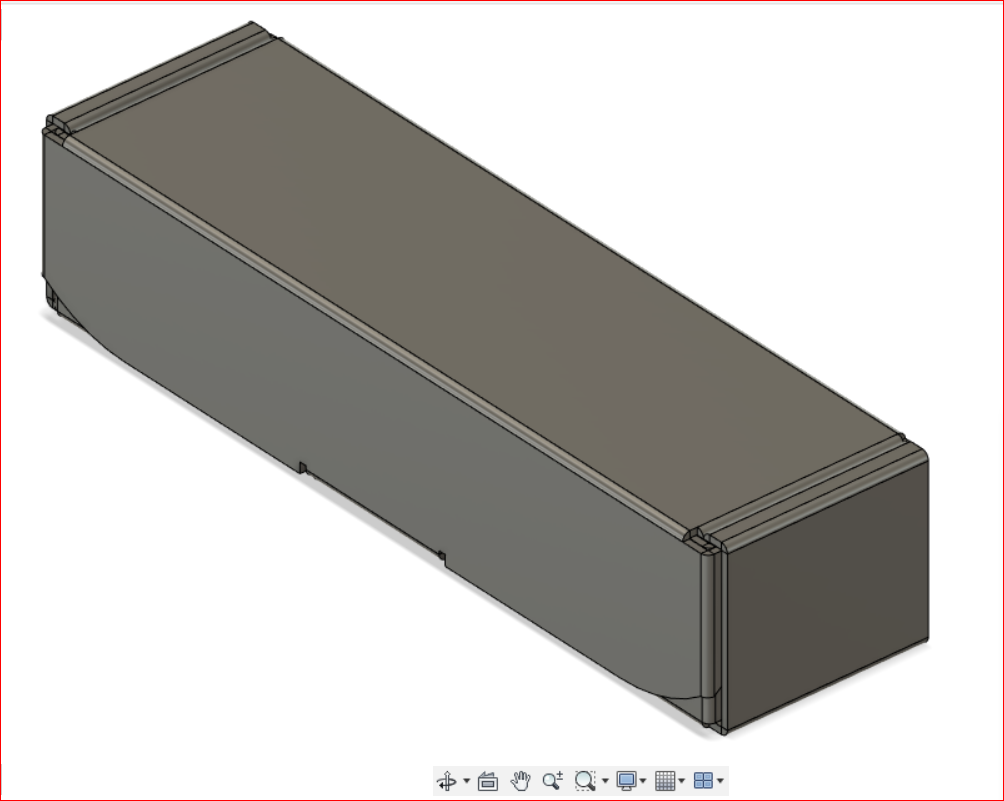
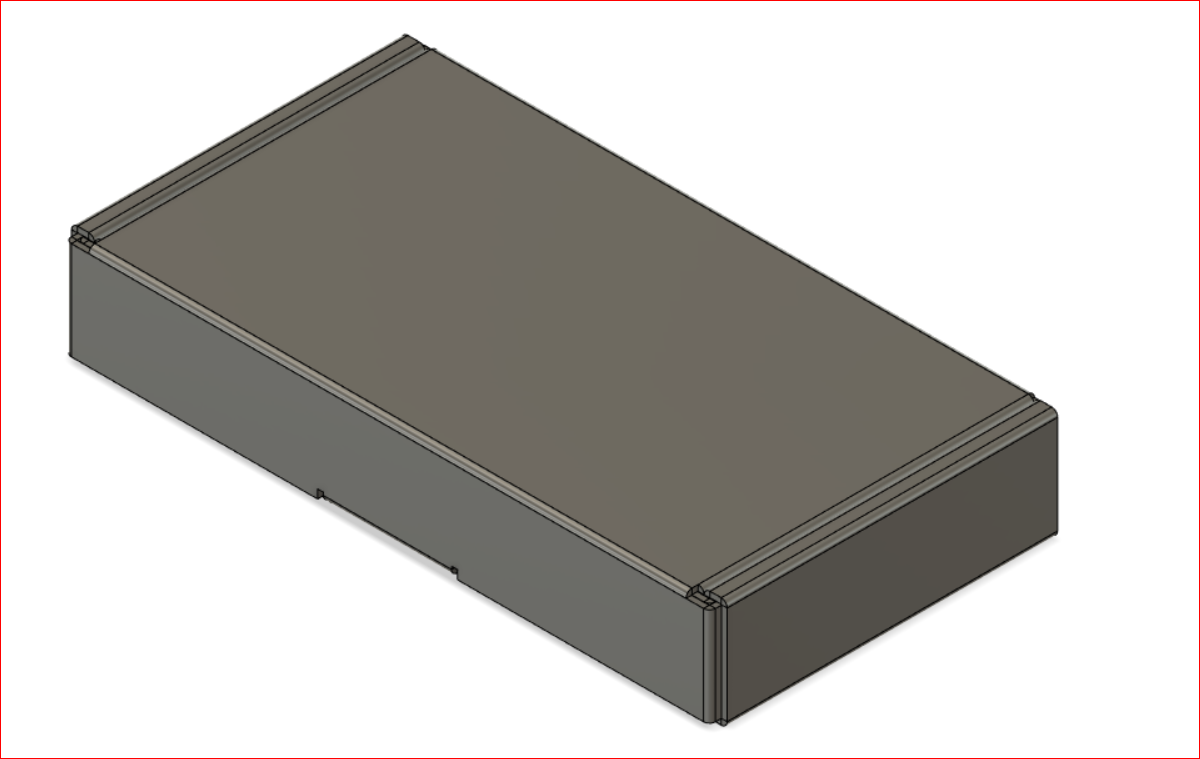
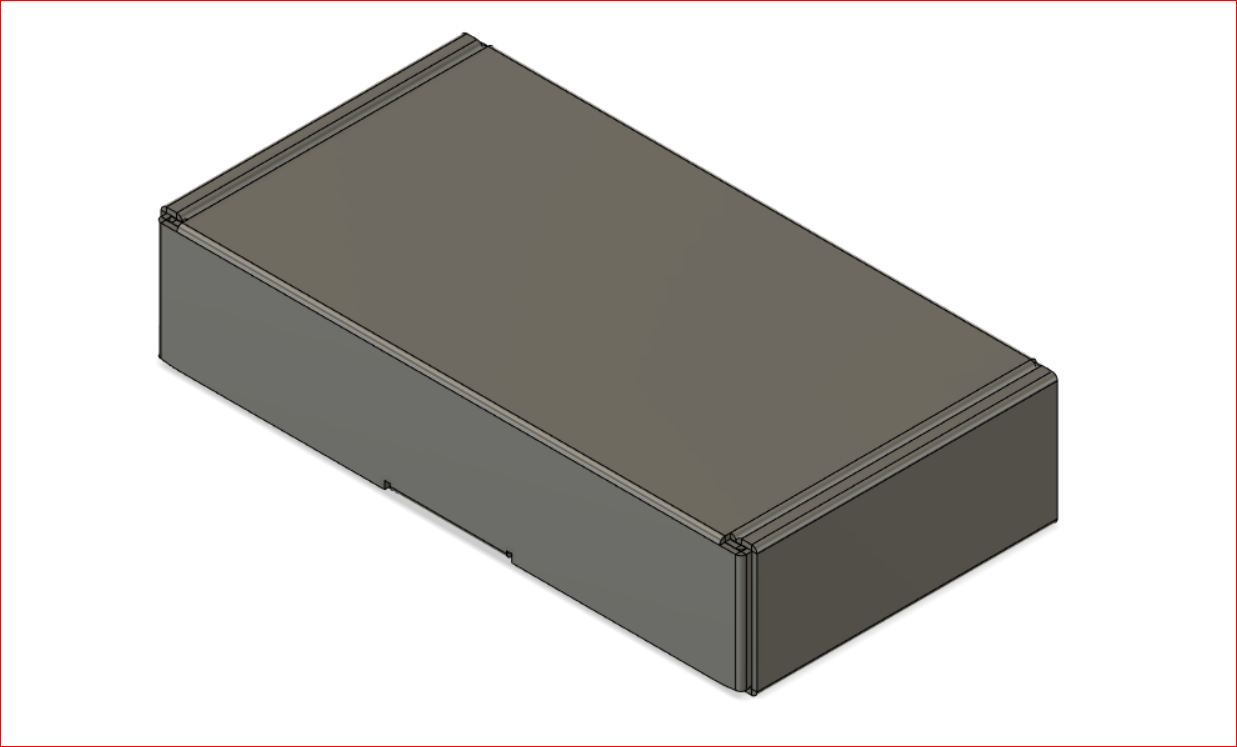
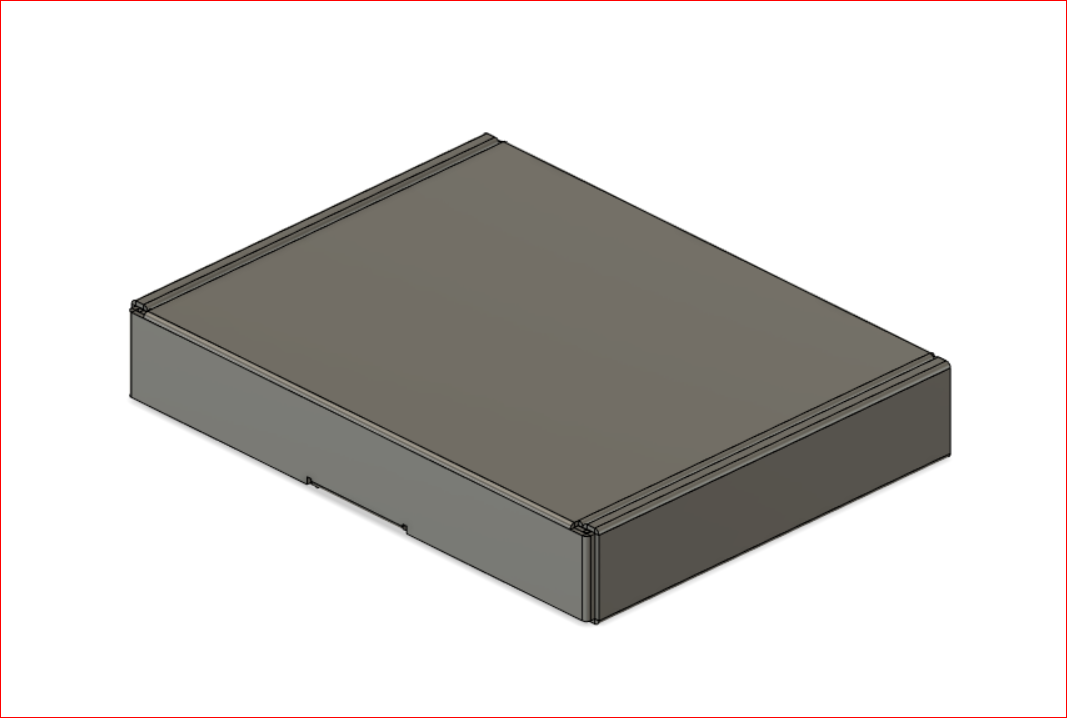
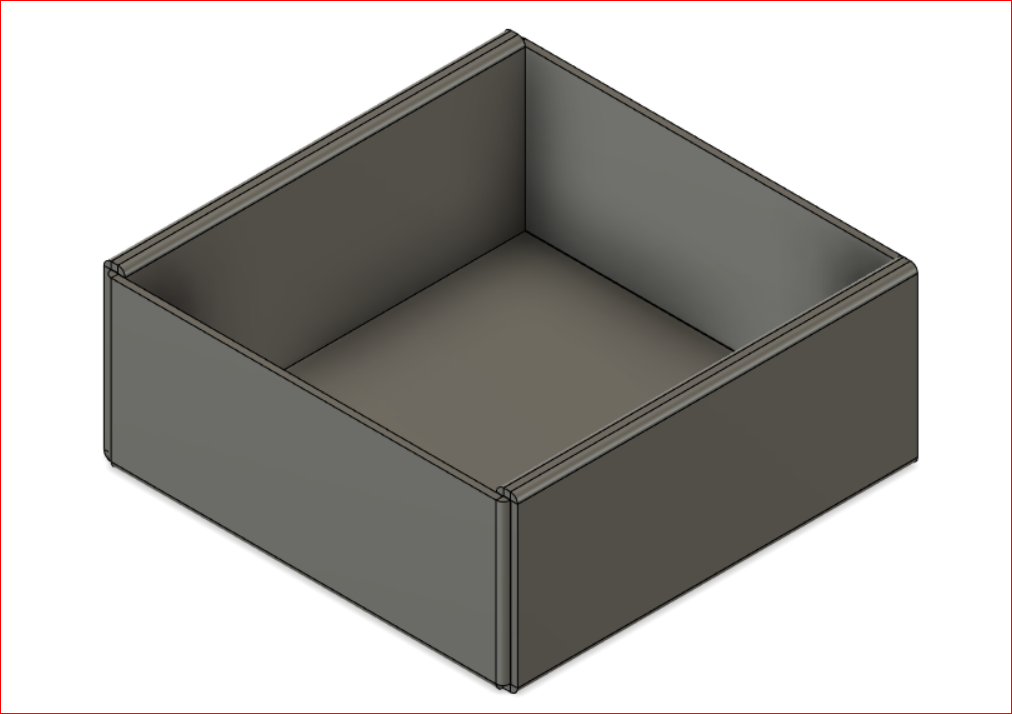
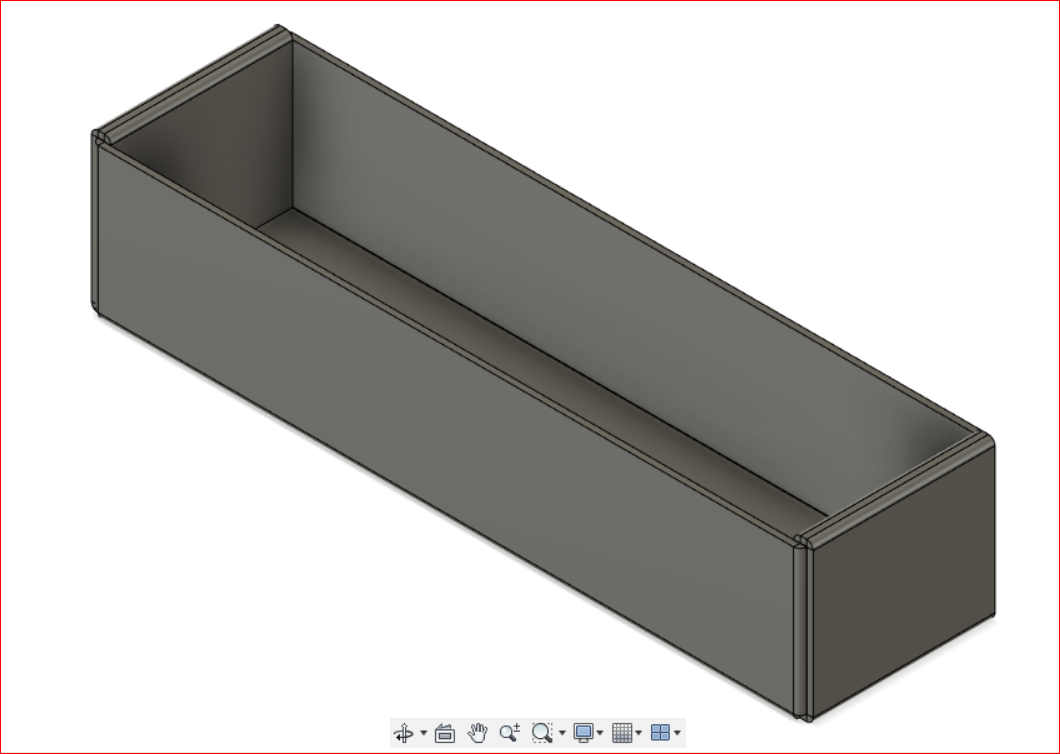
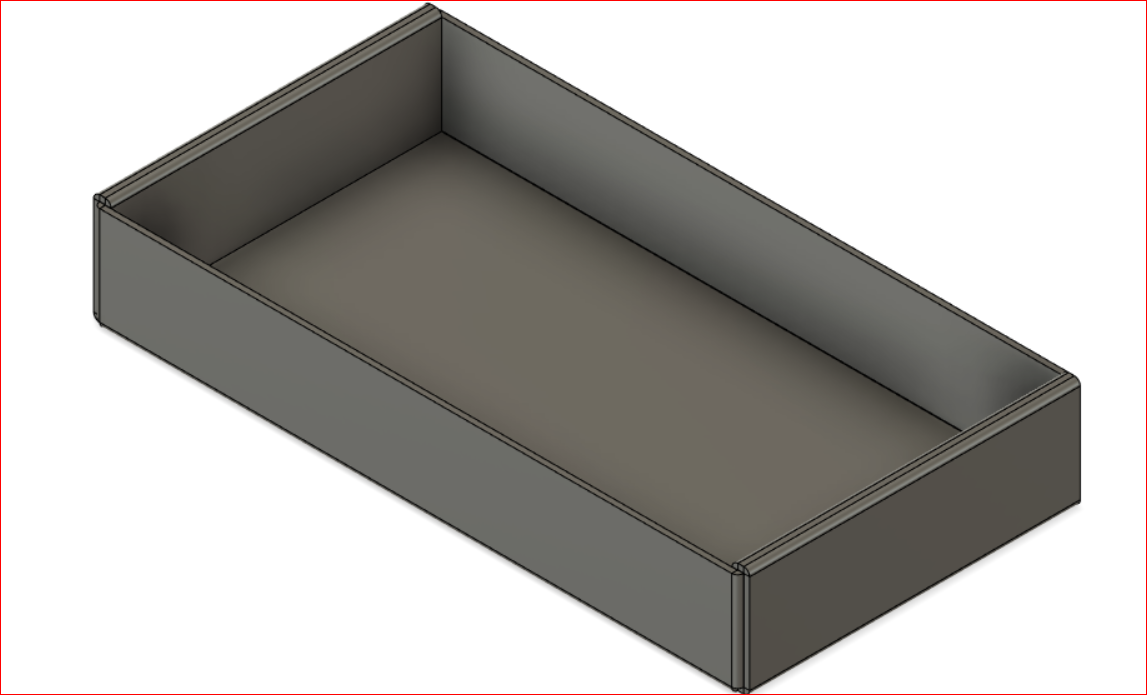
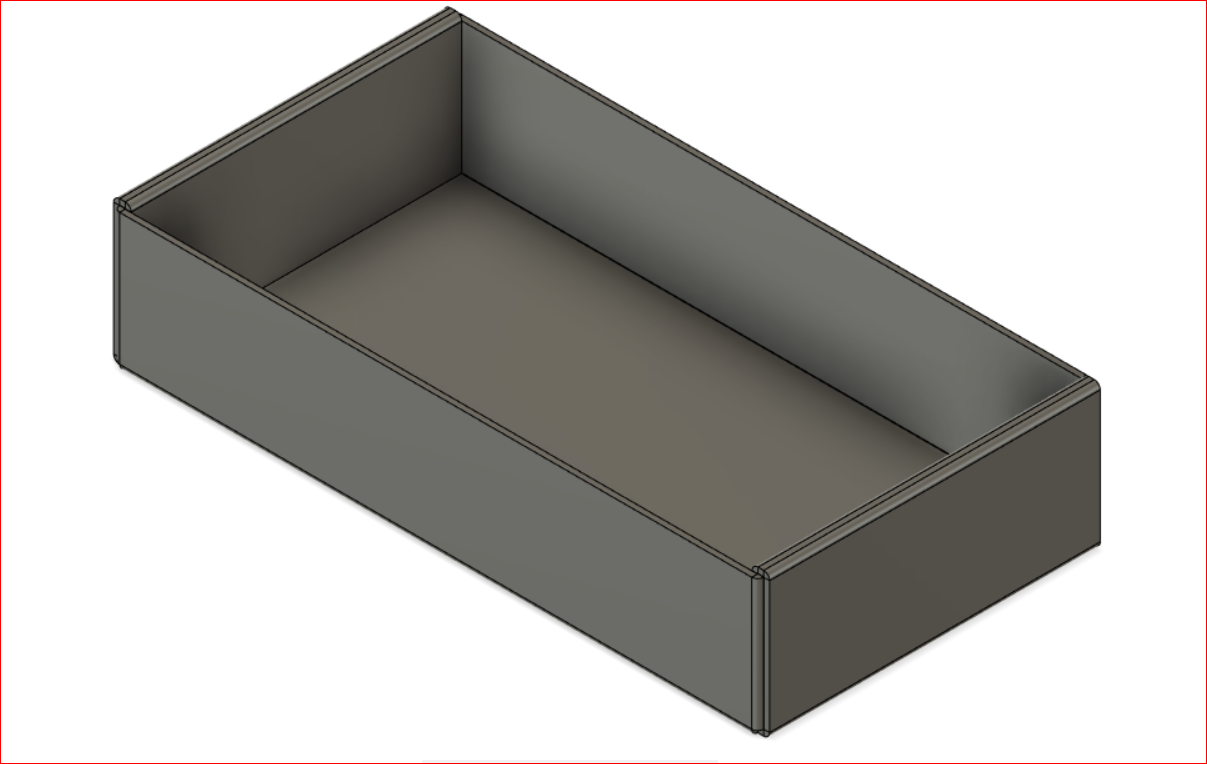
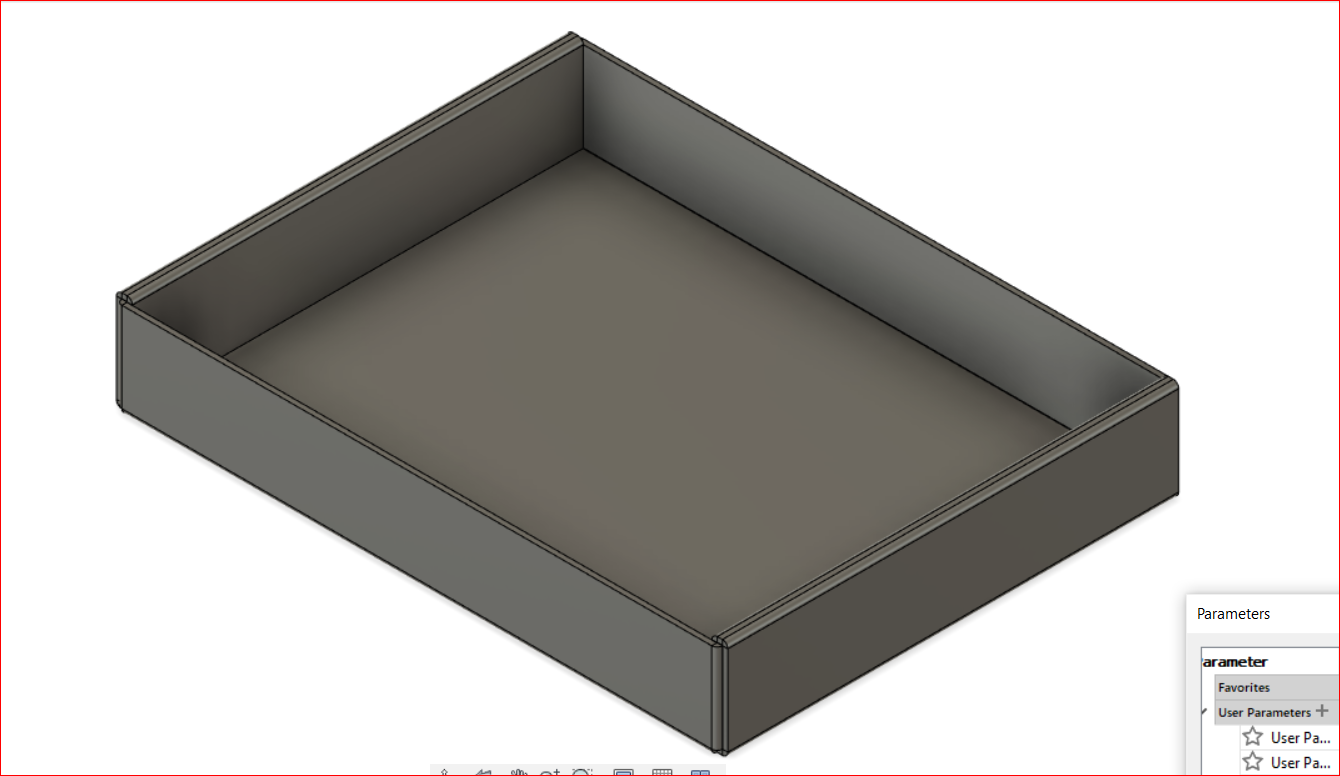
Design:
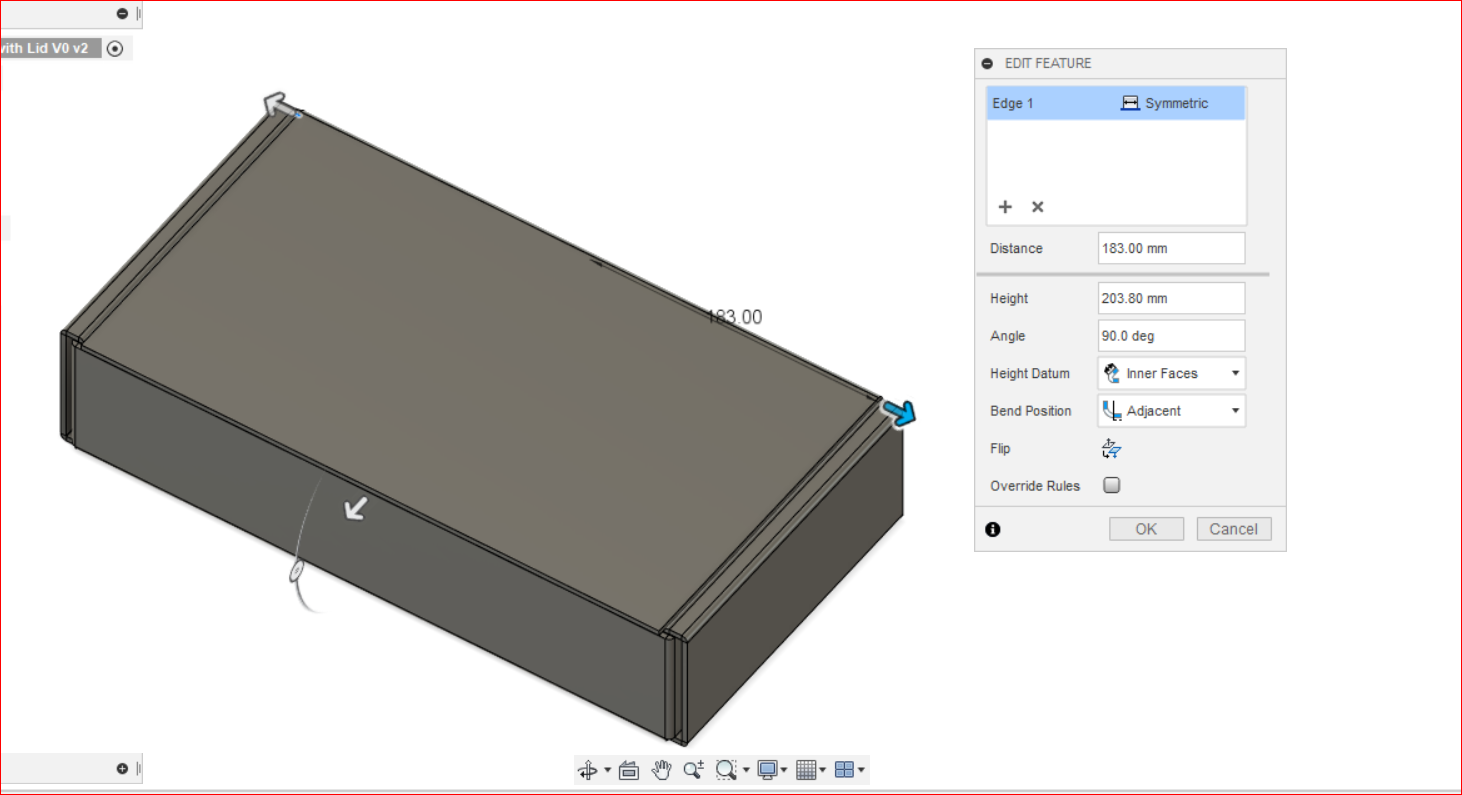
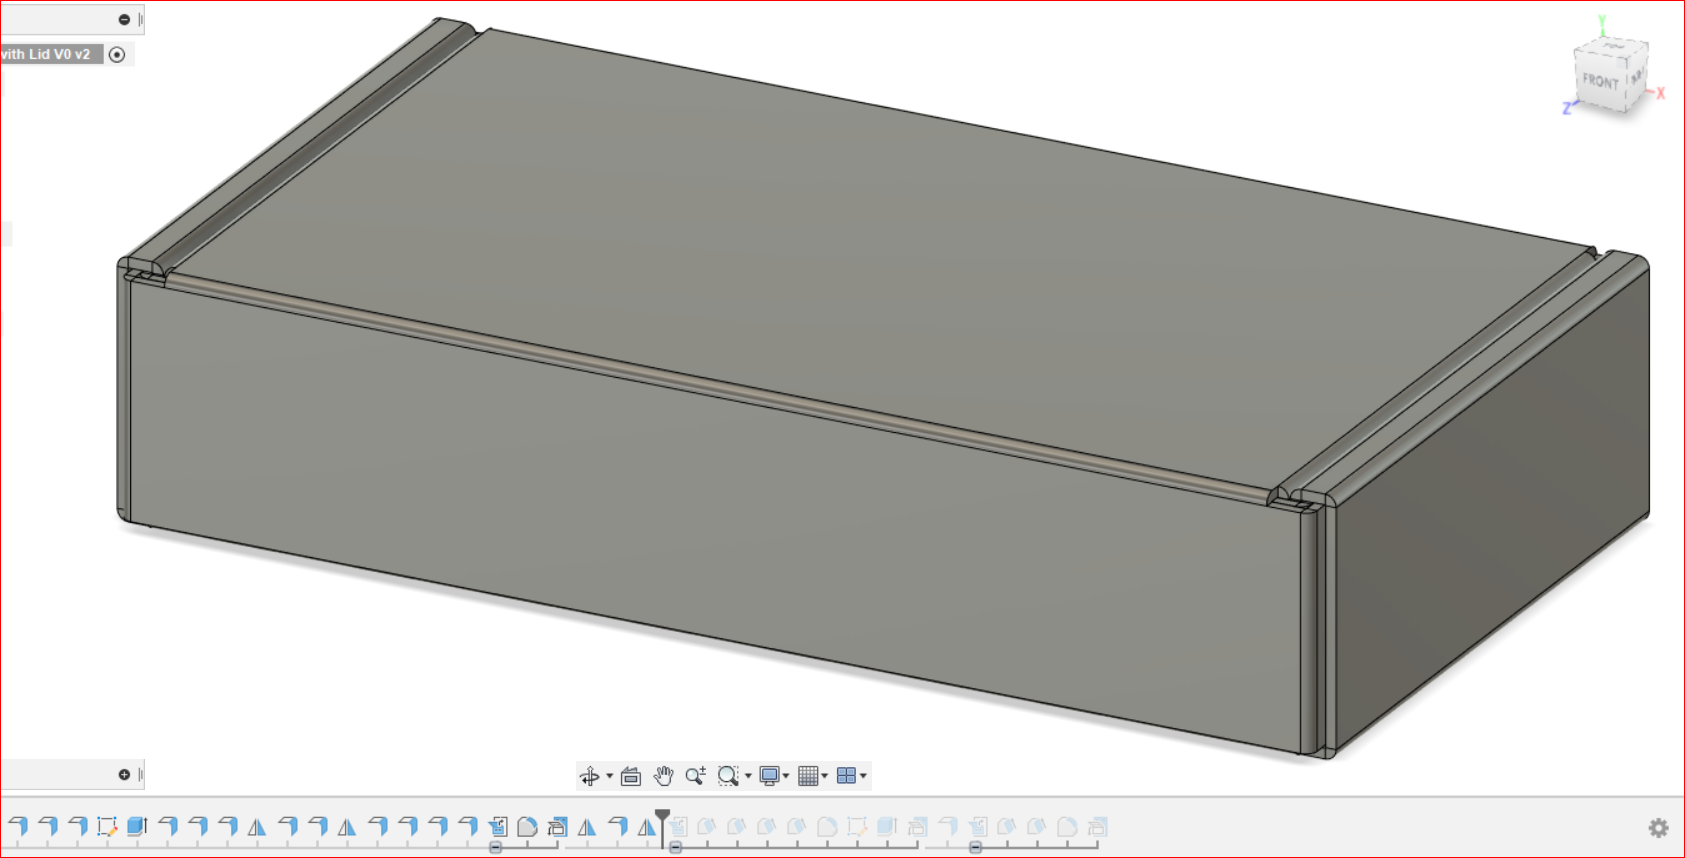
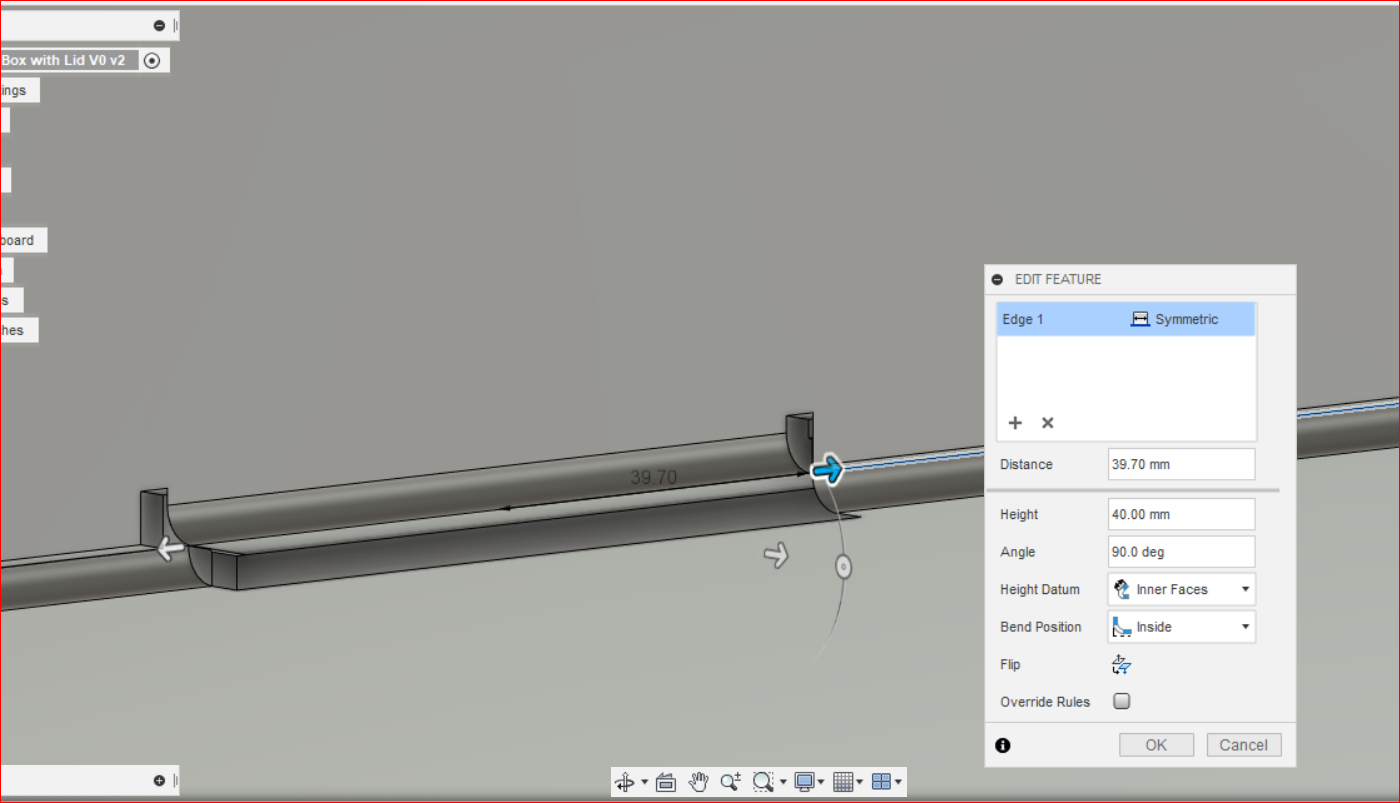
I am designing a parametric packaging box made with cardboard. I want to make 2 version, with a top-lid and without a top-lid.


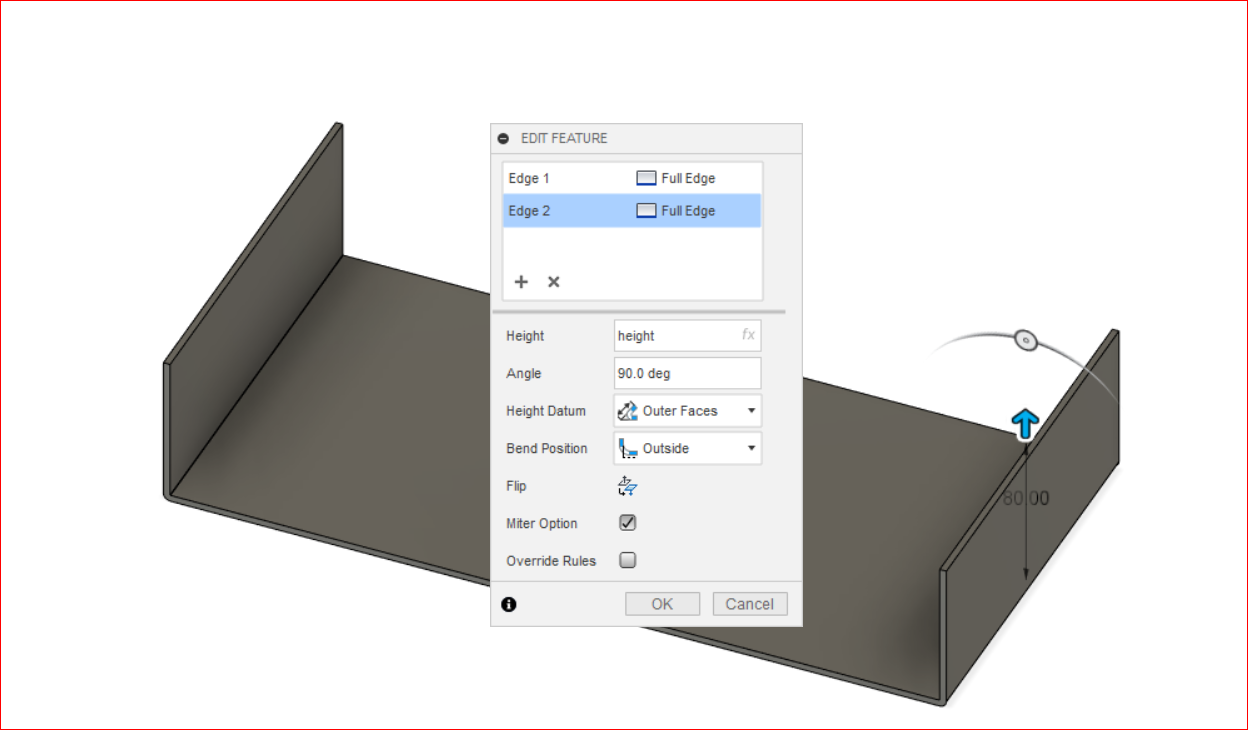
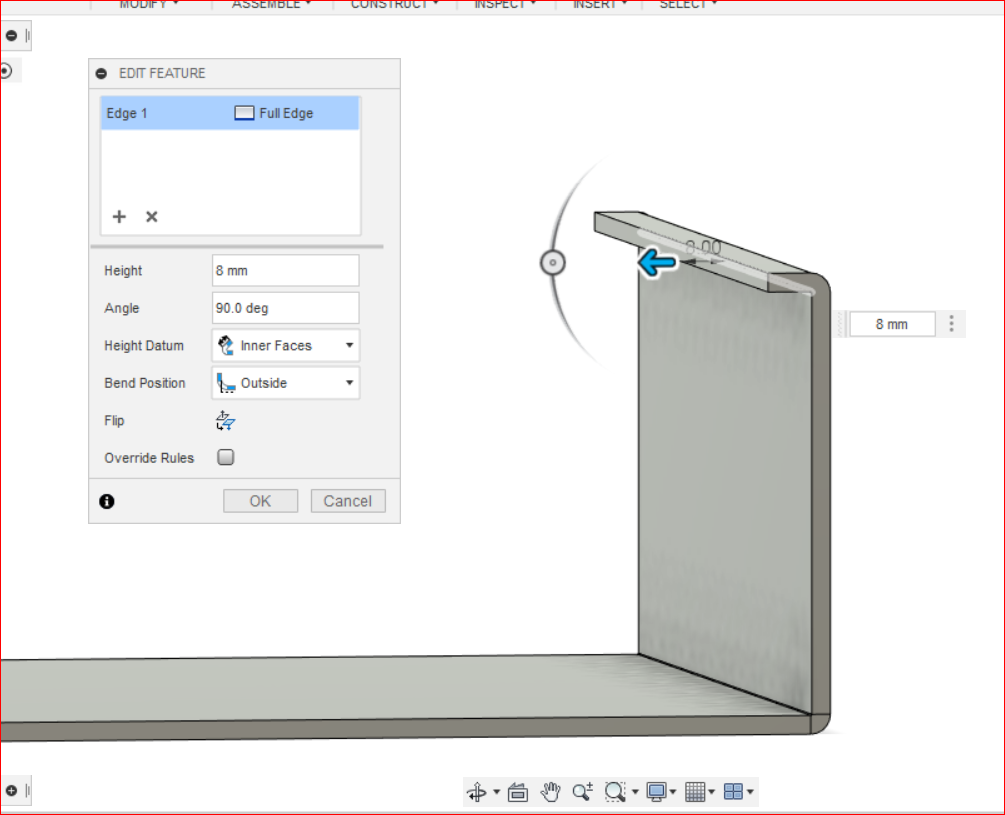
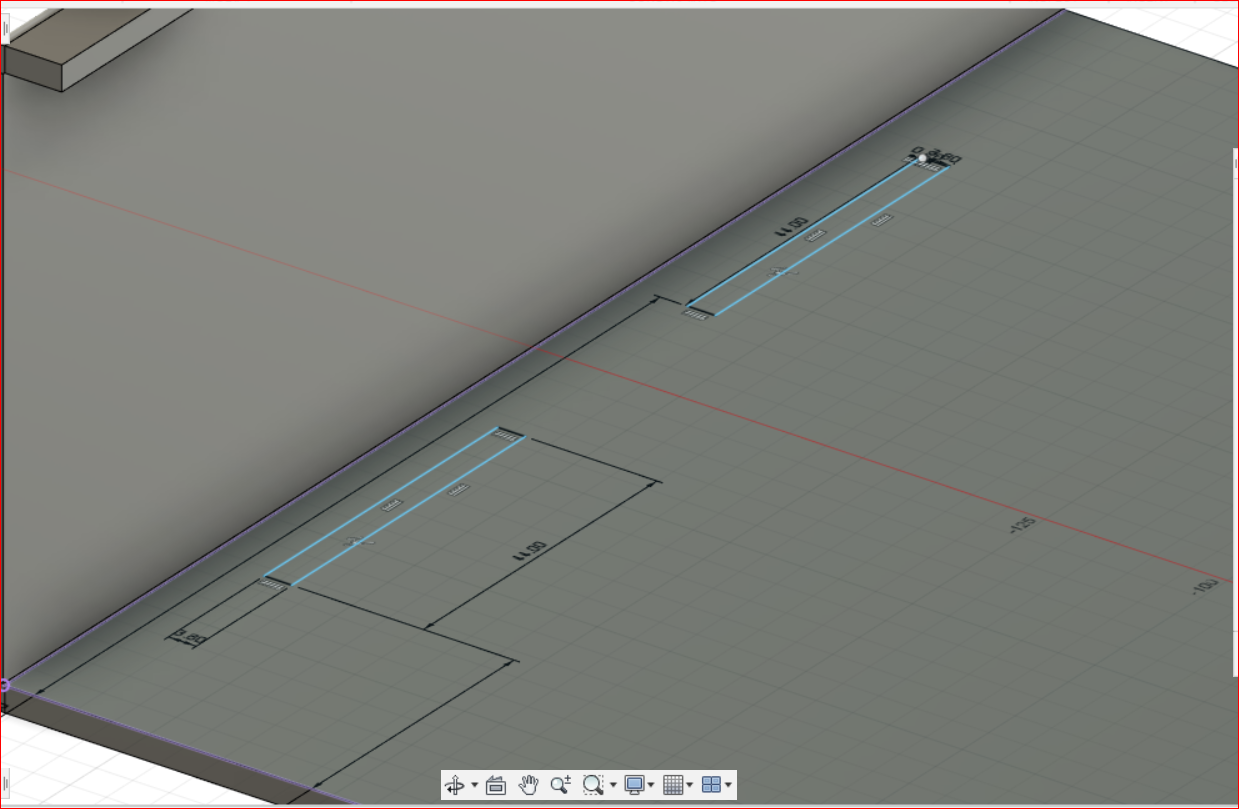
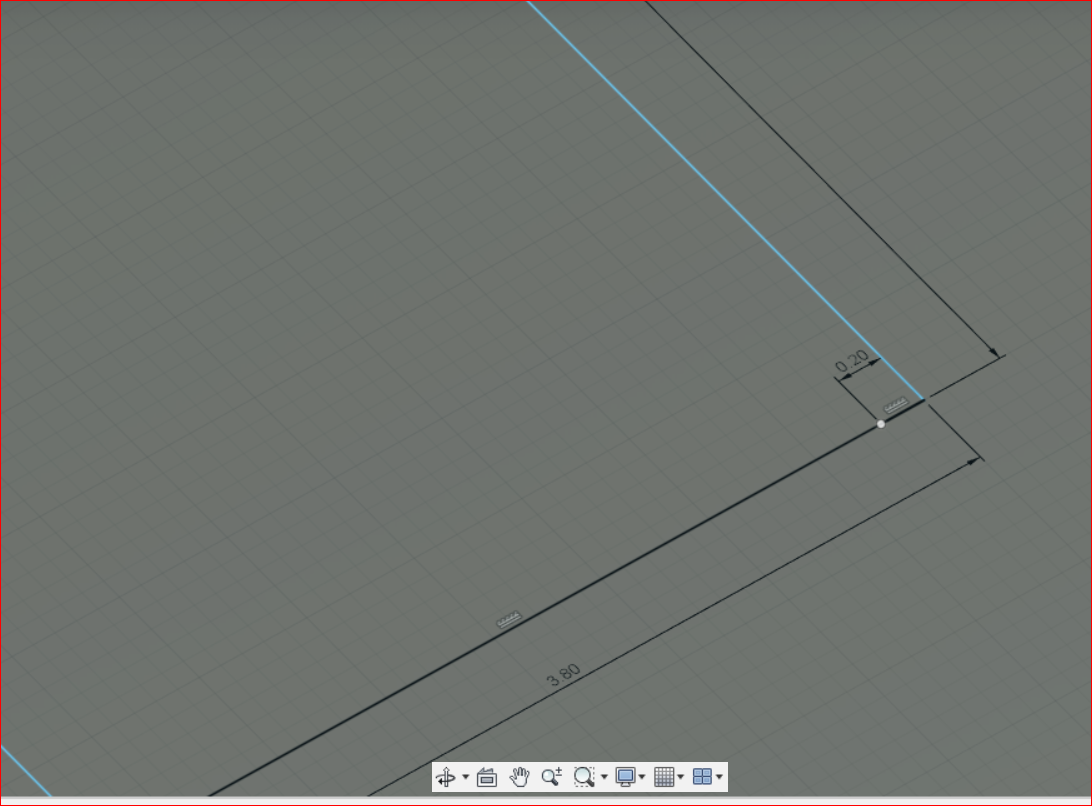
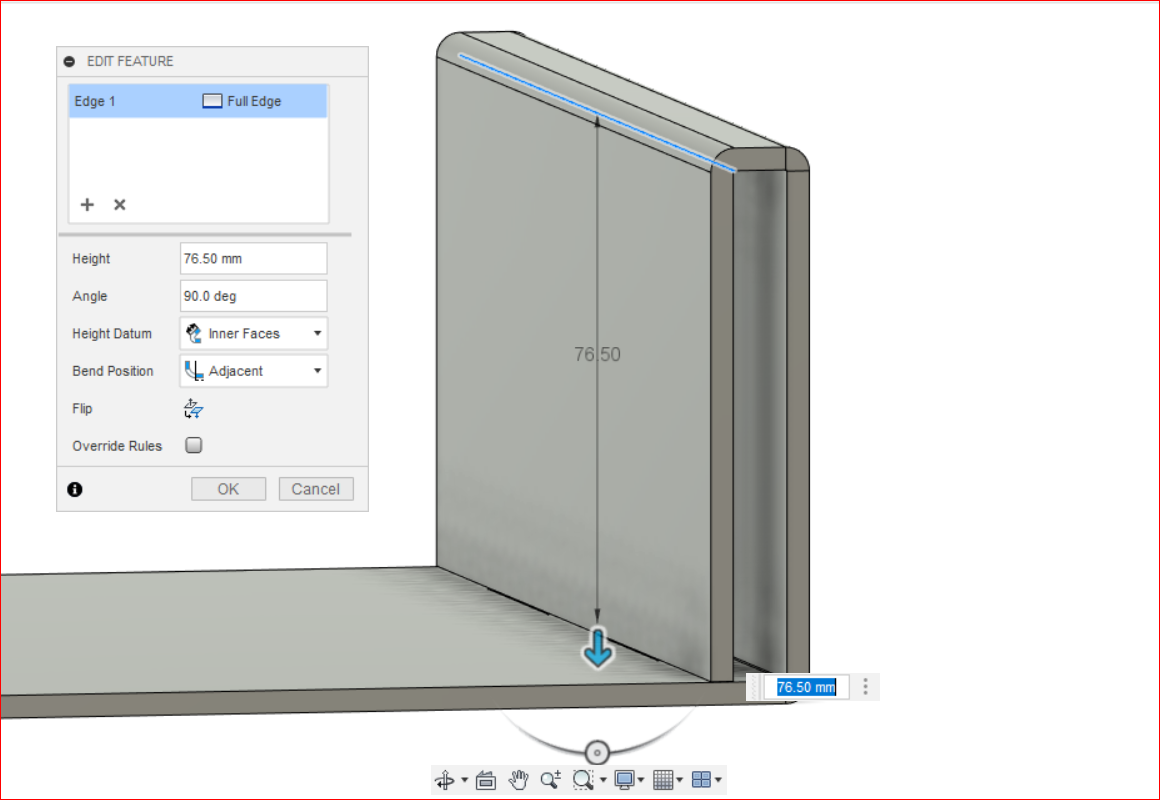
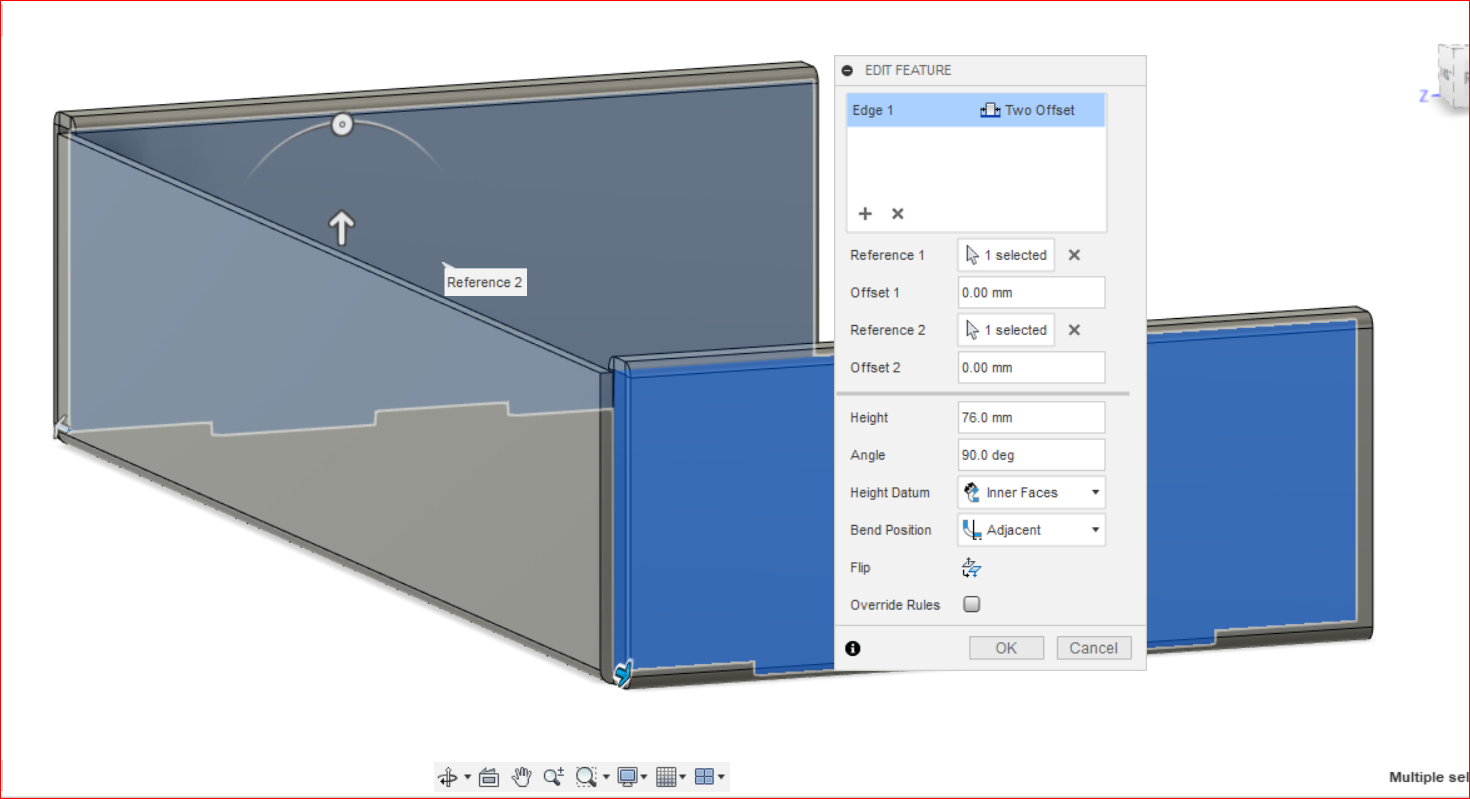
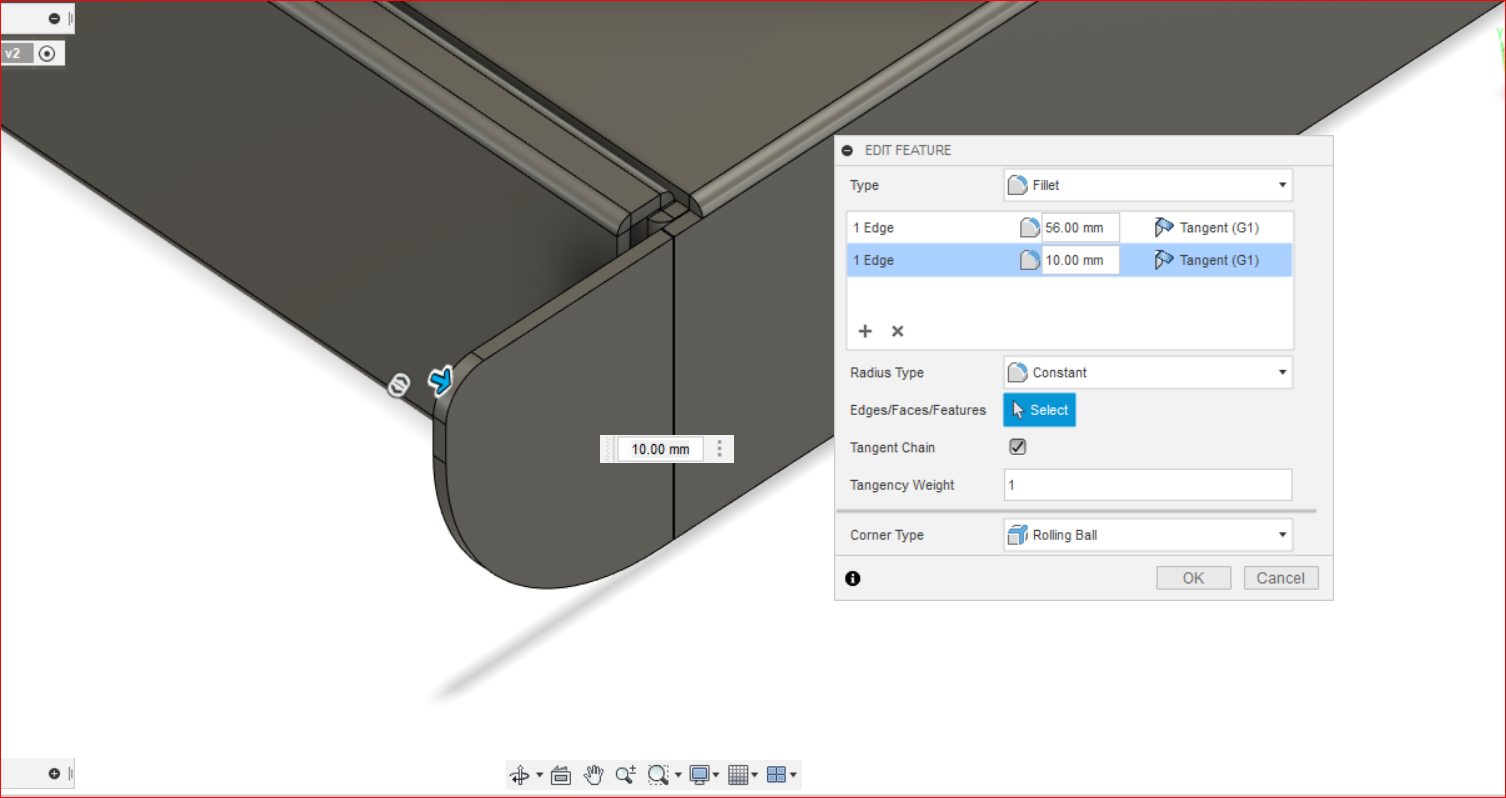
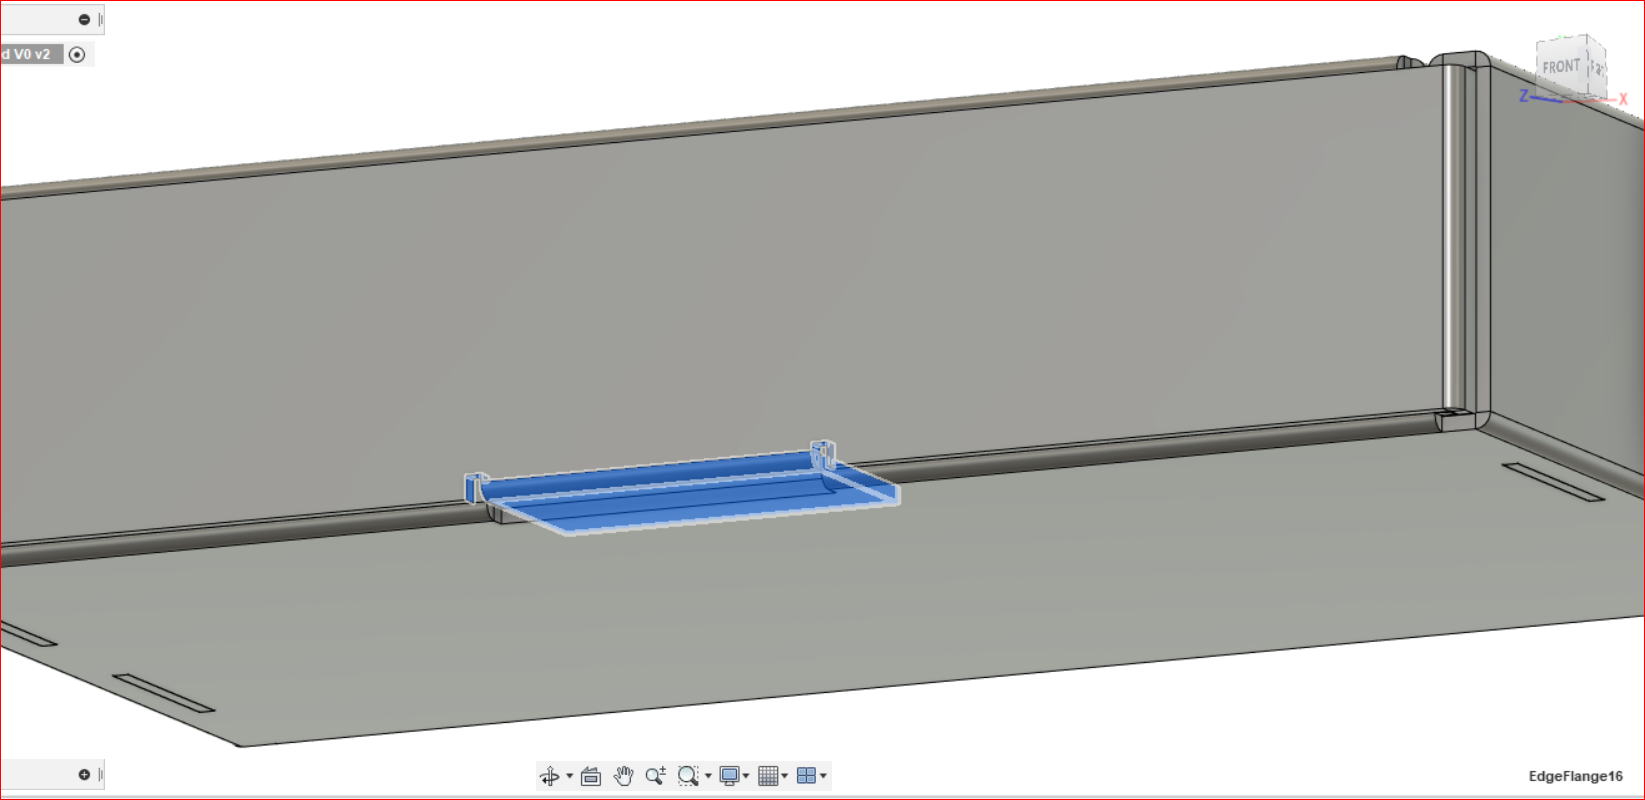
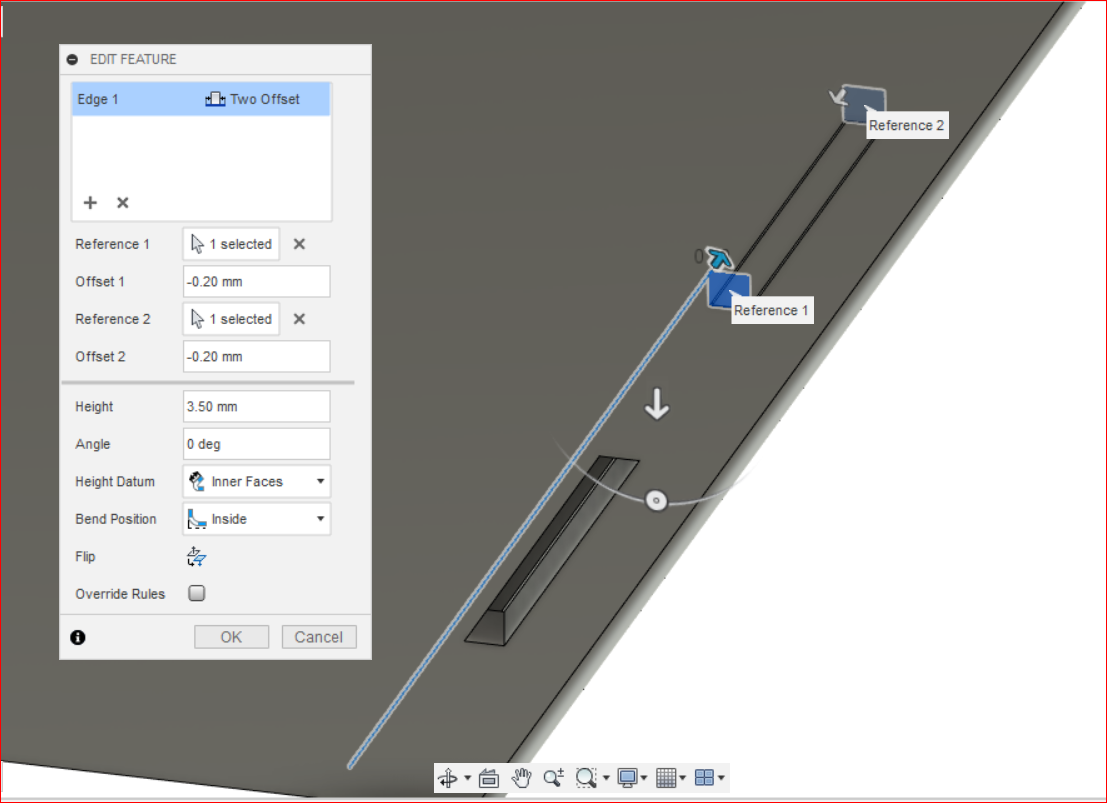 Remember to keep 0.20mm offset from either side, for a good fit.
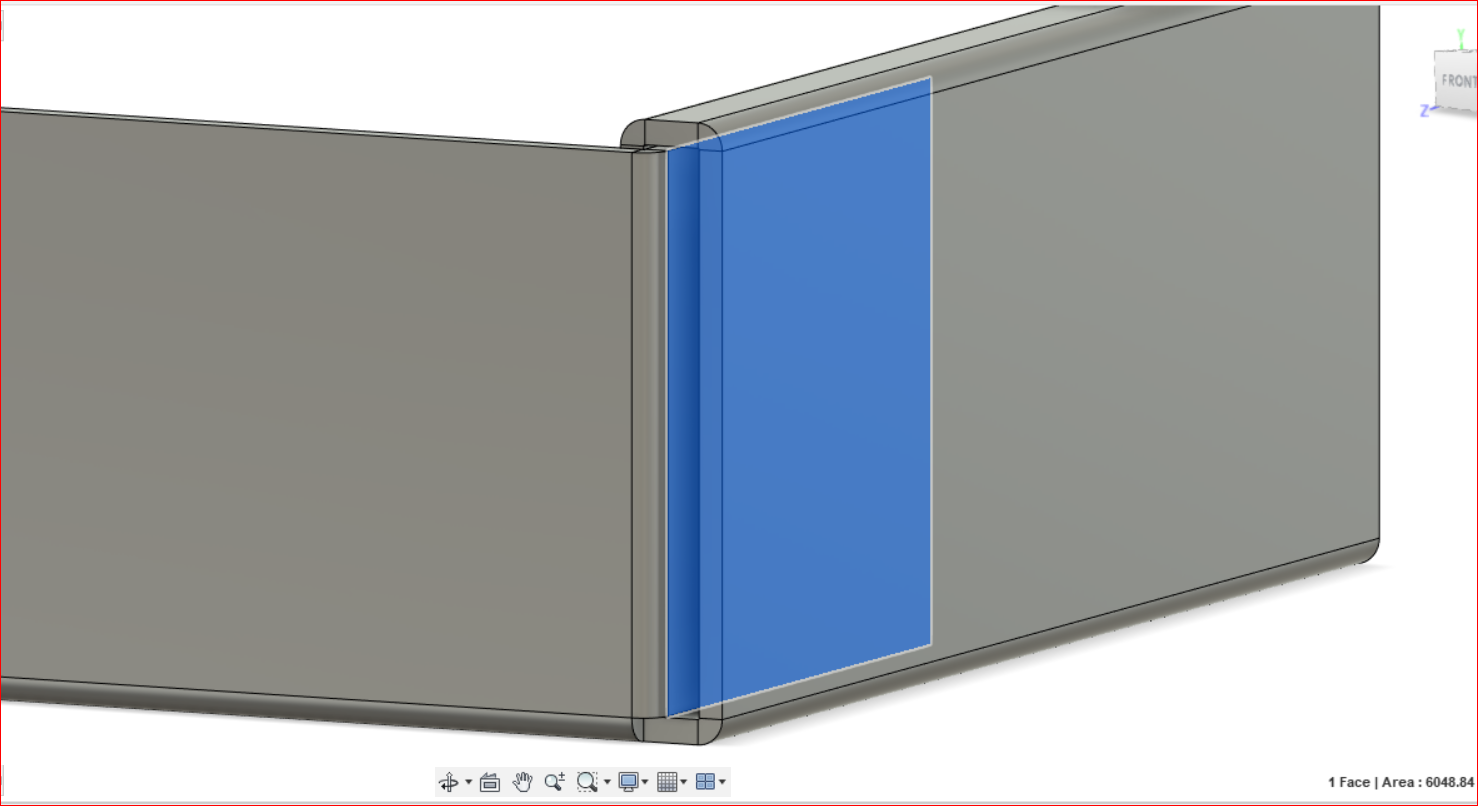
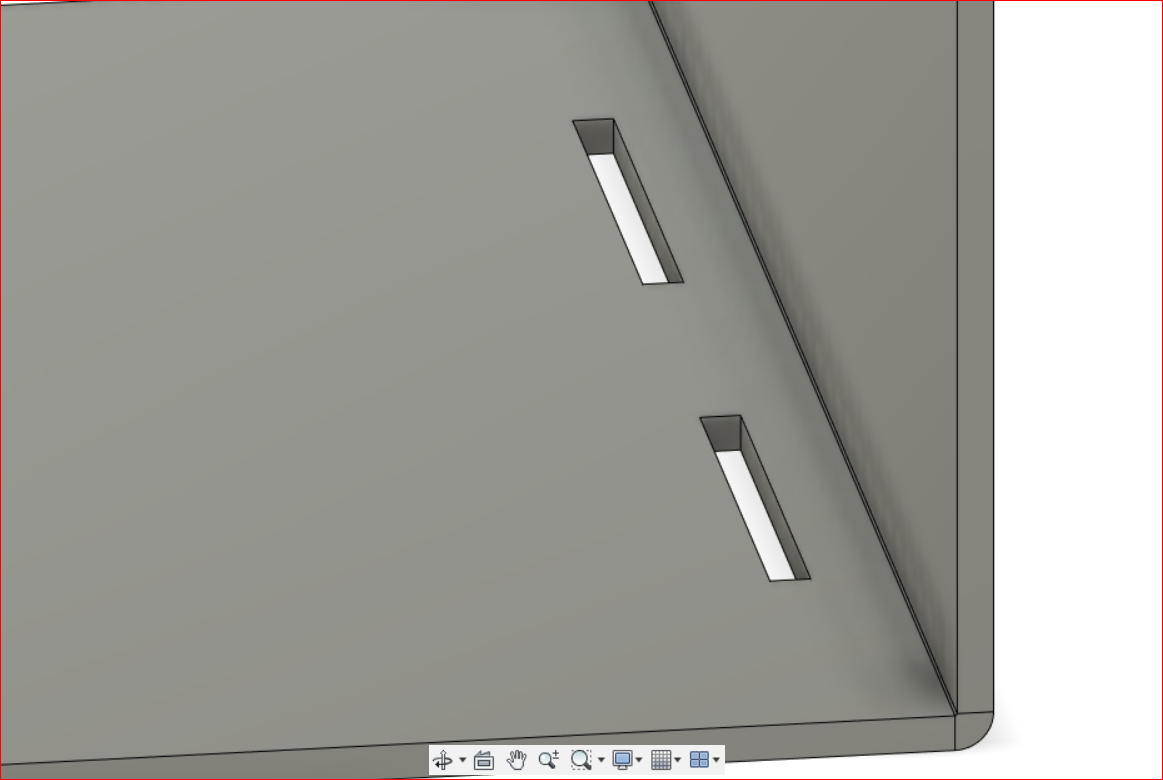
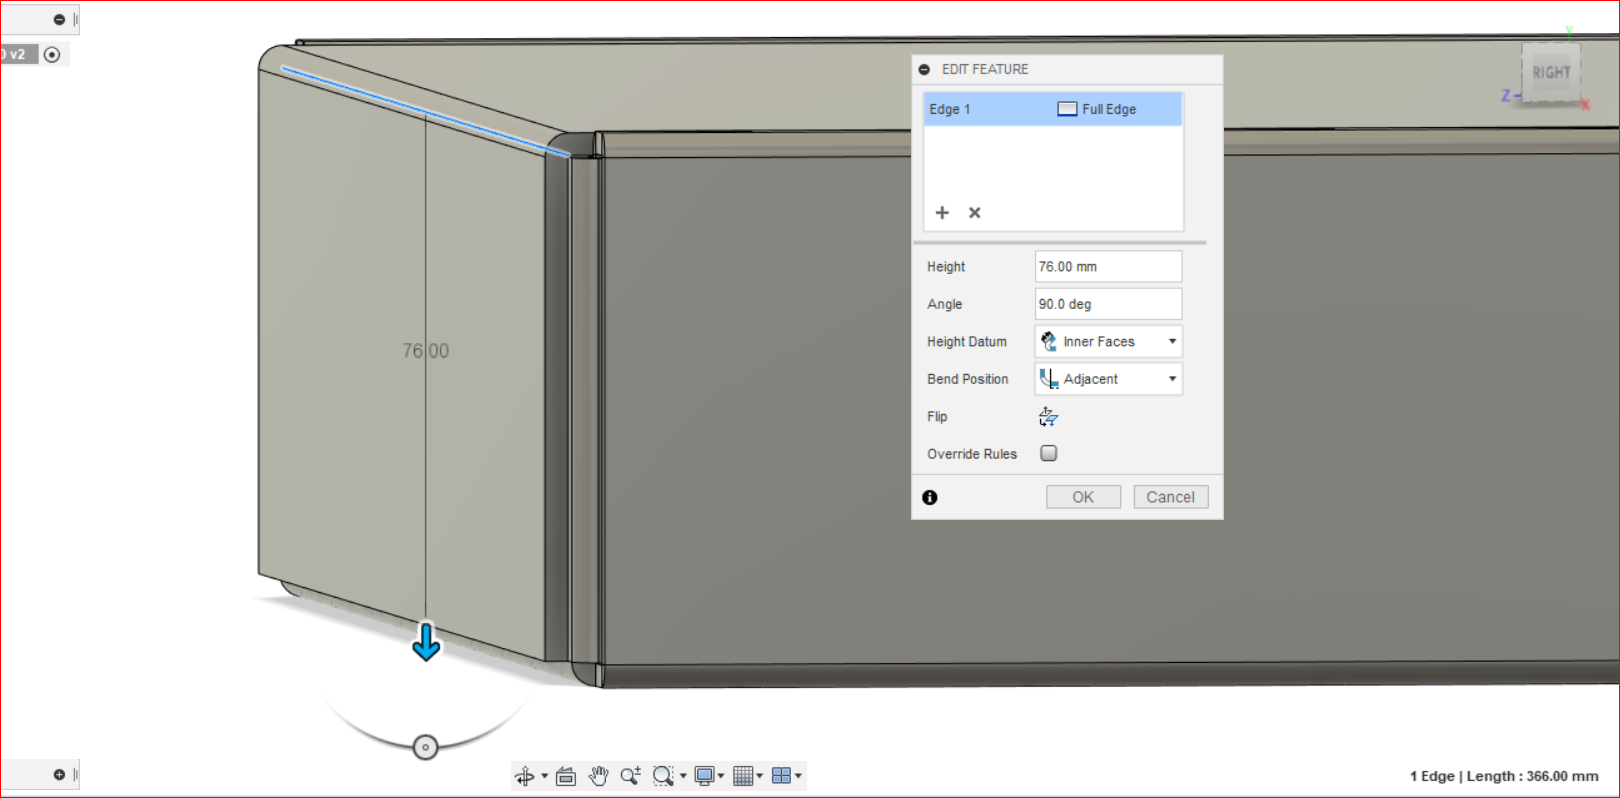
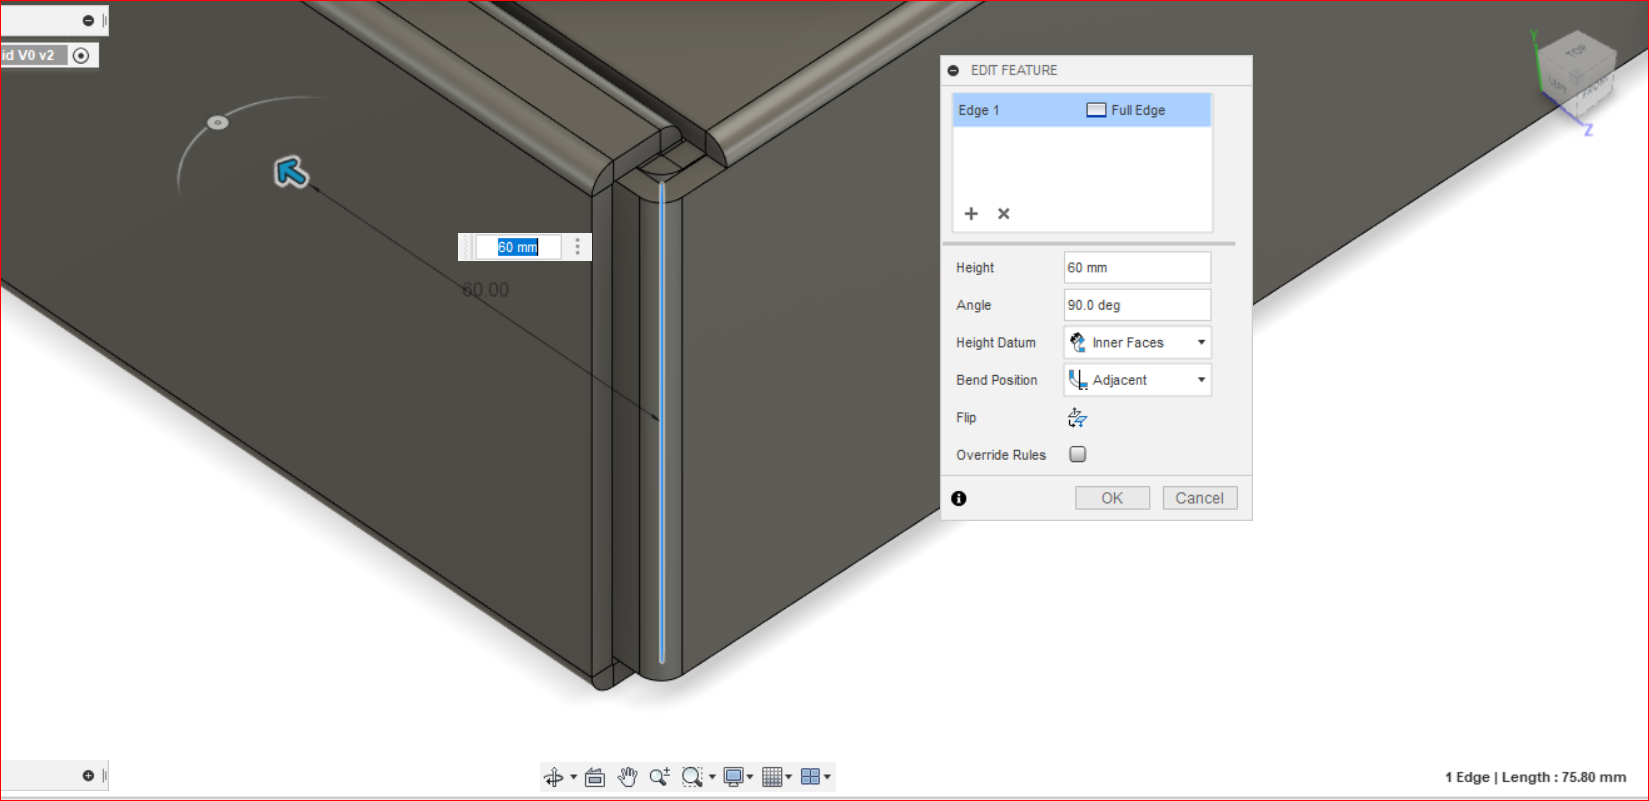
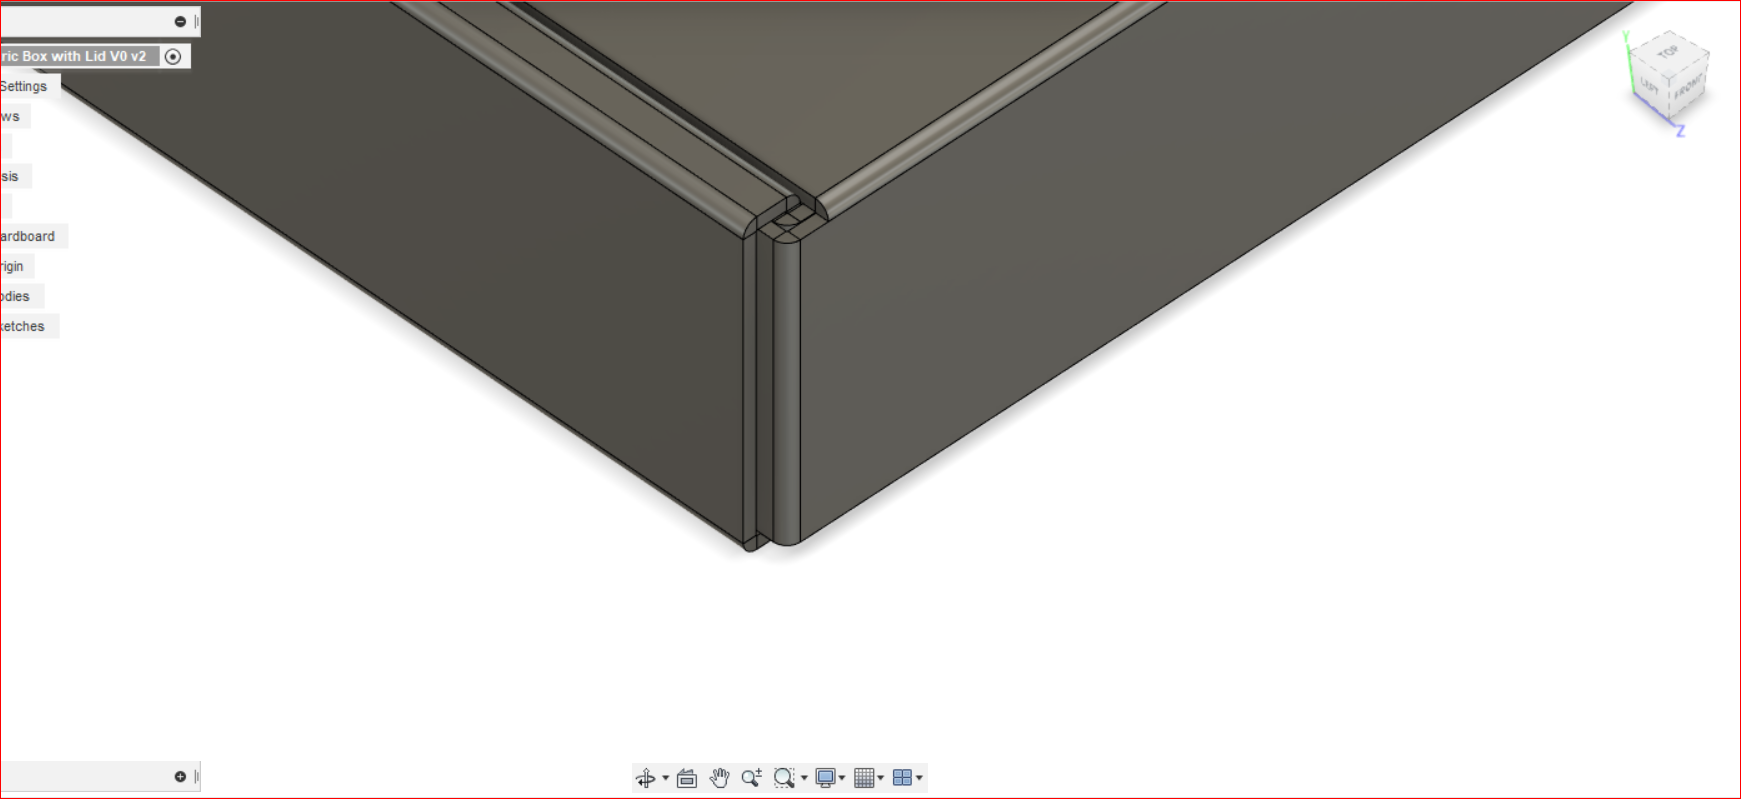
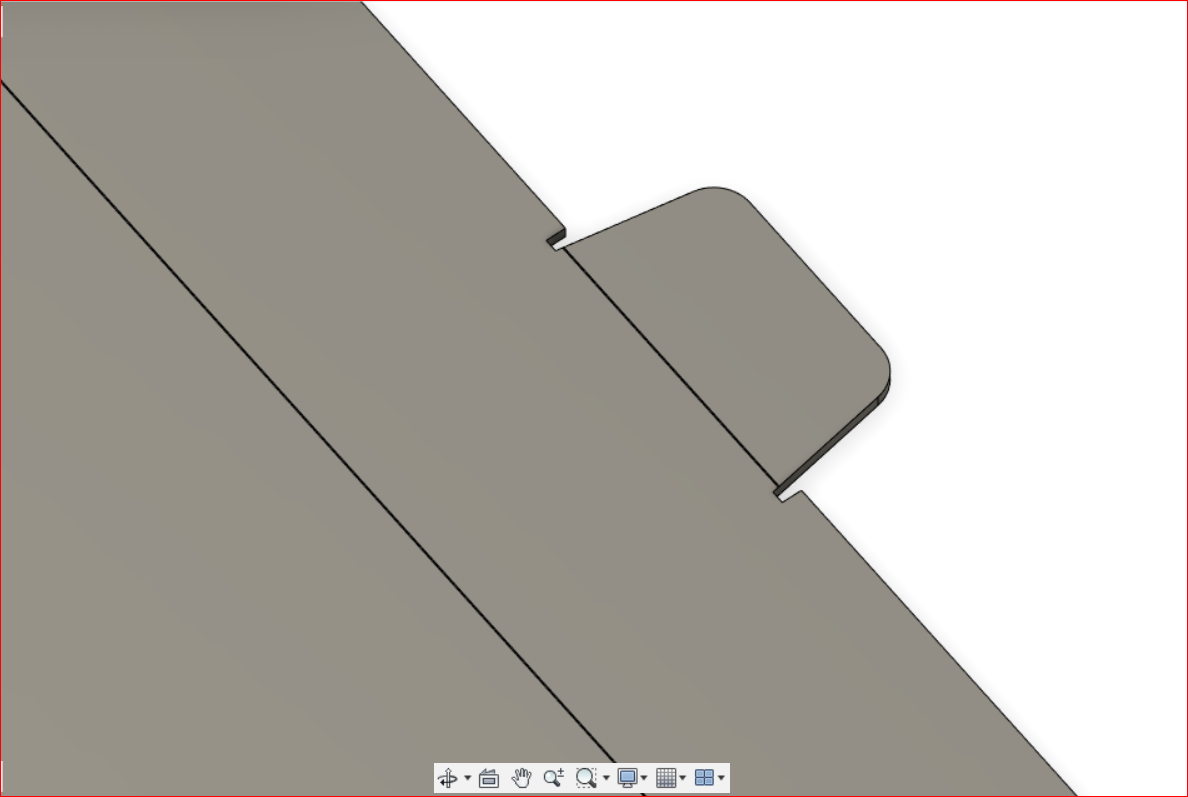
 Do the same to the other side.

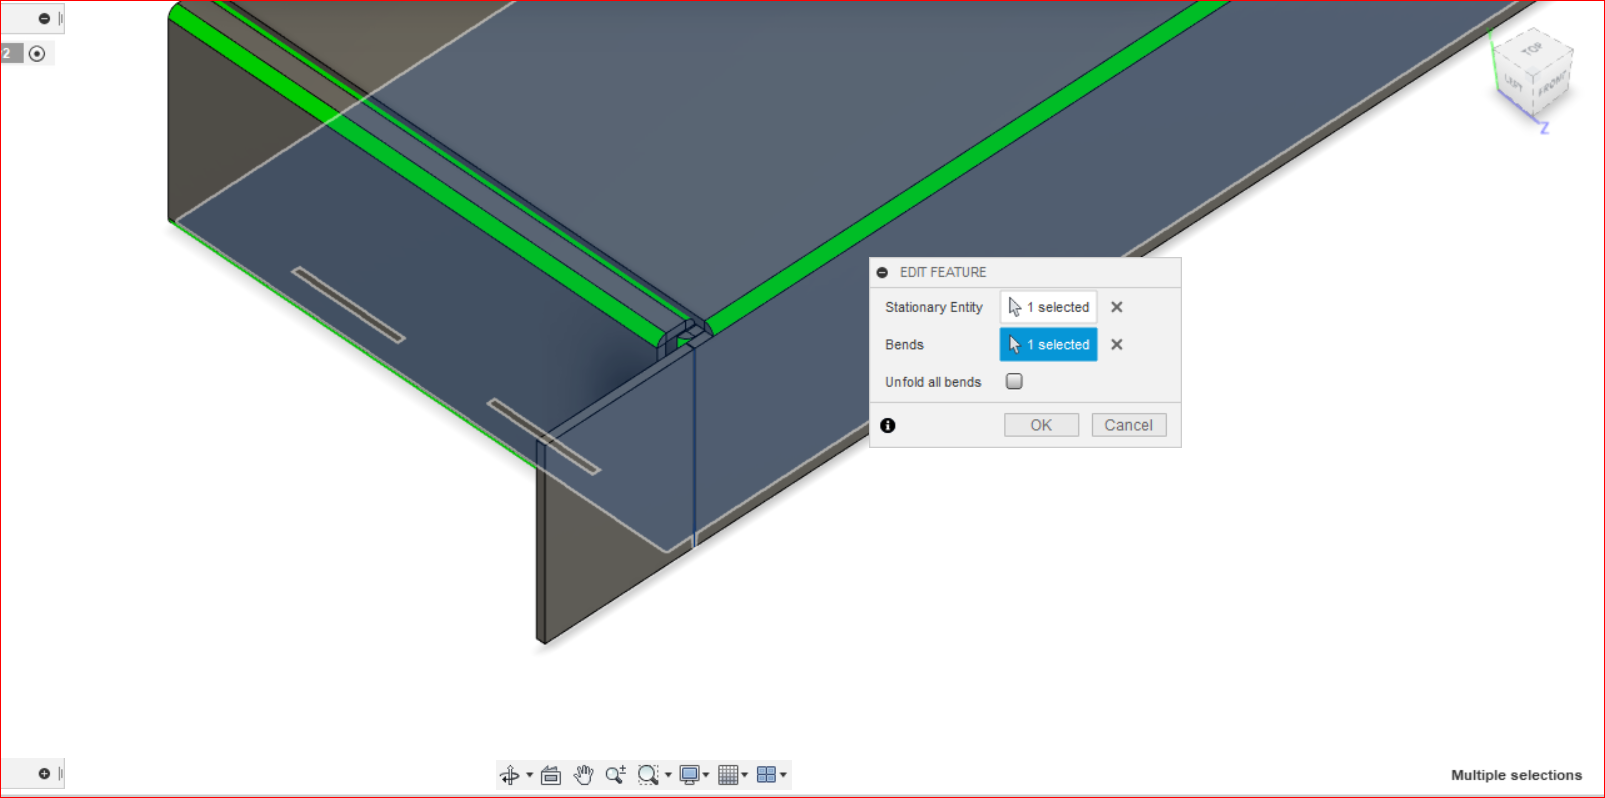
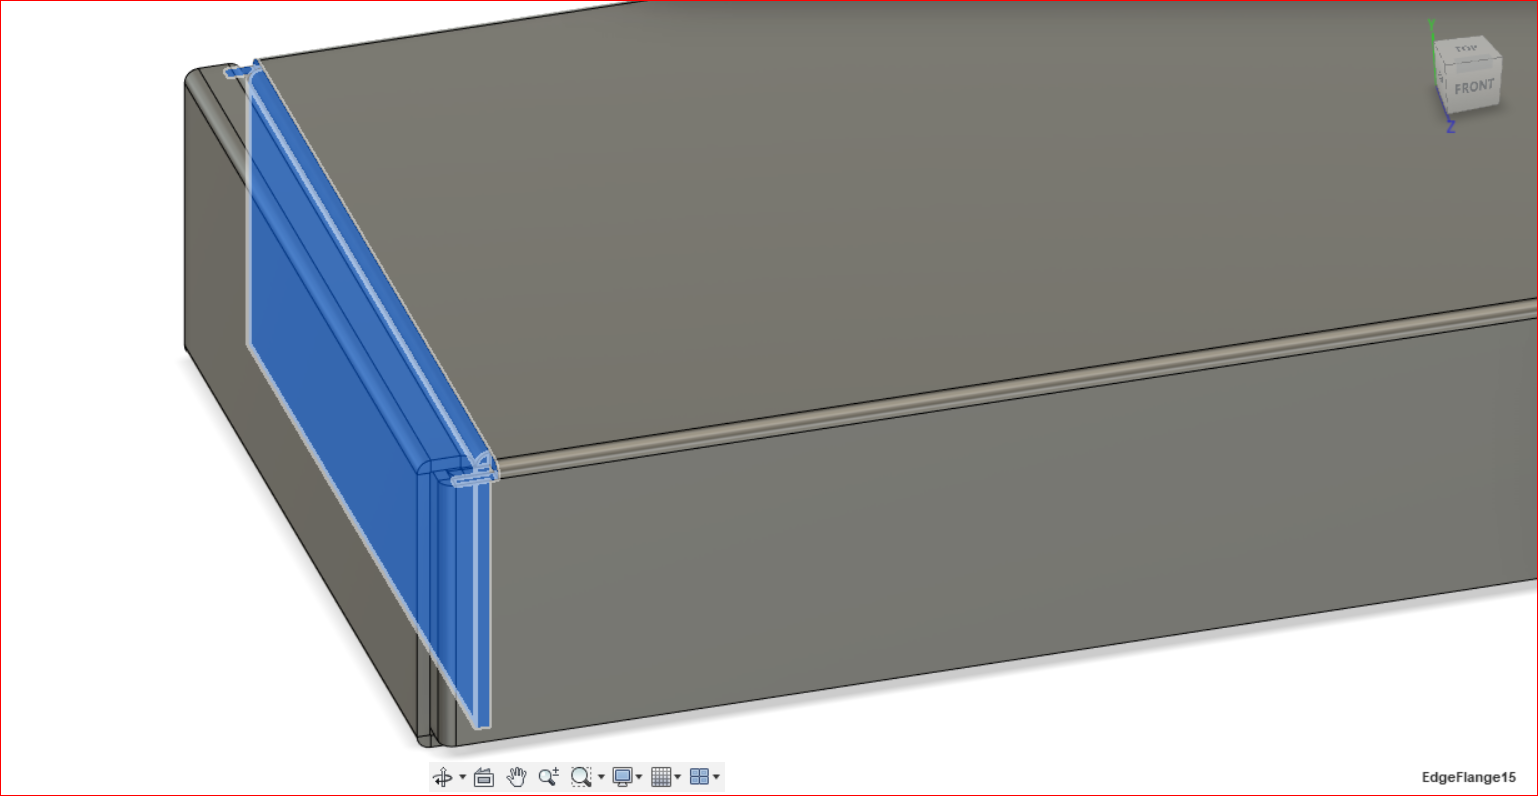
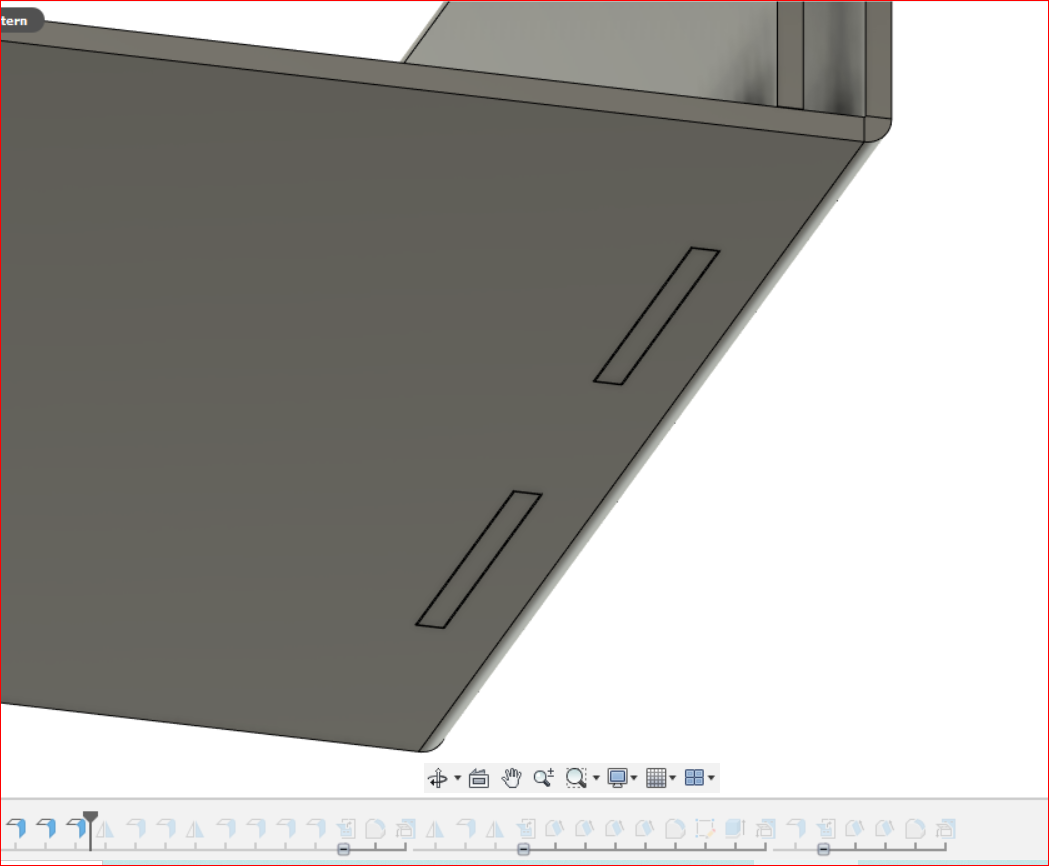
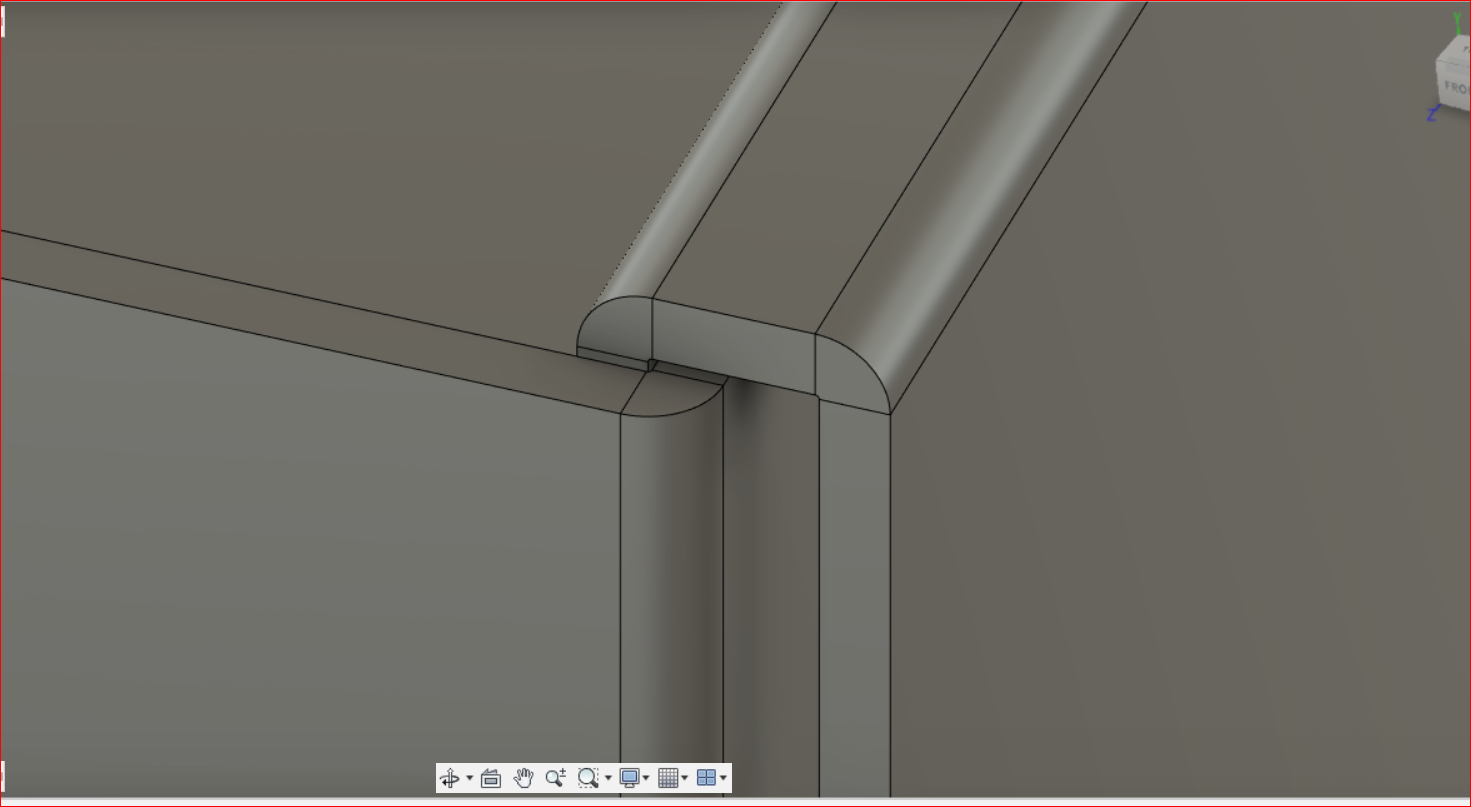
 This means, everything's well.

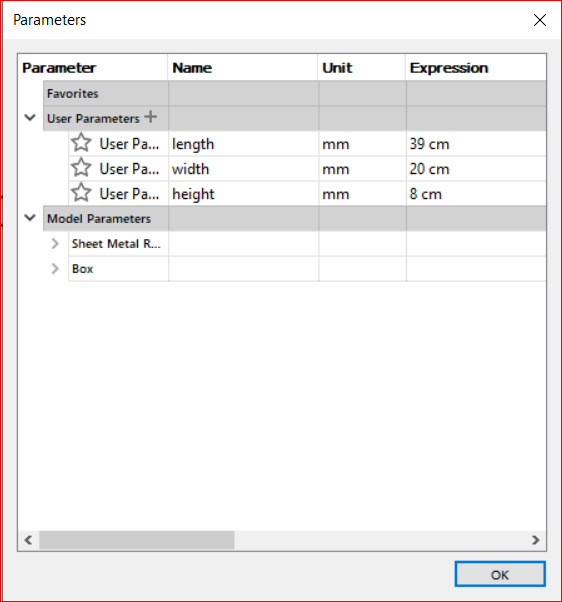
Parametricity:
-
200 X 200 X 80:
-
200 X 300 X 60:
-
390 X 100 X 80:
-
390 X 200 X 60:
-
390 X 200 X 80:
-
400 X 300 X 60:
Parametricity, without Lid:
-
200 X 200 X 80:
-
200 X 300 X 60:

-
390 X 100 X 80:
-
390 X 200 X 60:
-
390 X 200 X 80:
-
400 X 300 X 60:
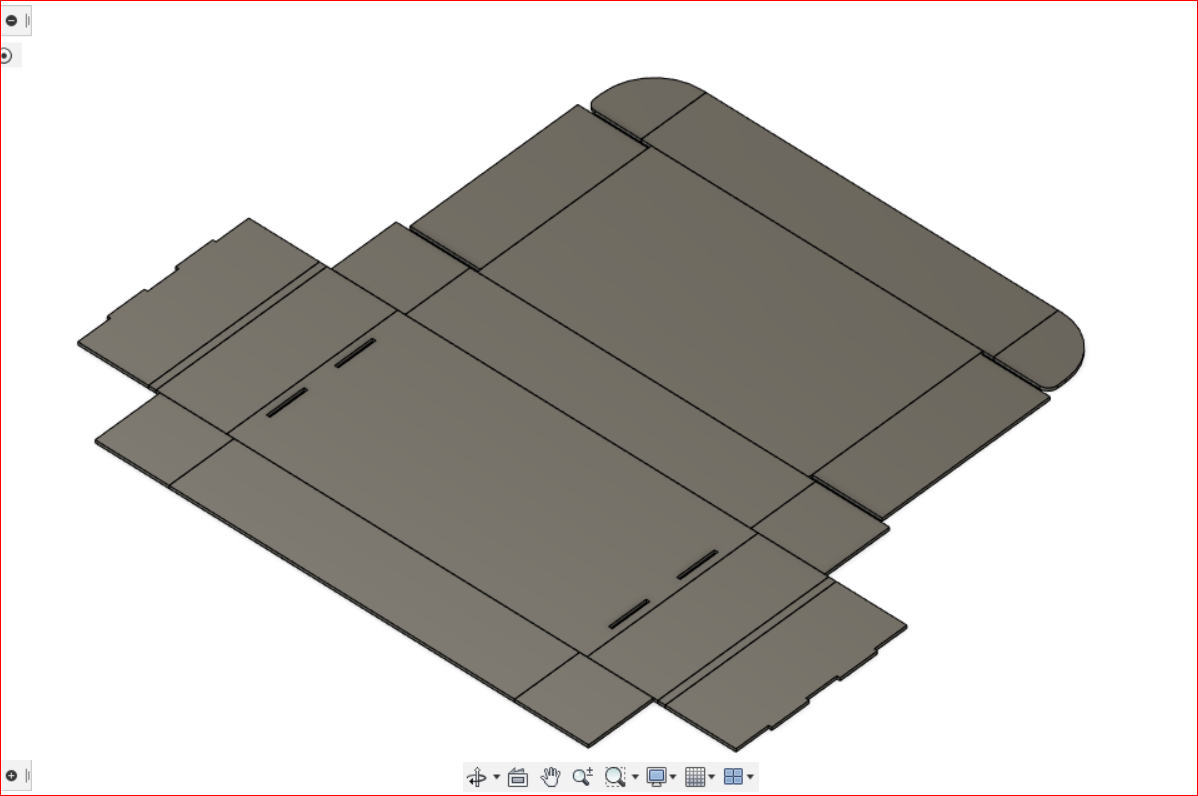
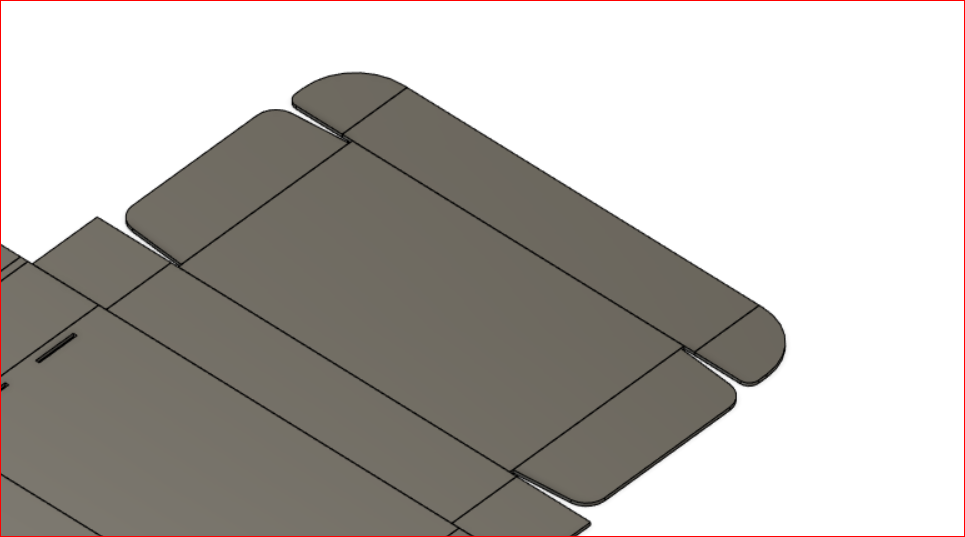
Final DXF:
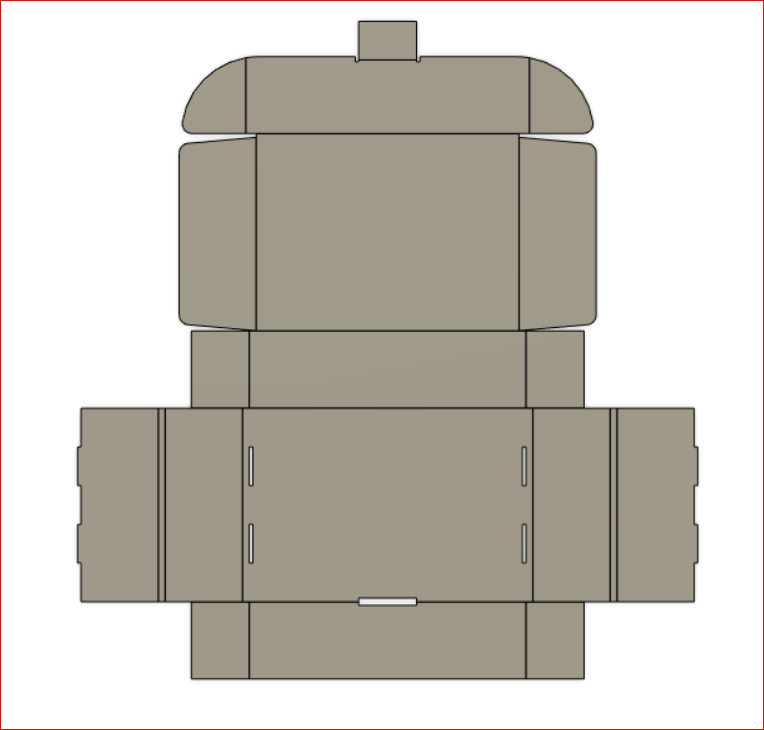

DXF
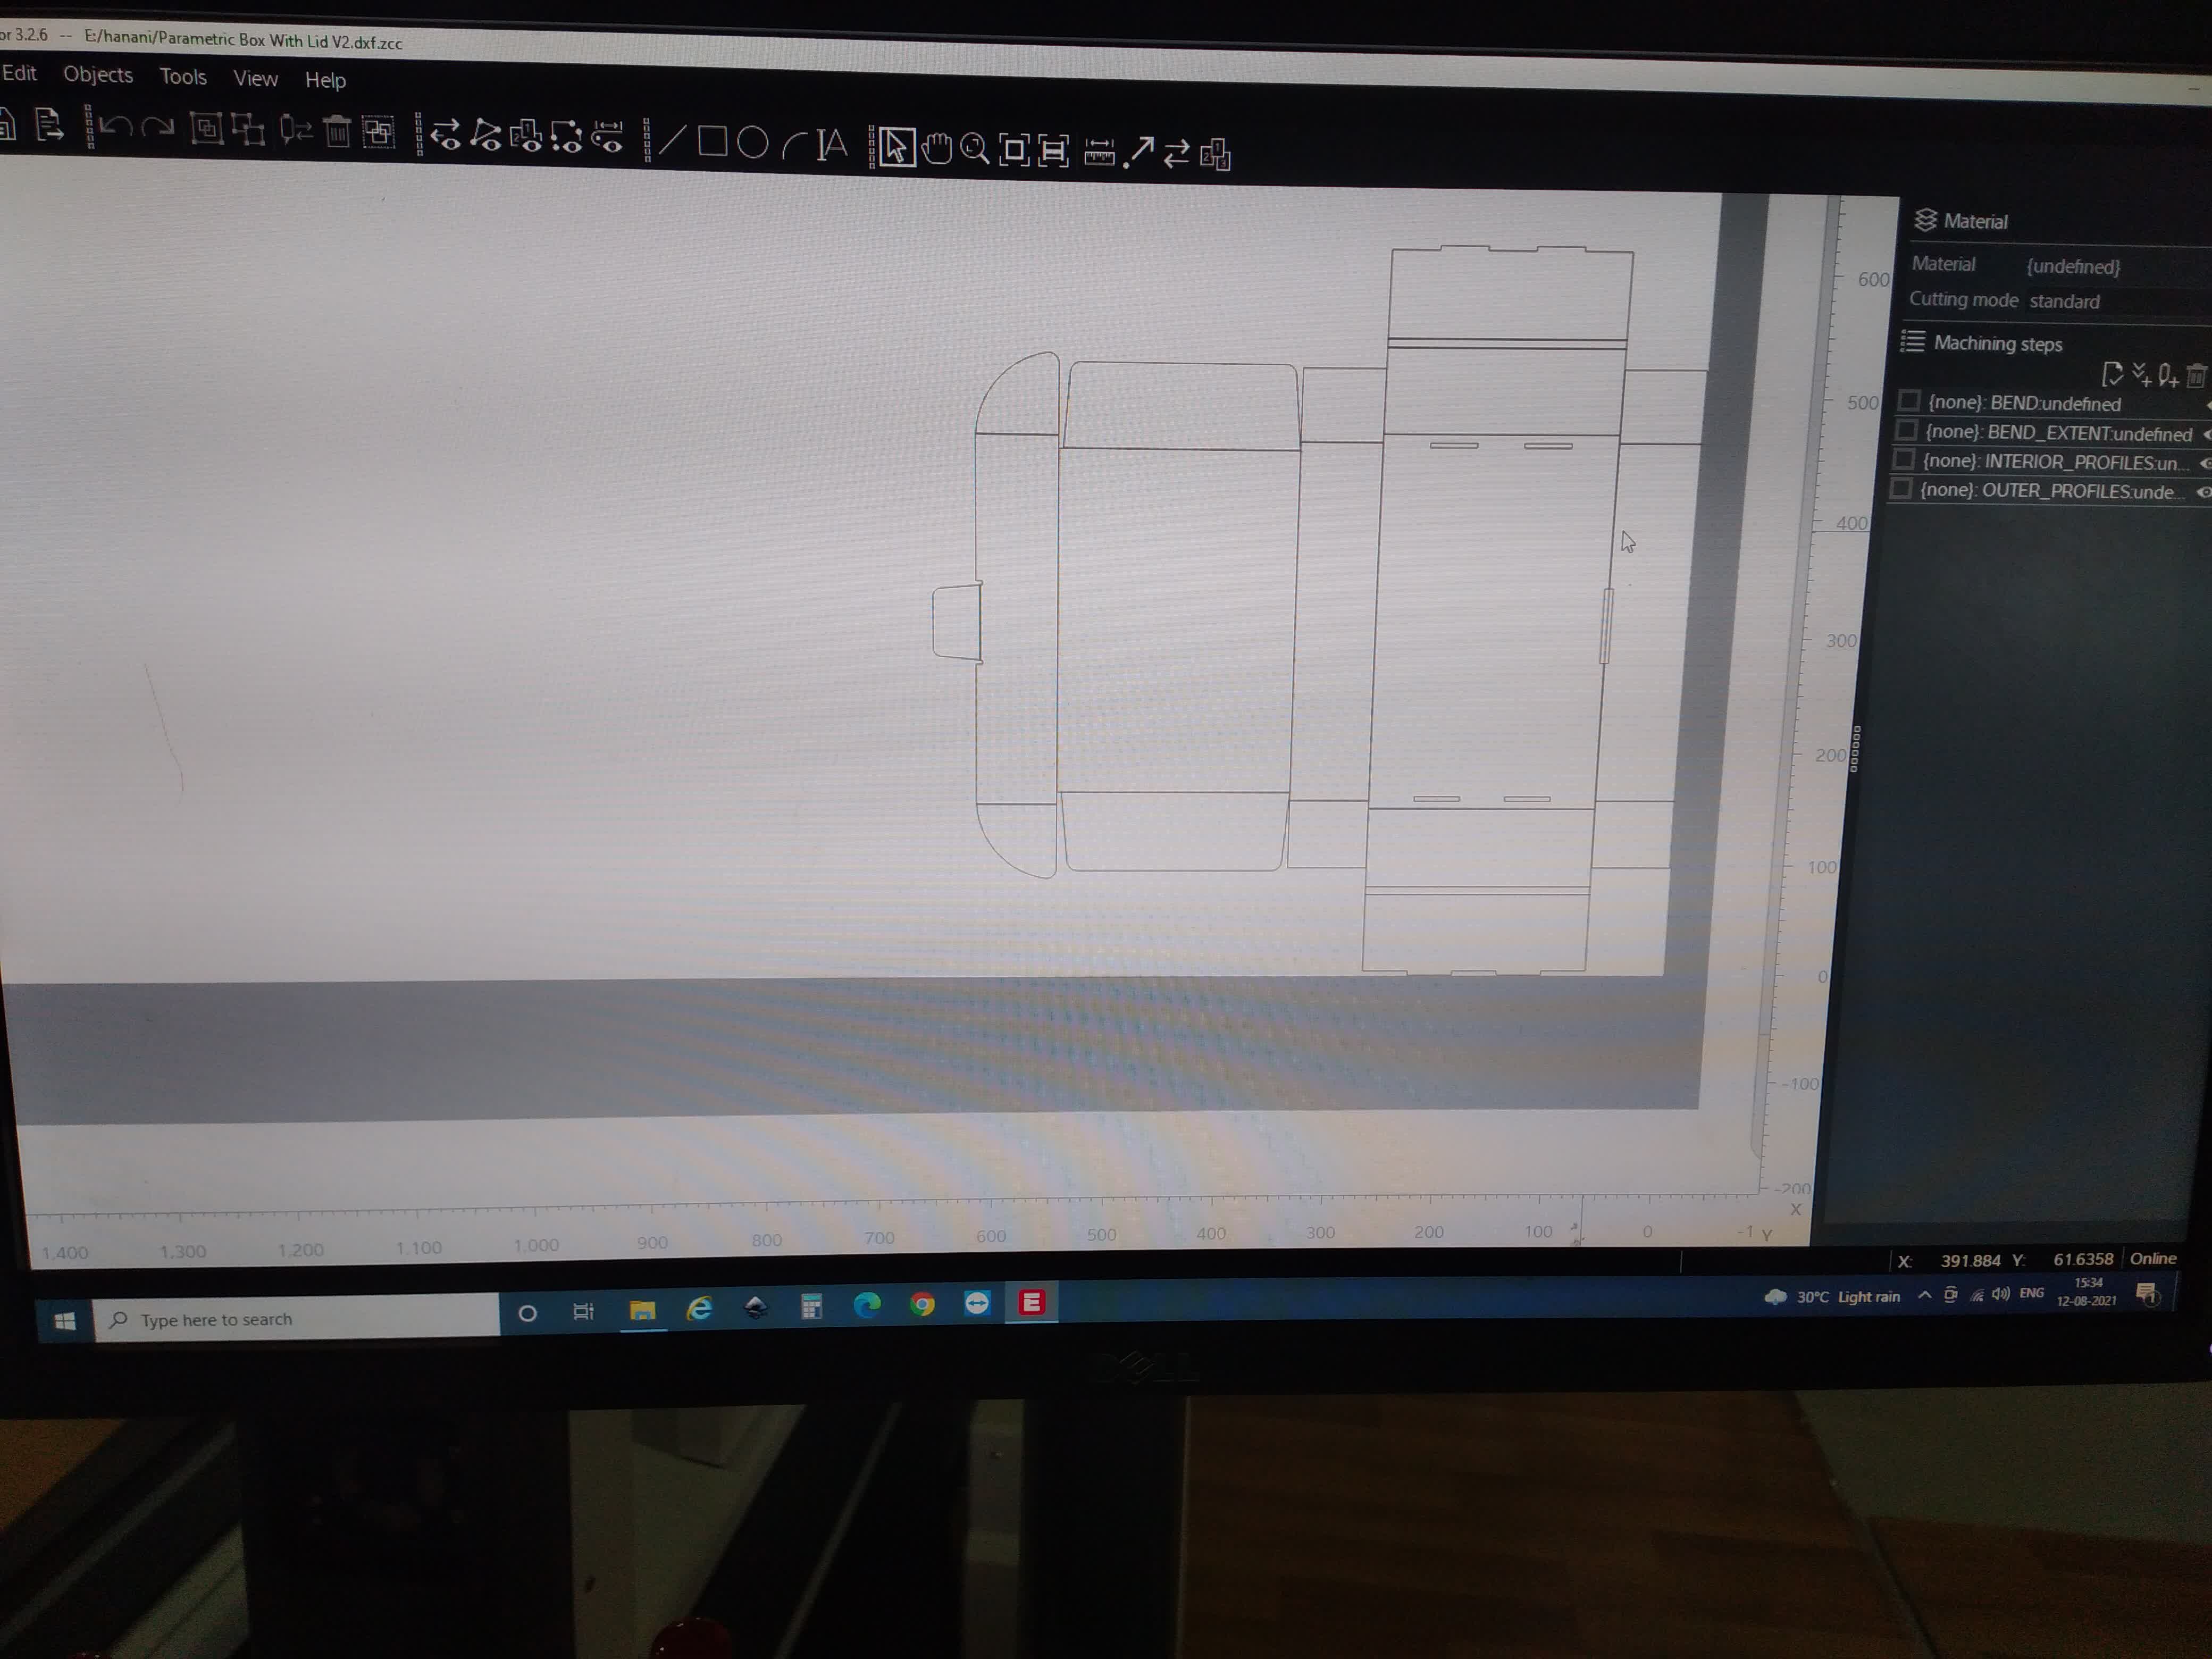
Fabrication:
Since, this is a very costly machine. Bulk of this process is done by my instructor. I will write down what I remember.
- Import the .DXF file 1:1 scale.
- There are two main attributes in my design: Cut and Crease.
- Select the lines you want to crease. Right click and select change method >> new method and select method attributes, and select crease.
- Group them.
- Do the same with lines you want to cut.
- Next, you will have to home positioning. My home is at bottom-right.
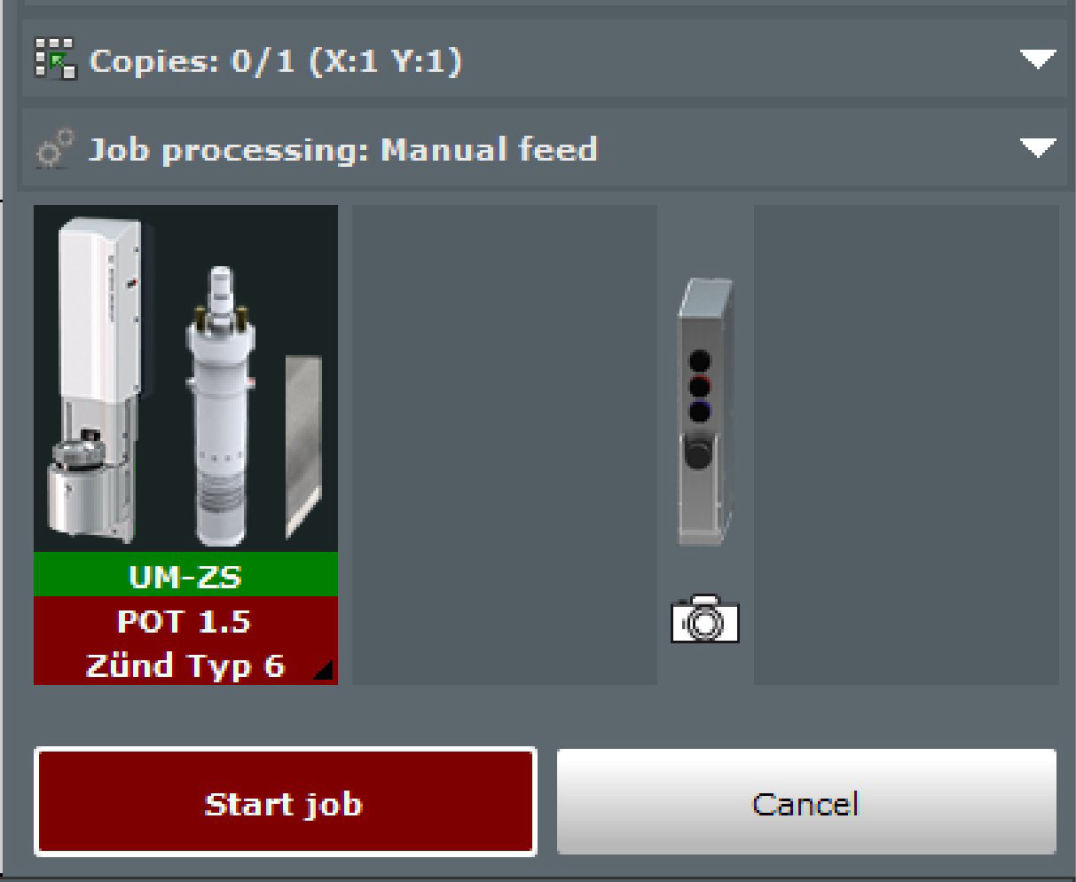
- Hit the send button.
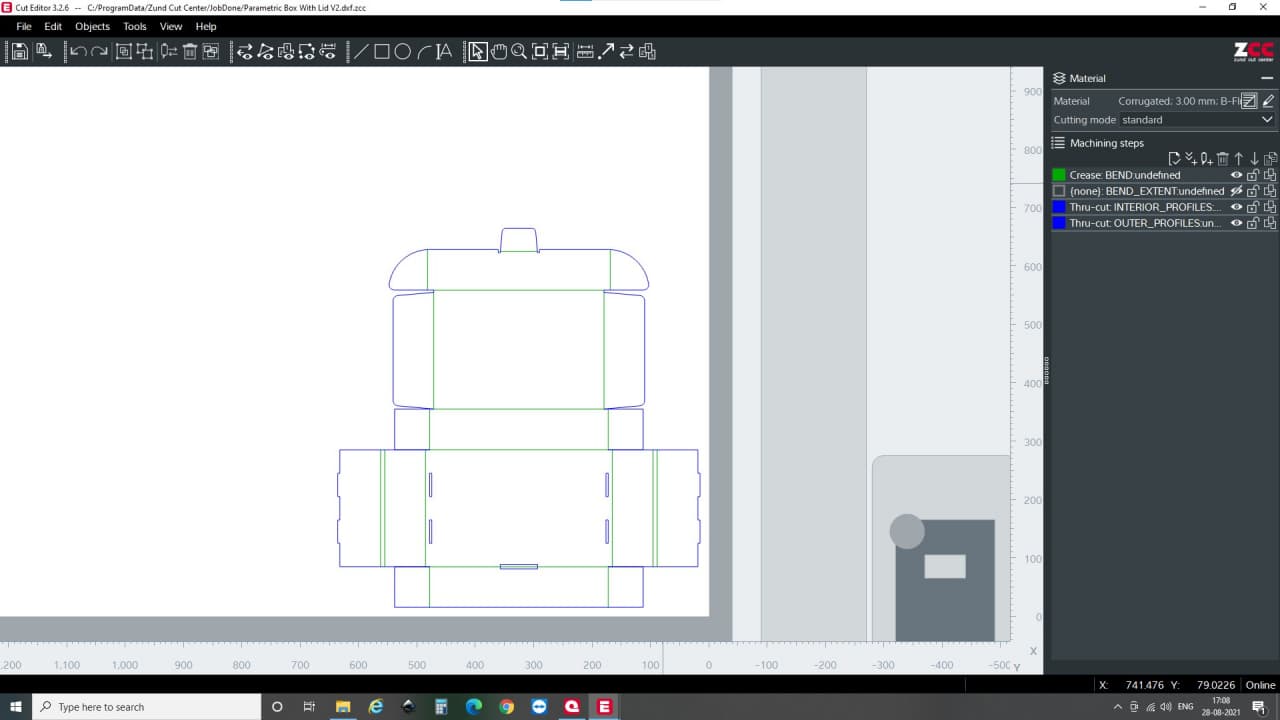
- Then, you will be redirected to Cut Queue. Choose you file. Then, you will be redirected to Cut Center.
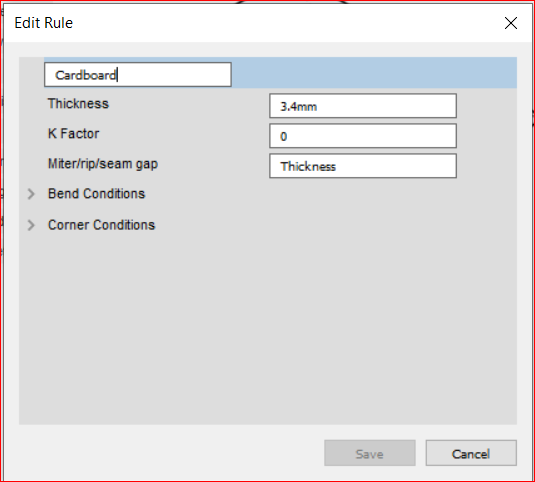
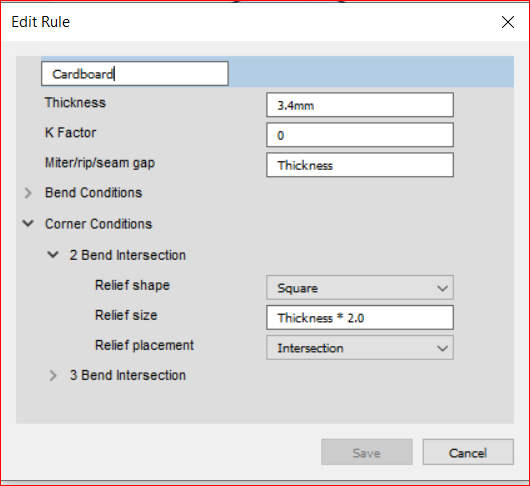
- You will be prompted to choose the material. My design is based on 3.3mm thick B flute cardboard.
- For tool selection, I chose "Drag Knife" for cutting, and the tool must be 0.1mm above the bed.
- For "Creasing", I chose CTT, and the clearing distance is 5mm. Clearing distance is the distance of the crease-wheel's center from the corner. It is set up to reduce unnecessary crease.
- Similarly, Crease Depth along flute[Parallel to the Zigzag Structure] is given, and also Crease Depth against flute[ Perpendicular to the Zigzag] is given. Here, the depth along flute is lesser than against because, if the depth is high on along flute, it might break the outer layer of the cardboard if it falls on the down part of the flute. And, if the depth against flute is less, then it might be very hard to bend the cardboard after the process is done.
- Make sure that the operation is in order. First crease and then cut.
- Set the vaccum pressure for your material. Try to use flat material, without any bulges.
- Set the vaccum pressure equal to the required clamping force. Equate it to 4[General Value] and try to move the material. If it is not easy to move, you are good to go. But if it moves easily, increase the vacuum pressure
- You can start the simulation process now.
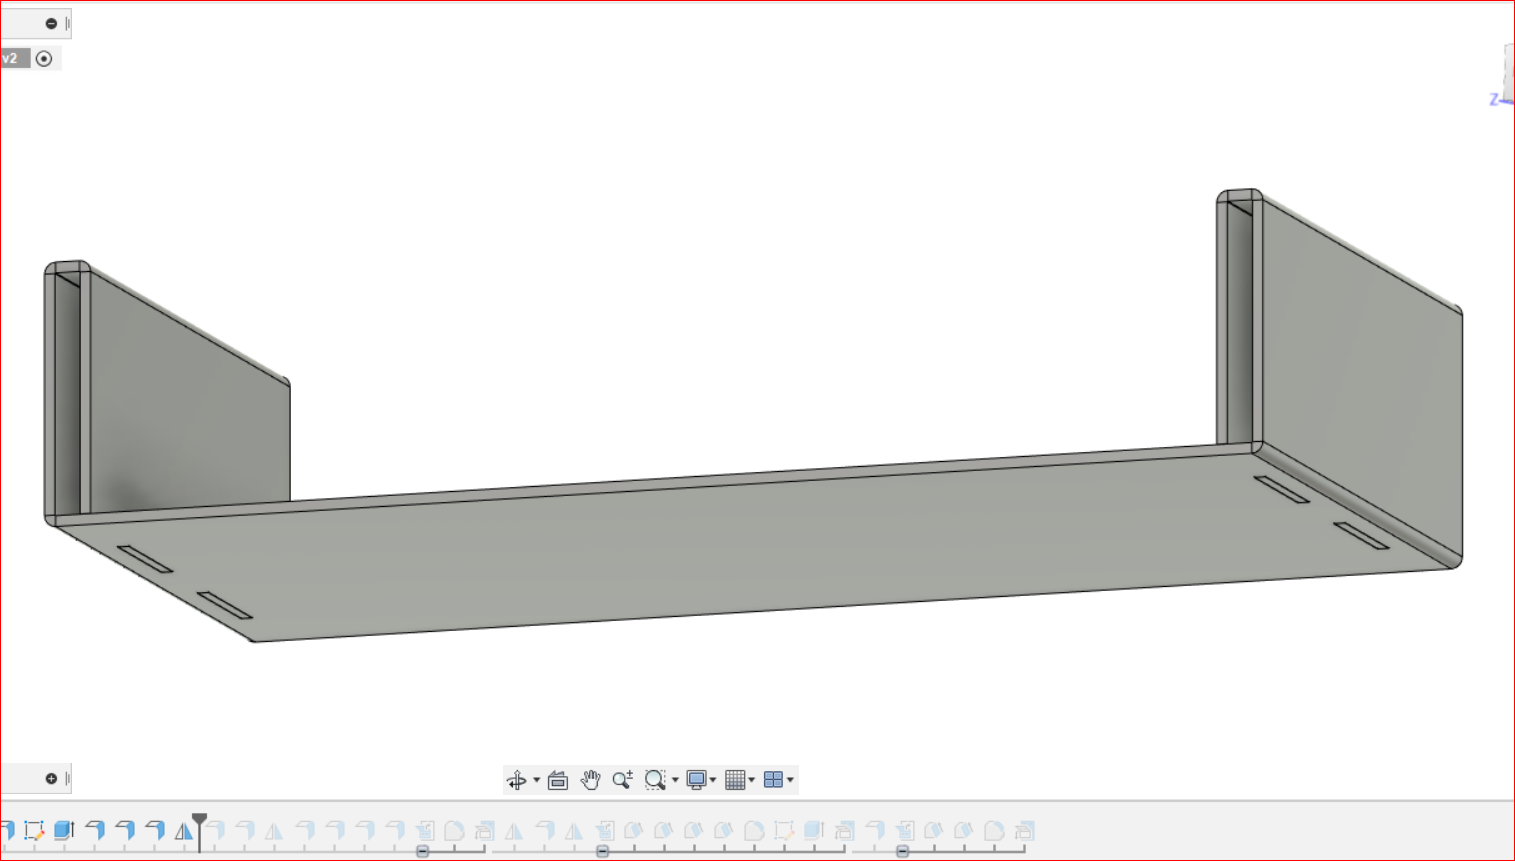
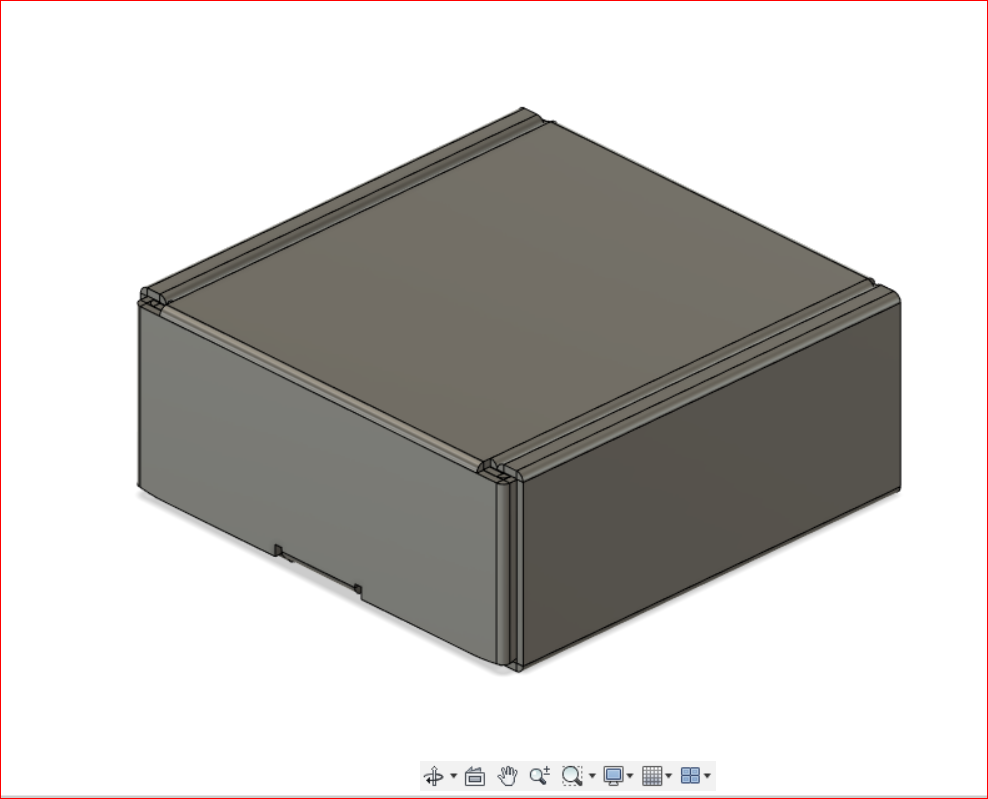
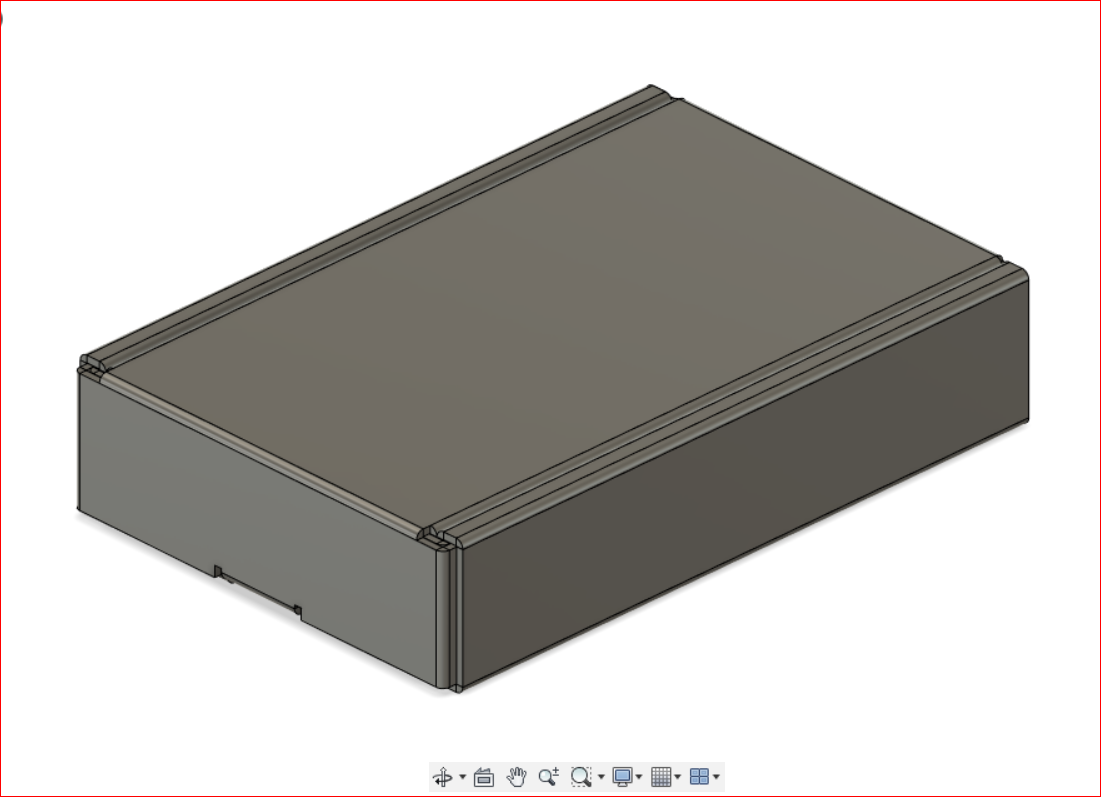
Product:
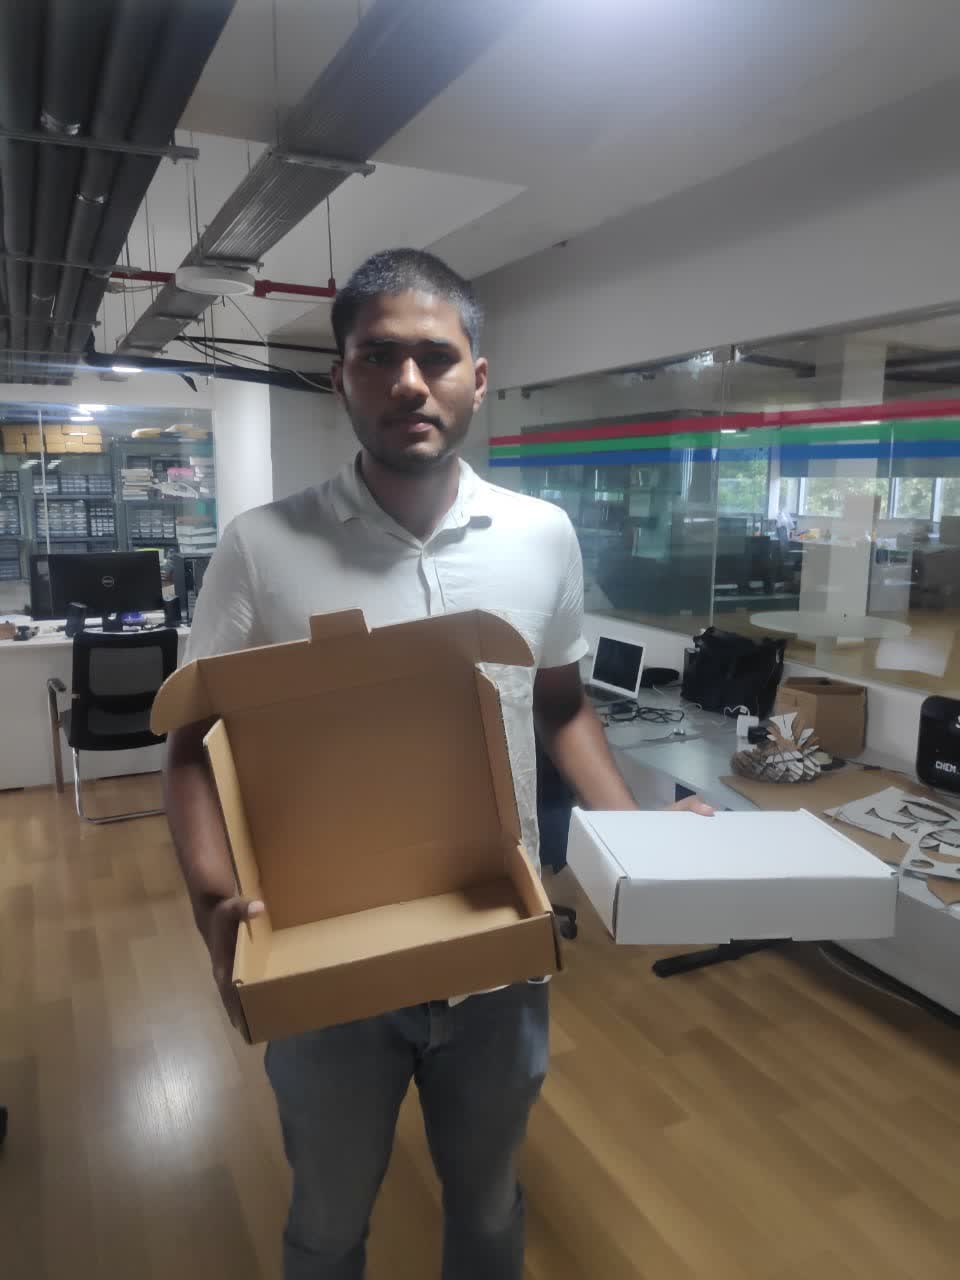
Putting it to use: