5.3D Scanning and Printing:
25-02-2021 | Jai Hanani
1. Objectives:
2.Group Assignment:
test the design rules for your 3D printer.
3.Individual Assignment:
-
design and 3D print an object (small, few cm3, limited by printer time)
that could not be made subtractively
-
3D scan an object (and optionally print it)
4. Files, Planning, Tools:
Files:
Planning:
- Research about different 3D printing techniques.
- Understand the working procedure of our lab printer.
- Do the group assignment
- Design an object to be printed.
- Research on the various procedures of 3D scanning
- 3D scan an object.
Tools:
- Ultimaker 3D Printer
- Ultimaker Cura
- 3DScann
- Onshape
- VSCode
5. Definitions, on-the-go:
- Sinter: Coalesce into a solid or porous mass by means of heating (and usually also compression) without liquefaction.
- STL: A file format made by 3D systems(Stereolithography guys)
- Tessellation: Tessellation is the process of tiling a surface with one or more geometric shapes such that there are no overlaps or gaps. If you have ever seen a tiled floor or wall, that is a good real life example of tessellation.
6. Group Assigment:
-
I had no experience with 3D printing, prior. Nonetheless, Inspired from Micky Vanzejil's Documentation,
I downloaded the "Test your 3D printer" file from thingiverse.
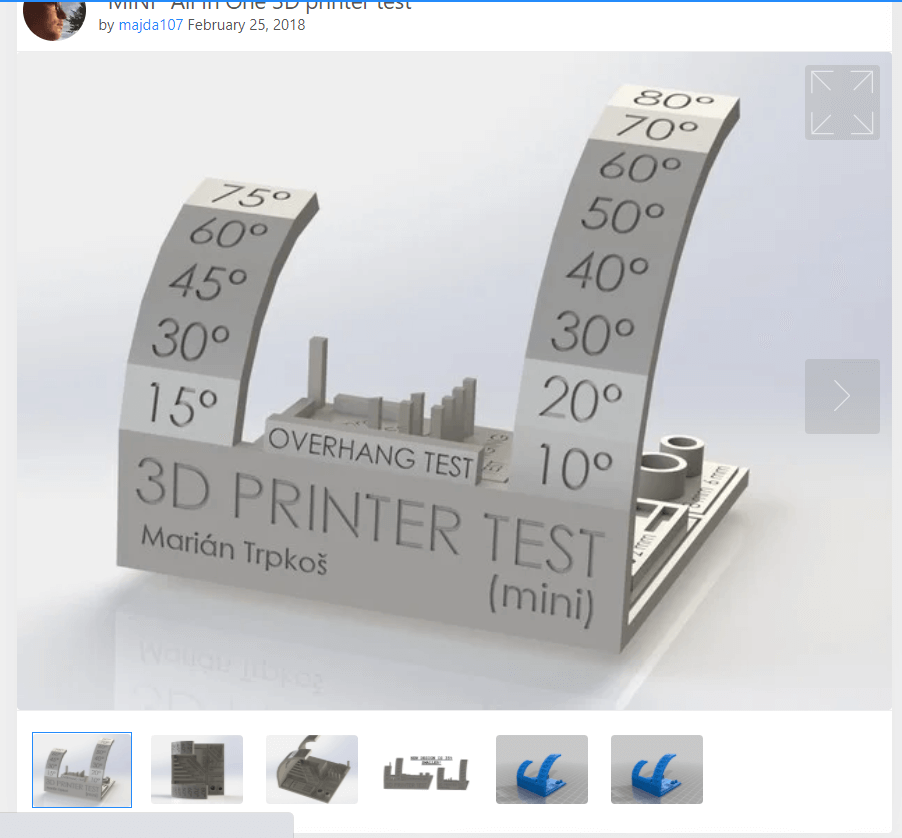
-
Downloaded the Ultimaker Cura software on to the computer.
- I didn't know that Ultimaker only accepts SD card as the input device. Unfortunately, the machine I was using did not have SD card slot.
- Load the file from thingiverse on Cura
- Use the following settings:
- Shell thickness: wall= 0.7mm,
Top/bottom =0.75mm
- Infill: 20%
- Material: Generic PLA
- Speed: 60mm/s
- Travel: Retraction checked
- Cooling: 100%
- Support: None
- Bed plate adhesion: Brim
- After everything is set up, click on slice and export the file to the external memory card
- Now after the printer is powered on please make sure that the bed is flat. There are three mannual screws below bed which is used to flatten bed manually. Refere the the mannual mentioned above for the process to make the bed flat.
- Make sure that the mateial is loaded
- Use the navigator and click on print and select the file and the printer should start printing
Final results:
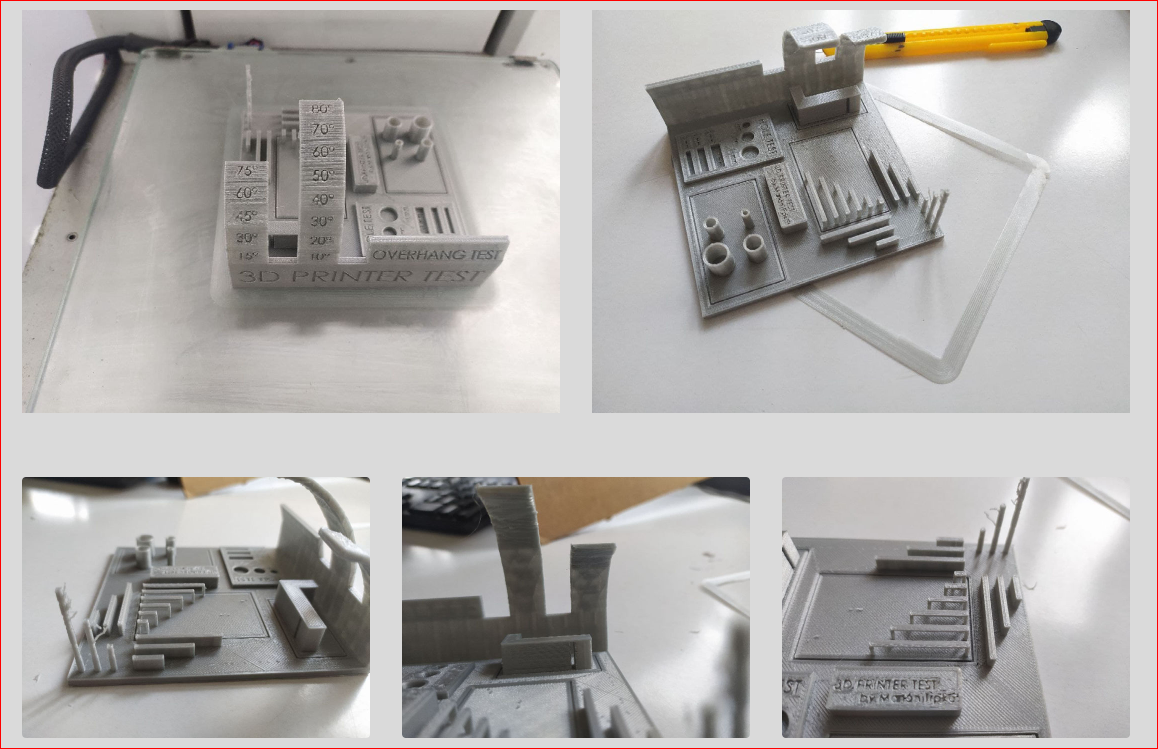
Observations:
- After everything is set up, click on slice and export the file to the external memory card
- Connect the printer to the power and turn it on.
- Now after the printer is powered on please make sure that the bed is flat. There are three mannual screws below bed which is used to flatten bed manually. Refere the the mannual mentioned above for the process to make the bed flat.
- Make sure that the mateial is loaded
- Insert the memory card in the printer
- Use the navigator and click on print and select the file and the printer should start printing
7. Preliminary 3D Print:
While I was researching for what to print to get me acquainted with the whole process, I stumbled upon the Penrose Triangle. I definitely wanted to make one from the moment I first saw it in Godel, Escher, Bach.
-
Fortunately, I could find one readily in Thingiverse. I downloaded it
-
Loaded it onto Cura. Sliced it. Sent it to print.
-
Here is the result:
Impossibility in its purest form - Roger Penrose
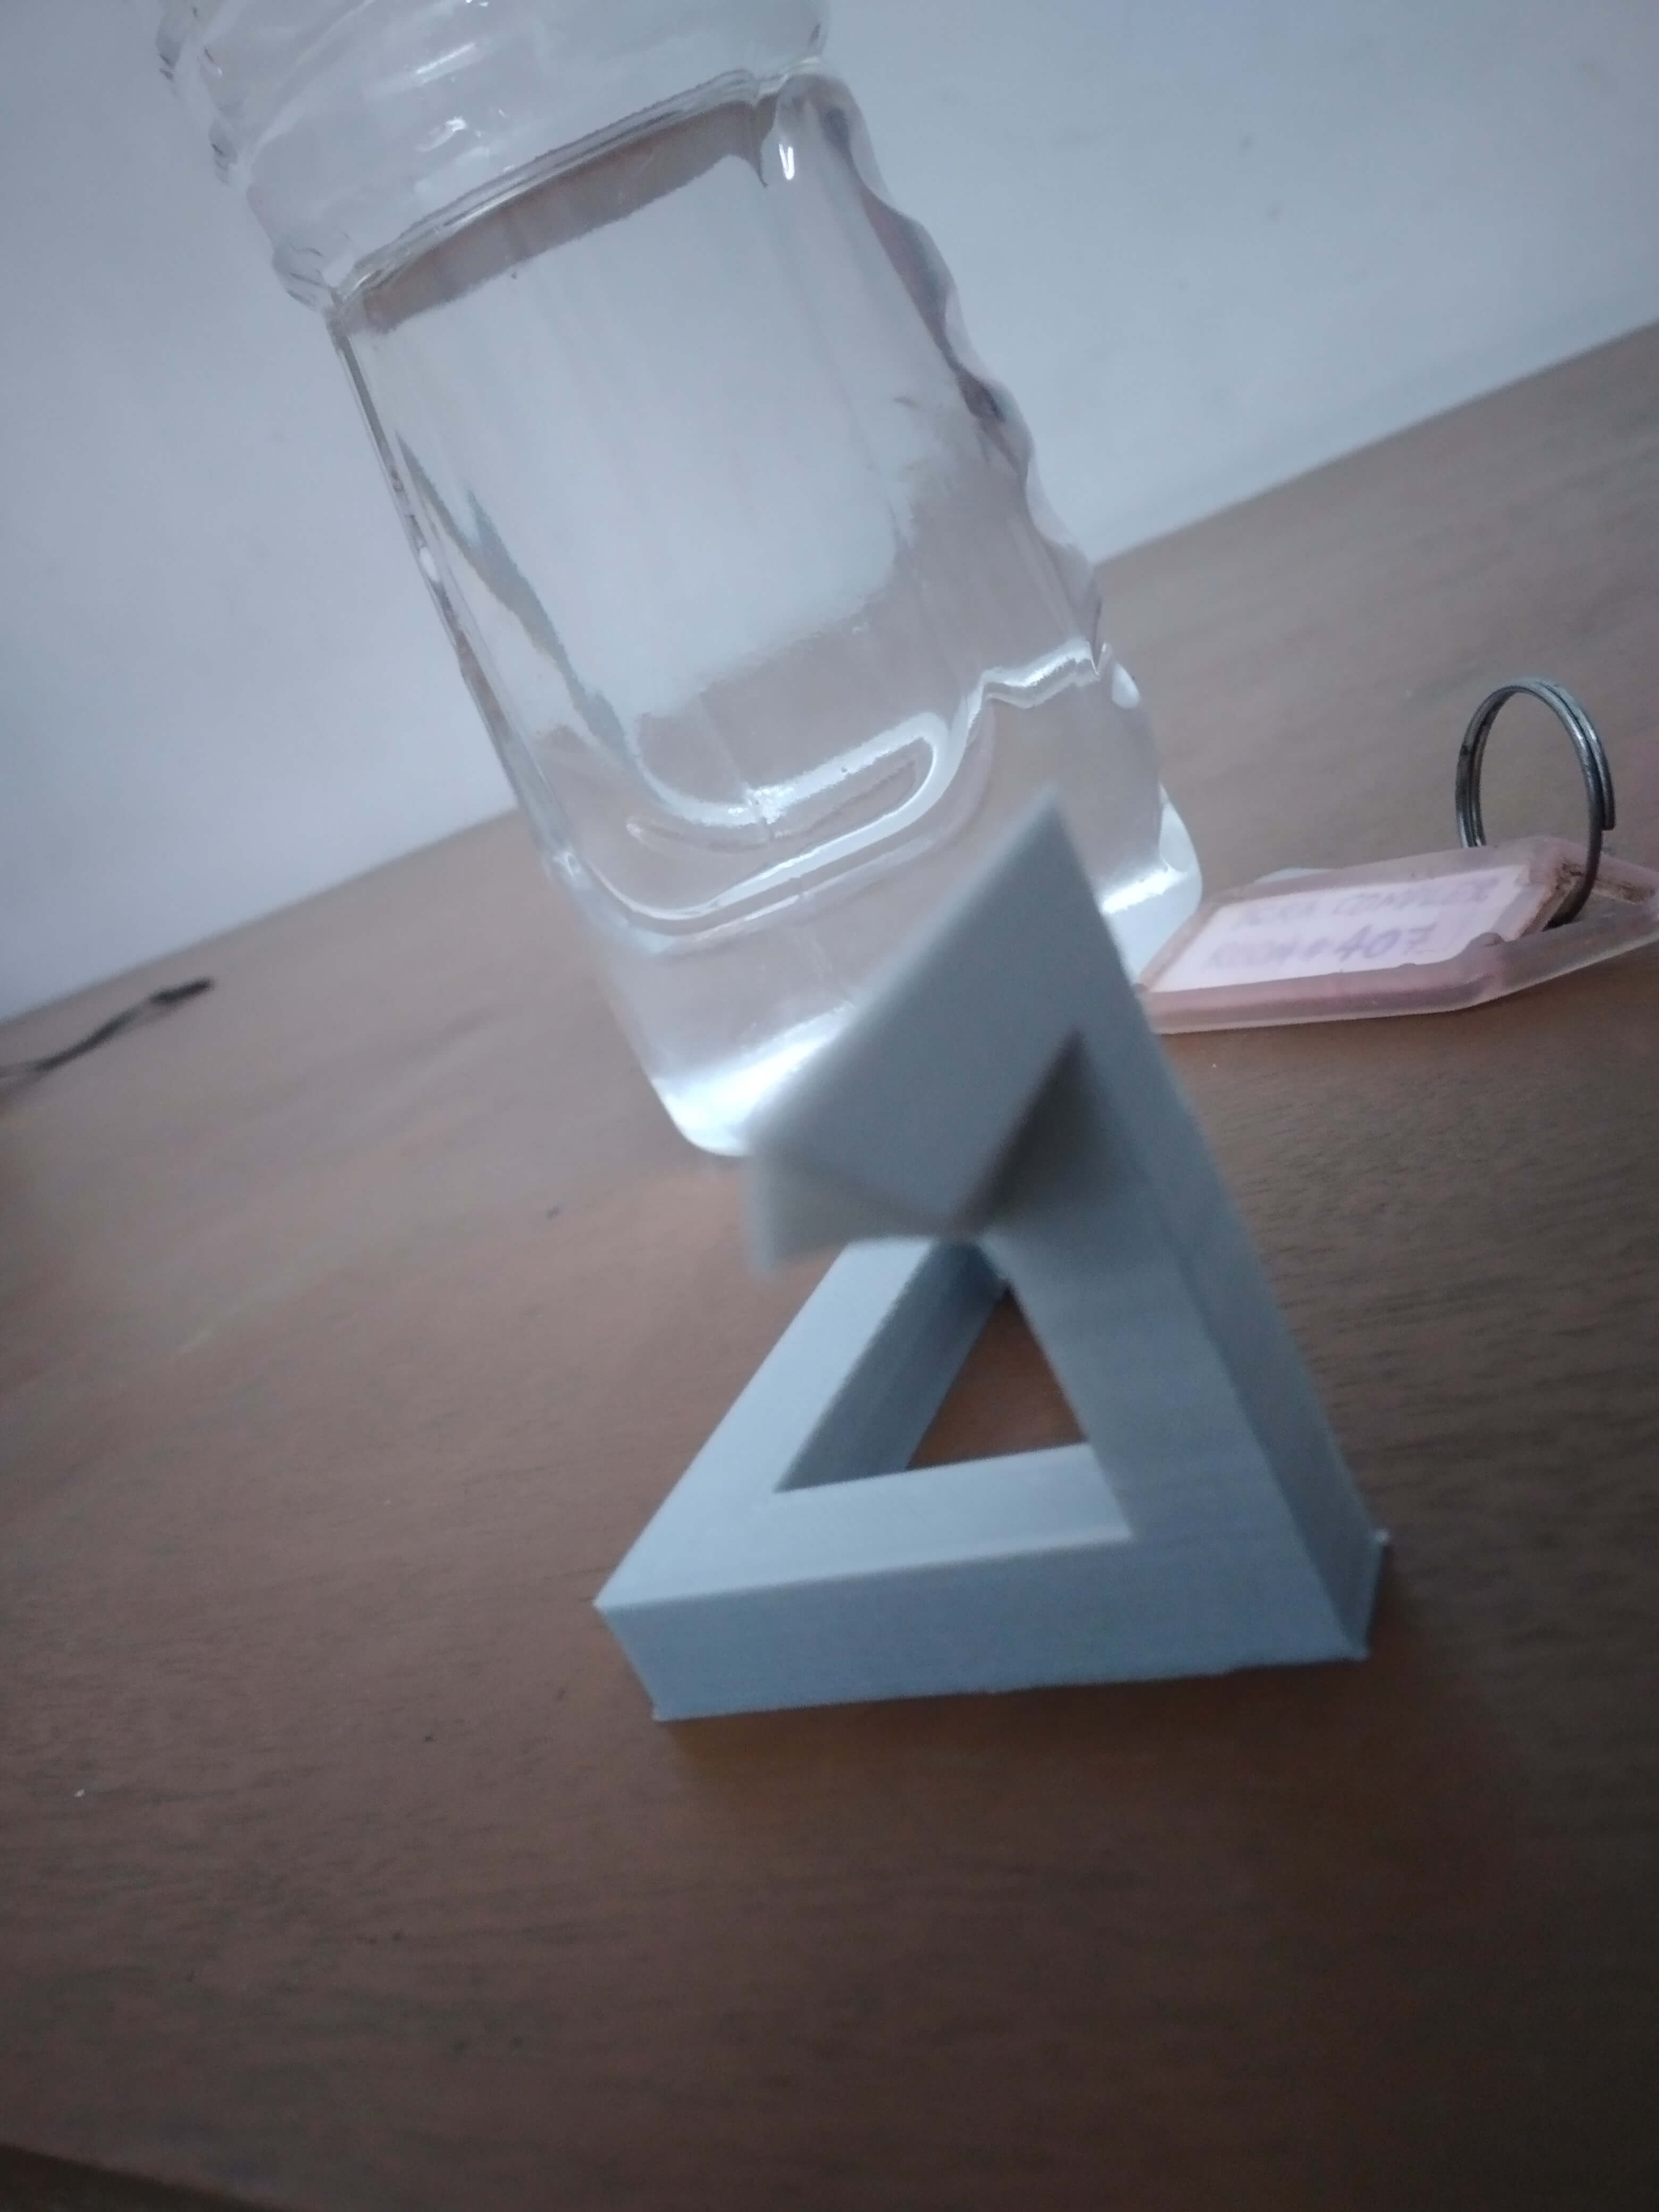 Unfortunately, this wasn't accepted as a valid assingment, by my mentors.
8. Experimenting with designs:
One of the problems I faced during the design process was the I lacked the intuition as to what constitutes "only 3D-printable"
Thus, I experimented with few designs:
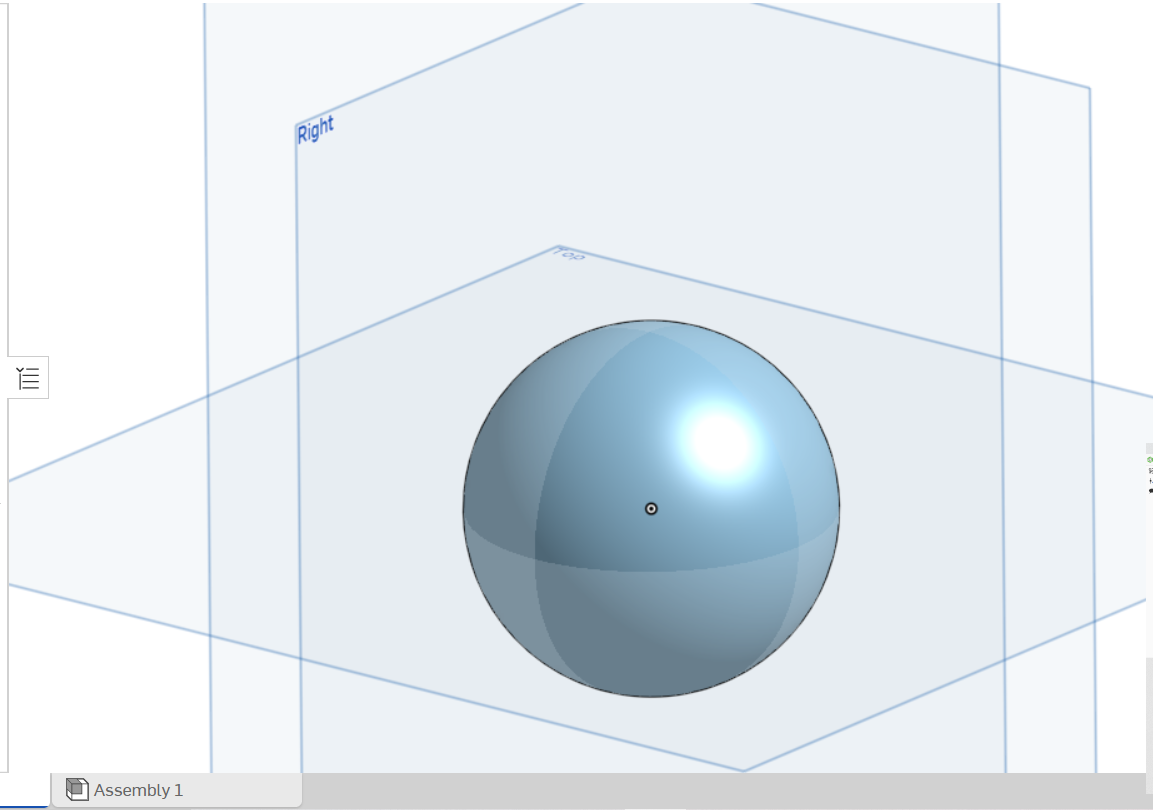
Hollow Sphere
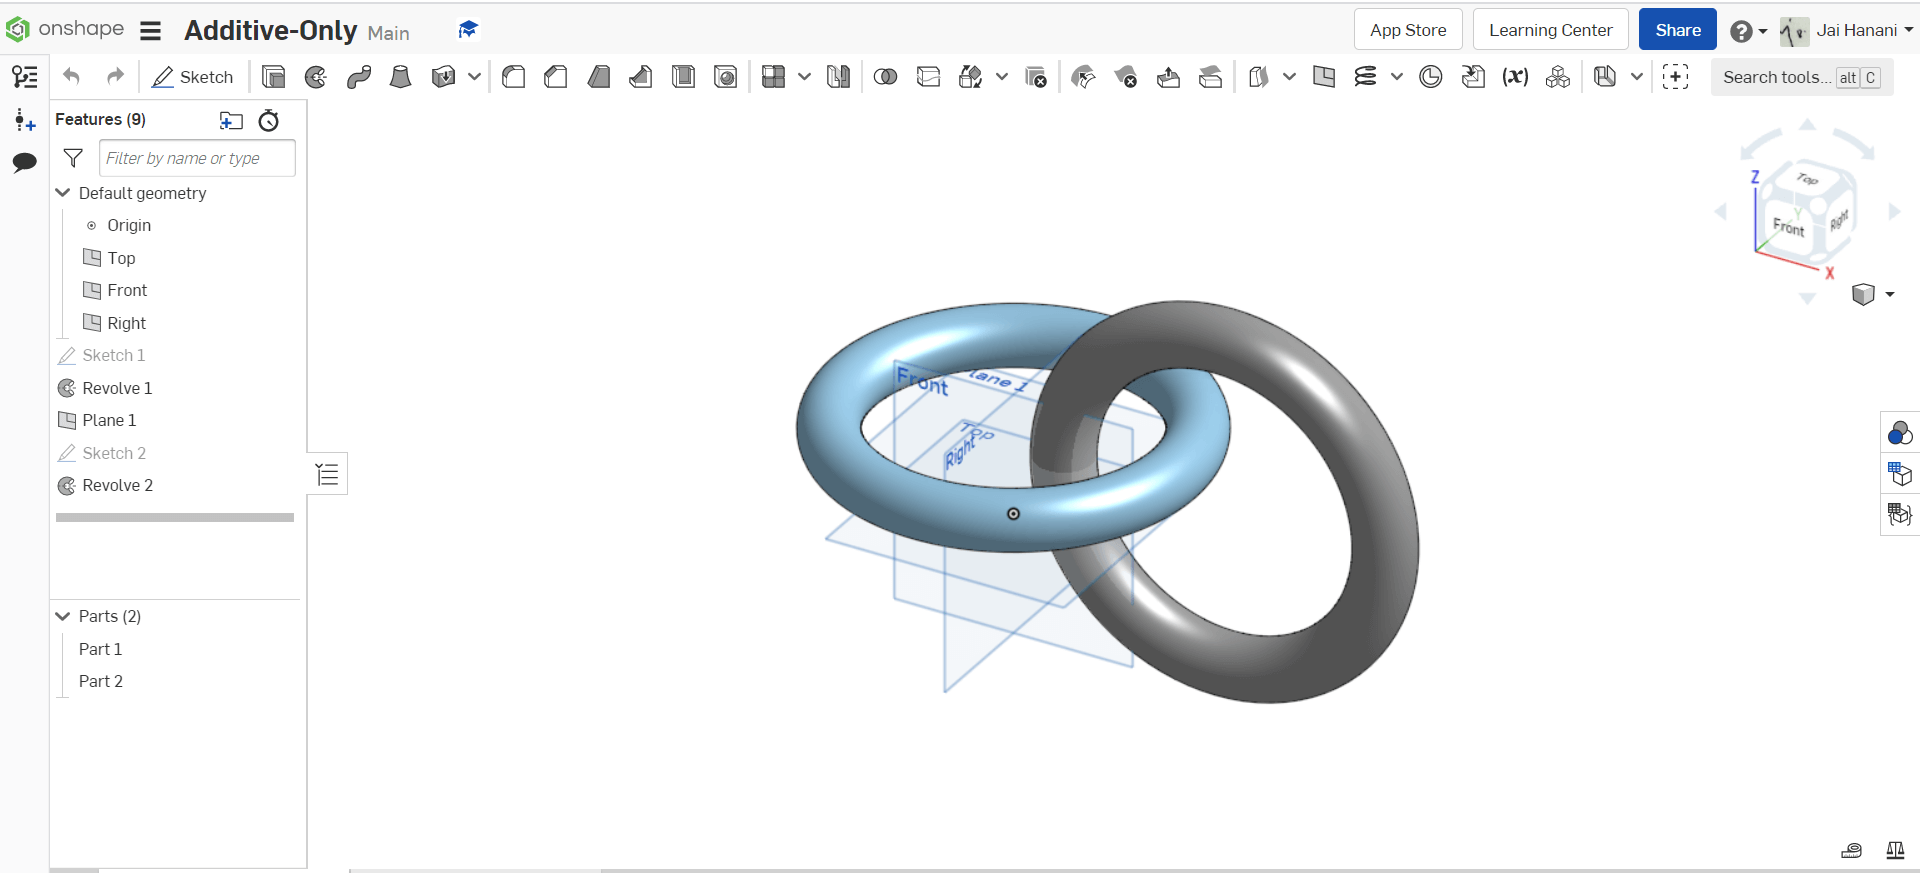
Intersecting Tori
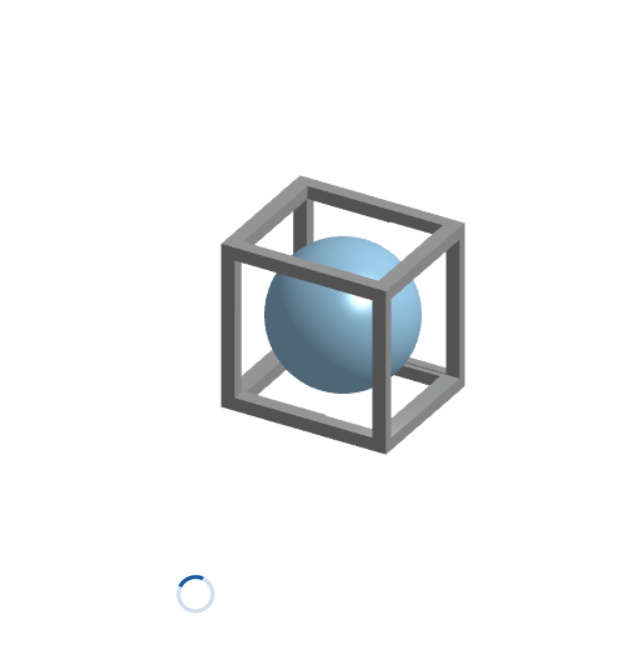
Inscribed Sphere
These designs were either trivial, or kinda complicated to print using Fused-Despositon-Modelling method.
9. Building ASCII STL file from scratch.
After going through some documentation of STL file format, I wanted to build one from scratch.
- STL is shipped in two formats - Binary or ASCII.
- I exported a part from OnShape in Binary STL format and sought to edit, but I later learned that the binary STL is not editable.
- Then, I thought I will build one from scratch, and started doing so.
- I encounted a problem - I couldn't get the Print 3D app to open the file up. Later, I realized the problem was with the identation, and fixed it.
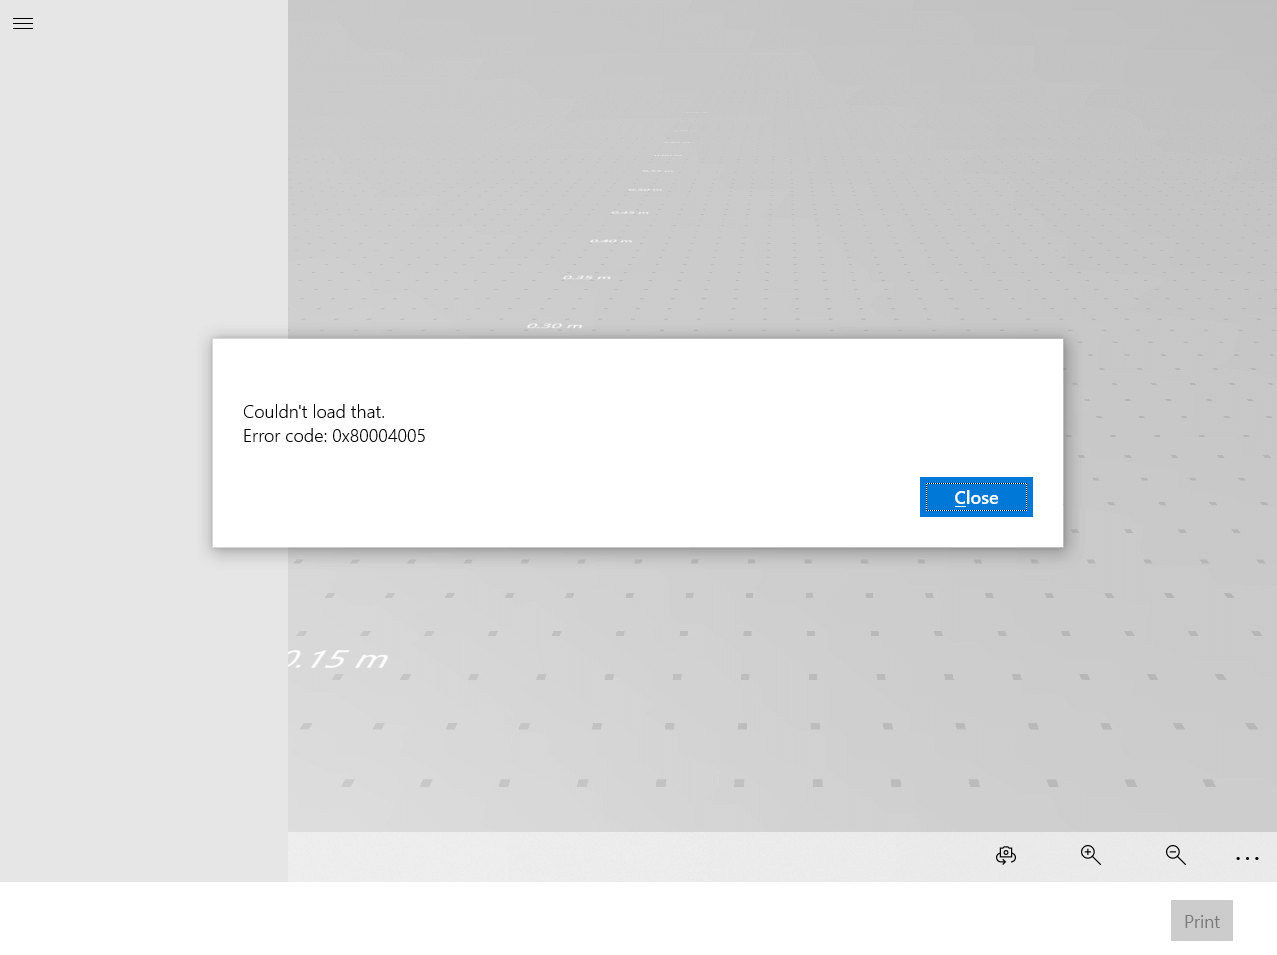
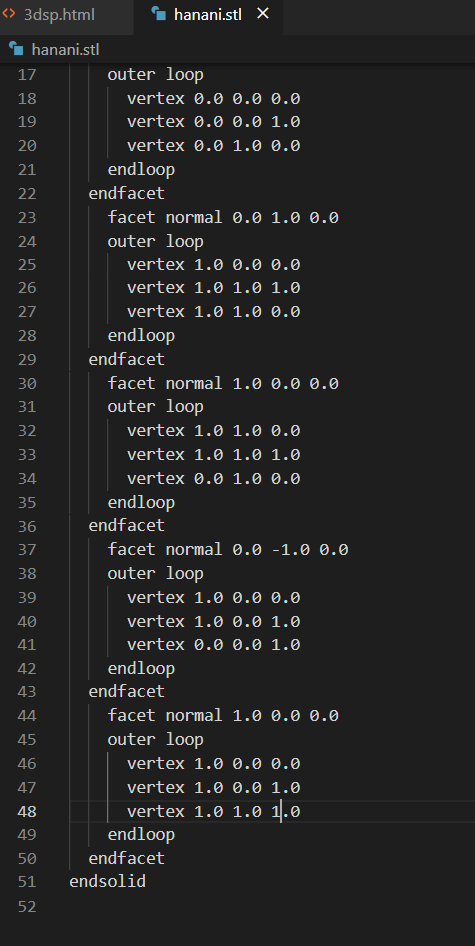
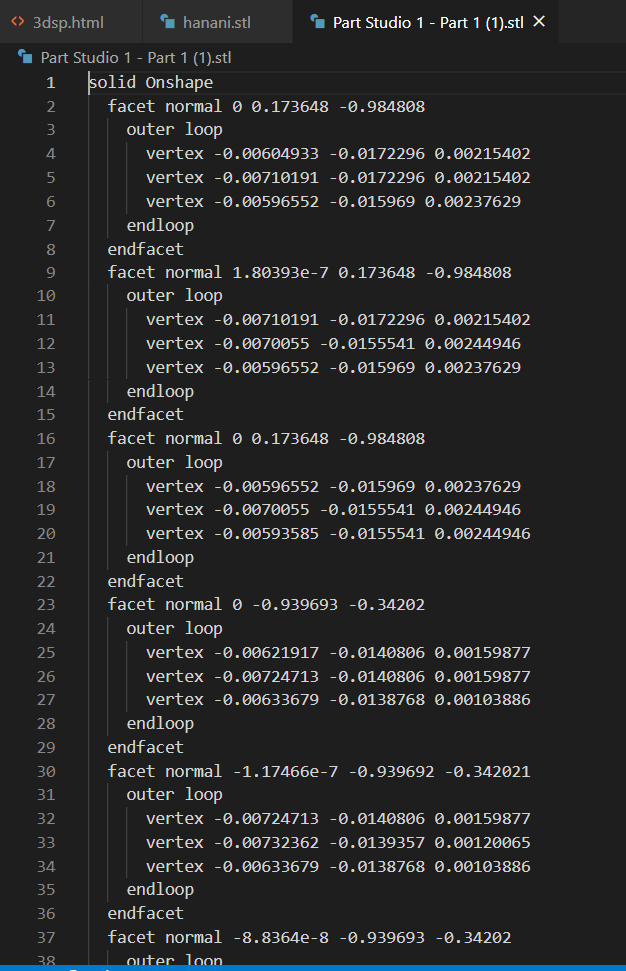
The values beside "facet normal" denote the normal direction, and the values inside "outer loop - endloop" denote the 3d co-ordinates of the vertices of each trianlge that make up the whole object.
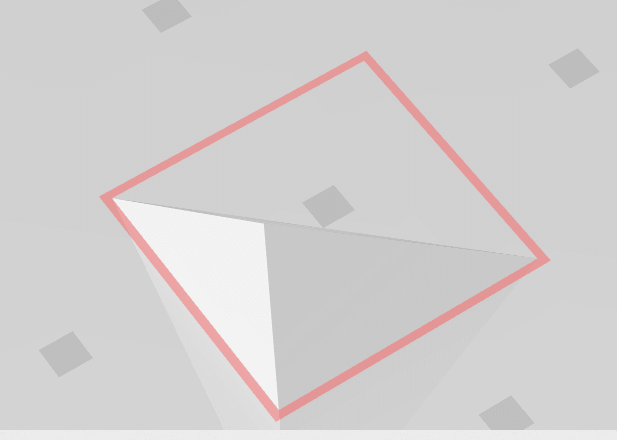
3d triangle
Some more weird shapes:
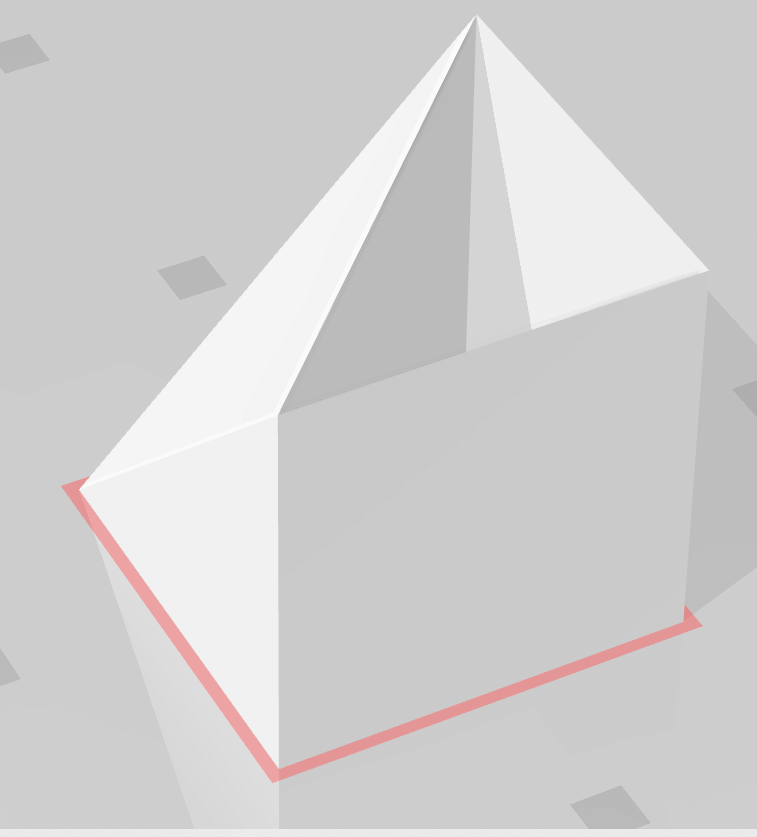
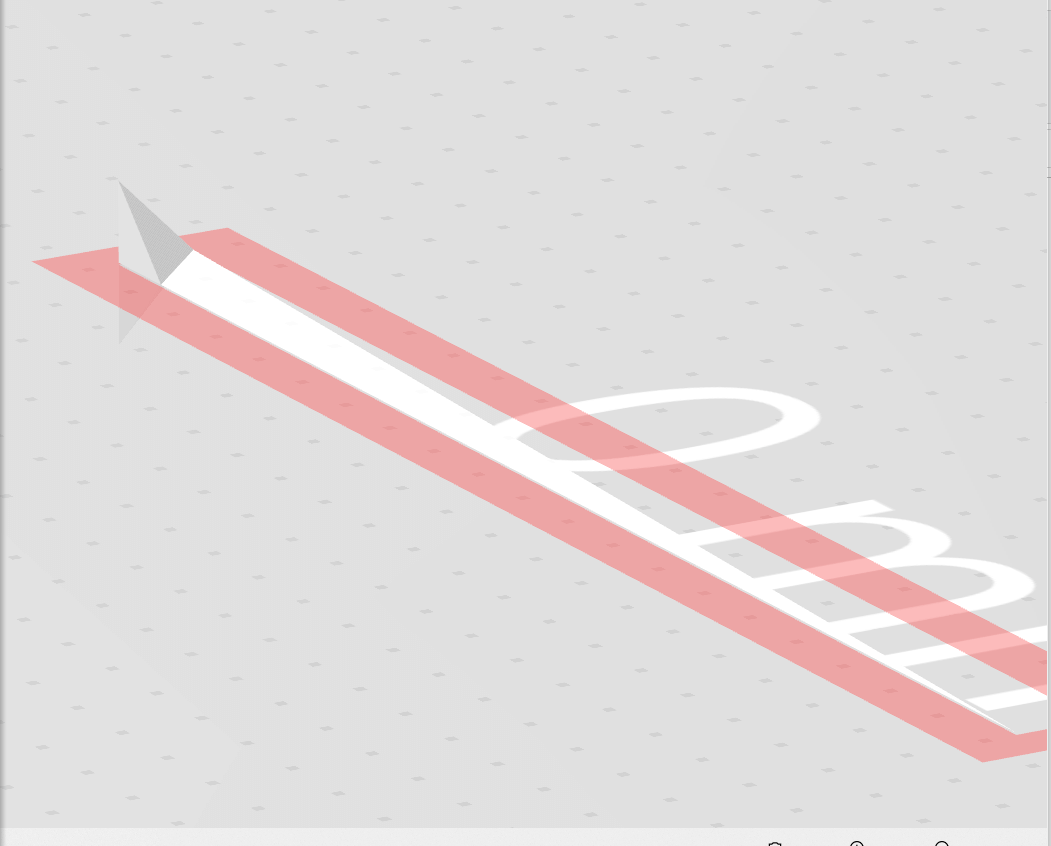
Meddling with co-ordinates
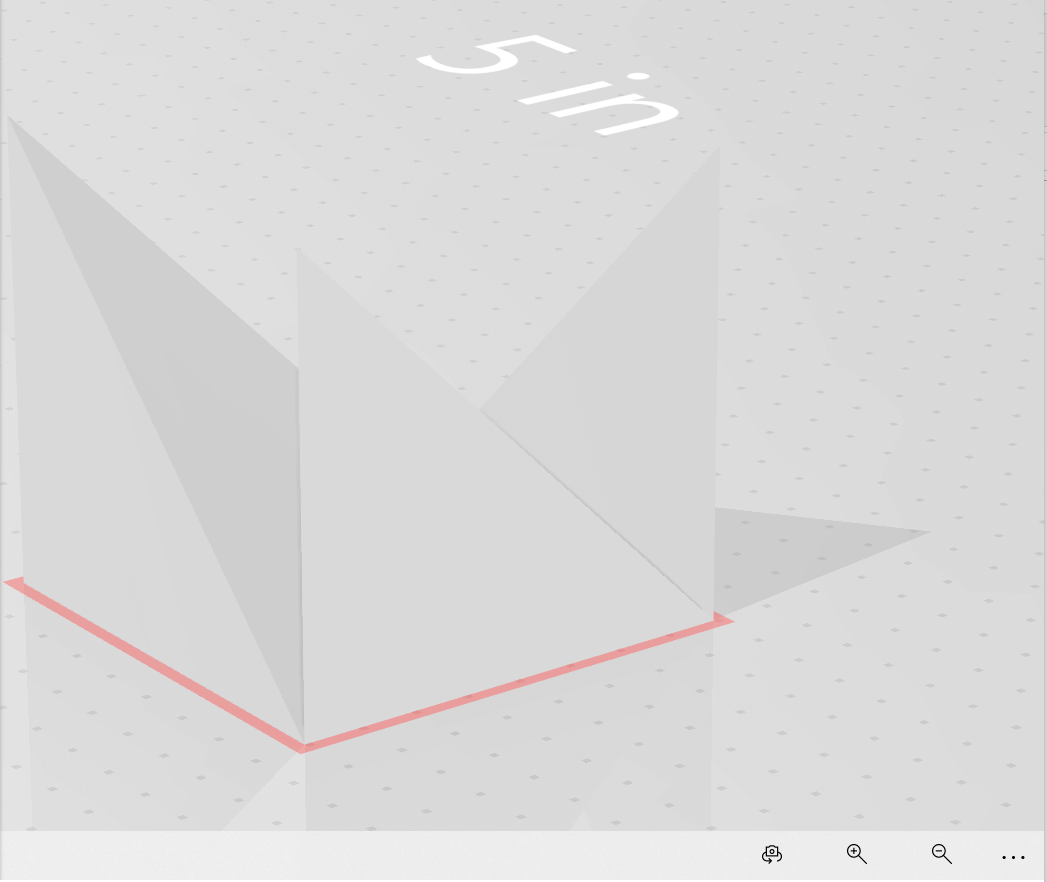
Some more weird shapes
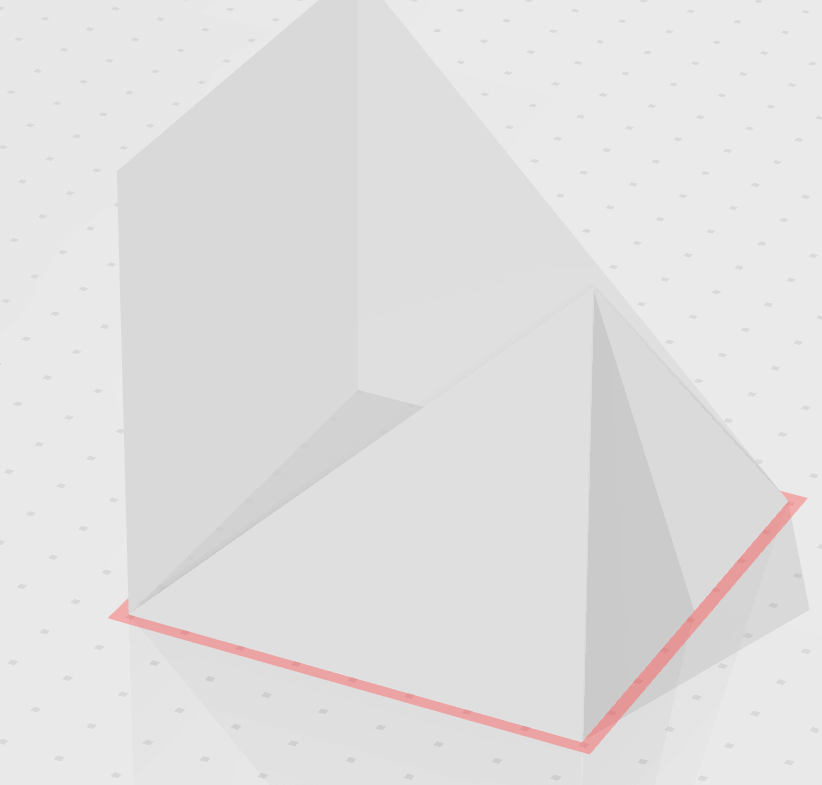
Trying to make a box.
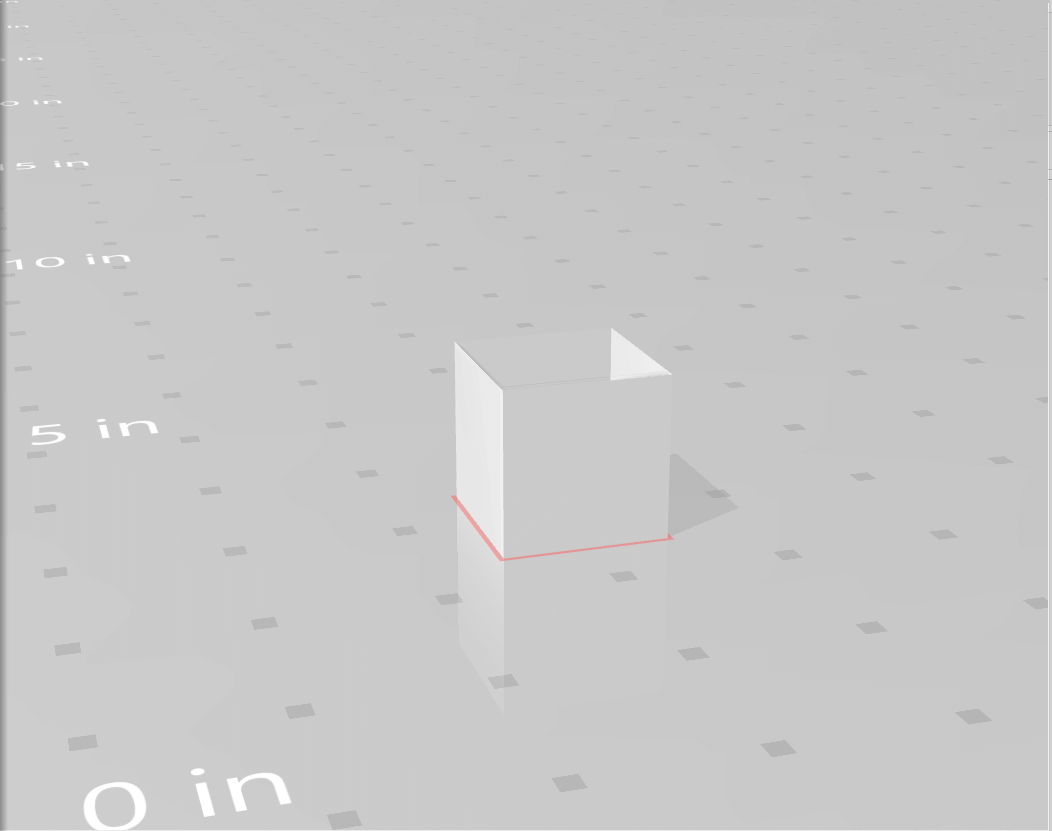
Finally, the whole box.
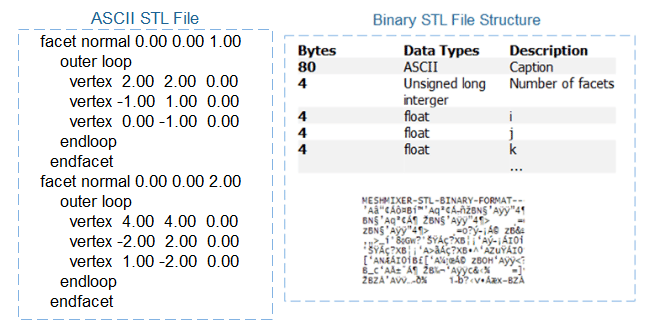
Guide for anyone who's trying to replicate.
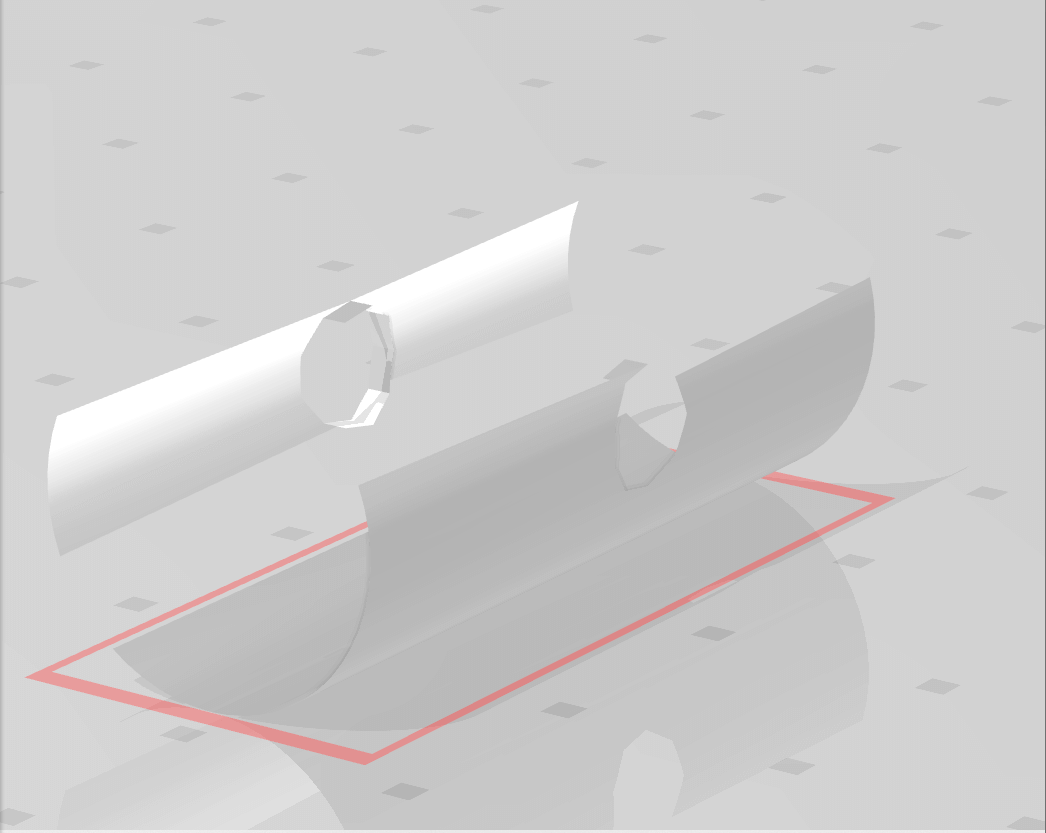
Therafter, I exported a CAD model from OnShape, and started playing with different numbers:
10. Modelling a new object:
After some discussions with my instructor Jogin Francis, I set out to make a new CAD model, and did.
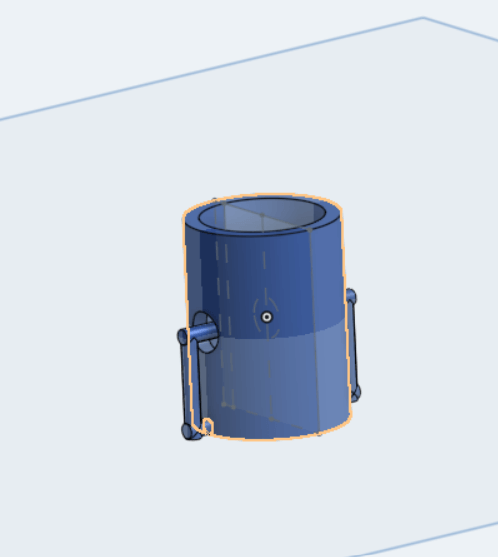 Download from here
I exported the file in .stl format to Cura.
Sliced it using Cura.
These were the settings:
- Layer Height: 0.2mm
- Shell thickness: wall= 0.7mm, Top/bottom =0.75mm
- Infill: 100%
- Material: Generic PLA
- Speed: 40mm/s
- Travel: Retraction checked
- Cooling: 100%
- Support: None
- Bed plate adhesion: Skirt
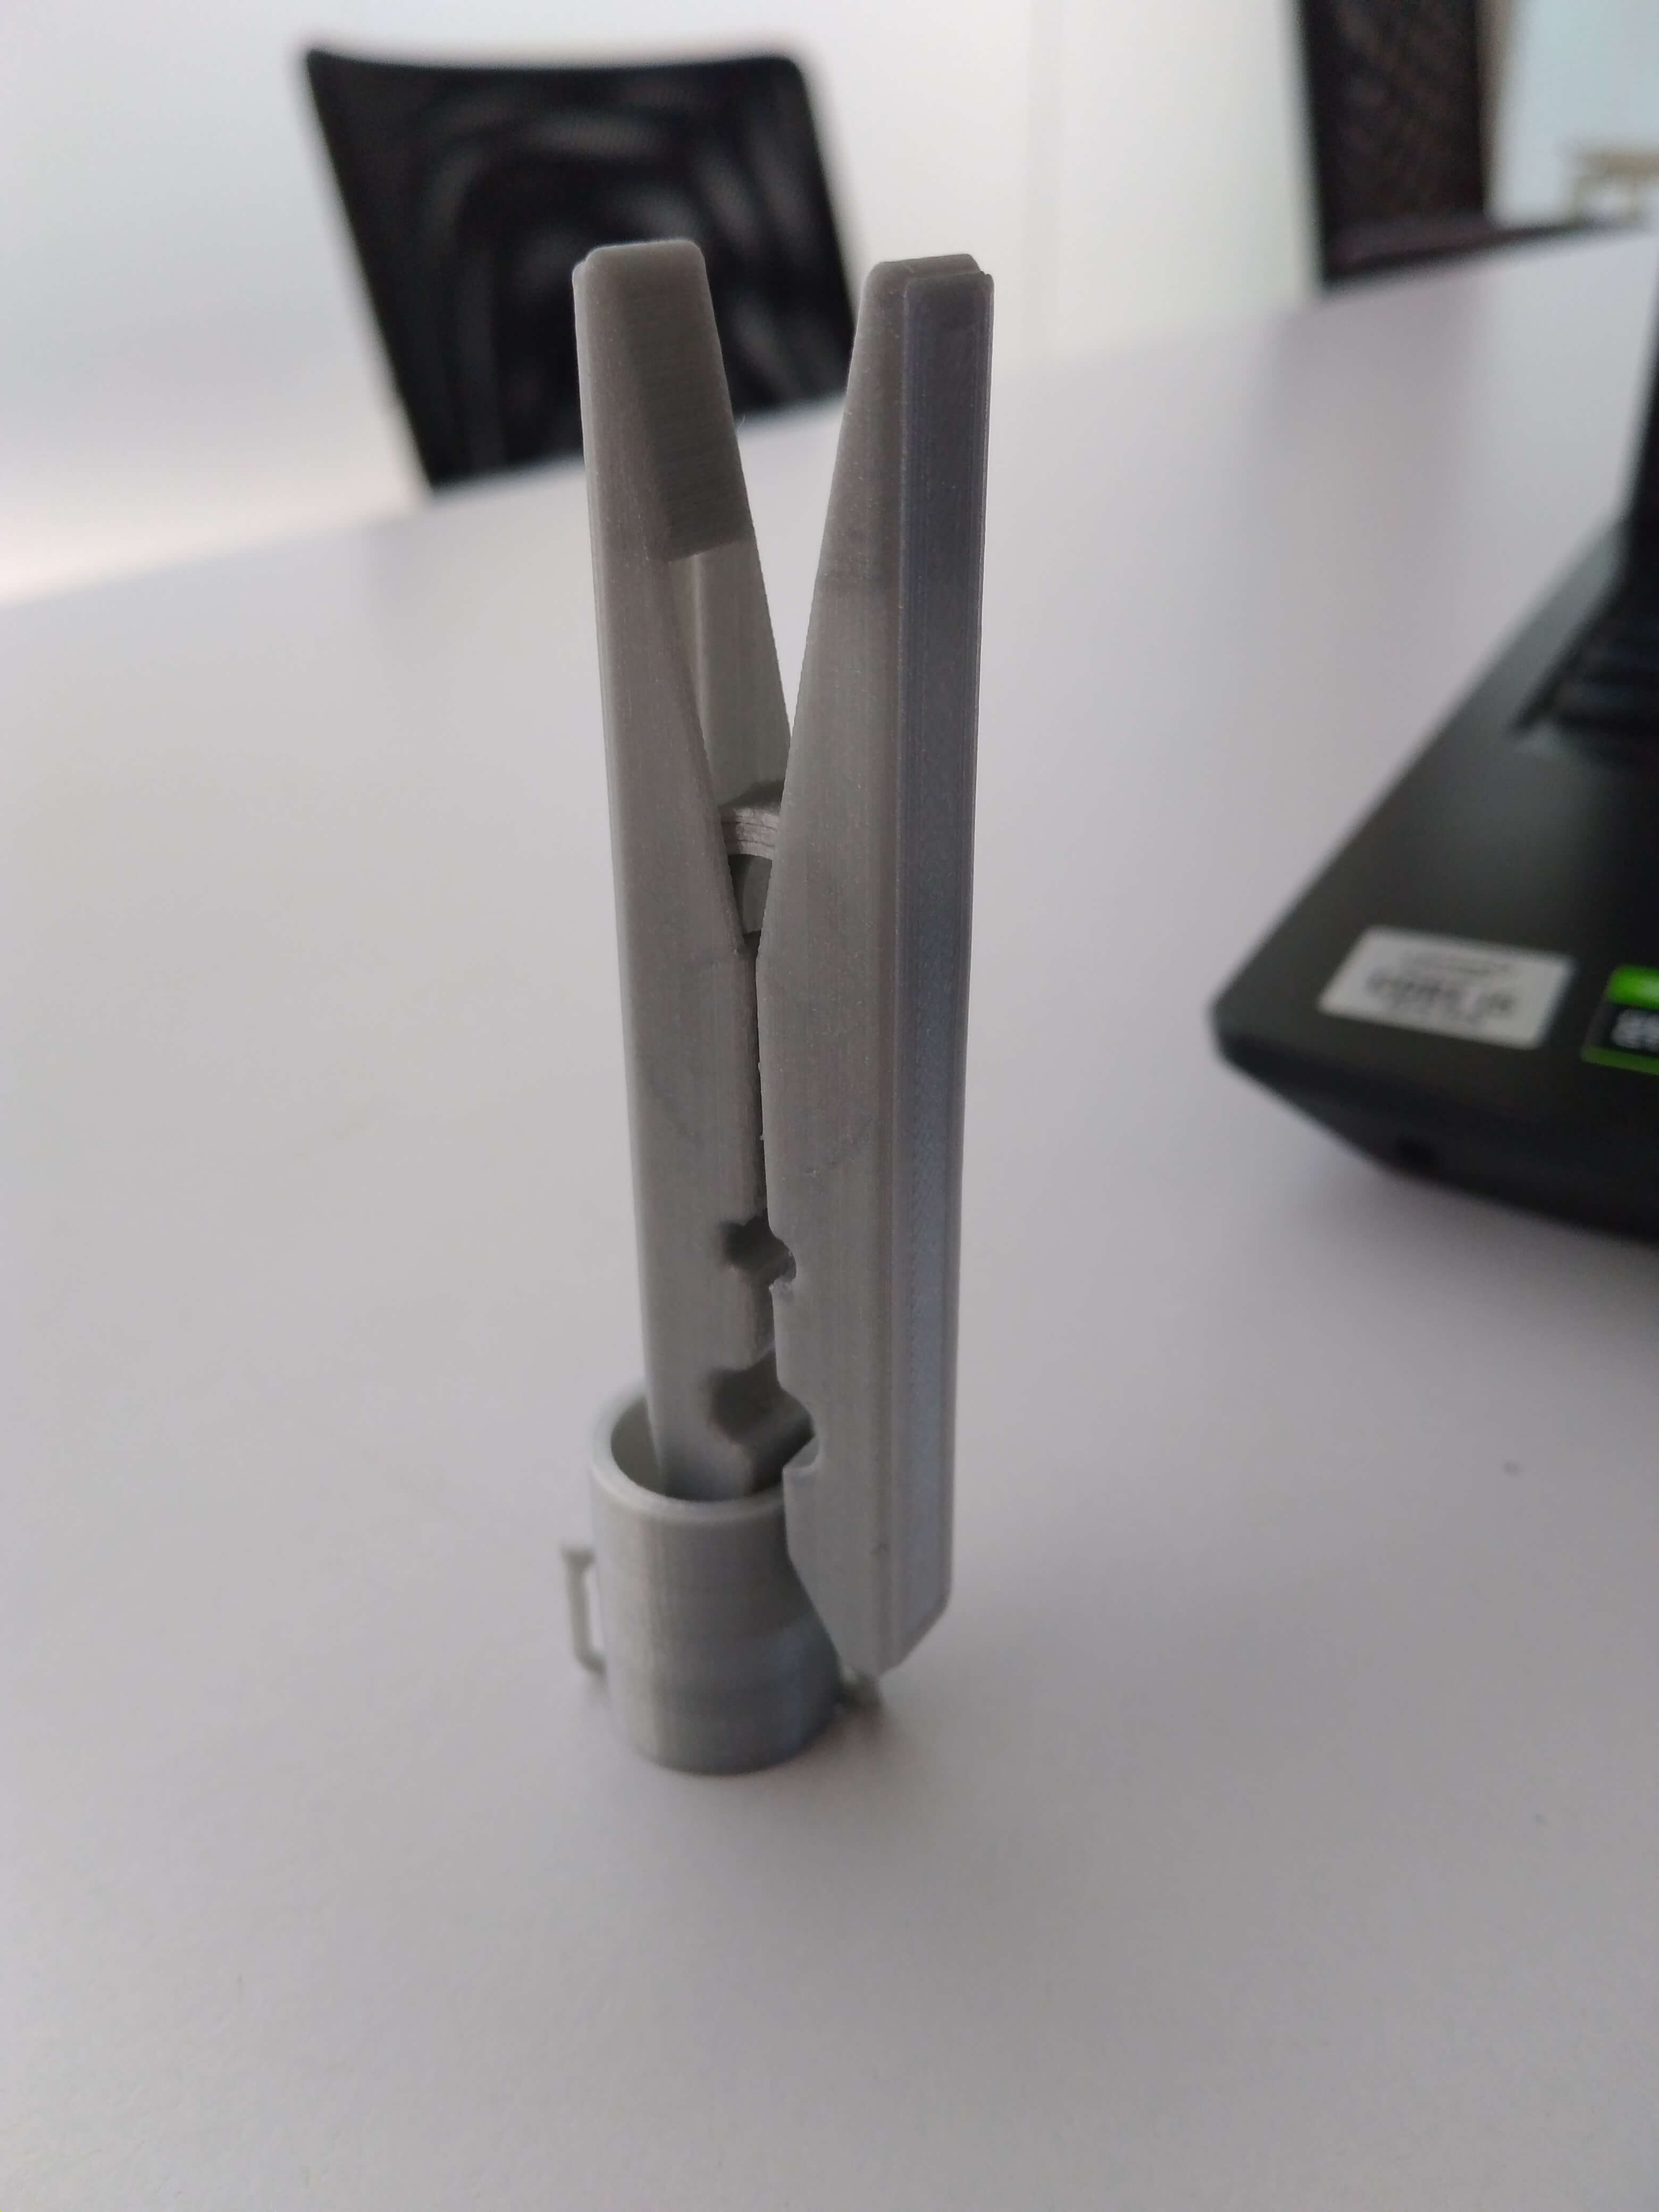
Finally, I have sent it to print, along with other design I found on thingiverse.
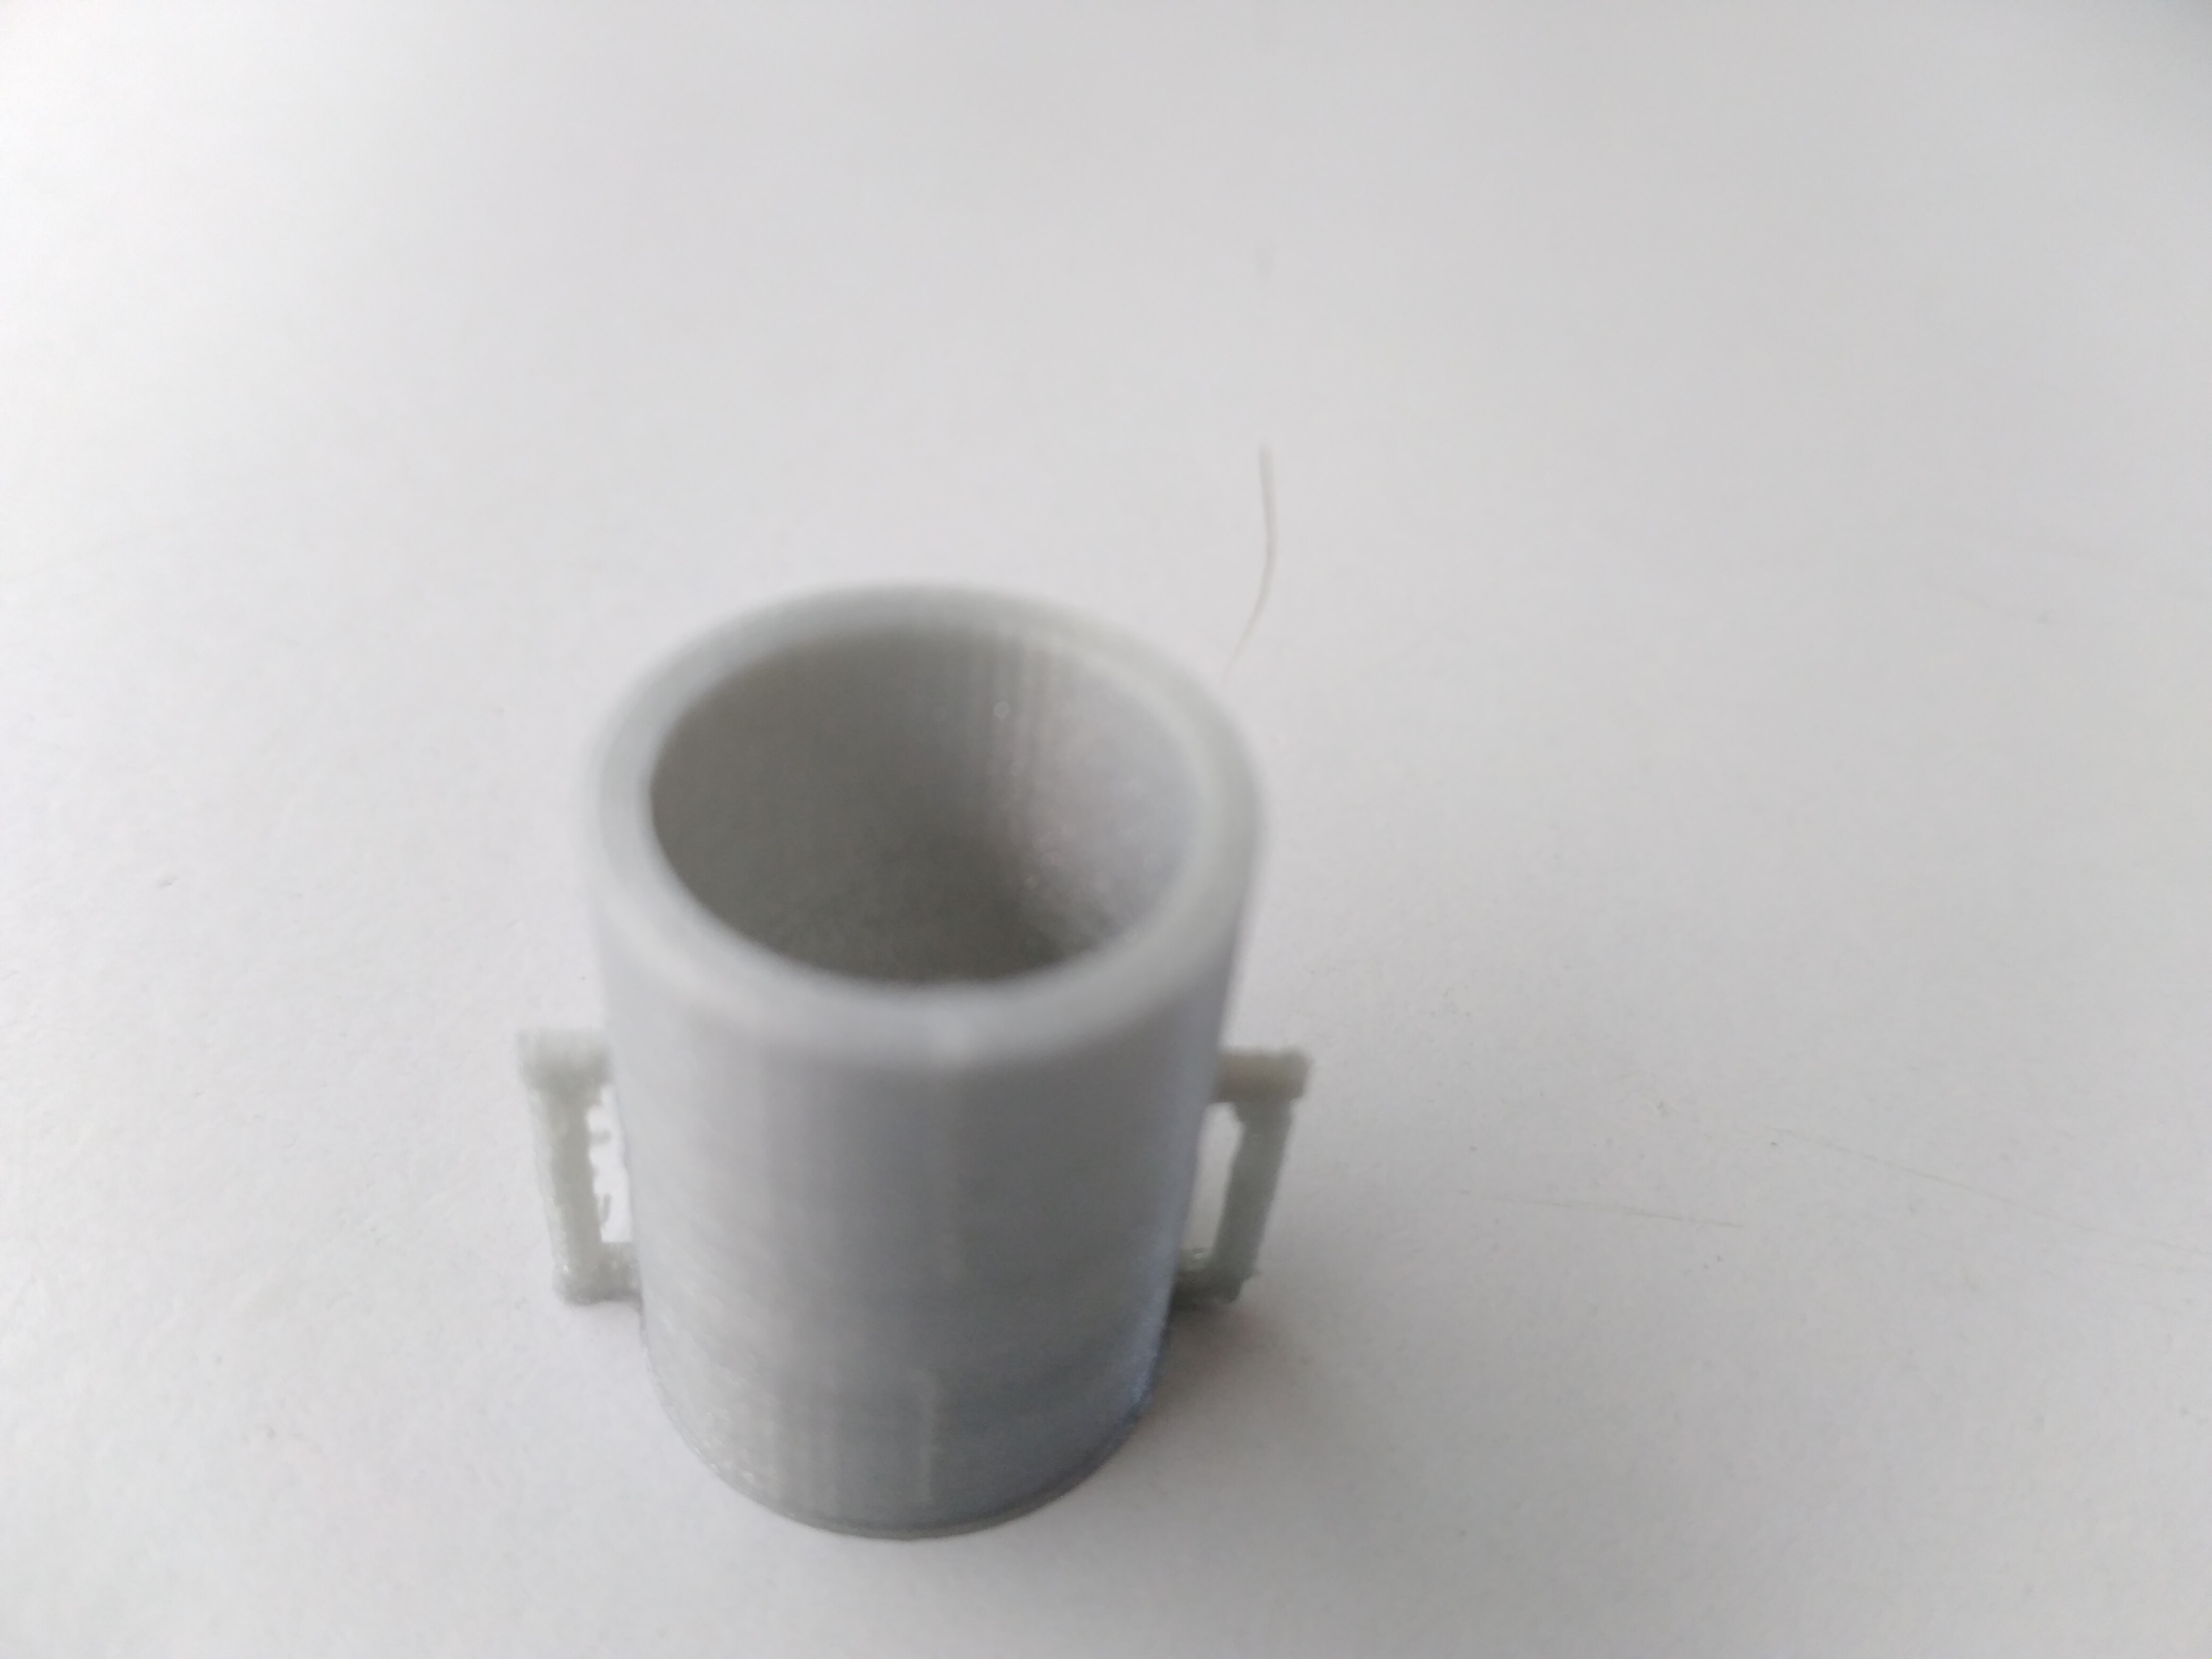
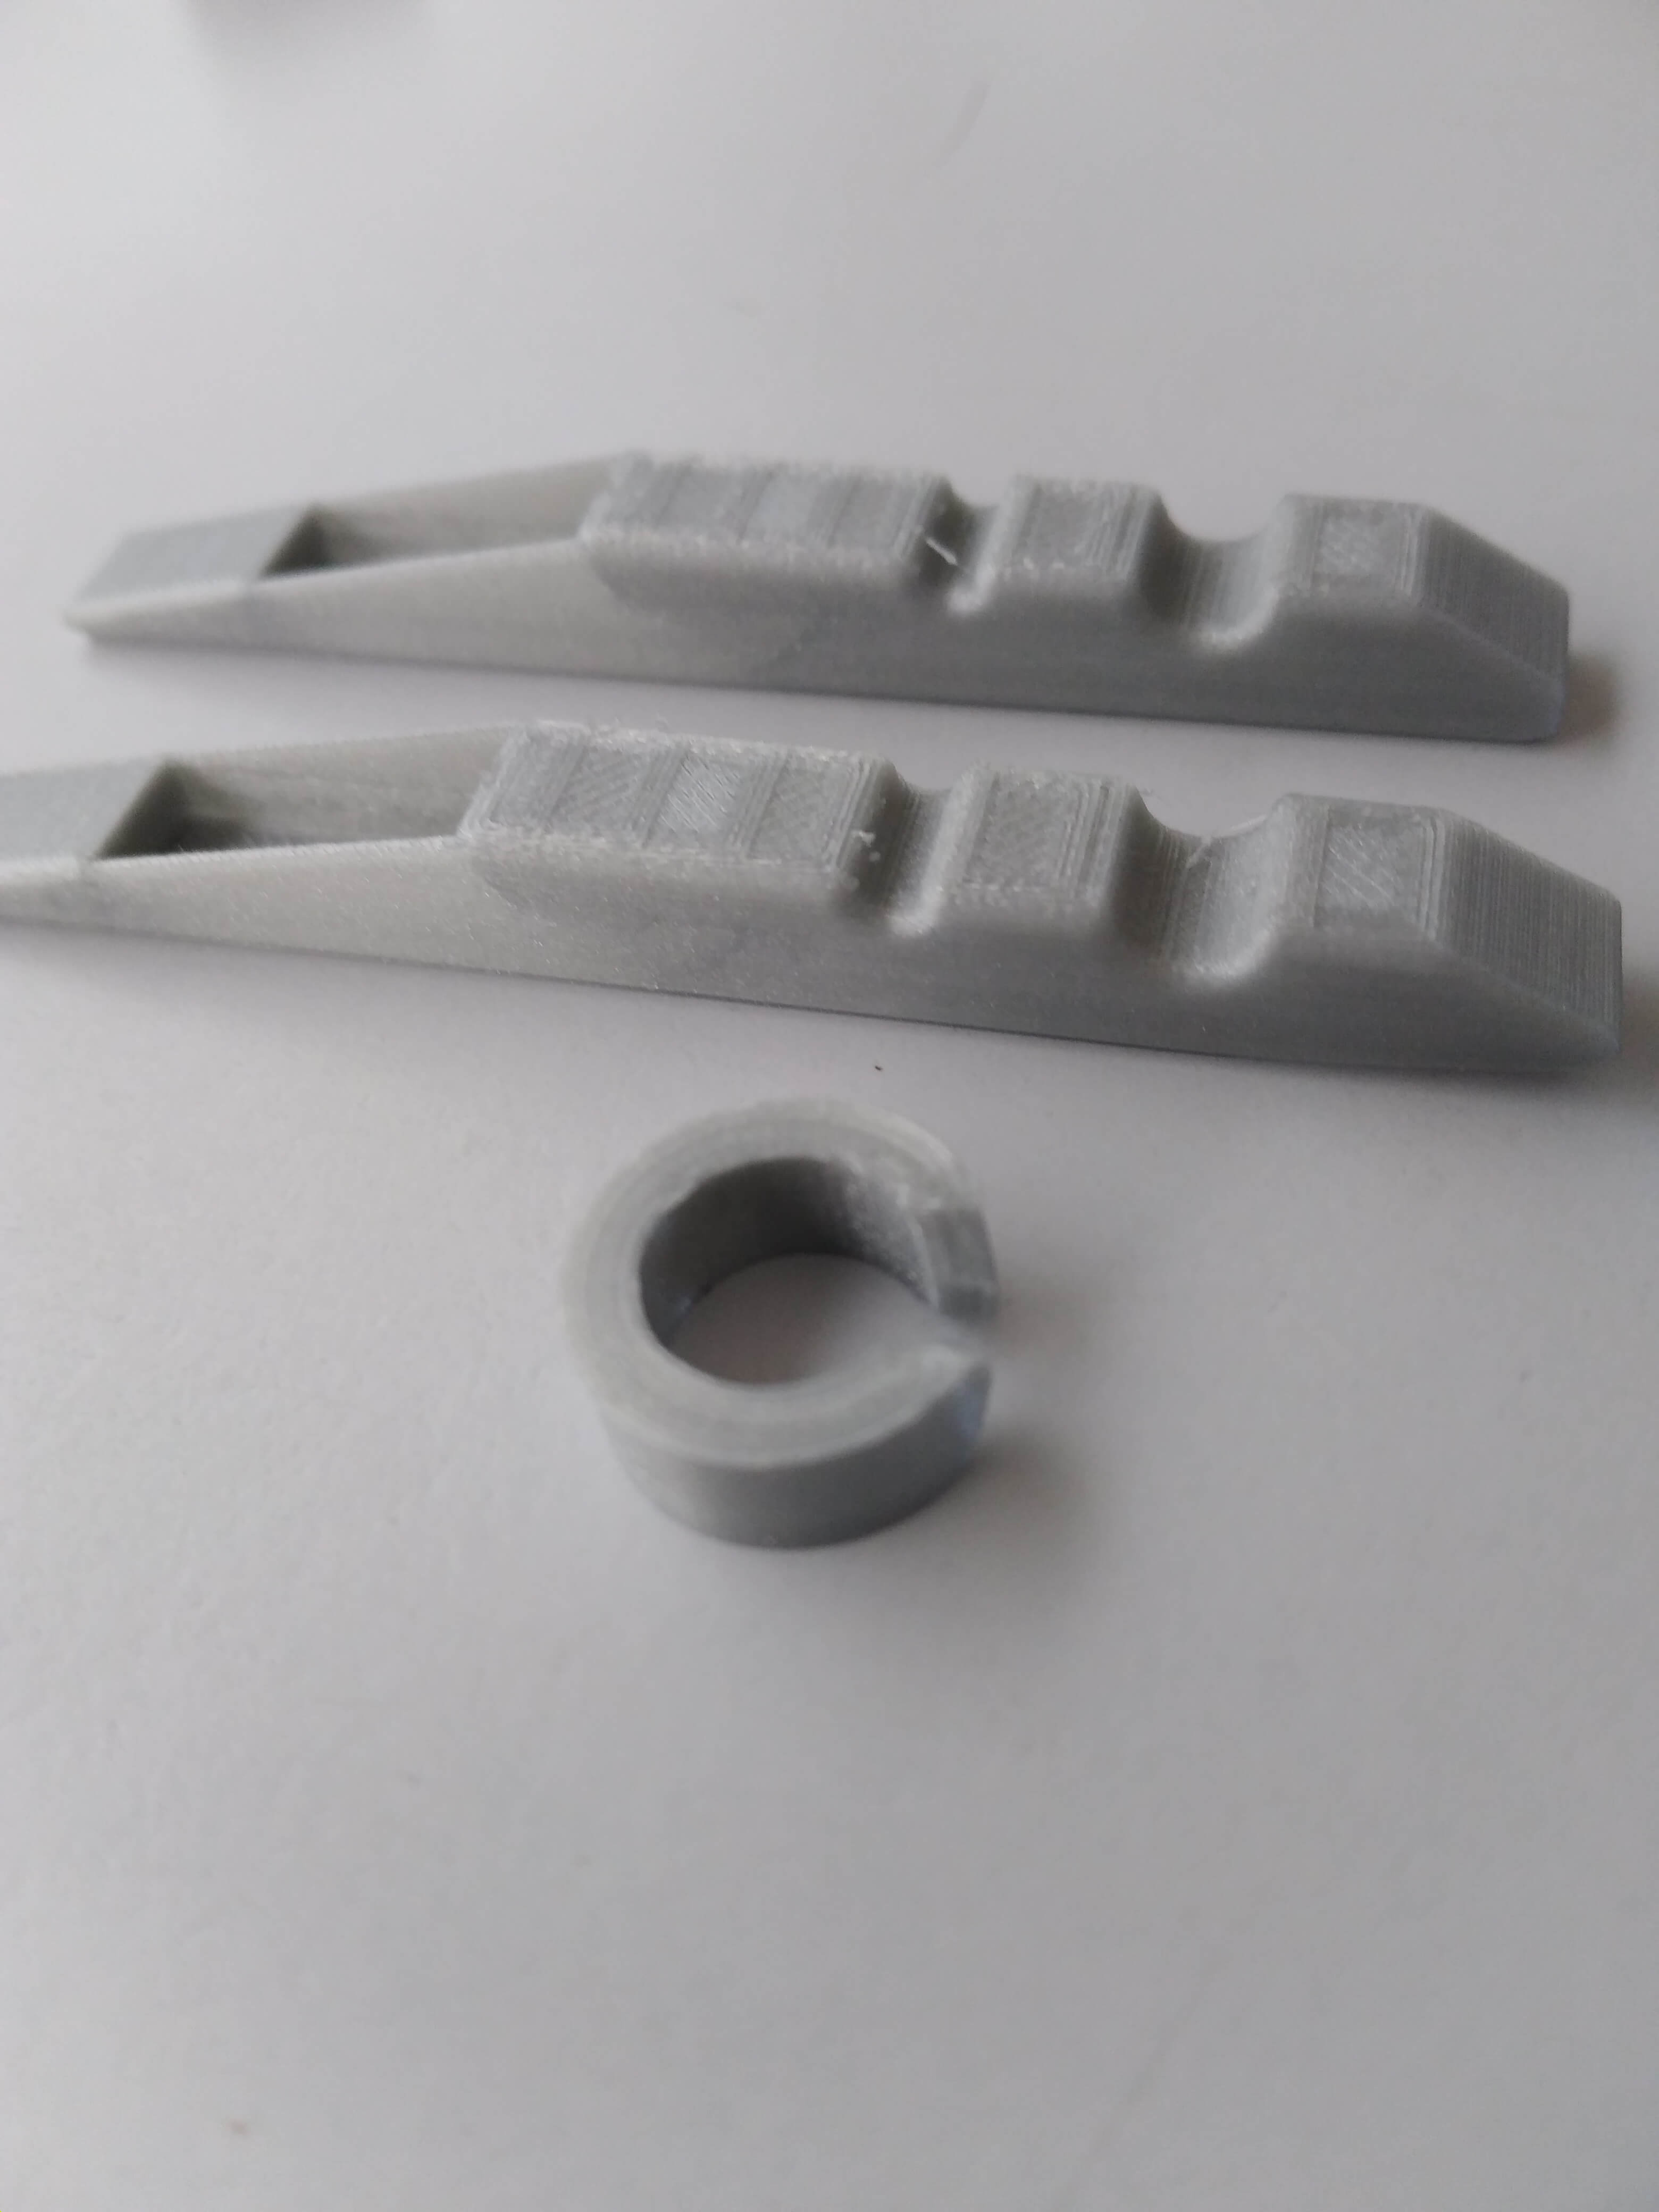
It is a Hollow cylinder with circular-cut outs, and a cylindrical rod going through those holes. No utility, but serves the purpose of the assignment.
Here are the results:
If you are interested in the clothes pegs:
Compliant Mechanism
Why machines that bend are better?
Thingiverse model.
This concludes my tryst with 3D Printing, for now.
11. 3D Scanning:
-
I started off by reading the Wiki article. It's good.
-
3D scanning is a way to capture a physical object’s exact size and shape into the computer world as a digital 3-dimensional representation. This technique captures information like the complex geometry, intrigue shape, colorized texture, and other details of the 3D object that is scanned.
-
Various 3D Scanning techniques:
- LASER triangulation 3D scanning technology.
- Structured light 3D scanning technology.
- Photogrammetry.
- Contact-based 3D scanning technology.
- LASER pulse-based 3D scanning technology.
-
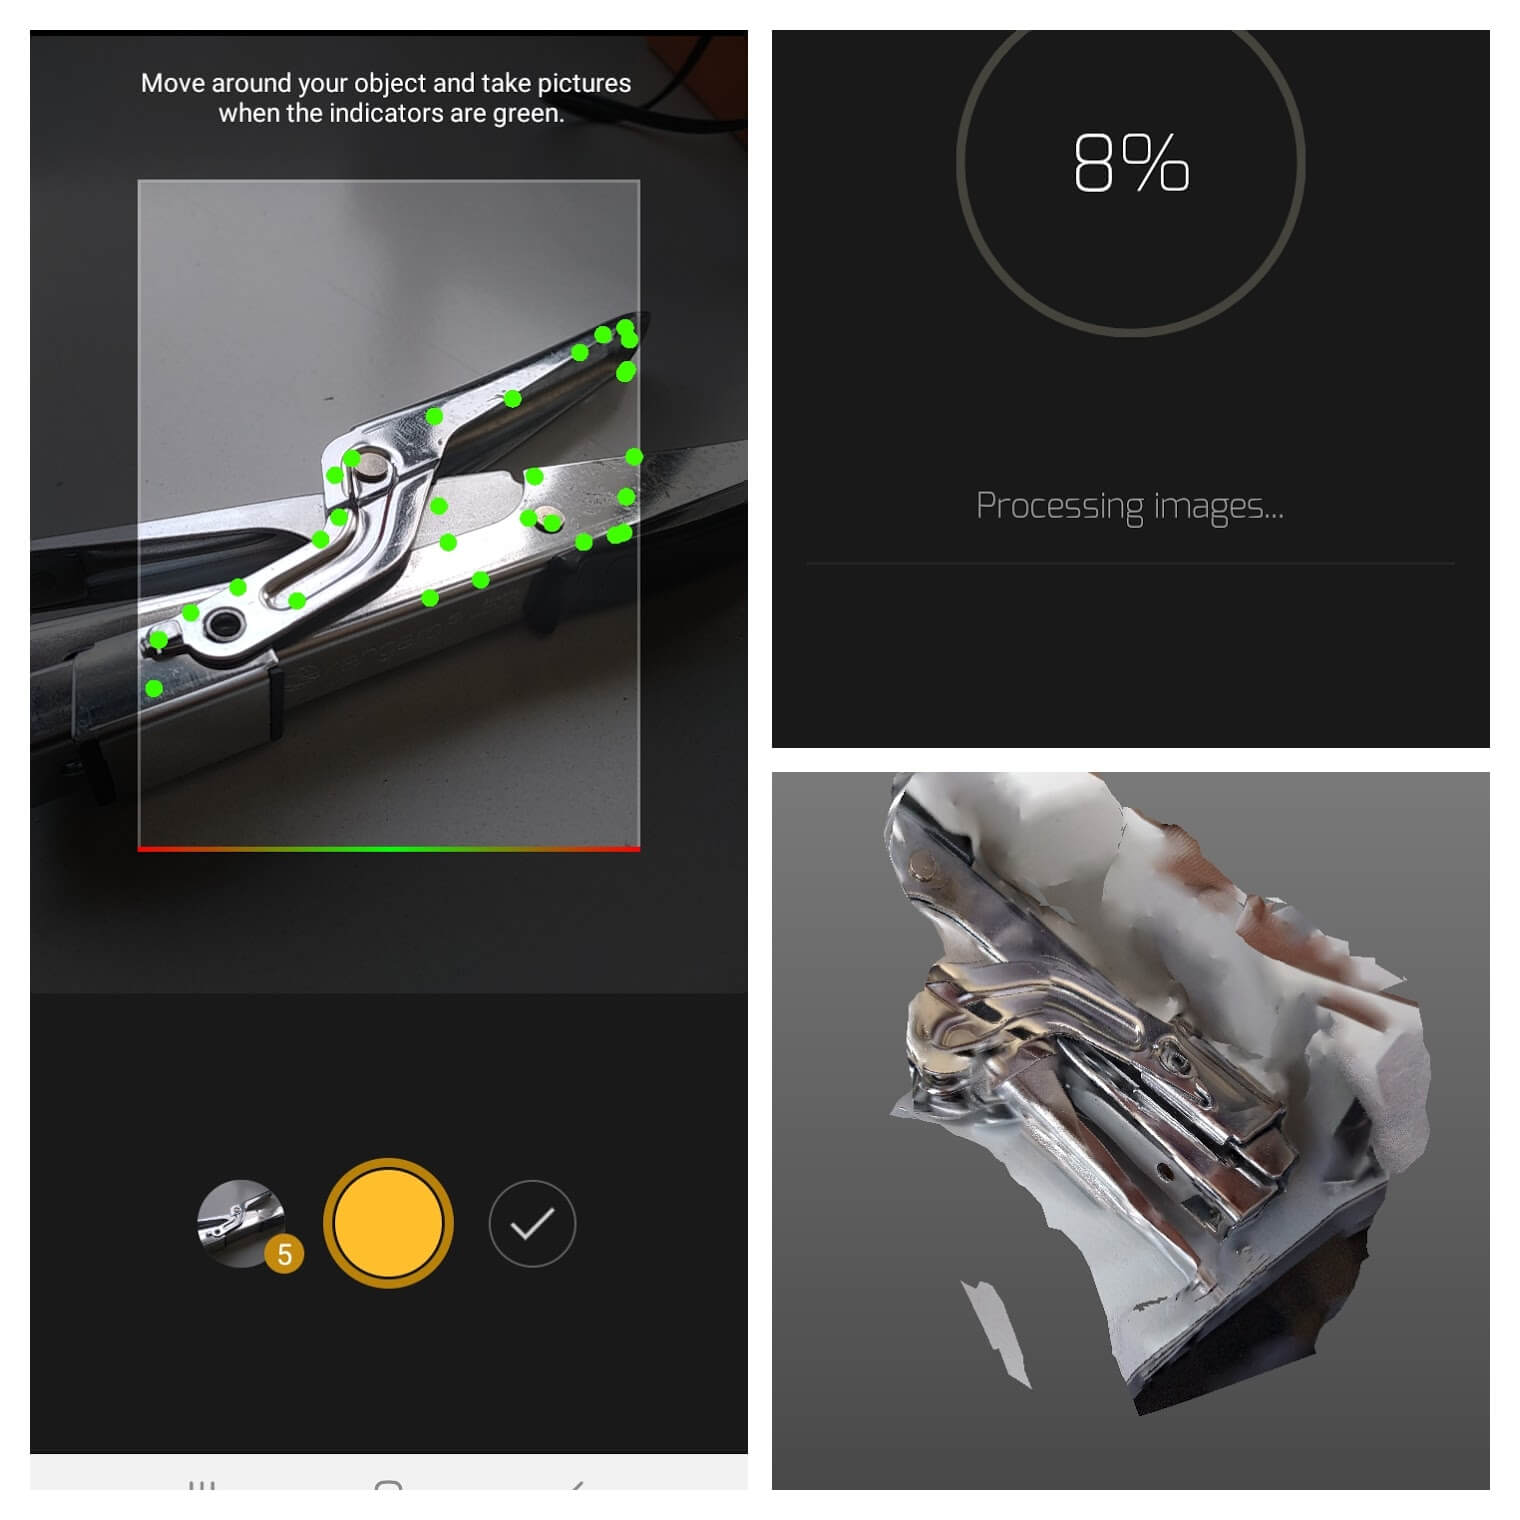
I, then, downloaded SCANN3D - A 3D scanning application that utilizes photogrammetry technology to capture 3D images.
-
The process, the processing, and the results:


 Unfortunately, this wasn't accepted as a valid assingment, by my mentors.


 Download from here


