Characterizing the Lasercutter
In this week’s group assignment, we were asked to characterize a laser cutter’s focus, power, speed, rate, kerf, and joint clearance. We found these values on our lab’s Epilog Fusion Pro 48 laser cutter.
Planning
There are three different types of laser cutters, CO2, which are gas laser cutters, Fiber lasers, and vanadate crystal lasers. Each uses a different base material to stimulate the laser either electrically with a gas mixture or passed through physical diodes. The laser we’re using, the Fusion Pro 48, is a CO2 gas laser cutter made by Epilog. This laser is new in our lab, and thus it made the most sense for us to find focus, power, speed, rate, kerf, and joint clearance for this machine as opposed to ones found in past years. This machine was set up over the summer by current and past Fab Academy students, Teddy Warner and Kai Vincent, and they wrote a workflow for the machine, attached below.
| Term | Definition | |
|---|---|---|
| Focus | The distance between the lens that focuses the laser beam and the position where the beam has its smallest diameter. It is where the beam has its highest concentration of energy. | Source |
| Power | The laser output/ how intense the laser is per unit area (1-100), frequently measured by watts per square centimeter (W/cm^2) | Source |
| Speed | The rate at which the laser moves. Depending on the material settings, the laser may be required to move slowly for thicker materials while other materials like cardboard can be easily cut at high speed. | Source |
| Rate | Cutting rate (also known as production rate) is the rate at which is the frequency of the laser hitting the material. Some materials (like wood or cardboard) require low frequencies while others (such as acrylic) require higher cutting rates. | Source |
| Kerf | The width of the cutting area or the laser. Its properties are dependent on the laser properties, the thickness of the workpiece, and the type of material being used, and the width ranges from around .08mm to 1mm. In other words, this is the amount of material that the laser burns away. | Source |
| Joint Clearance | The offset amount between two joints to allow them to fit together well | Source |
Jobs & Site Setup
To get the correct settings for each of these, we first optimized for speed by testing with 100% power and the defualt 50% frequency. We tested six different settings per cut, starting from 100% speed and going down to 50% speed. I then ran the same test centered around.
Laser Focusing
Before starting the process of finding the values, some members of our group, Yige Li, Teddy Warner, Graham Smith, Miller Workman, Drew Griggs, and Charles De Mey sat down and found the definitions of each term talked about above, and also split up the required work to each group members. First Graham Smith and Charles De Mey set off to find the best focus values for our two testing materials, 1/8” cardboard & 1/8” plywood. Then, using this focus value Drew Griggs and Jack Hollingsworth were able to flatten out the best speed, power, frequency, and kerf/join clearance values for our machine on both 1/8” cardboard & 1/8” plywood by running a color mapped file, and altering the values in the lasers job manager before each cut. To the left is an image of the Epilog Job Manager interface where they changed these values between tests. While these values were being found Teddy Warner with the help of a prior Fab Academy student, Vincent Zhou branched the repository of this years group site, and created a version editable by our group’s students that can be merged back with the public site. This process allowed Teddy Warner and Miller Workman to add more customization to the site and document this weeks group work. Finally, Grant Fleischer was this week’s photographer, helping the documentation process by taking pictures and videos of the laser work.
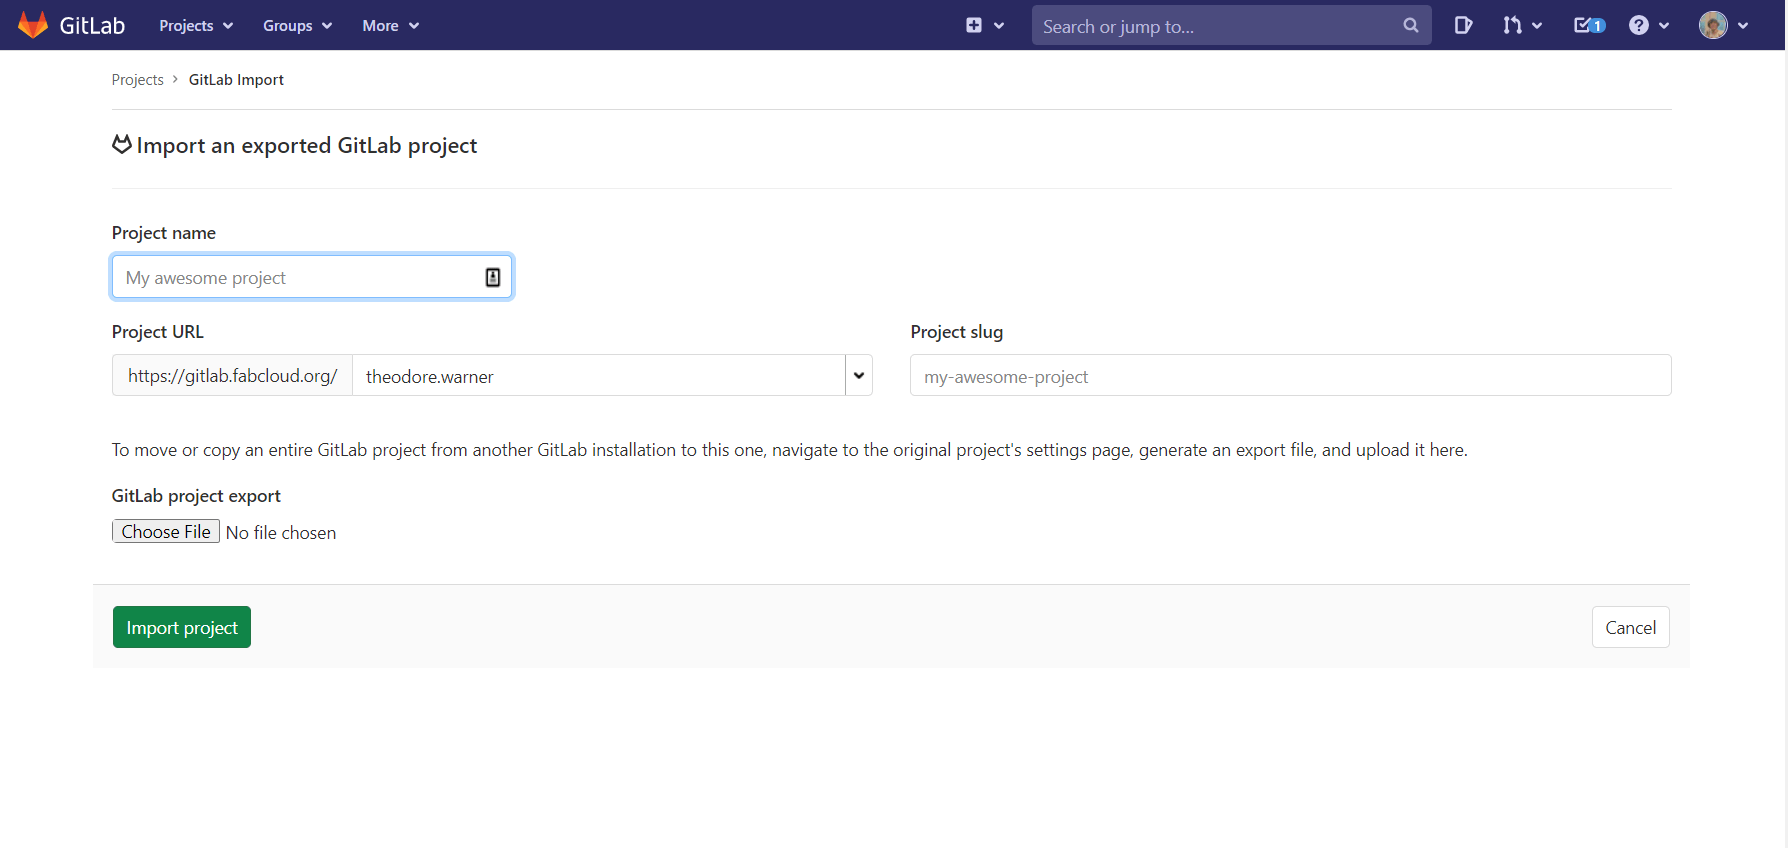
Before this week, we already had a group documentation site up and running, as one of our instructors, Dr. David Taylor started one based off of the Markdown Mkdocs template supplied to all students at the start of the year. Although this site was already made, to edit the site, a new branch was needed, and from there, the access roles could be given to all the students in our group. As said above Teddy Warner with the help of a prior Fab Academy student, Vincent Zhou branched this repository within GitLab, where they could then give each of the student’s maintainer access to the lab.
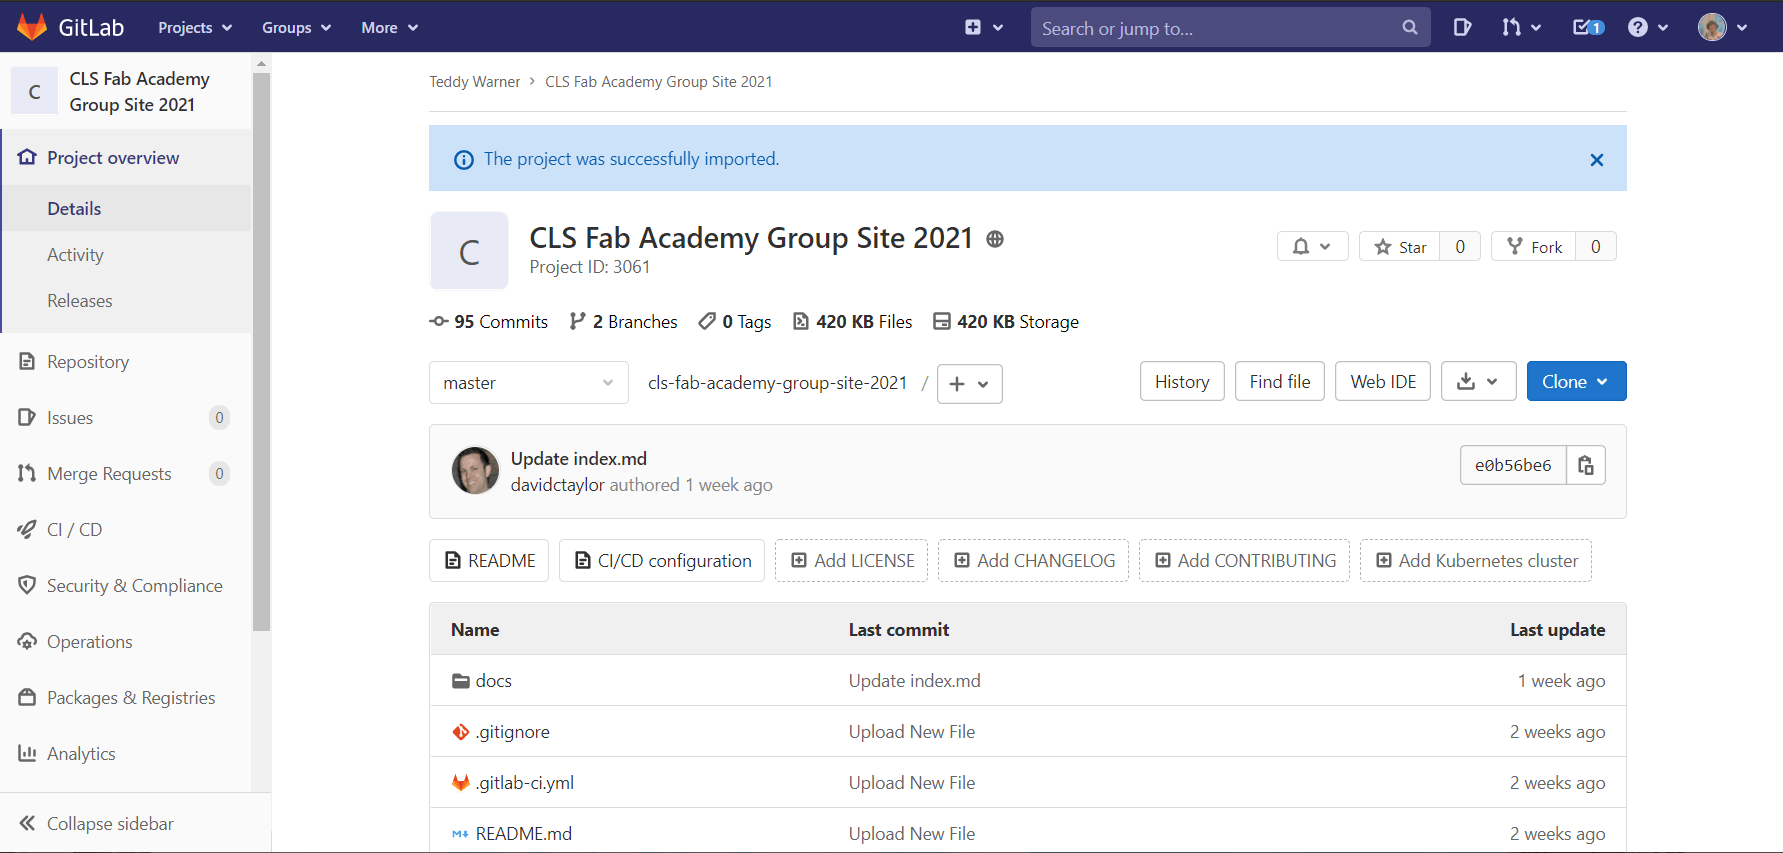
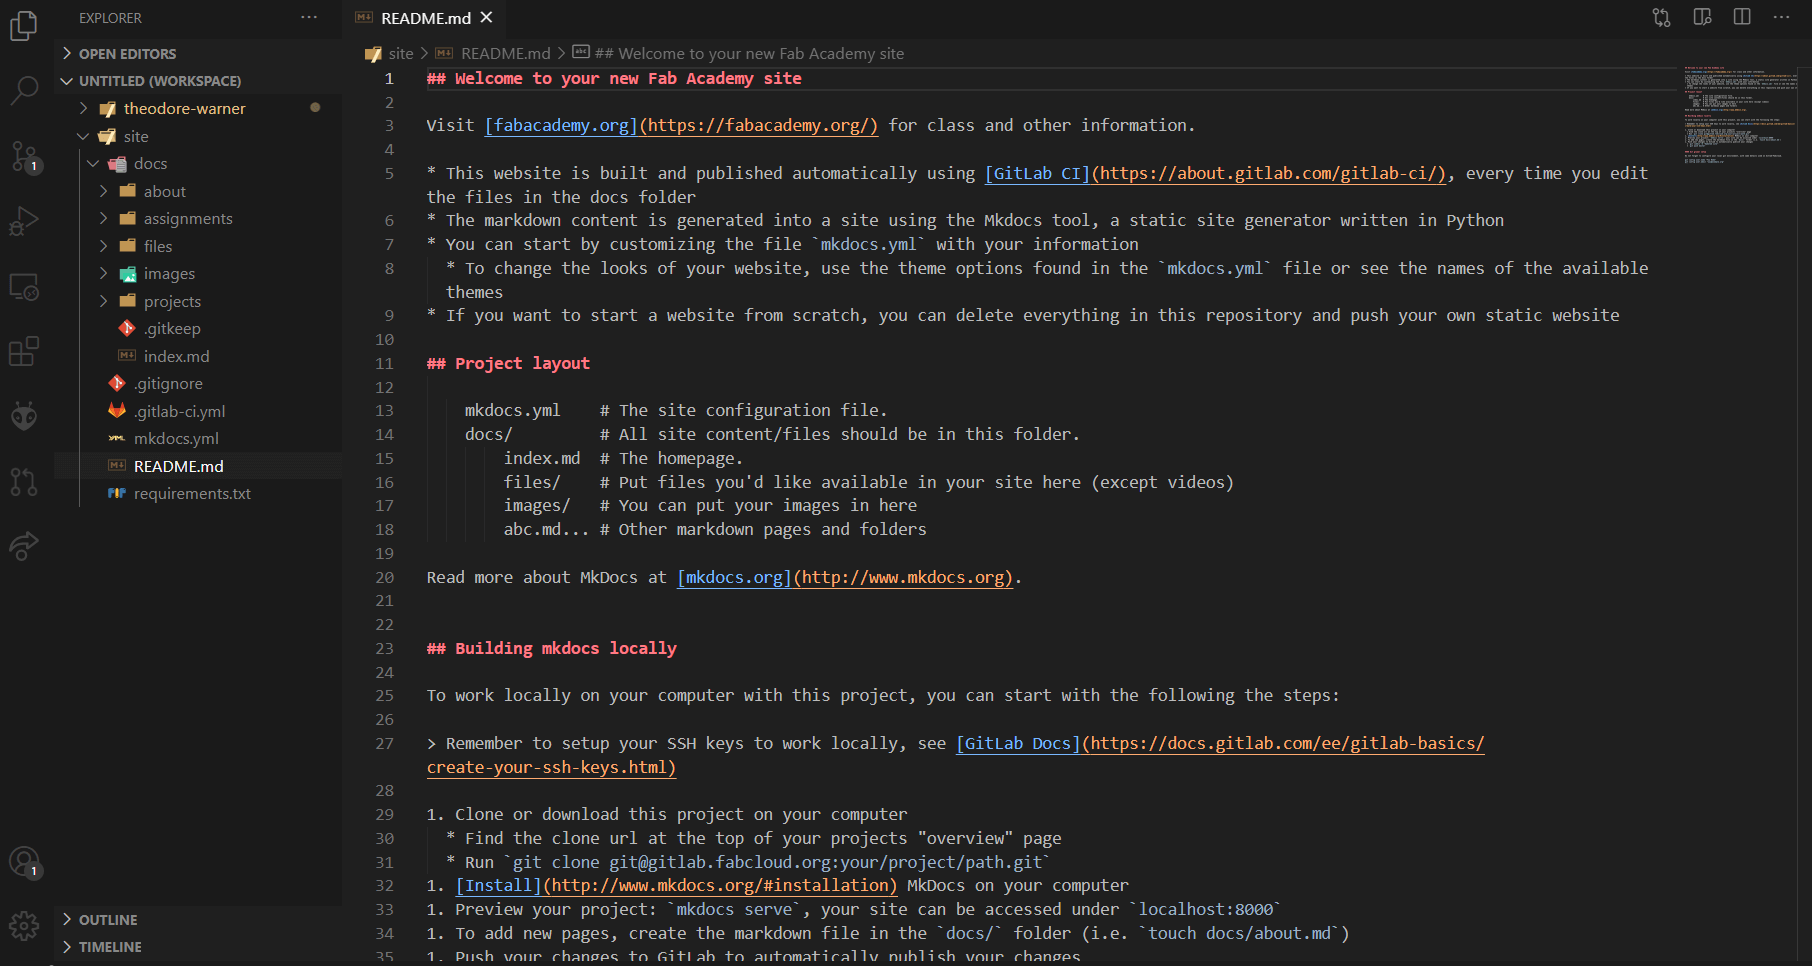
After creating this branch and giving students maintainer roles, we were all able to clone the git repository to our local computers and edit them in our code editors of choice. Below is an image of Teddy Warners Visual Studio Code window with the clone site files in it. This was how Teddy Warner and Miller Workman with the help of Graham Smith were able to edit the page your reading now. This was also our first encounter with some major features of version control, as we were able to edit the same document, at either the same or different times throughout the week, and merge them. Hearing about this use in version control sounds cool, but because on all our personal sites we are the sole maintainer, none of us have ever really gotten to experiment with the merging and pushing/pulling of the sites before this week.
Testing
Power, Speed & Frequency
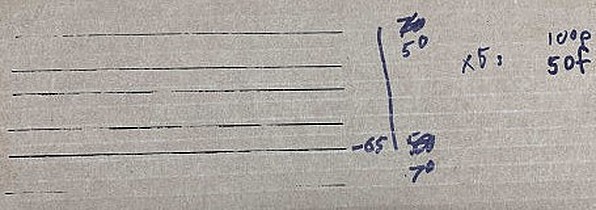
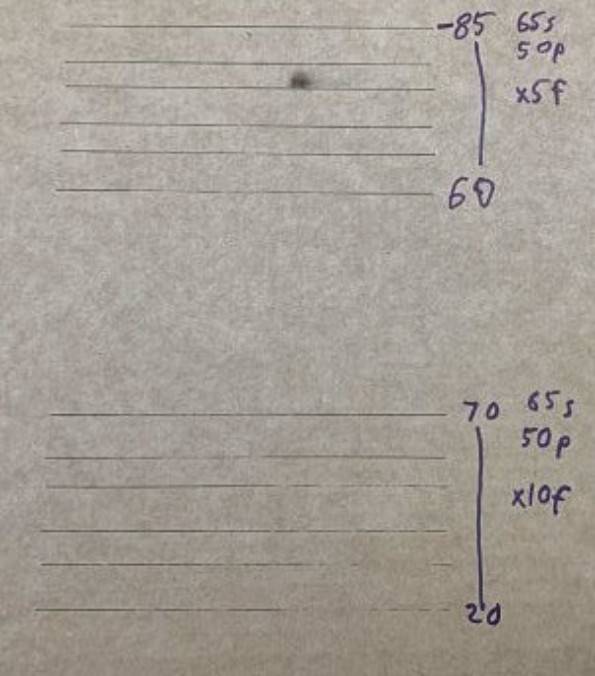
To get the correct settings for each of these, we first optimized for speed by testing with 100% power and the default 50% frequency. We tested six different settings per cut. For cardboard, we started from 100% speed and went down to 50% speed. We then ran the same test centered around the fastest speed that was cut through 70. we then ran the same test again but by 5, and still found that 70% speed was the best. For wood, we ran the first test and found that the wood cut through between 50 and 55 speed, so we ran the test between 47.5 and 60 by 2.5 speed. However, only the 50 and 47.5 speed lines cut all the way through, and after running the same test between 50 and 37.5 to confirm that 50 was a consistent setting, we settled on 50% speed for wood. Below are some of our test cuts for speed and power.
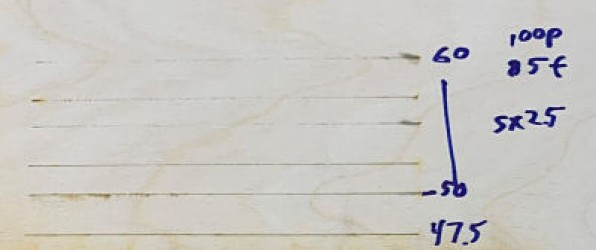
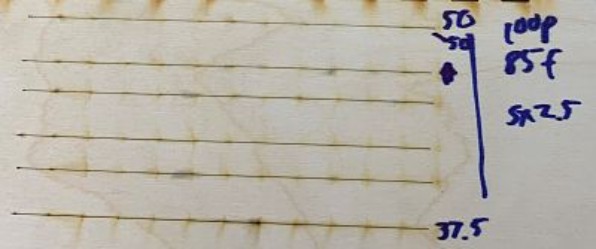
We then optimized for the lowest possible power on these settings. We did this by testing between 100 power and 50 power for cardboard, and 100 power and 75 power for wood. We found that cardboard cut through well at around 50 power, and that wood only cut through at 100% power, so we kept the wood settings at 50% speed and 100% power. After testing a different piece of cardboard, however, we found that it did not cut all the way through. After testing this piece, we settled on 70% power.
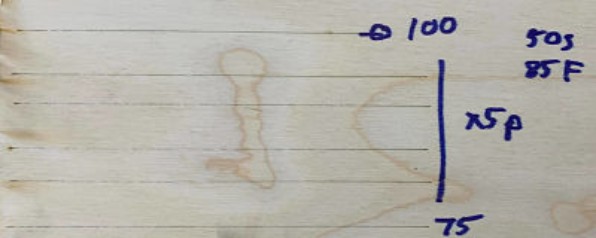
We then tested for frequency using the data we gathered so far. To do this, we built around the default frequency- 50%- for each material. We found that it did not cut well for both cardboard and wood, so we tested above 50, and eventually settled on 85% frequency for each by using the same process mentioned above.
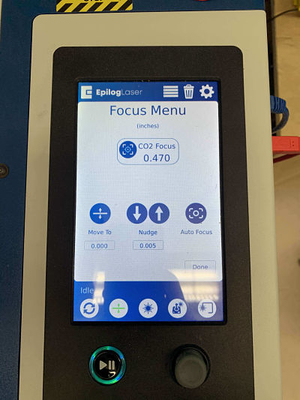
Laser Focusing
Our laser cutter has a focusing tool, so this was a fairly easy process. To focus the laser for each material, we flipped down the tool and jogged the laser under the “focus” setting until the tip of the tool was just barely touching the material. We then recorded the setting, which was .456 for wood and .396 for cardboard.

Laser Kerf
Now that we had all the other settings done, we could finally measure the kerf. We did this by cutting out a 1 inch square with our laser cutter, and used a pair of calipers to measure the actual length of the square. We got the same value of .48 mm for each material, which is expected because the width of the laser beam does not change when the material is of similar thickness.
Final Values Found
| Opperation | 1/8” Plywood | 1/8” Cardboard |
|---|---|---|
| Focus | 0.456 mm | 0.396 mm |
| Power | 100% | 70% |
| Speed | 50% | 65% |
| Rate | 85% | 85% |
| Kerf (When Focused) | 0.05” | 0.05” |
| Joint Clearance |
Downloads
Click here to get access to our test files, the Machines workflow used, as well as the machines manual