
The 5th assignment in the Fab Lab was to do the following and report every step taken during the process.
1) Identify the advantages and limitations of 3D printing and scanning technology
2) Apply design methods and production processes to show your understanding.
1) Described what you learned by testing the 3D printers
2) Shown how you designed and made your object and explained why it could not be made subtractively
3) Scanned an object
4) Outlined problems and how you fixed them
5) Included your design files and ‘hero shot’ photos of the scan and the final object
1. Ability to customize any product or design I desire to do.
2. prototypes production: the 3D printer cold safe lots of cost in huge designs if its used efficiently to design prototype prior making decision on bigger designs
3. Low cost of production: the cost is considered very low to produce including the initial cost of the machine and the material only
4. Ease of set up: it was very easy to follow the setup process of printing once the design is completed
1. CopyRights: it is very easy to copy other products or prototypes without considering any copyrights
2. dangerous items could be printed as well such as sharp objects ...etc
3. Size: the size the printers can print is very small relative to some of the projects that have big designs. so basically, size limitation is considered an issue in this kind of 3D printers
4. fixing: it has been a huge disadvantage to fix a broken 3D printer. it did require specialists to do so
First I have designed a 3D design structure which would be a nice pillar with architectural design which resembles indian temple architecture. Then I moved to sindoh 3DWOX which I have in my lab for the design of my prototype.

Then after I have made my design to make ready for print by adjusting the coordinates as shown below
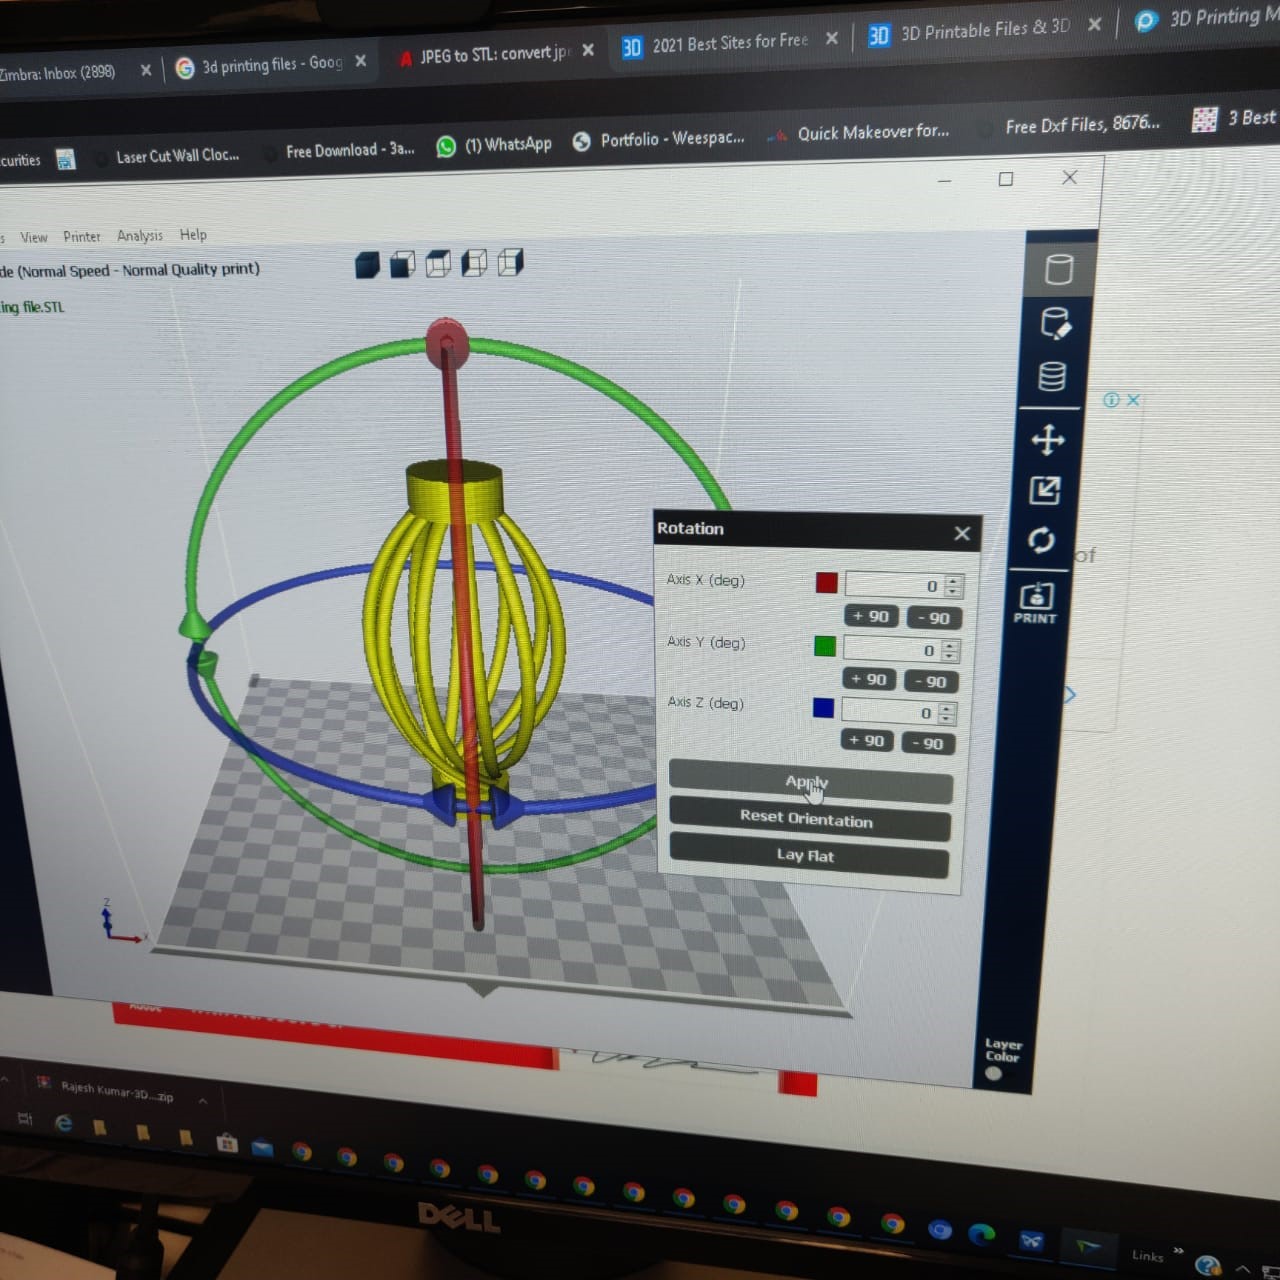
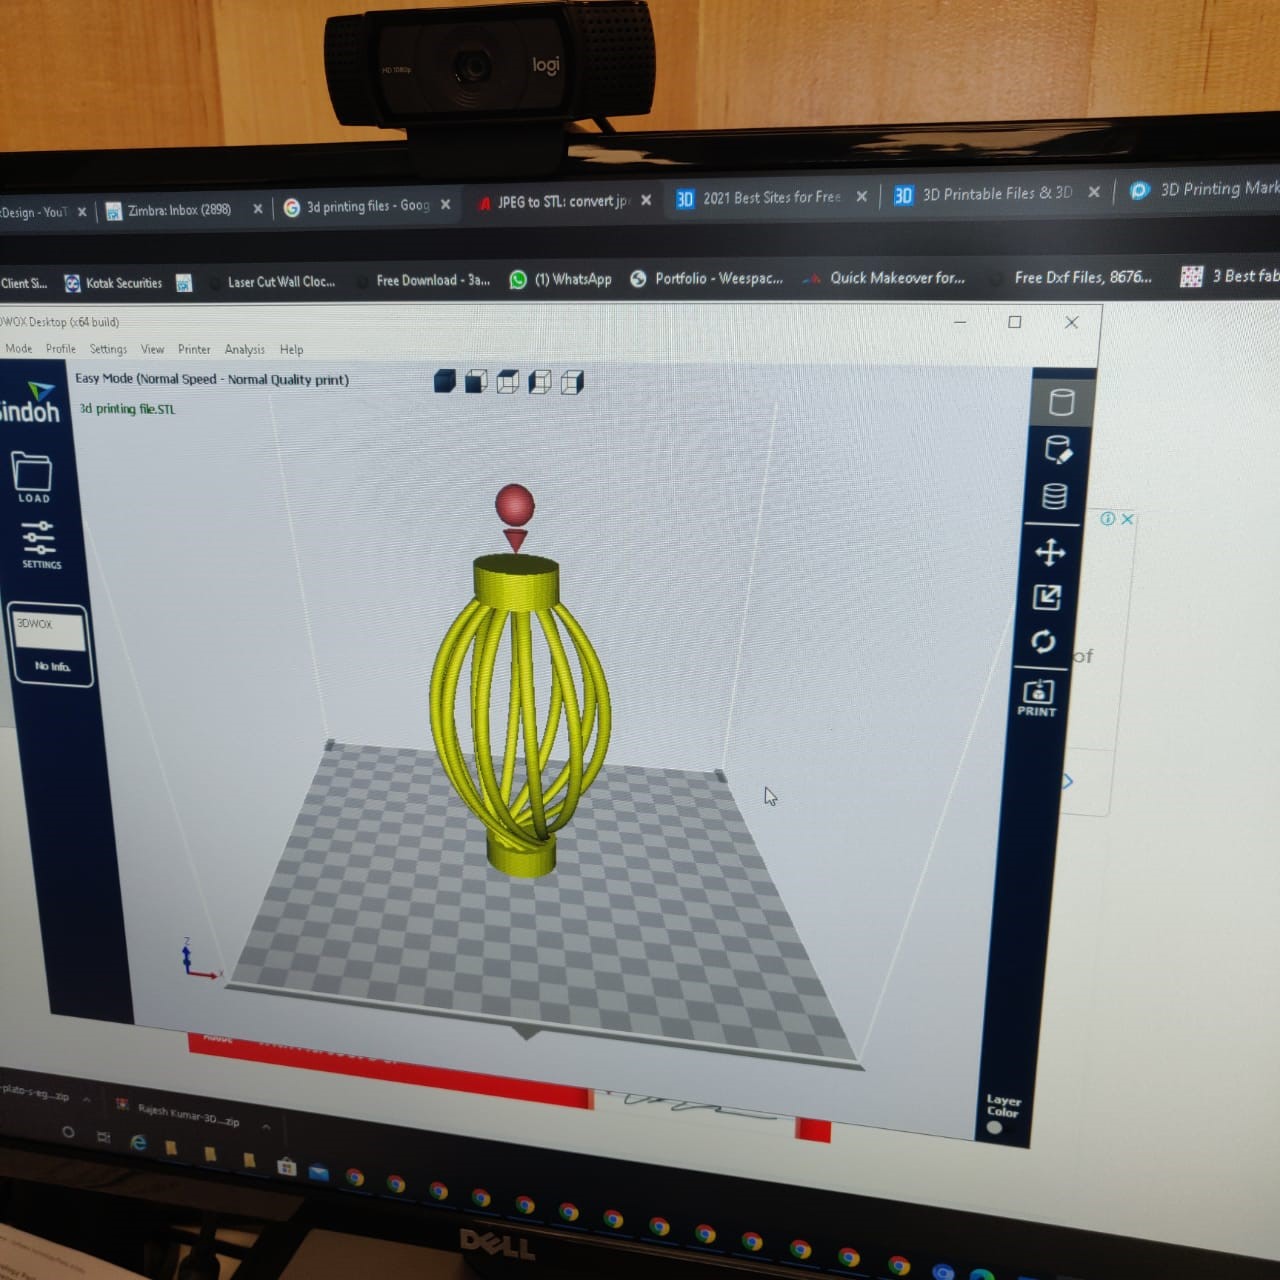
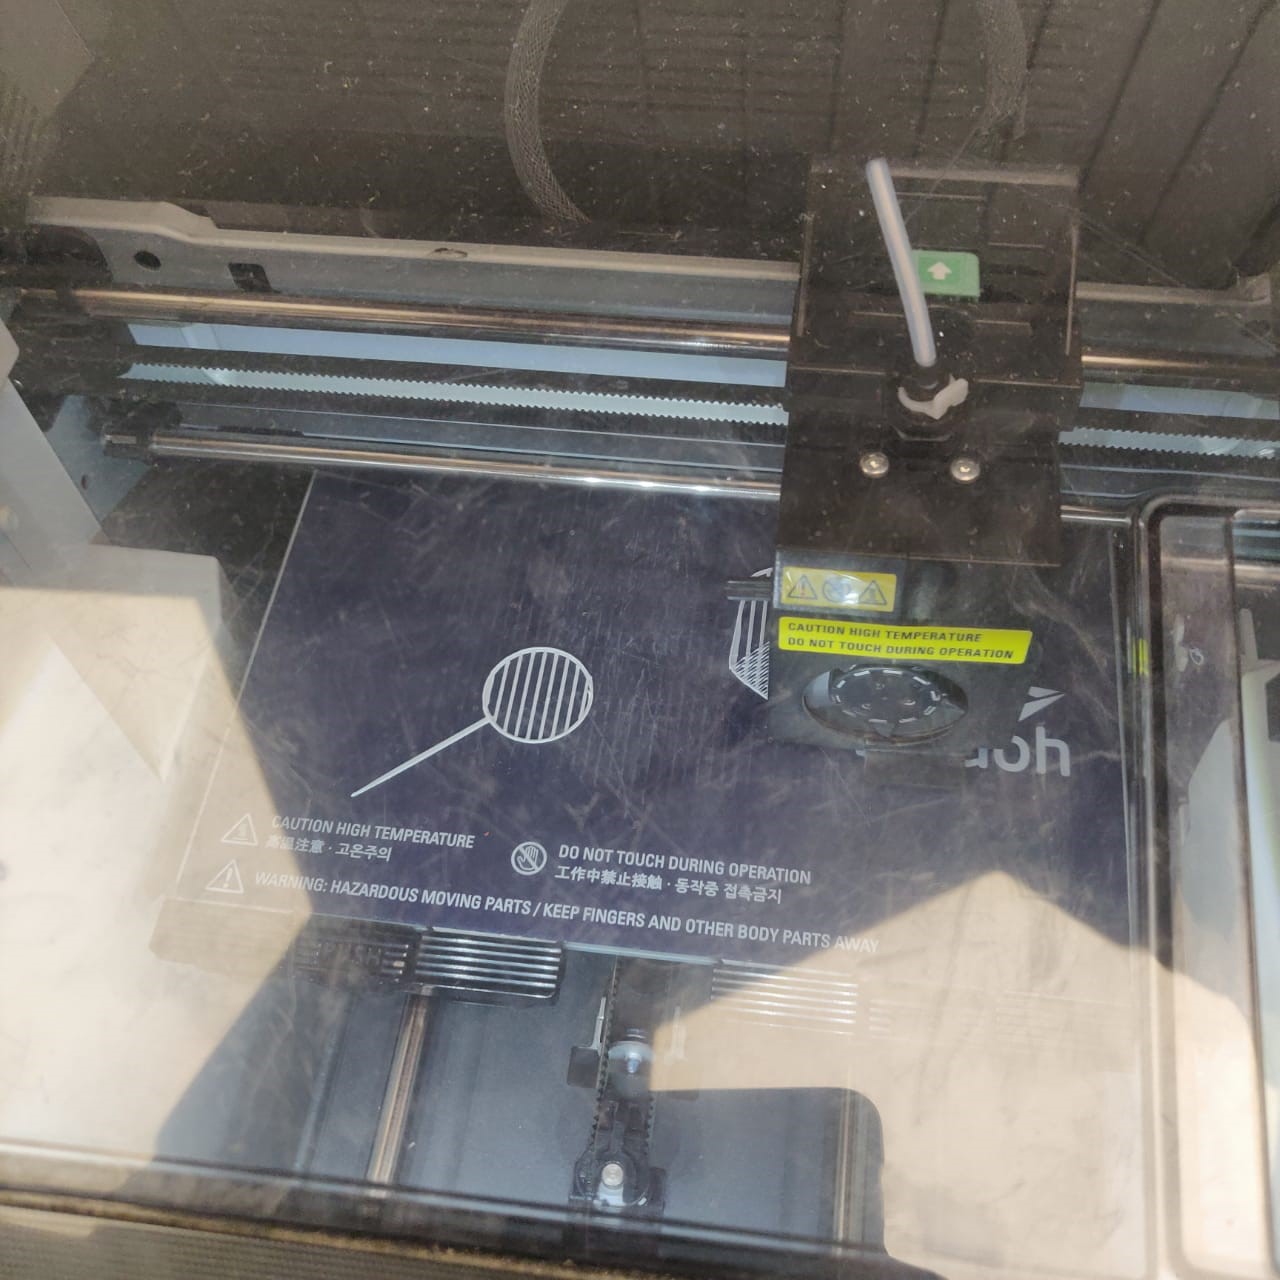
Then after adjusting all parameters by setting the coordinates it is ready to print. Here is the image when just the printing has started.

Finally When the 3D printing is over the actual picture looks like this
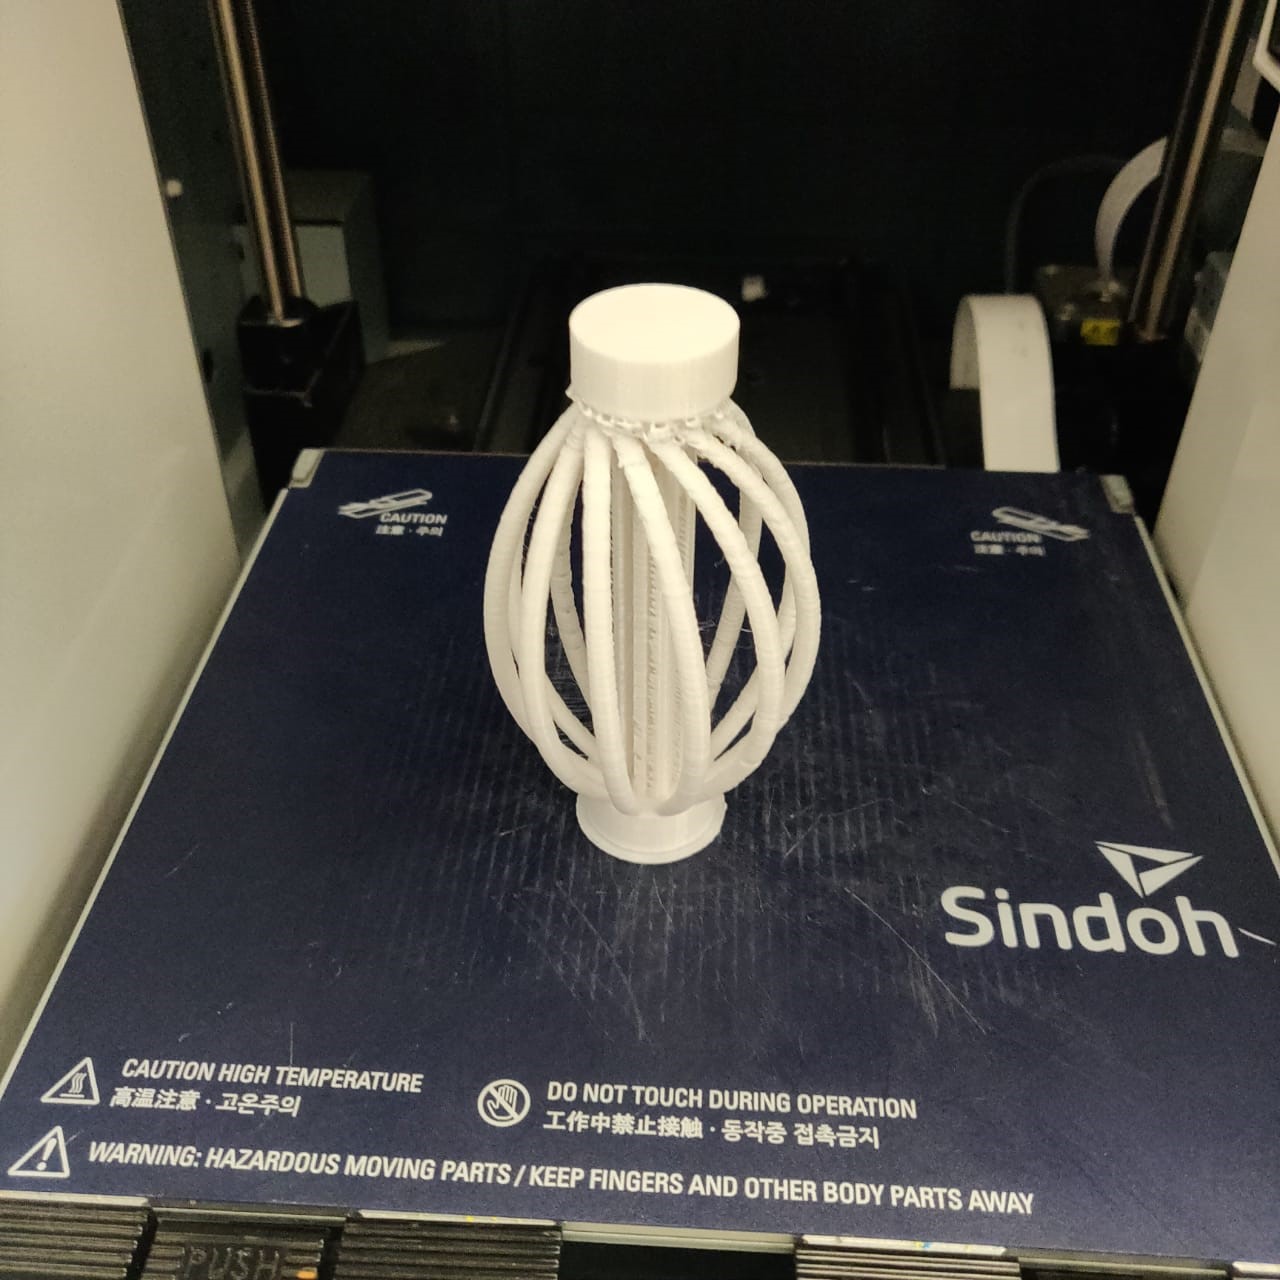
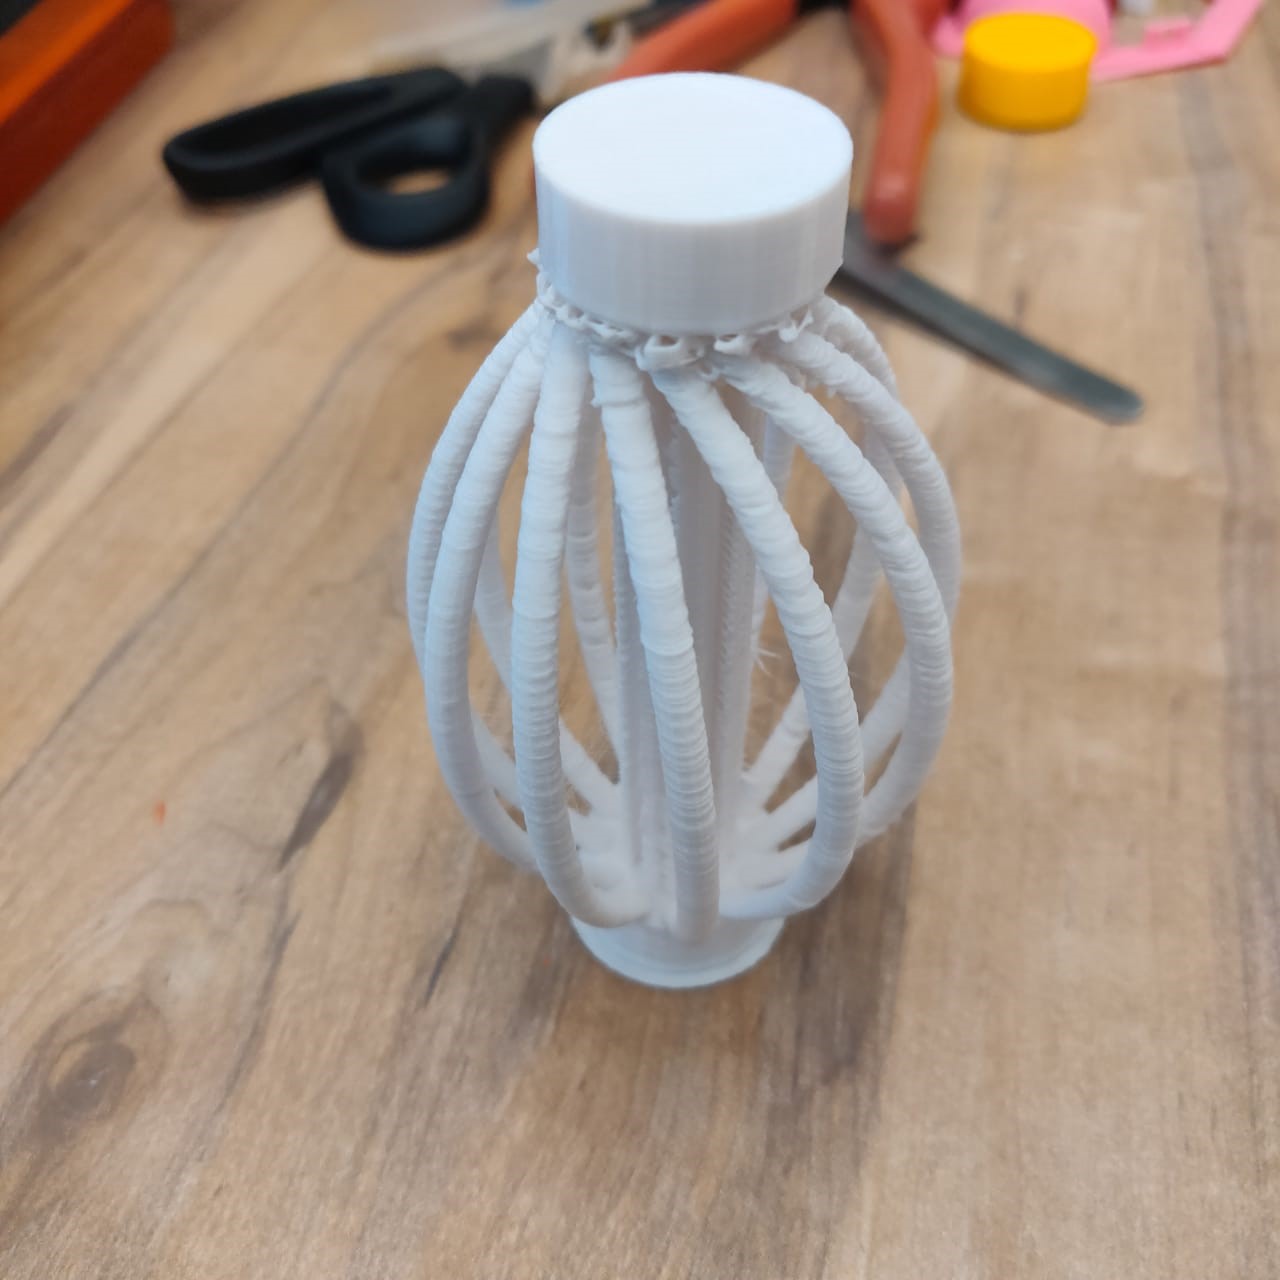

The finishing is not much good but I am satisfied by the design and the way the output of the product.
The Machine used in the 3D Scanning is called SENSE. I took a 360 shot of myself to test how good the scanner is. Then I downloaded the file and converted it from OBJ format to STL format using an online converter at www.greentoken.de/onlineconv/.
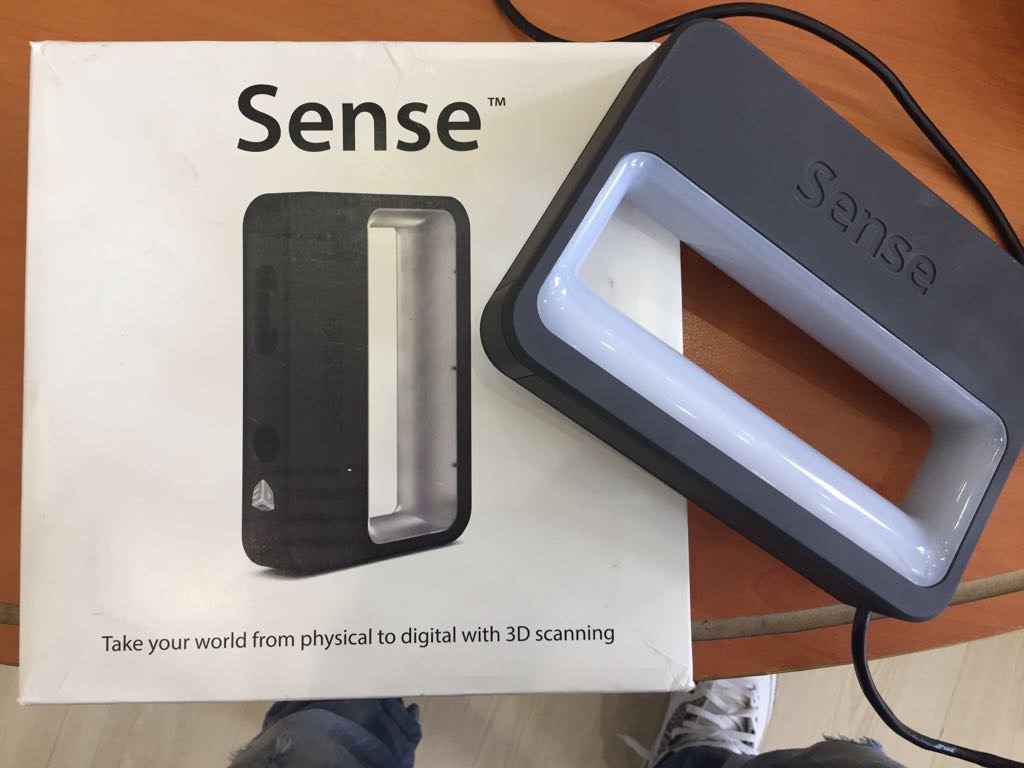
I have also used the conversion from OBJ to Fcode as well which worked better. Below is the converting process. this is me on the scanner design below . I used some help from one of my colleagues who turned the scanner on and moved around me as an object very slowly to capture the upper side of my body only
1) very affordable and available online
2) very portable and easy to use
3) time require to scanning is very short
1) require hand stability during the scanning
2) distance between object and the scanner could vary from one person to another using the scanner
3) file format can not be saved to STL to be used in the 3D printer. a format change is required.