1) Identify and explain processes involved in using this machine.
2) Design and create the final object
1) Explained how you drew your files
2) Shown how you made your vinyl project
3) Included your design files and photos of your finished project
1) Demonstrate and describe parametric 2D modeling processes
2) Identify and explain processes involved in using the laser cutter.
3) Develop, evaluate and construct the final prototype
1) Explained how you parametrically designed your files
2) Shown how you made your press-fit kit
3) Included your design files and photos of your finished project
Design, make, and document a press-fit construction kit!
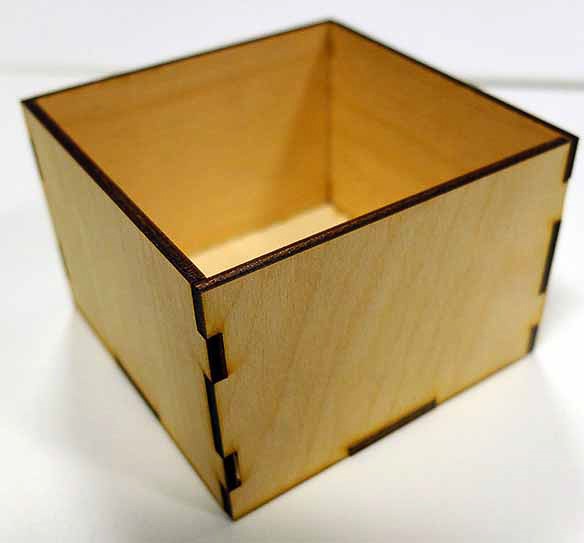
And here it is!
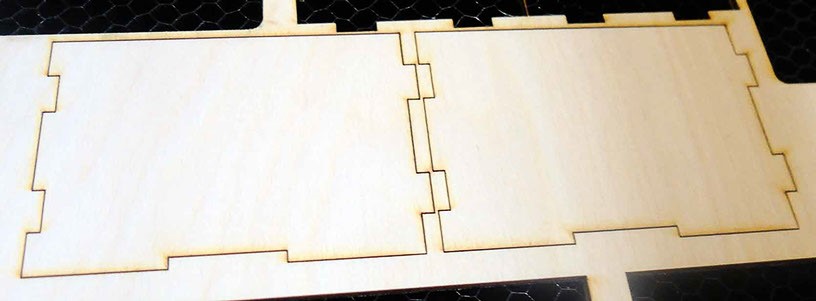
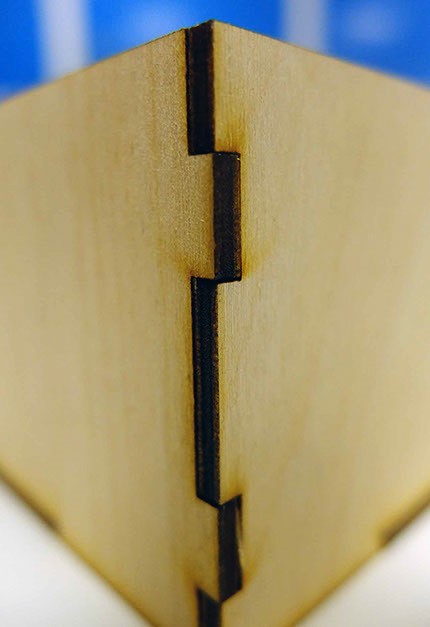
The design is a very straight forward press-fit box without lid. The press-fit part has a 0.3mm overlap for tight fit.
The laser cutter used in this project is Epilog Fusion M2 laser cutter. I use the following setting to vector cut the 3mm board.
Speed: 10
Power: 100
Frequency: 500
The cutting has to be done very carefully by adjusting the speed, frequency and power. Depending up on the material the parameters may vary. There is a possibility of catching the fire when working with corrugated boards. So, at most care should be taken while operating the machine.

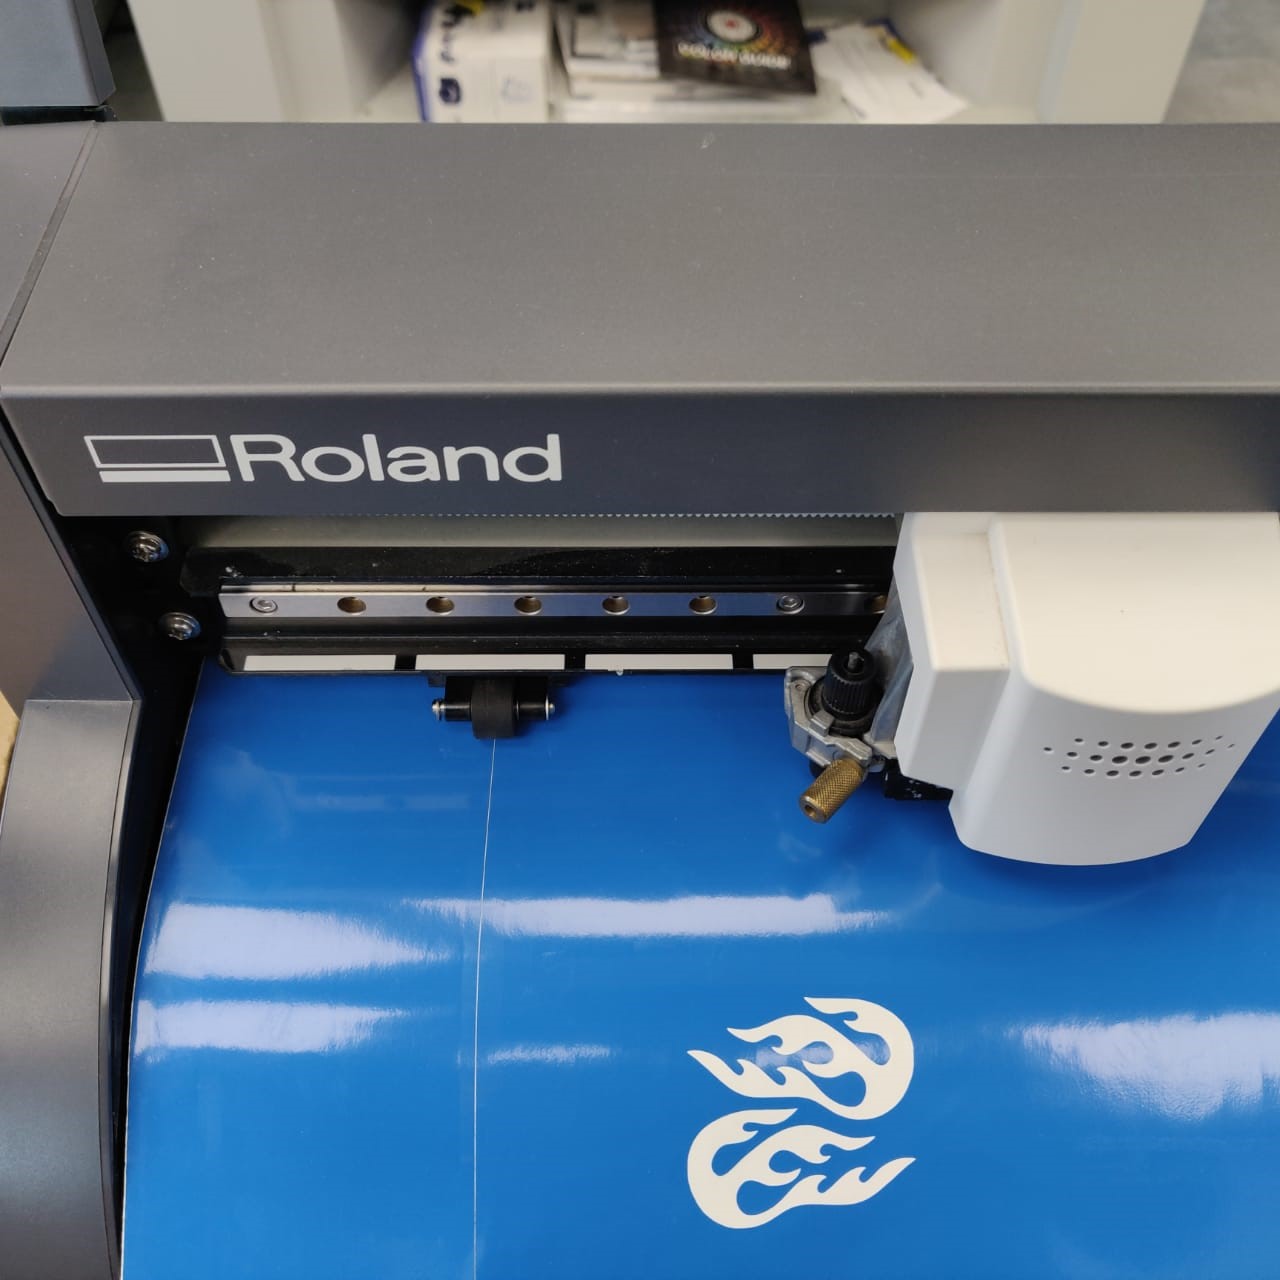
The machine used this week is called ROLAND CAMM-1 GS 24 . Here is a picture of it:

I started this by downloading the Ink-scape vector graphics editor
I have used the software INKscape to design the logo of the idea . I used the design option in the software and designed the font color and size through the option. I find this software very applicable and user friendly to use.
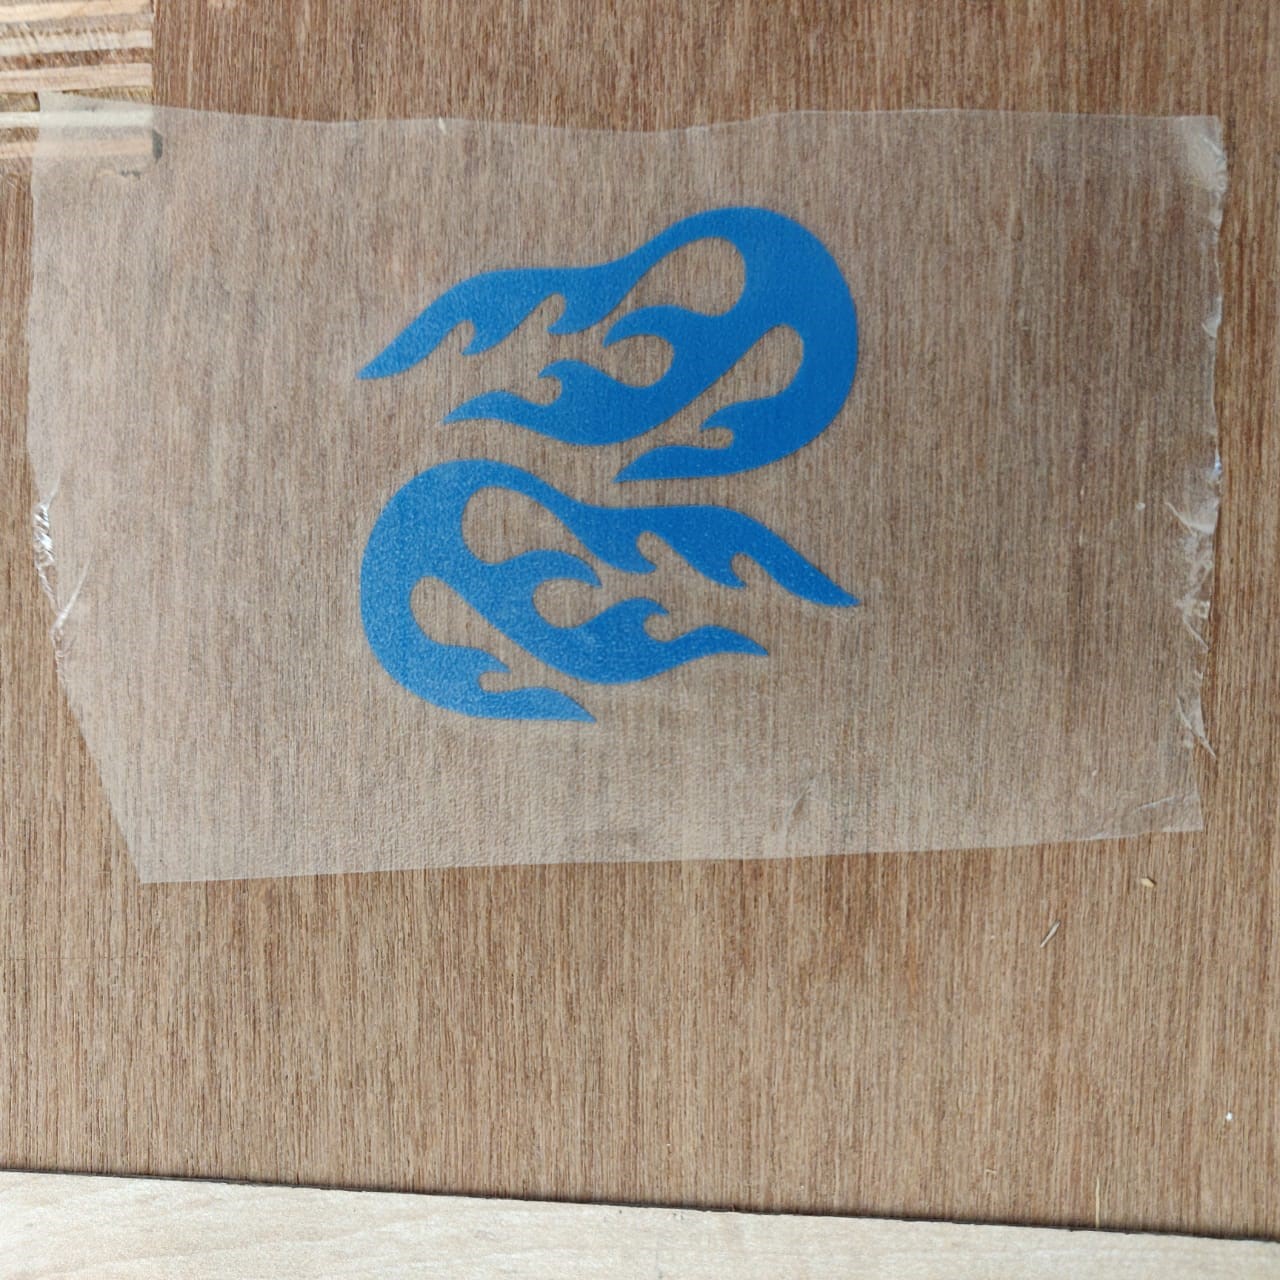
The local instructor have also helped us in using the software as a back up in some of the ins and outs of the software. I have selected the logo design and tried to stroke it in order to be able to print it in the sticker machine as shown in the picture below


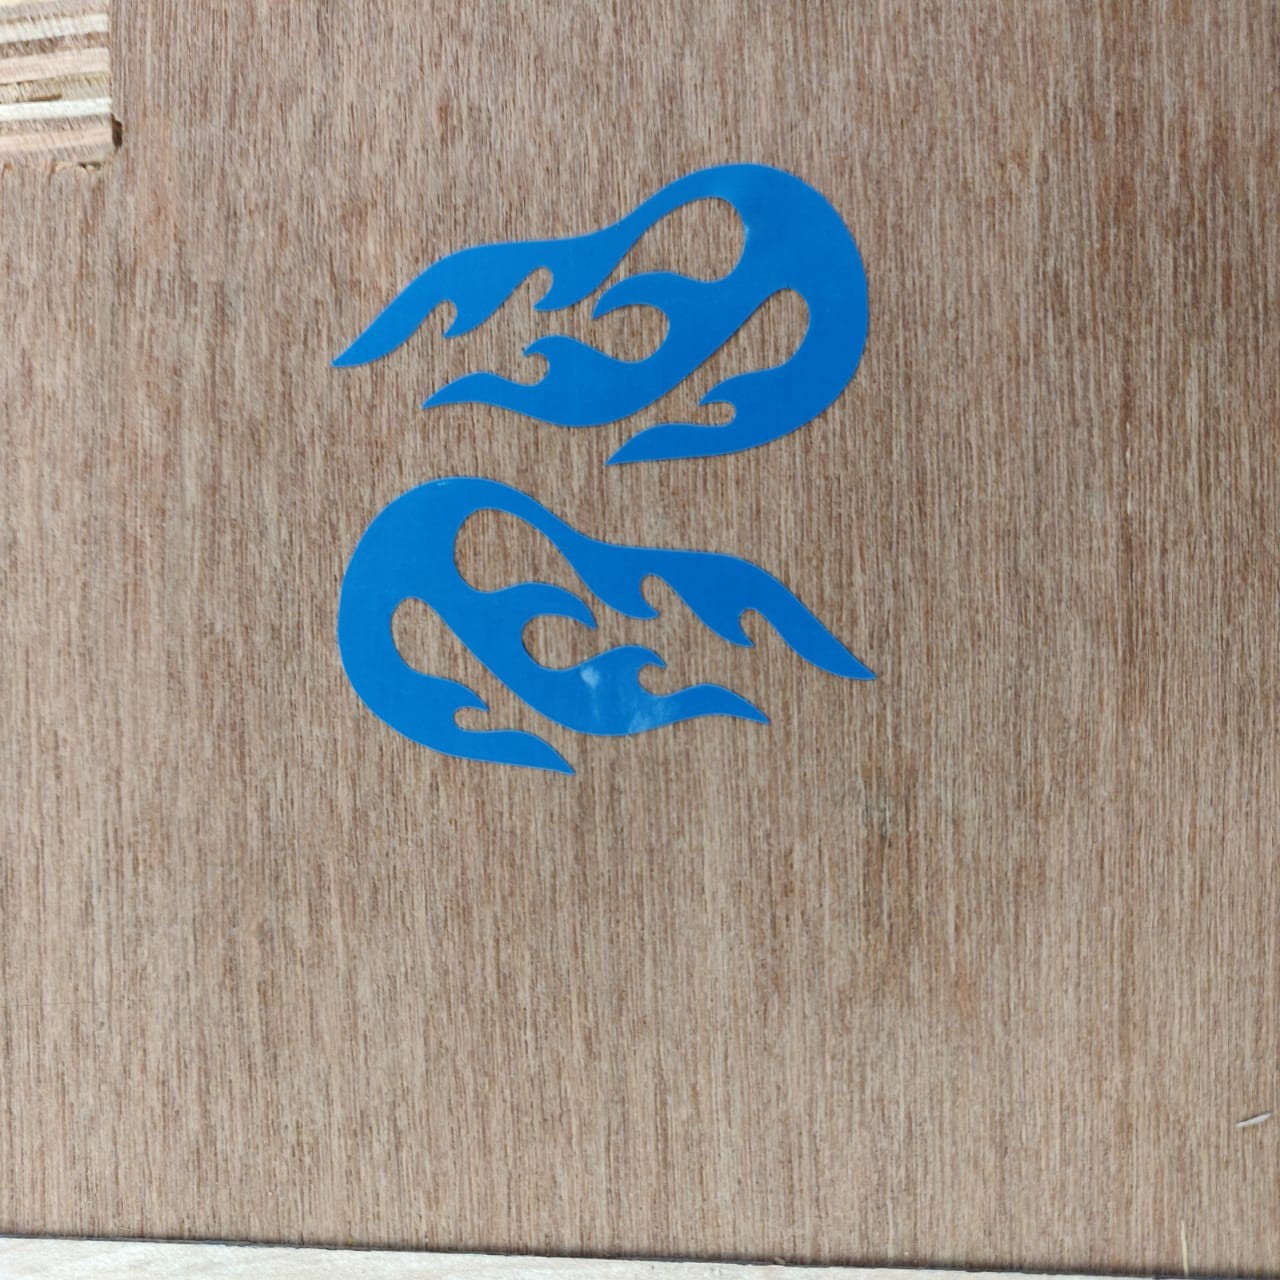
Finally I have cut using the vinyl cutter and here is the image as how it looks
The final printing product looked like this after using separate software to print. Here is a picture of the logo I printed
My overall assessment of the process of printing was very simple and straightforward. The software inkScape used has helped a lot in designing the 2D stickers. The software is very applicable and the printer used called (ROLAND CAMM-1 GS 24) was also used to print out the logo as a sample to train toward the final product.