WEEK 3: Computer-controlled cutting
This week was about working with computer-controlled cutting machines, such as vinyl cutters and laser cutters.
I already had some experience with laser cutting machines. This week I had the chance to try also the vinyl cutters, and to do some tests in the laser cutters in order to know how the ones we have here work.
Group assignment:
The group assignment was about characterizing the laser cutter settings, such as focus, power, speed, rate, kerf, joint clearance and types.
To do that, we work together and tested different materials in order to test power, speeds, focus, kerf...
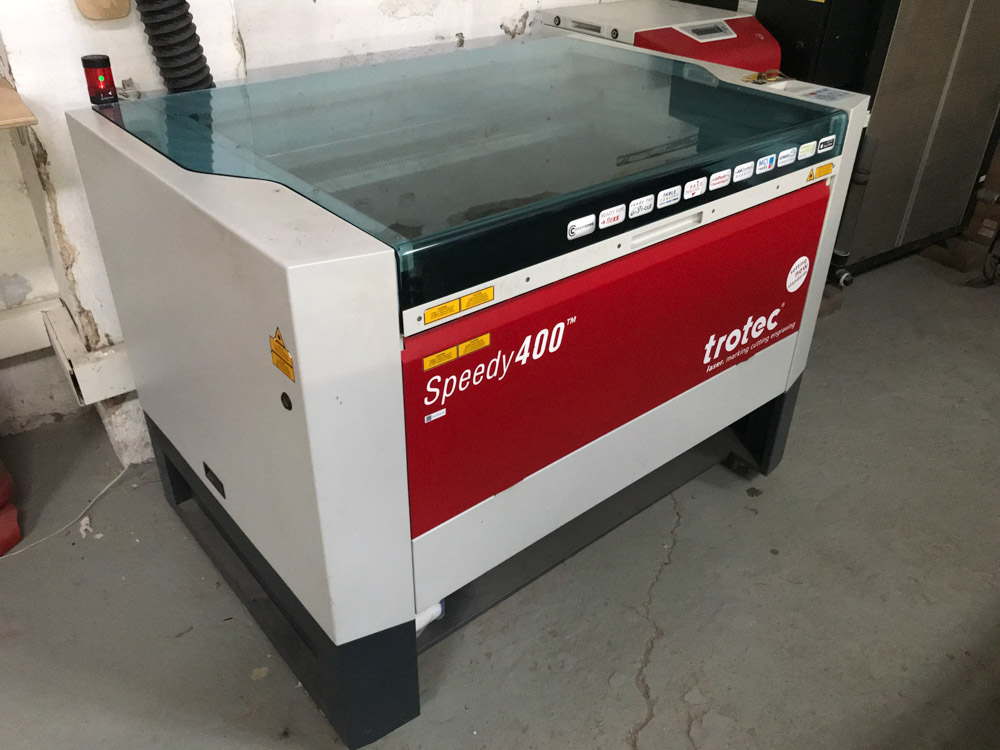
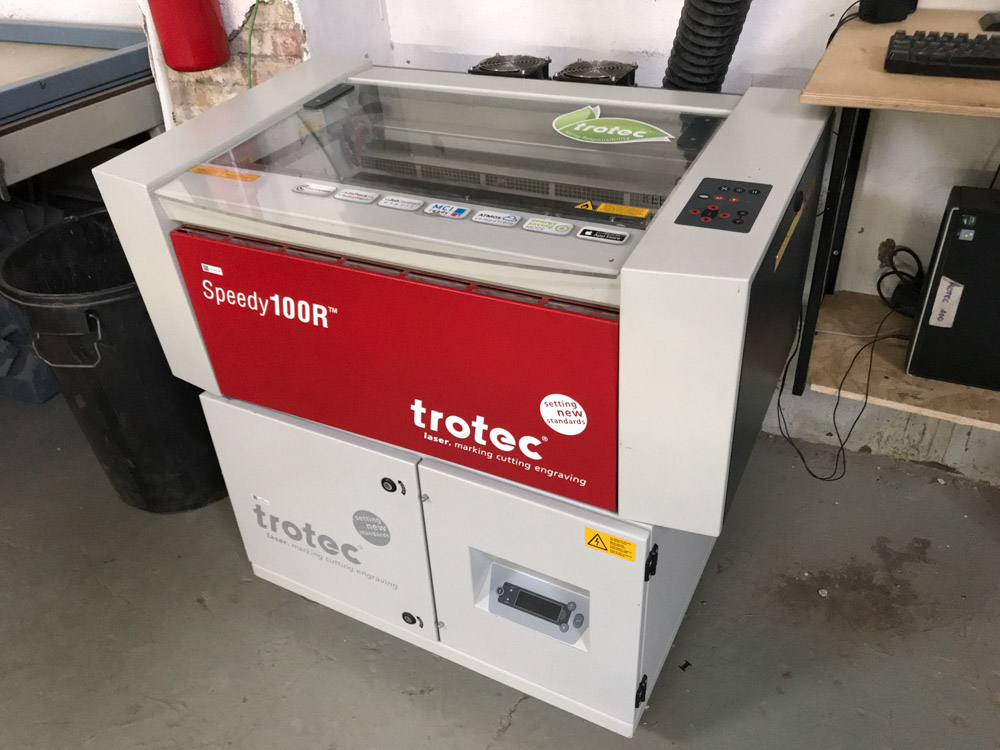
The machines we have in FabLab Barcelona are a Trotec Speedy 100R and a Trotec Speedy 400.
They have their own specific software to print, the TROTEC jobControl X.
We use Rhinoceros to send the files to the printer's sofware. In Rhinoceros we assign different colors to different types of cutting, like iternal cut, external cut, engraving or raster.
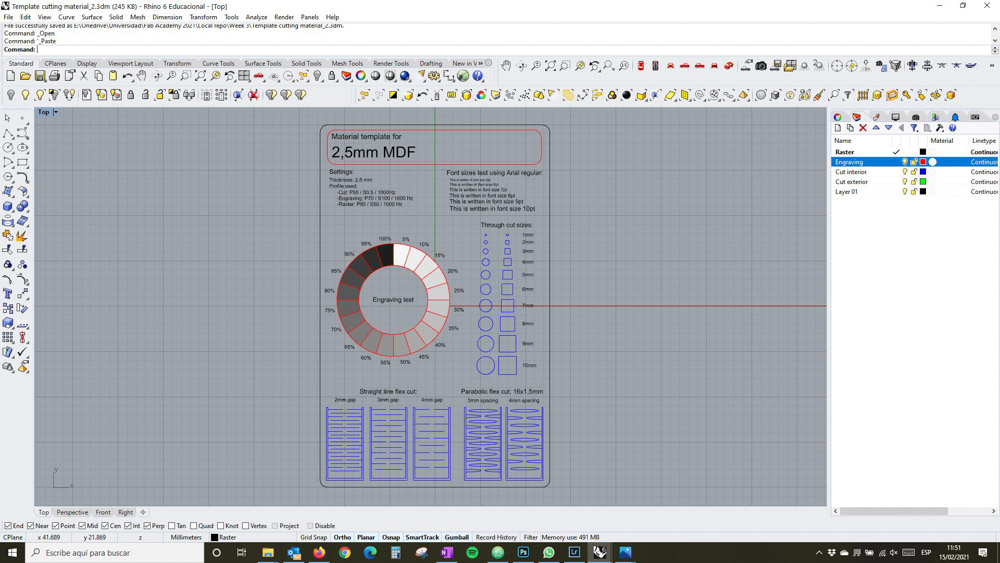
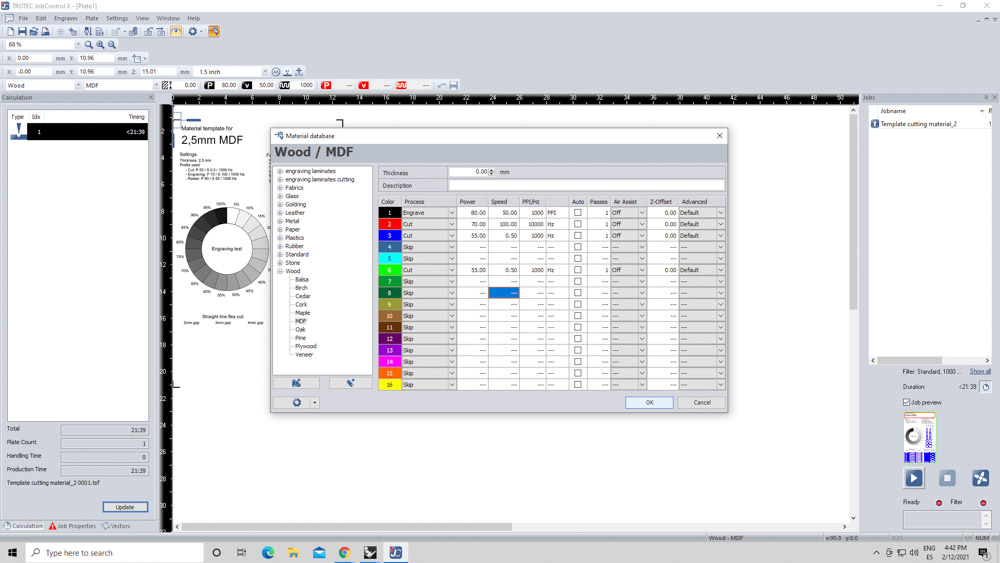
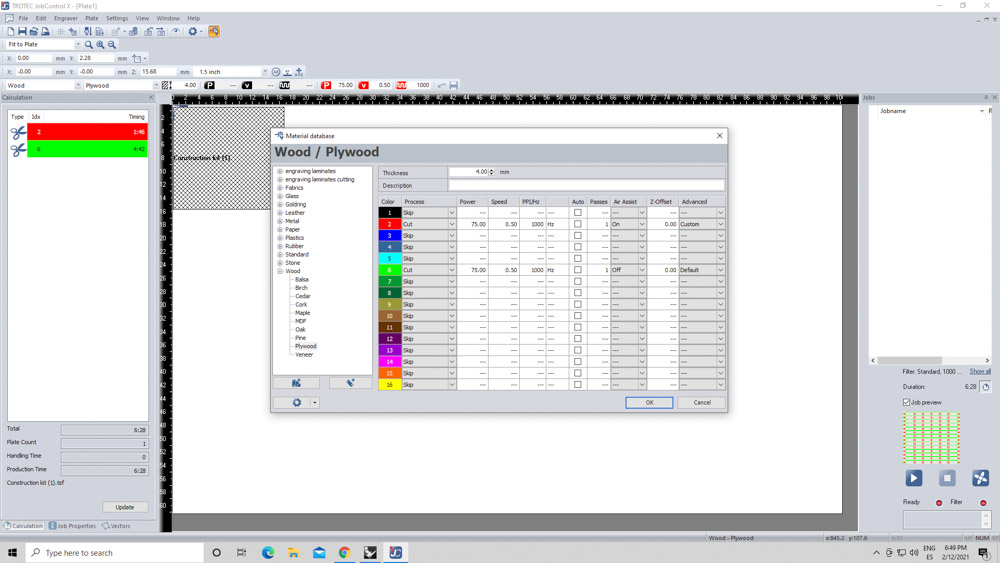
After we have all the colours setted and we have our file ready, we print it choosing the cutter software in the settings window. Here we choose the kind of material we are going to use.
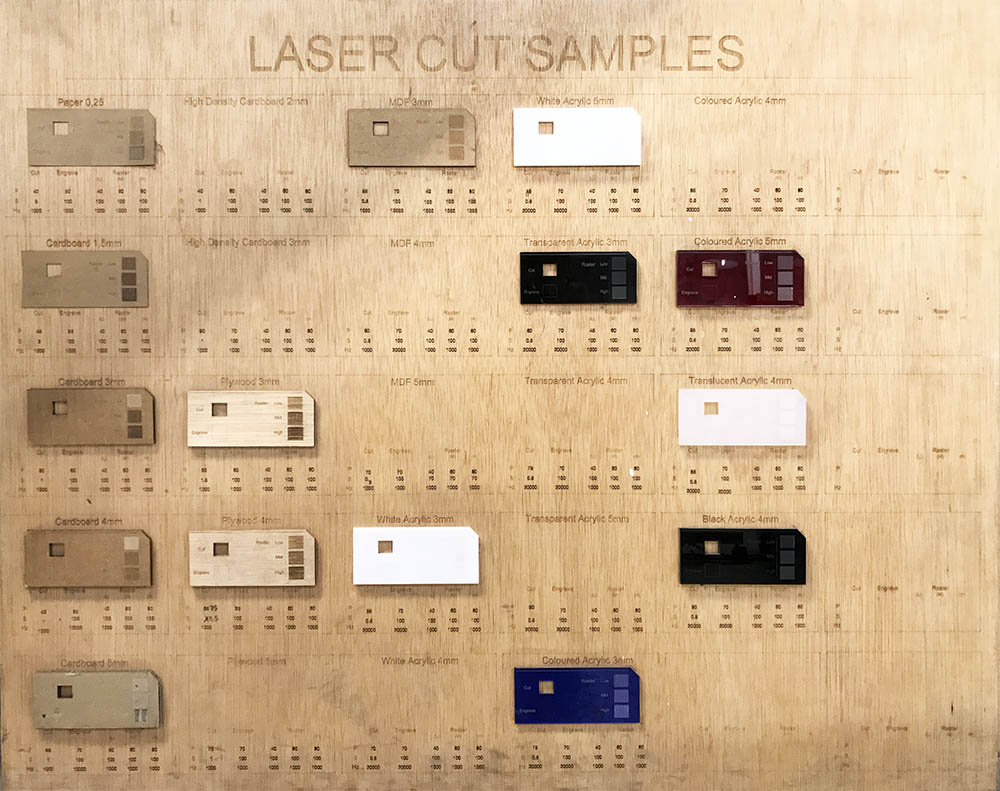
Once we have the file in the cutter software, we need to assign power, speed and frecuency to each colour, or kind of cutting. To do that, we start by using the example board we have in the lab, where we can find different settings for different materials.
Now, we have to set the focus of the machine. We do that by placing the focus stick hanging in the laser head. Then we move the bed up, until we touch the stick with the material and the stick falls
After that, we set up the origin, by moving the head of the machine to the place we want. Once we have our origin setted up in the machine, we can move our drawing in the computer to the setted origin.
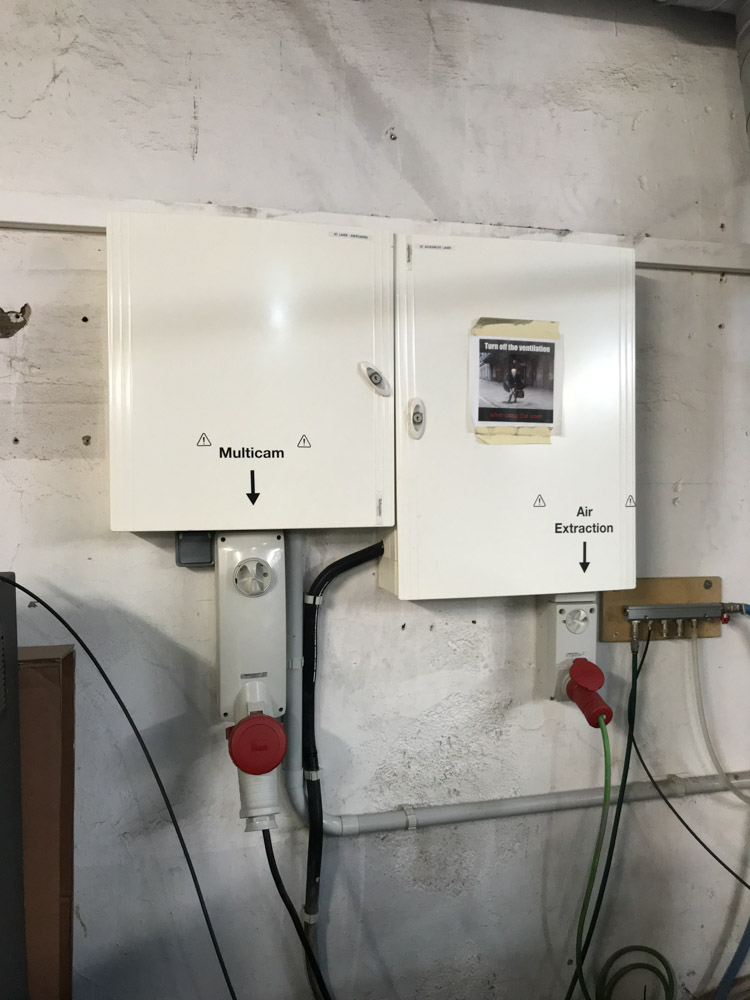
Lastly, we need to turn on the air extraction (or ensure that is already on)
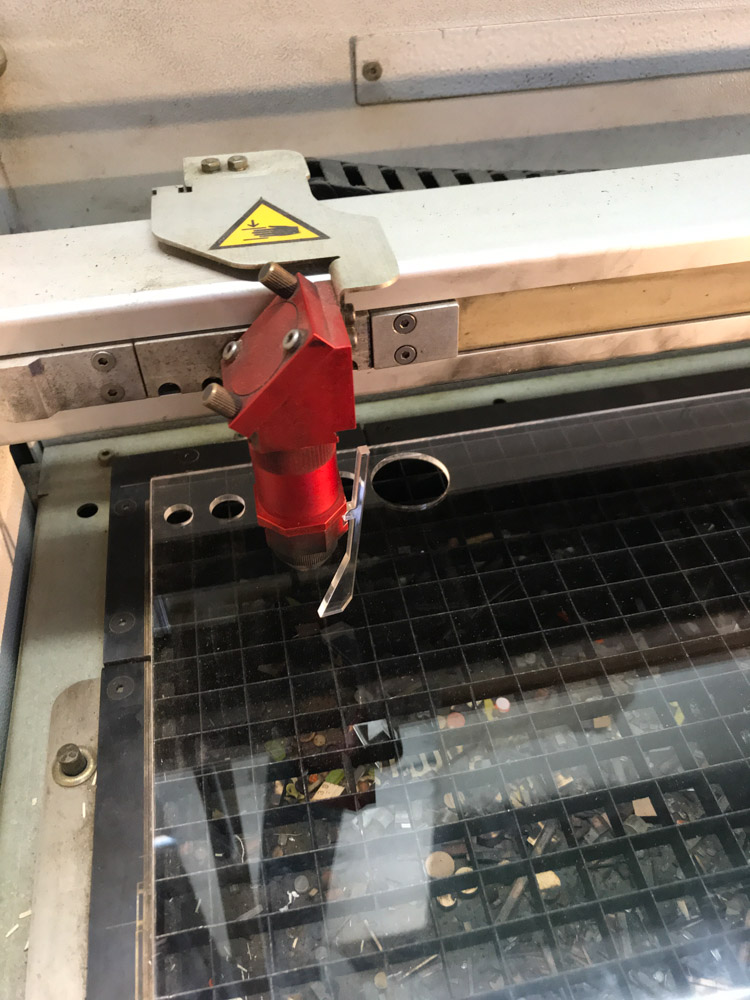
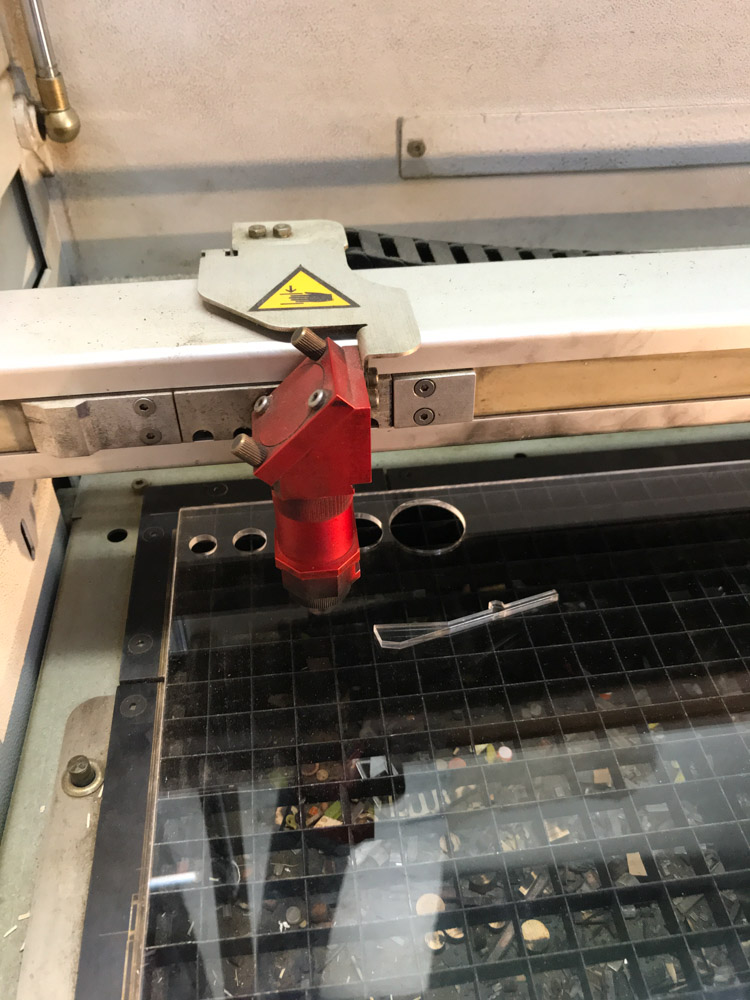
Once we have the cutter and the file ready we can send it to the machine. Now we need to ensure that the cutting is as expected and keep an eye on the machine all the time, just in case there is something wrong in order to stop it inmediately.
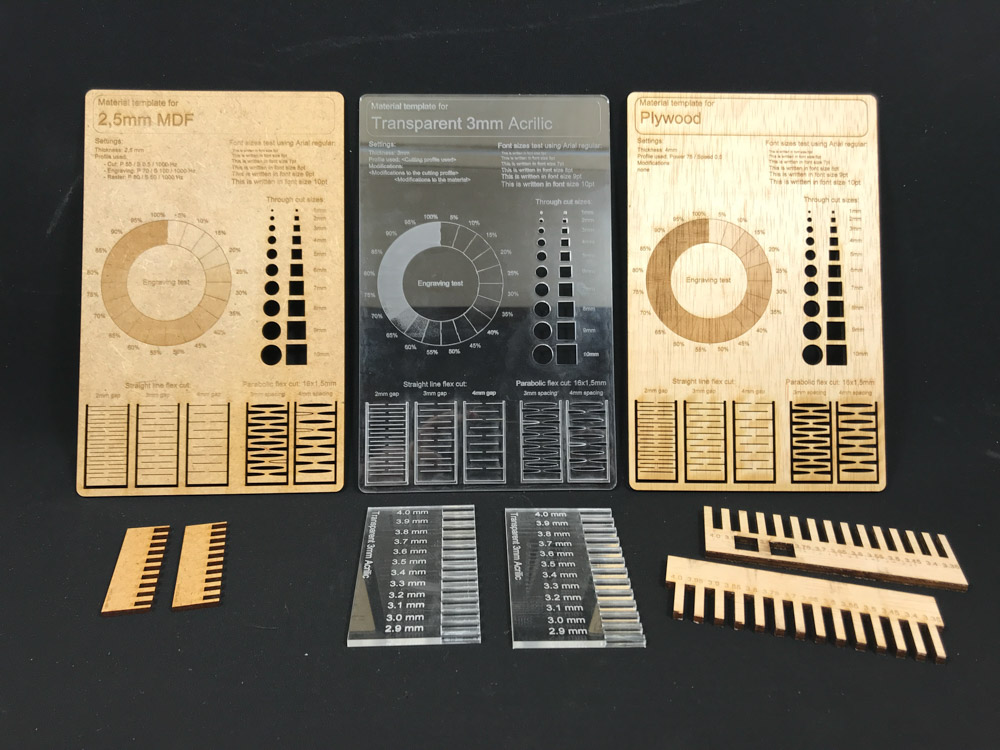
We tested three different materials: MDF, Acrilic and Plywood in order to compare the parameters and the result. The parameter we used were:
MDF 2.5 mm
- Cut: P 55 / S 0.5 / F 1000Hz
- Engrave: P 70 / S 100 / F 1000Hz
- Raster: P 80 / S 50 / F 1000 PPI
Transparent Acrilic 3 mm
- Cut: P 60 / S 0.5 / F 20000Hz
- Engrave: P 70 / S 100 / F 20000Hz
- Raster: P 60 / S 100 / F 1000PPI
Plywood 4 mm
- Cut: P 75 / S 0.5 / F 1000Hz
- Engrave: P 65 / S 100 / F 1000Hz
- Raster: P 60 / S 100 / F 1000PPI
Video of the cutting in acrilic:
Final result comparing the three materials:
Individual assignment:
For the individual assignment, we needed to use the vinylcutter to cut something, and also make a parametrical design of a construction kit and cut it in the laser cutter
Vinyl cut:
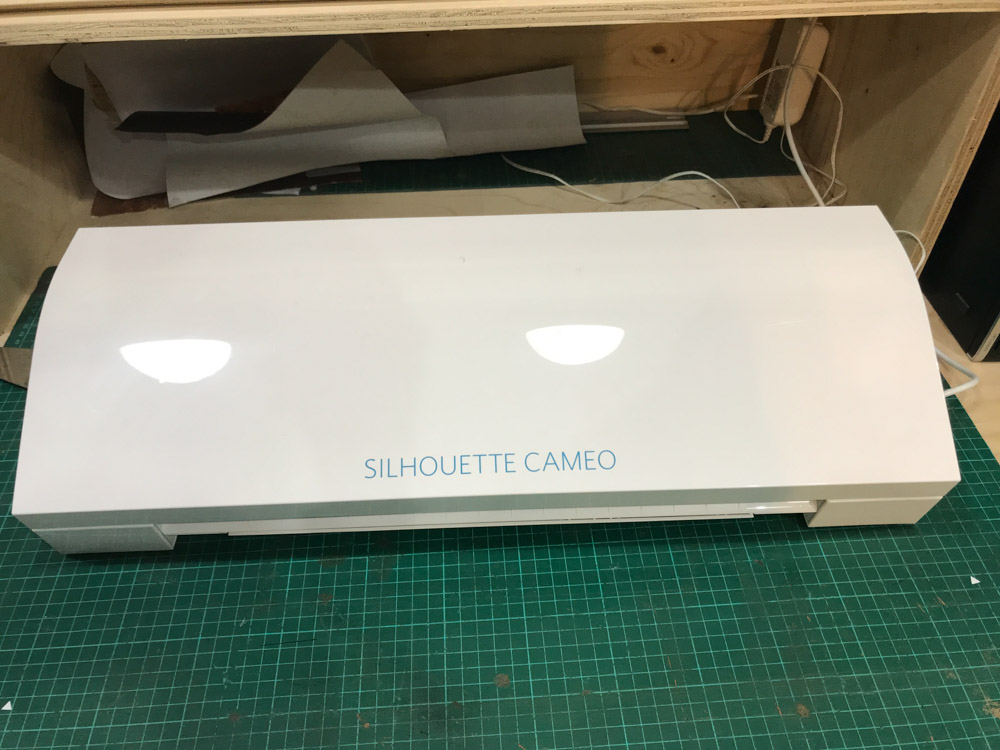
The vinyl cutters we have at FabLab Barcelona are a Silhouette Cameo and a Roland GX-24. We had the cance to see how both of them work and to test them.
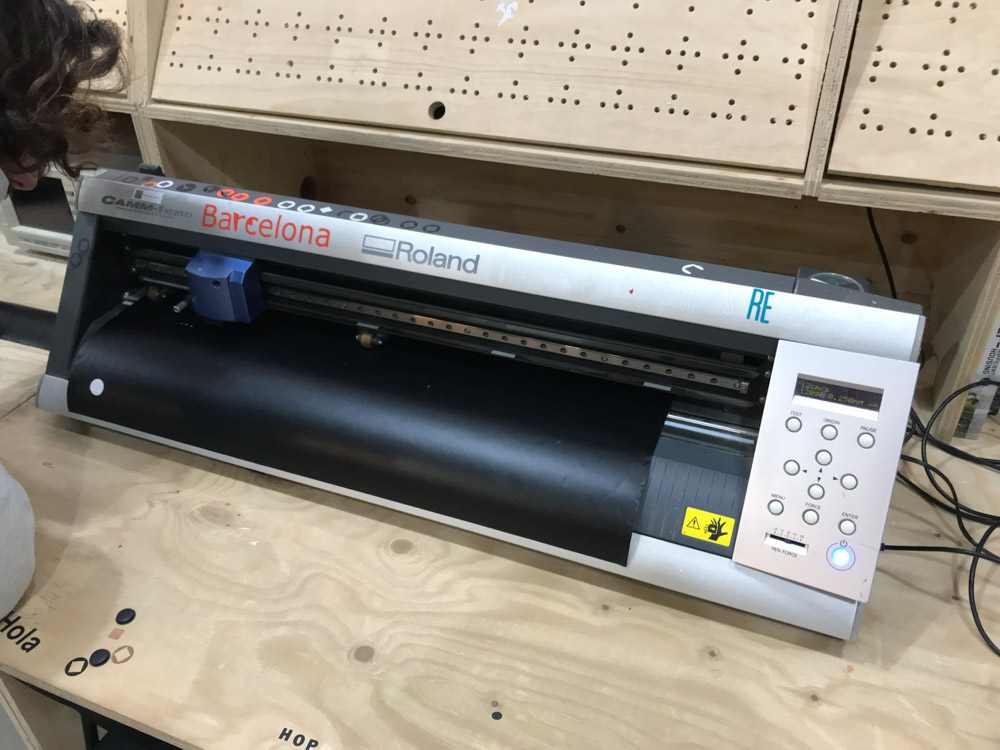
To do the individual assignment I used the Roland.
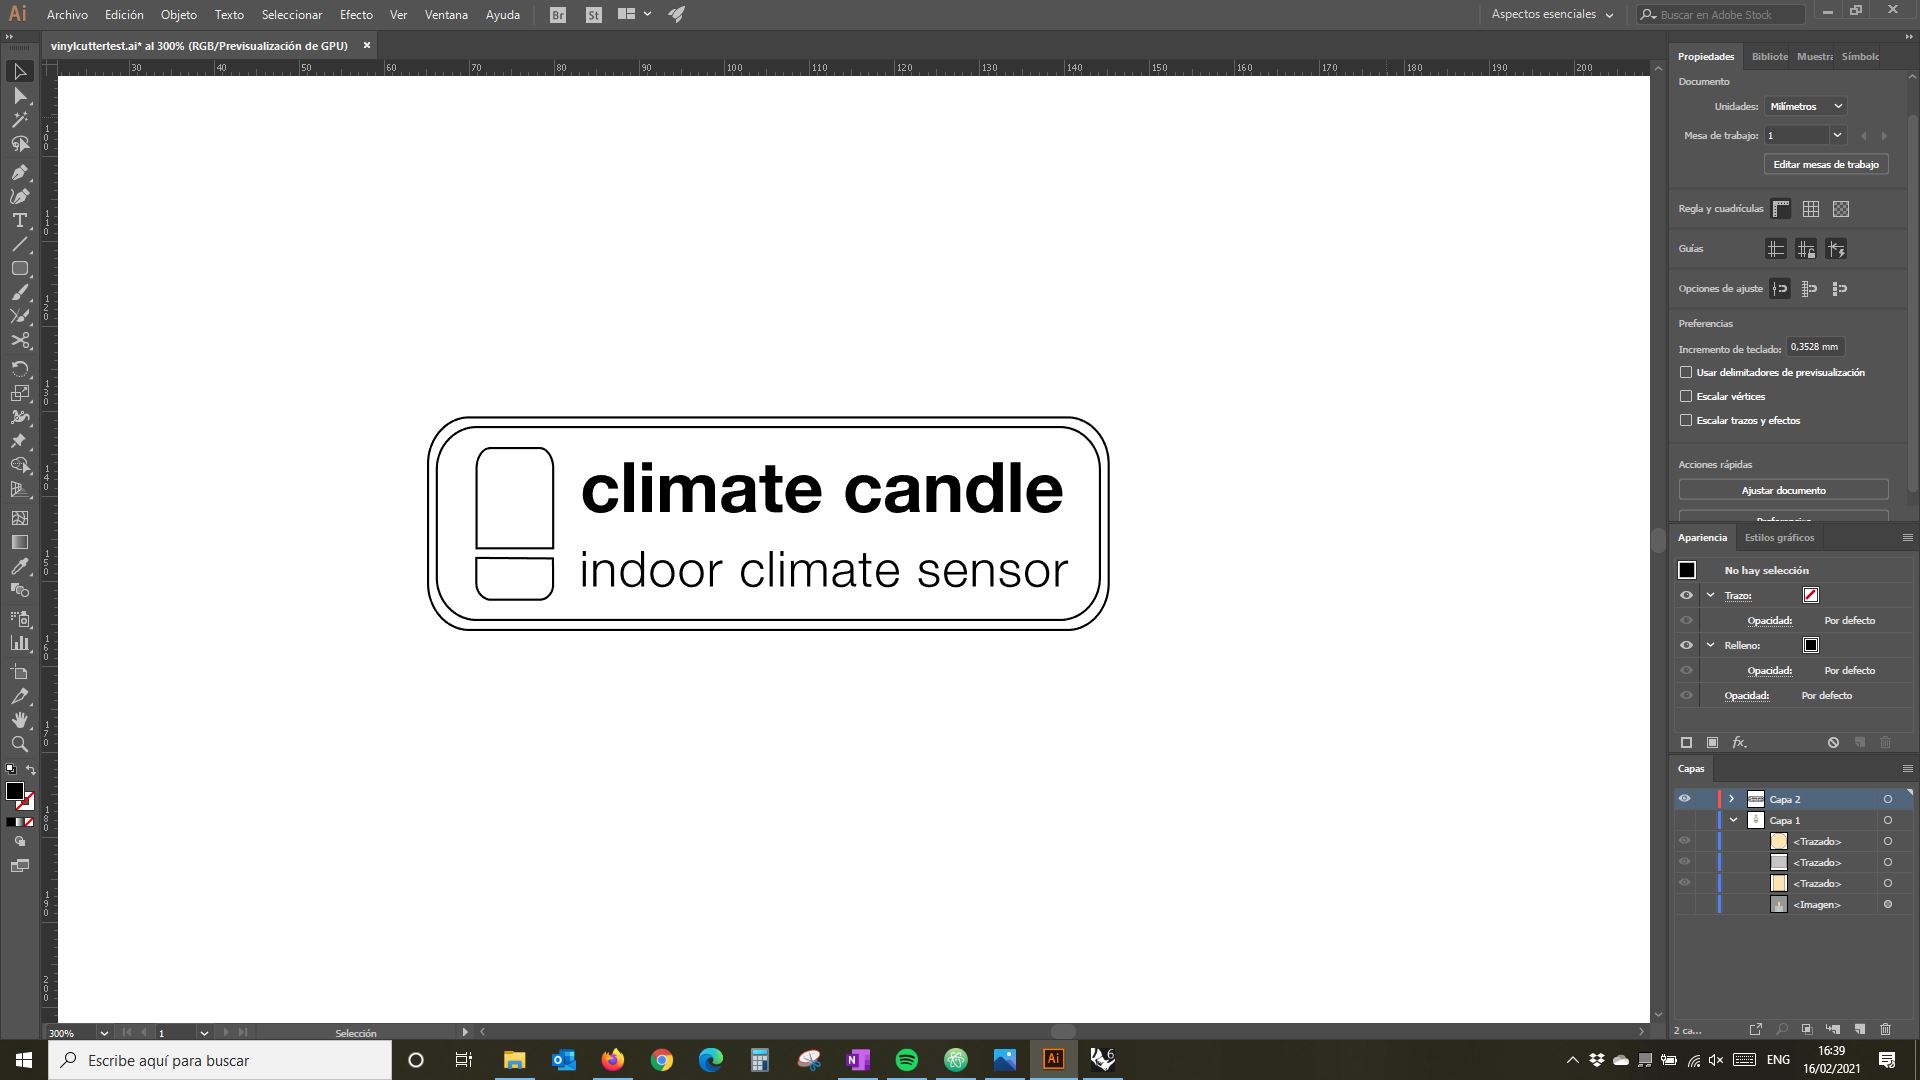
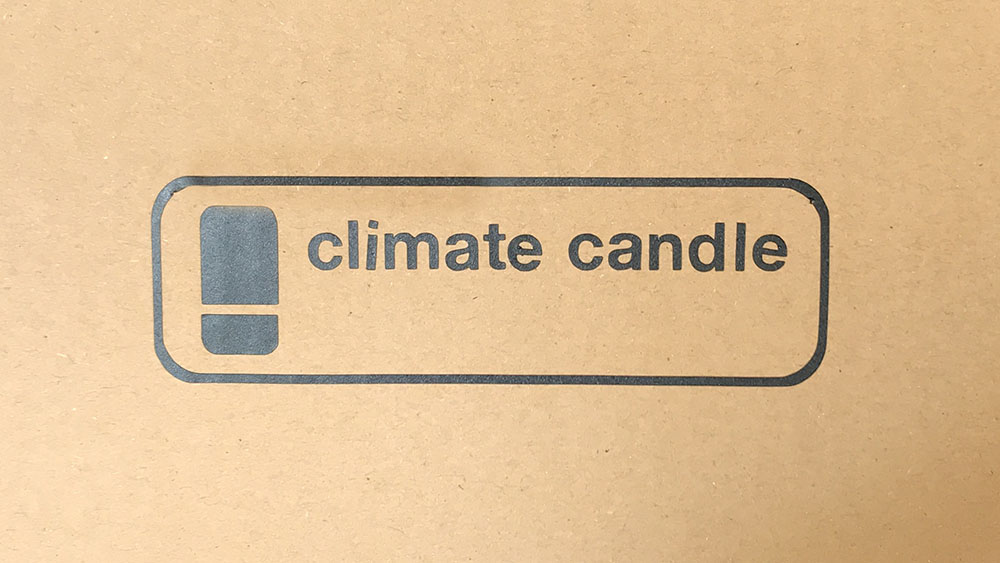
First of all I designed the drawing I wanted to cut. To do that I used Illustrator. I made a logo about my final project wich contains text and vectors. In order to convert the text to vectors I had to create the contours of it. Then I saved the drawing in .ai format (version Illustrator 8), to be able to open it with the software of the machine.
14 june 2021 update:
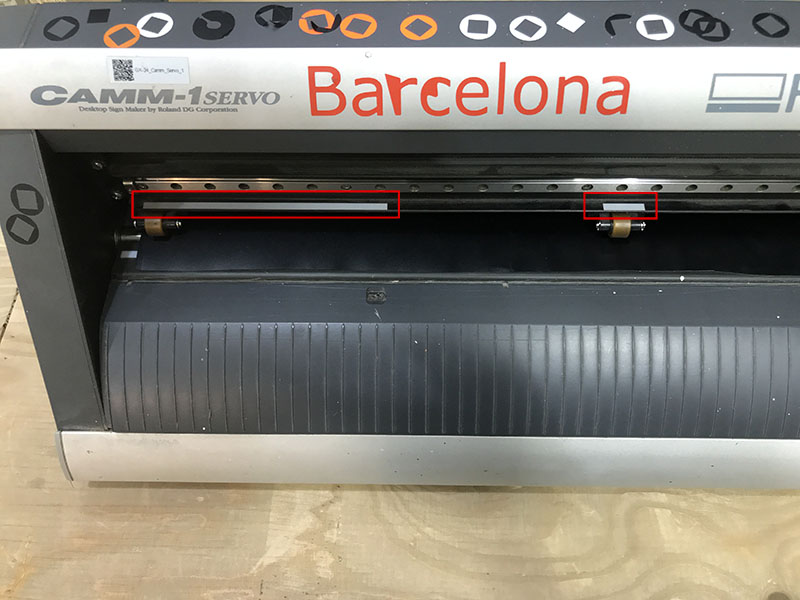
Before print it we need to load the vinyl in the machine and set it up.
First we load the roll of vinyl and ajust the wheels to fit the width of the vinyl. The wheels should be within the mark that the machine has.
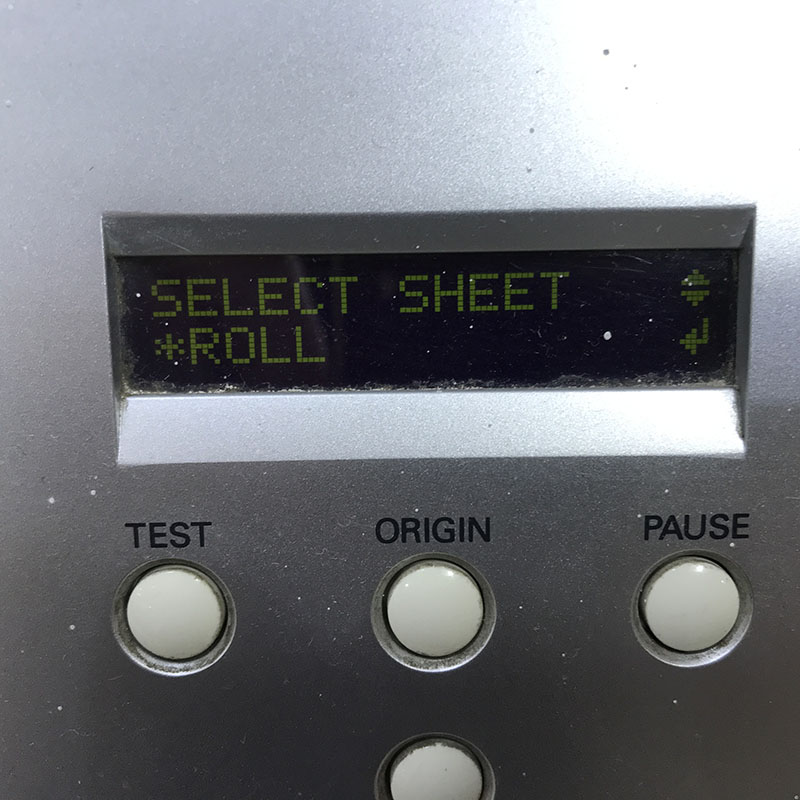
We press enter and choose roll:
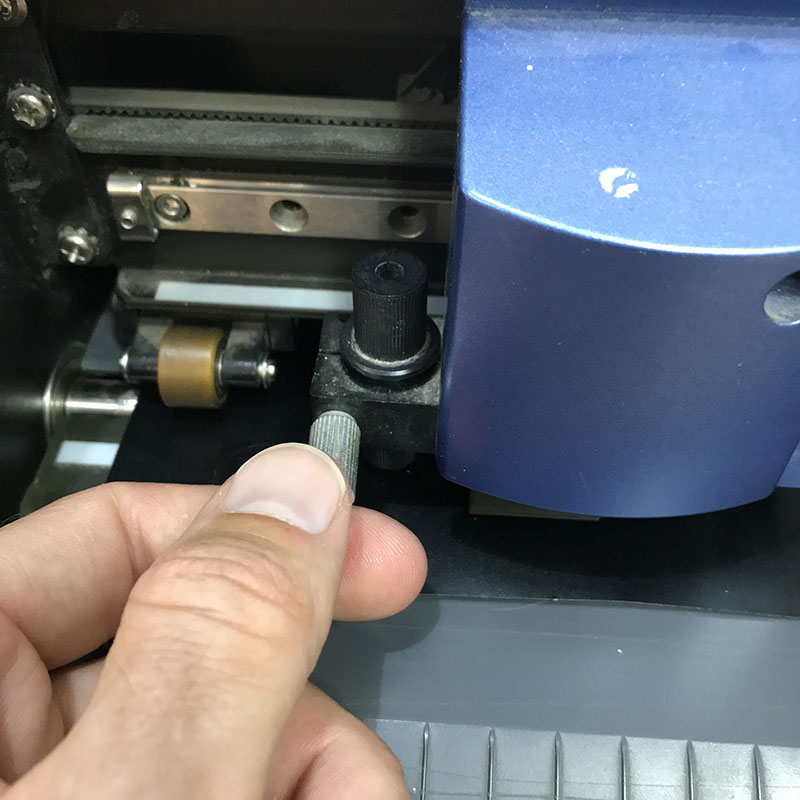
Then we need to adjust the blade and make a test. To do so, first we take the blade and adjust it manually, making a handmade test in the vinyl taking care that it cuts only the vinyl and not the paper.
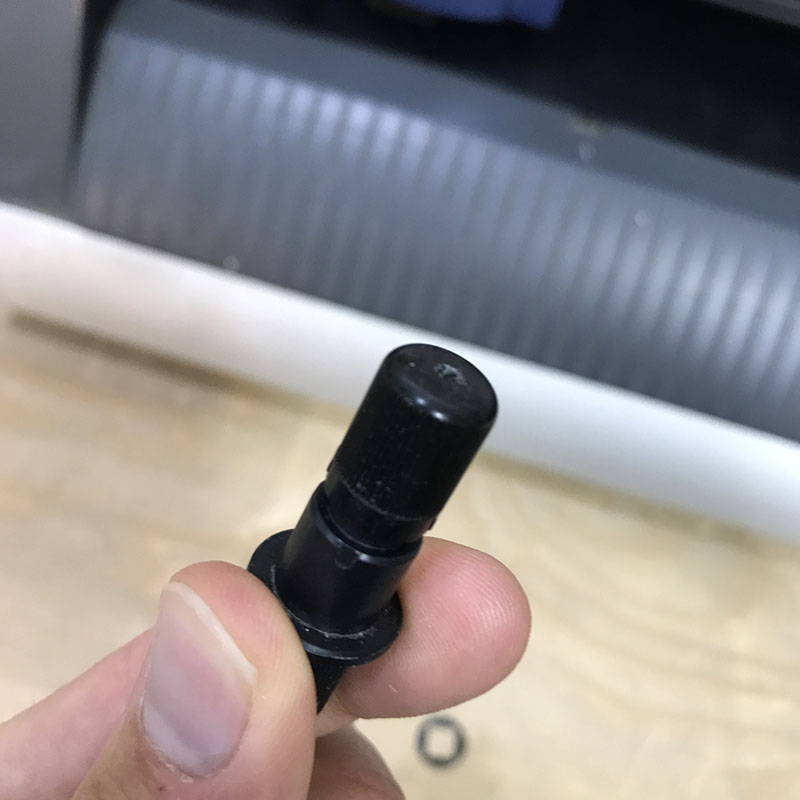
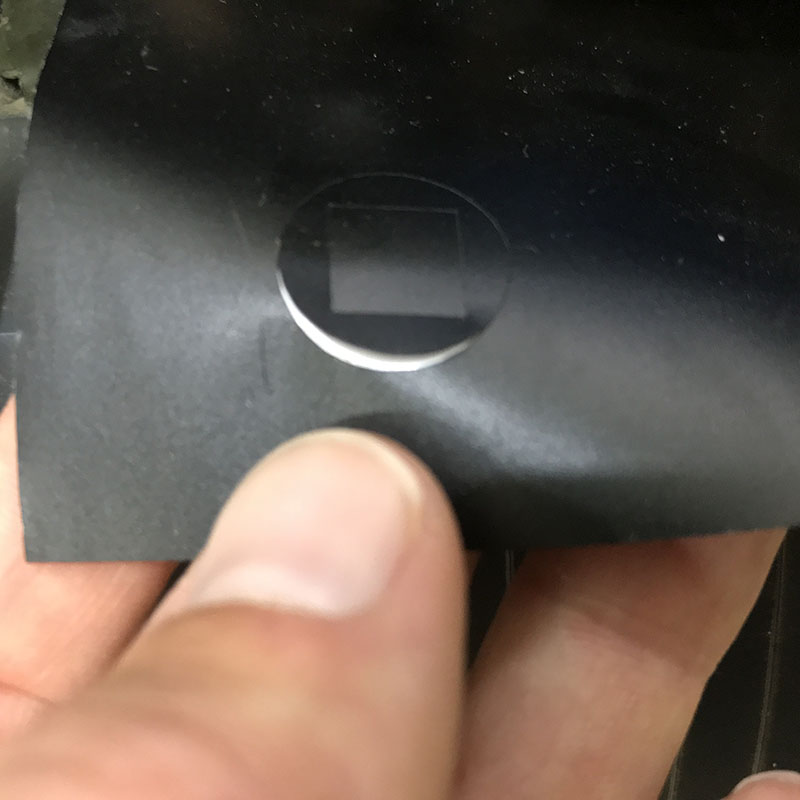
Afterwards we can put it back, and press the button TEST. The machine will cut a little geometric figure where we can check if the blade is correctly adjusted.
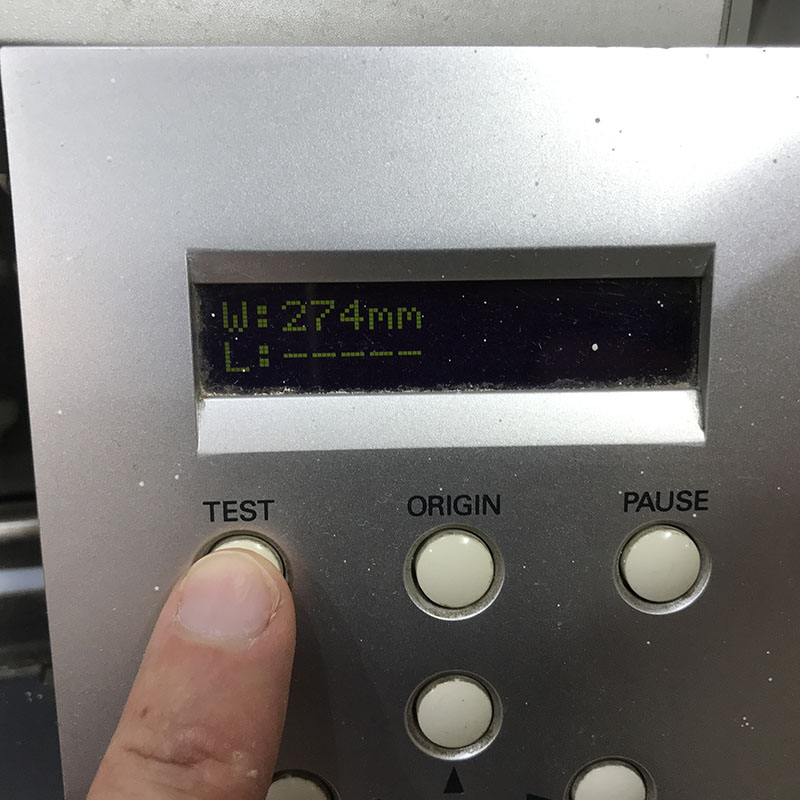
If we can take the circle without the square in the middle, and the blade didn't cut the paper, it means that the blade is correctly adjusted.
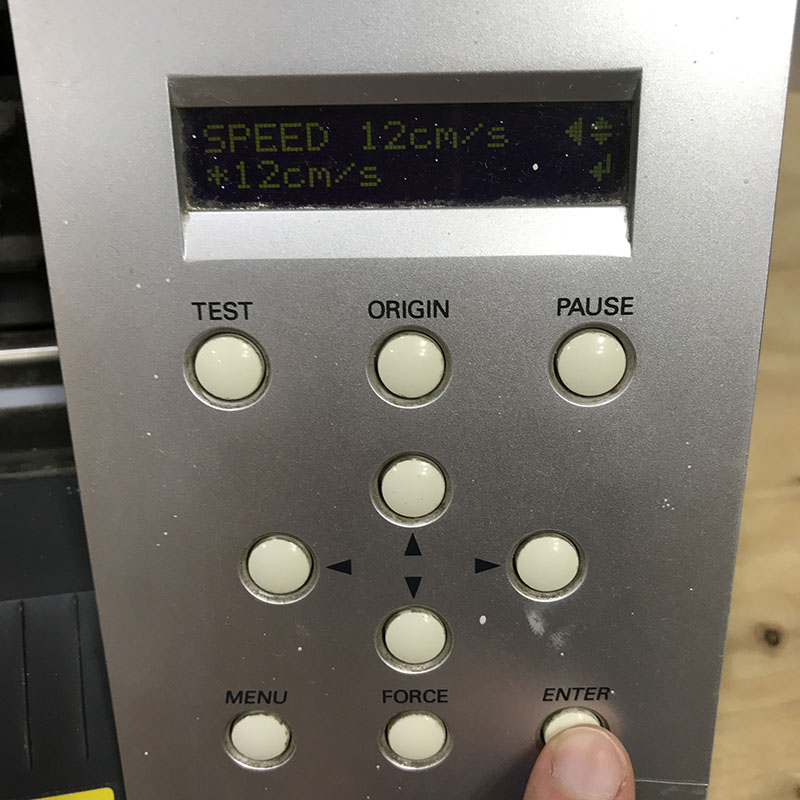
Now we can adjust the speed, by entering the menu. In my case I chose 12 m/s.
Lastly, we need to set up the origin we want, just by moving the blade to the desired position with the arrows in the control panel.
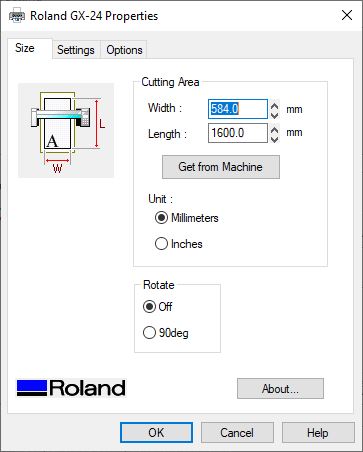
Now we can go to the software, that for this machine is Cut Studio. First of all we have to choose the machine in the Cut Setting menu:
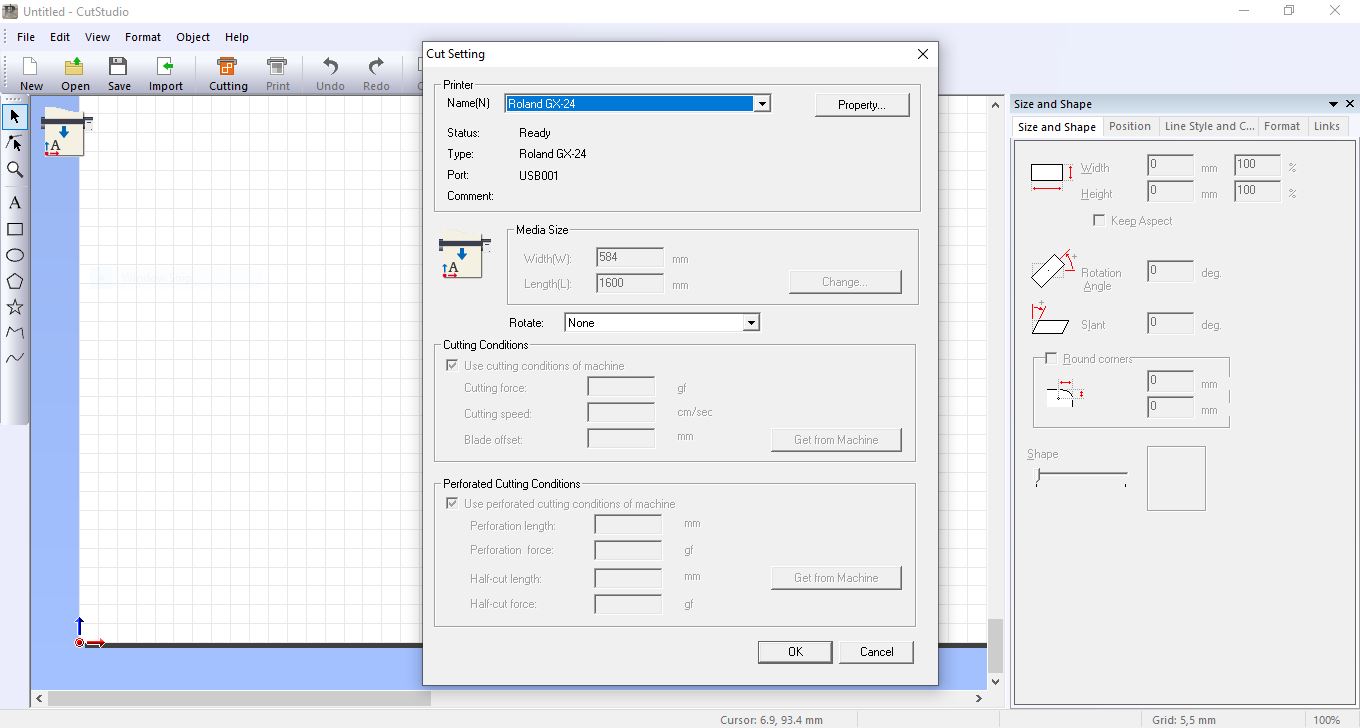
Then we have to choose the size of the material, either by typing it or getting it from the machine automatically:
Now we can import the file we want to cut, that in my case was an Illustrator file:
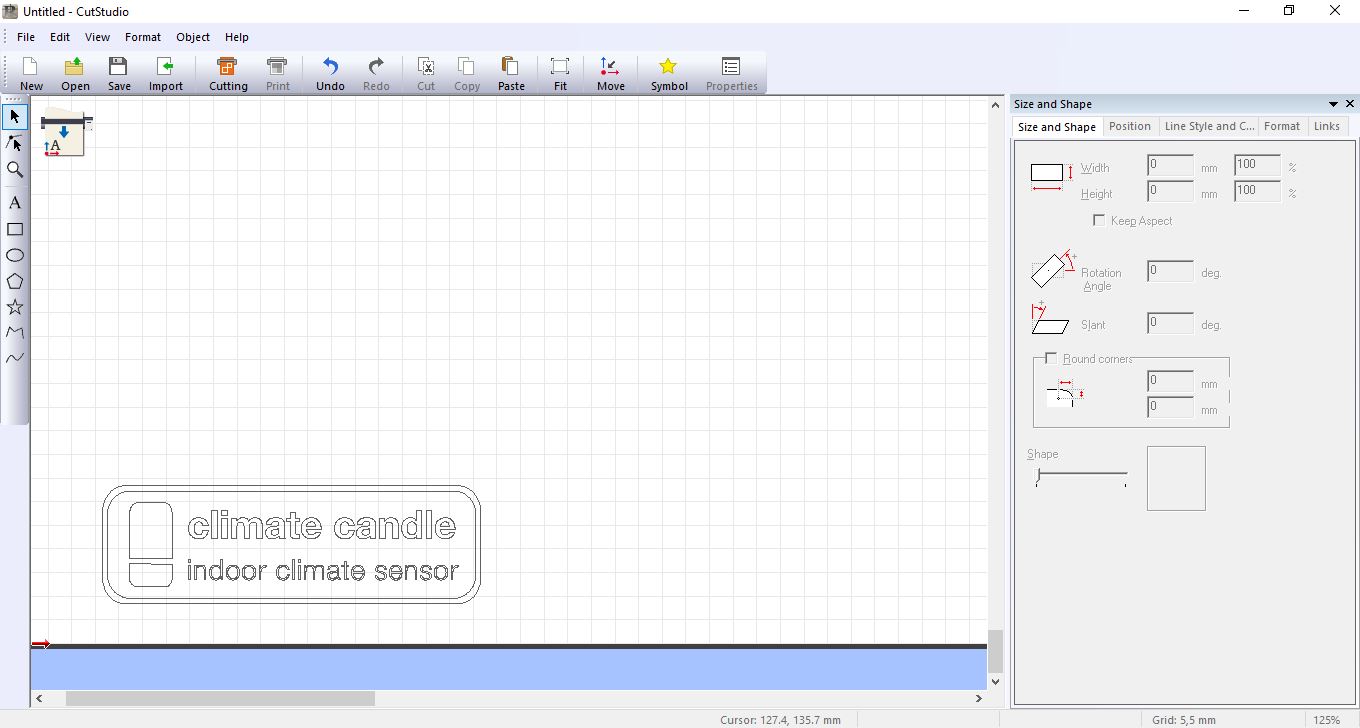
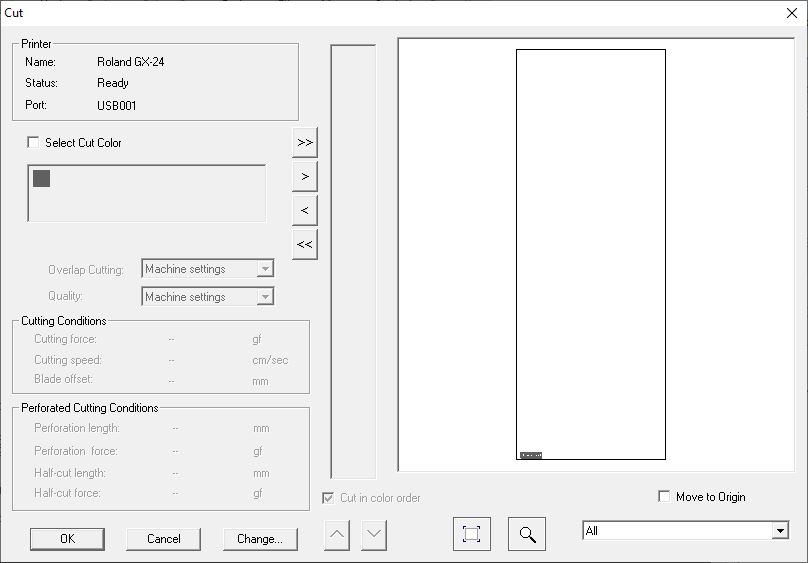
We have to place it in the canvas wherever we want to cut it and the we just need to send it to cut:
The result was good except for the small letters, because they were too thin and some of them moved in the process.
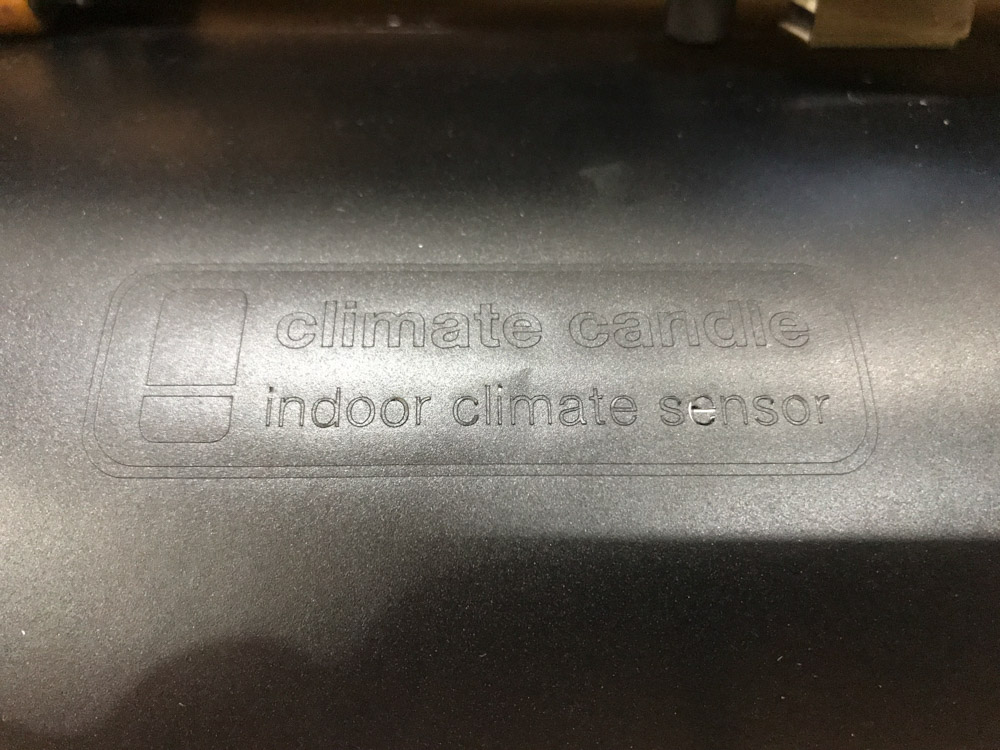
I order to take only the letters and the frame, I took out the vinyl around them and then I used masking tape to take them out. I was not able to remove the little letters, so I just took the bigger ones, the logo and the frame.
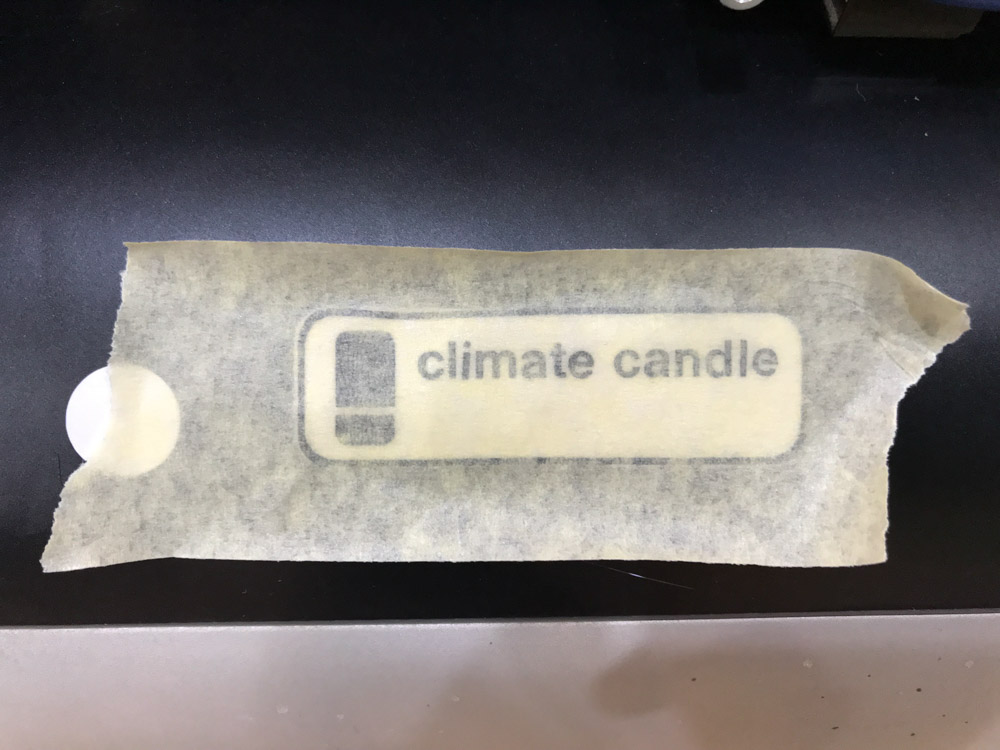
The result was good but I need to be aware of the size of the pieces I want to cut from now on.
Laser cut:
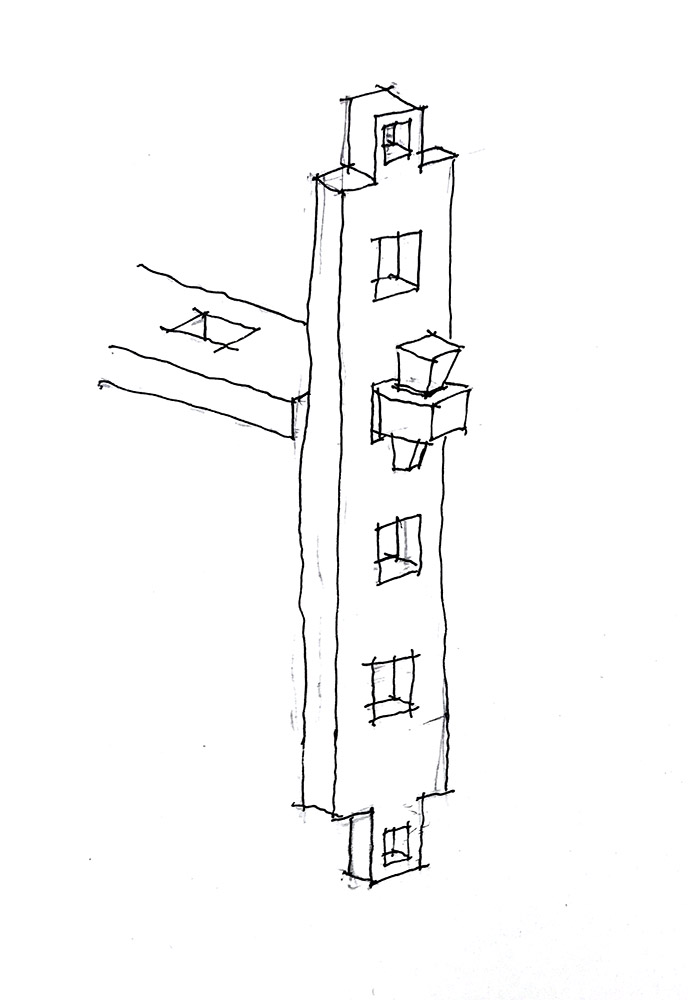
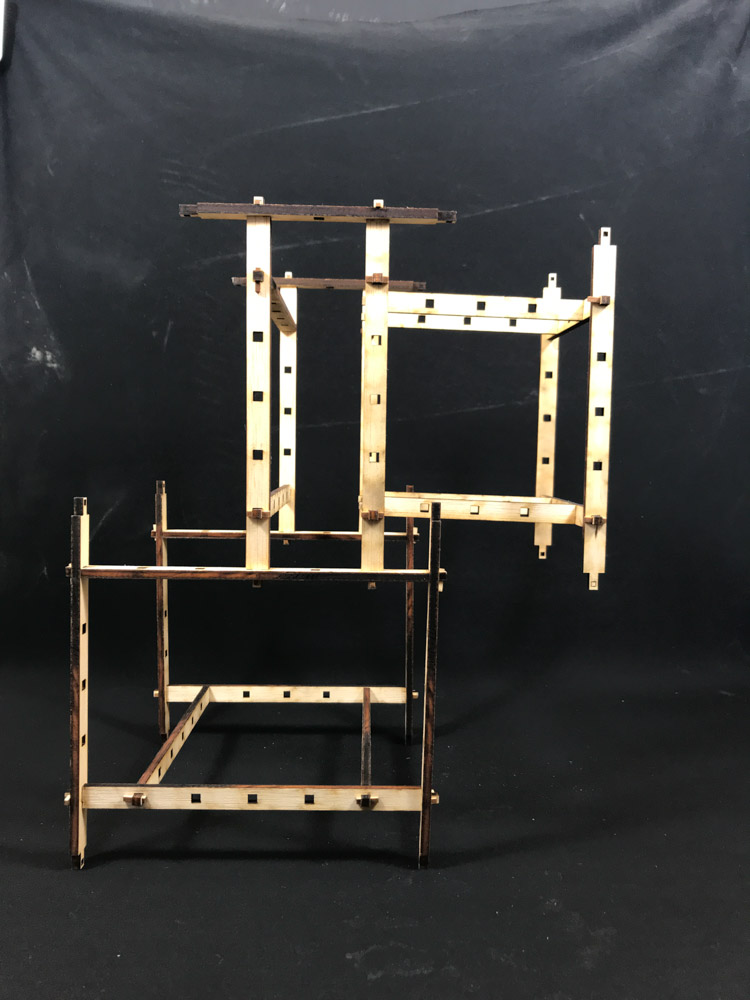
Probably because of my architecture brackground I imagined a construction kit like a kind of set that allows you to built scaled structures similar to a scaffolding
So I decided to design a piece that you can cut in different lengths and assemble in different positions.
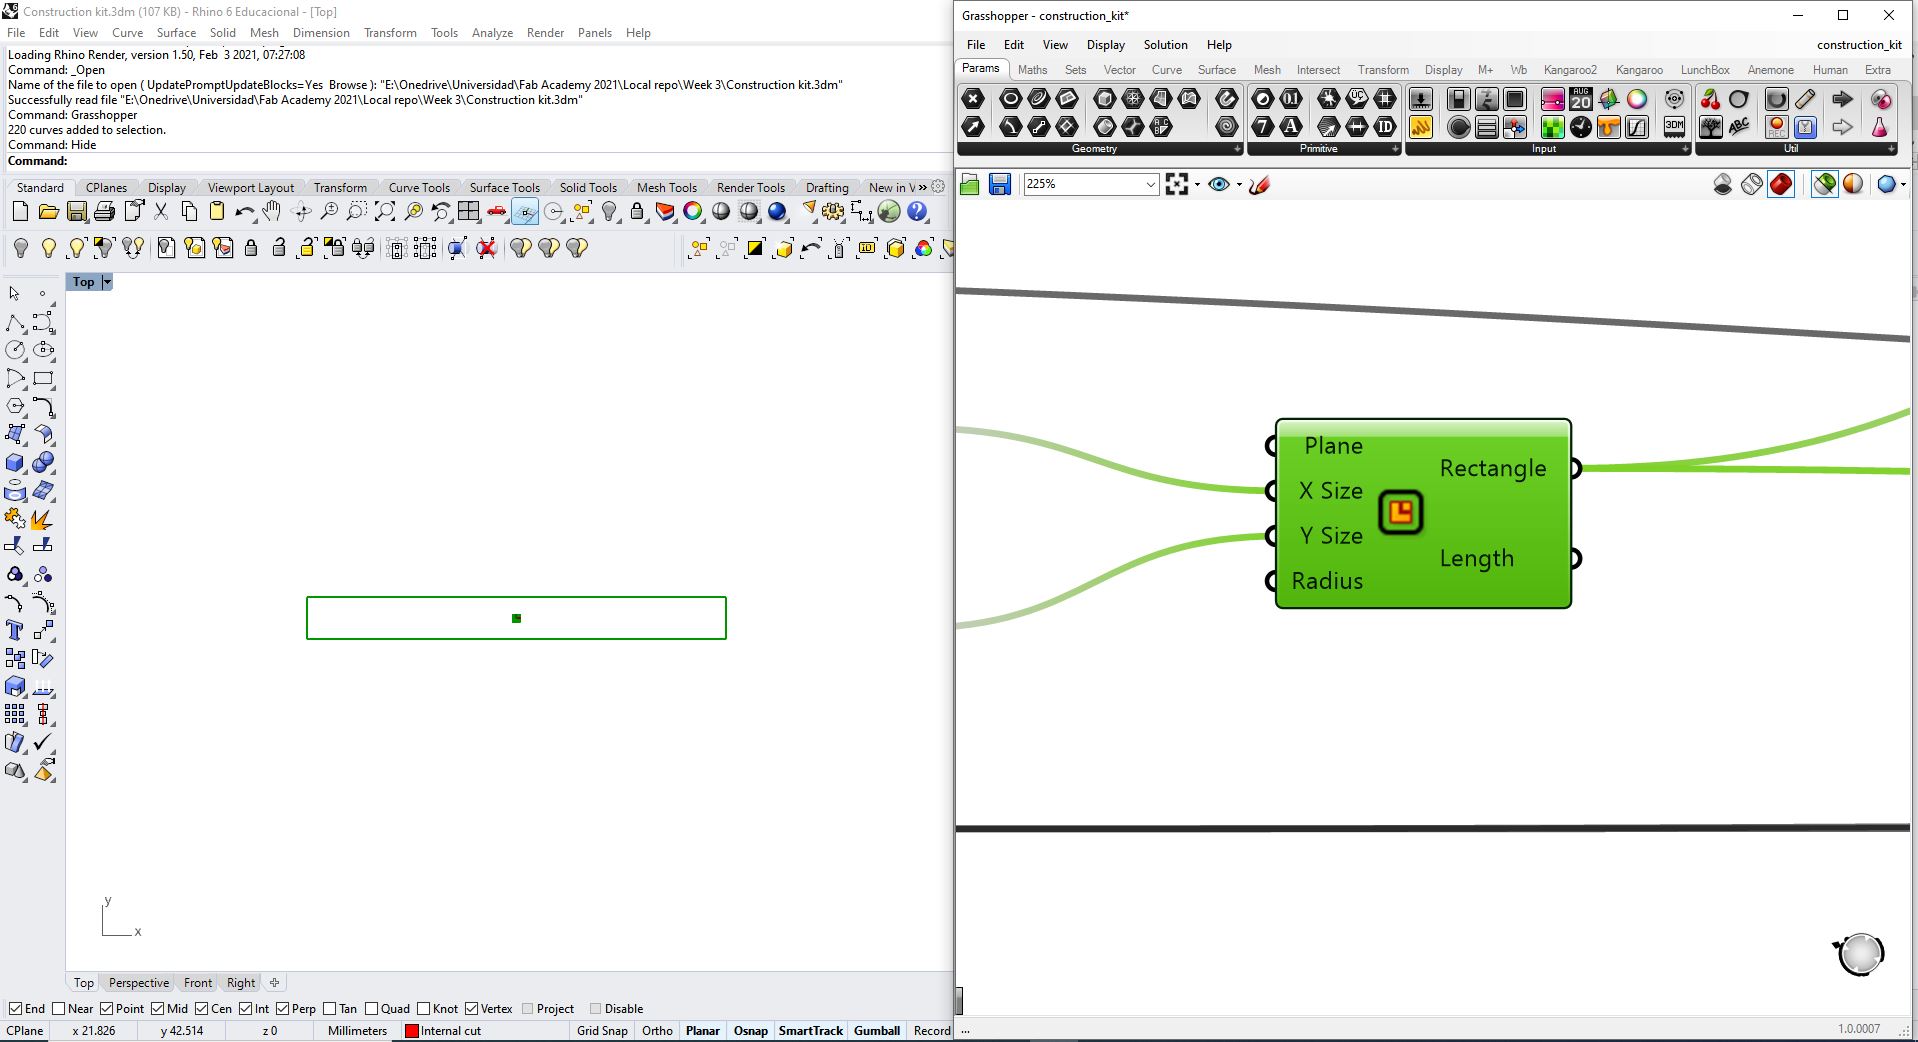
To design the construction kit, I used Rhinoceros and Grasshopper because I feel that it is the most versatile software.
Sketch of the idea:
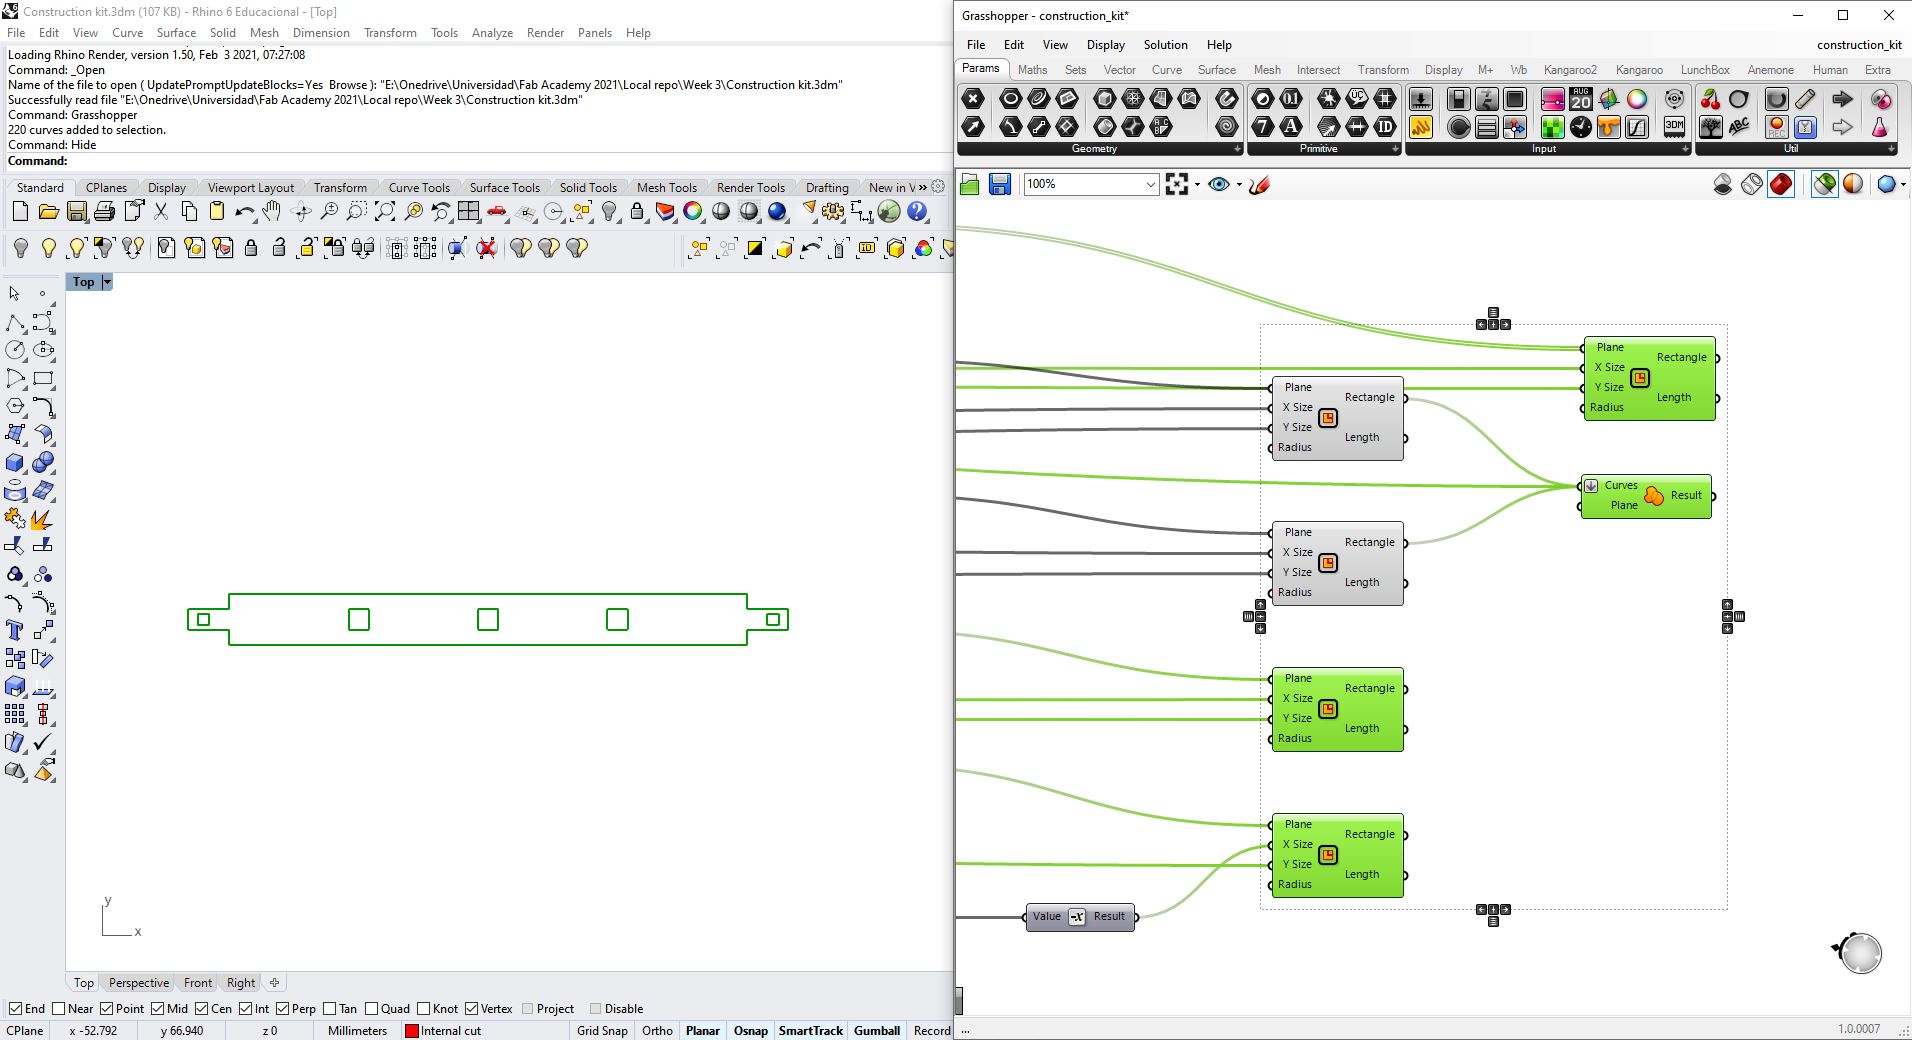
The proccedure I followed in Grasshopper was:
- First, I define all the parameters with sliders
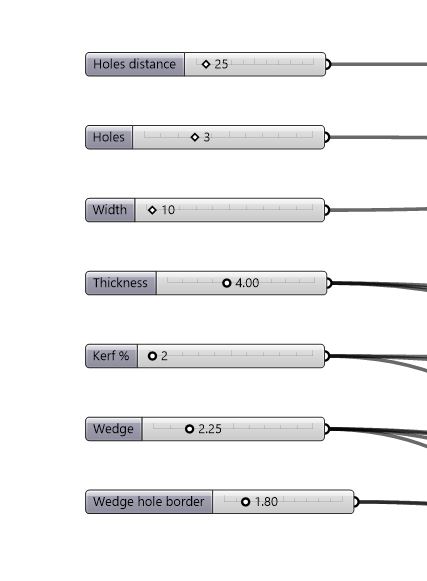
- Then, I make all the calculations with the parameters and define the domains for the rectangles
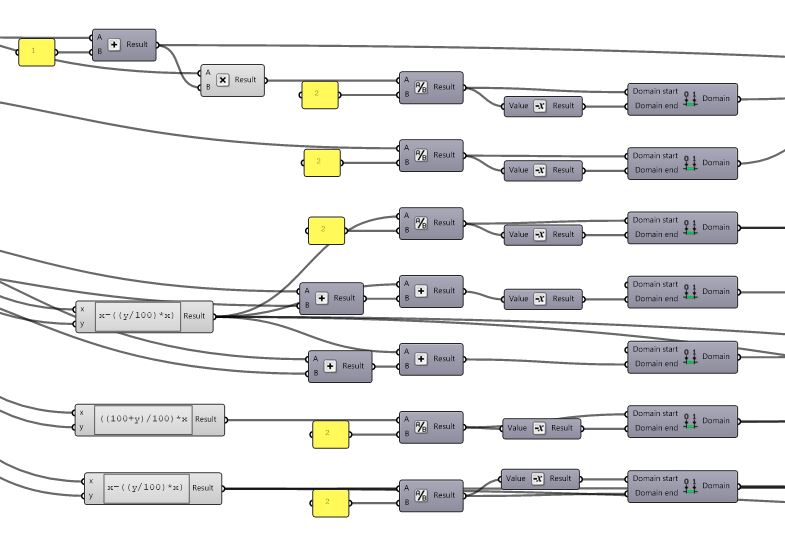
- I make the main exterior rectangle
- I divide it to obtain the center points of the short edges
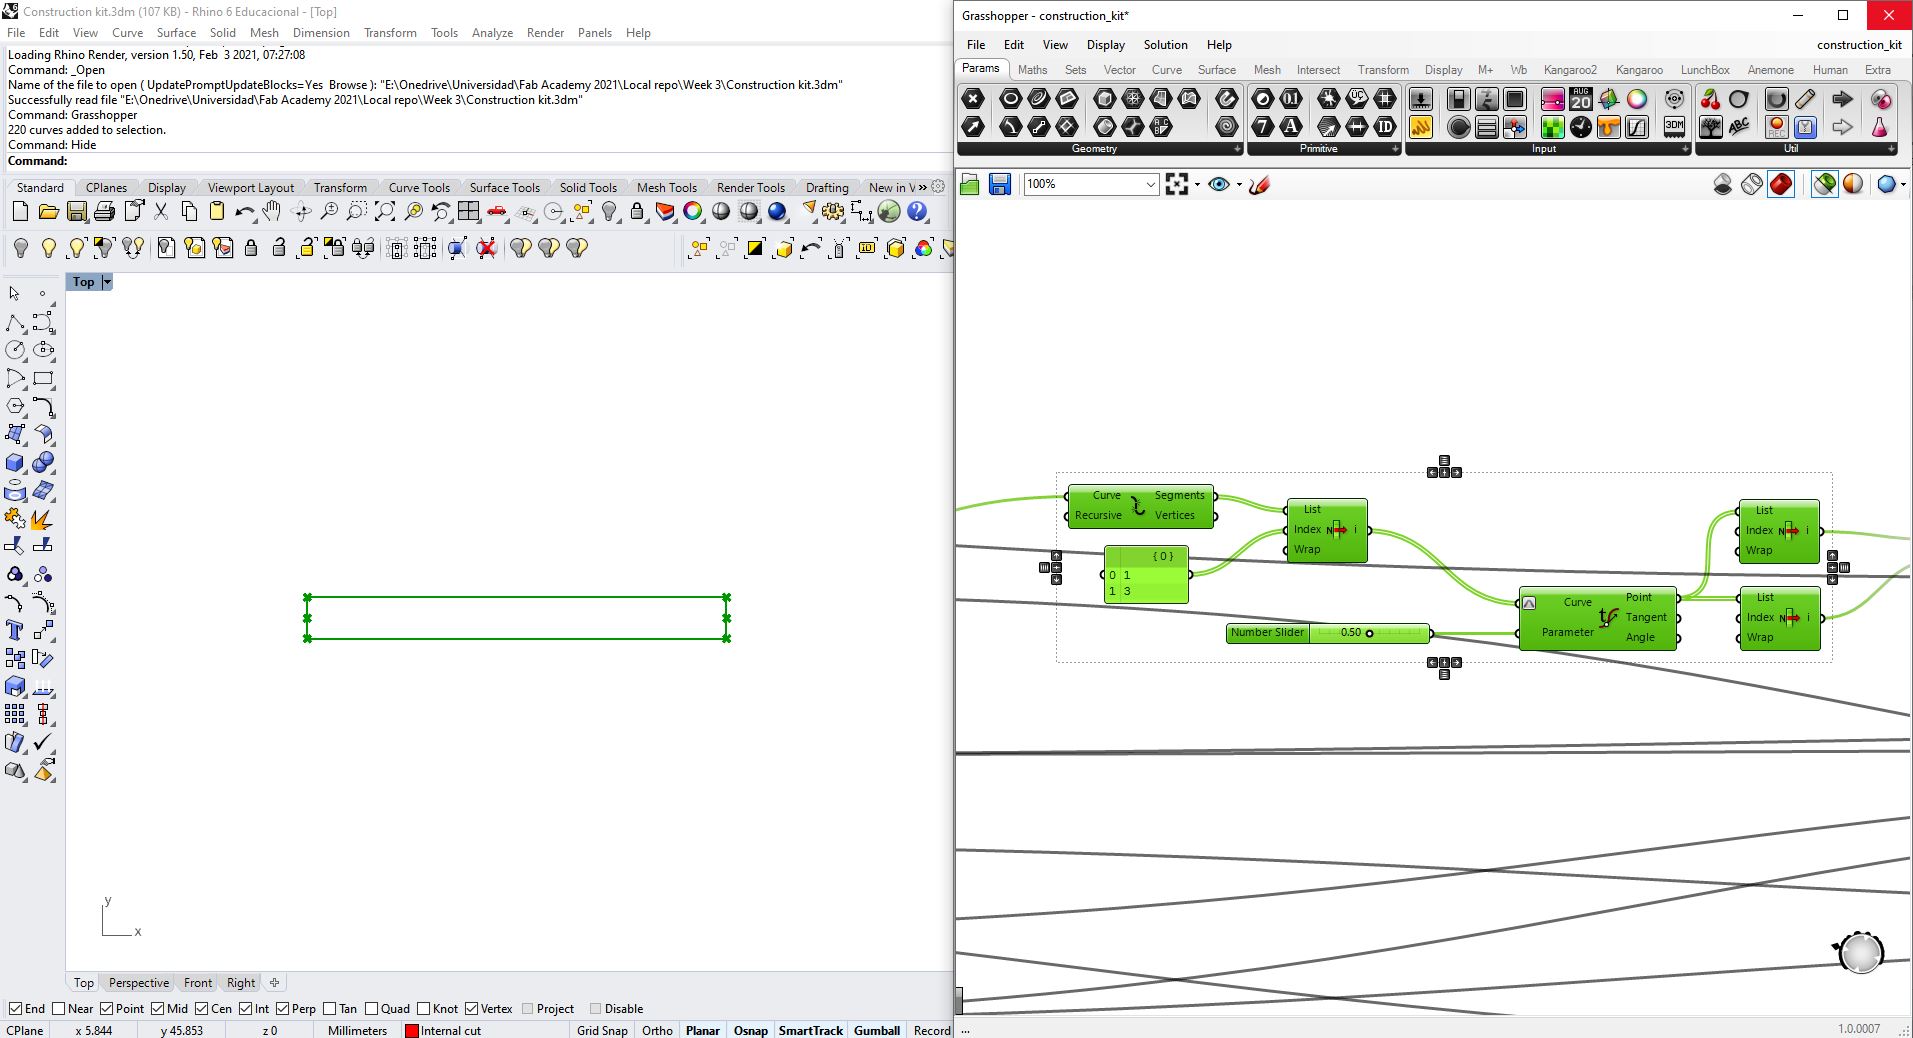
- I generate the centers of the holes by dividing the center line in the stablished parts
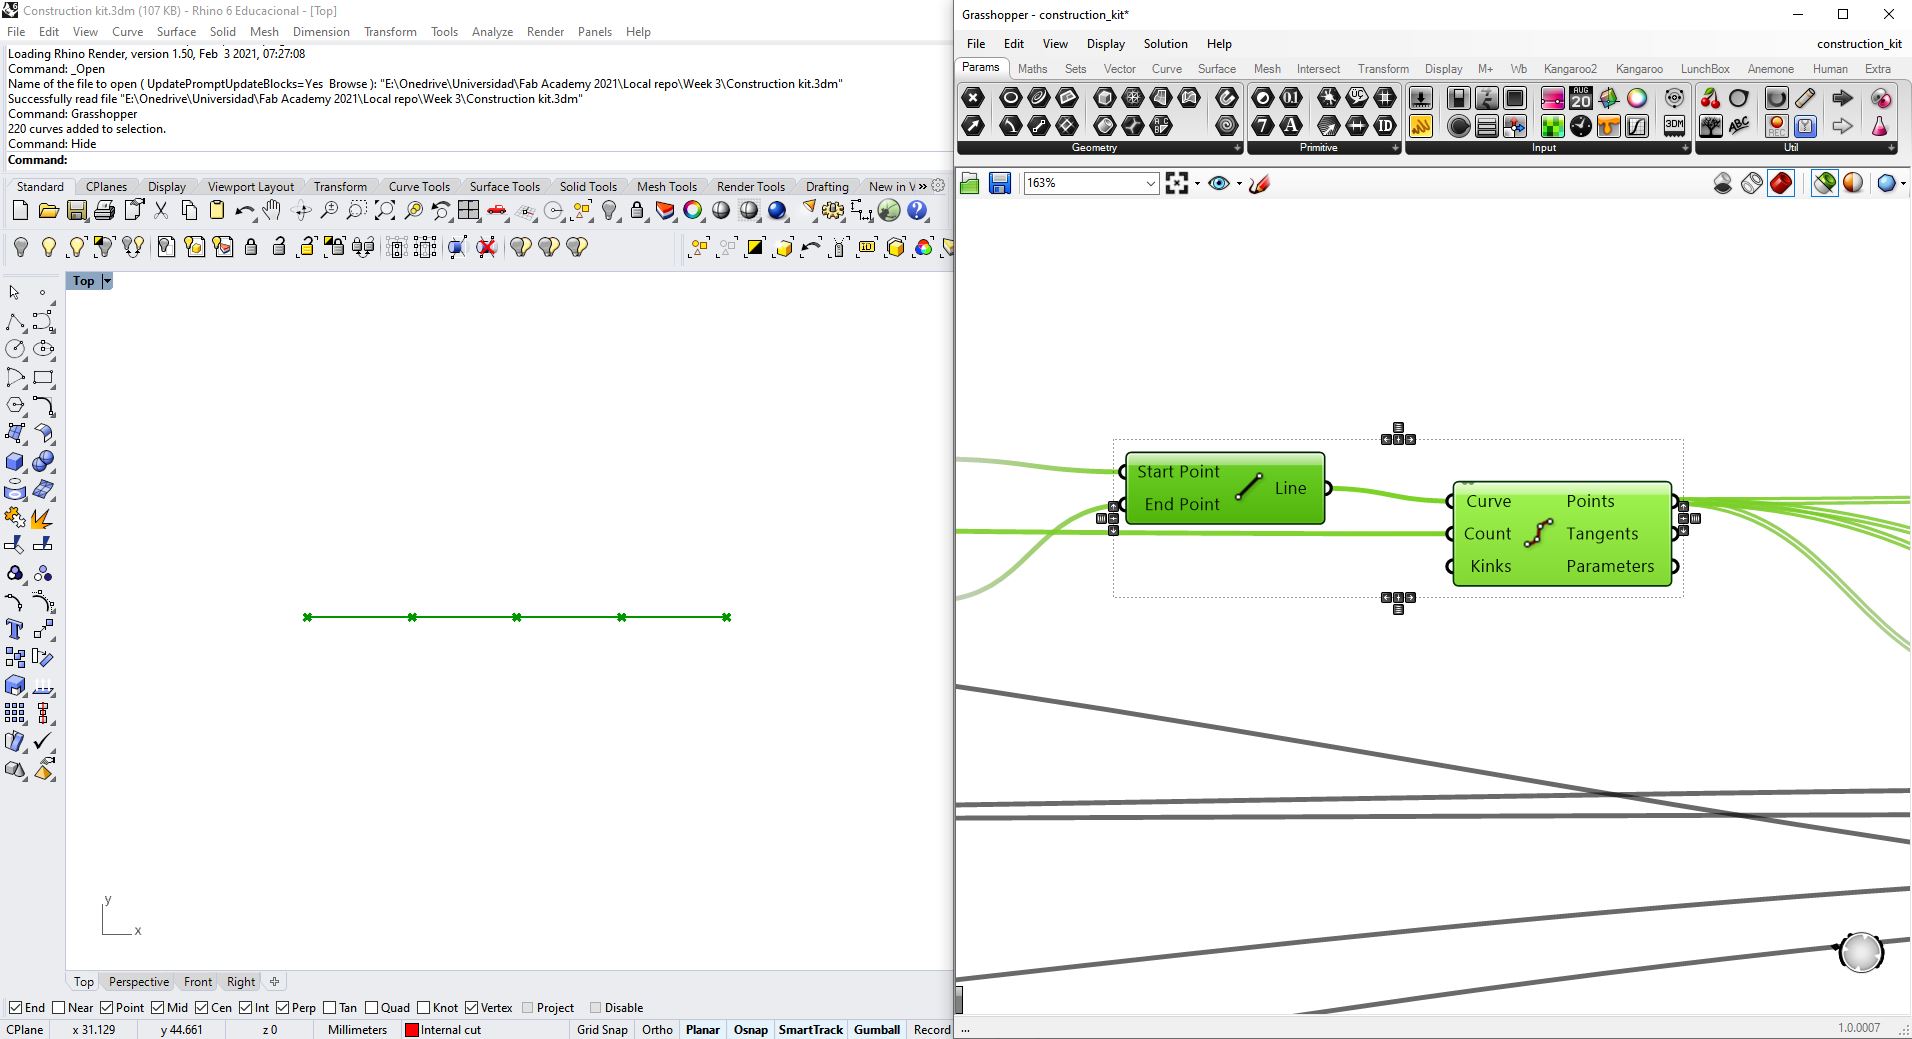
- I generate the planes and centers of all the rectangles that will define the holes
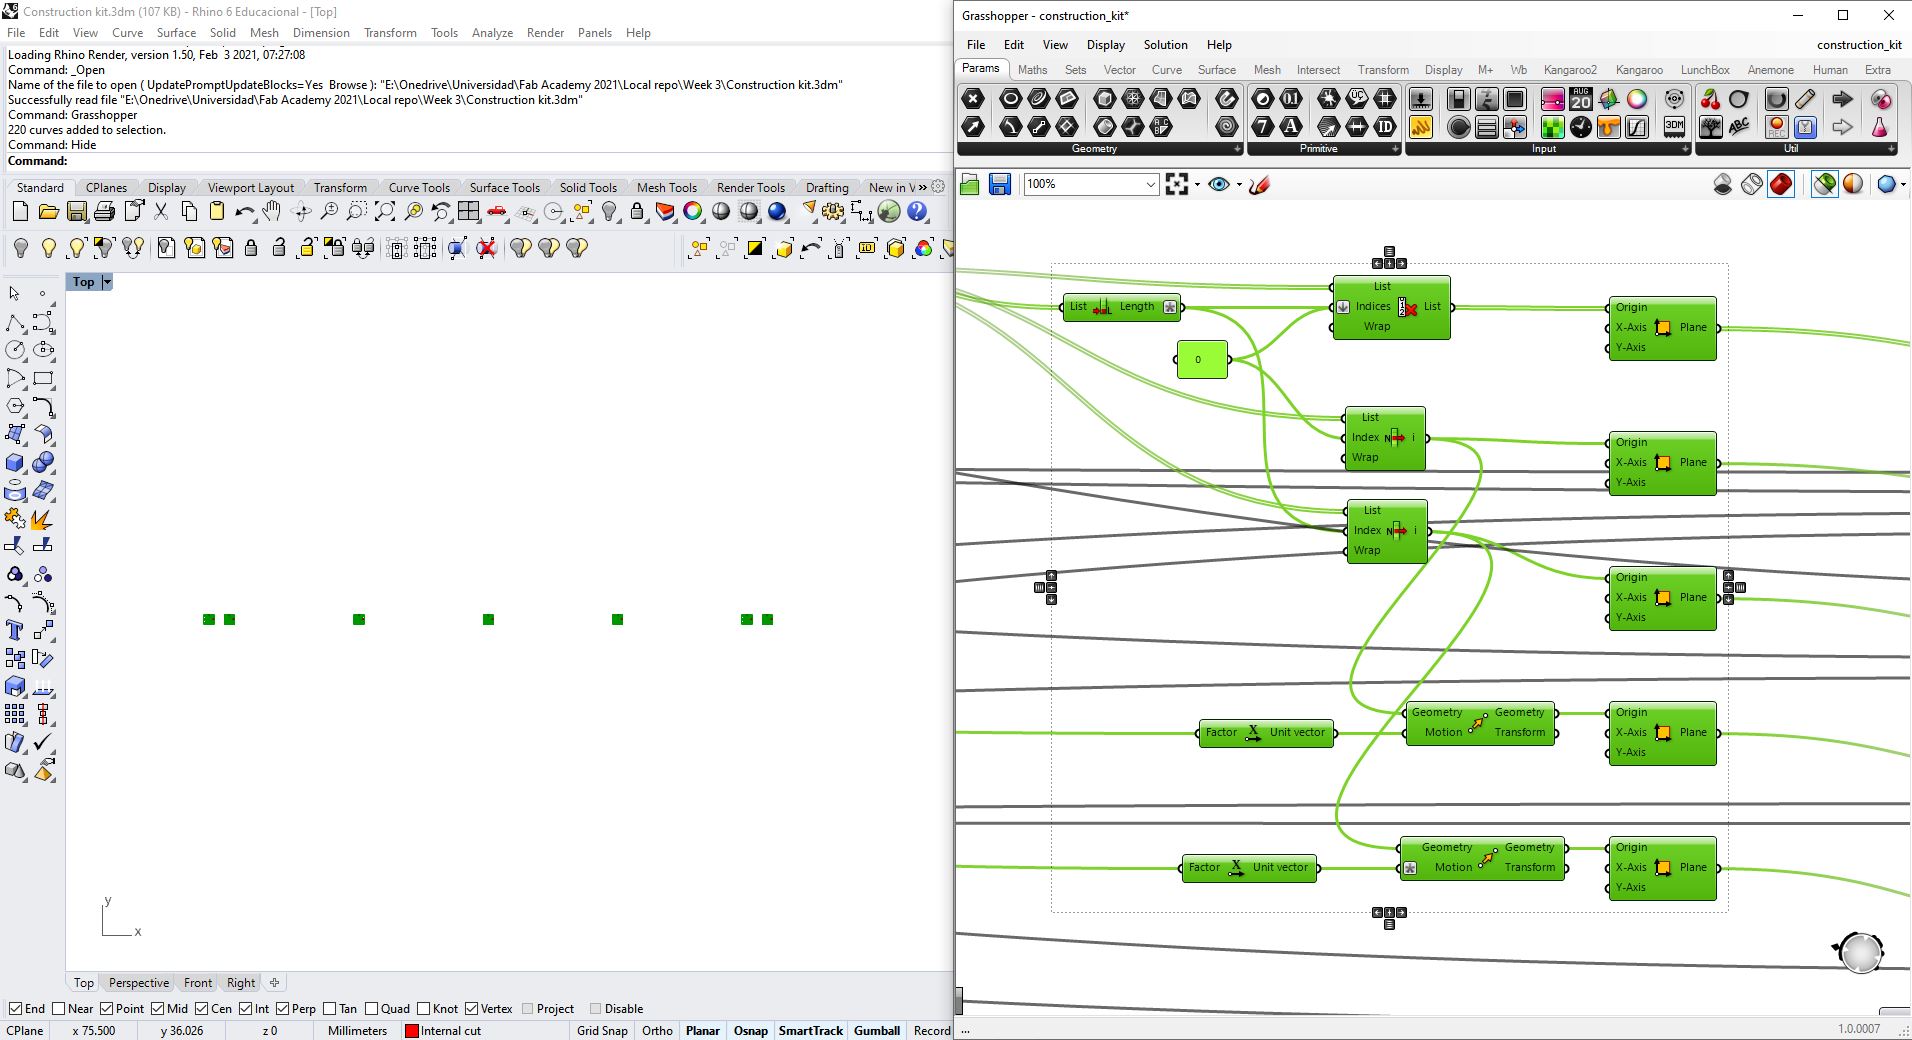
- Lastly, I draw all the rectangles and combine them where appropriate
Video of the parametrical script working:
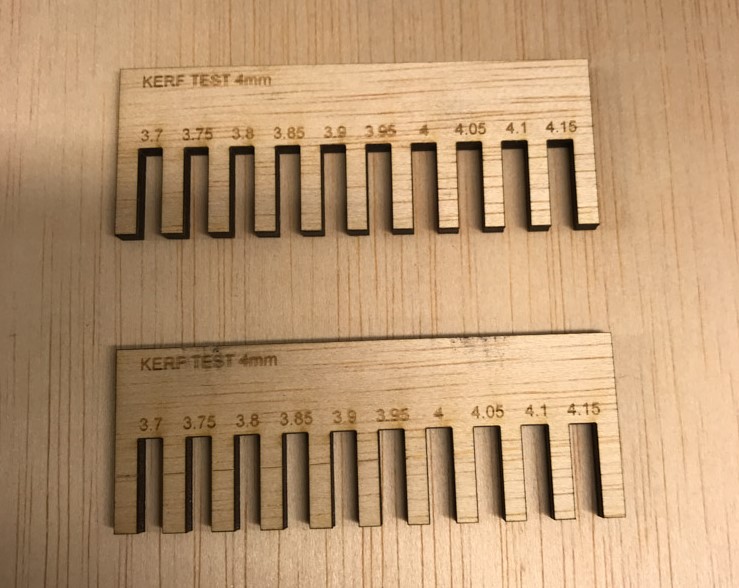
The material I chose for the pieces is 4mm plywood, and for the wedges 2,5mm balsa wood. First of all, I made a kerf test to check tolerances.
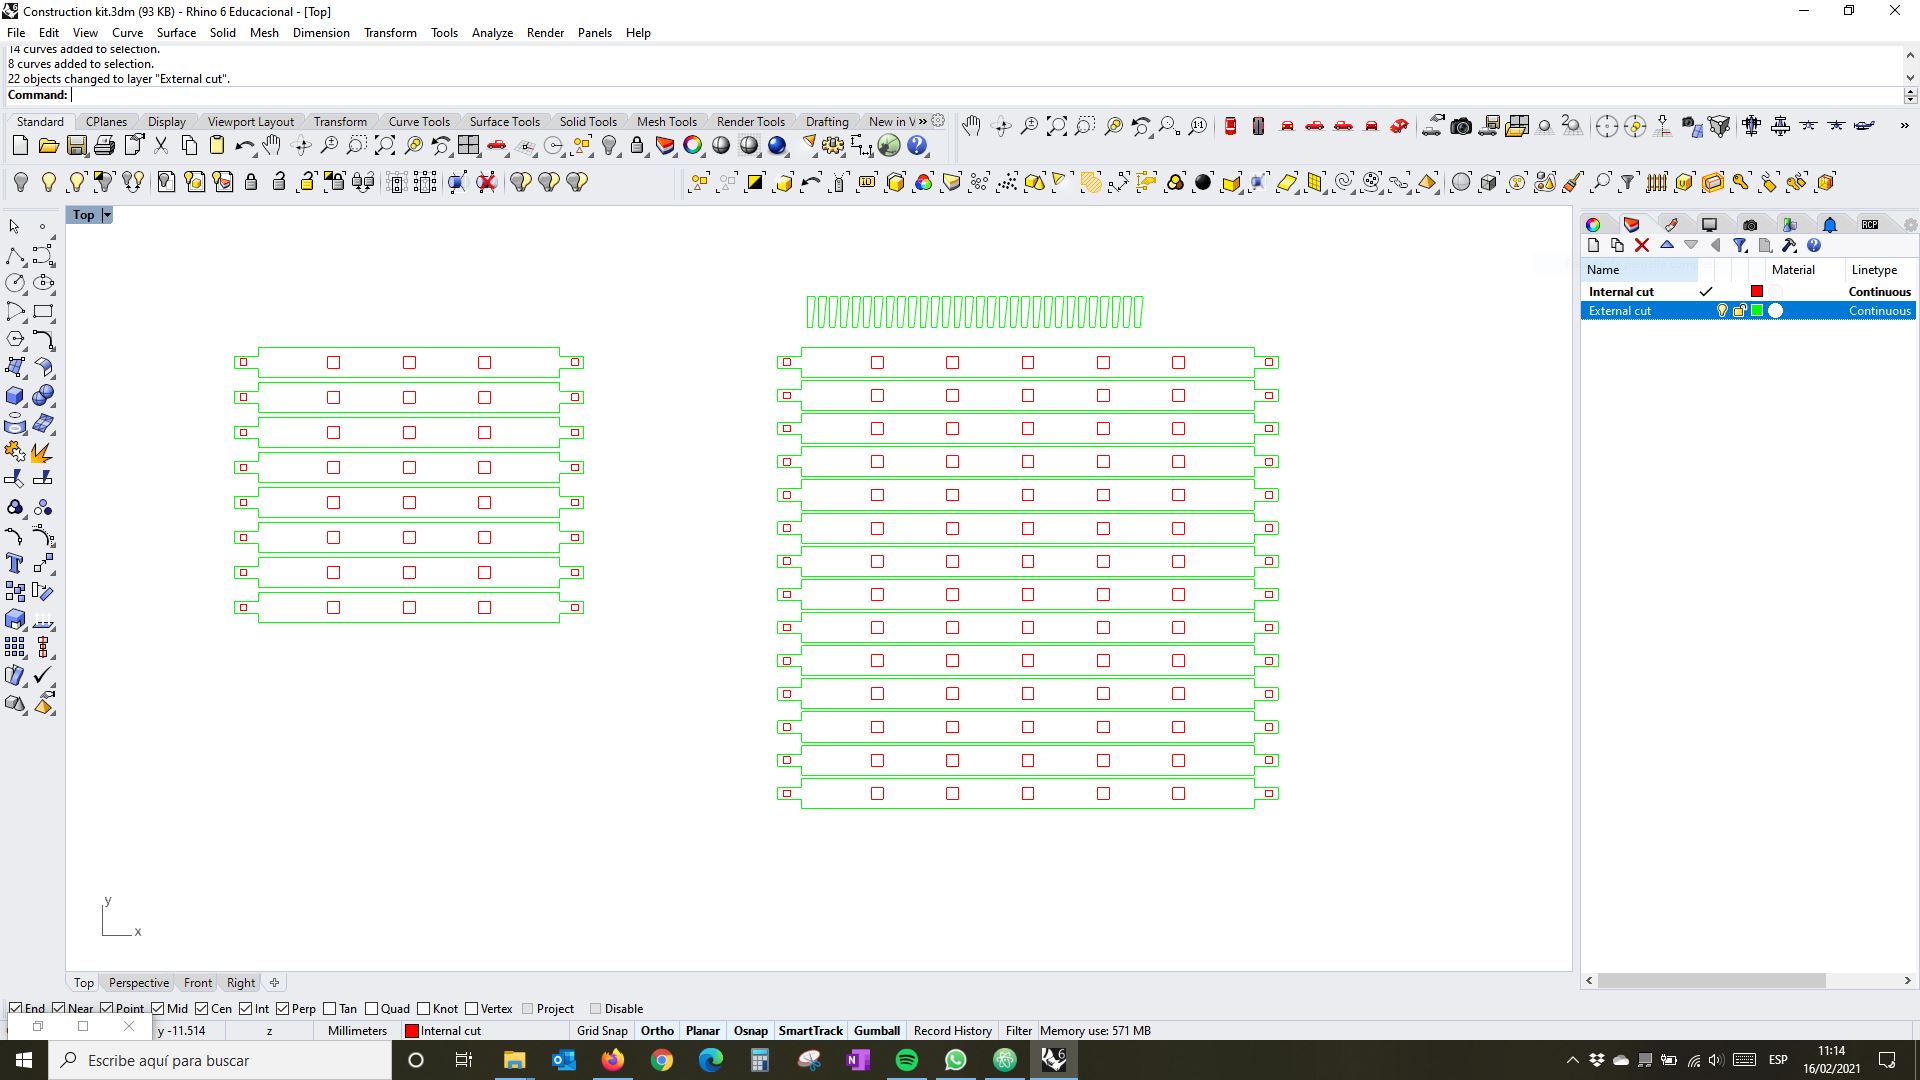
Once I had the design in Rhino, I copy-pasted to make the number of pieces that I wanted. I also defined two different layers: Interior cut (red) and exterior cut (green), in order to set the cutting sequence in the laser cutter software. The interior cuts should be before the exterior ones because otherwise the piece could move.
Then, I sent the file to the laser cutter software, and introduced all the parameters.
The parameters I used for the 4mm plywood were:
- Power: 75
- Speed: 0.5
- Hz: 100
After setting up the focus, the origin and turning on the air extraction, I sent the file to the machine to cut it
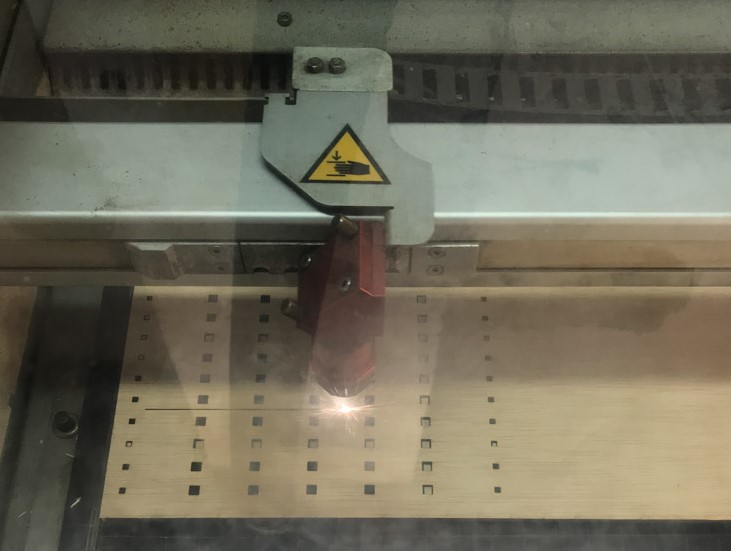
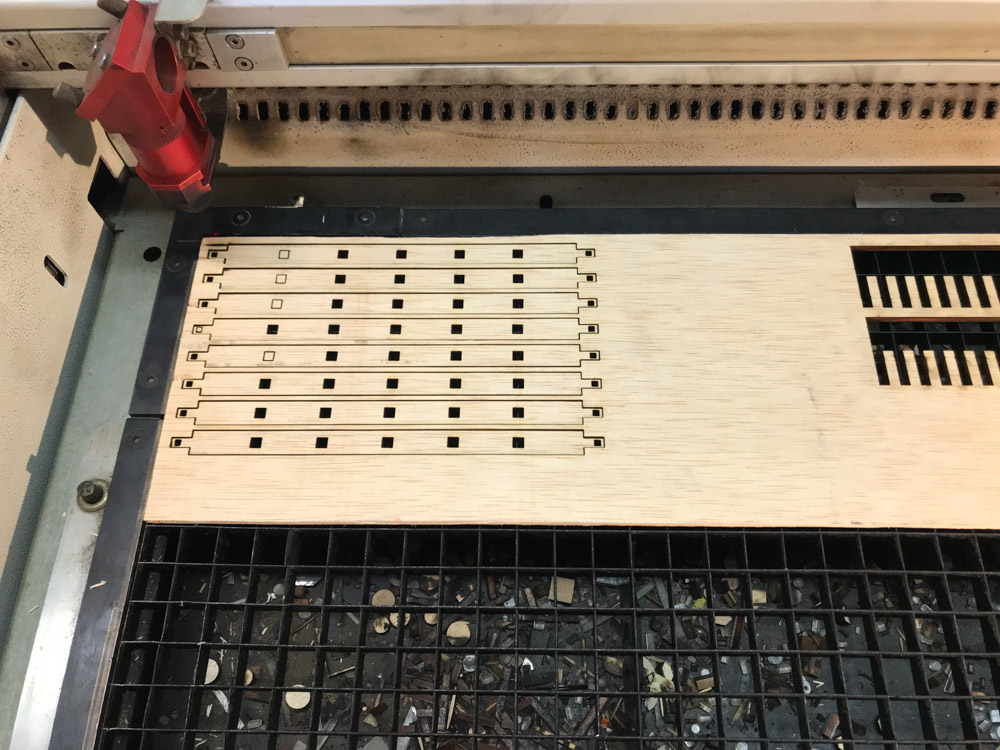
I cut two diferent sizes of bars and also the wedges in thiner material.
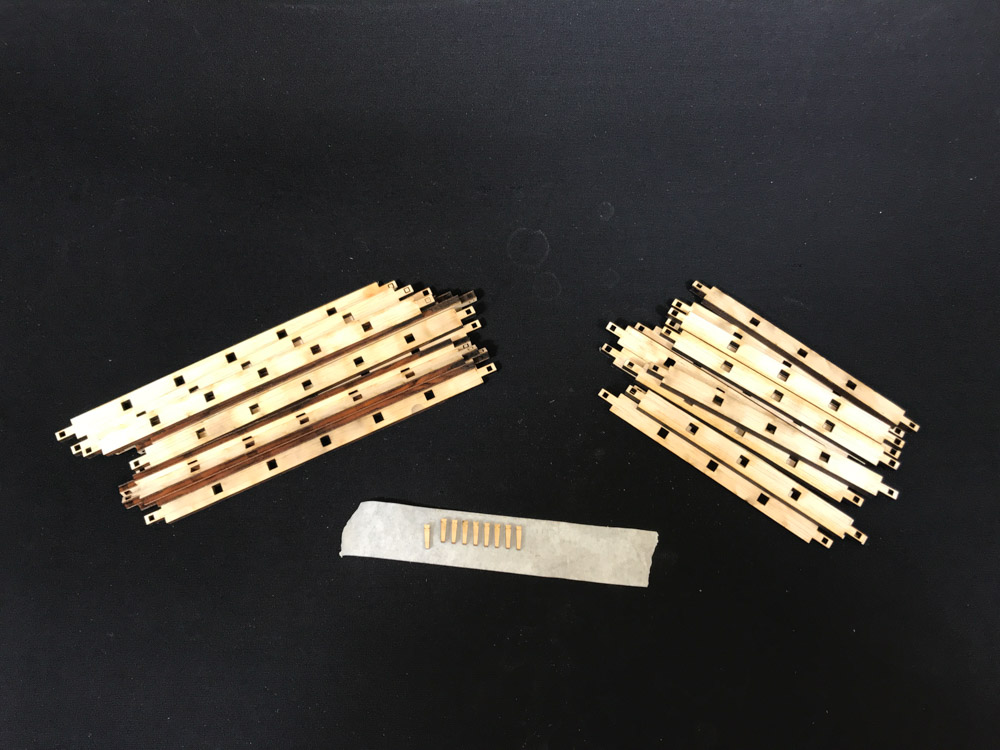
And then I built a structure or scaffolding. The tolerances or kerf I used (2% of the thickness) were quite accurate, but maybe it could allow to go a bit further in order to obtain a better adjust.
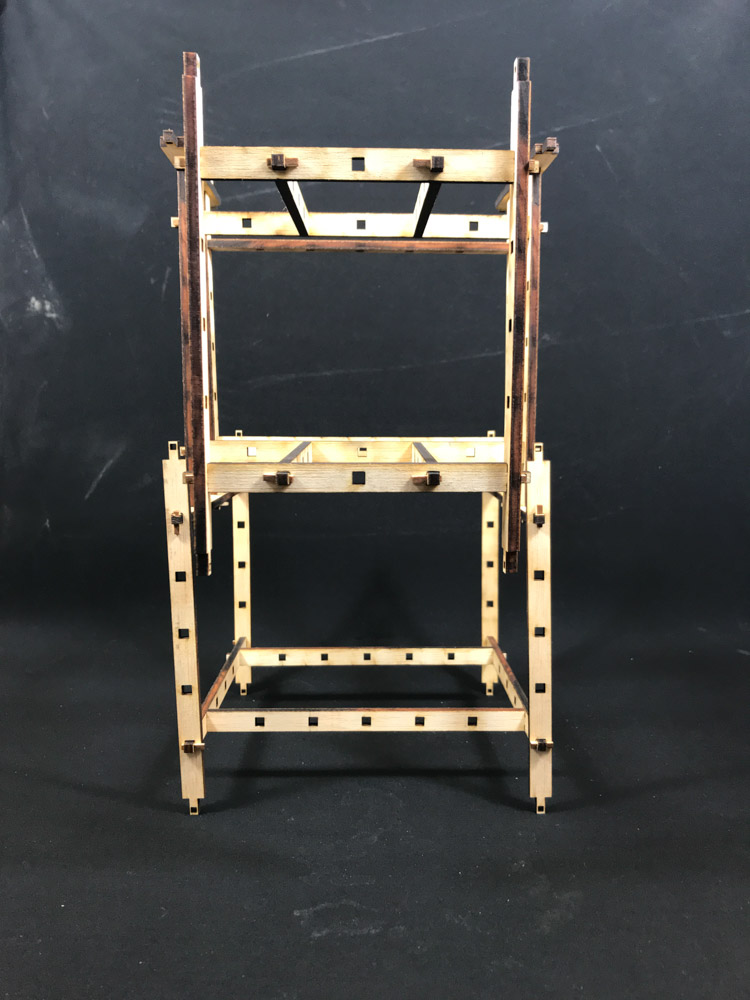
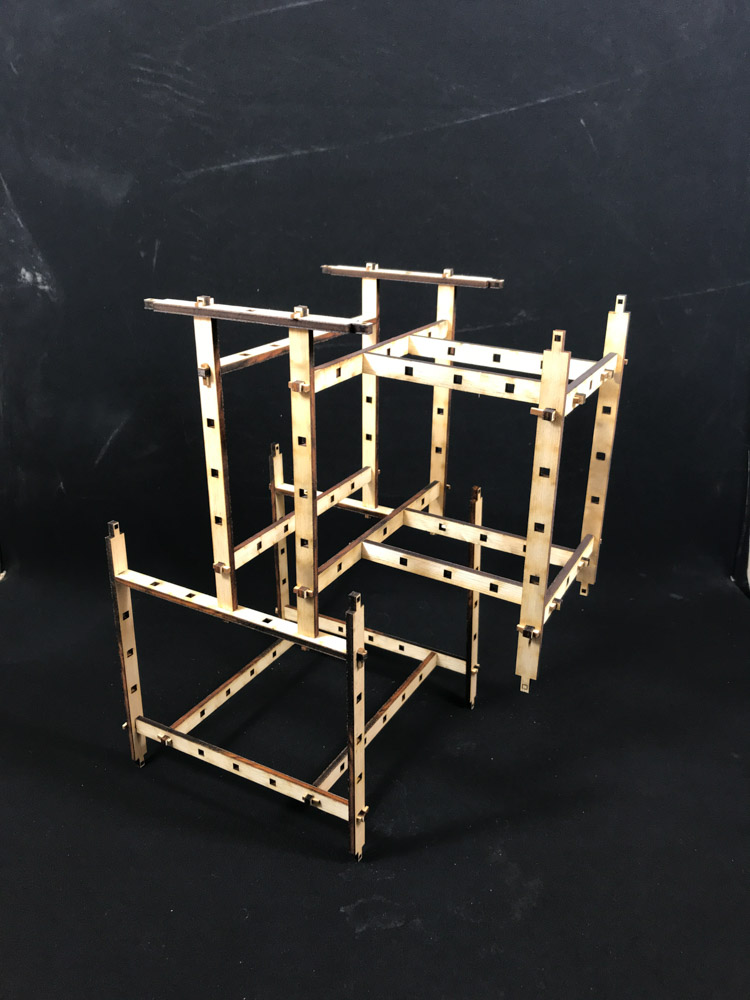
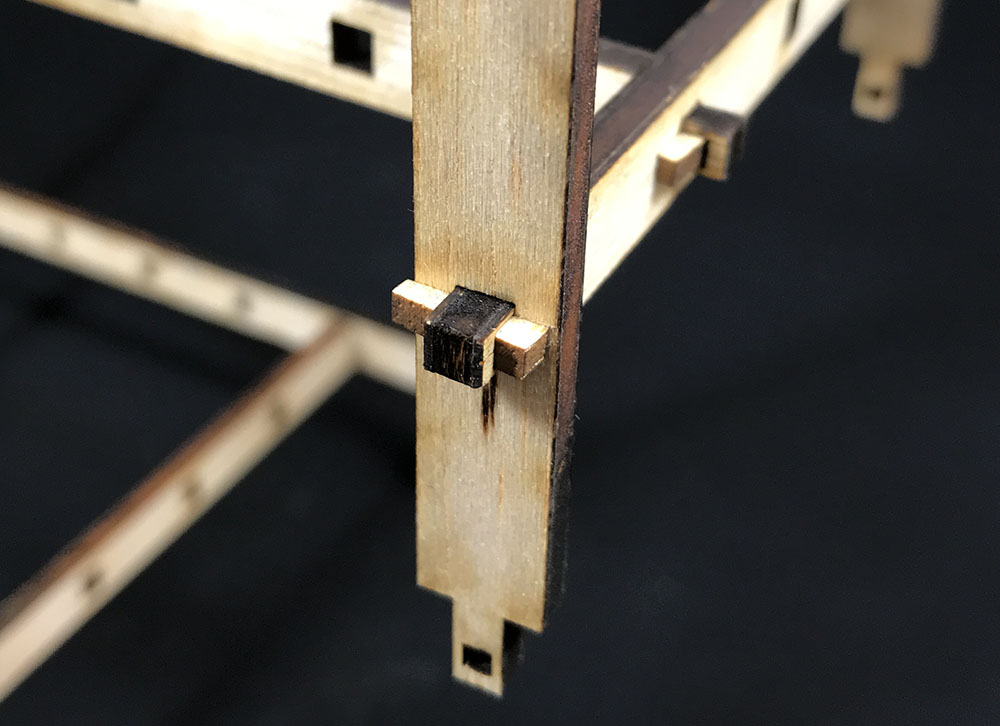
I am really happy with the result of this wedge joints, because they work really well making a strong joint that cannot get loose.
Conclusion:
This week was really interesting as it was the first week we get in touch with the machines.
I already had a bit of experience with laser cutters but not with vinyl cutters, so it was so interesting to learn how versatile and easy to use they are.
About the groupal assignment, I enjoyed testing materials and the machines with my classmates. With that testing, I was able to be fast with the individual assignment.
The vinyl cutter practice was interesting and I had some troubles with the version of the files to import and then also some problems with the size of the letters I wanted to cut, so from now on I will be aware of that.
The laser cutter part, was my favourite one. I wanted to test a joint that was a bit more complex than the typical press fit, so I decided to use a wedge joint.
The result was a kit that allowed me to built different structures with the same pieces. It was interesting to see how well this joint works and to see the tolerances and kerf.
Files of this week:
Rhino file for the construction kit
Grasshopper file for the construction kit
Grasshopper file for the kerf test
Rhinoceros template for the laser cut test
Eps file of the logo for the vinyl cutter