
Assignment
- Design and produce something with a digital fabrication process (incorporating computer-aided design and manufacturing) not covered in another assignment, documenting the requirements that your assignment meets, and including everything necessary to reproduce it.
Have you answered these questions?
Ultrasonic Welding Machine
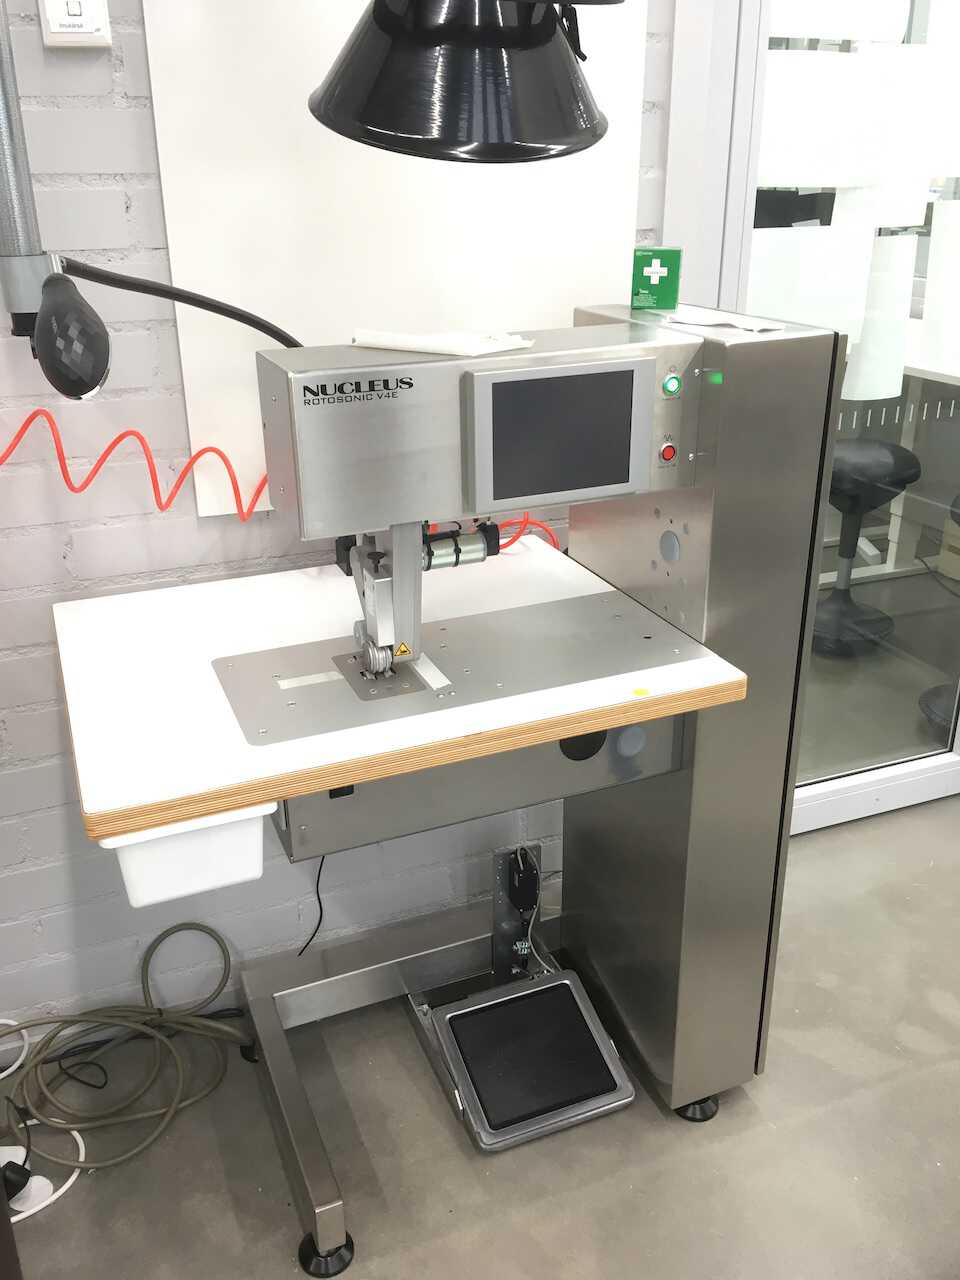
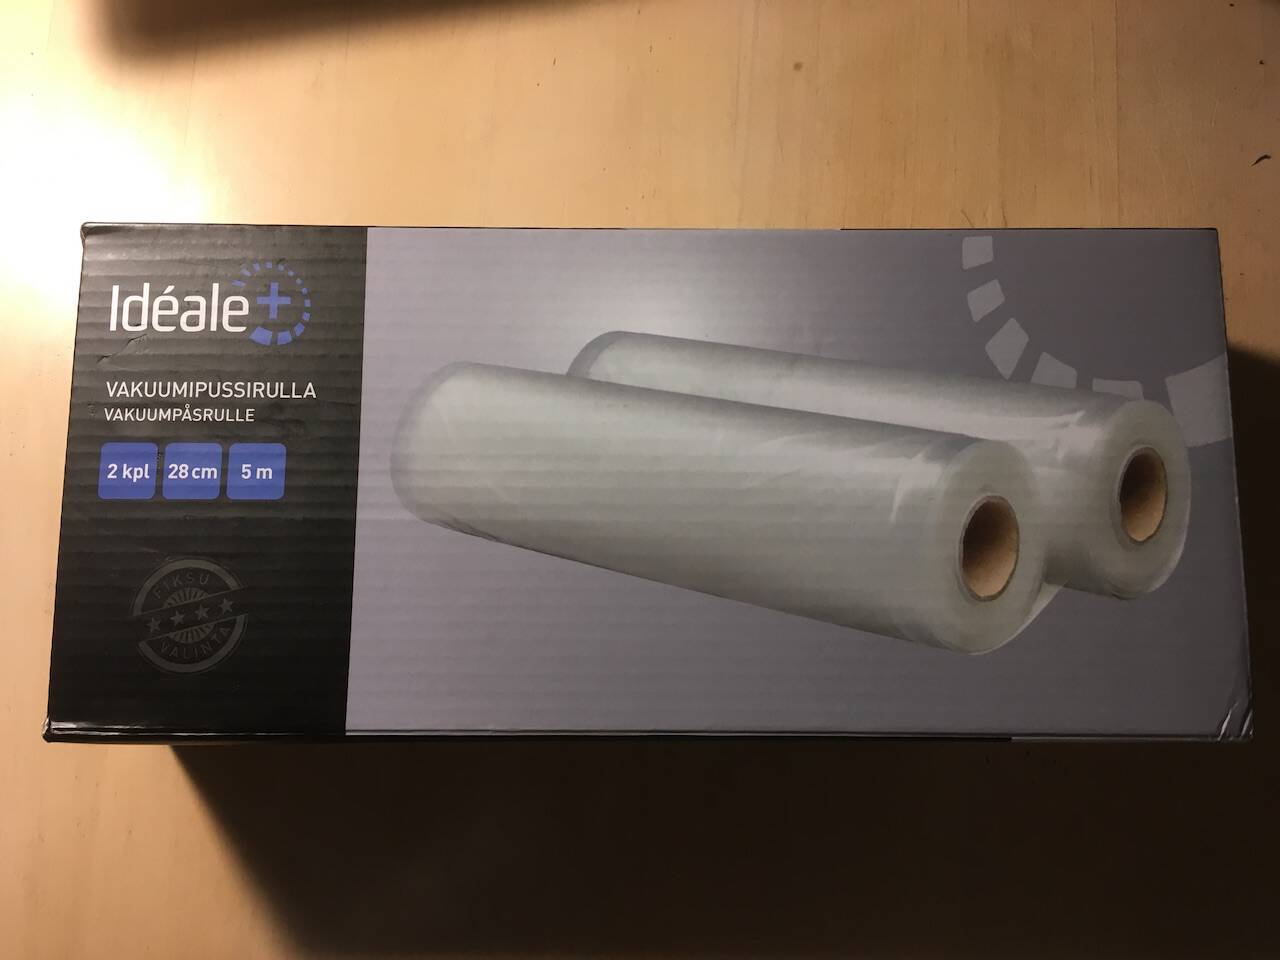
Finally come to the wildcard week, I am able to play around with some special machines at Väre. Base on the purpose of realizing the inflatable suit, Matti suggested me so use an Ultrasonic welding machine to weld vacuum bags (plastic) and create different shapes according to the needs.
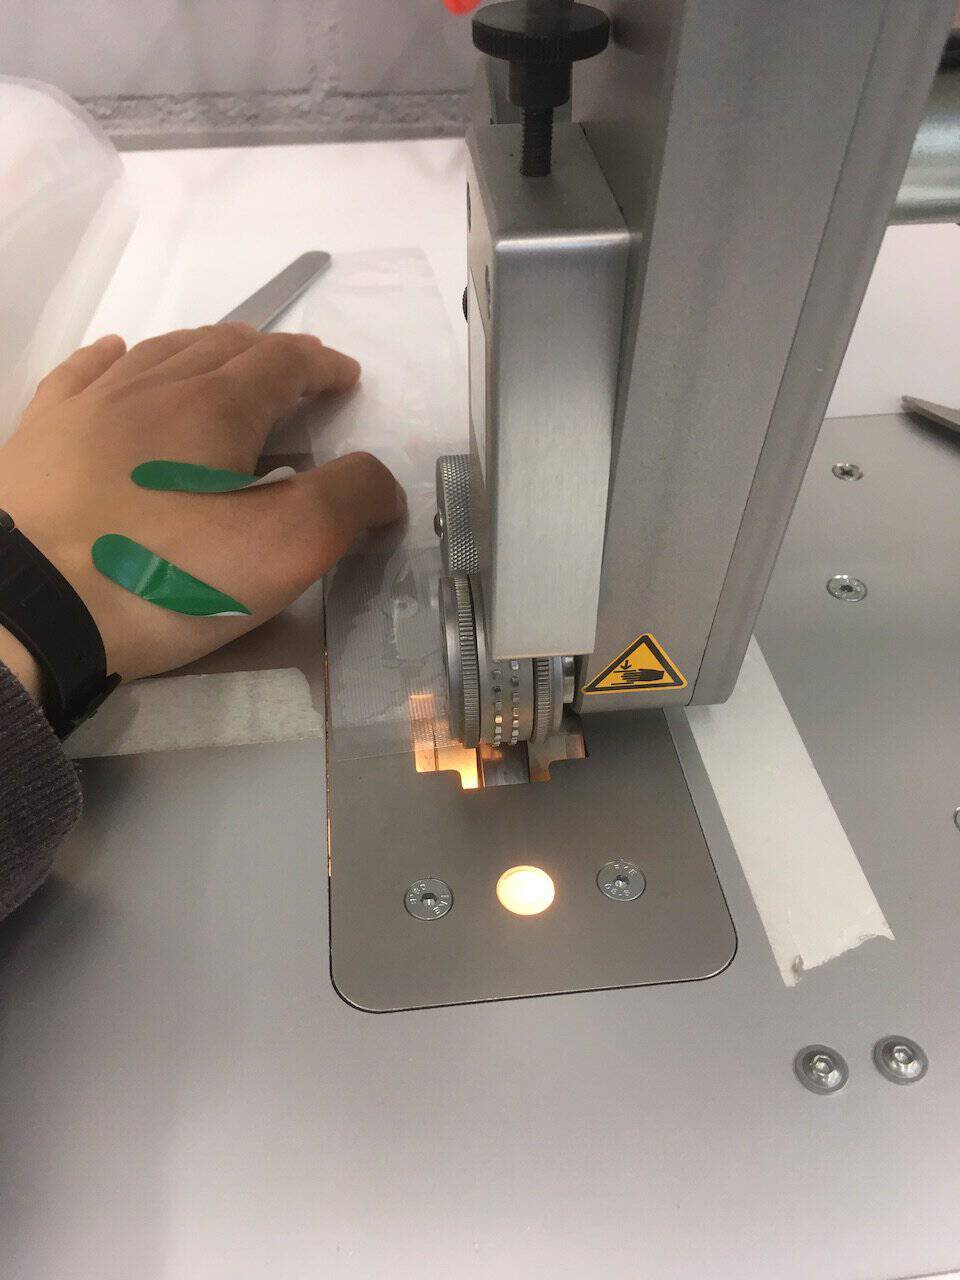

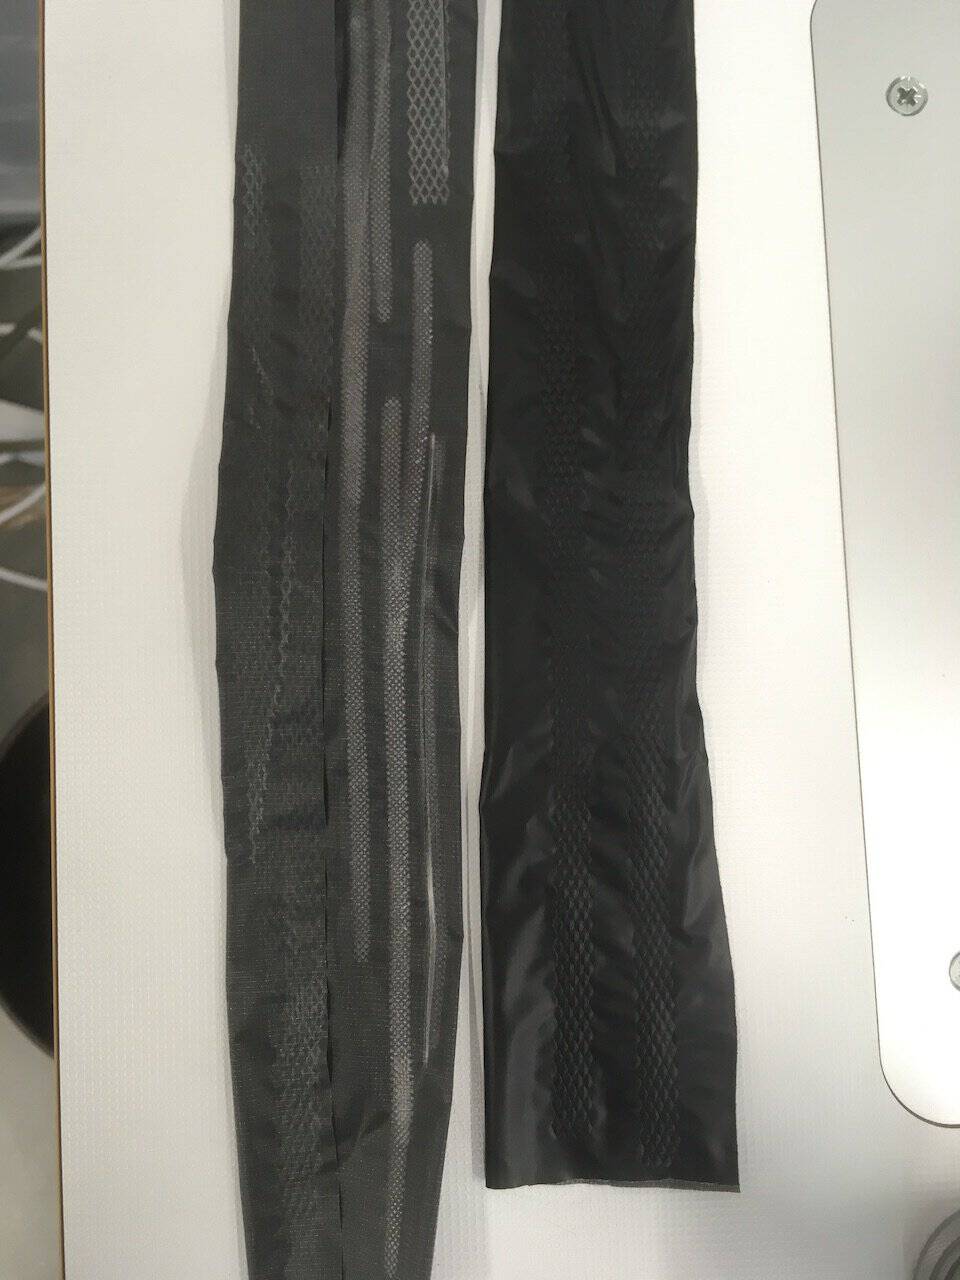
There are different anvil wheels for welding. Only a few of them could seal up the vacuum bags and prevent the leaking air.
Working Flow
-
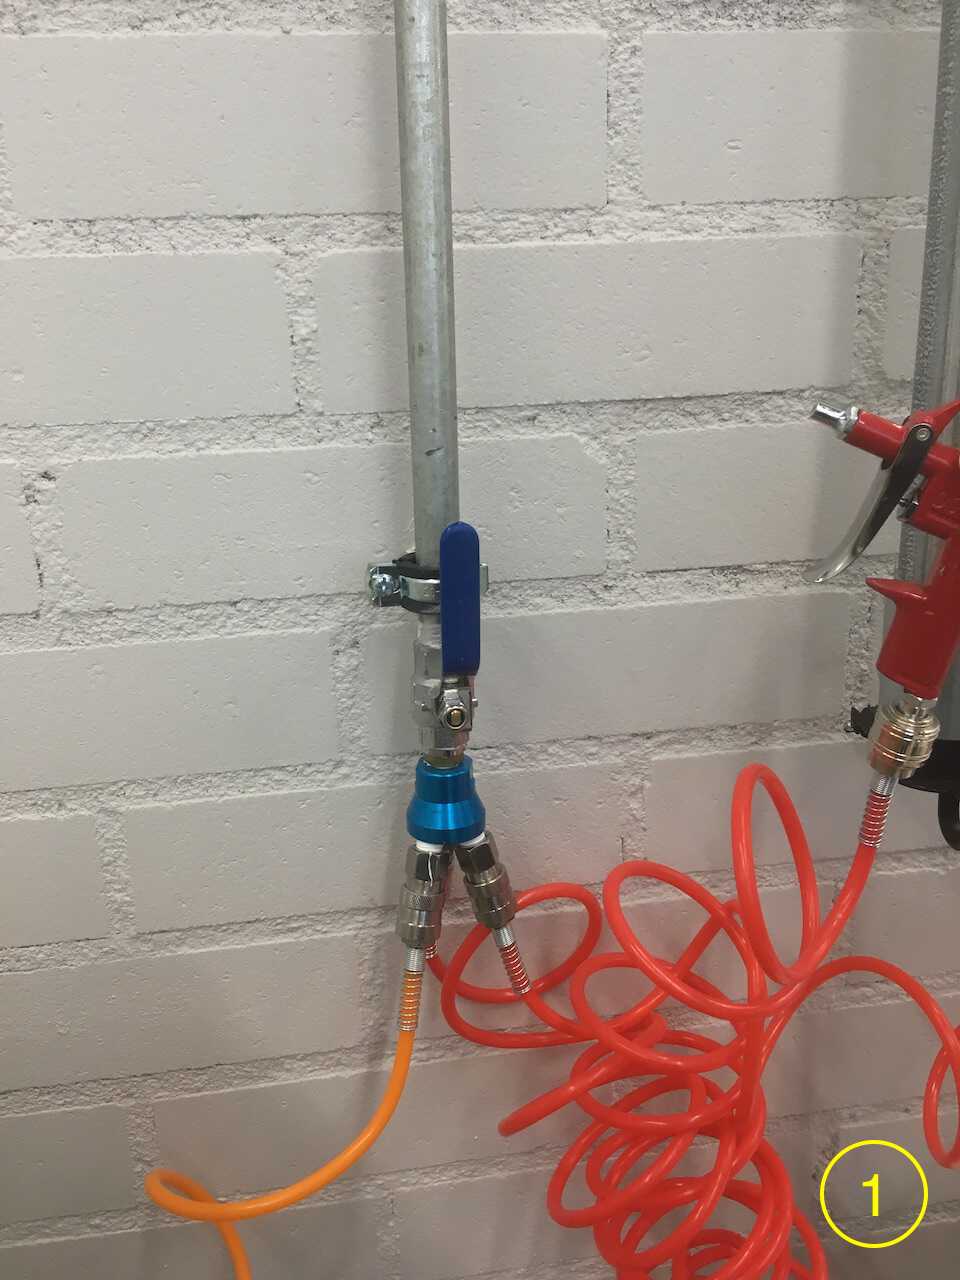
Turn on the air connector
-
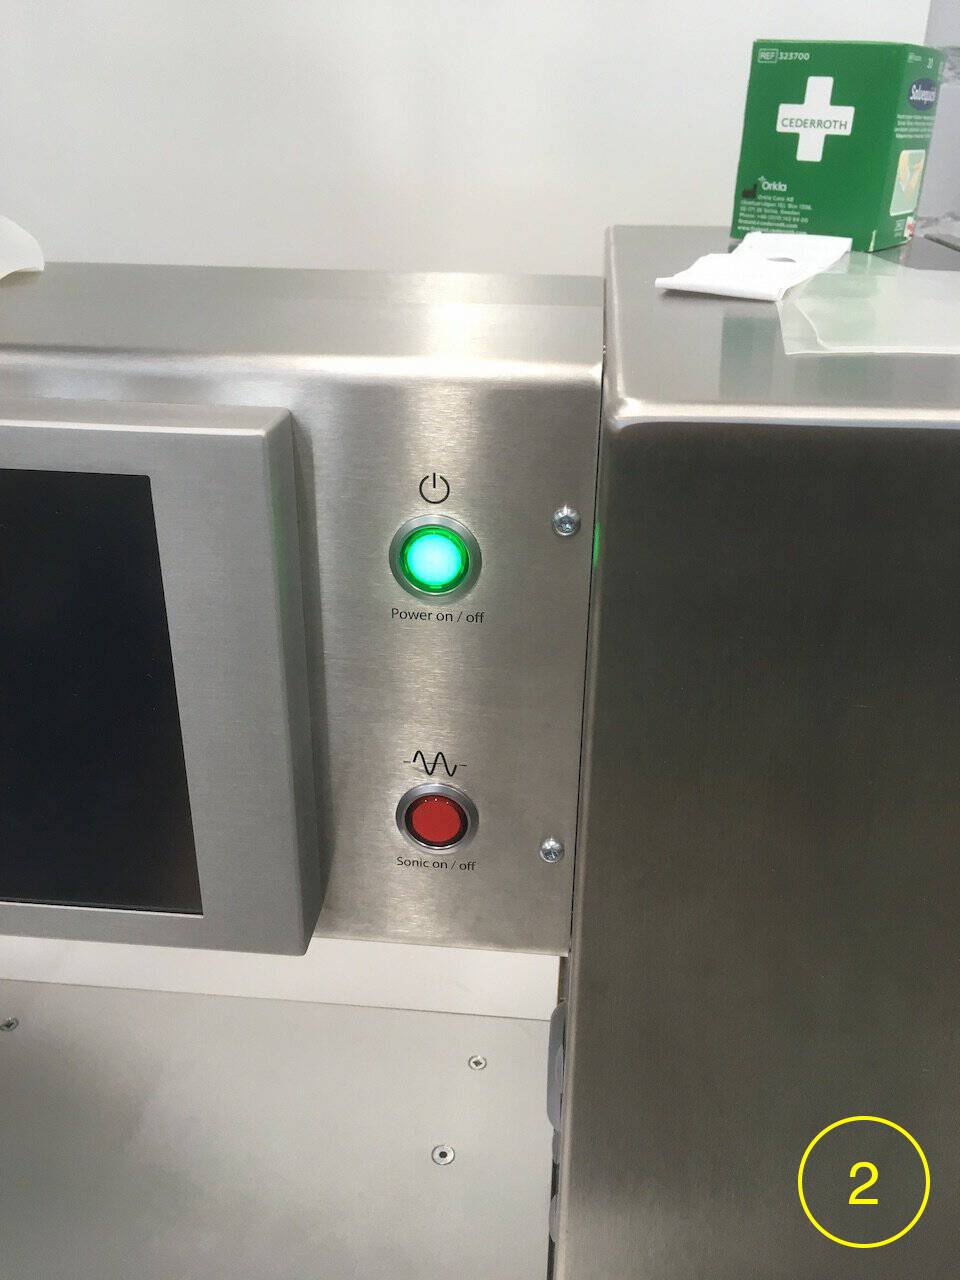
Press the green button to turn on the machine
-
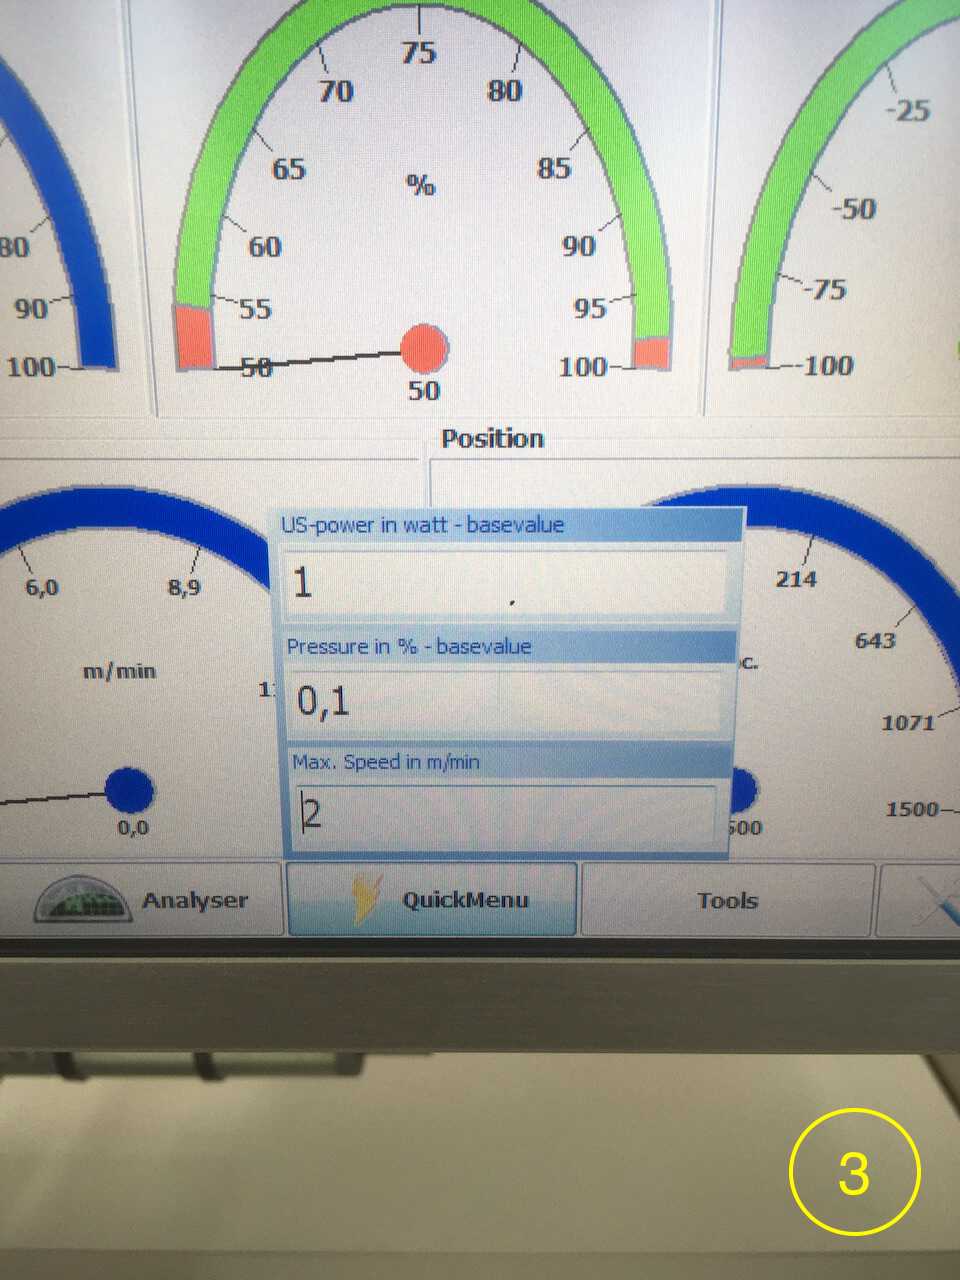
Confirm the settings. (Start from 1 Watt, 0.1% pressure, 1 m/min; check if puller is needed)
-
Press the red button to activate the ultrasonic to sew!

Possibilities with different anvil wheels
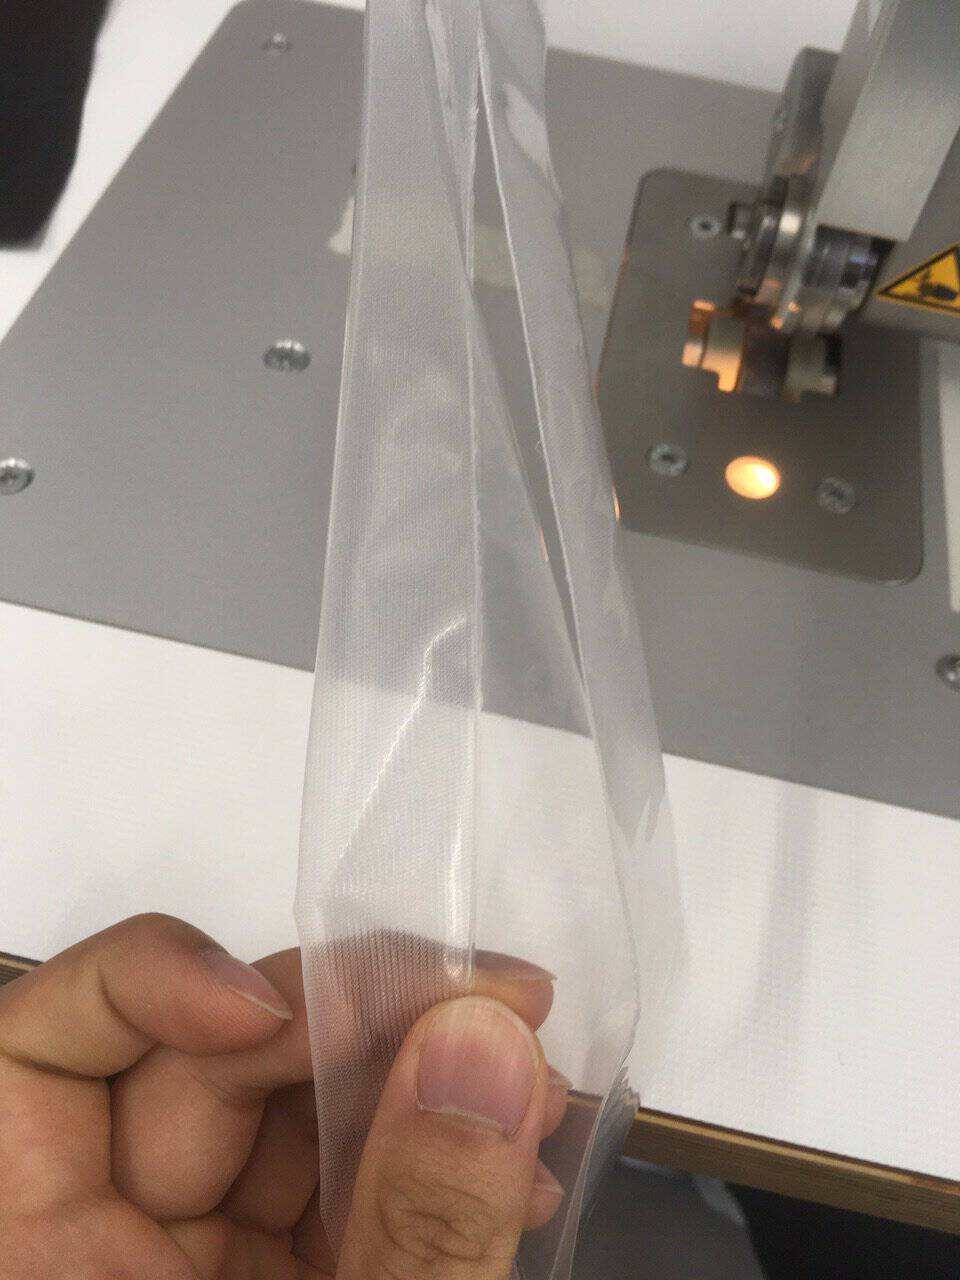
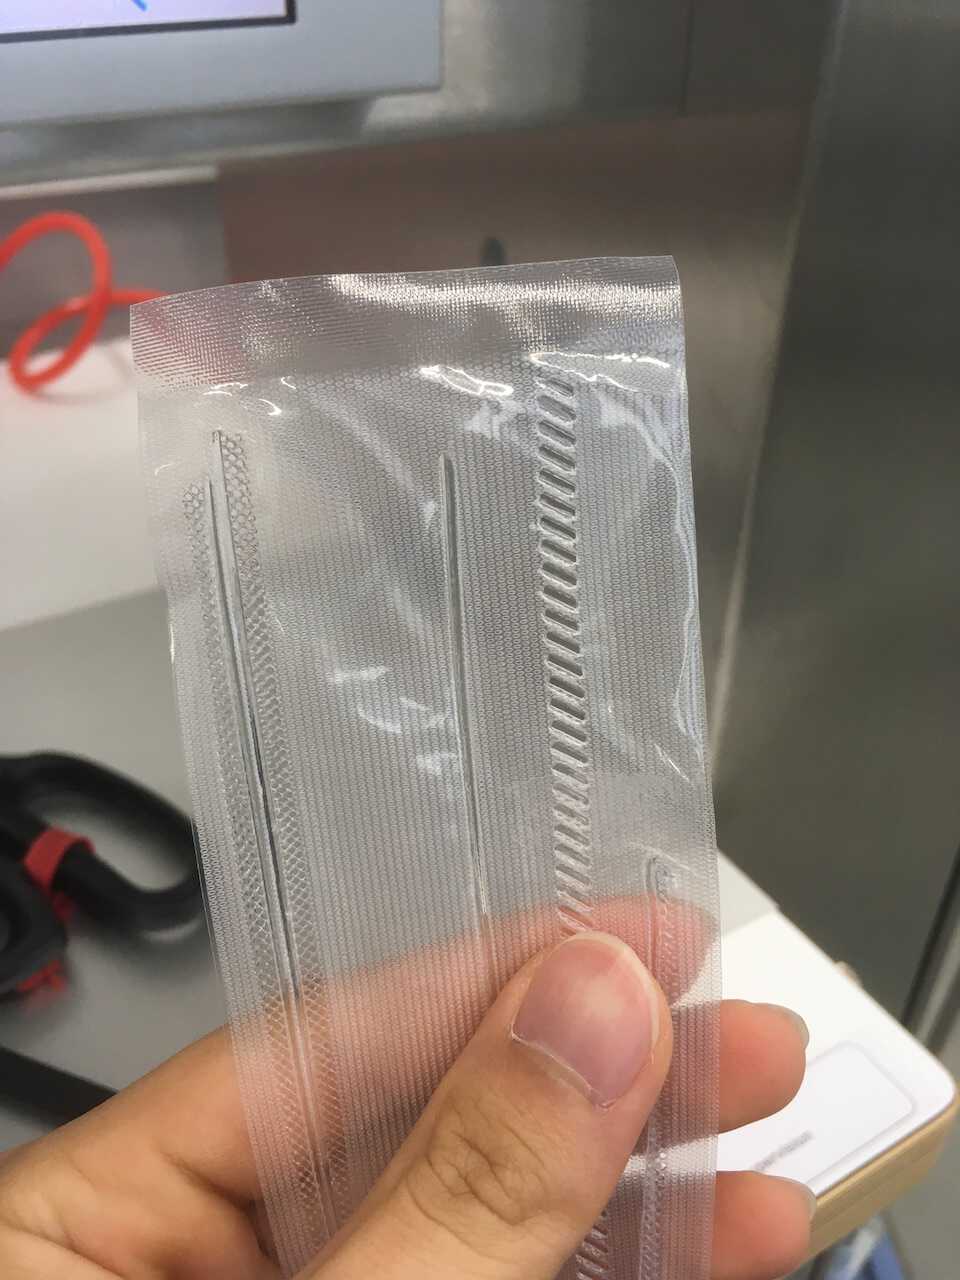
Demonstration
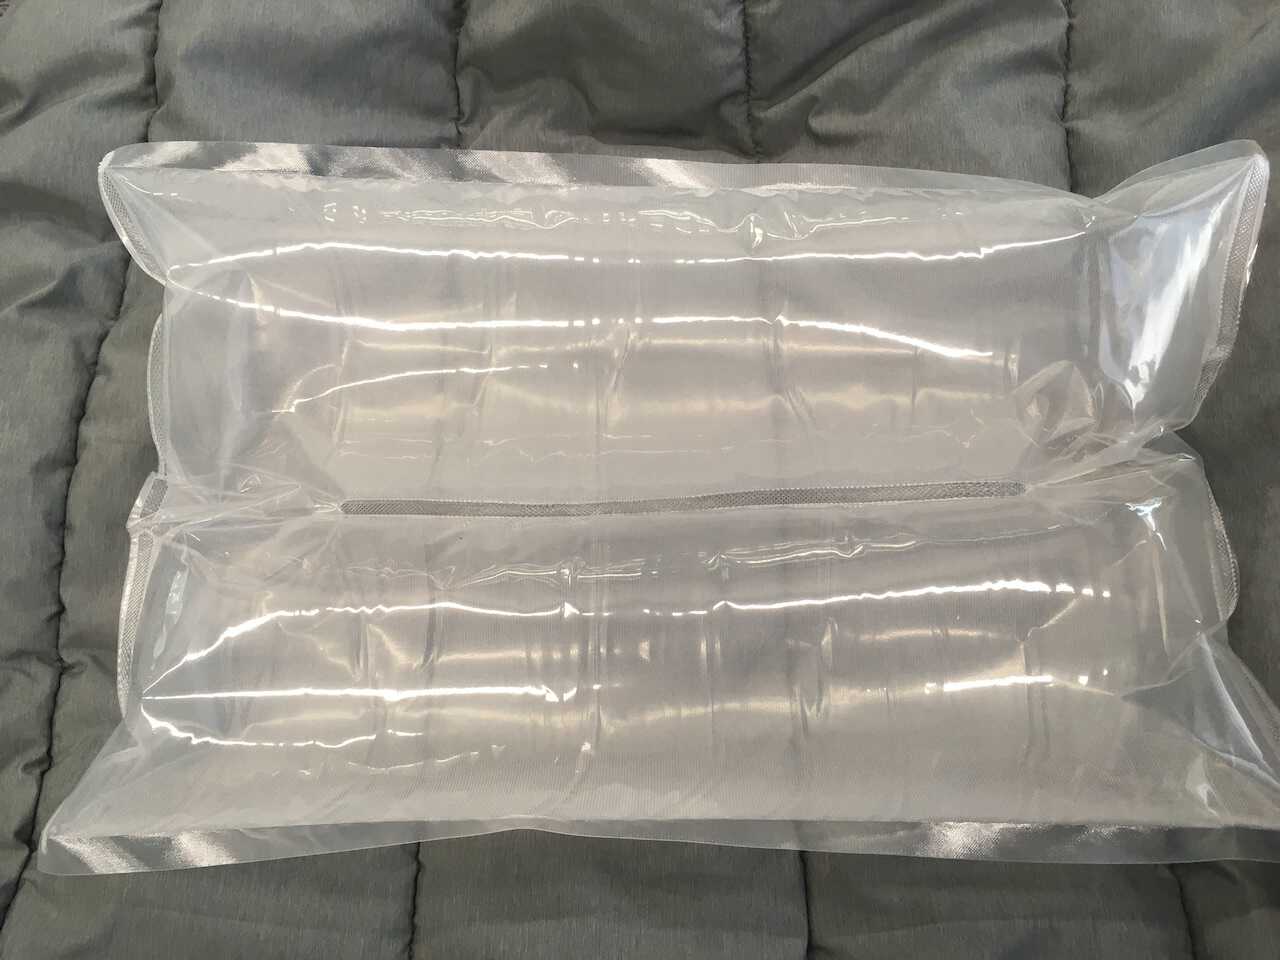
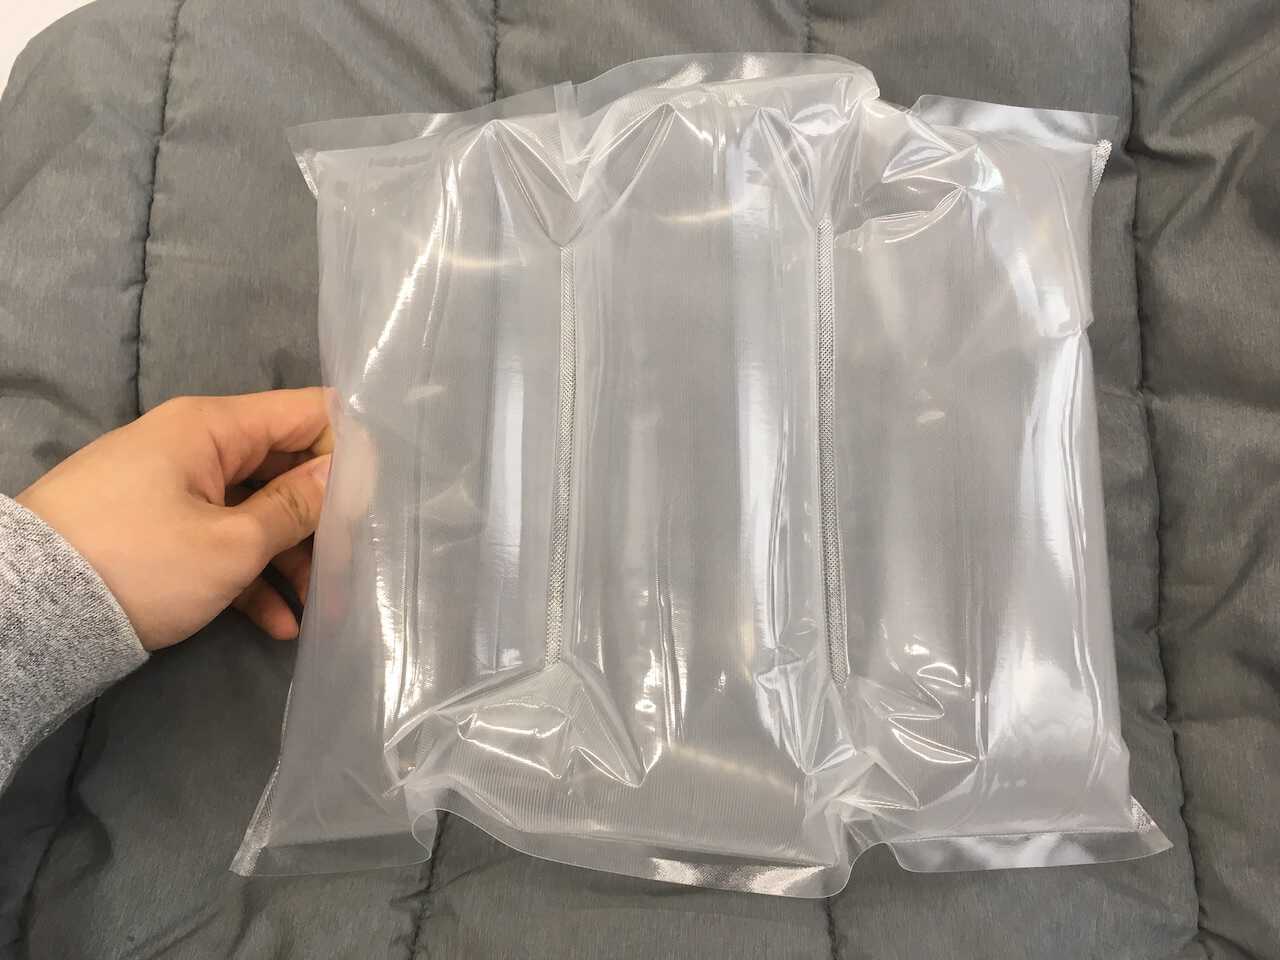
Seal it up and try to inflate it with an air gun.
Zünd Cutter
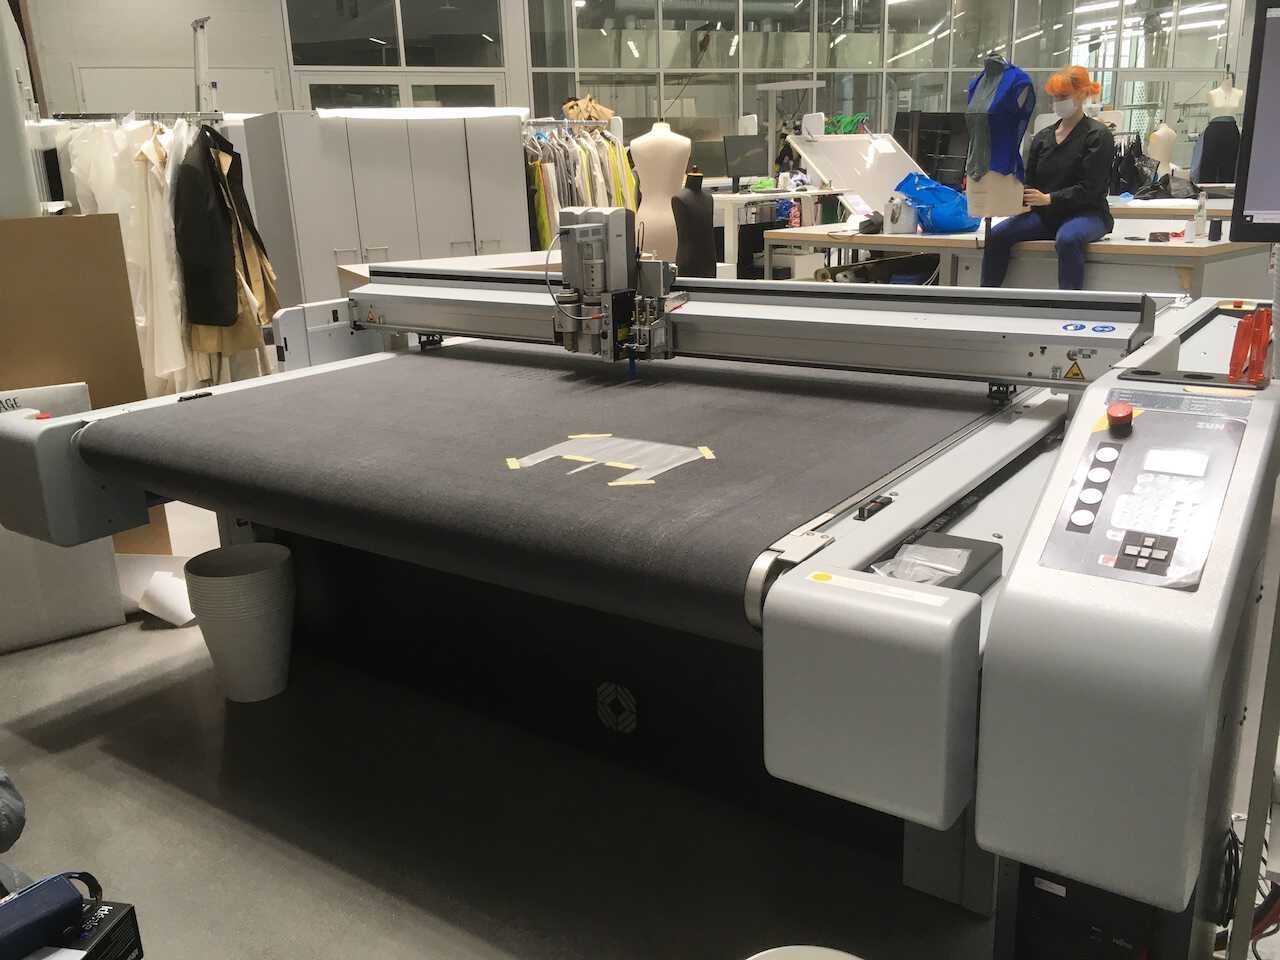
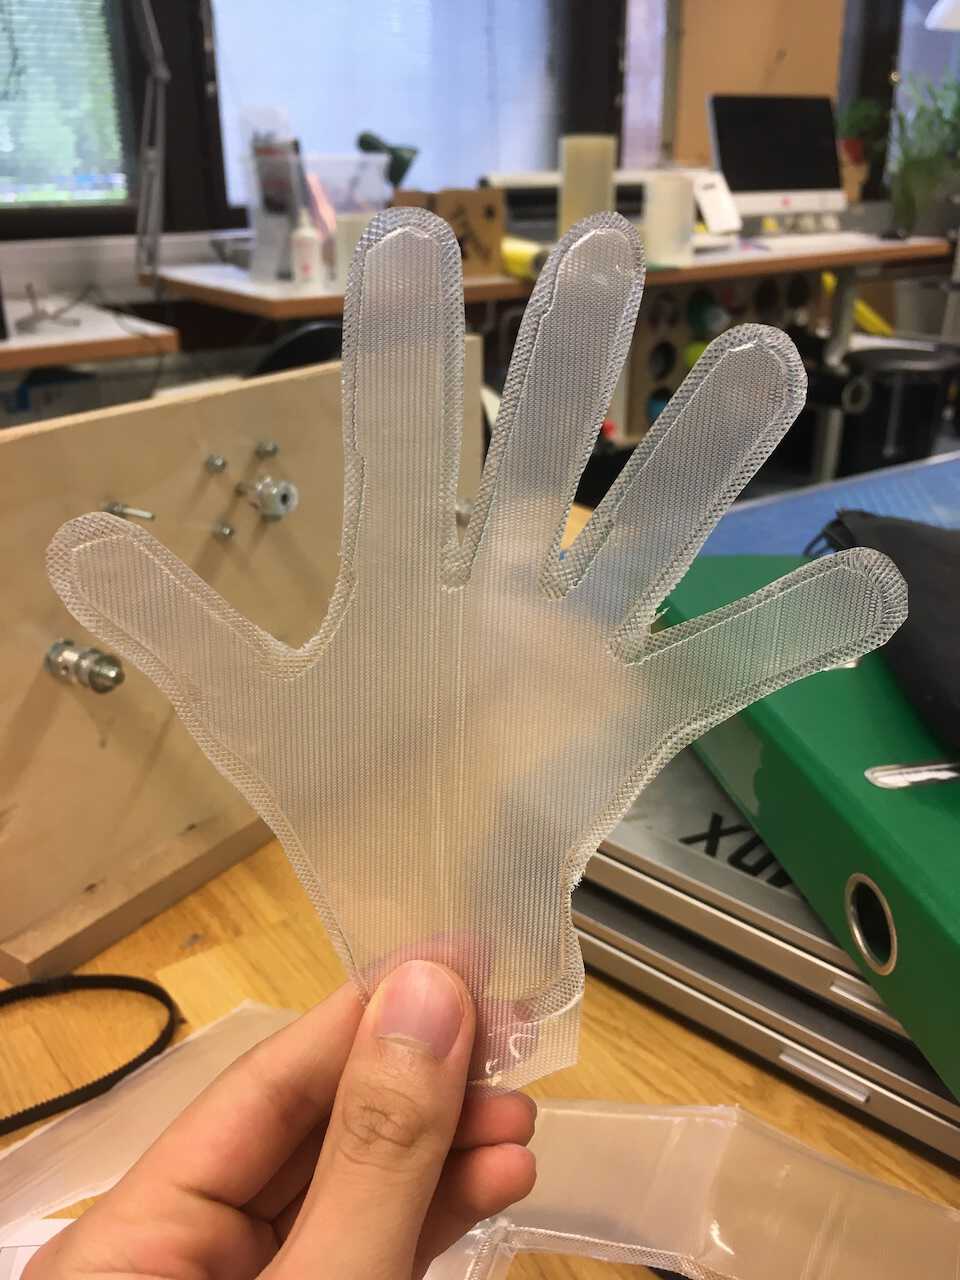
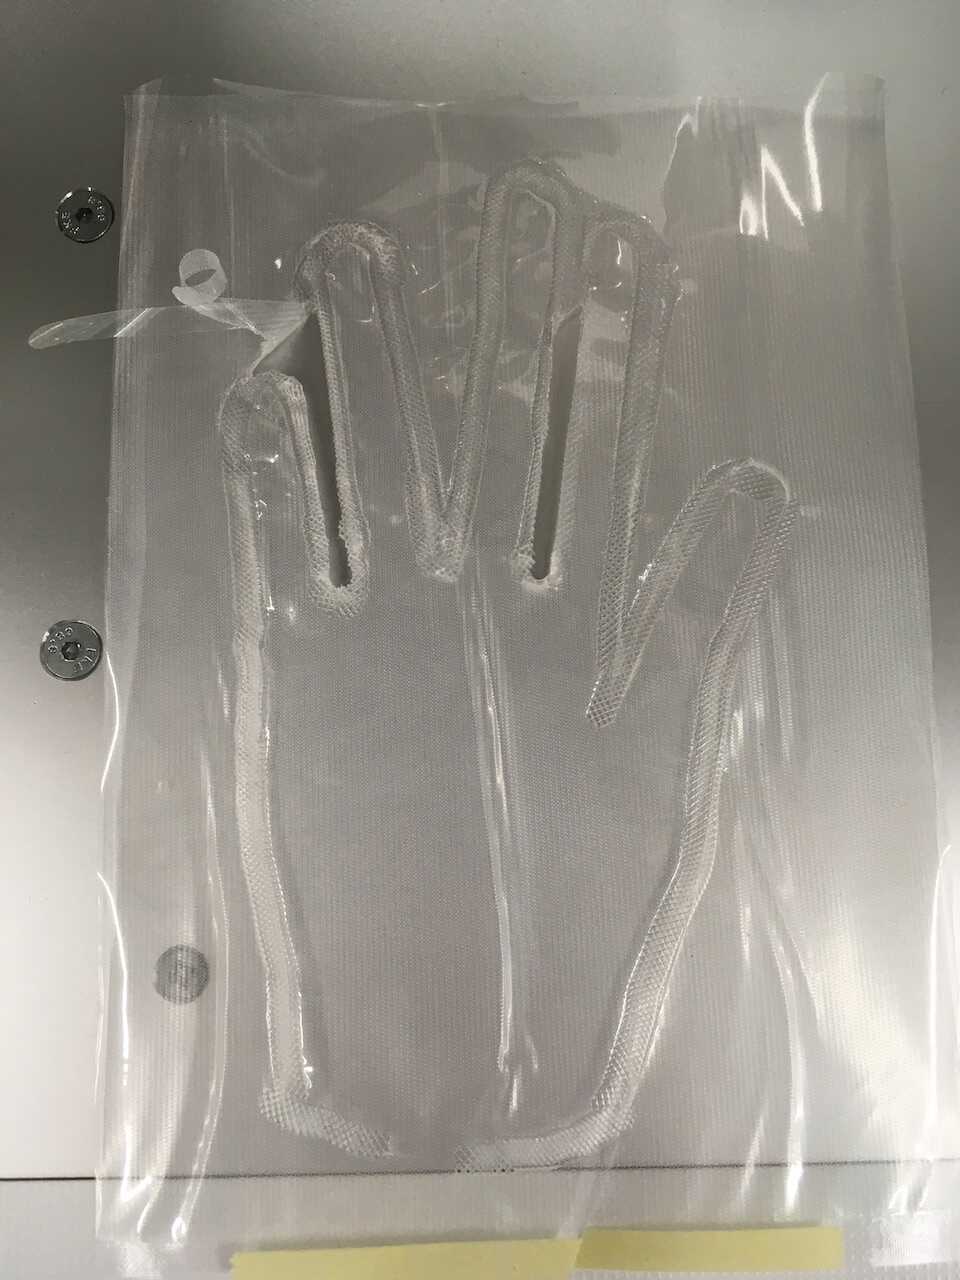
Zünd Cutter is a mega-machine that can cut folding lines of huge cardboards into boxes. Usually, fashion design students use them to make patterns of their clothes. In my test, double-layered vacuum bags were cut by polygon blade for later processed with an ultrasonic welding machine.
Working Flow
- Fix the material
- Import files
- Set origin point
- Start to cut
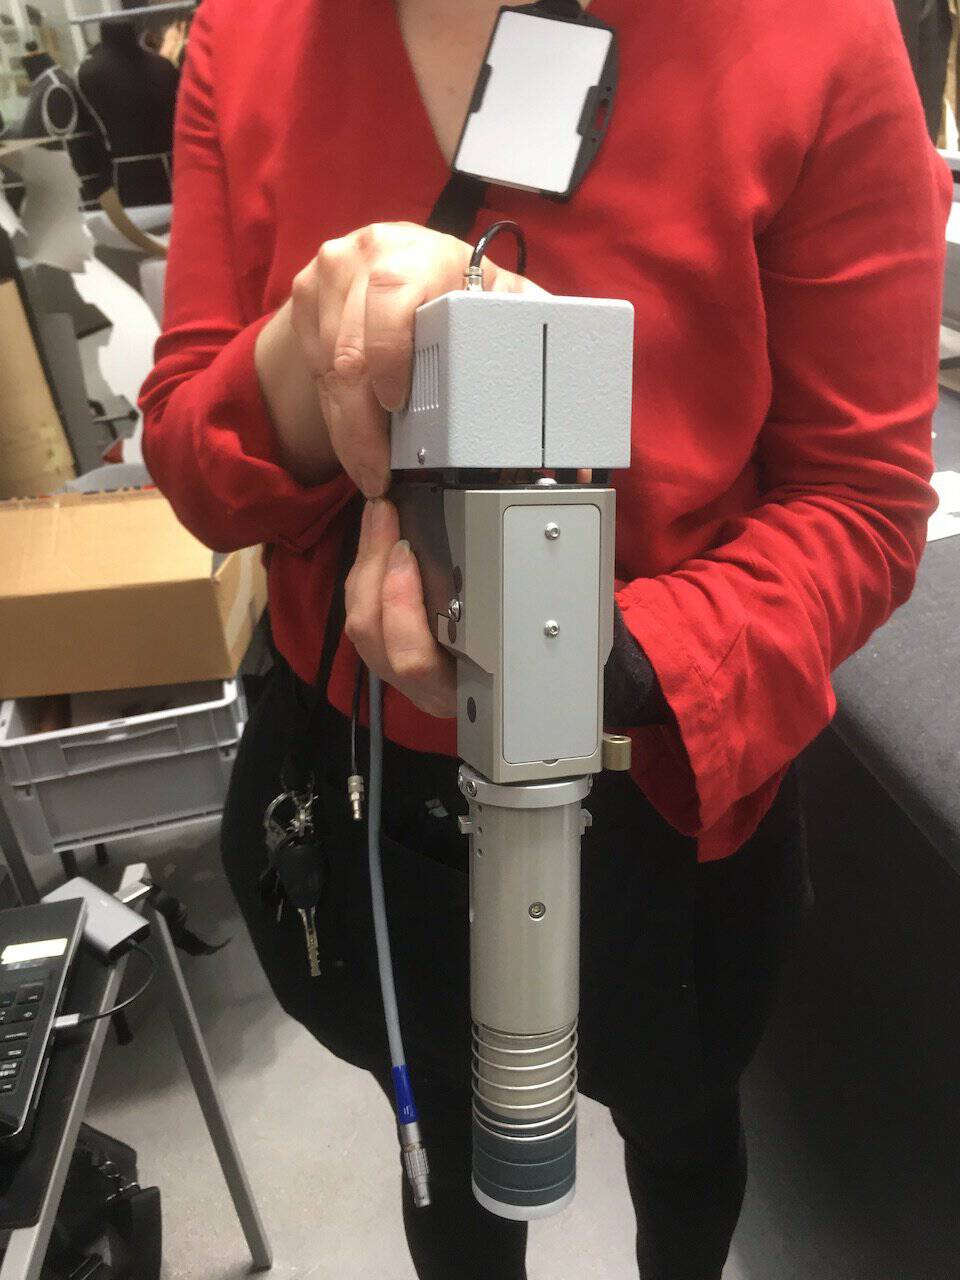
Different blades
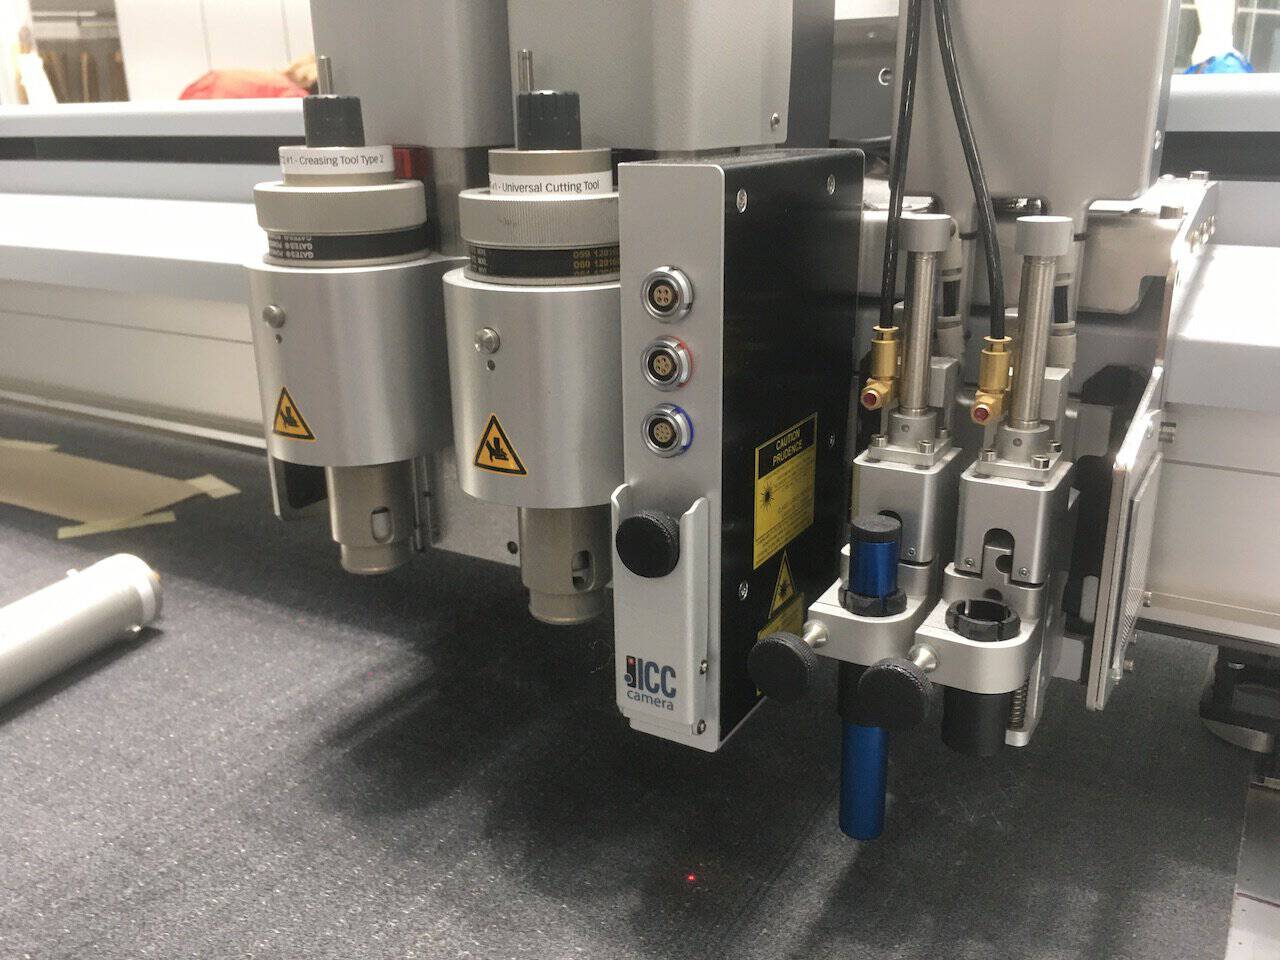 The cutting station also allows installing makers and pencils
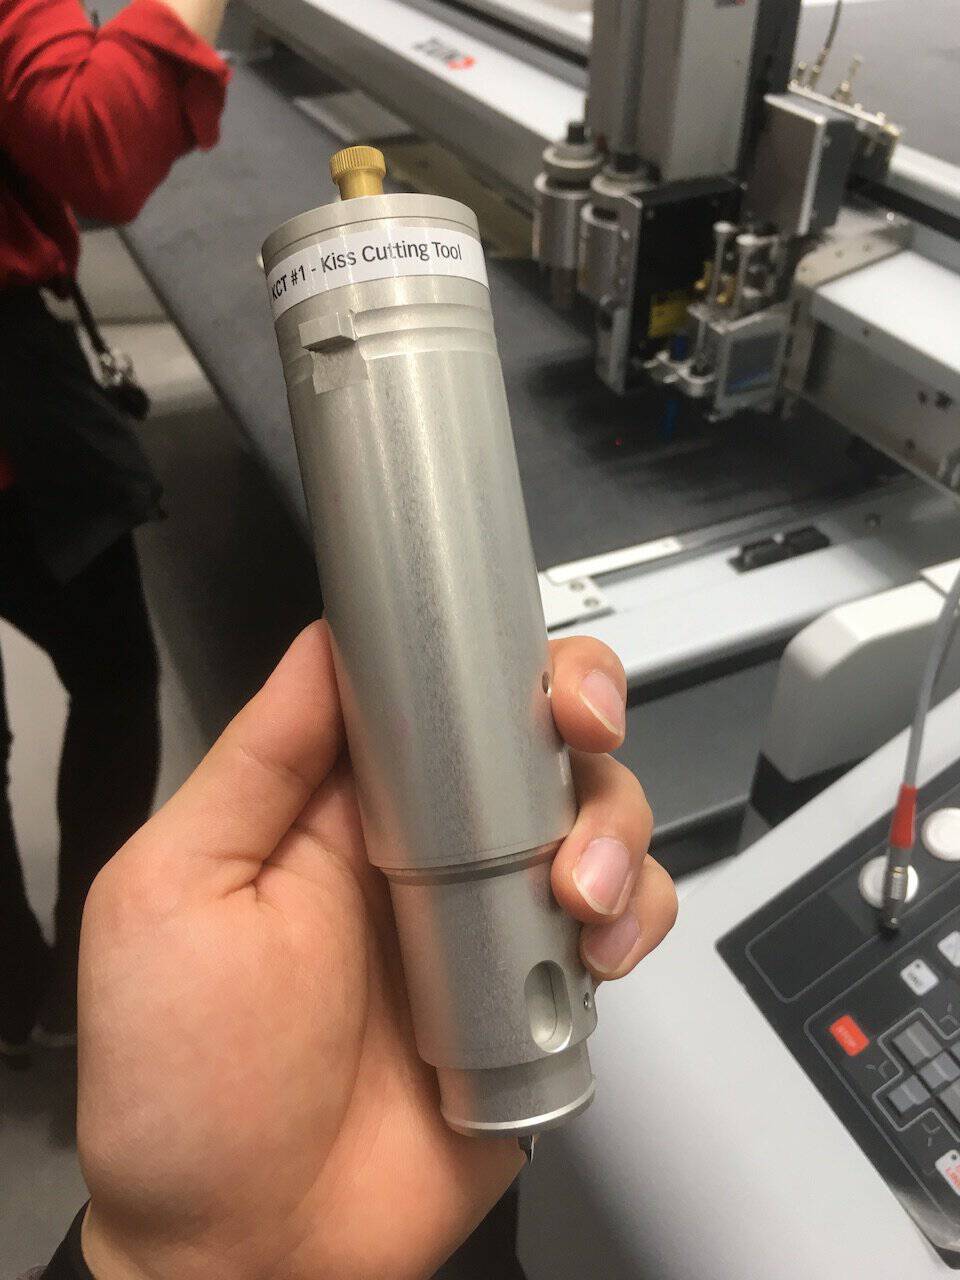 Kiss Cutting Tool
 Polygon Cutting Tool
Results
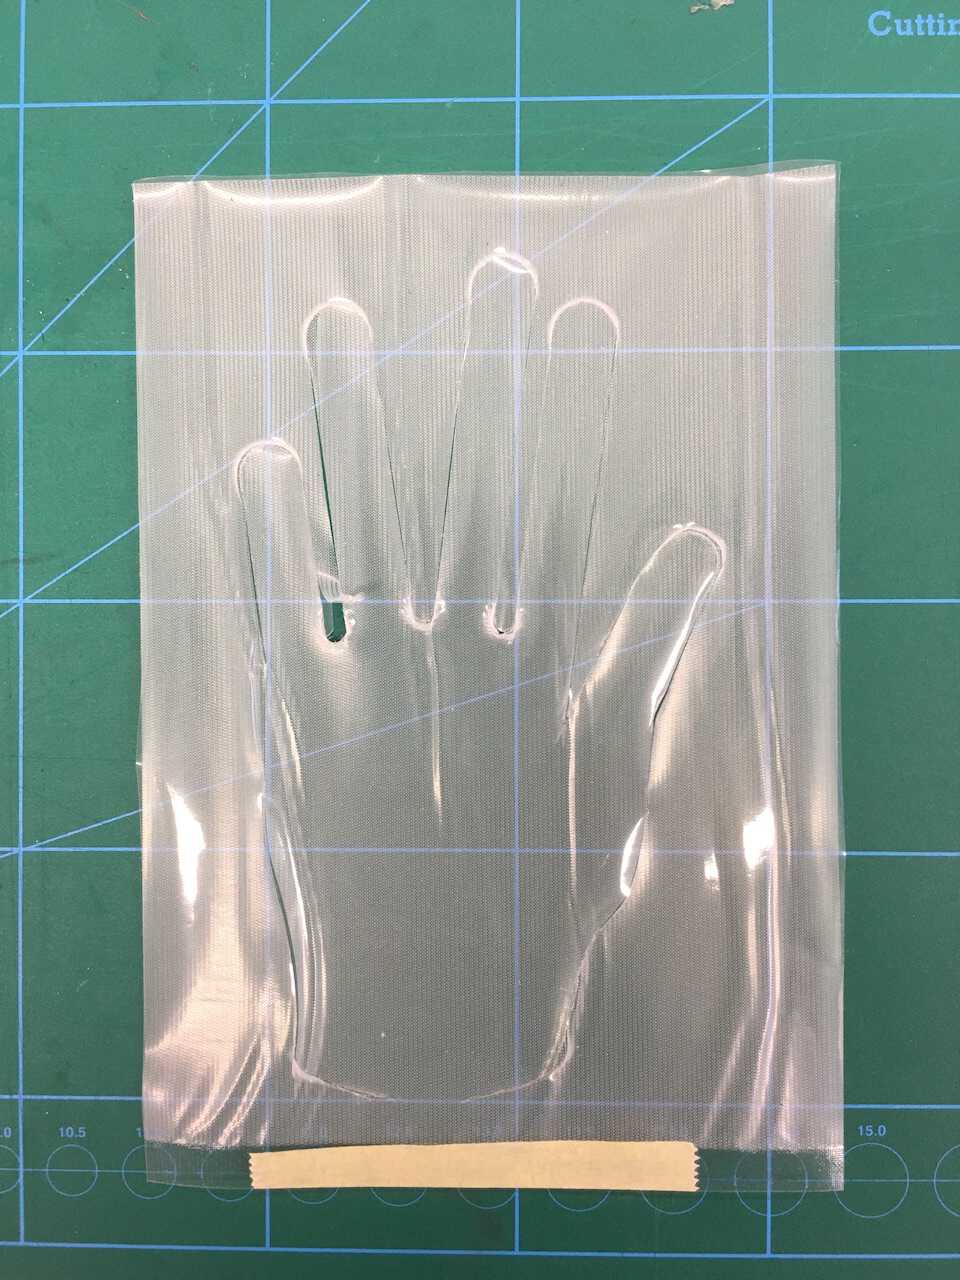
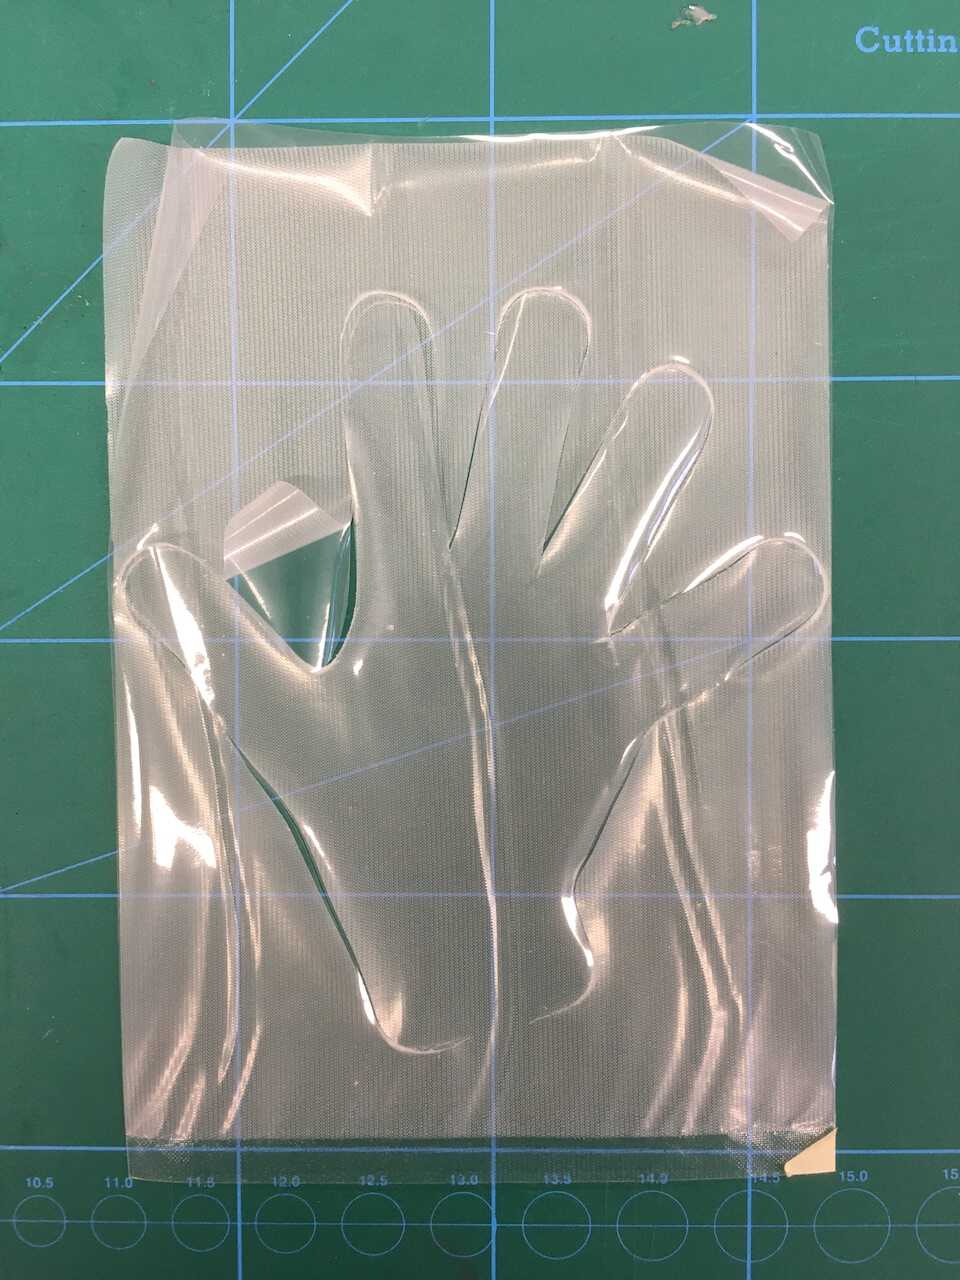
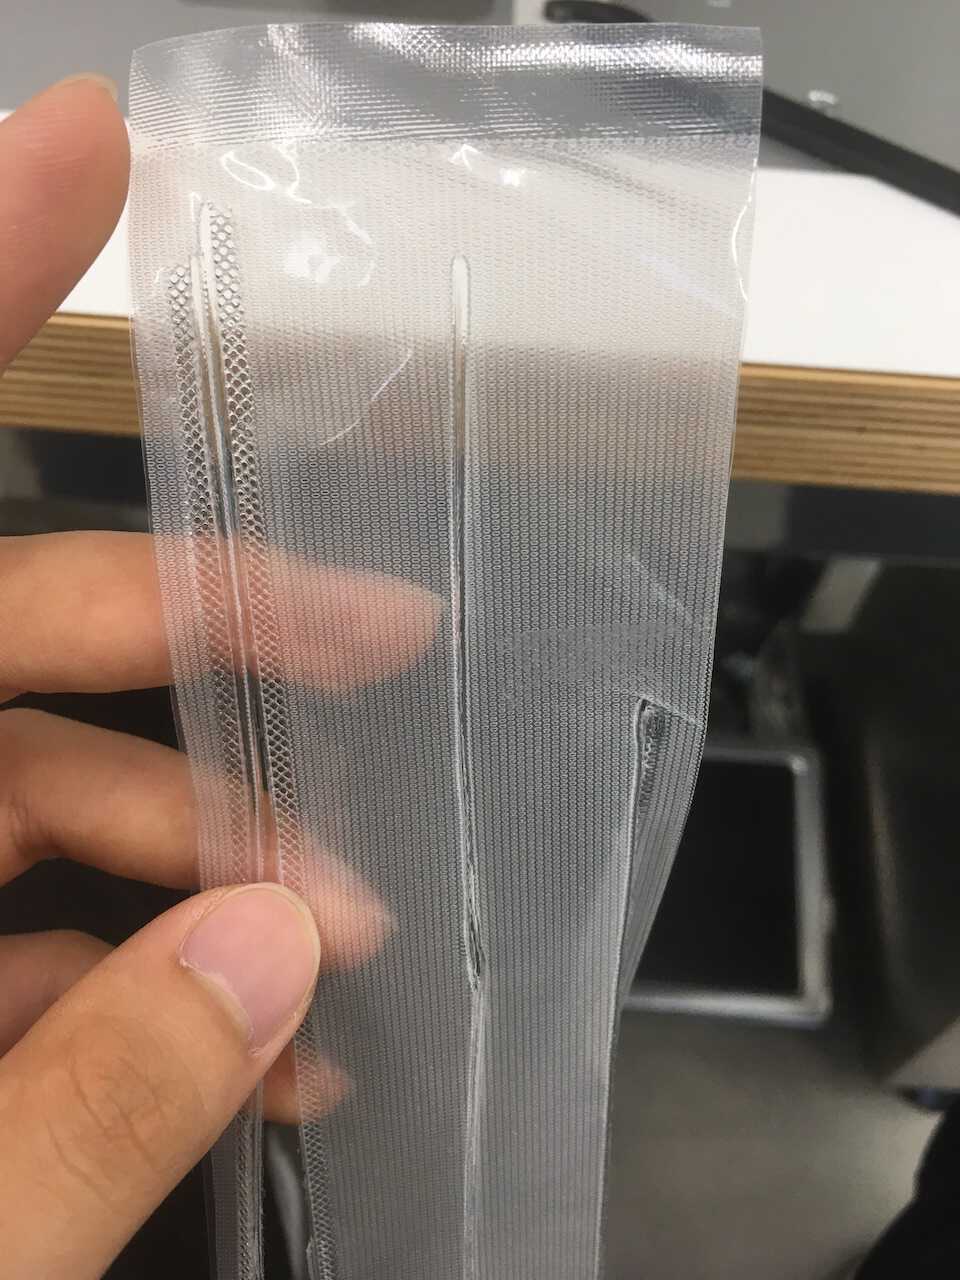
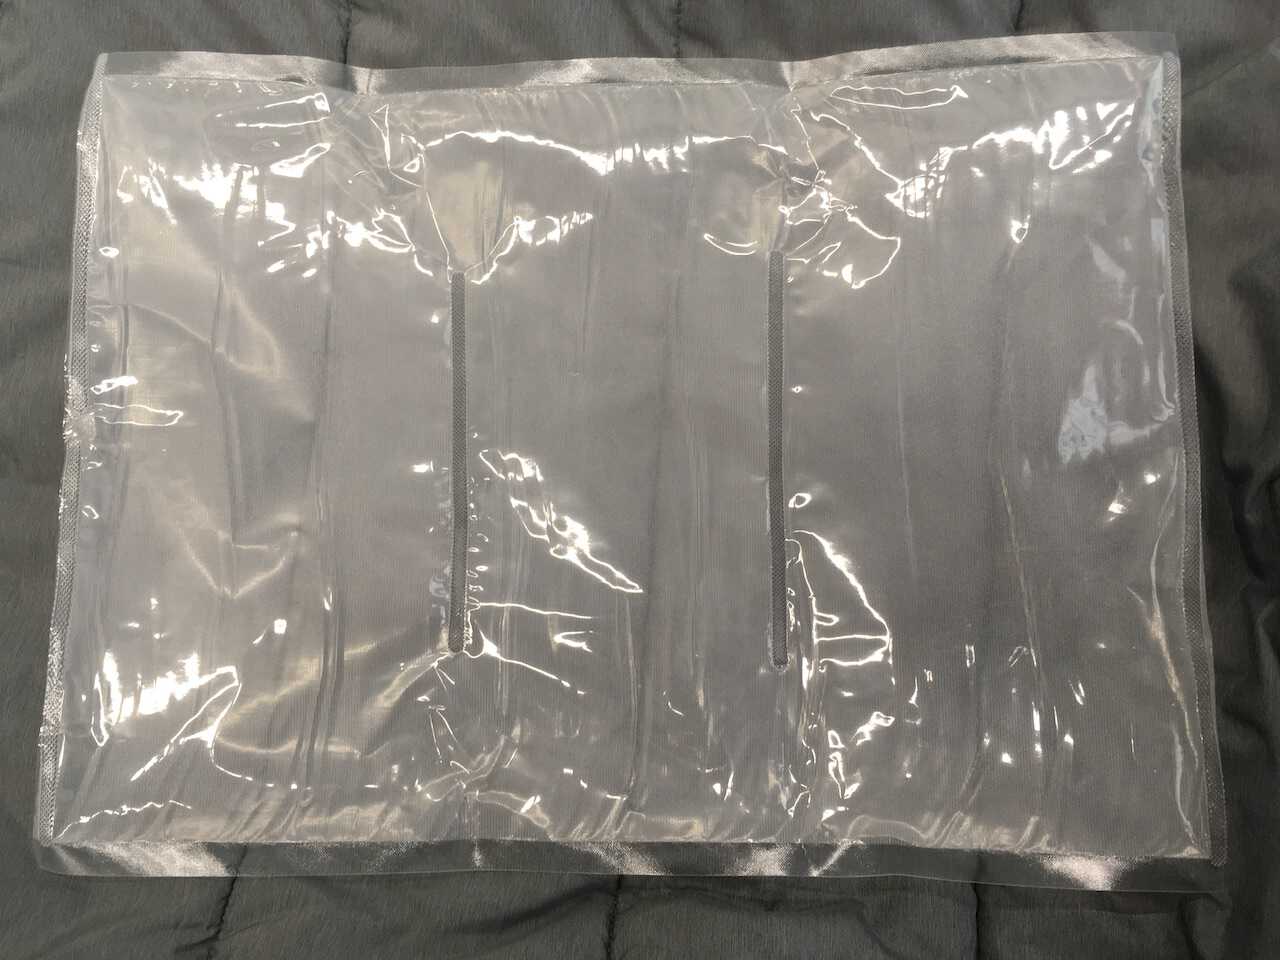
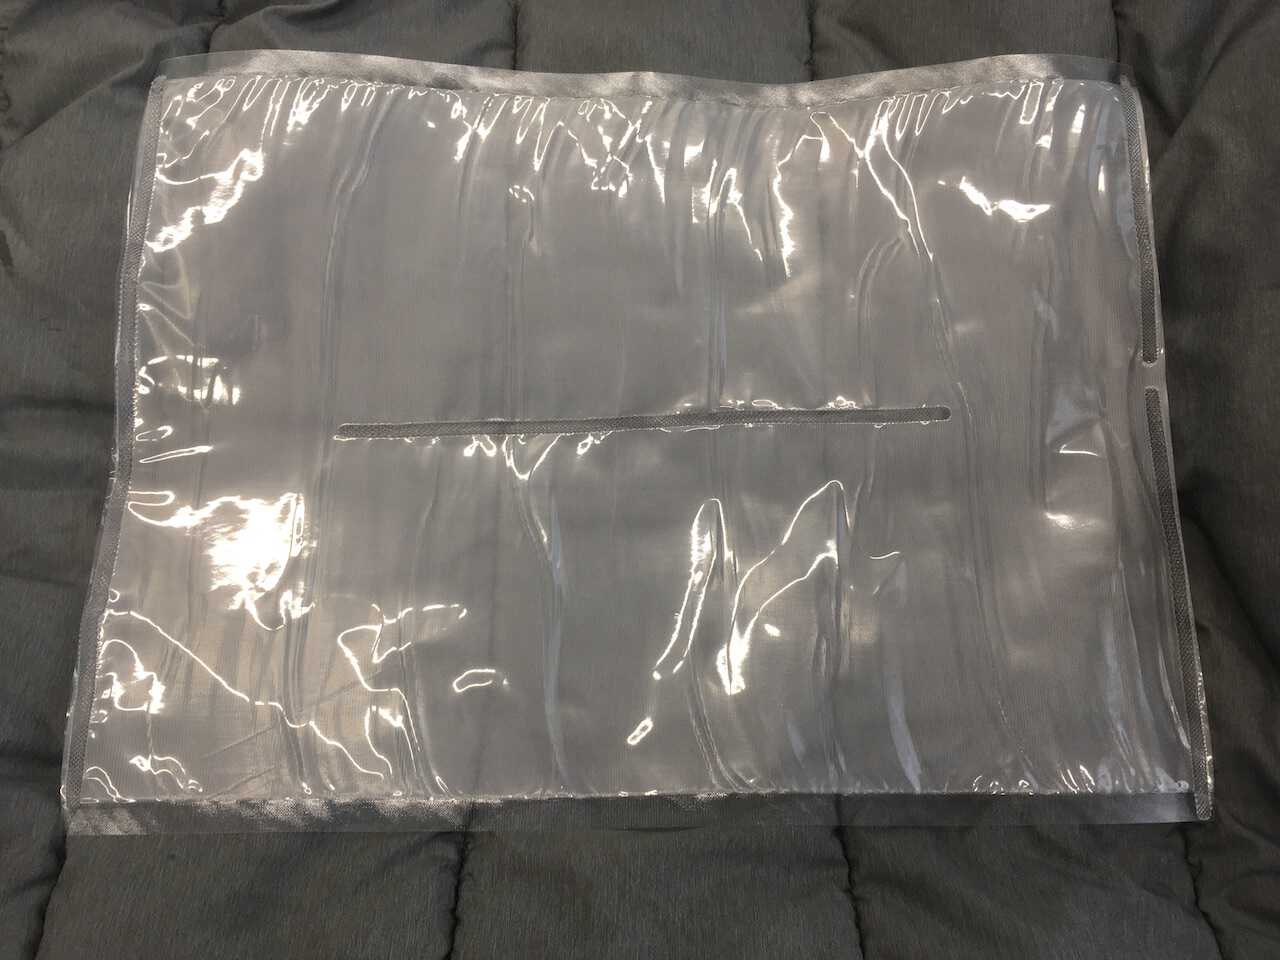
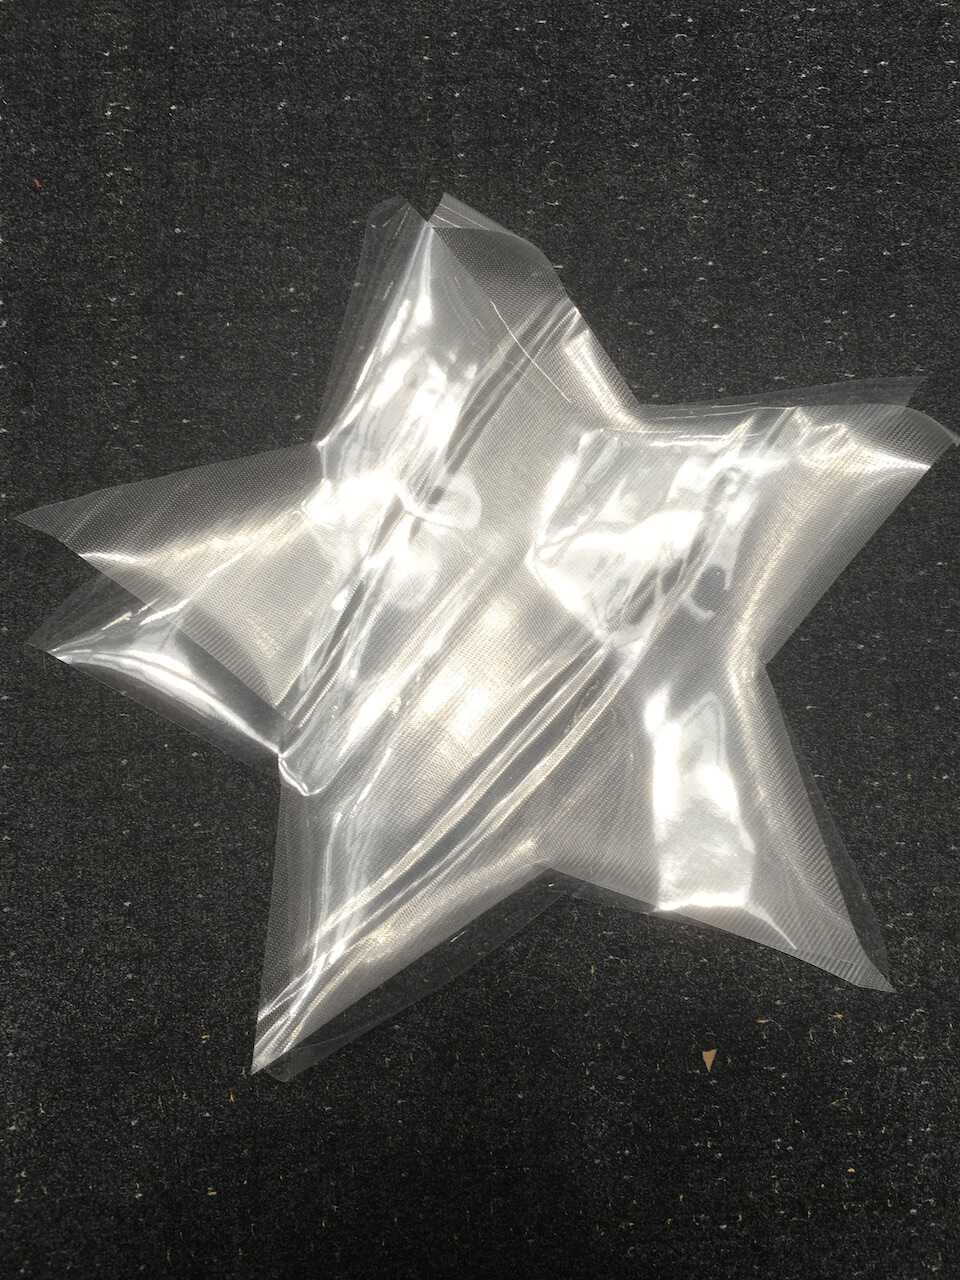
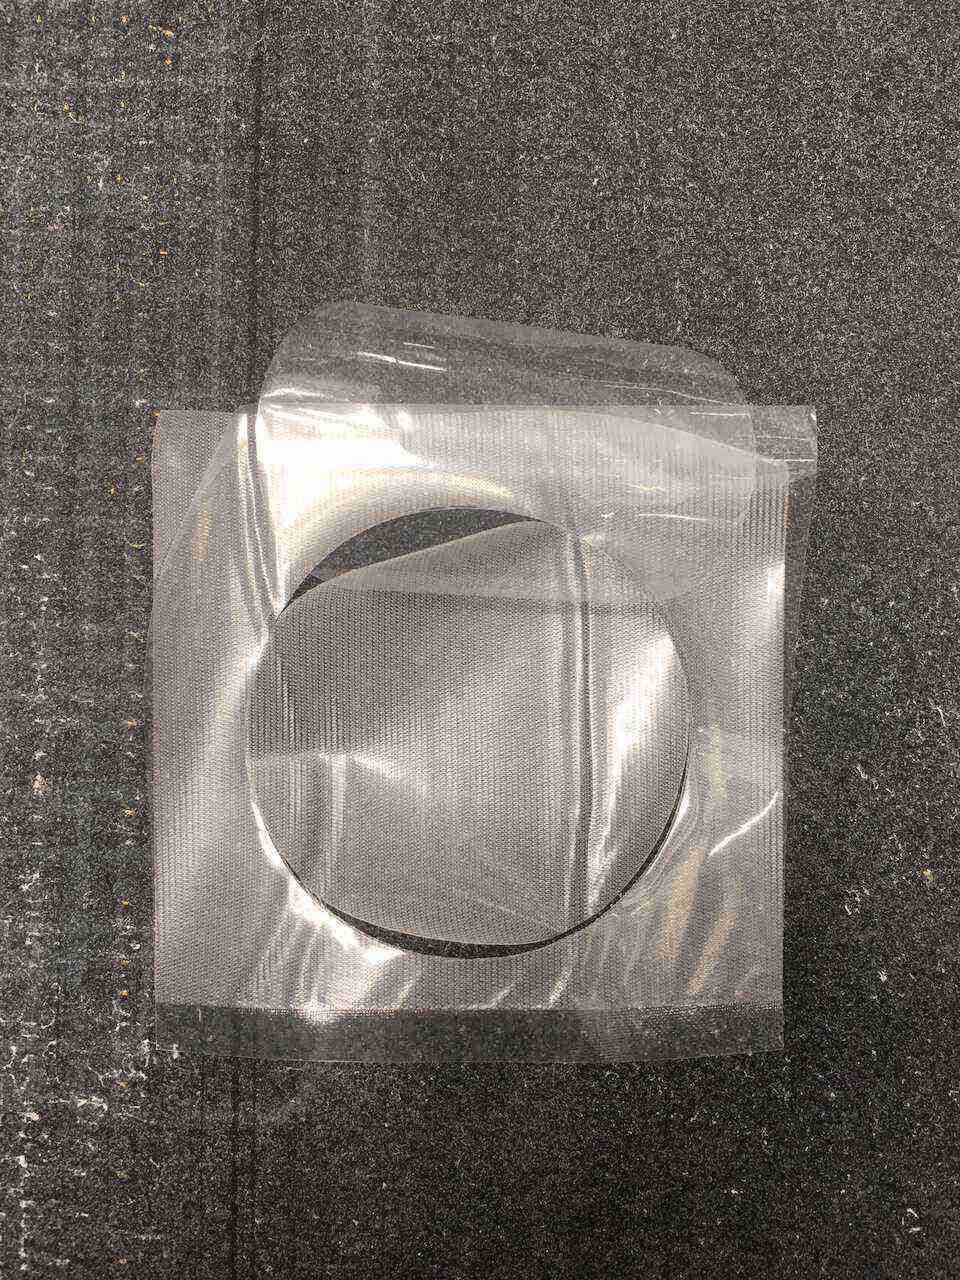
Sewing with Ultrasonic welding machine

Small hole for later pumping air.

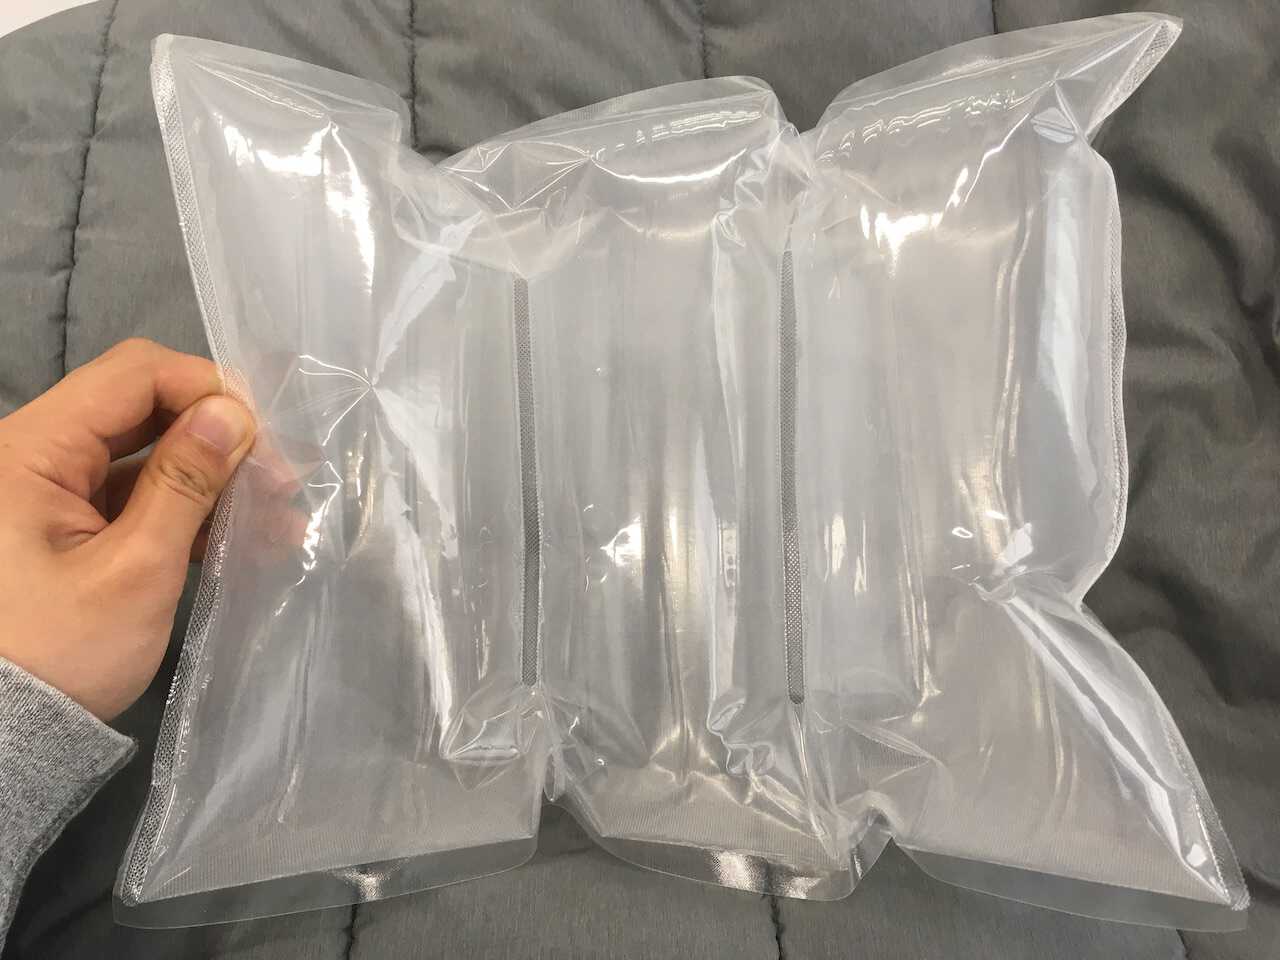
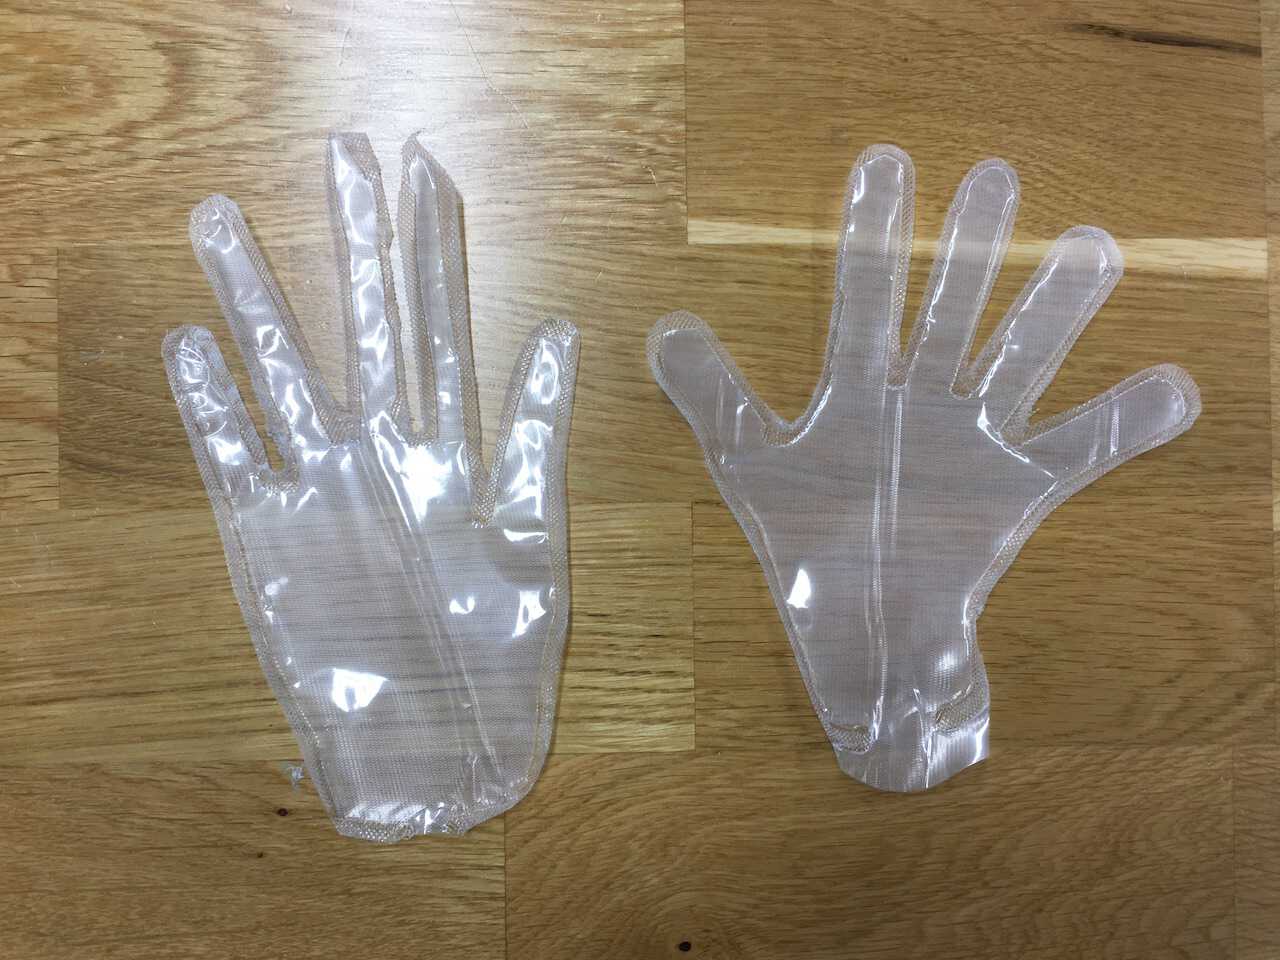
Inflate it!
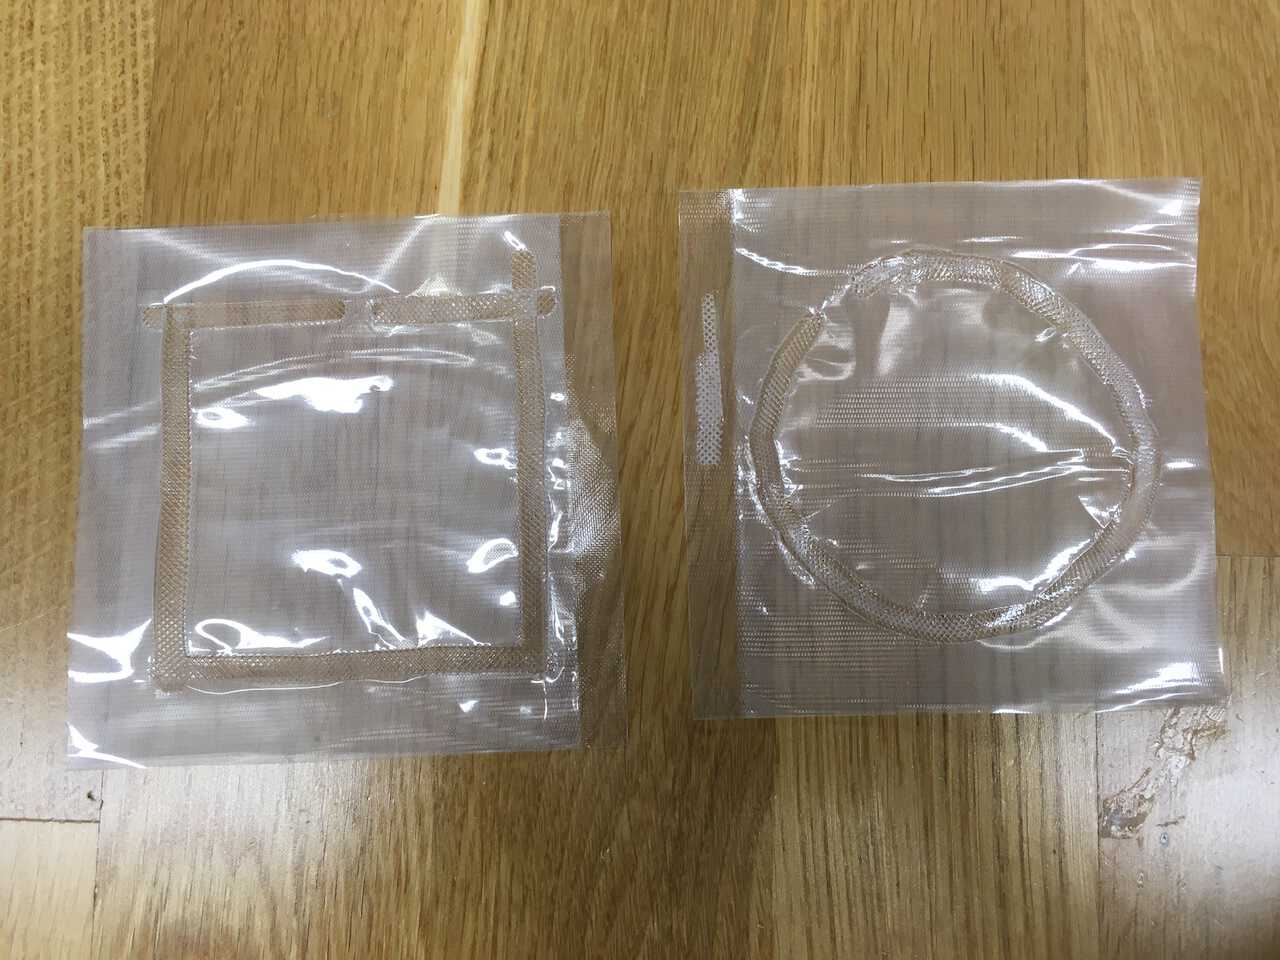
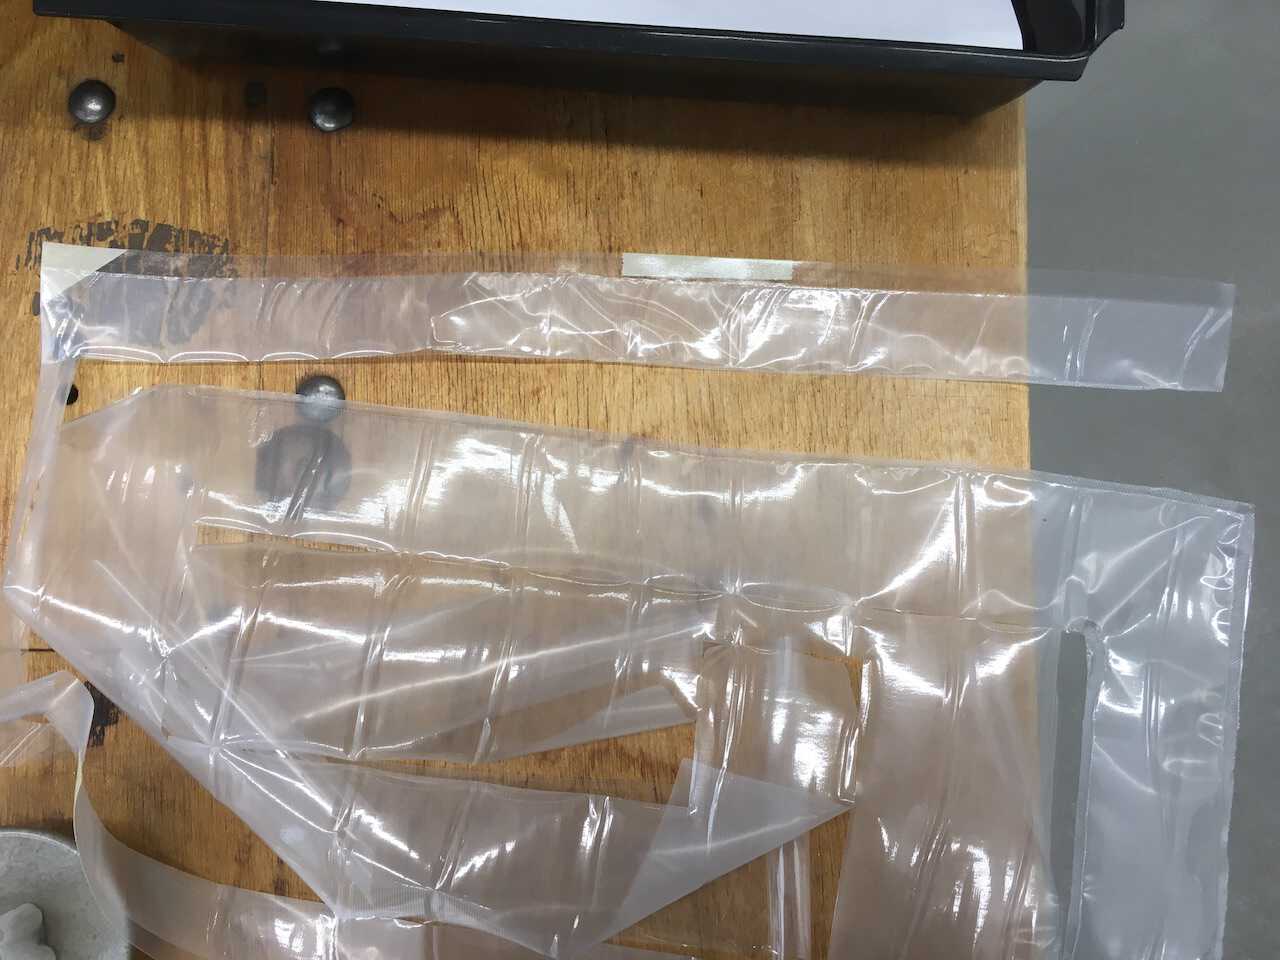
Pillow shapes (without Zünd Cutter)
Inflate it!
Additional introduction to other interesting machines
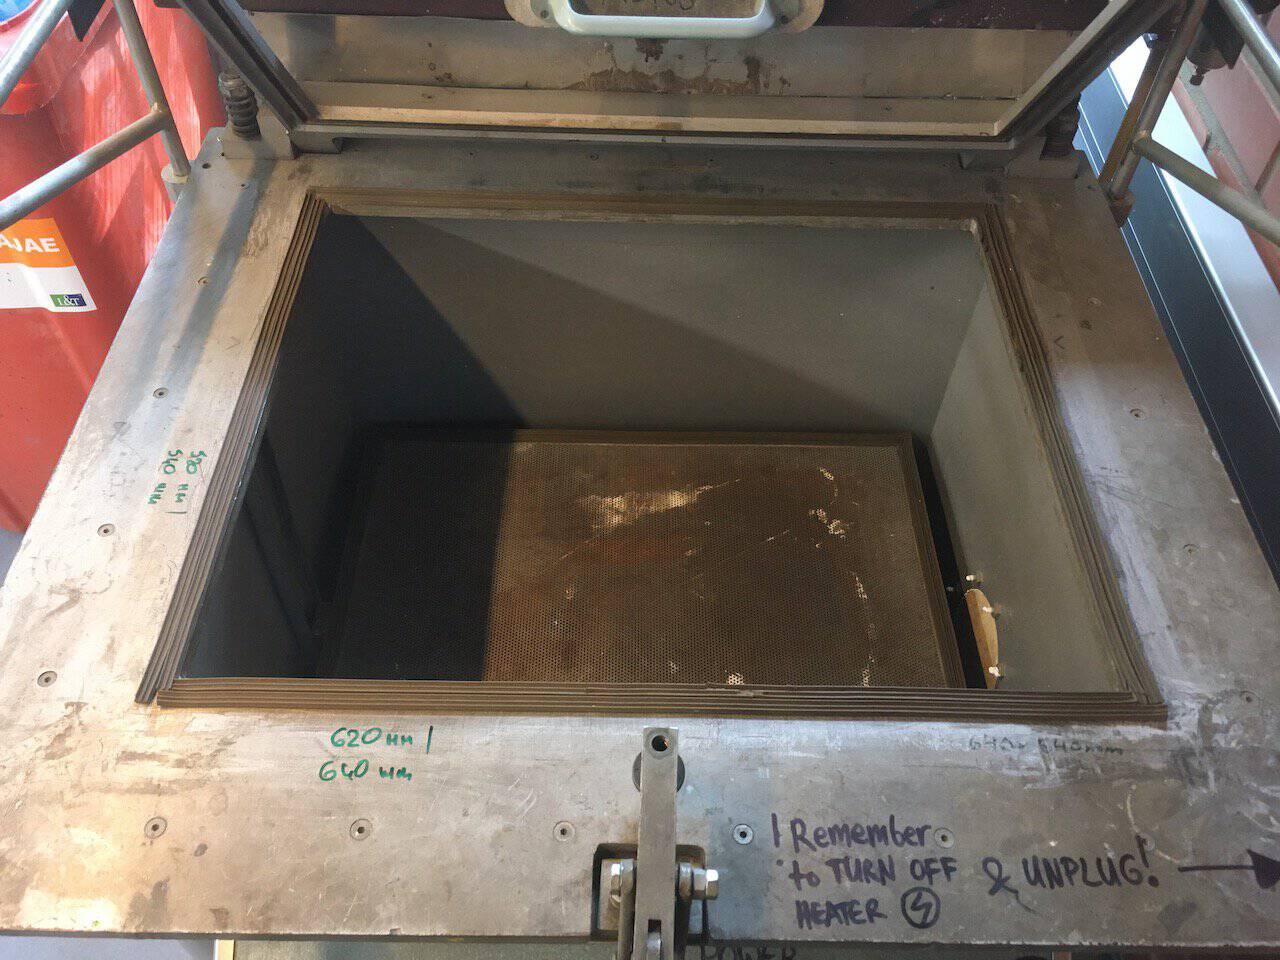
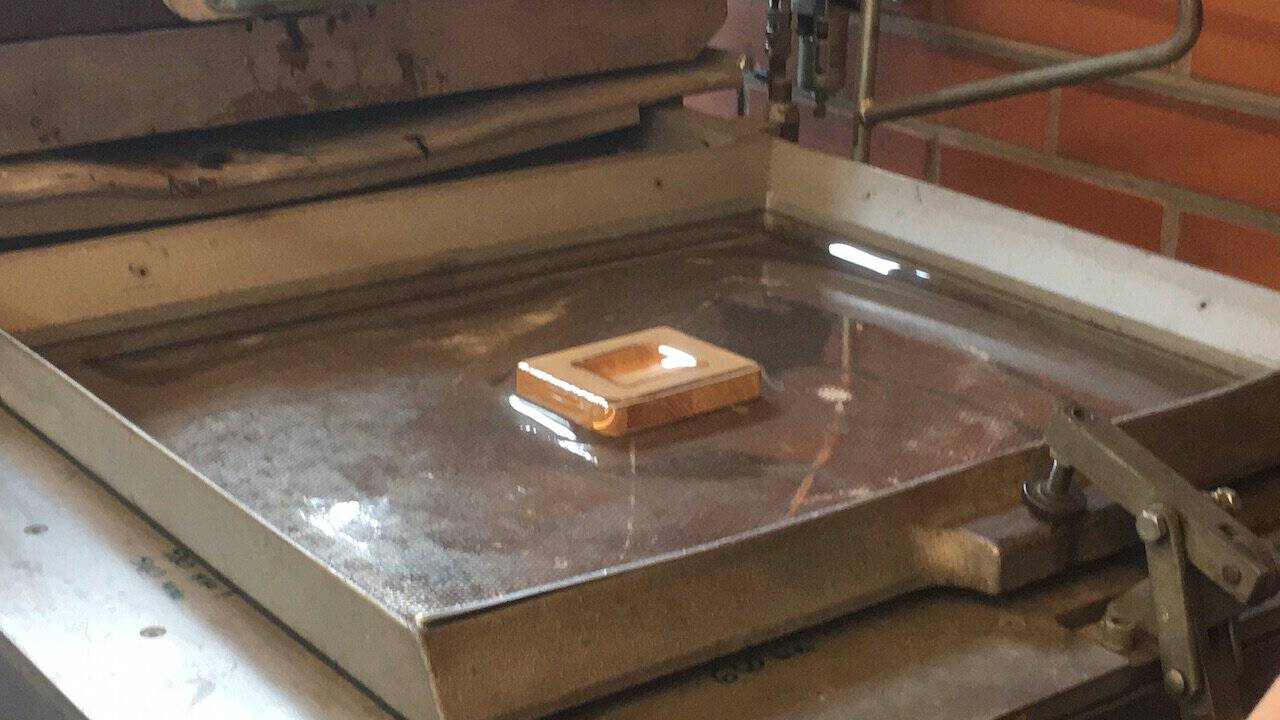
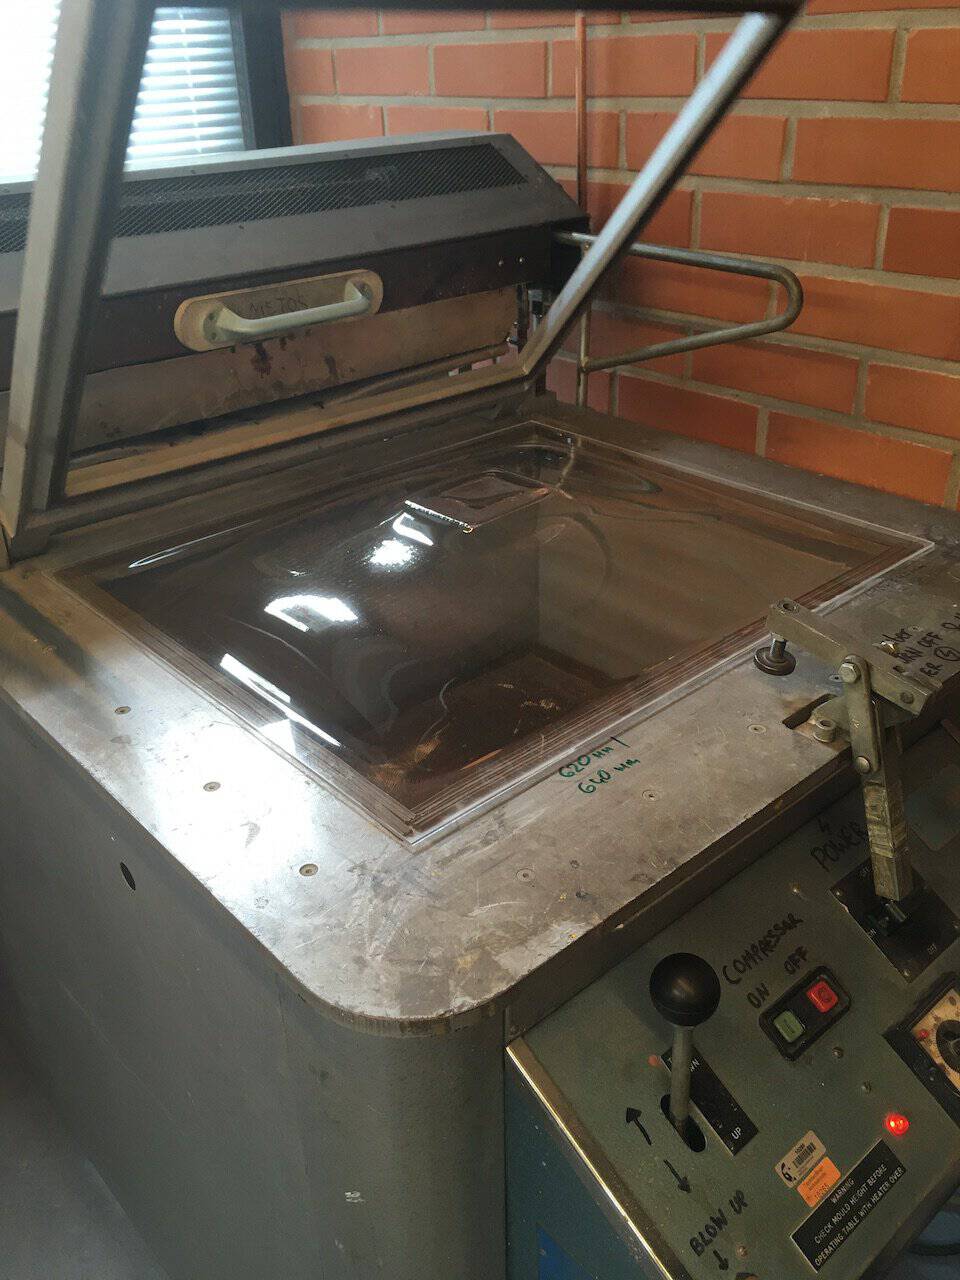
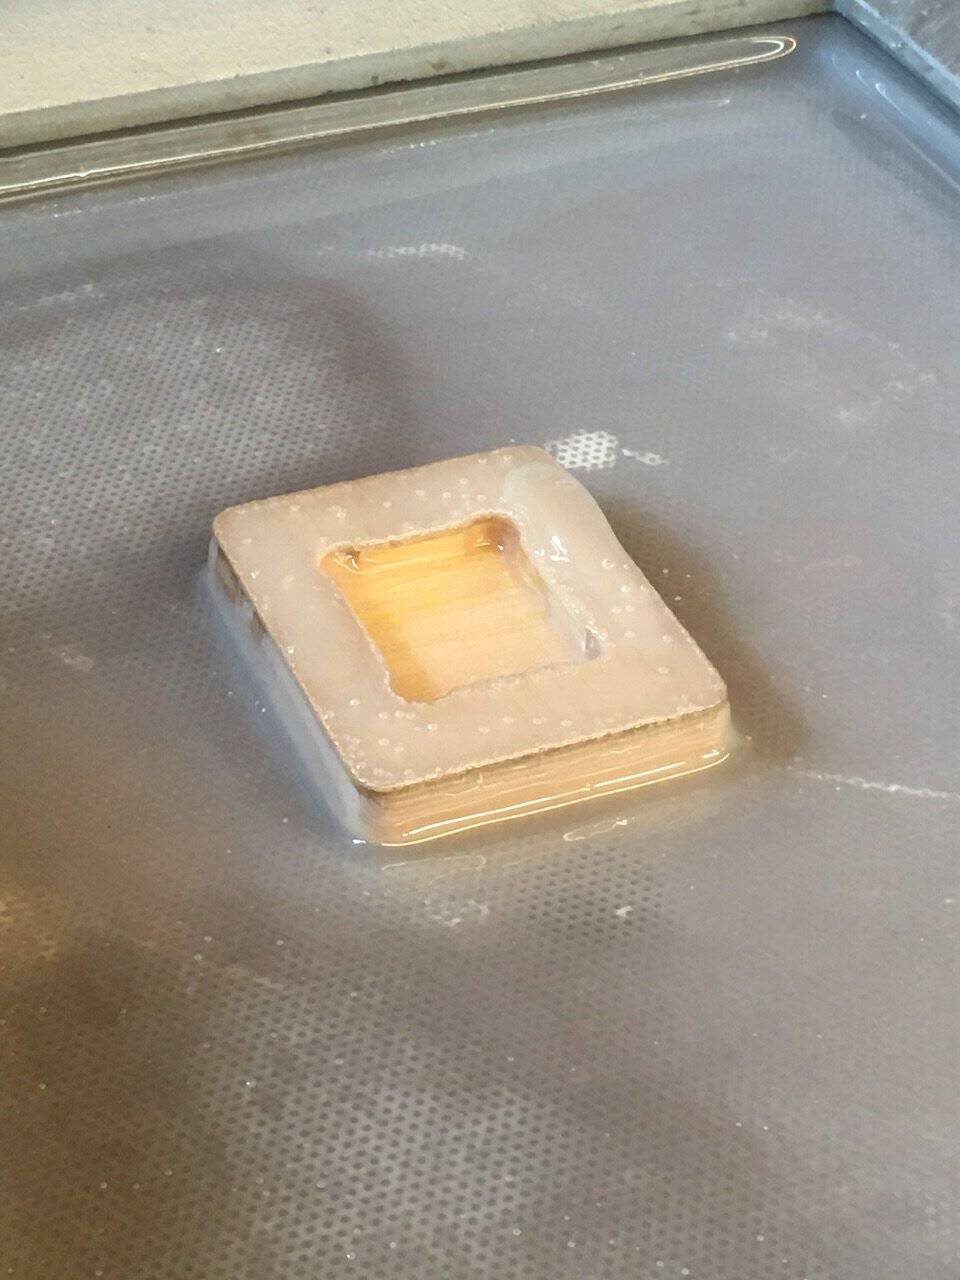
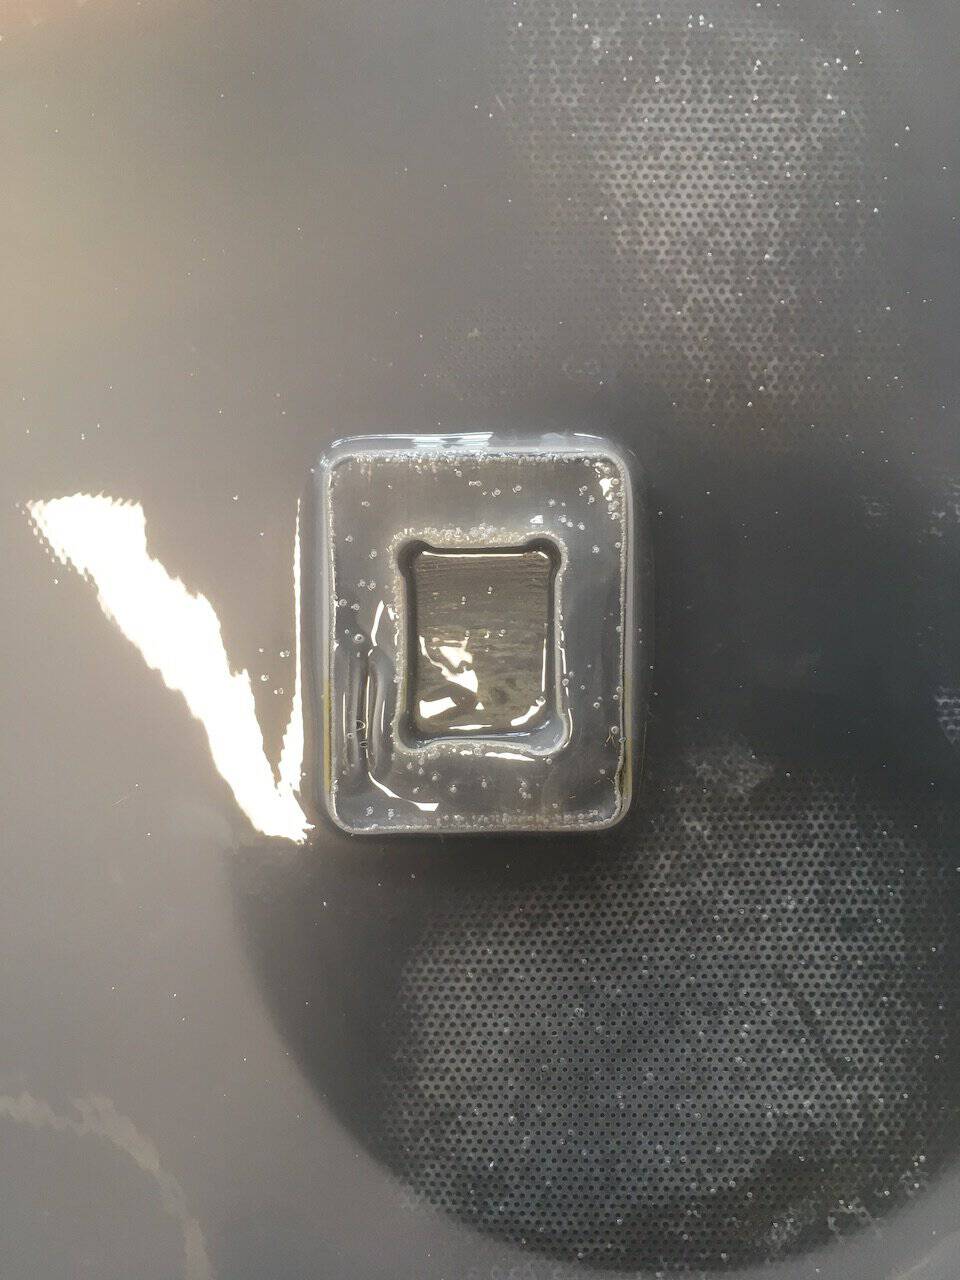
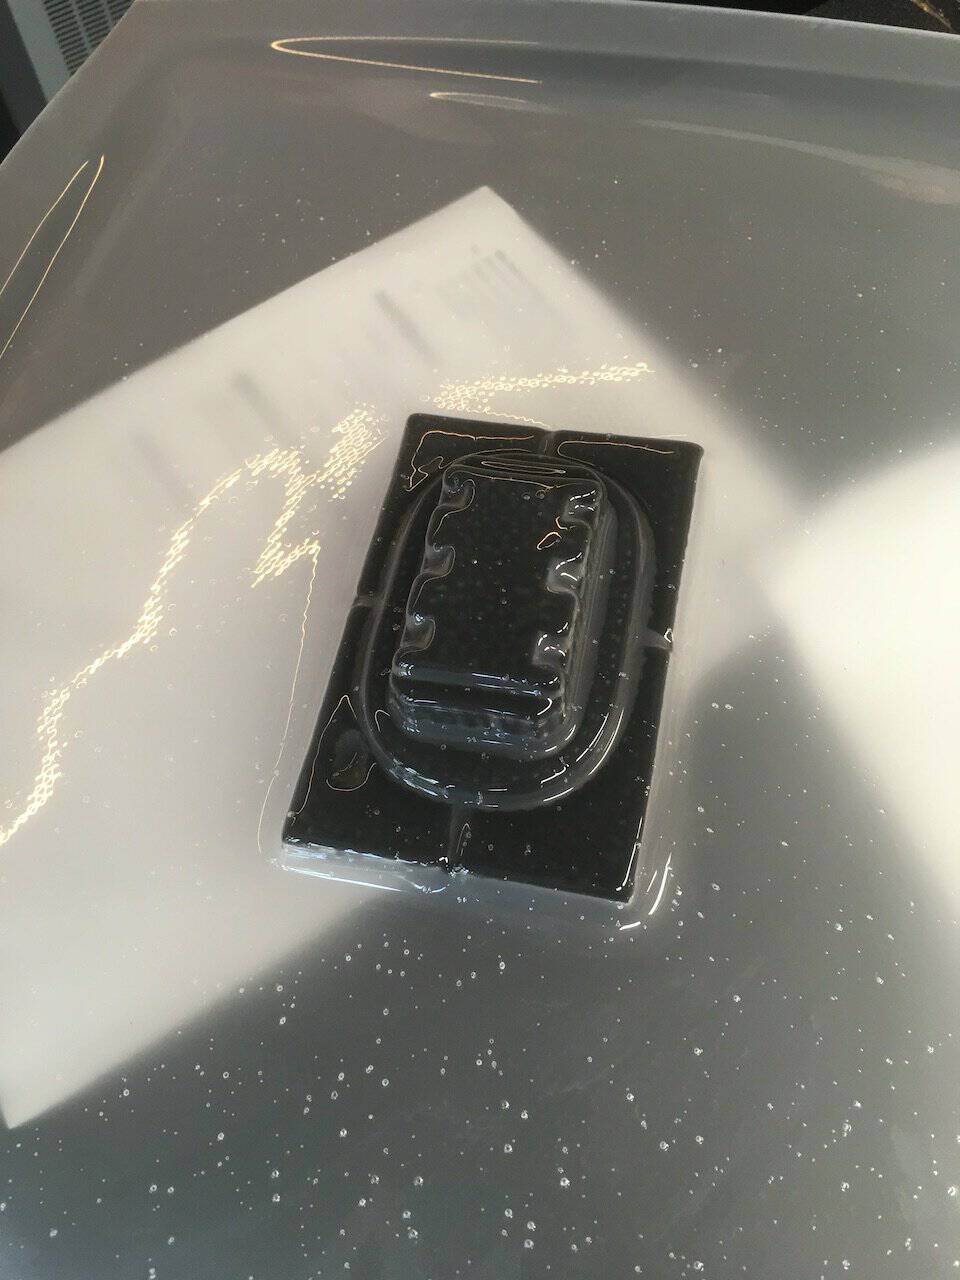
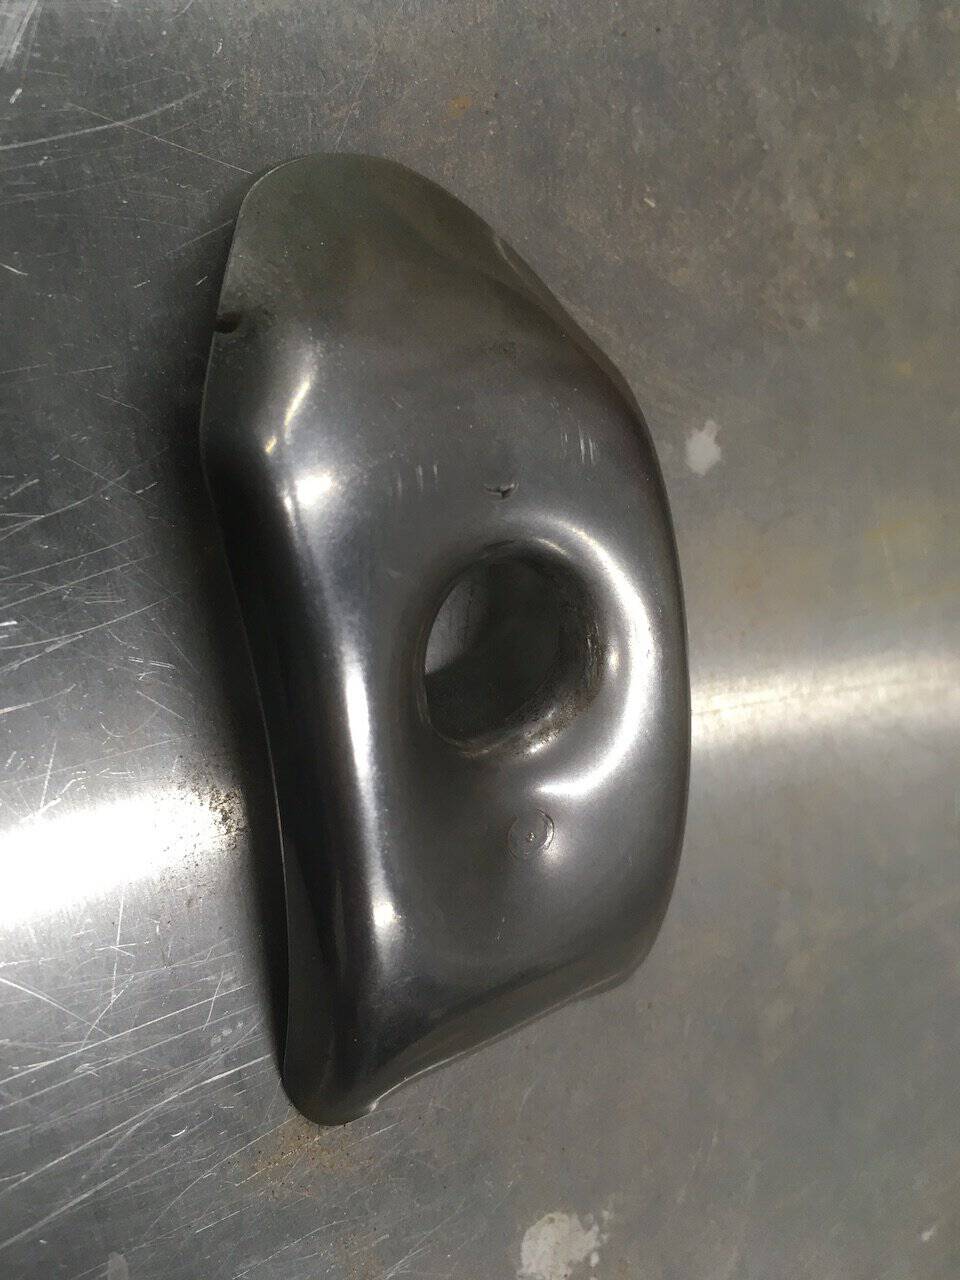
Vacuum Forming
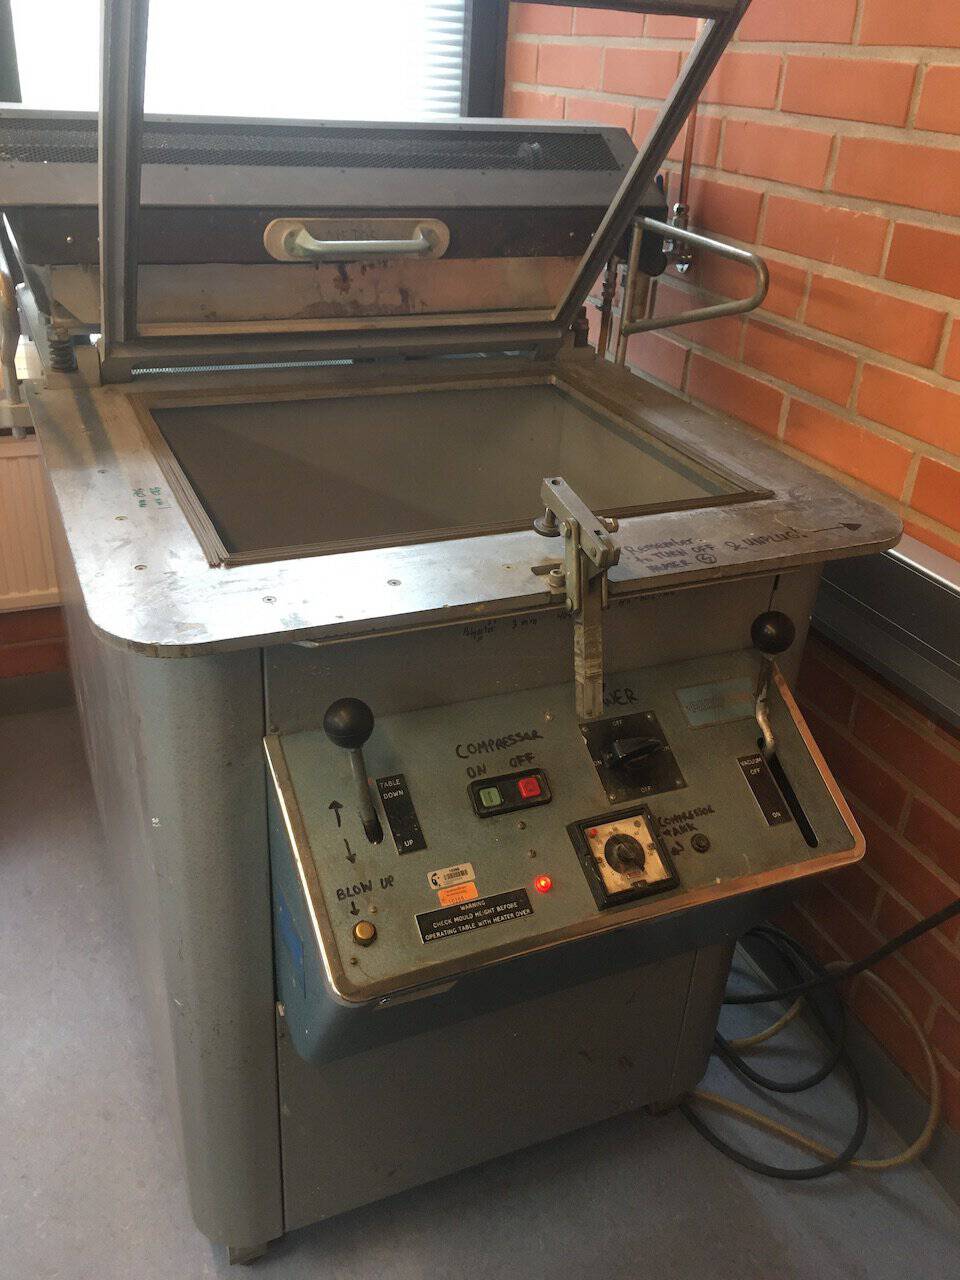

Working Flow
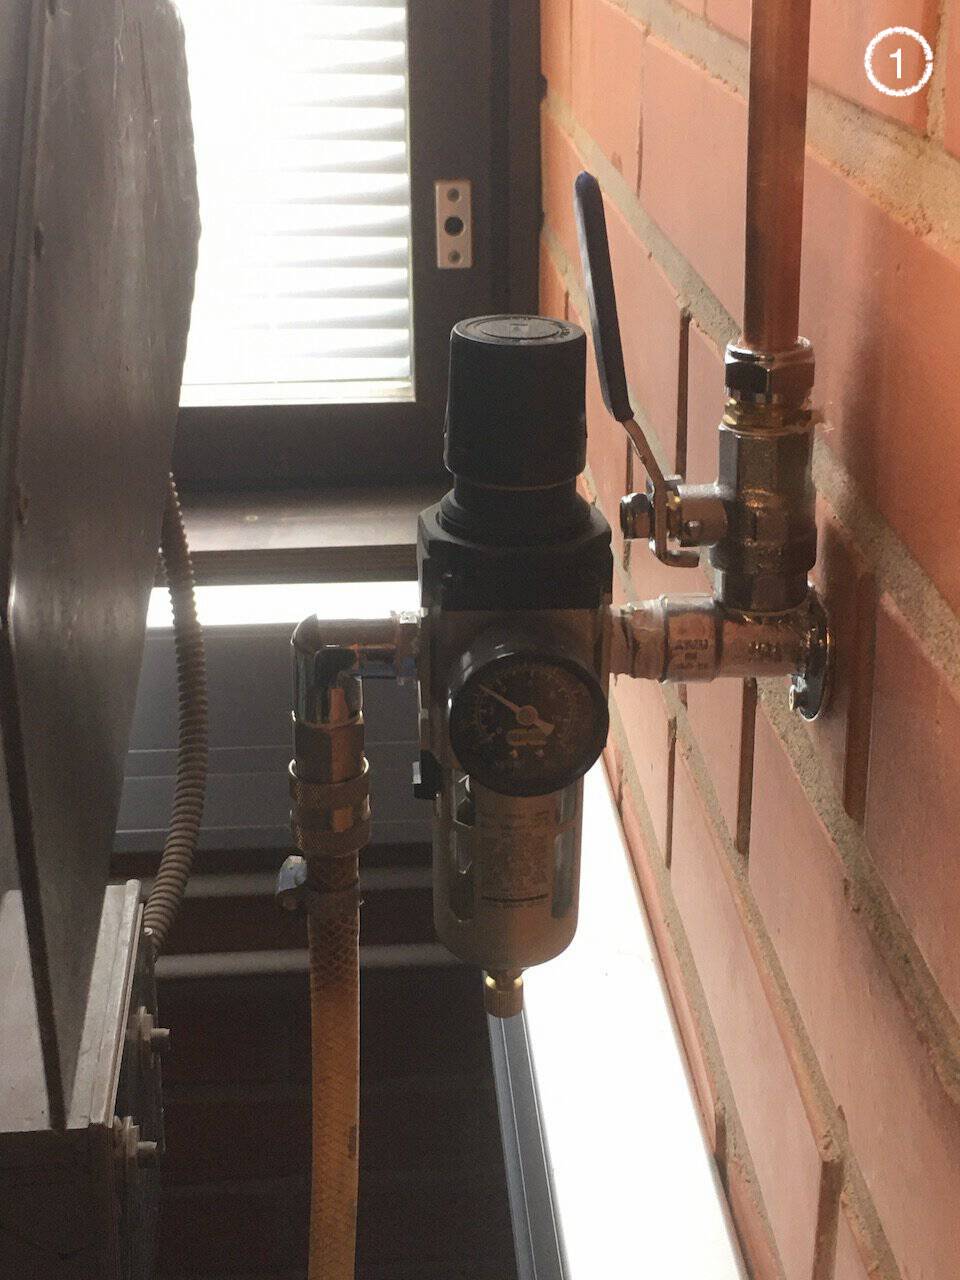
- Turn on the vacuum connection.
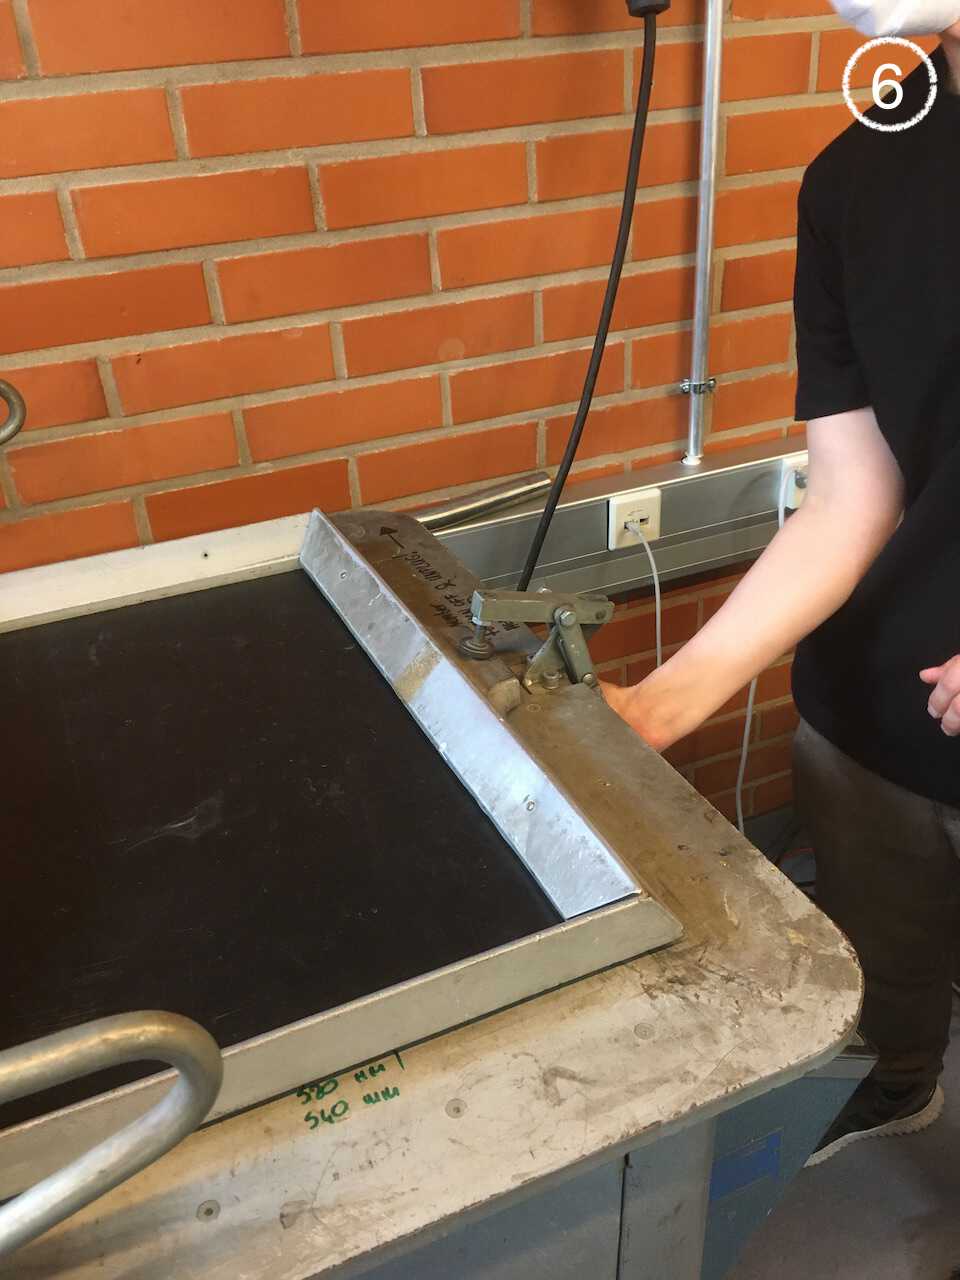
- Turn on the machine.
- Enable the compressor (green button).
- Pre-heat the machine 5-10 min.
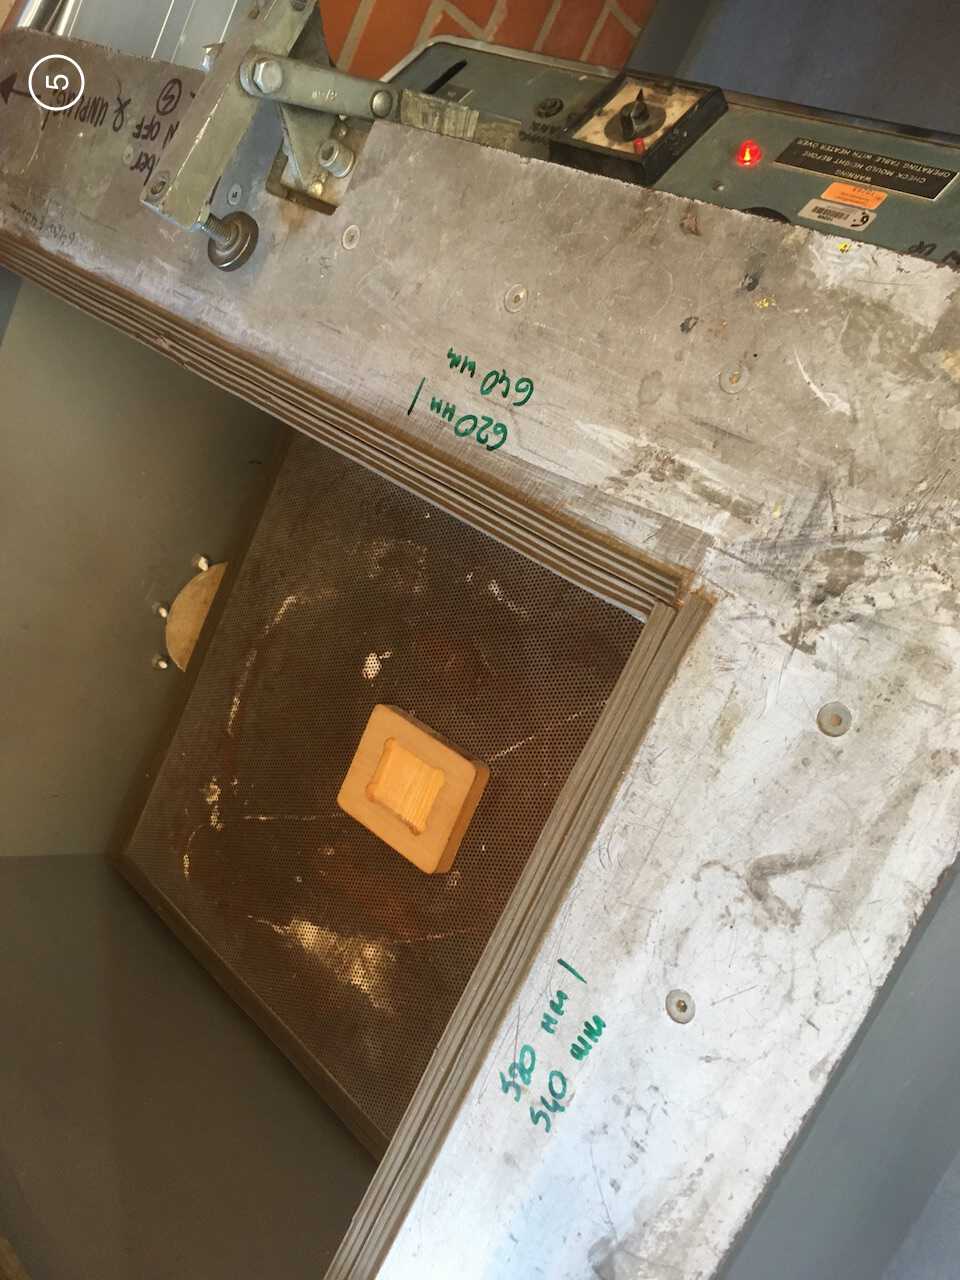
- Place the mold.
- Fix the material (acrylic, plastic, and so on…); Material size: 540mm x 640mm
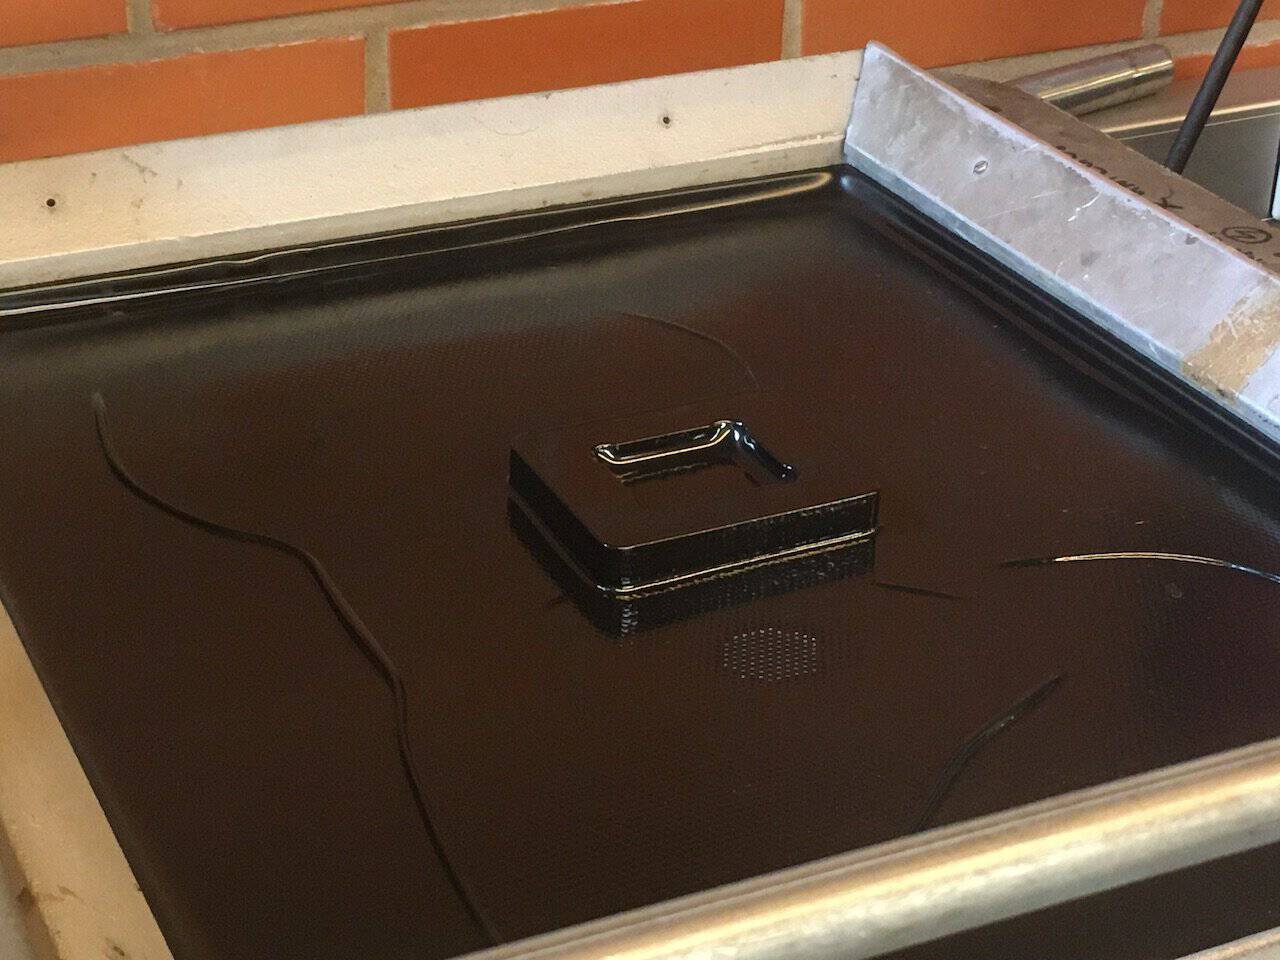
- Start forming: Table up and heat it for several minutes(depends on materials and the thickness), then turn on the vacuum
- Finishing forming: Vacuum off + Blow up + Table down
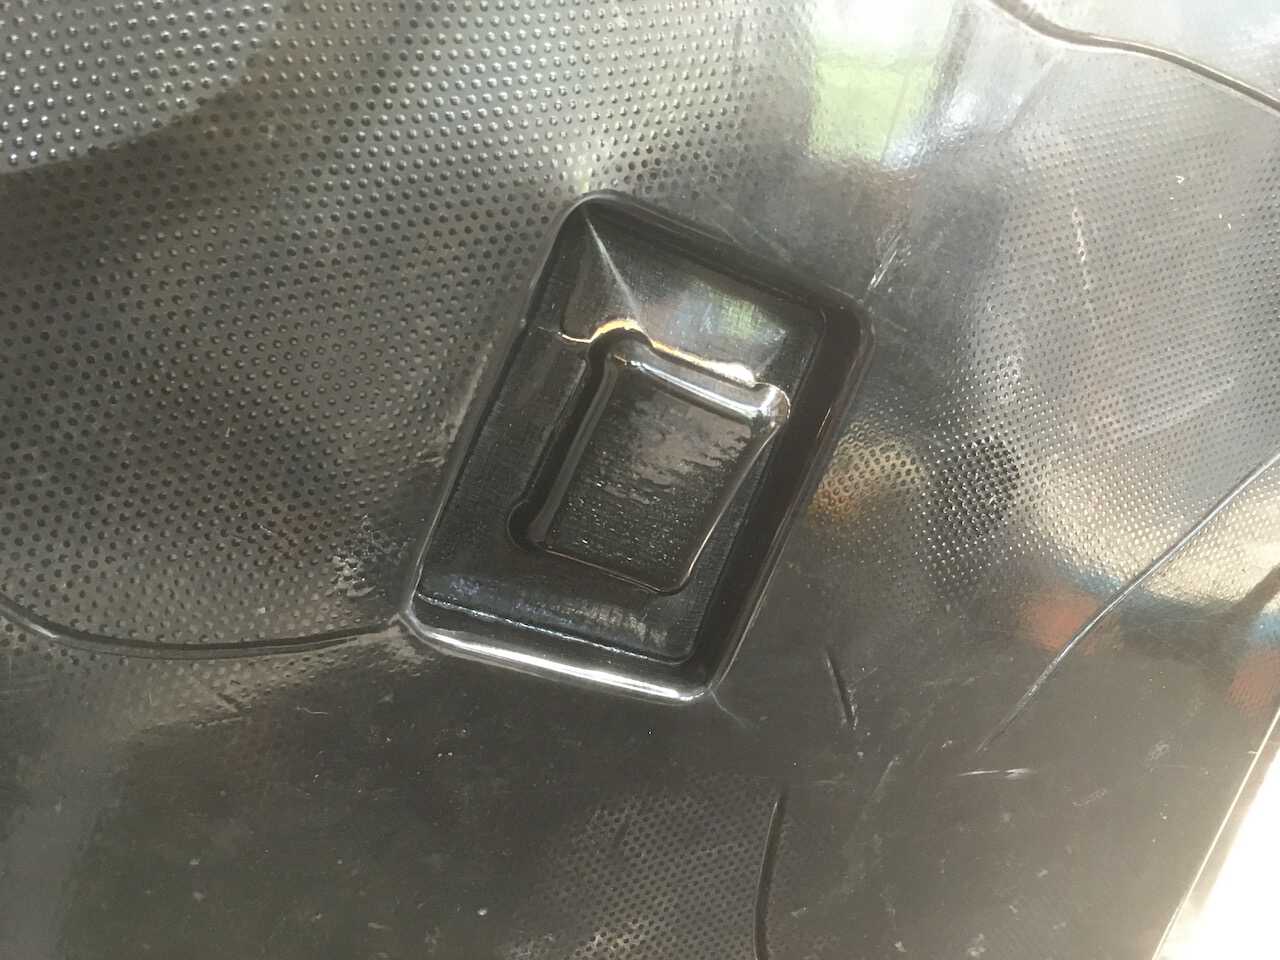
Several trying with different results

Universal Robots - Robotic Arm
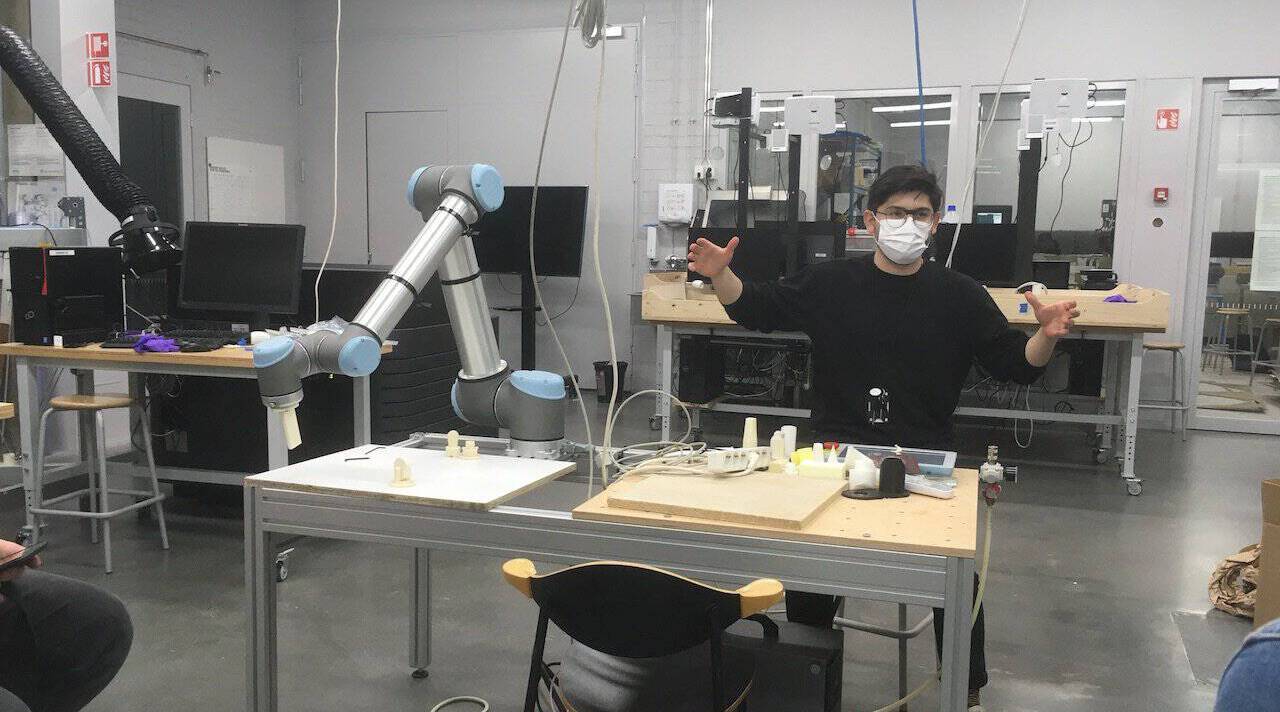
The instructors said the robotic arm is a machine that to achieve some missions that couldn’t be realized by the existing machines. Therefore the applications are flexible and diverse. To achieve this, we could design different tools to install on the arm, for example, a nozzle for 3D printing, a brush for painting, or a blade for sculpting.
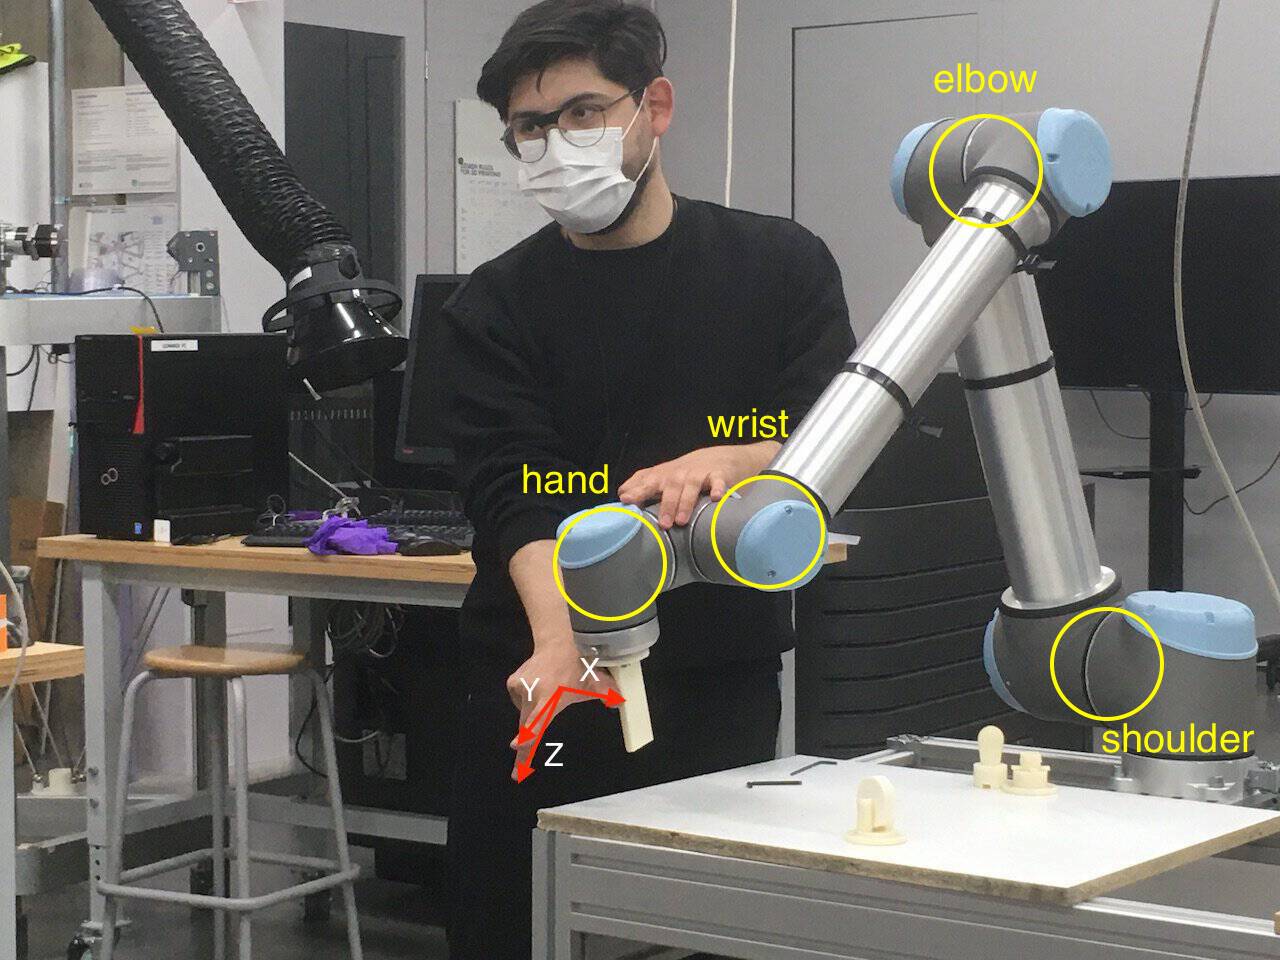
Specification and Limitation
- Maximum length: 10 mm
- 5 joints
- Usually, work with relatives position
- Control with Tool Center Point (TCP)
- Limitation: The sphere around the arms are not accessible
Other possibilities
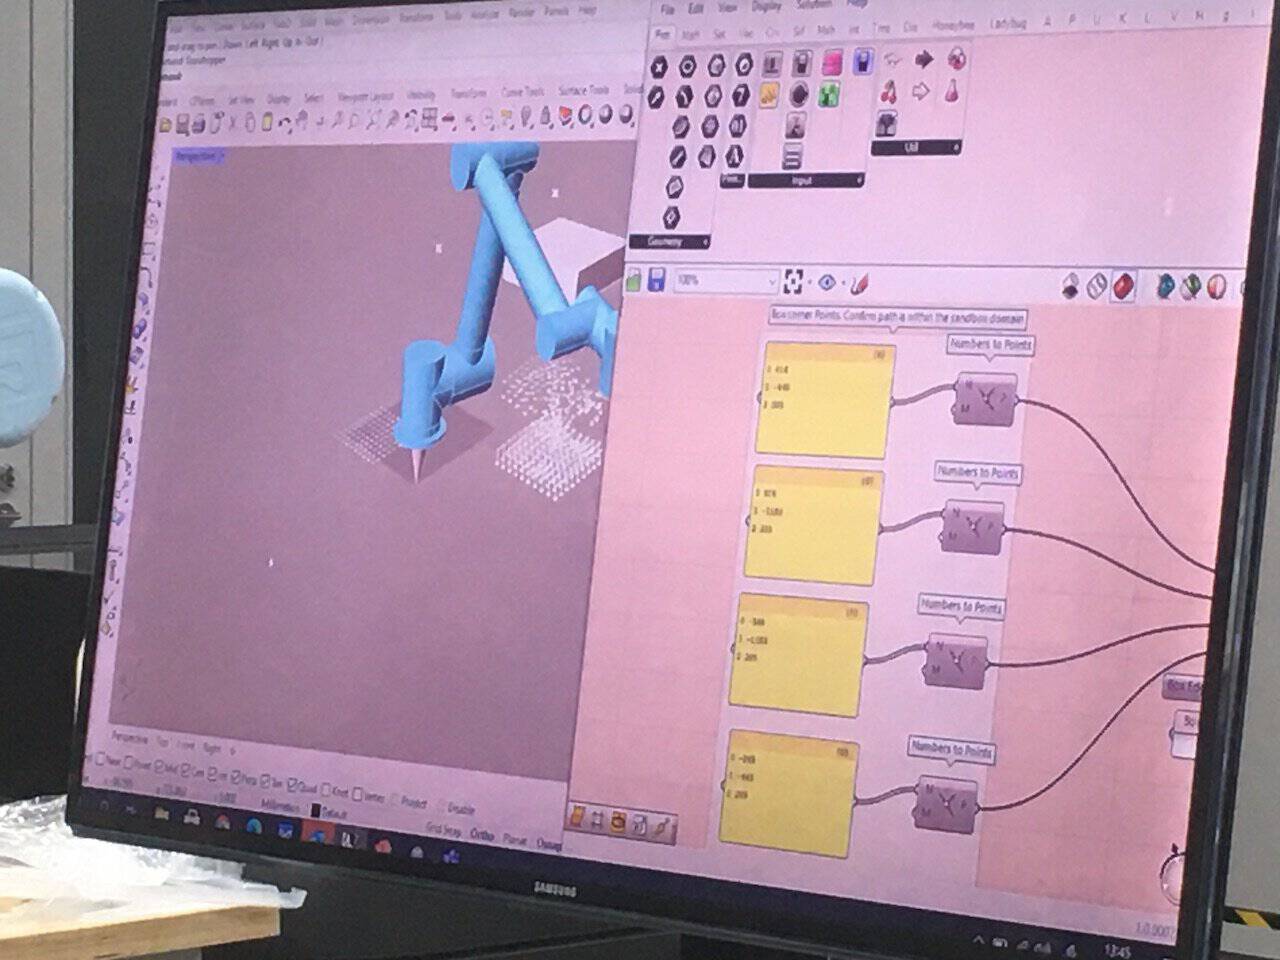
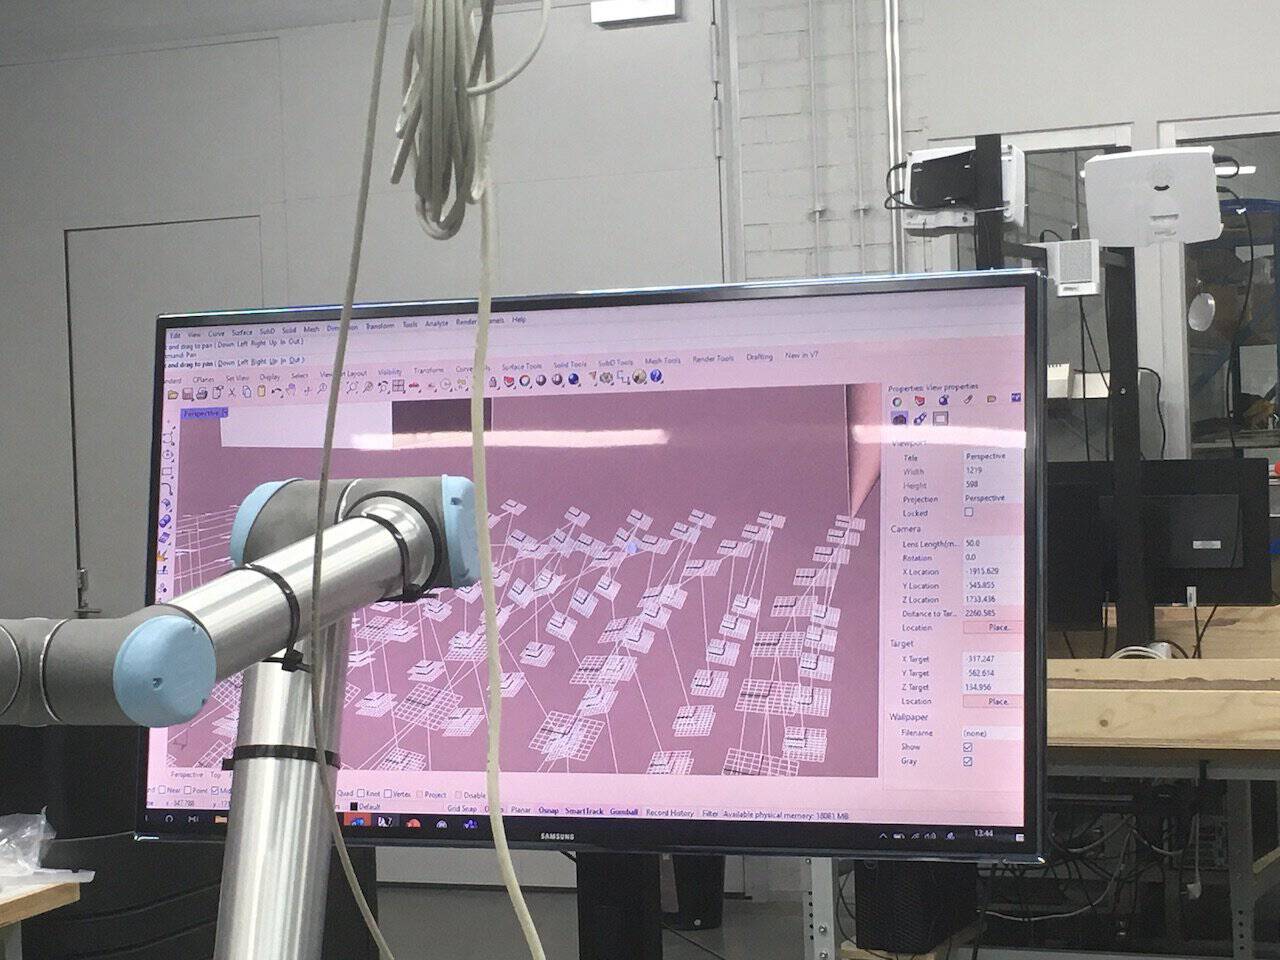 Design the toolpath with grasshopper
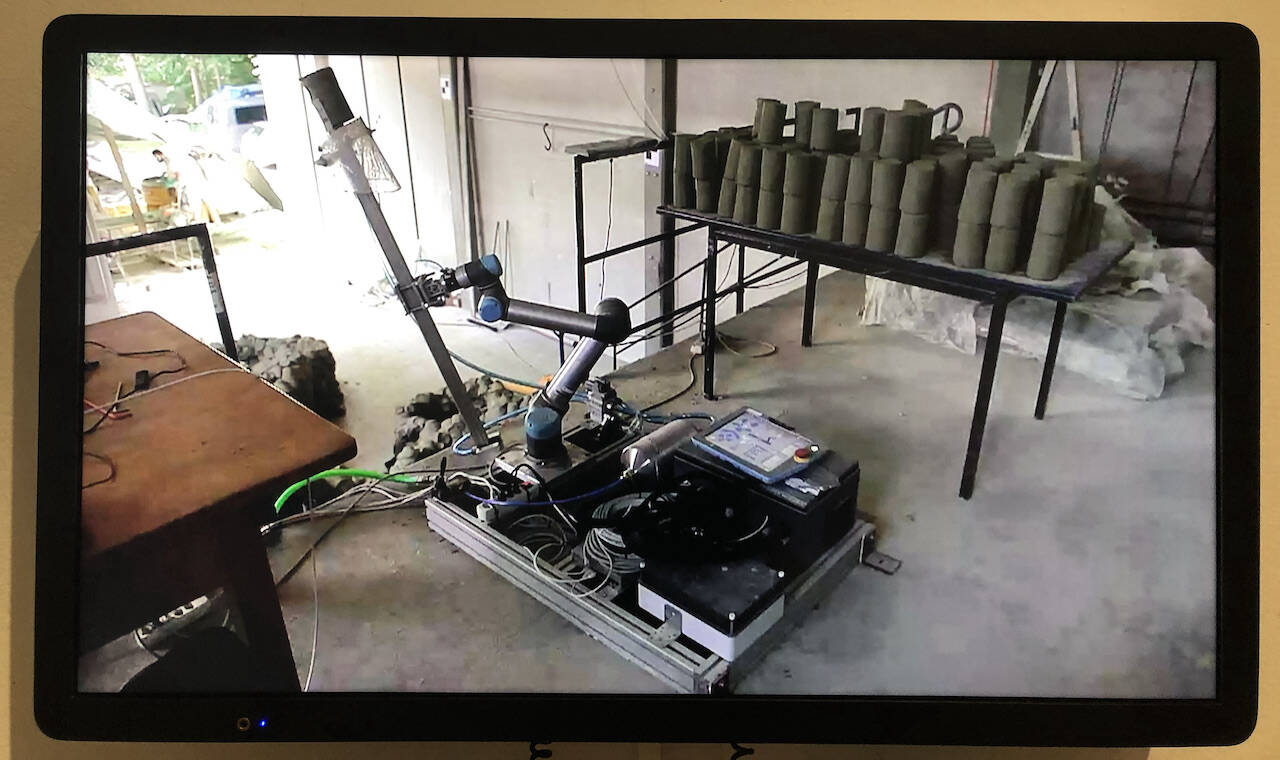
I saw an exhibition from the ETH Architecture department before, they used a robotic arm like a cannon to “shoot” the concrete blocks to build a structure.
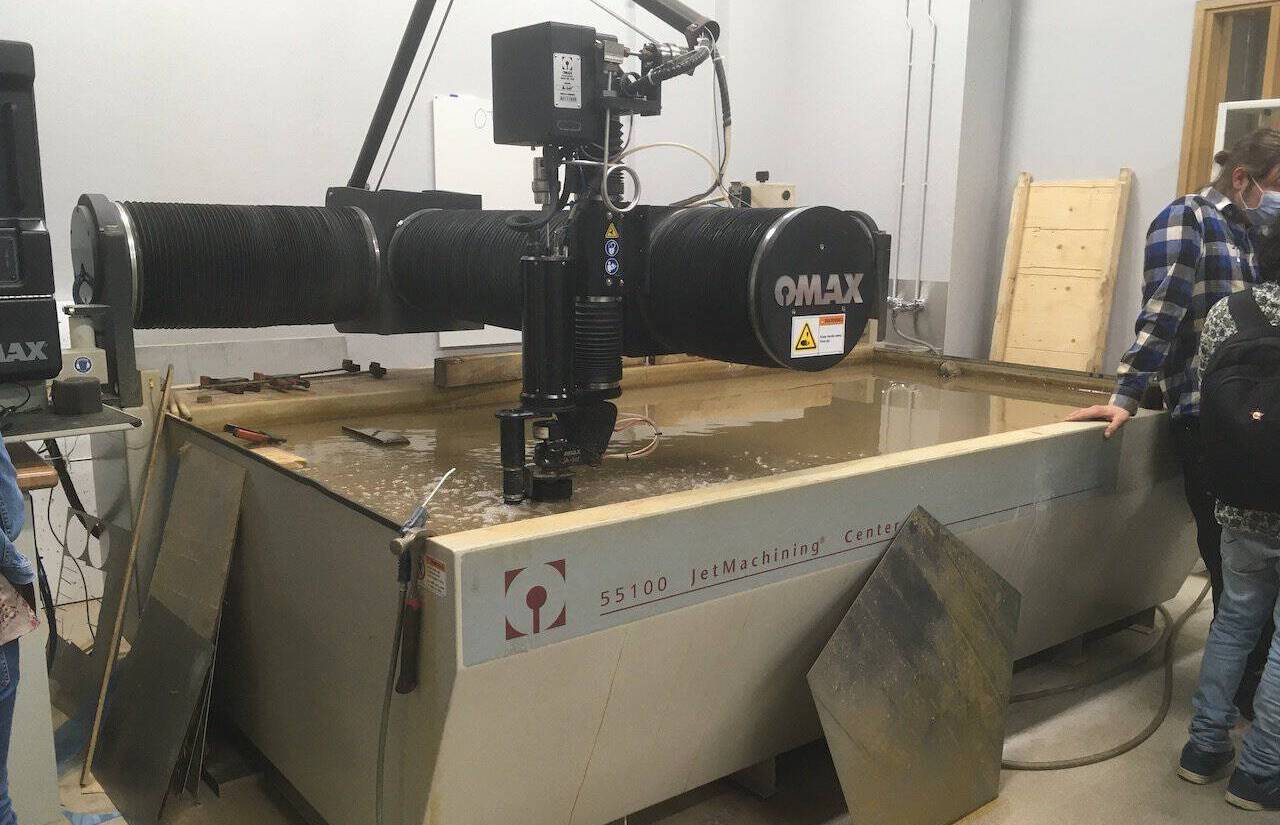
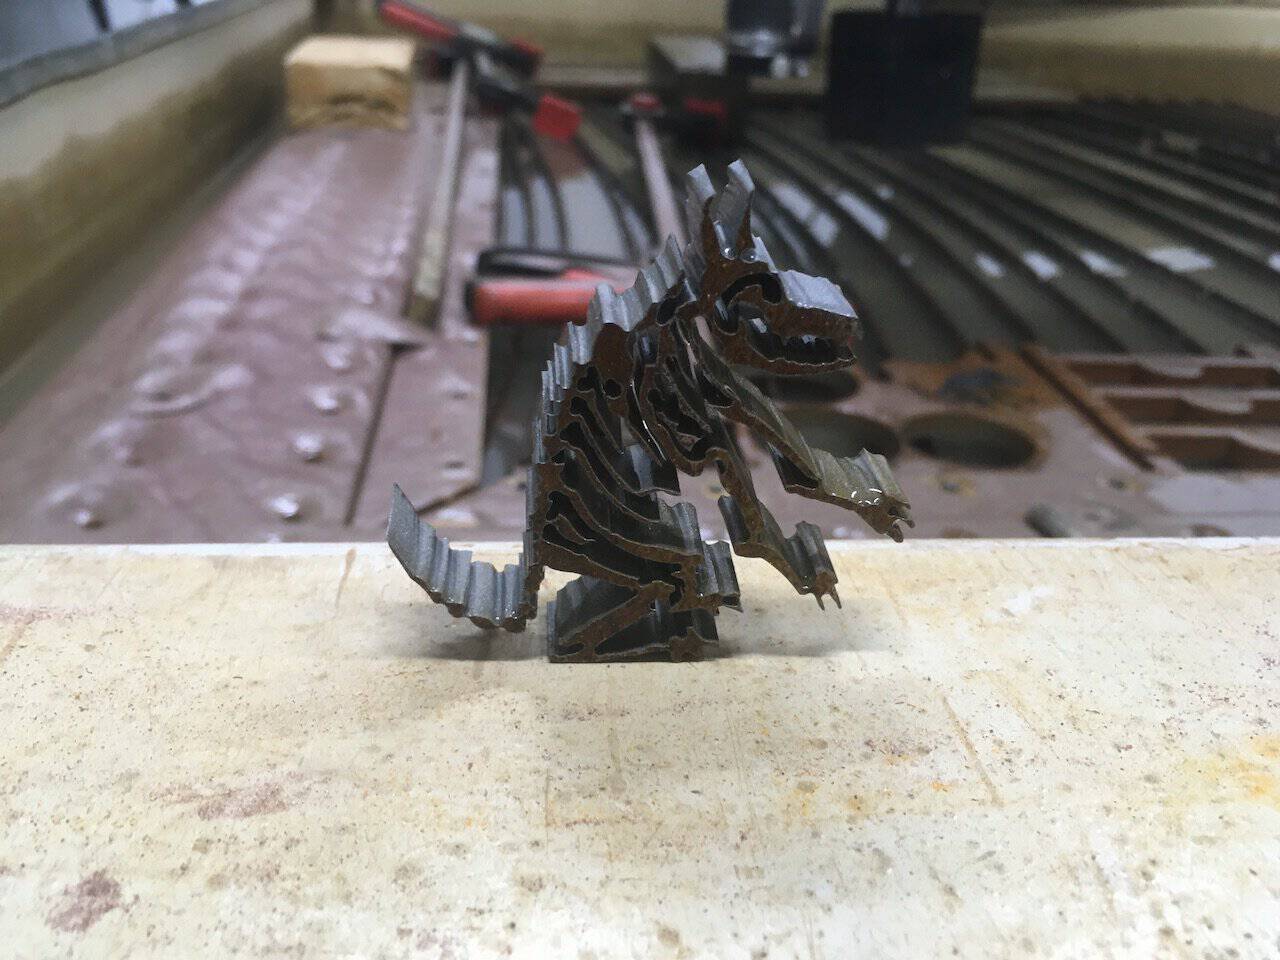
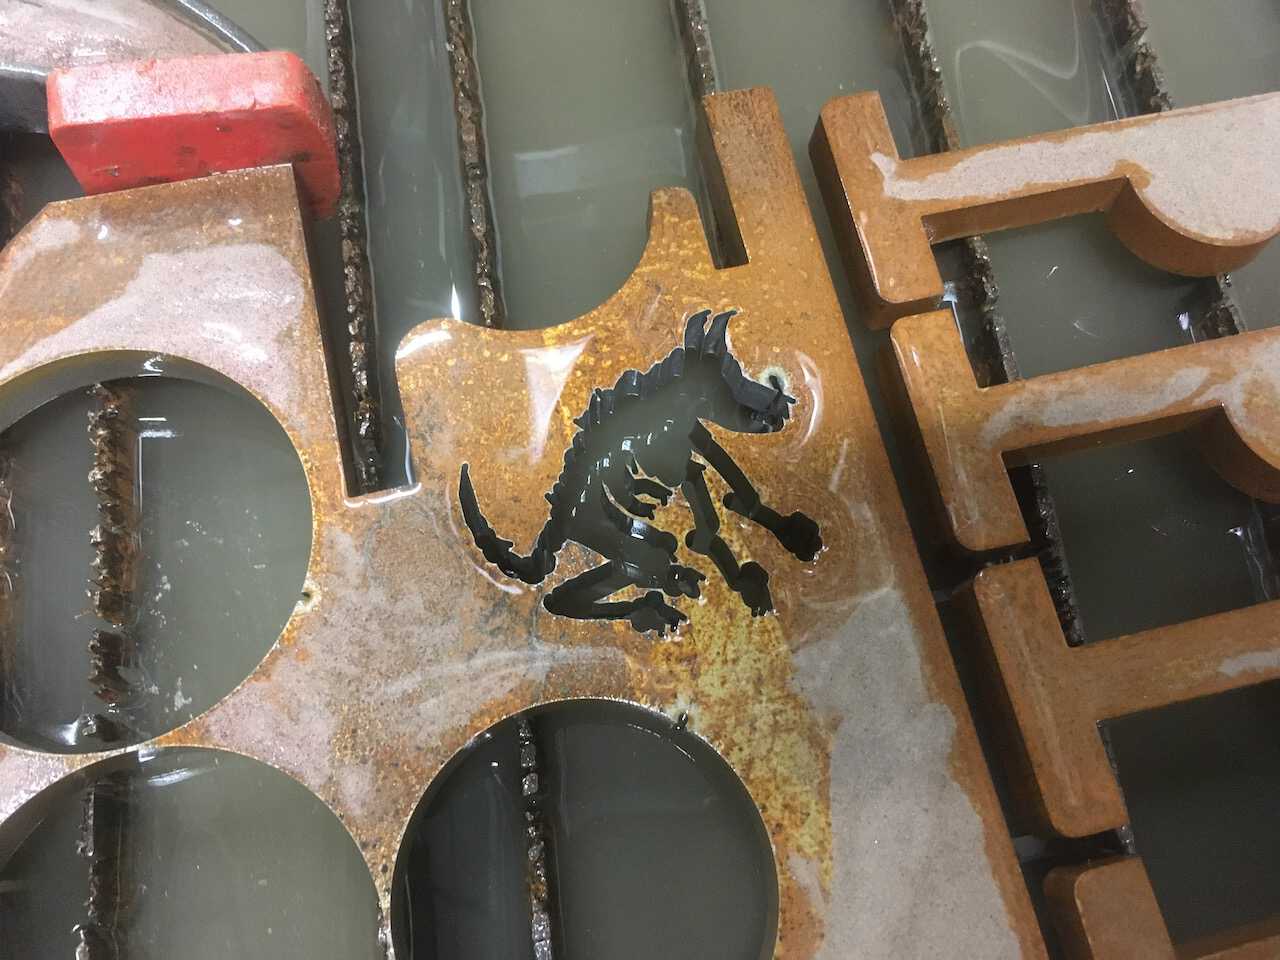
Water Jet Cutter
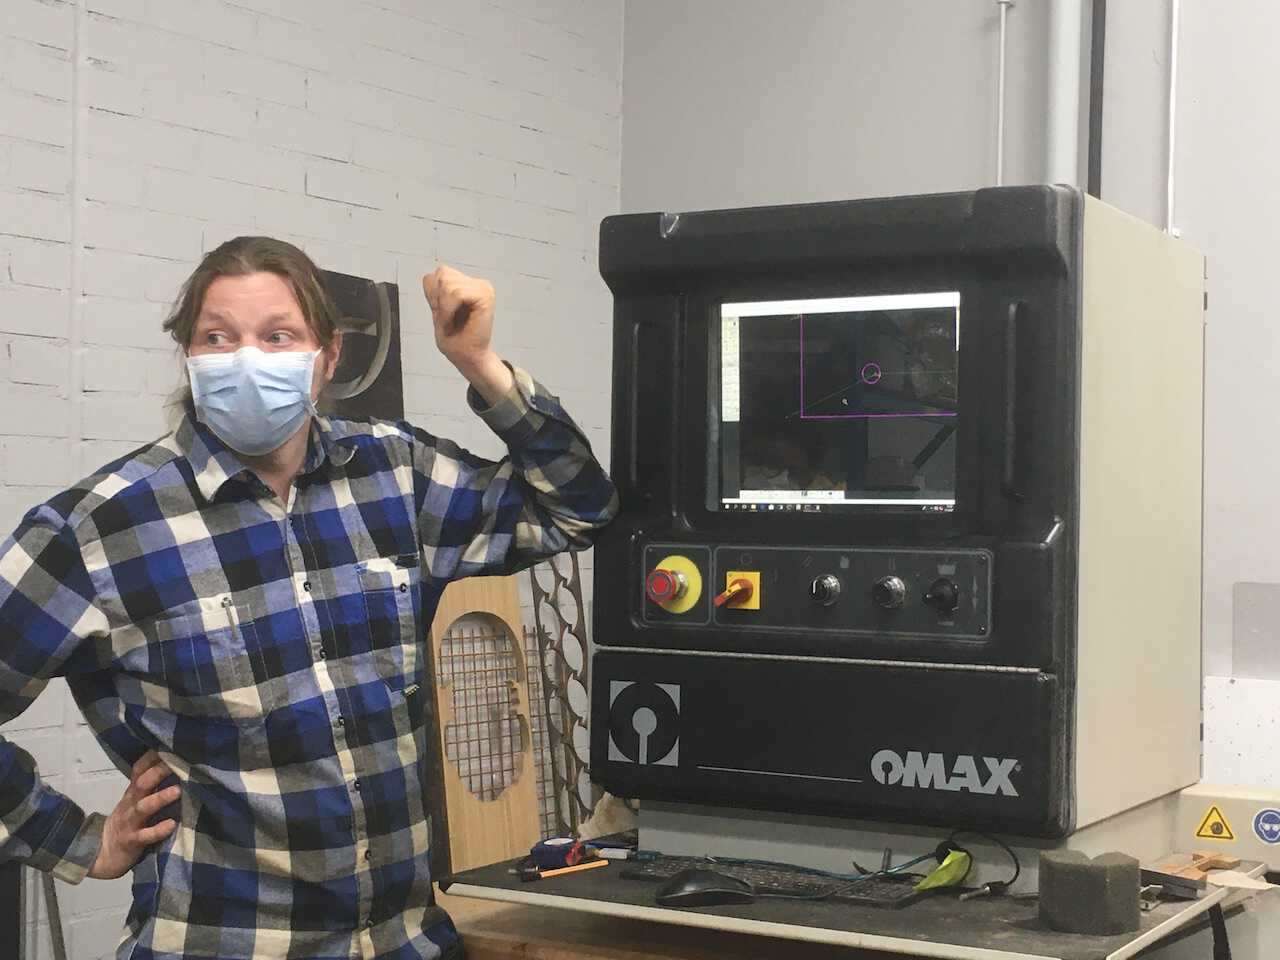
Working Principle
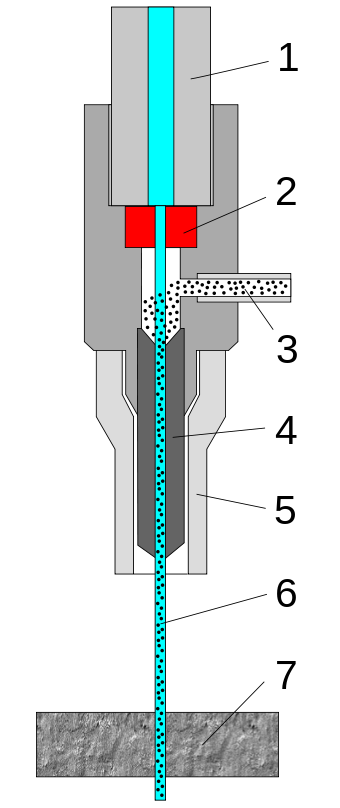
A diagram of a water jet cutter (From wiki)
- high-pressure water inlet.
- jewel (ruby or diamond)
- abrasive (garnet)
- mixing tube
- guard
- cutting water jet
- cut material
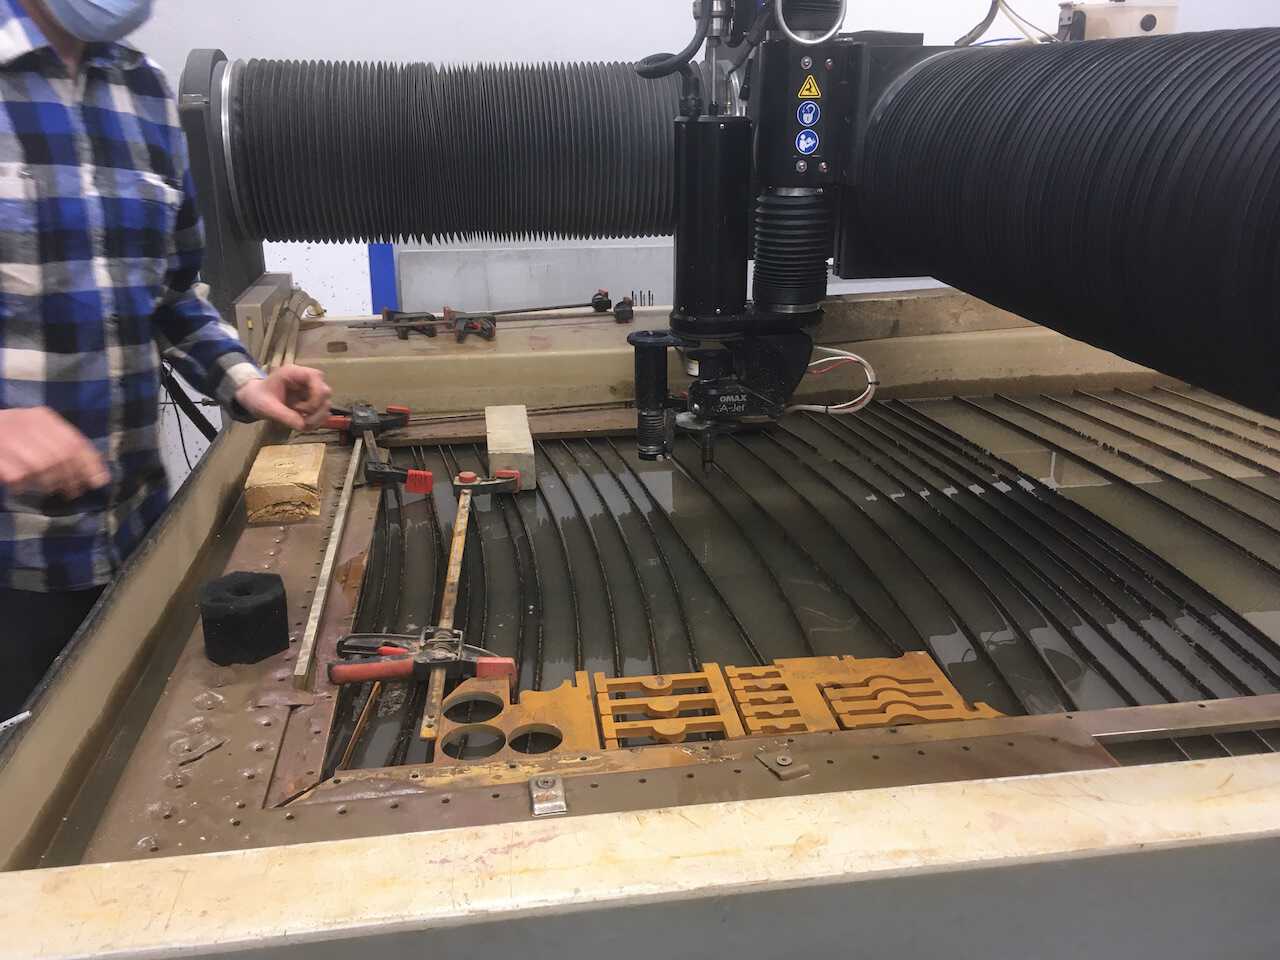
Working Flow
- Import the file
- Fix the material
- Set the origin point
- Fill up the water to prevent ultrasonic bombs while cutting
- Press the start with help from the supervisor

Notes
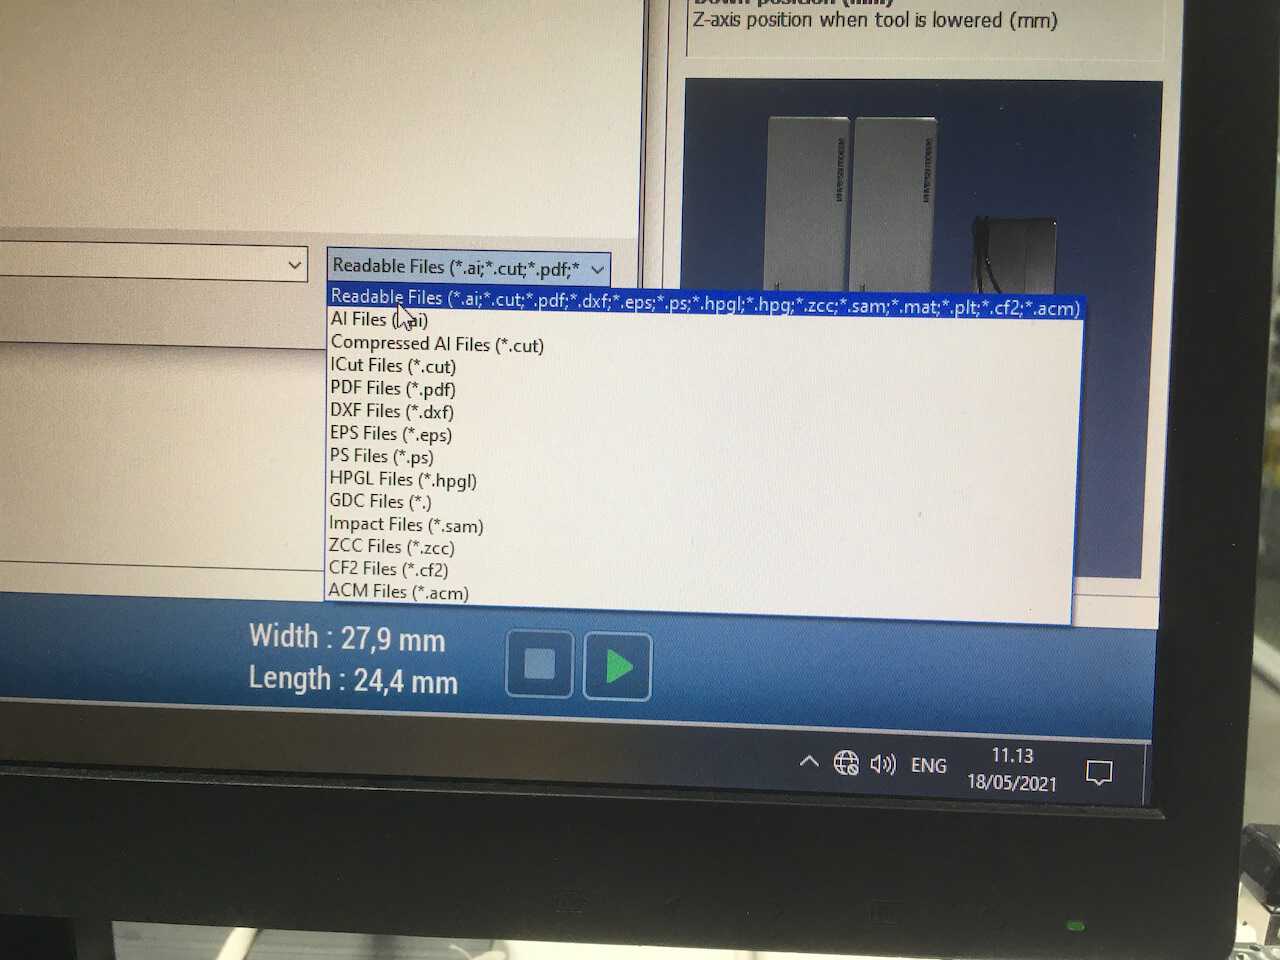
- Usually work with DXL file
- tool width is 1mm
- Use Omax to do the layout
- Use toothpicks to prevent the before finishing
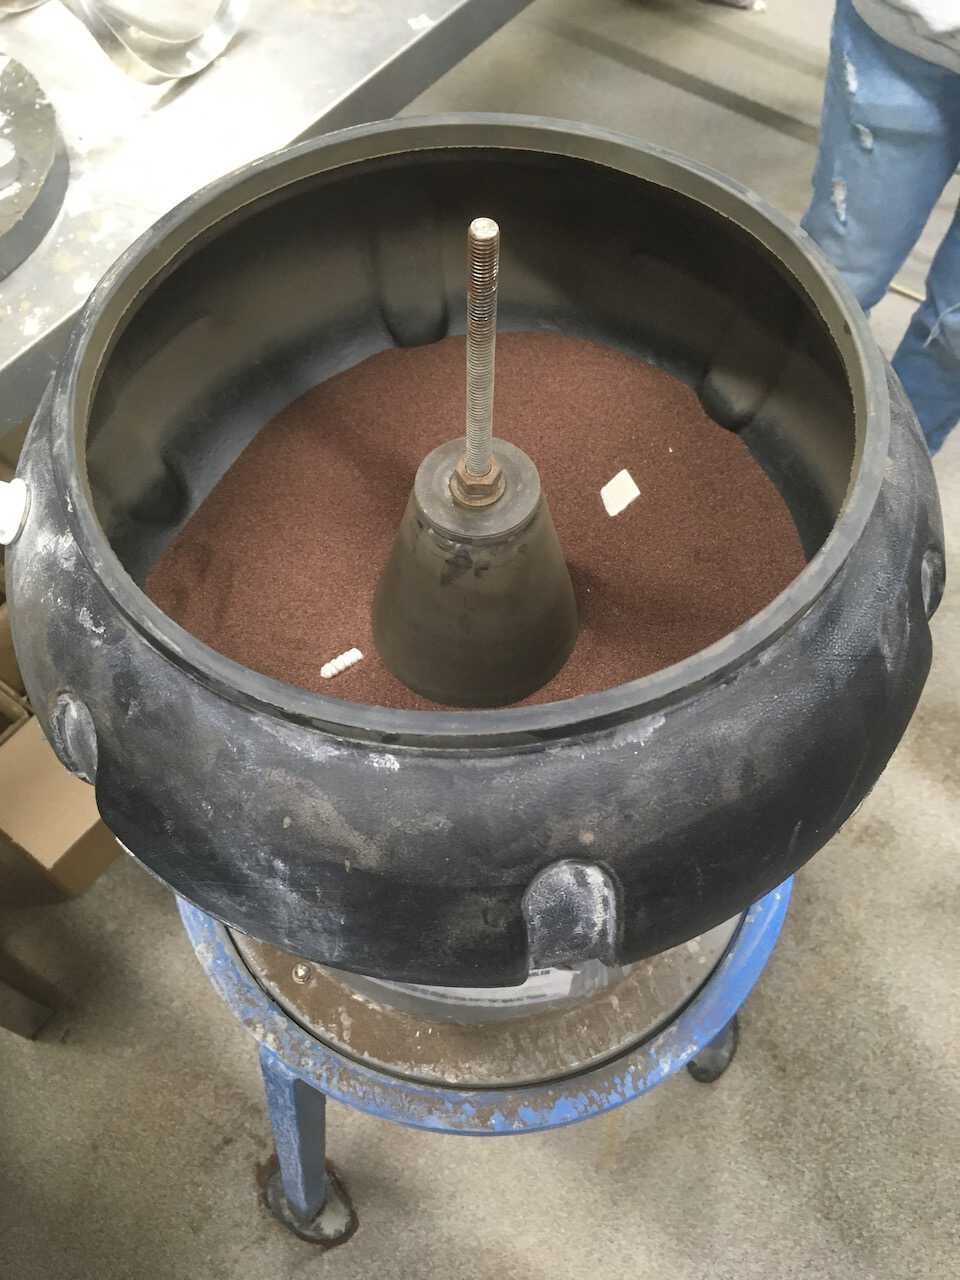
Sanding machine
Possible materials
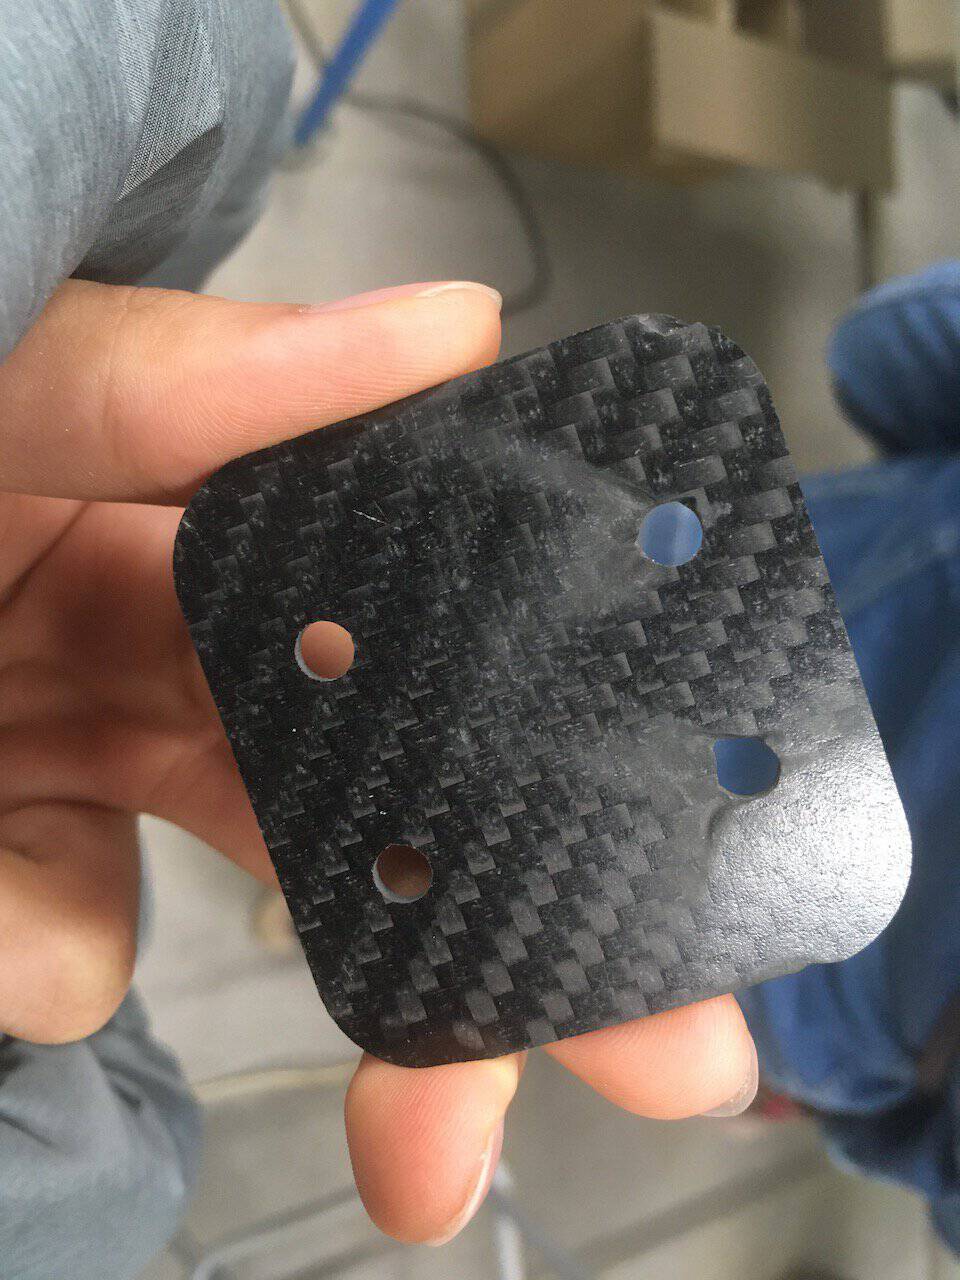 Carbon fabric
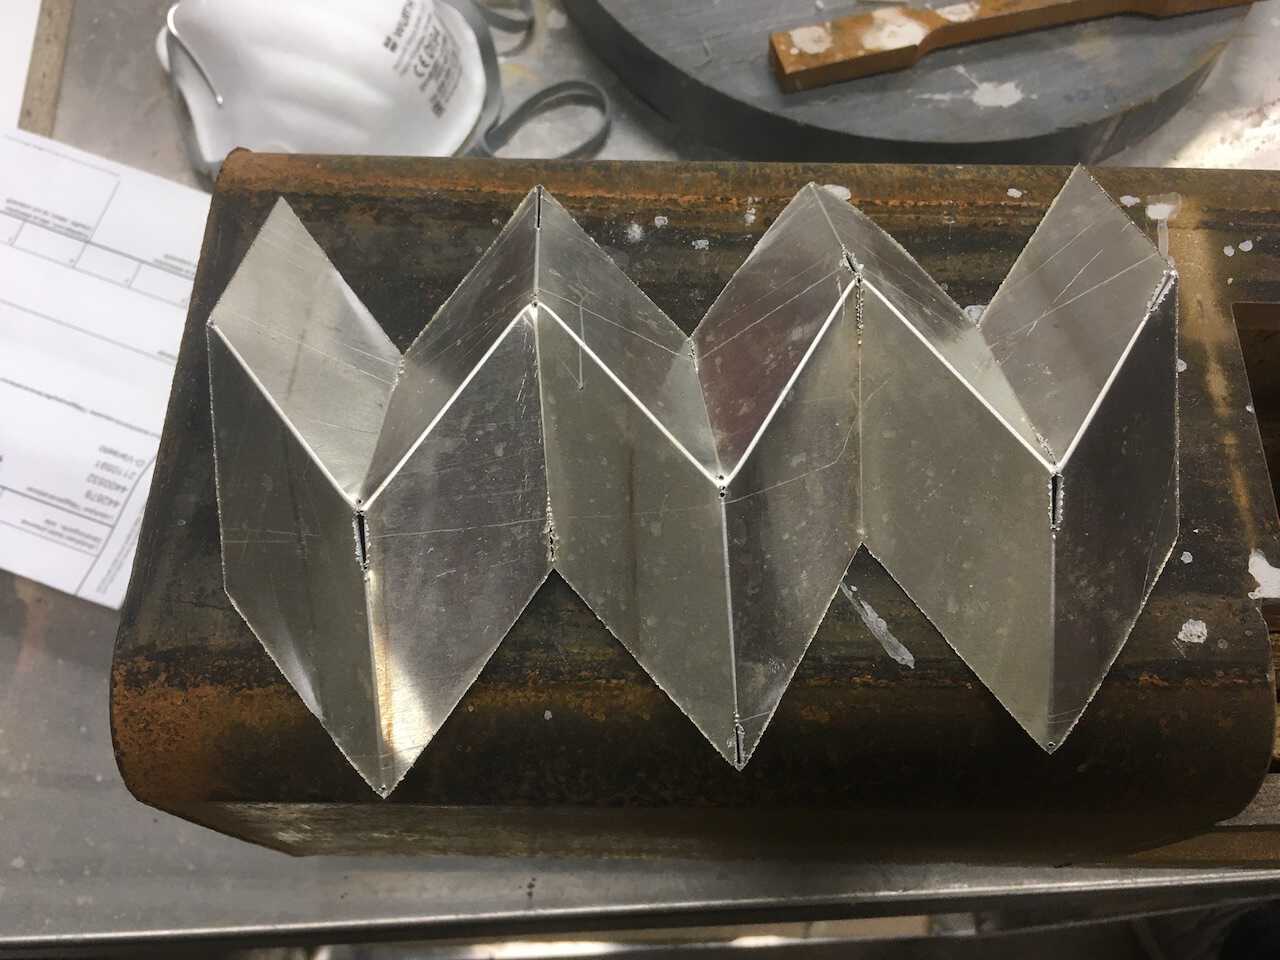 Engraved Metal
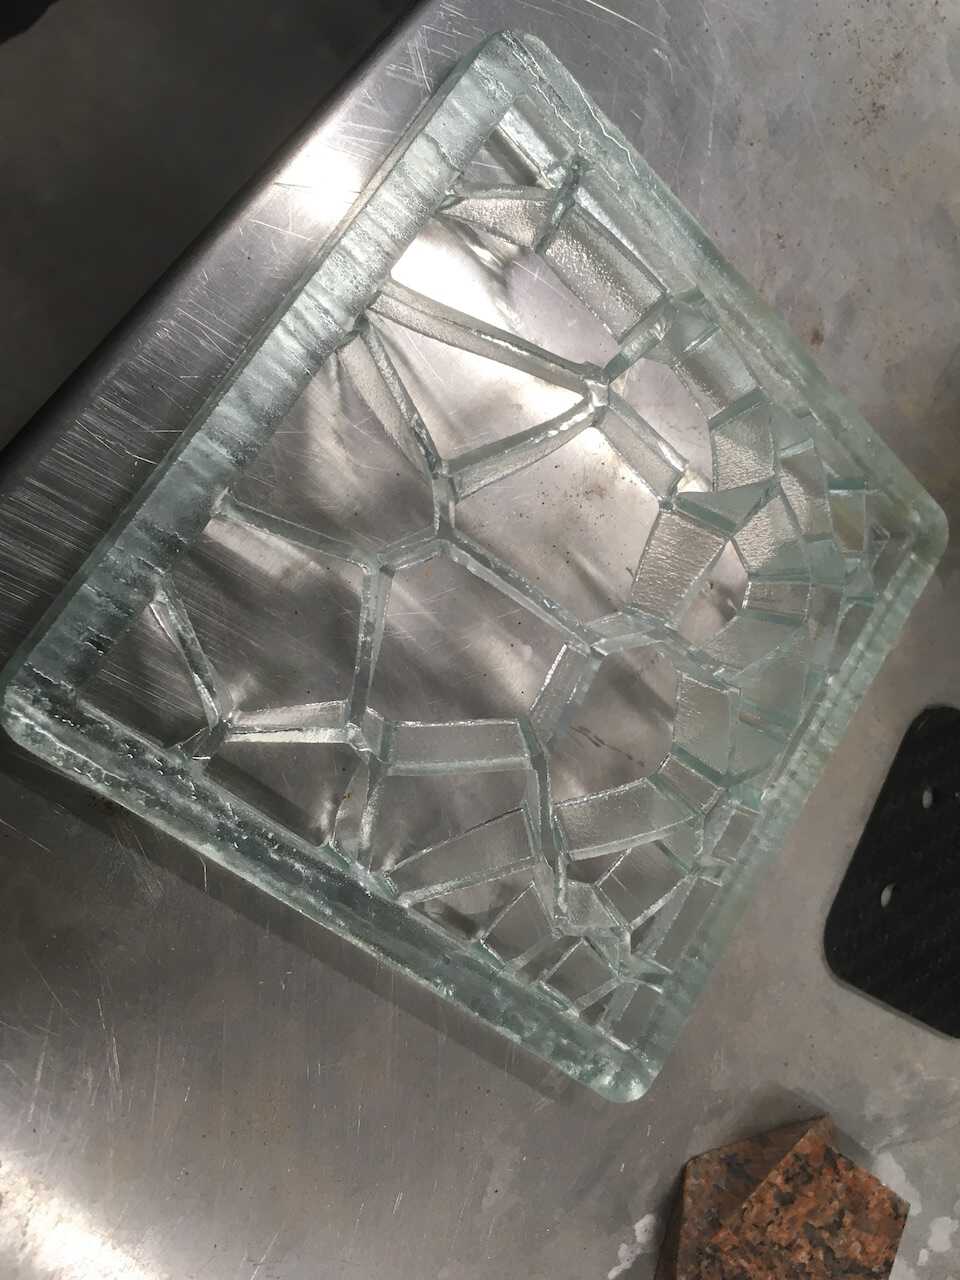 Glass
Glass
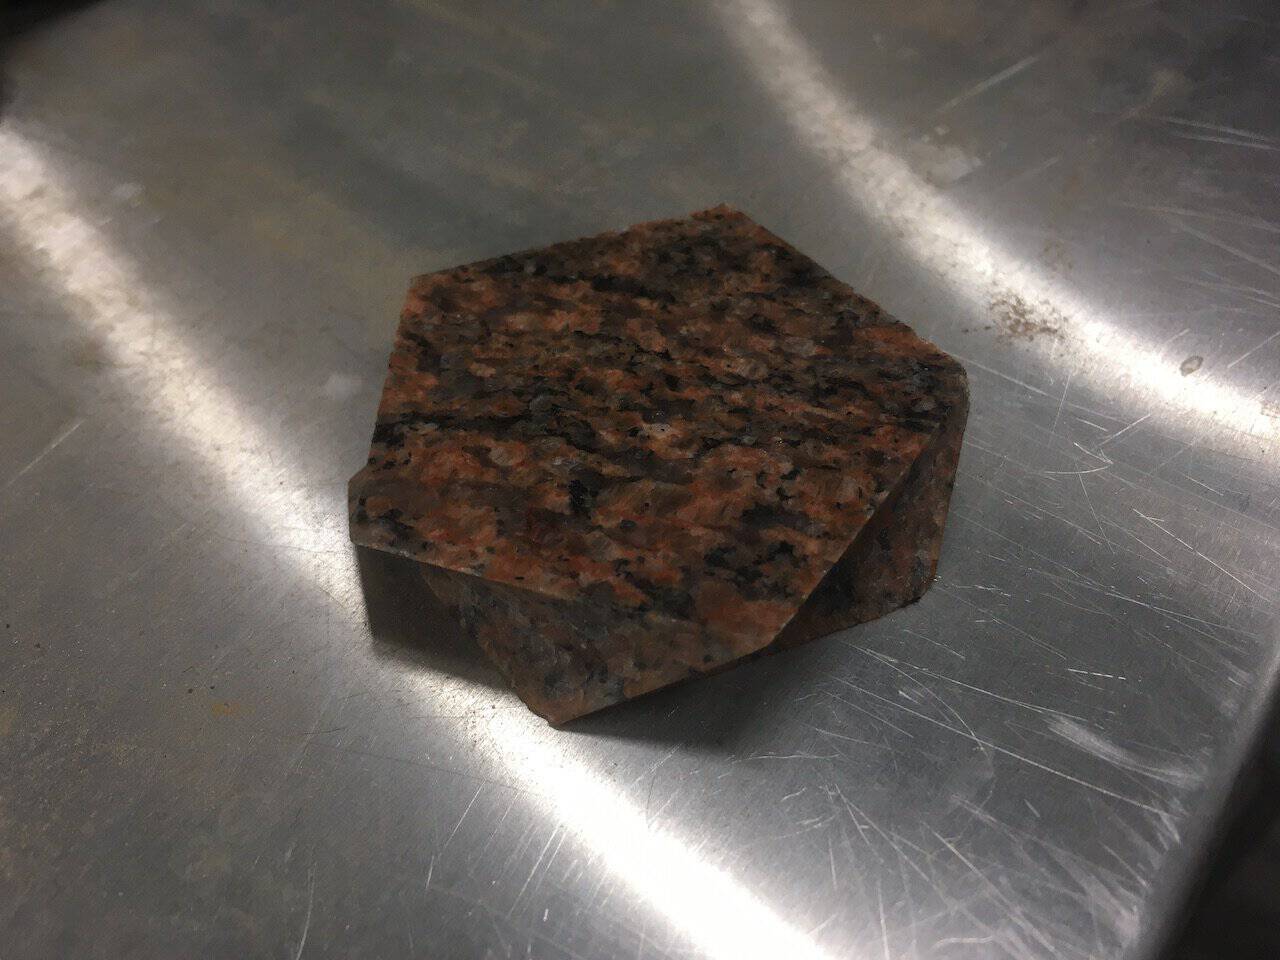 Cut marble in different dimensions
 Metal
Metal
Challenges and Tipps
-
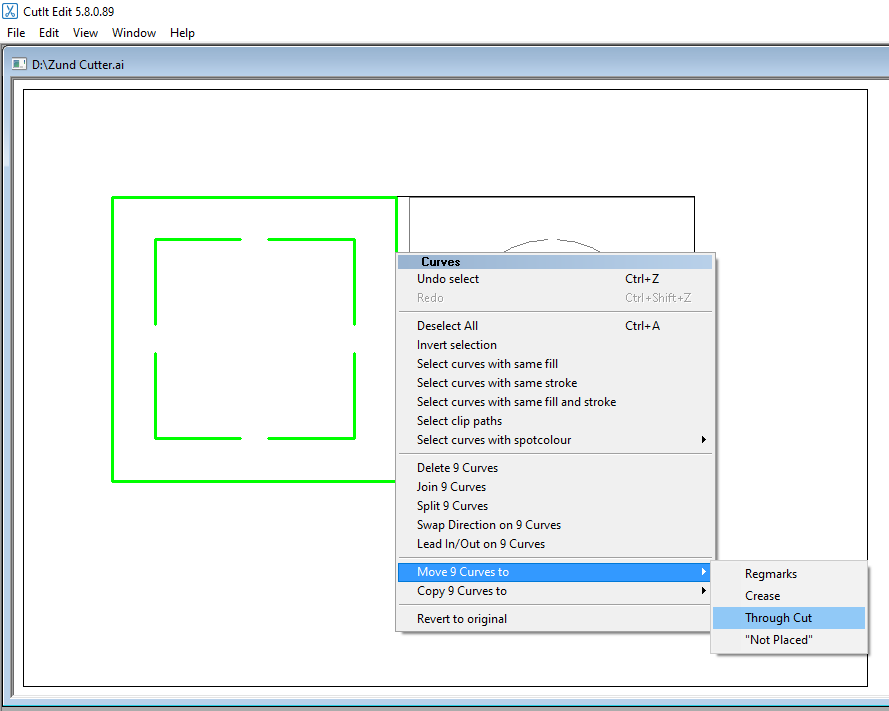
Cutting problems. The universal cutting tool will set off the vacuum bags, which leads to a fail cut. The cutting depth is not deep enough to cut through double layers.
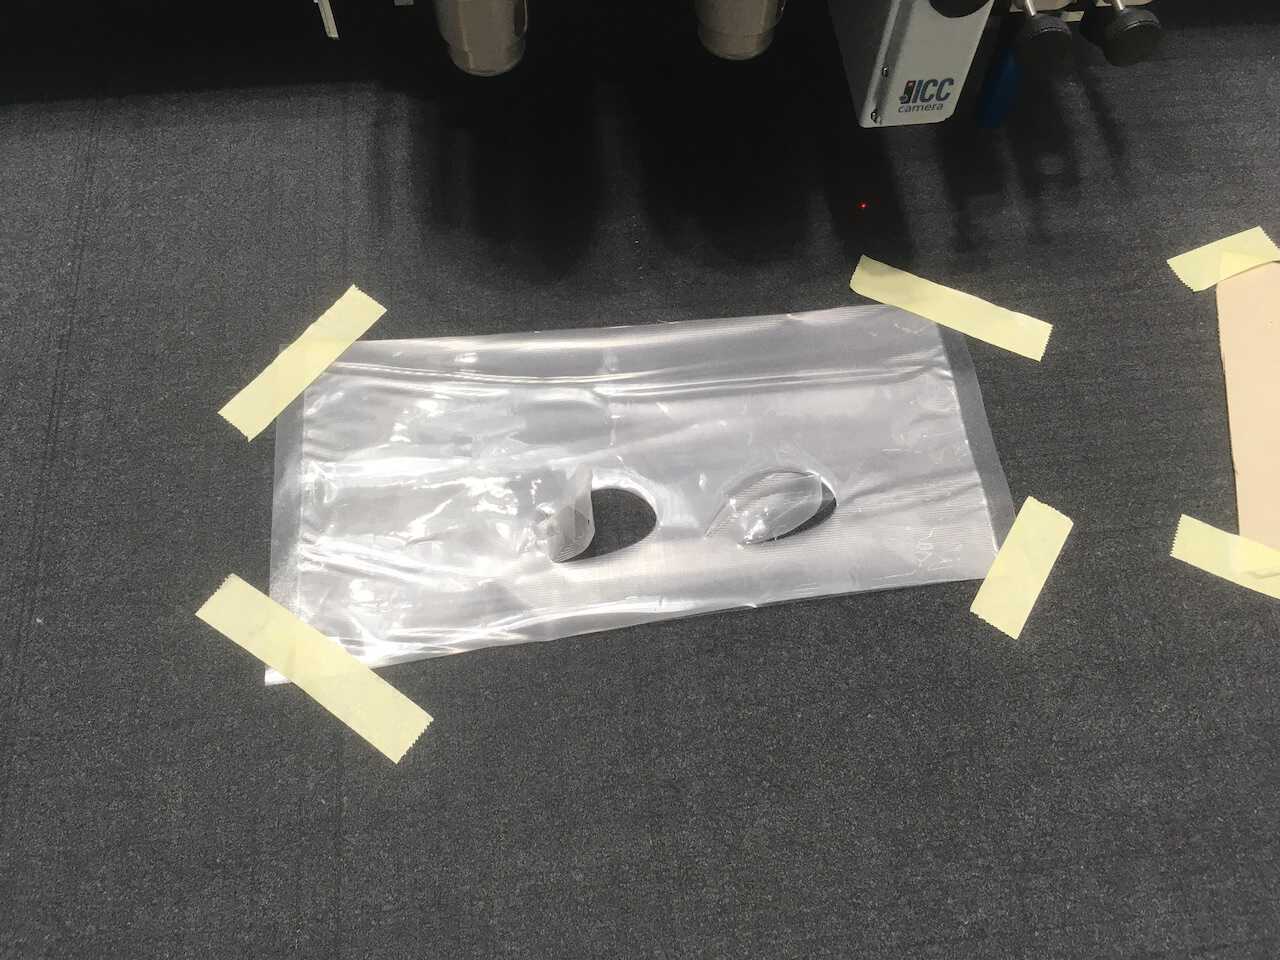
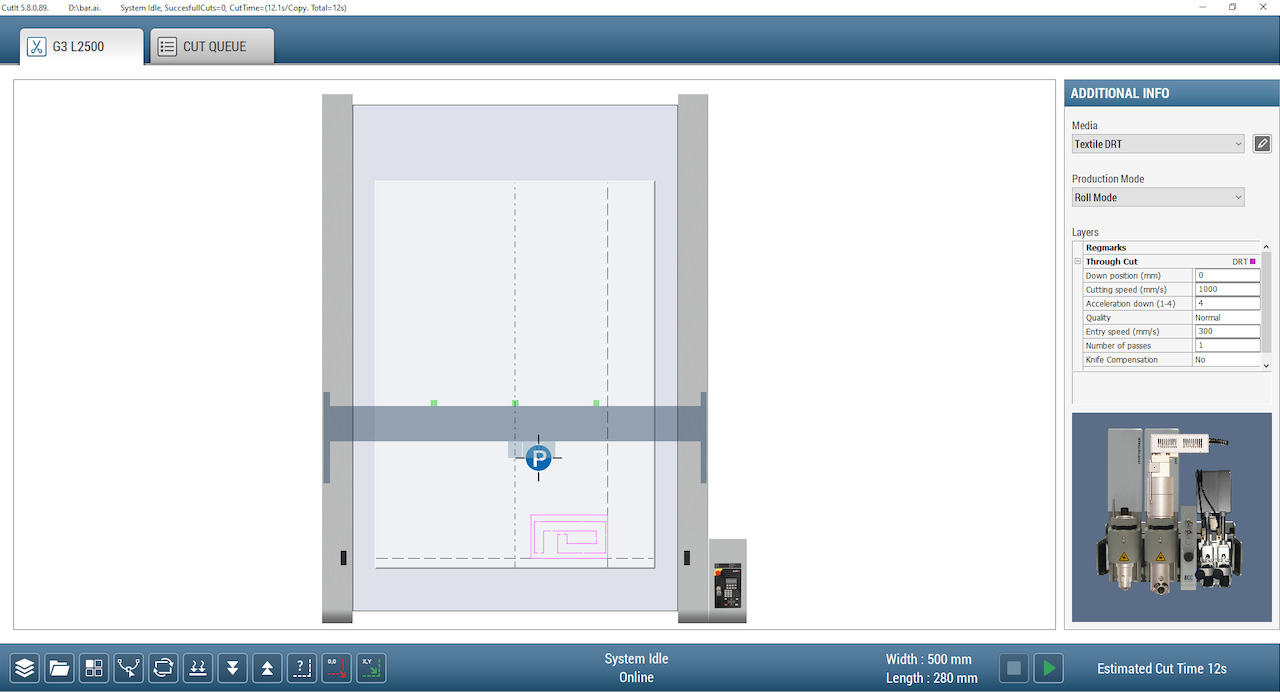
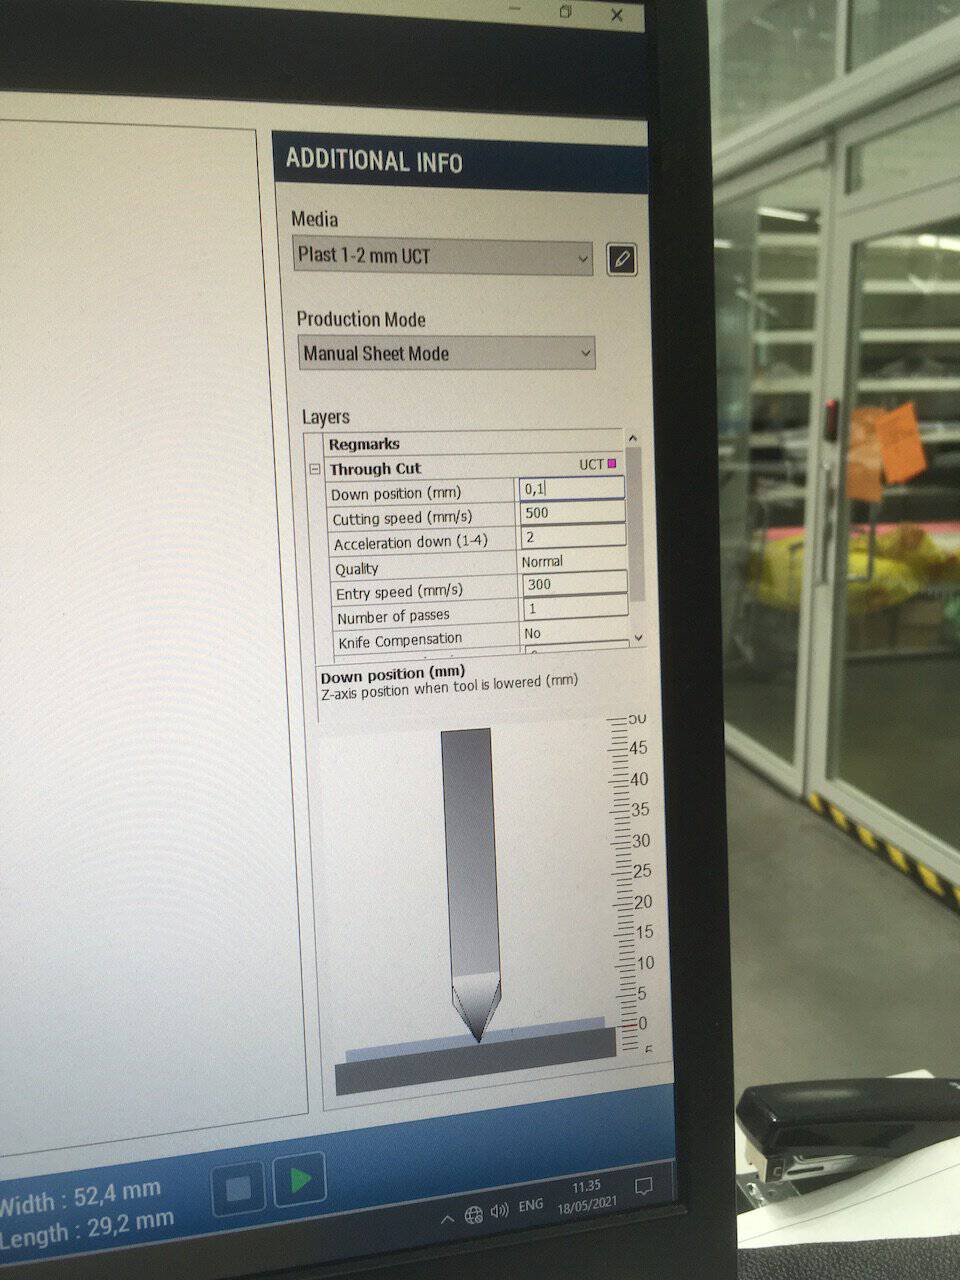
!! Solution: Change the blade into a polygon blade and change the down position to 0.1mm.
-
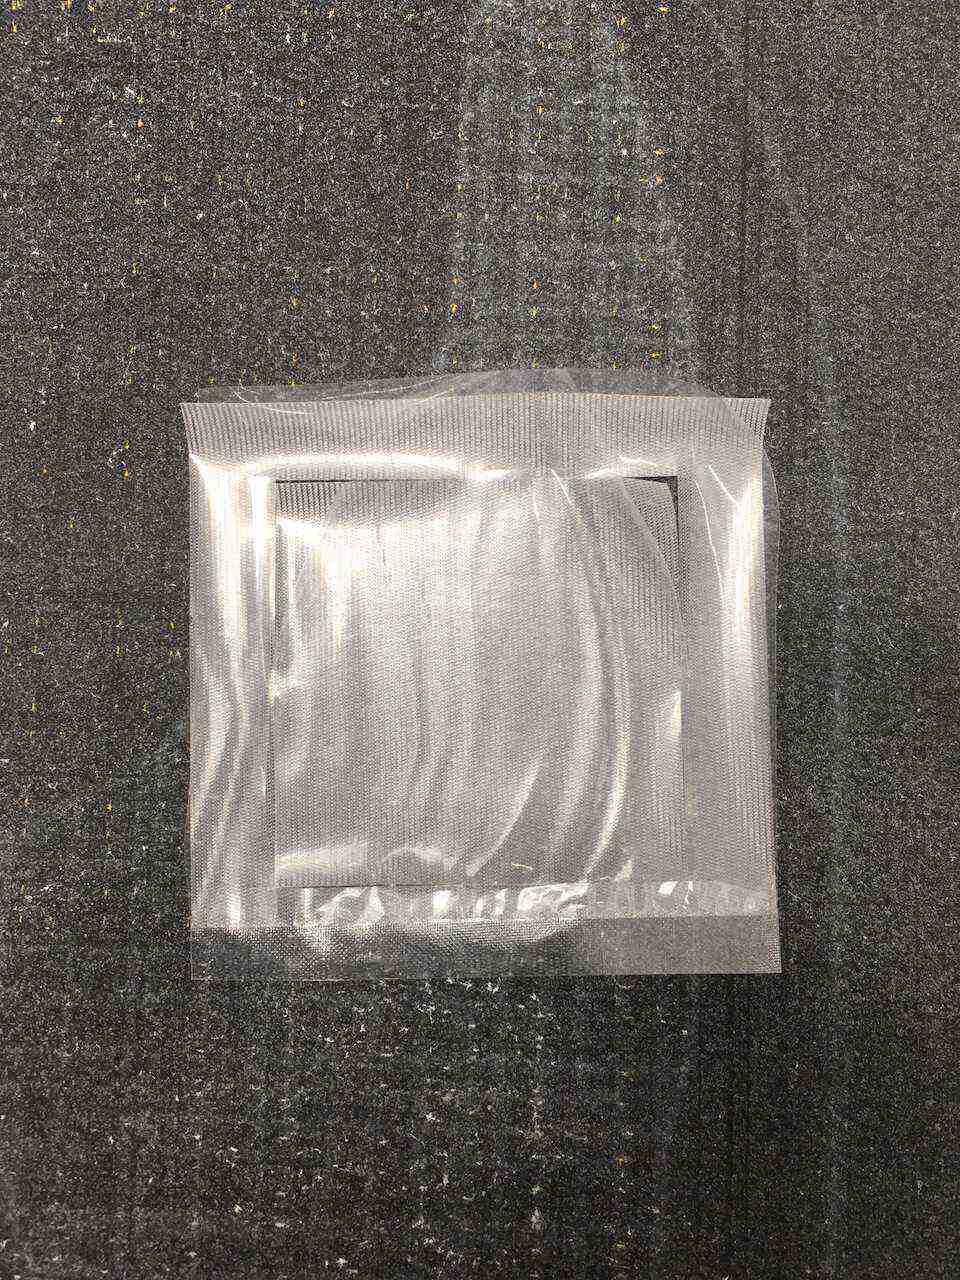
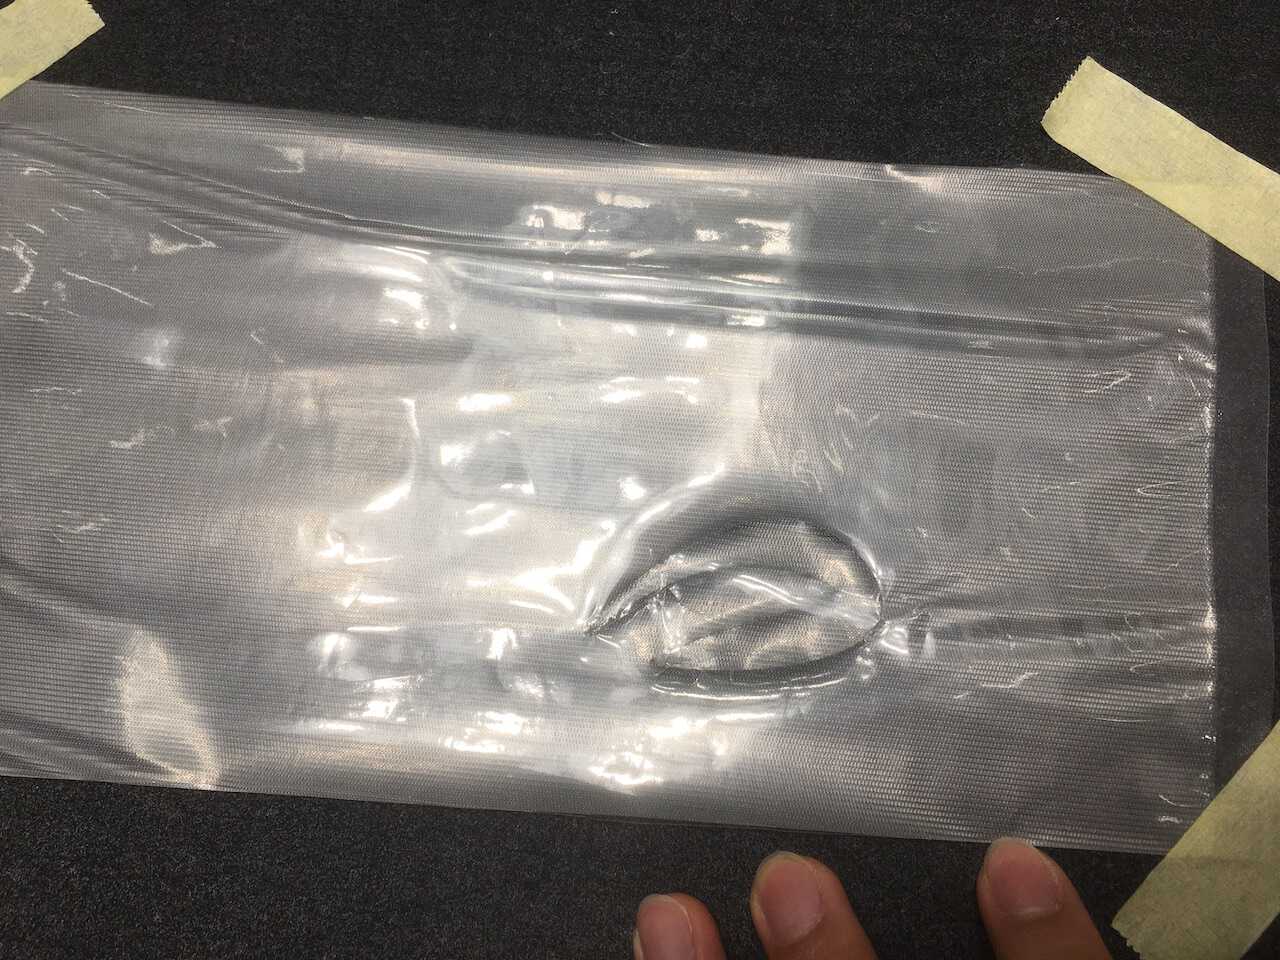
The over-cut edges lead to the falling of shapes, which makes it difficult to later welding.
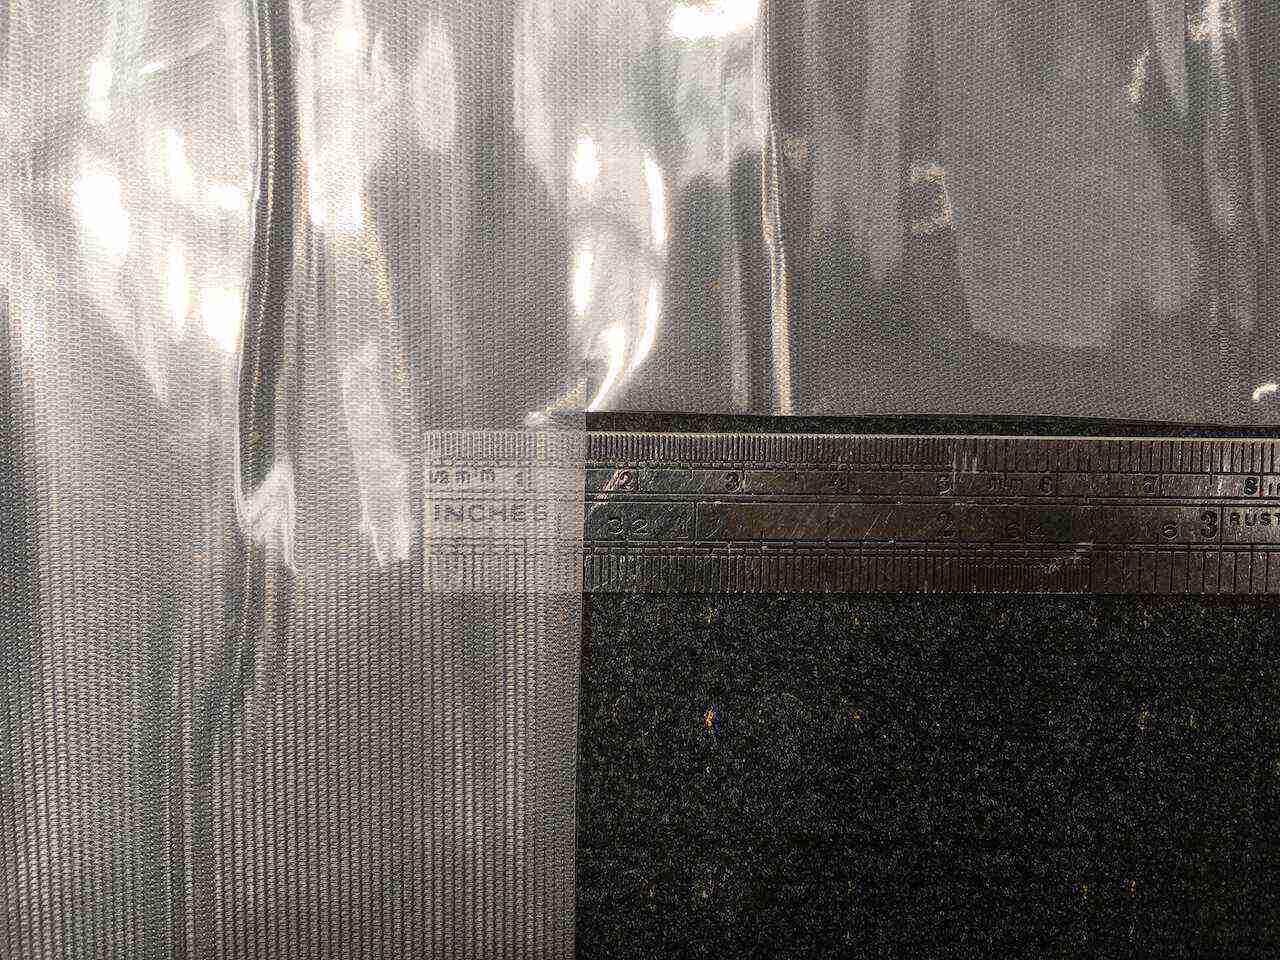
!! Solution: Add few taps on the edges of shapes. According to the experiment, the 10mm square is sufficient.
-
First cutting with Zünder didn’t help much of later works on the ultrasonic machine.
Tips for 2. and 3. challenges:
Use Zünd Cutter to draw the welding path on vacuum bags first, then weld and cut it with the ultrasonic machine. These tips will be applied to my final project later.
Note for what kind of files are compatible with Zünd Cutter:
Download
The Week 17 zip file includes:
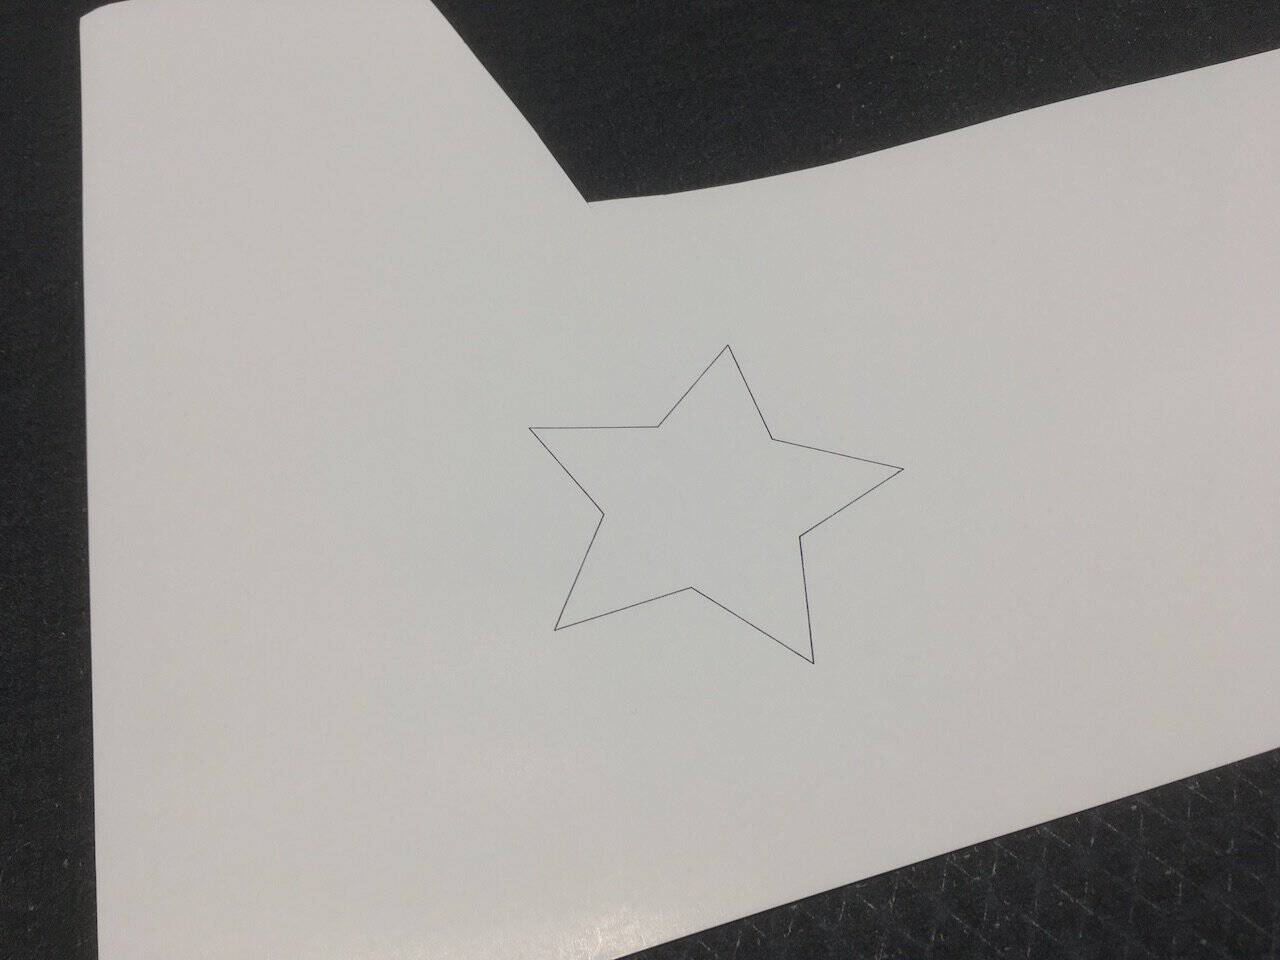
- circle and square
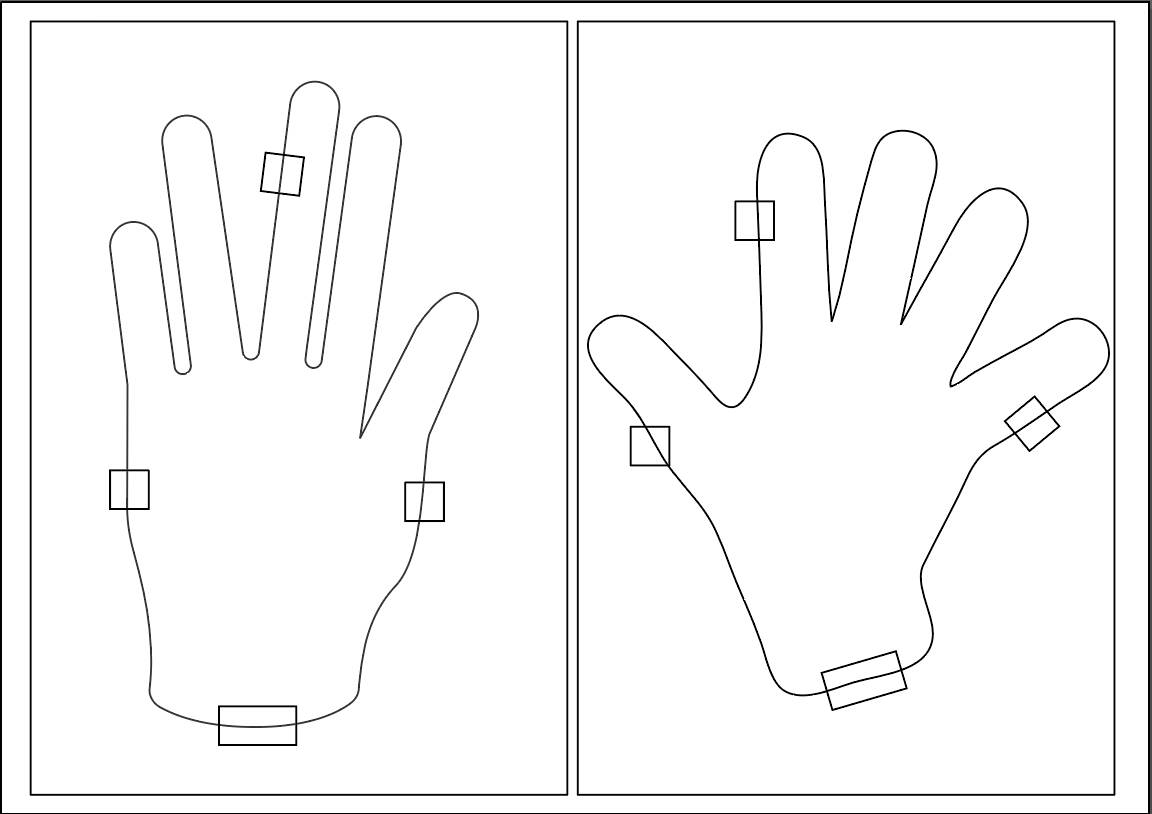
- hand x 2
- standing bar