Assignment
-
Individual assignment:
- Write an application that interfaces a user with an input &/or output device that you made
-
Group assignment:
- Compare as many tool options as possible
Individual assignment
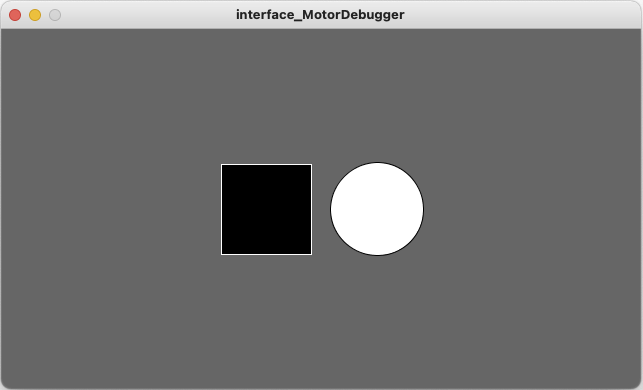
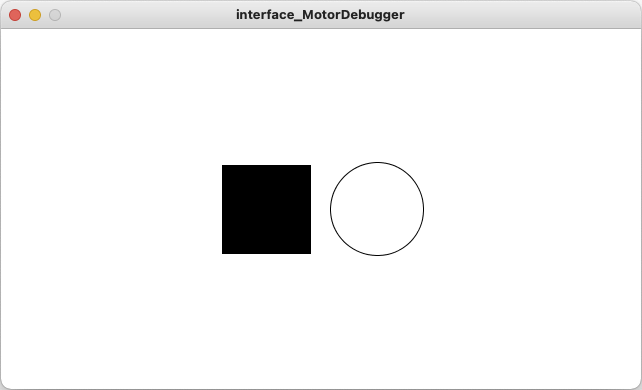
This week I built a Motor Debugger for testing the communication of a motor and the motor driver. On Processing I created two buttons and use them to turn on and off of the motor.
Important Code in Processing
import processing.serial.*;
Serial myPort;
int valueFromArduino;

int rectX, rectY;      // Position of square button
int circleX, circleY;  // Position of circle button
int rectSize = 90;     // Diameter of rect
int circleSize = 93;   // Diameter of circle
color rectColor, circleColor, baseColor;
color rectHighlight, circleHighlight;
color currentColor;
boolean rectOver = false;
boolean circleOver = false;
The code of processing.serial enables the processing talk on the serial. Set the size and position of circle and square buttons. Use color to define the variables data types.
void setup() {
  size(640, 360);
  rectColor = color(0);
  rectHighlight = color(51);
  circleColor = color(255);
  circleHighlight = color(204);
  baseColor = color(102);
  currentColor = baseColor;
  circleX = width/2+circleSize/2+10;
  circleY = height/2;
  rectX = width/2-rectSize-10;
  rectY = height/2-rectSize/2;
  ellipseMode(CENTER);
  myPort = new Serial(this, Serial.list()[ 3 ], 9600);
}
Set the sizes of canvas, the color of the buttons. The most important is the new Serial, which should include the baud rate and the specific serial device that Processing talks to.
void draw() {
  update(mouseX, mouseY);
  background(currentColor);

  if (rectOver) {
    fill(rectHighlight);
  } else {
    fill(rectColor);
  }
  stroke(255);
  rect(rectX, rectY, rectSize, rectSize);

  if (circleOver) {
    fill(circleHighlight);
  } else {
    fill(circleColor);
  }
  stroke(0);
  ellipse(circleX, circleY, circleSize, circleSize);
}
It draws the pictures on Processing screen frame by frame.
void update(int x, int y) {
  if ( overCircle(circleX, circleY, circleSize) ) {
    circleOver = true;
    rectOver = false;
  } else if ( overRect(rectX, rectY, rectSize, rectSize) ) {
    rectOver = true;
    circleOver = false;
  } else {
    circleOver = rectOver = false;
  }
}
Update function can detect the mouse positions and change the boolen status of circleOver and rectOver.
void mousePressed() {
  if (circleOver) {
    currentColor = circleColor;
     myPort.write('H');
  }
  if (rectOver) {
    currentColor = rectColor;
     myPort.write('L');
  }
}
If the mouse clicks on the circle, it writes the character H in serial; mouse clicks on the squate, it writes the character L in serial. H represents HIGH, L represents LOW in Arduino.
boolean overRect(int x, int y, int width, int height)  {
  if (mouseX >= x && mouseX <= x+width &&
      mouseY >= y && mouseY <= y+height) {
    return true;
  } else {
    return false;
  }
}

boolean overCircle(int x, int y, int diameter) {
  float disX = x - mouseX;
  float disY = y - mouseY;
  if (sqrt(sq(disX) + sq(disY)) < diameter/2 ) {
    return true;
  } else {
    return false;
  }
}
These two functions are to determine whether the mouse hovers on the circle or square.
Important Code on Motor Driver
The code is modified from the Week15 Networking and Communication, here I only specify the critical points for this week. Others repeated explanations could be found from Week15.
void loop() {
  while (Serial.available()) {
    incomingMessage = Serial.read();
  }

  if (incomingMessage == 'H') {
    MotorOn();
  } else if (incomingMessage == 'L') {
    MotorOff();
  }
}
When the data is coming from serial, it would read the data. If the character is H turn on the motor, if the character is L turn on the motor.
Hero Video
Group Assignments
I compared Processing of my assignment with my other previous projects.
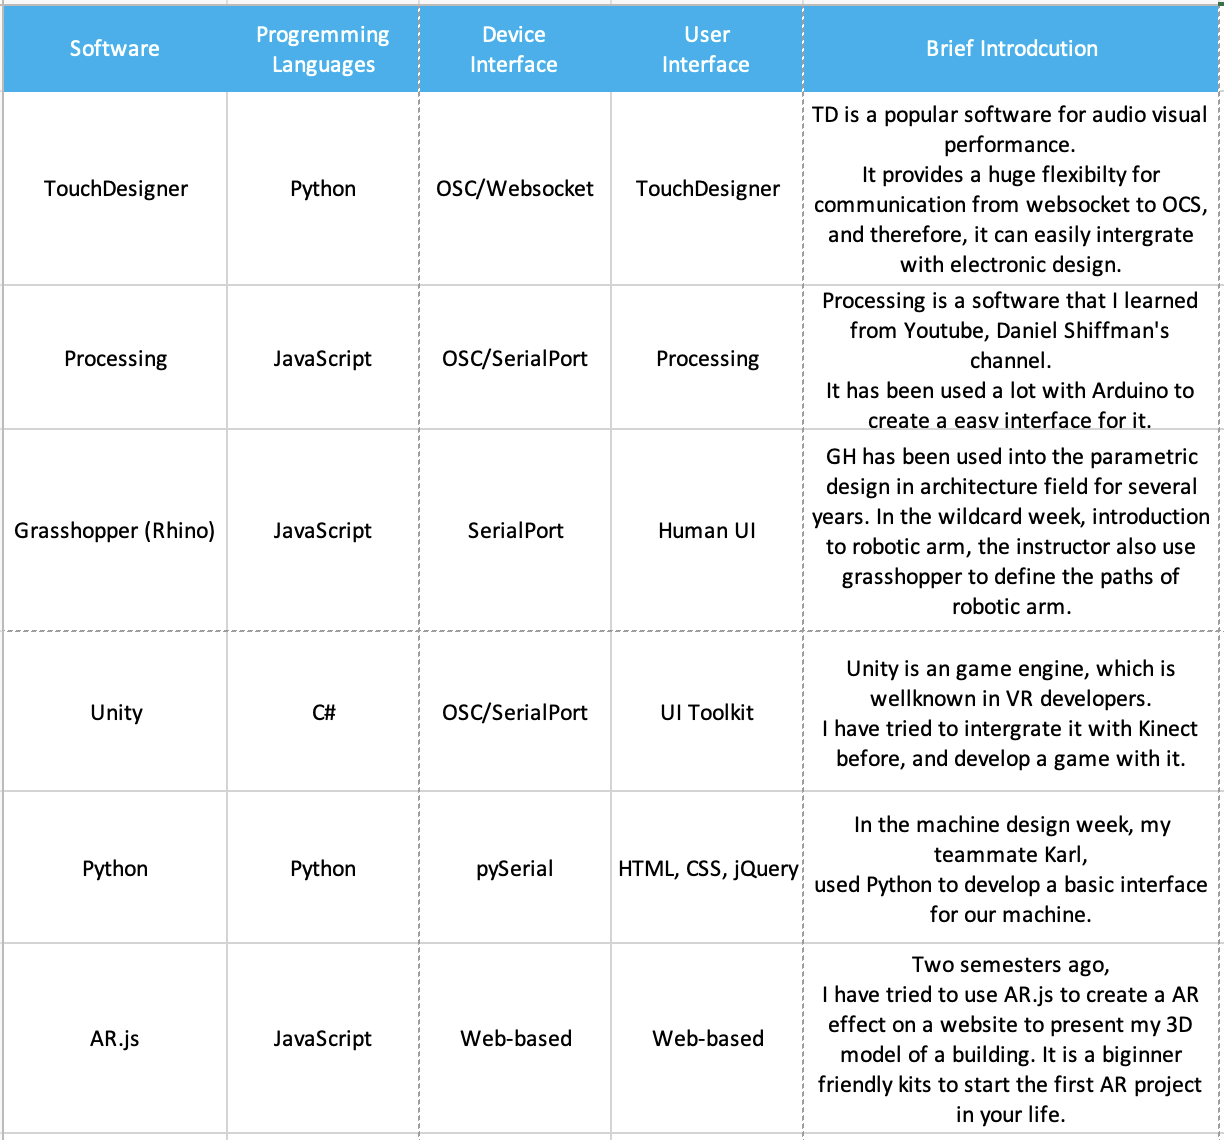
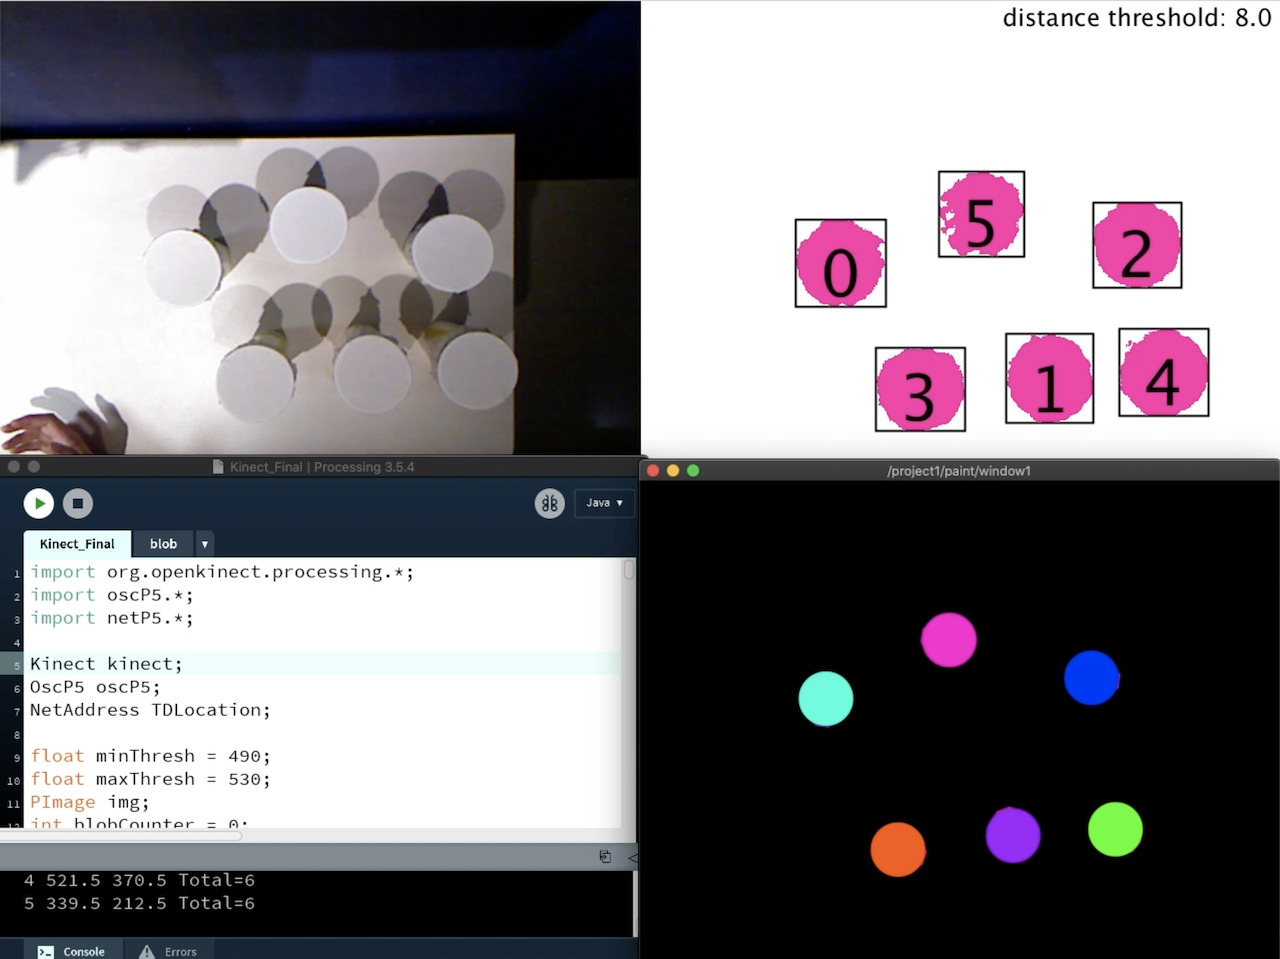
 TouchDesigner
 Processing
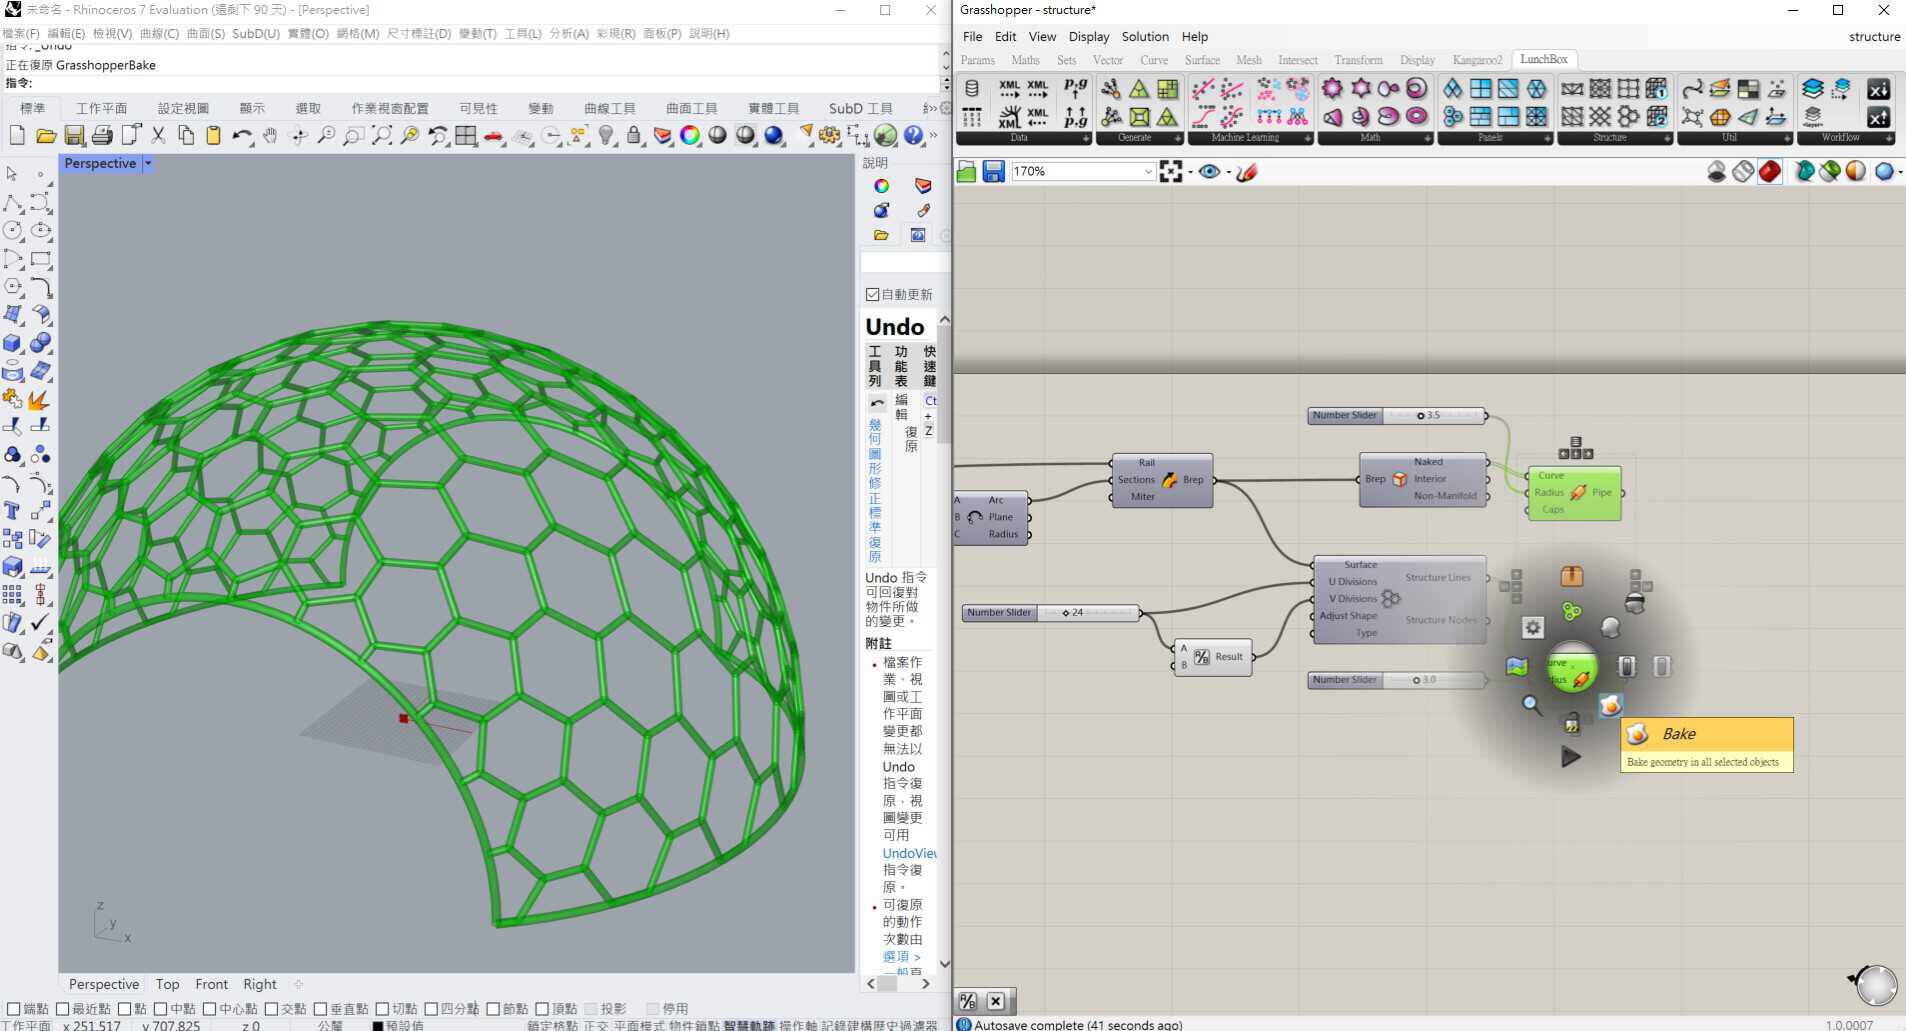 Grasshopper
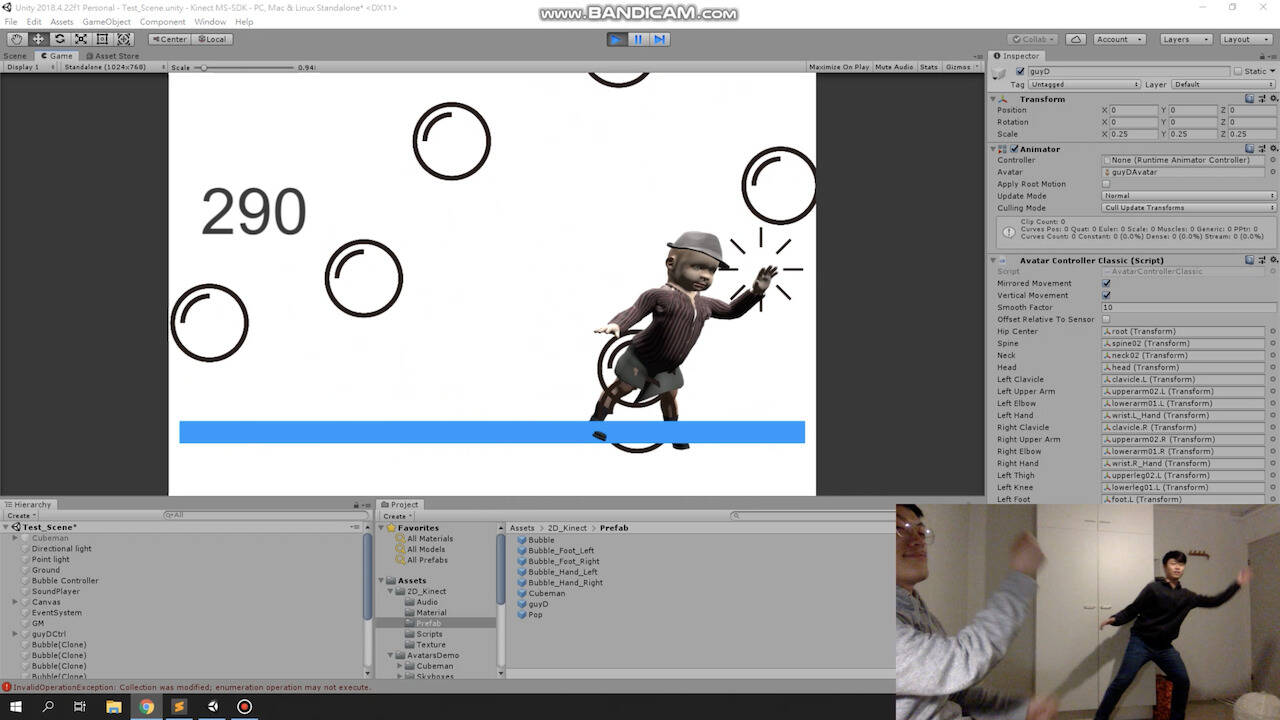 Unity
Unity
 Python
 AR.js
AR.js
Challenges
-
It could not be debugged with the serial monitor.
!! Solution: We could only try to confirm the setting on Processing and Arduino code, and trial and error!
?? Reason: The serial could be opened only from one place, and it would be occupied after that. It means that when we start the Processing, the serial monitor from Arduino couldn’t be opened to check whether the data is sent from Processing or not.
Download
The Week 16 zip file includes:
-
Processing Code for Motor Debugger (sender)
-
Arduino Code for Motor Driver (receiver)