
Assignment
- Group Assignment:
- characterize your lasercutter’s focus, power, speed, rate, kerf, joint clearance and types
- Individual assignment:
- cut something on the vinylcutter
- design, lasercut, and document a parametric construction kit, accounting for the lasercutter kerf, which can be assembled in multiple ways, and for extra credit include elements that aren’t flat
The documentation of Group Assignments could be found here.
Vinyl Cutter
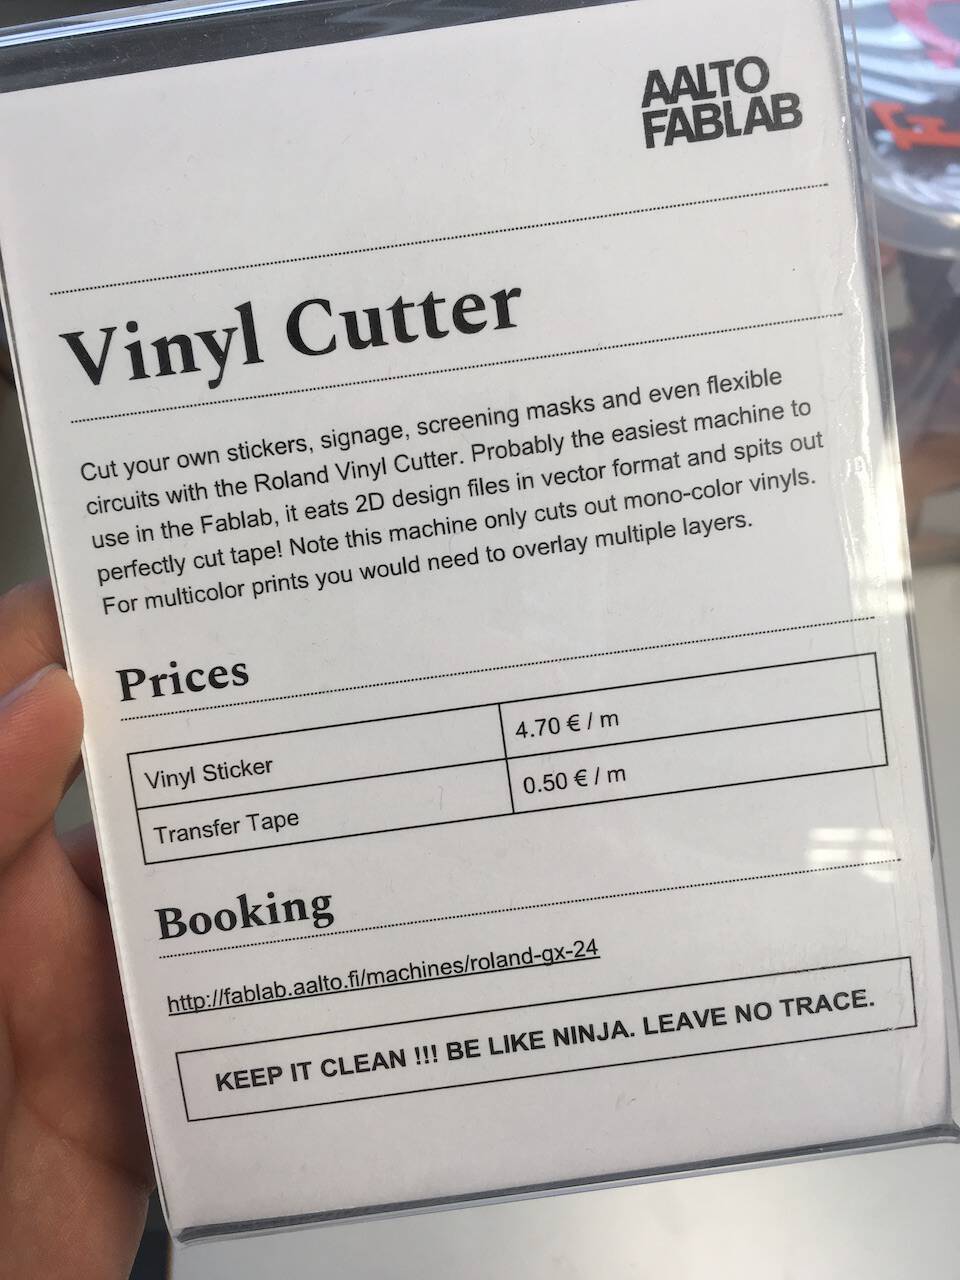

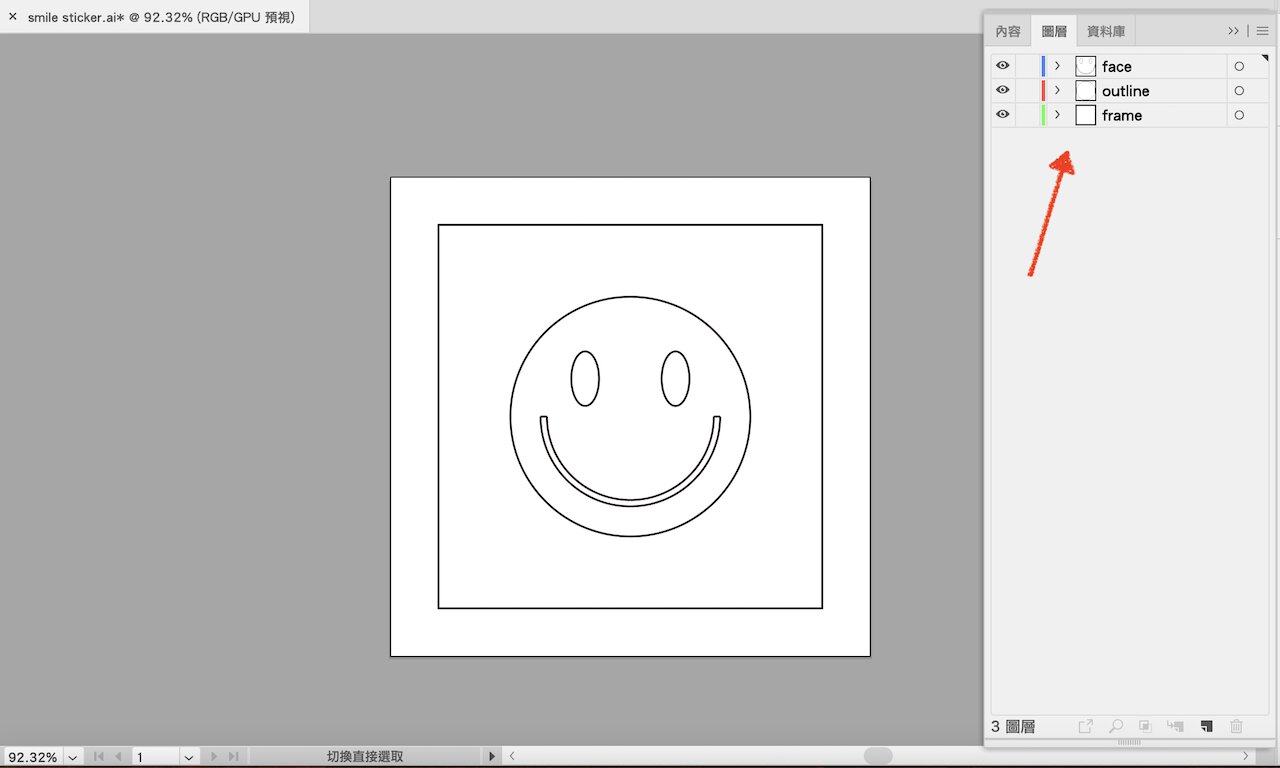
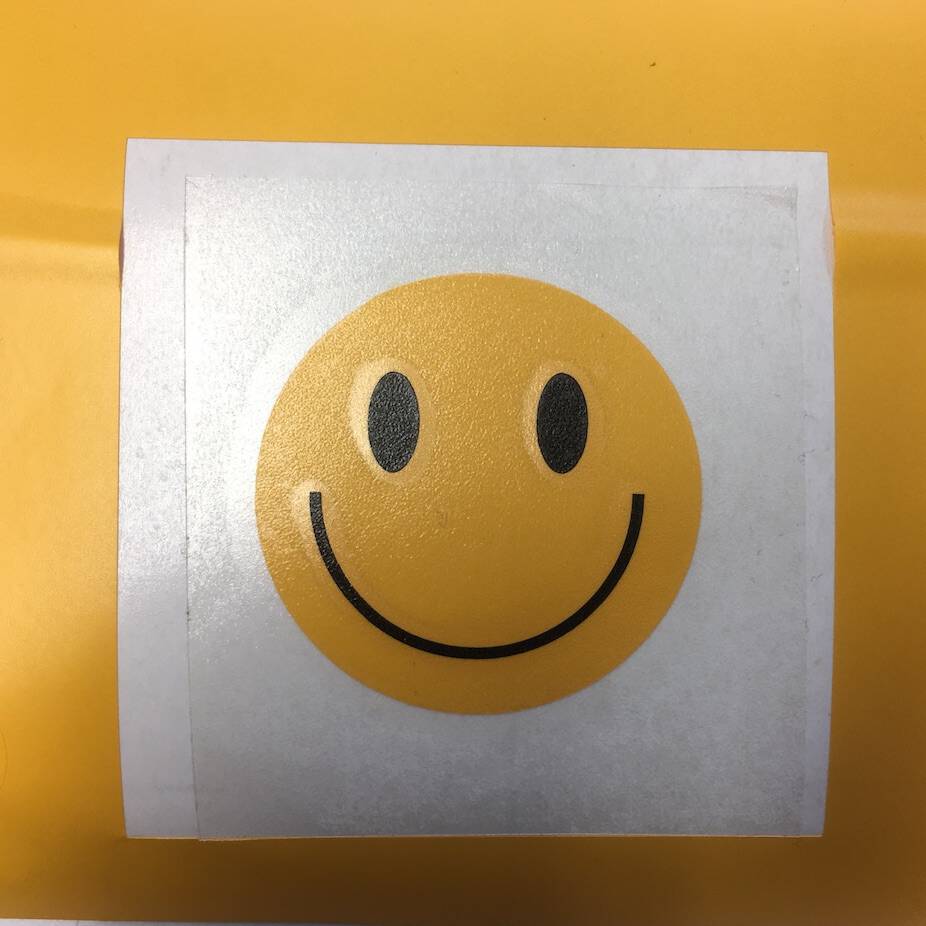
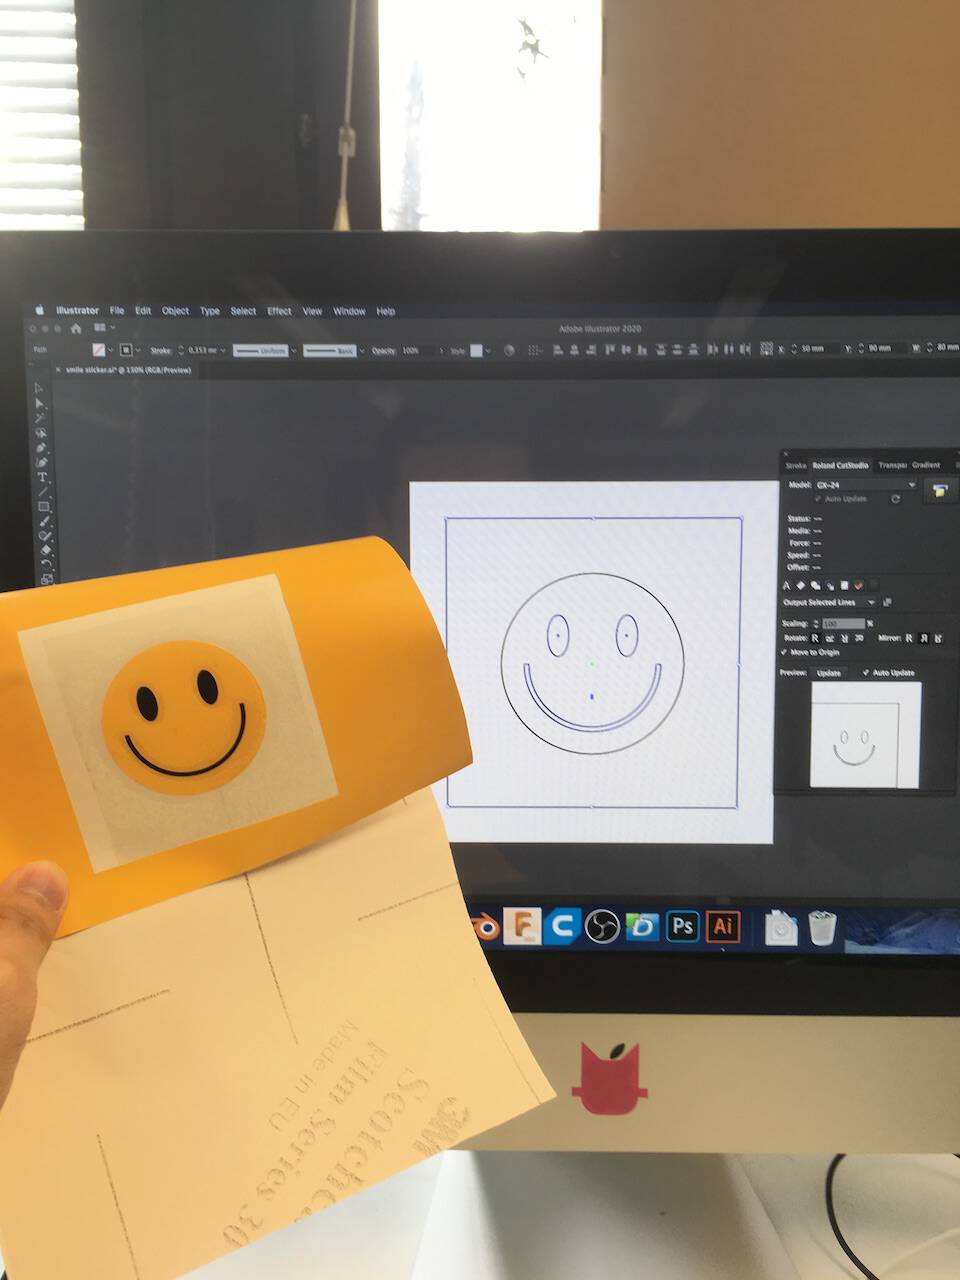
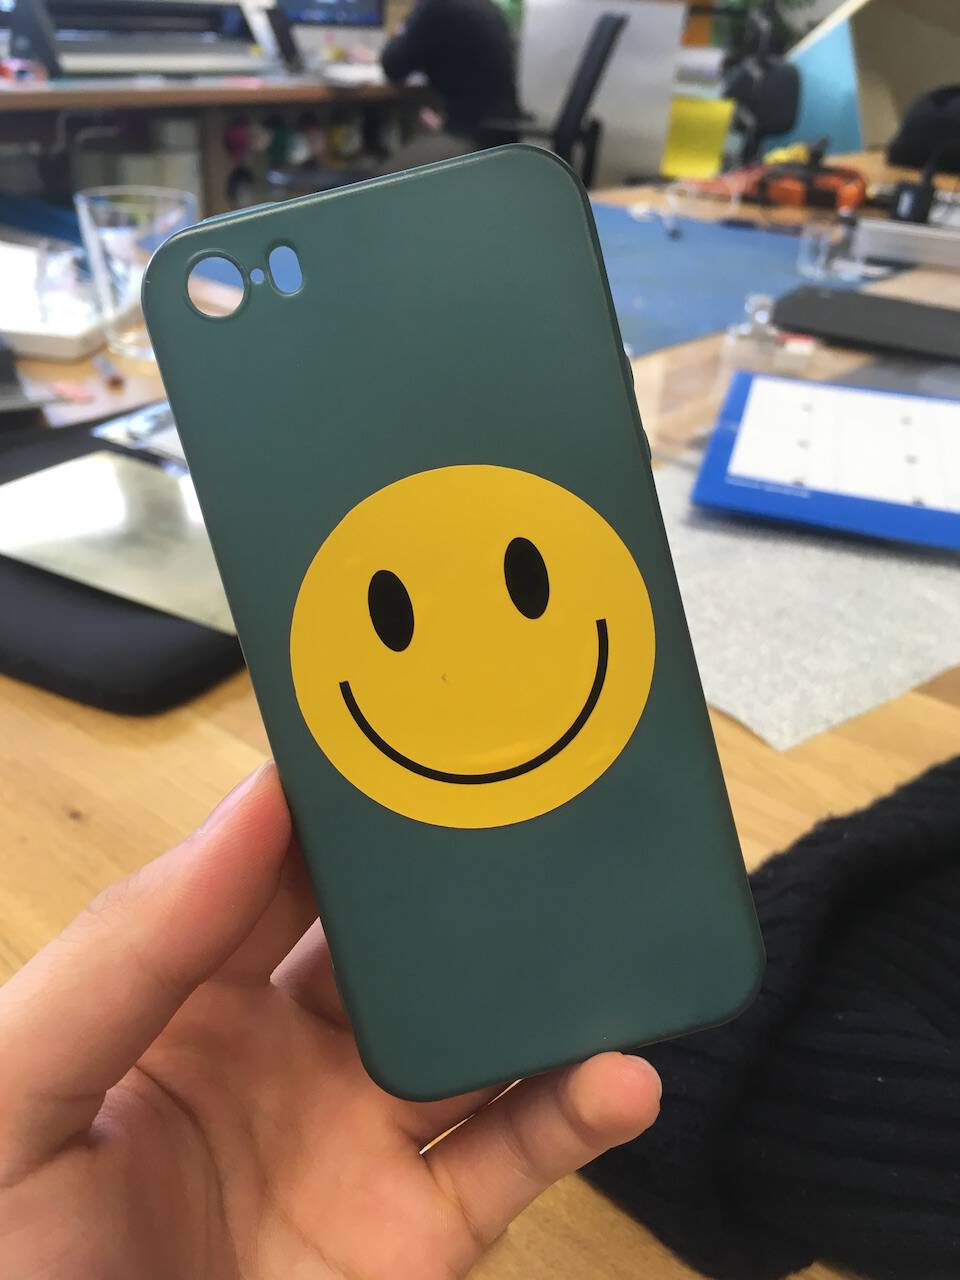
The vinyl cutter as its name implies, it cuts especially for the vinyl stickers. One thing that needs to notice is that the machine only accepts vector files. The vinyl materials usually are in one color, if I want to produce the stickers in multiple colors, I need to cut them separately.
For example, the face color of the smiling sticker needs to be yellow but the eyes and mouth in black. So I opened three layers in Illustrator to separate each element.
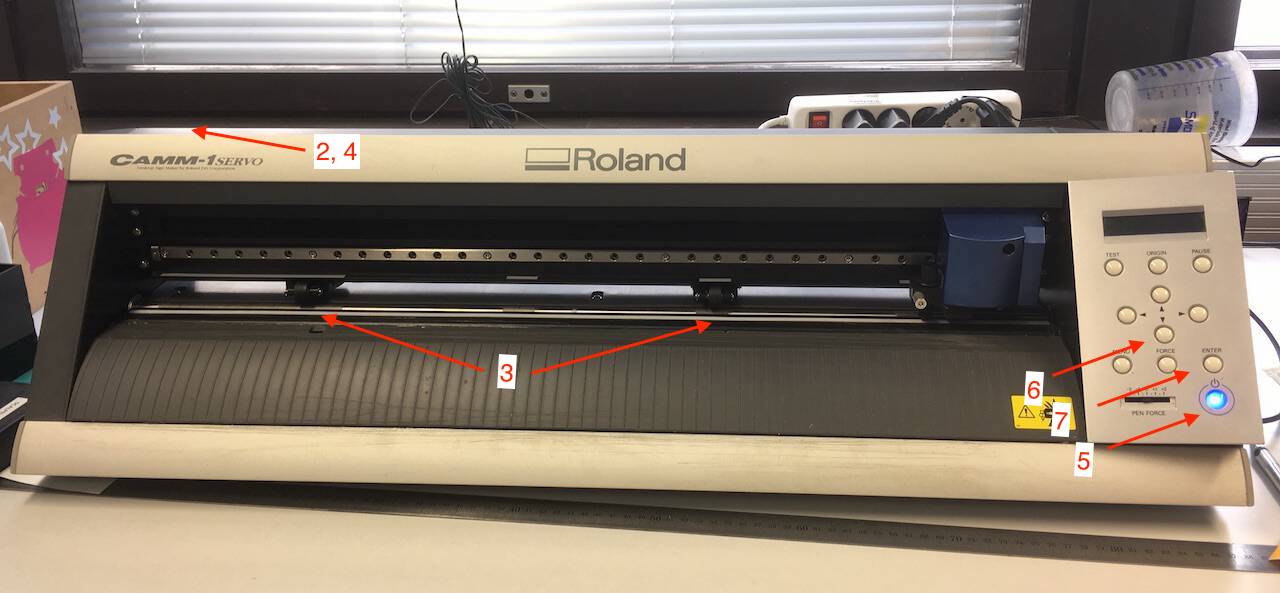
Set-Up Procedure - Vinyl Cutter
-
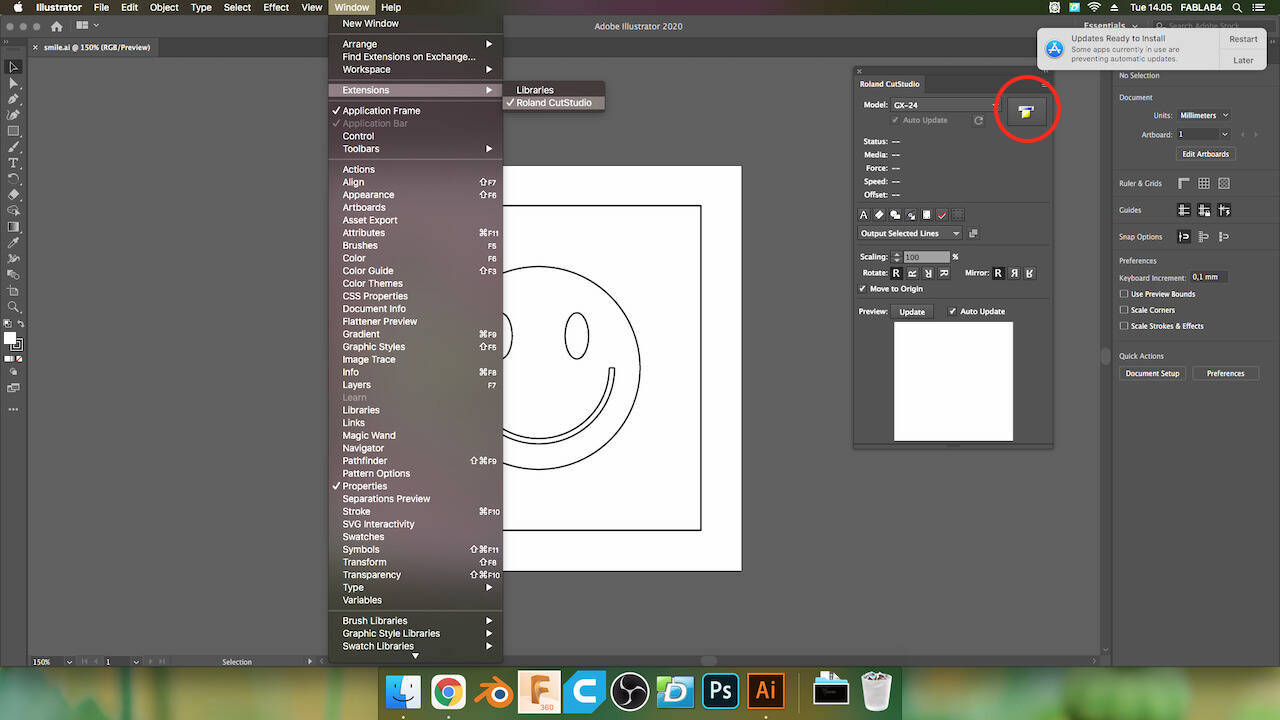
Open Menu → Windows → Extensions → open Roland CutStrudio
-
Unlock the hook which fixes the loading materials (vinyl paper, copper sheet, and so on)
-
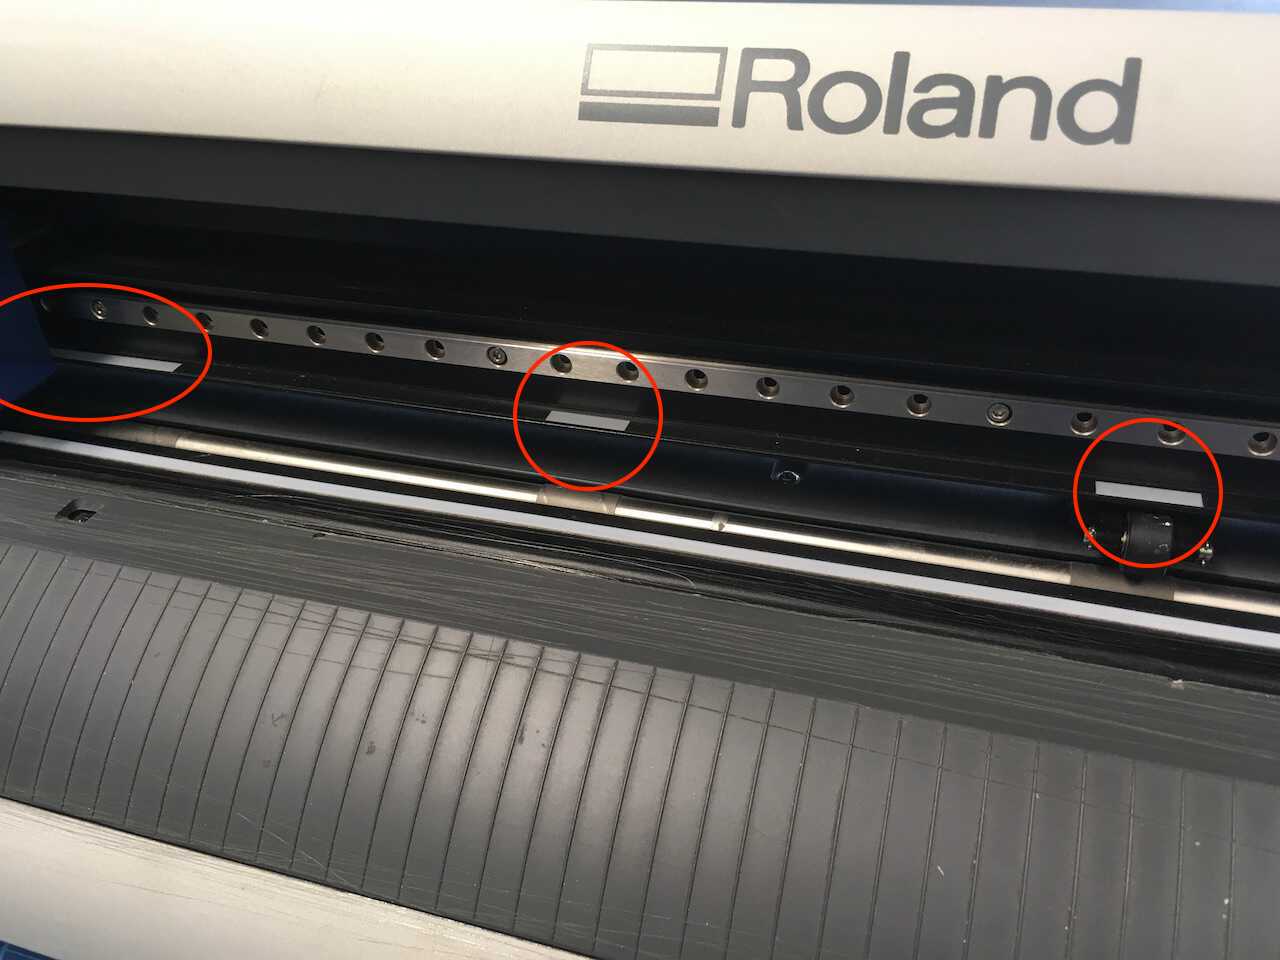
Load materials and custom the position of rollers, which should under the white bands, because only under them rollers could hold the materials tightly.
-
Lock the hook.
-
Press the blue button to turn on the machine
-
Click on the down button and choose either Roll, Piece, or Edge, according to the size of loading materials.
-
Press the Enter button, then the carriage will slip and detect the size of materials, which will be shown on the displayer.
-
Click the Print button on the Roland CutStrudio panel.
-
Then it cuts!
Post-Process
-
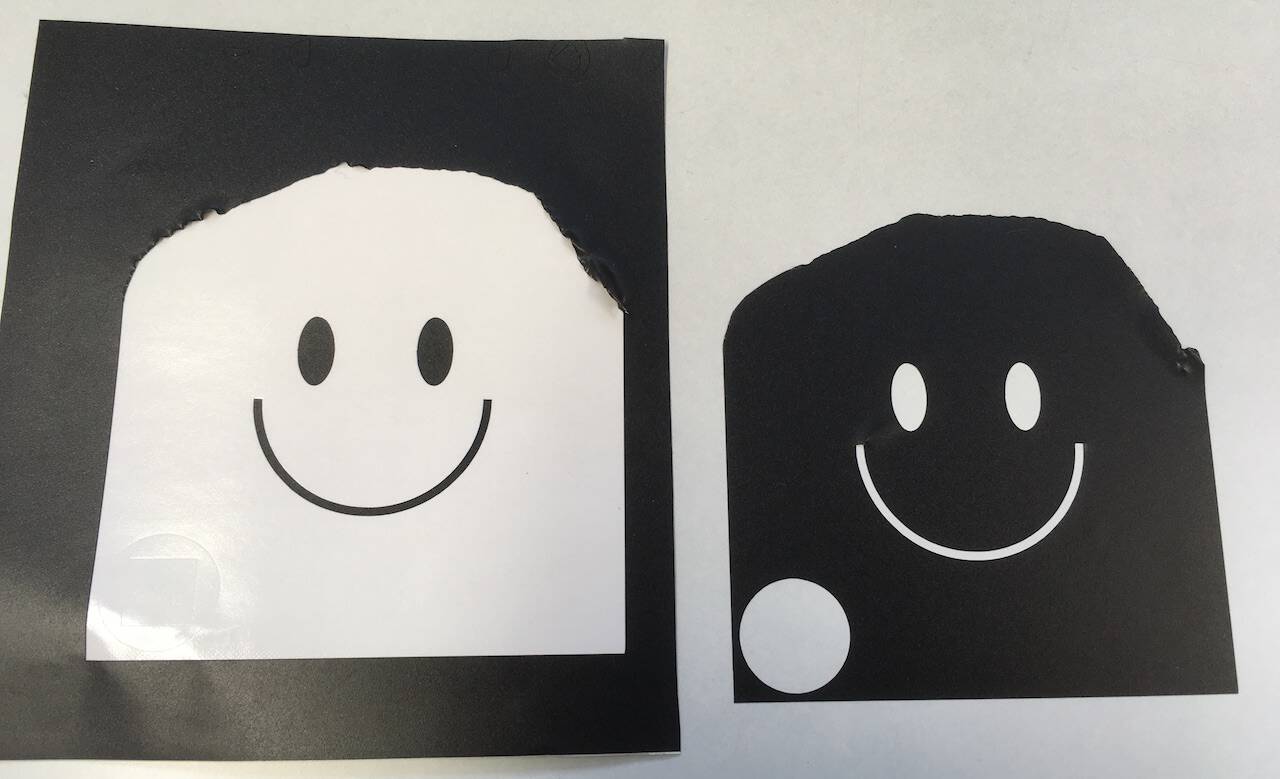
Cut the facial feature and frame, and use the Transfer Tape to locate them on the face.
-
Then we got this, tear it off gently, then attach it to anywhere you want!
Heat Press
Basically, Heat Press shares the same producing procedure with Vinyl Cutter, but the material is replaced into heat transfer vinyl.
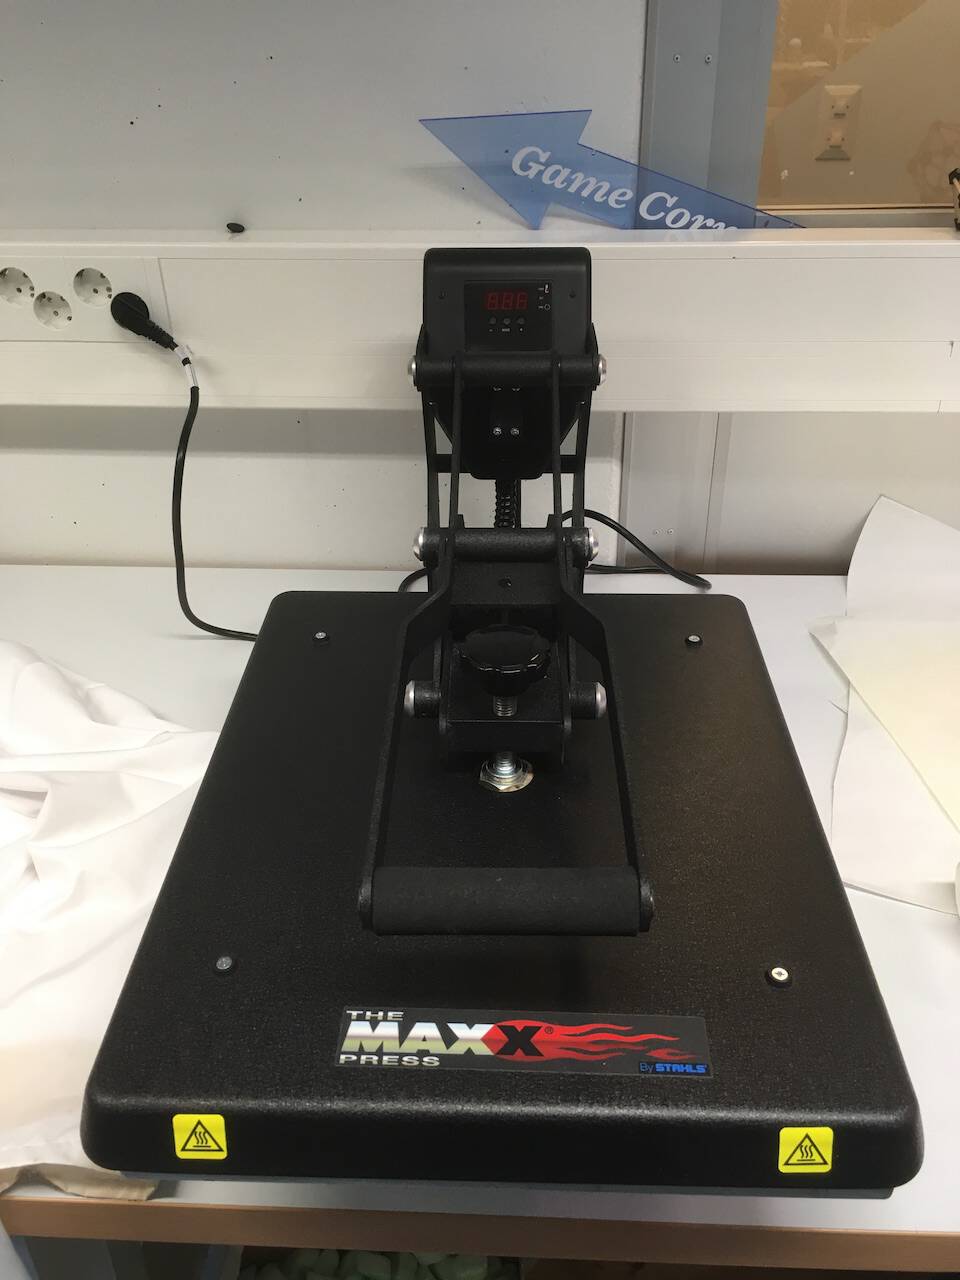
After the heat increases to 150 Celcius degrees, we can put the clothing under it. First to press without the sticker to iron the clothe and then put on the vinyl sticker on the clothe and press for 10s. Then it’s done!
Laser Cutter
The introduction of Lasser Cutter can be seen from the group assignment, which is done by Dann Mensah, Daniel Wilenius, and me. So here I will go directly into the documentation of my individual assignment.

Inspiration
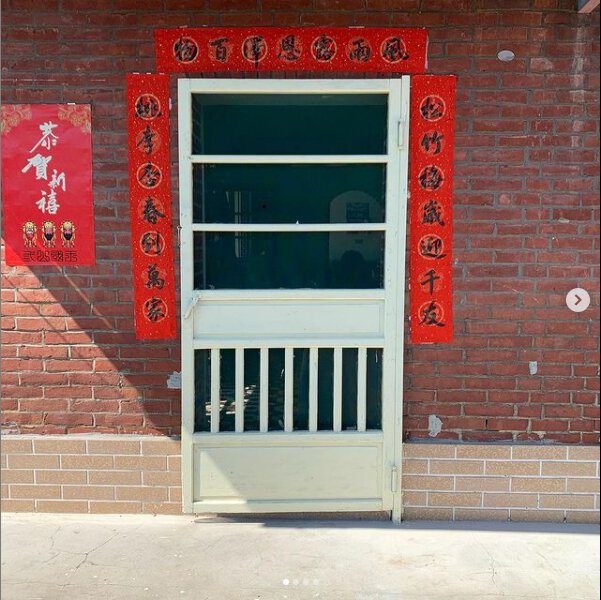
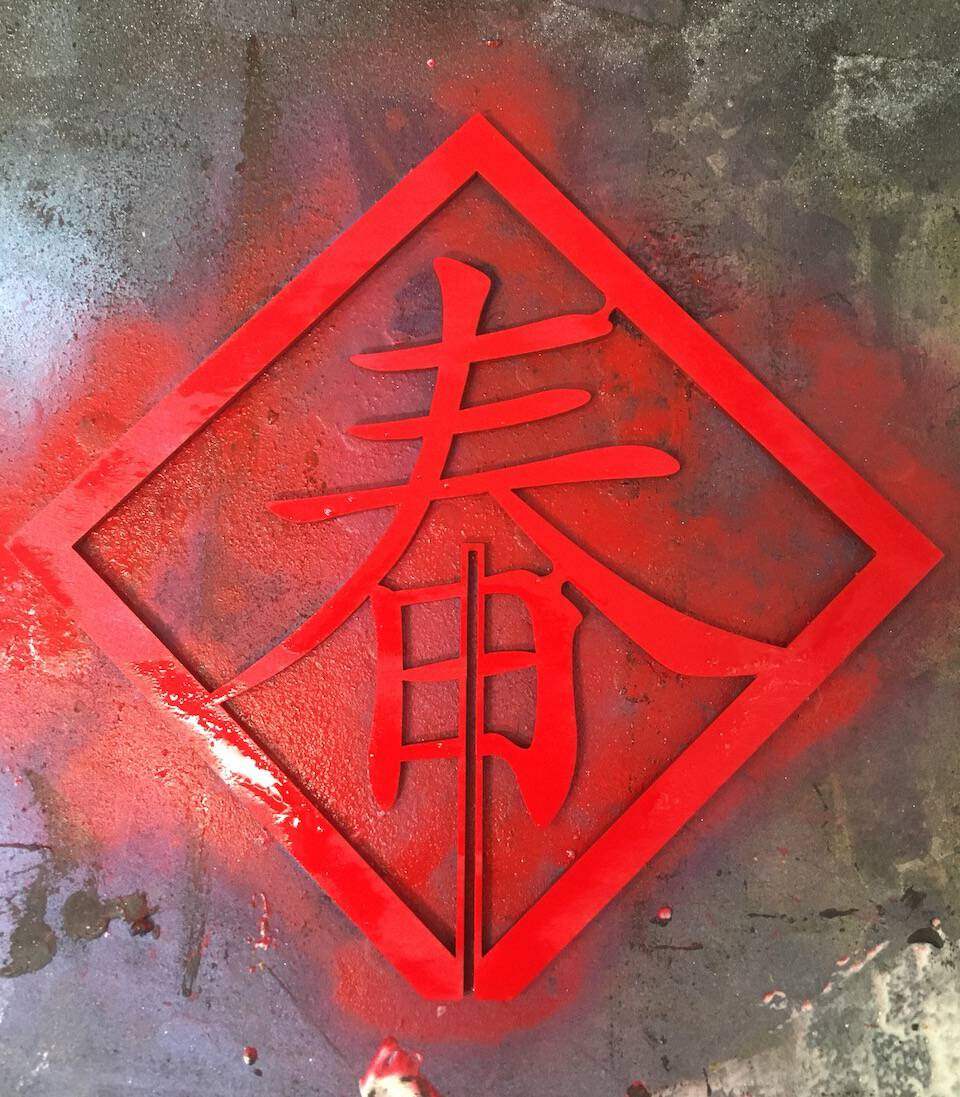
Last Thursday (16.02) was Chinese New Year, on the special days we always decorate our home with 春聯, Spring Couplets. Usually, with hand-written calligraphy on the red posters, we write down some blessing words or couplets.
For example in the following pictures, on the sides of door 桃李杏春到萬家,松竹梅歲迎千友 which means, “Apricots and plums that the fruits represent spring season is coming to us, pines, bamboos and plum blossoms that represent summer welcome my friends.”

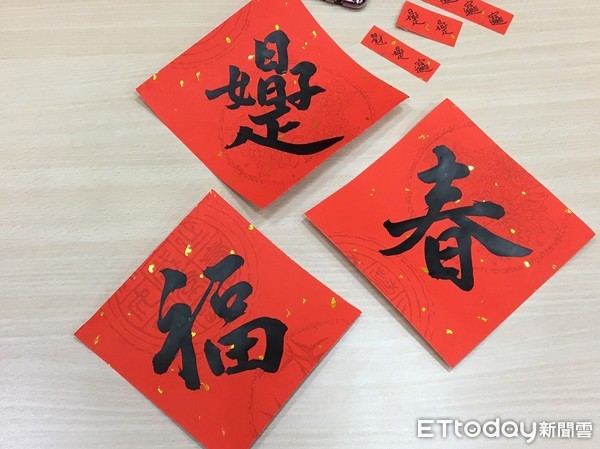
Also, writing in one word, 福(Good fortune) and 春(/chun/,Spring) is another option. As you can see in the right picture, we sometimes reverse the words, we say 倒(dǎo), that is the homophonic from 到(dào) with means arrive. So when you see a reverse spring (春), which means we welcome the coming spring!
Set-Up Procedure - Laser Cutter
-
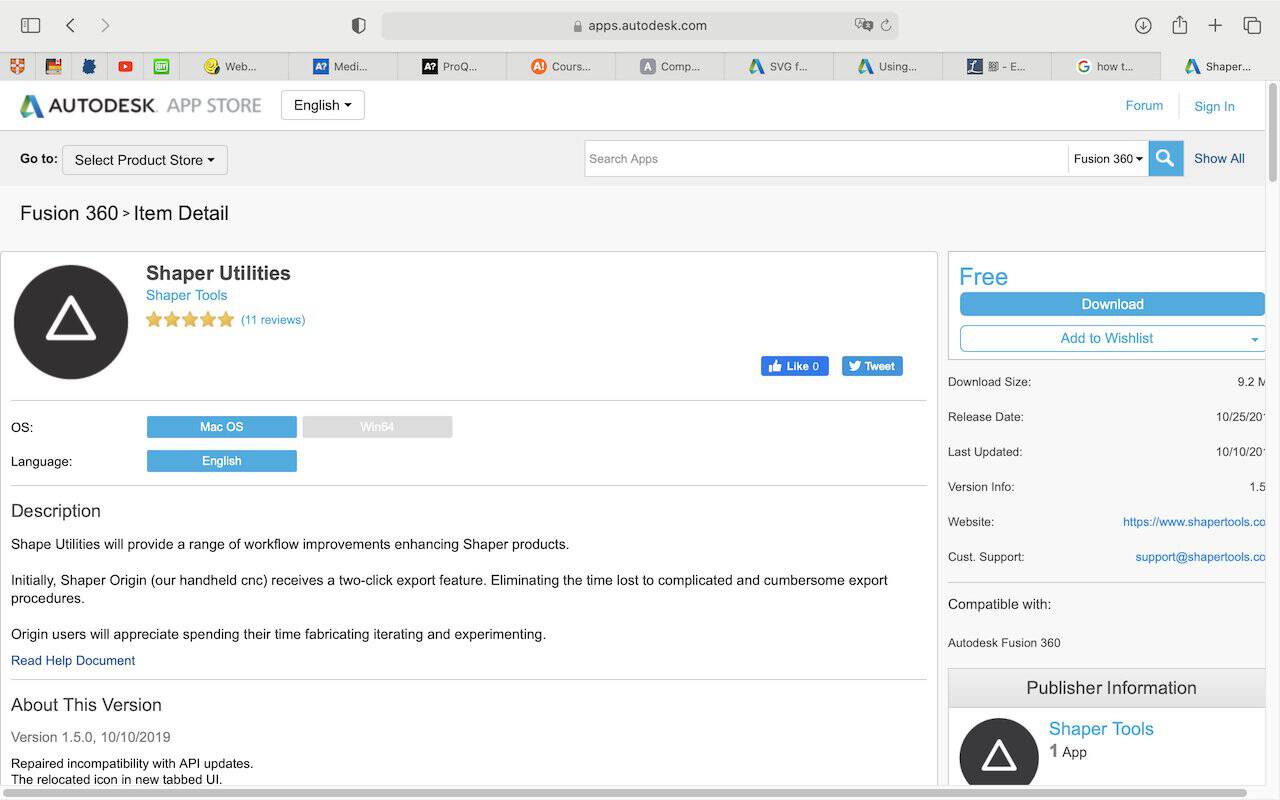
The software at Lasser Cutter station is CorelDraw, I have to export the file from Illustrator to EPS (according to the experiment EPS file could keep the size of the file from Illustrator to CorelDraw). Or use a plug-in Shaper Utilities in Fusion 360, it can export a SVG file.
-
After importing the file into CorelDraw, set the color of the file to no fill and Hairline for Outline.
-
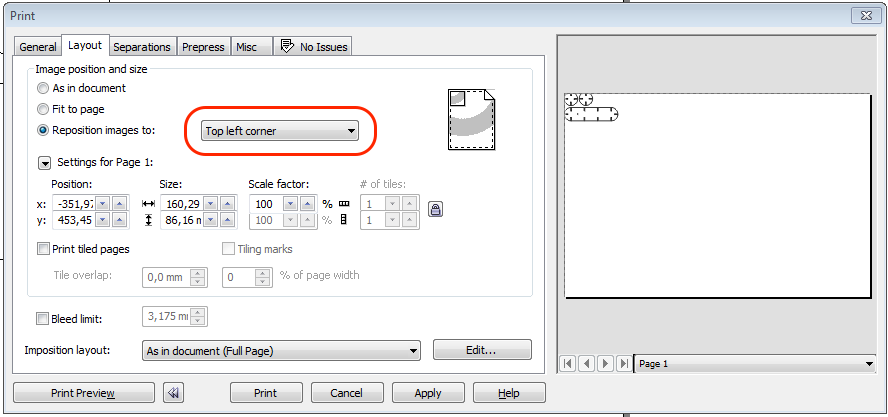
Then print it with short cut Ctrl + P. In the layout section choose Top Left Corner. In the general section, click Properties to do the setting for the laser cutter.
-
In the properties, I selected a vector for cutting the outline. And the parameters for speed, power, and frequency should refer to LaserCutter Setting.

Draw
In my assignment, I started the design from Illustrator.
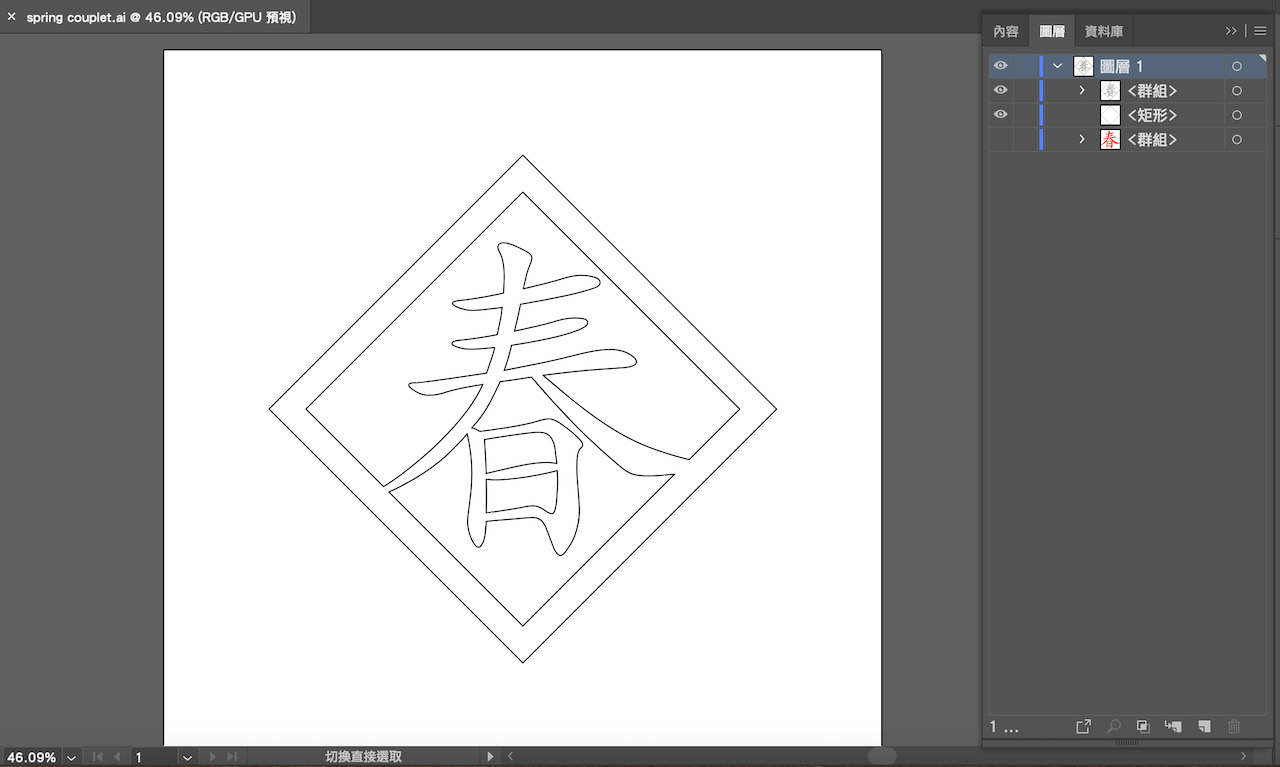
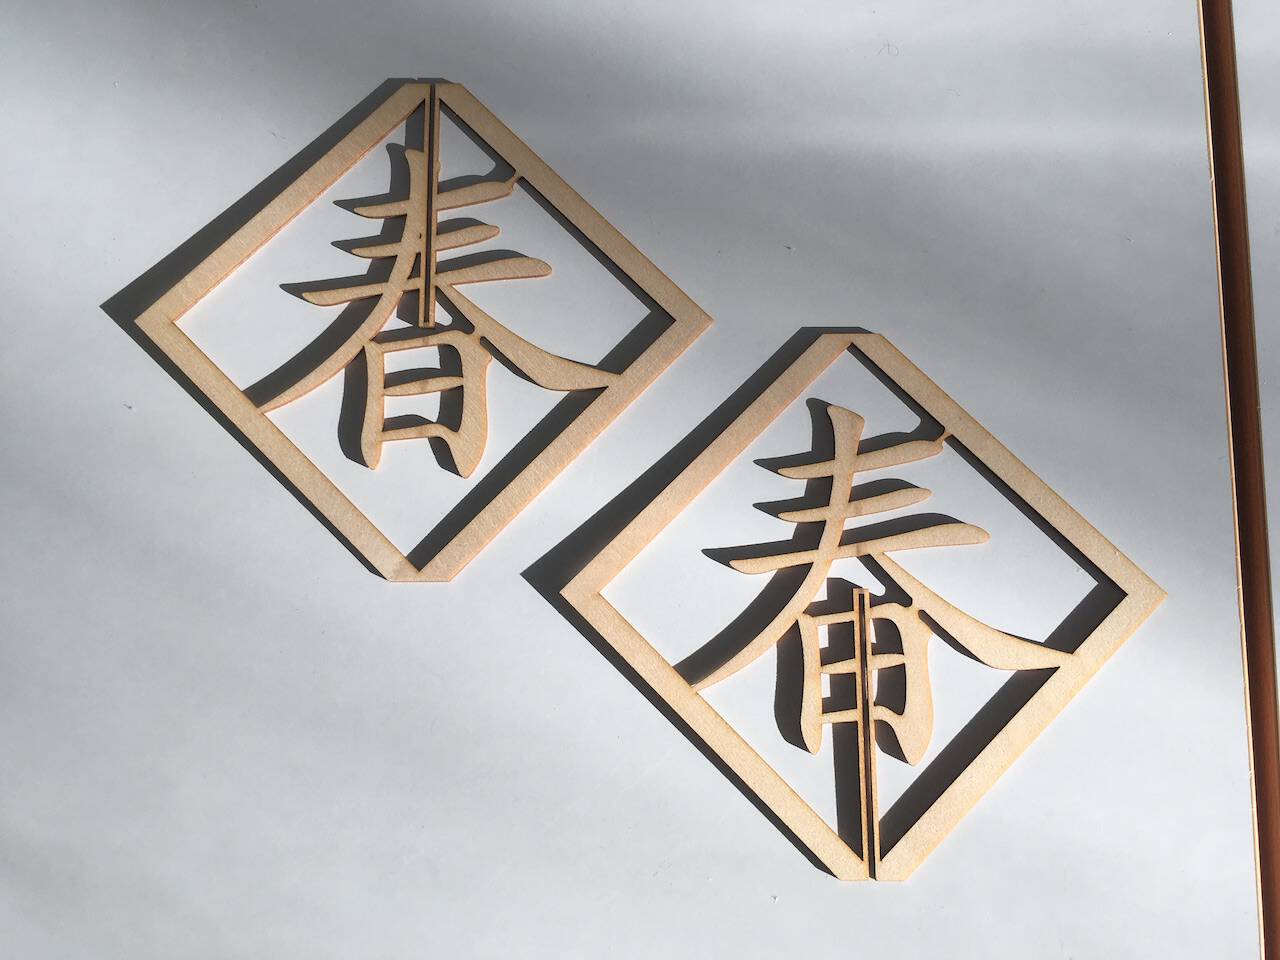
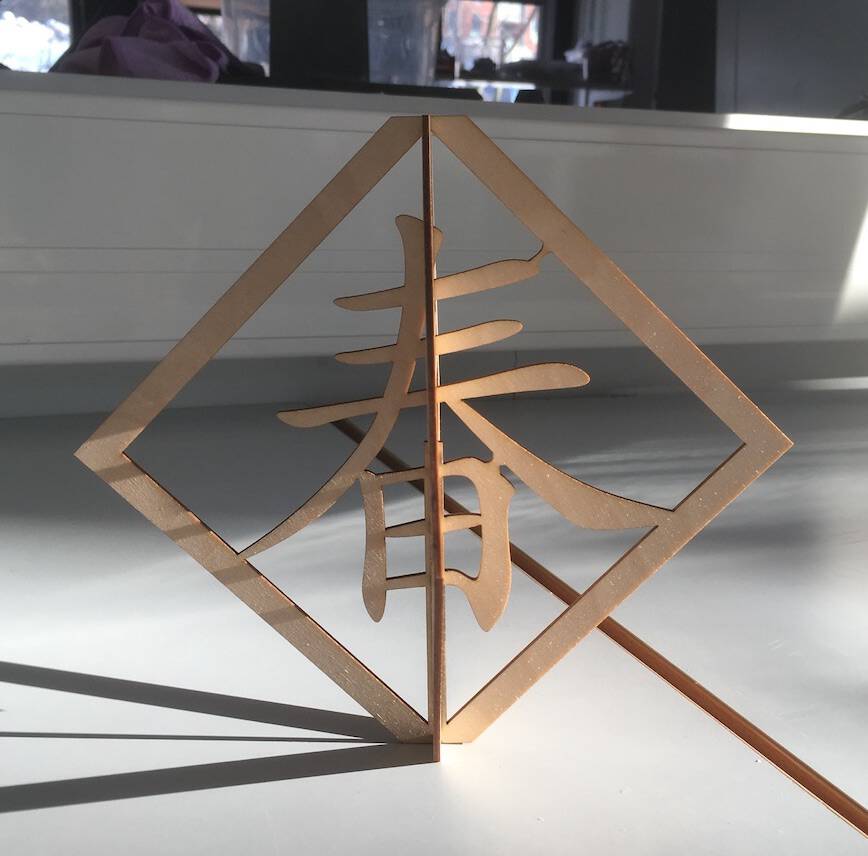
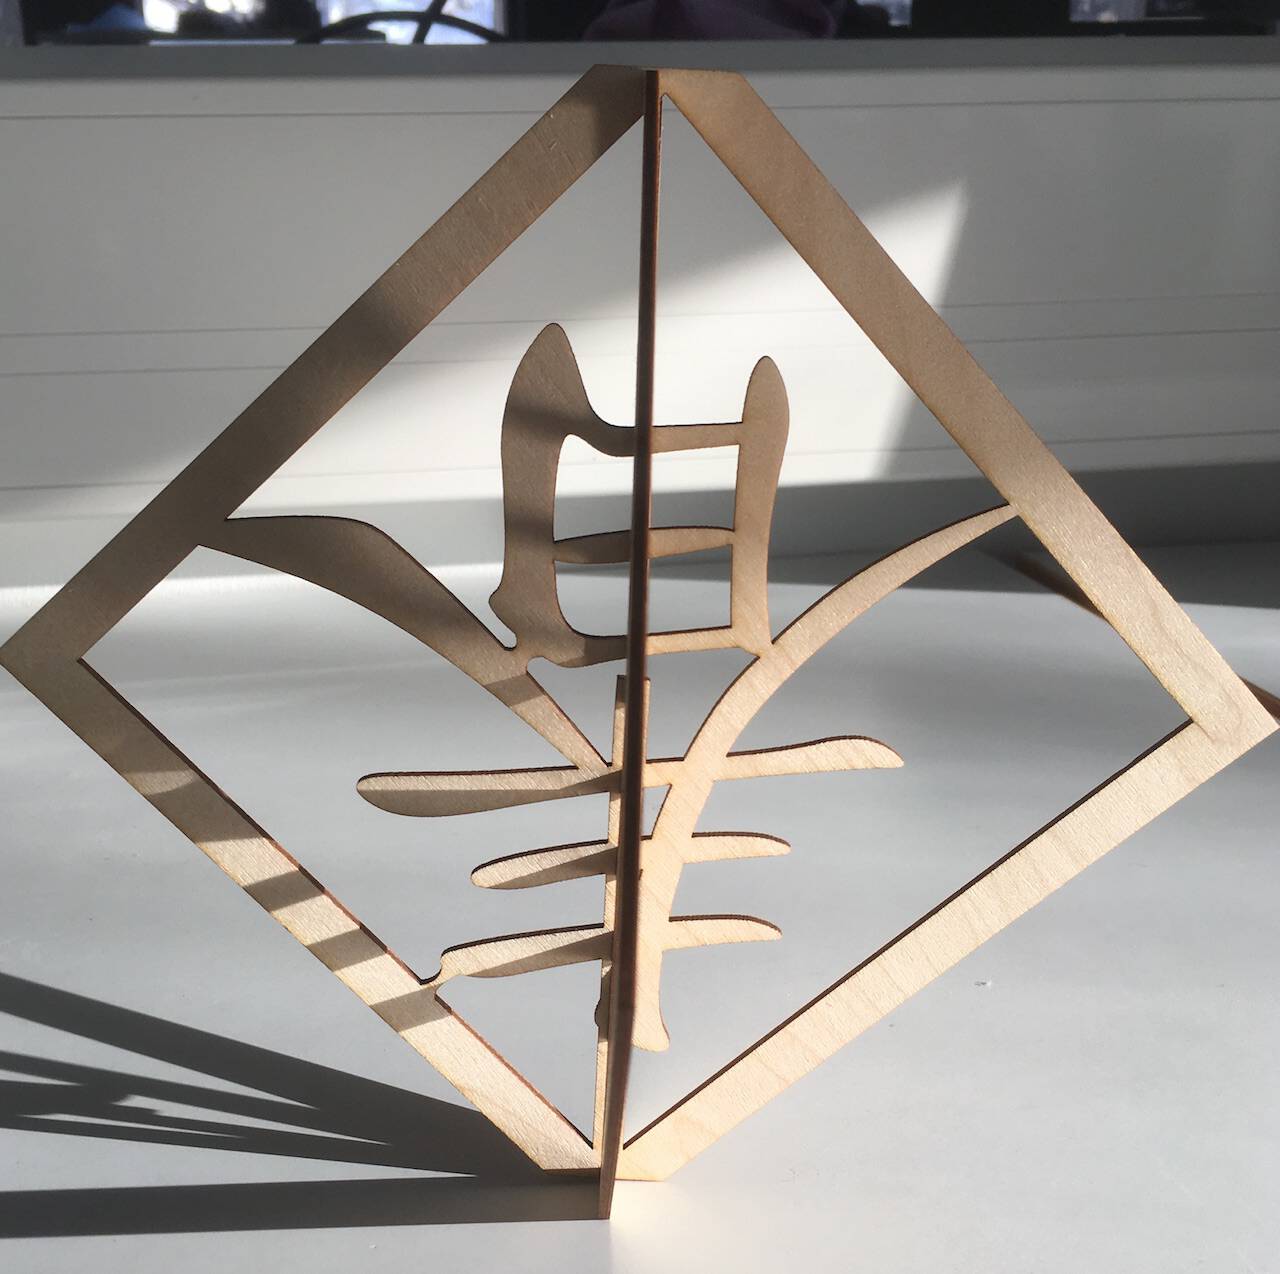
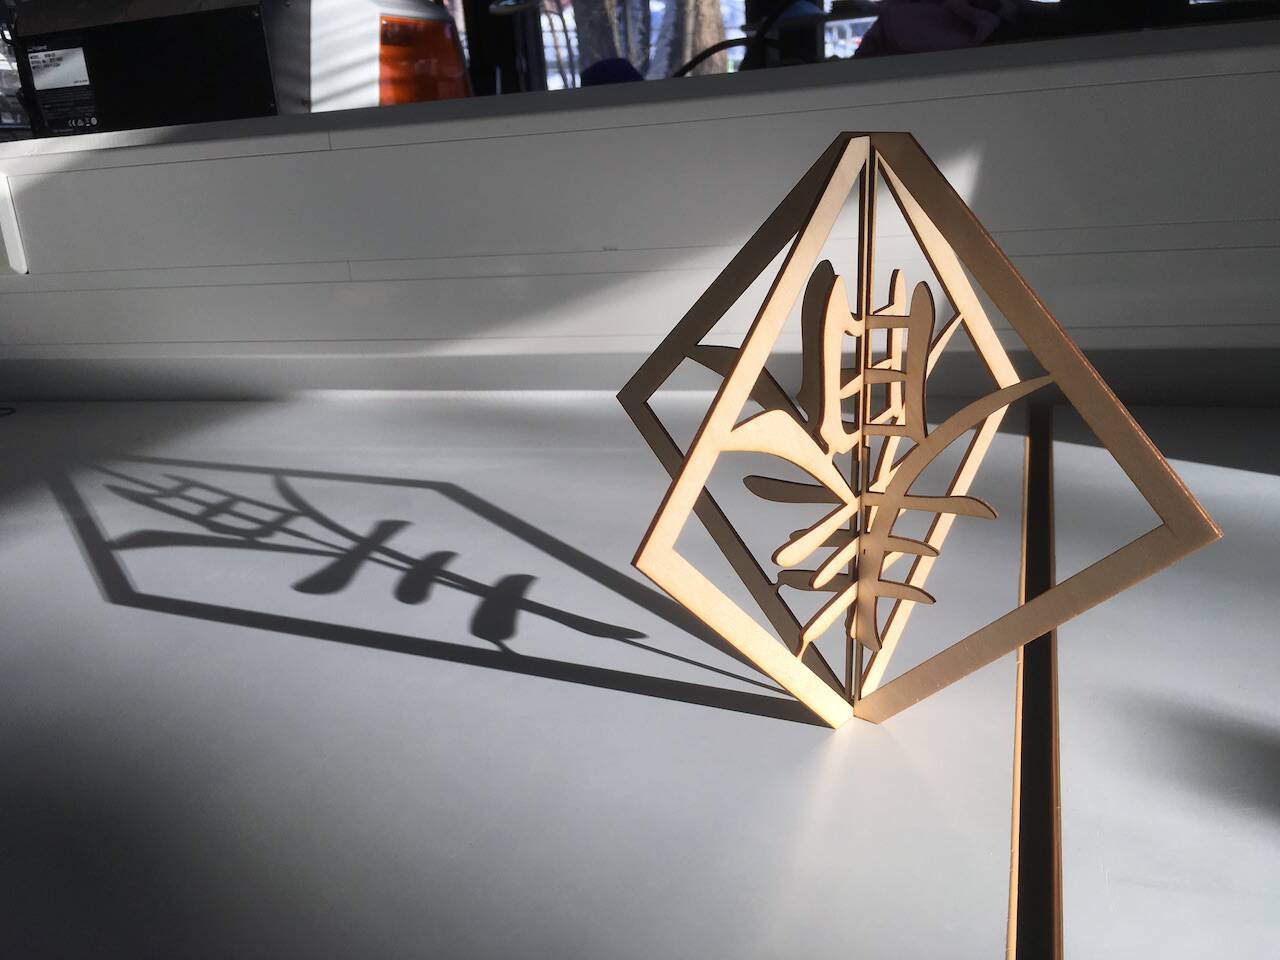
By emerging the character with the outline, the words can be more steady. To make a standing 3D spring couplet, I made a press-fit joint that I learned from the group assignment. And I used a 1.9mm gap for the 2mm plywood, which is the result of my group experiment.
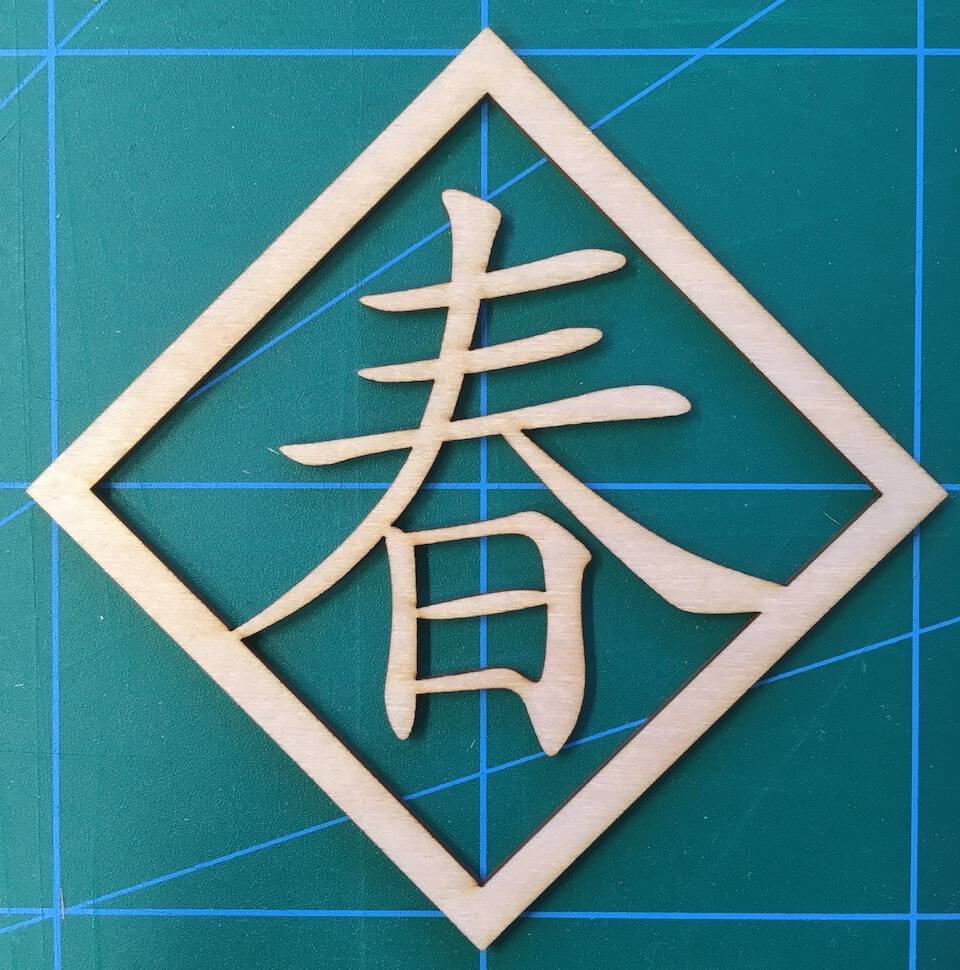
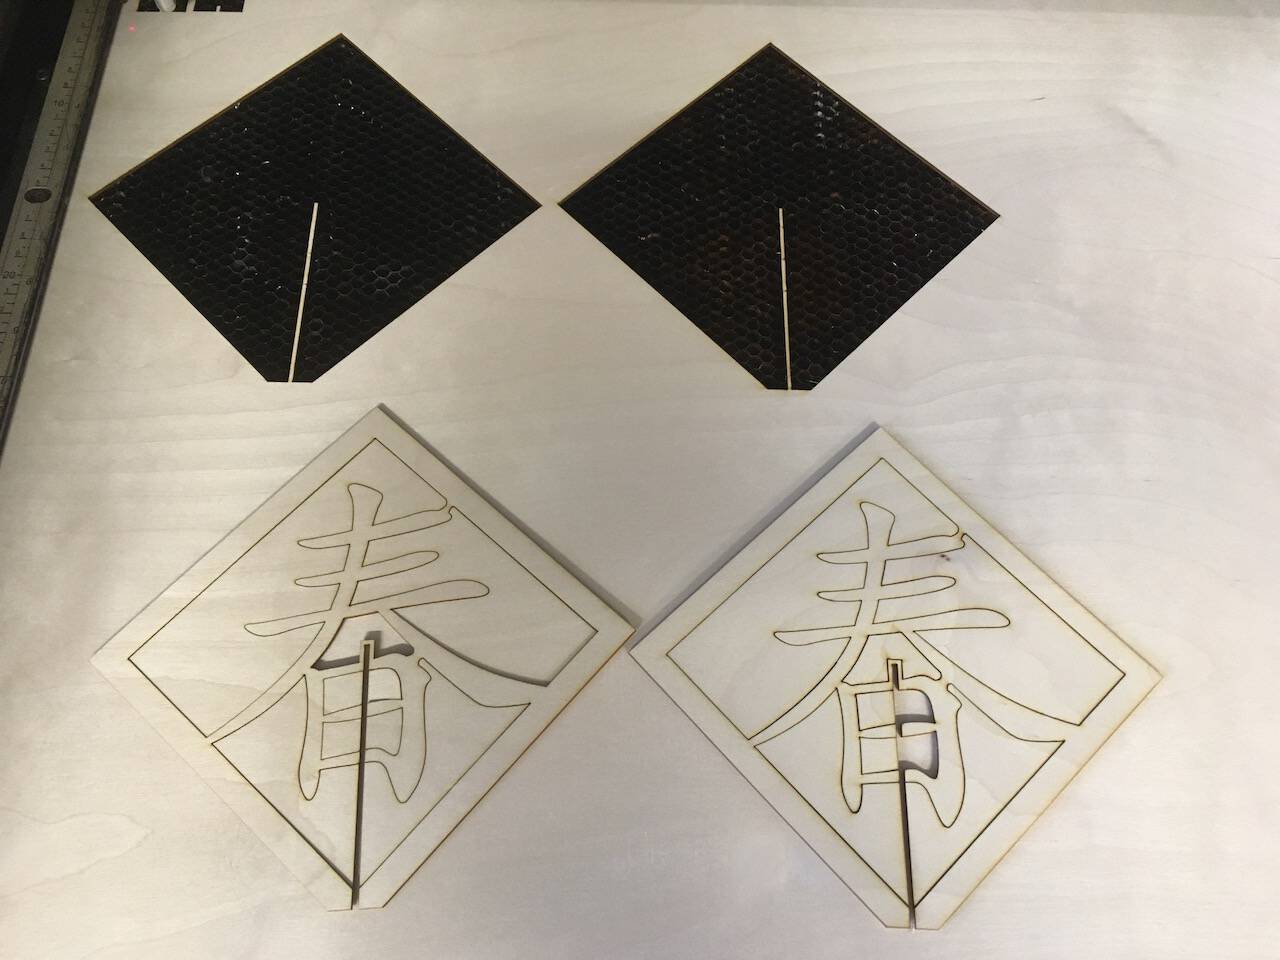
Then we started to cut it in the laser cutter, and we got the result in a couple of minutes.
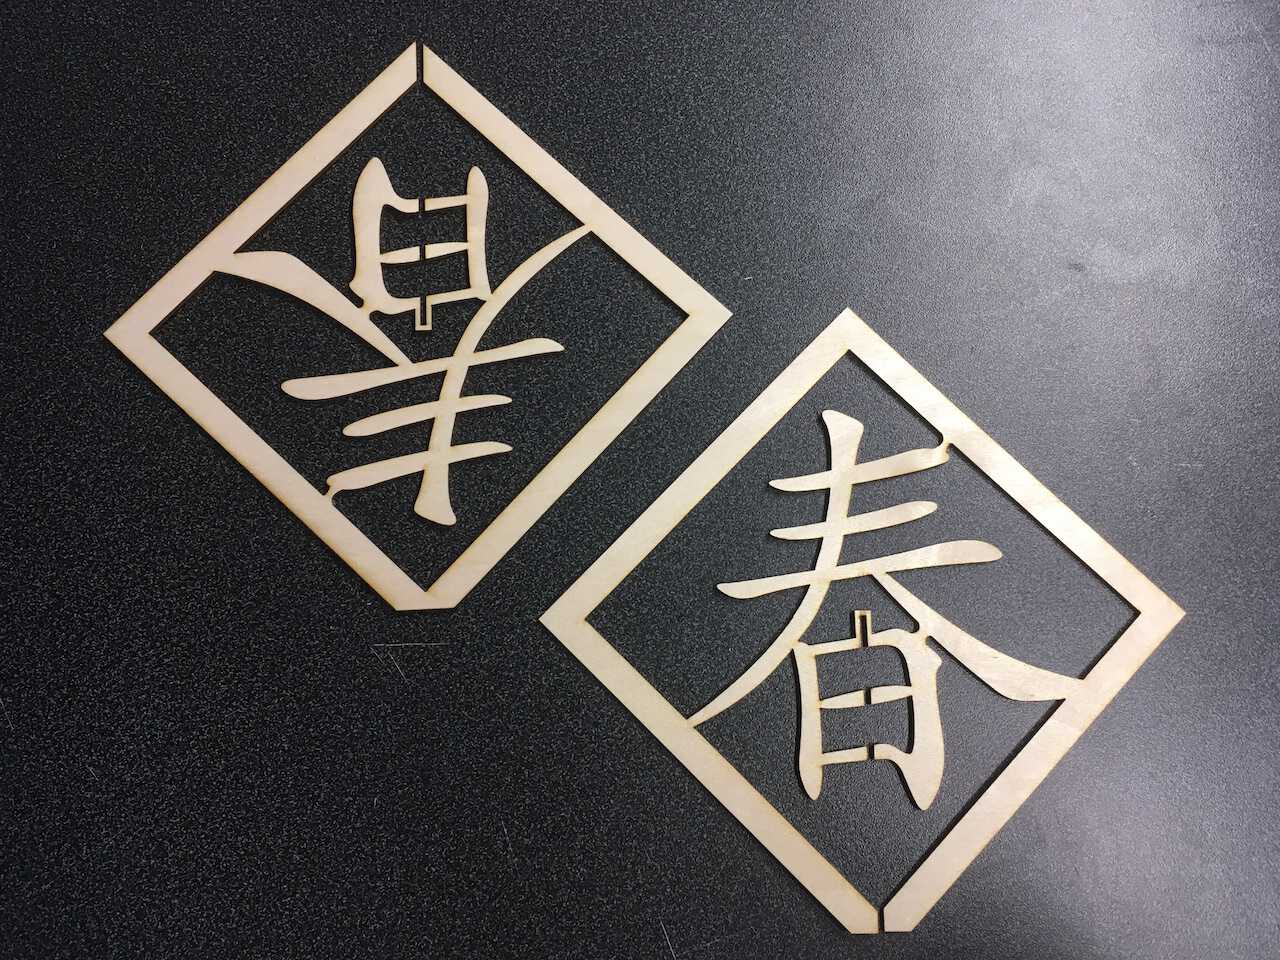
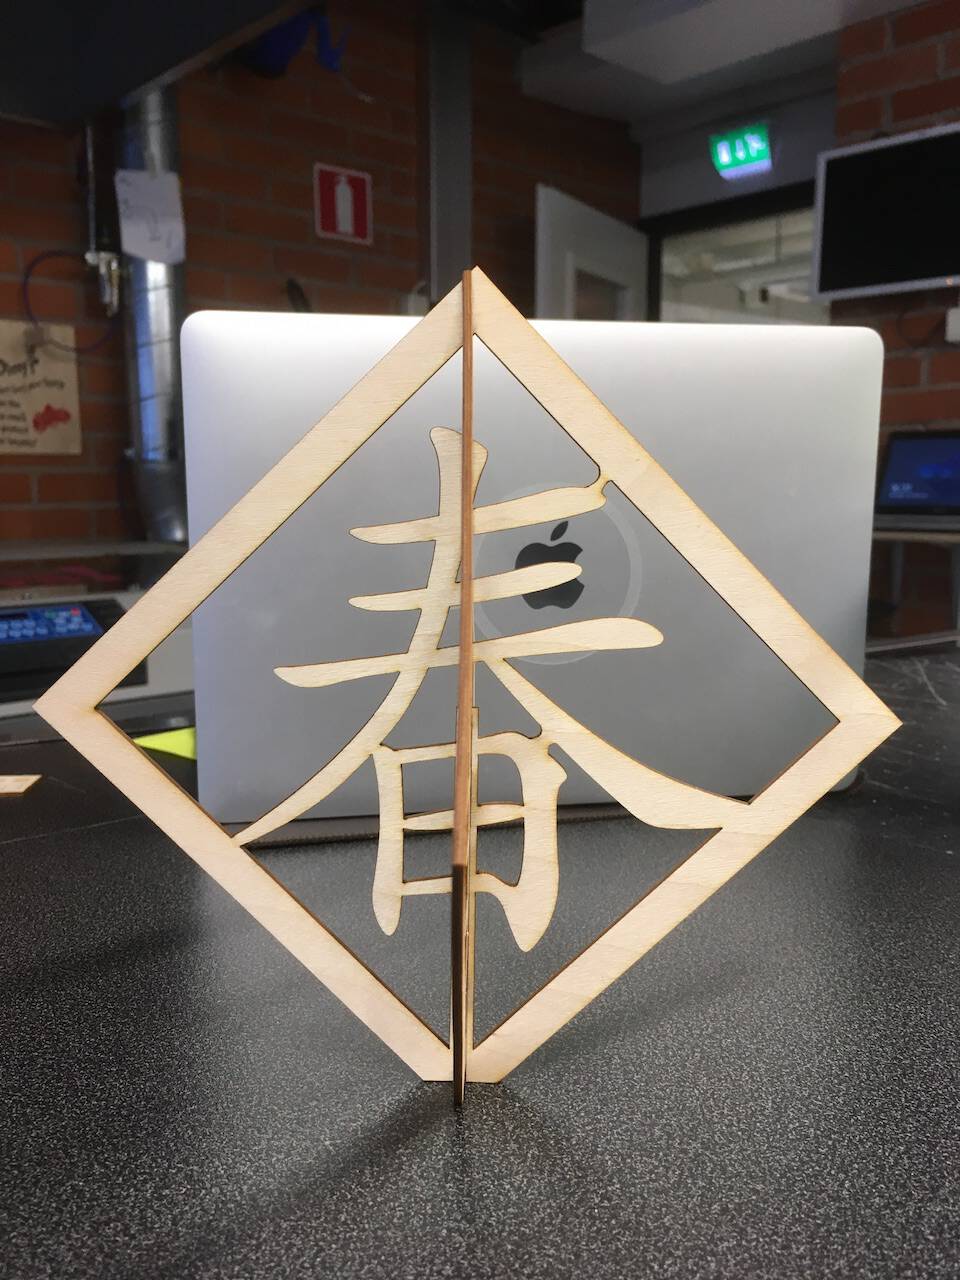
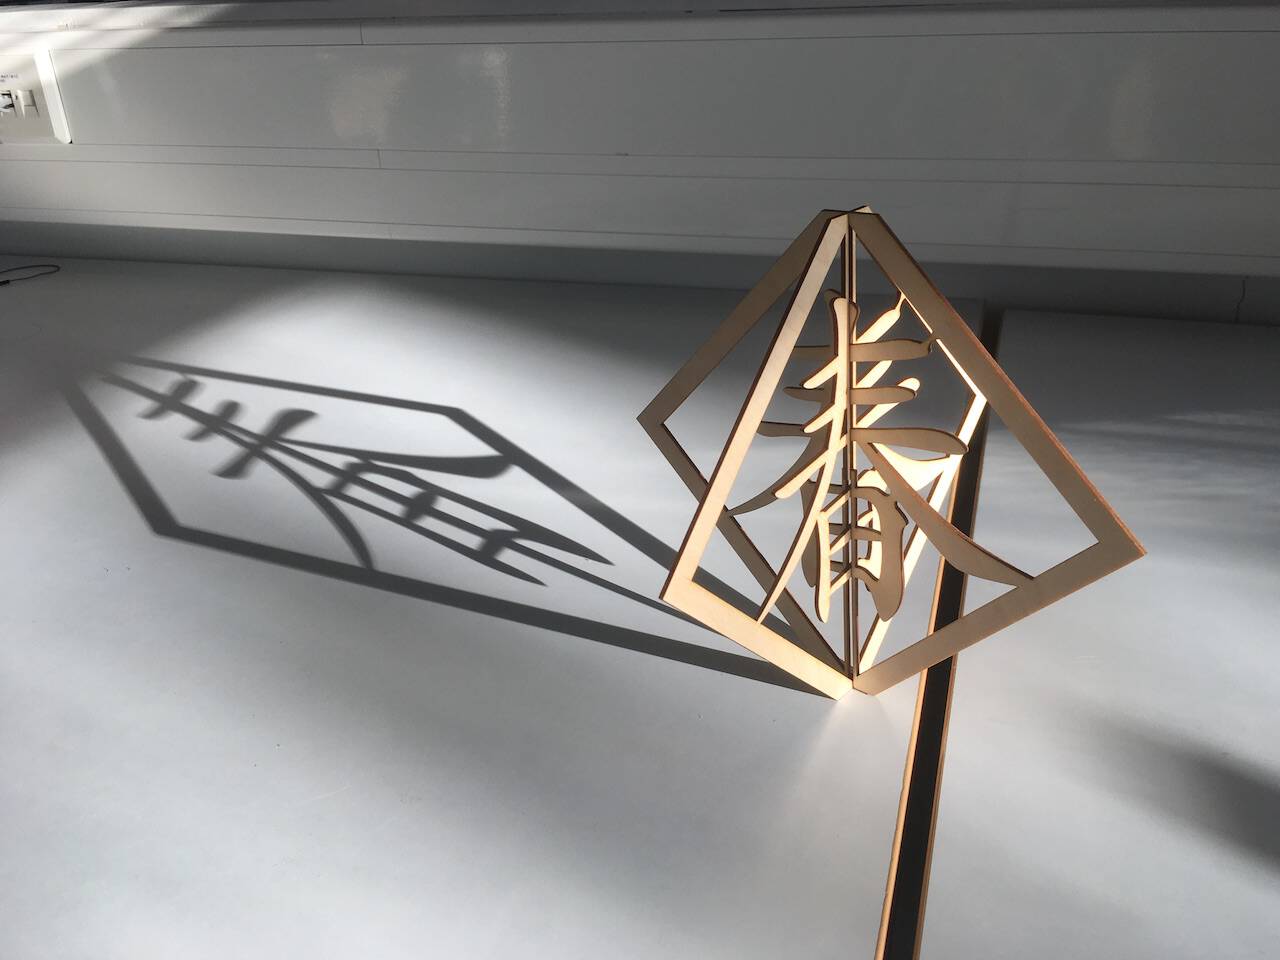
Assemble them, they look really nice!


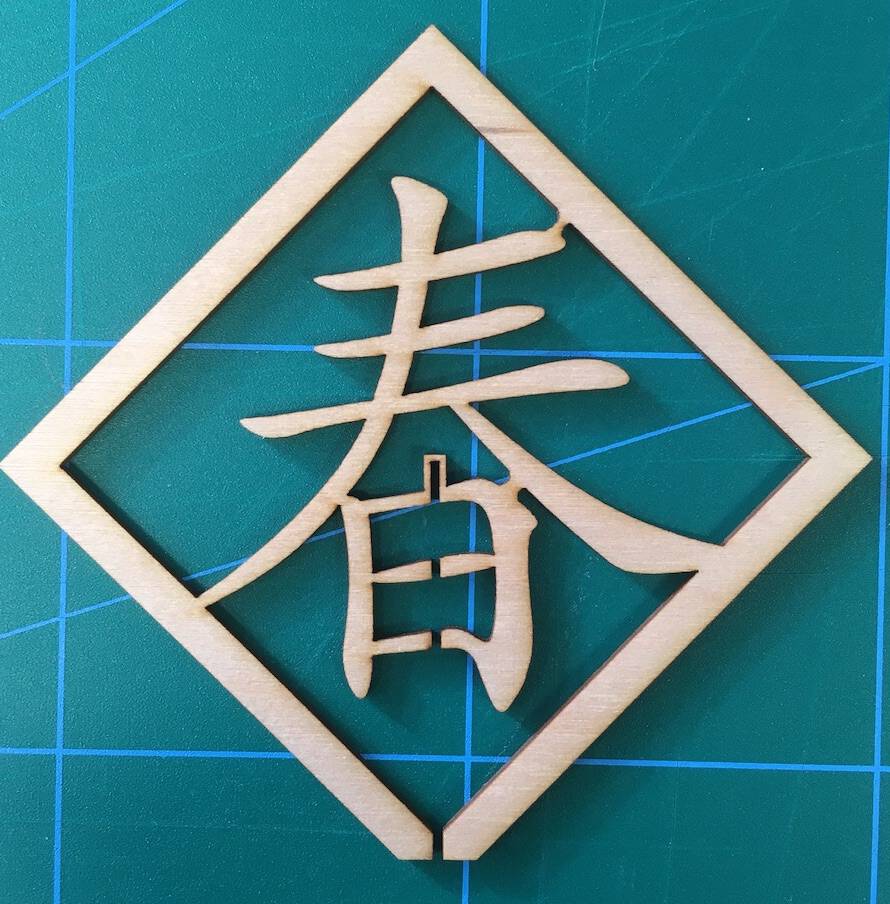
? Weakness
After the first experiment, I was aware some points could be improved:
- Because of the character, joint stocks a lot.
- Whenever I tried to change the thickness of the plywood, I need to change the whole design again.
- The side view of my standing spring couplet isn’t symmetrical, though it can present the 春 and reverse one simultaneously.
!!Solution:
- Create a track for joints
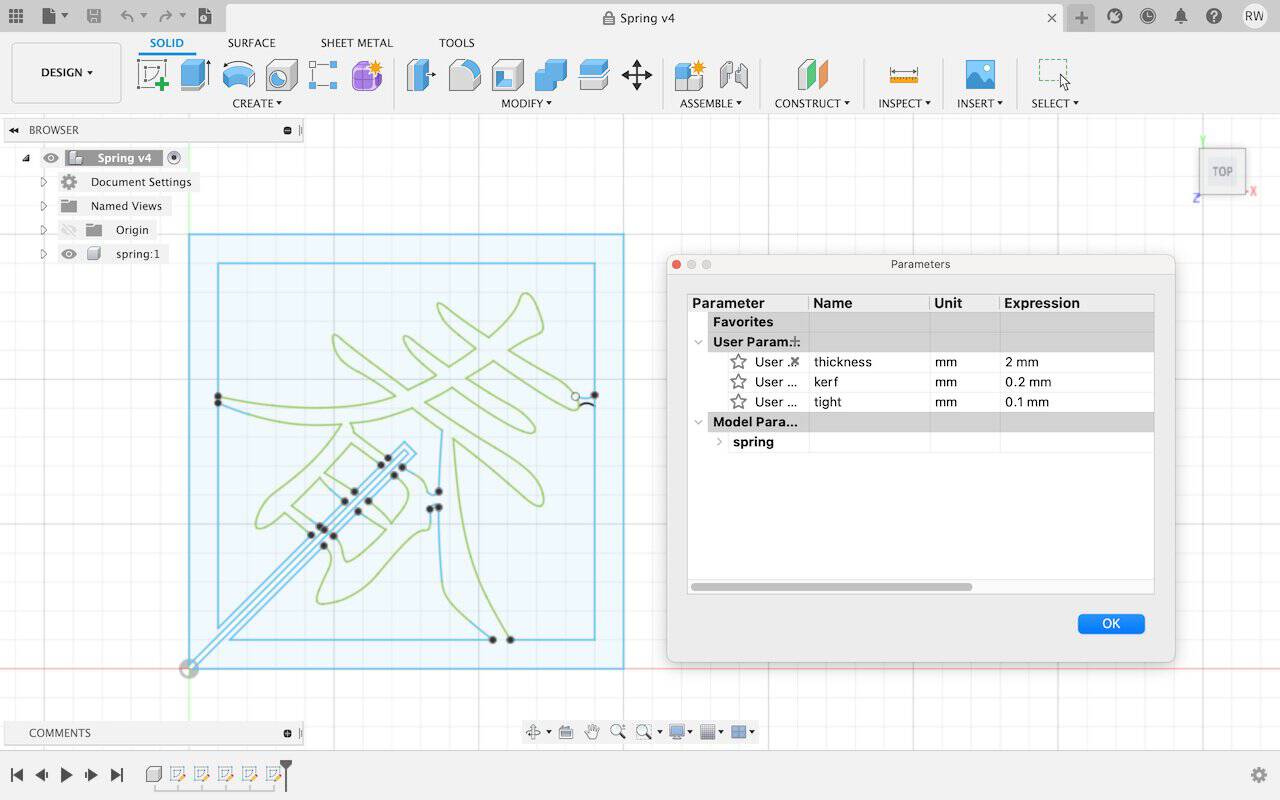
- Use the parametric design from Fusion 360
- Build in the same direction and standing points for both sides.
! Let’s improve it
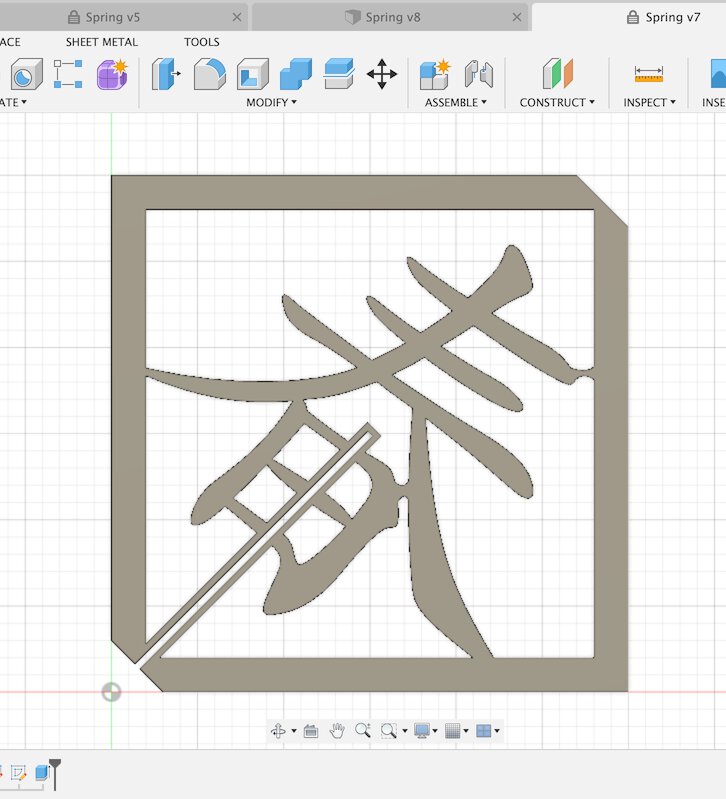
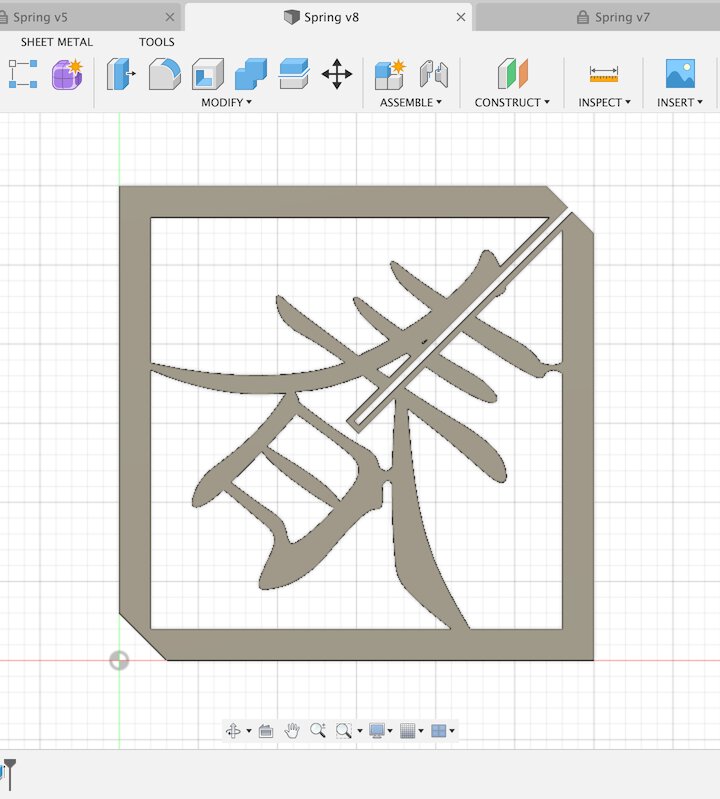
Insert the 春 in SVG file into Fusion. And modify the word to connect with the outline.
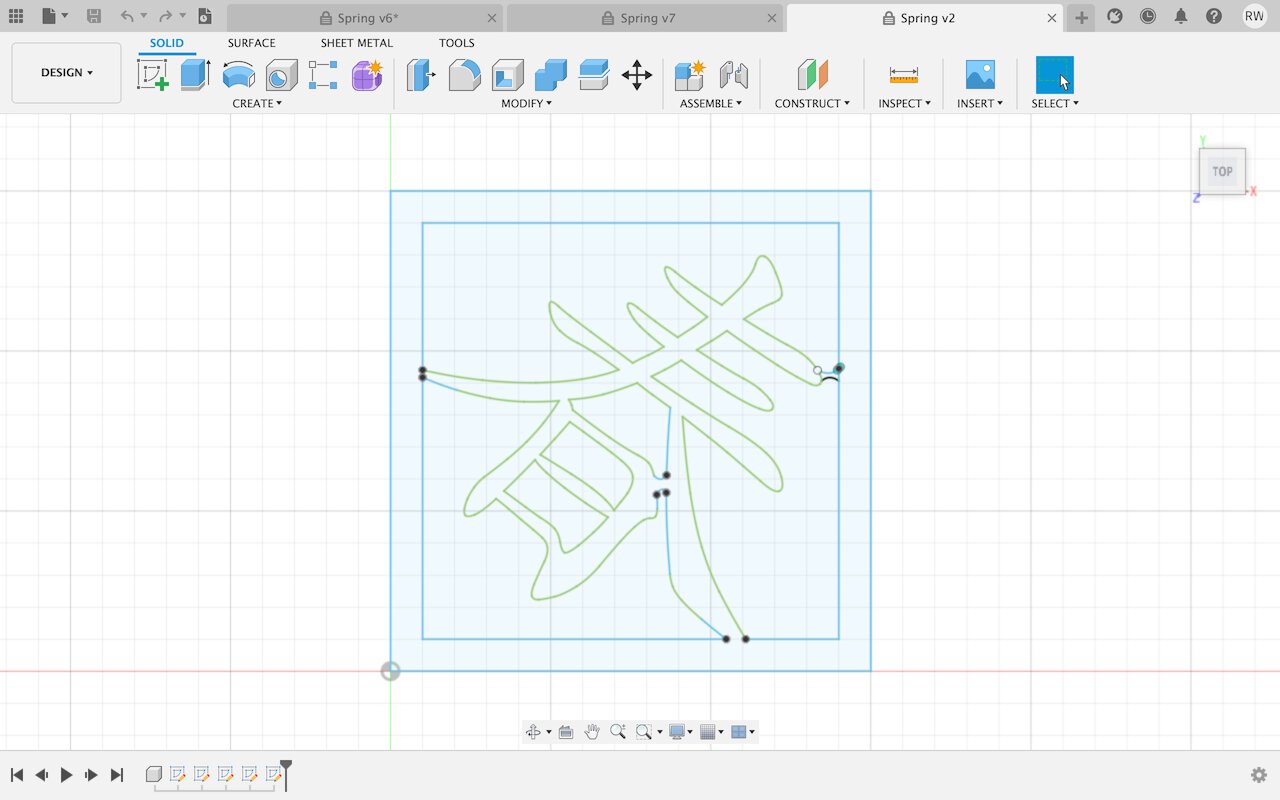
Cut a gap and build a track by setting the parameters, which allows us easier to change in the later modification.
Cut supporters on both sides, and extrude with the parameter, thickness.
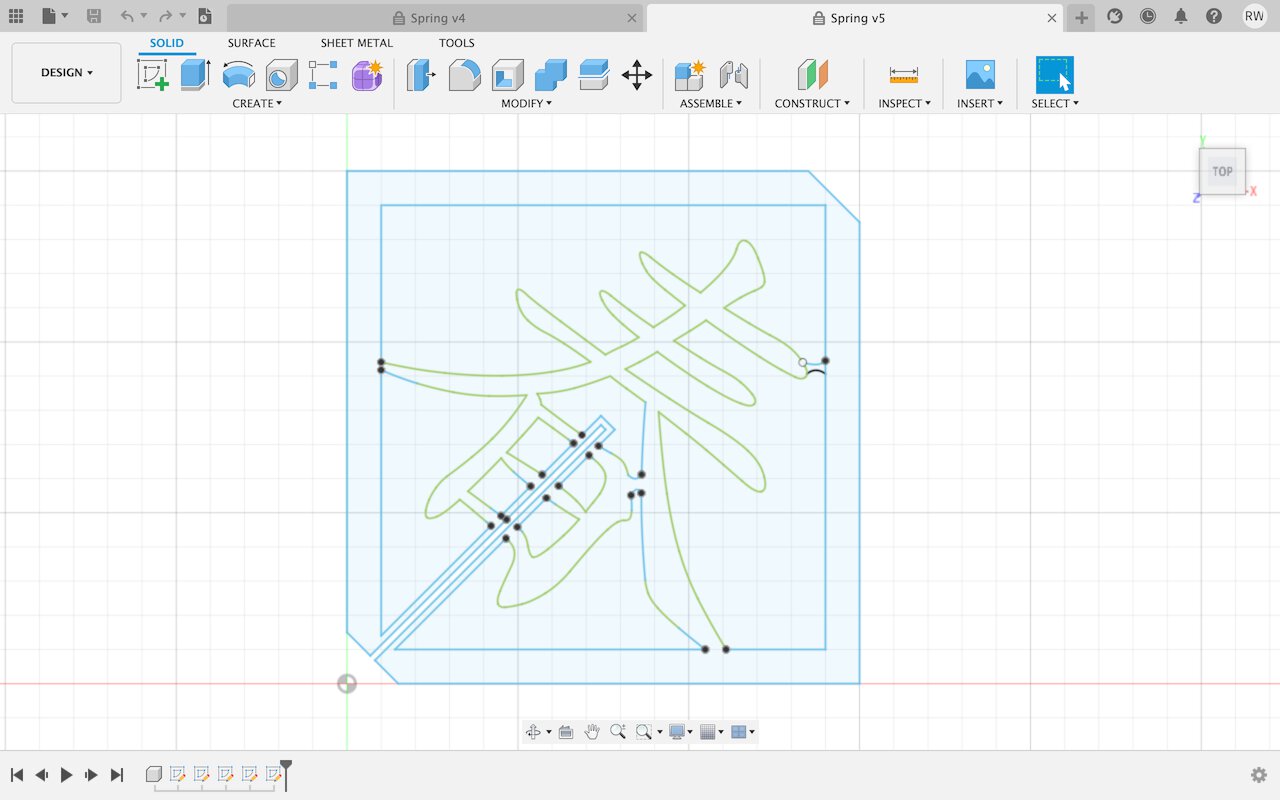
Extrude the sketch, and do the same procedure on another side.
Export the SVG file with a plug-in, Shaper Utilities.
Then the problems are solved!
! Showtime
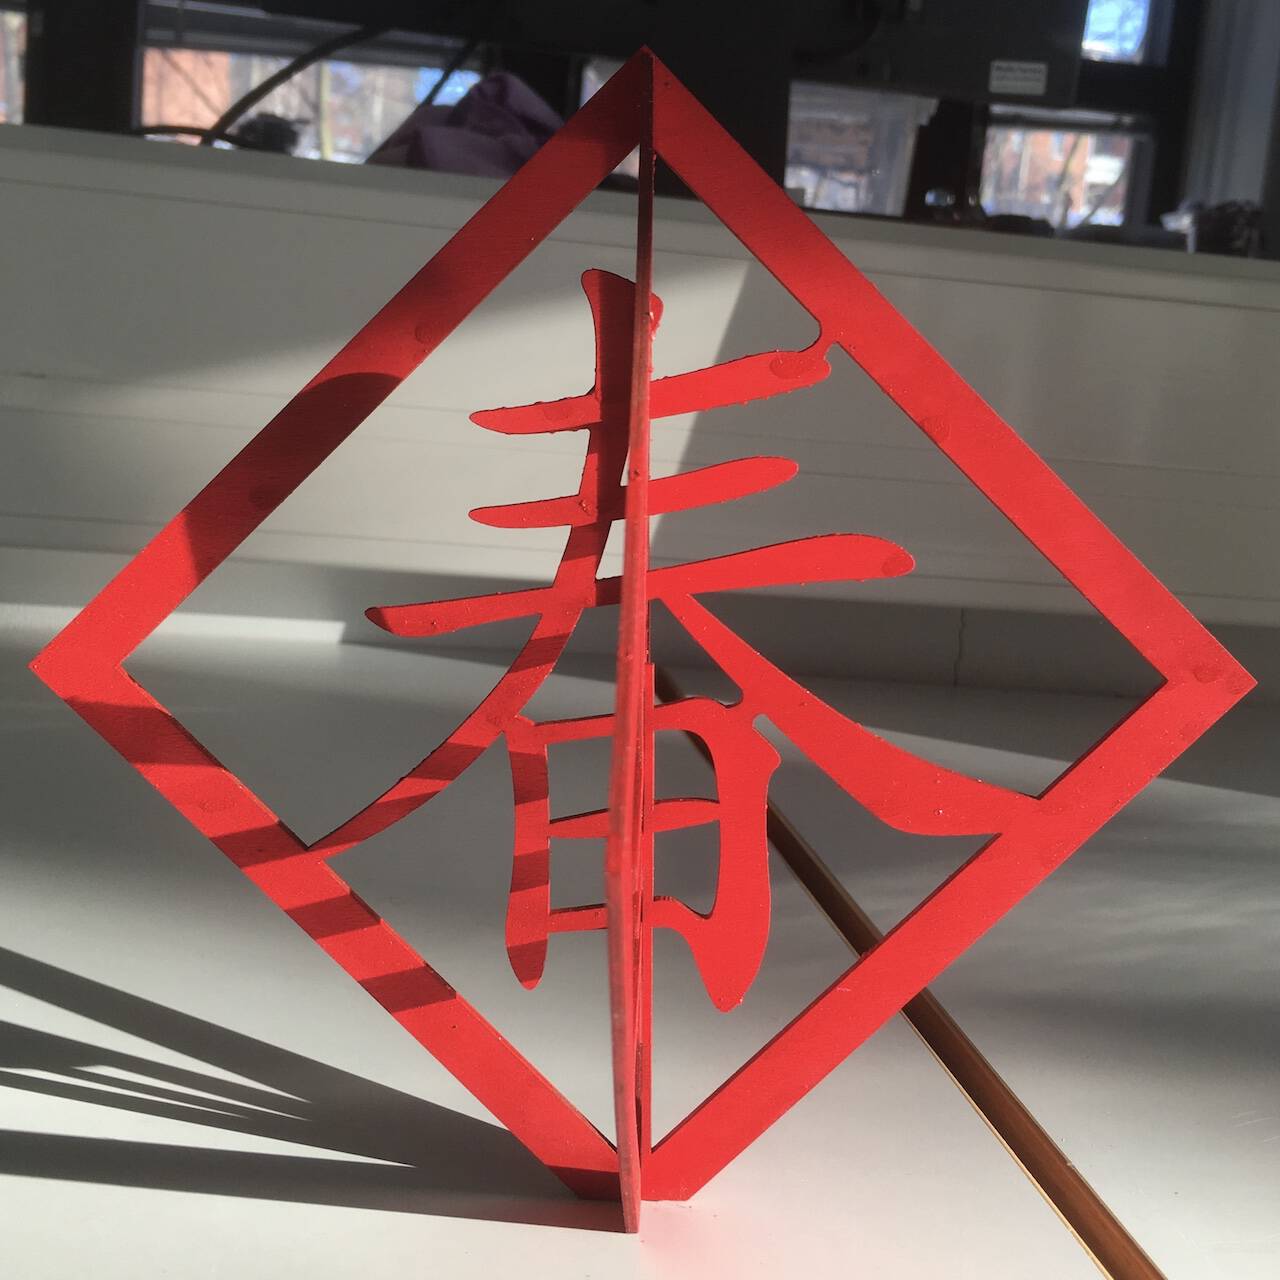
Color it up with red, which means blessing and brings us luckiness!
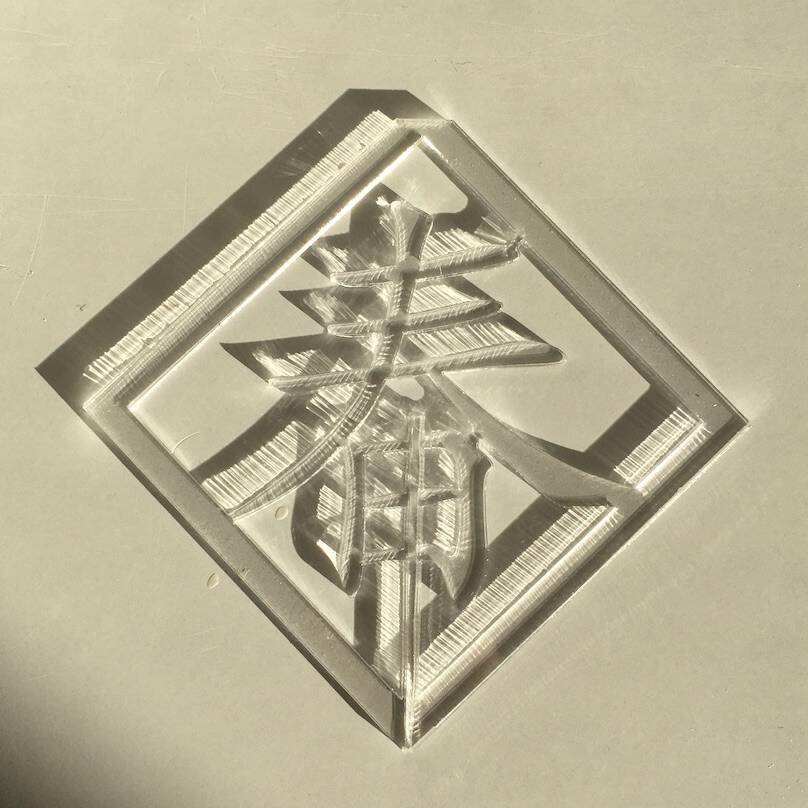
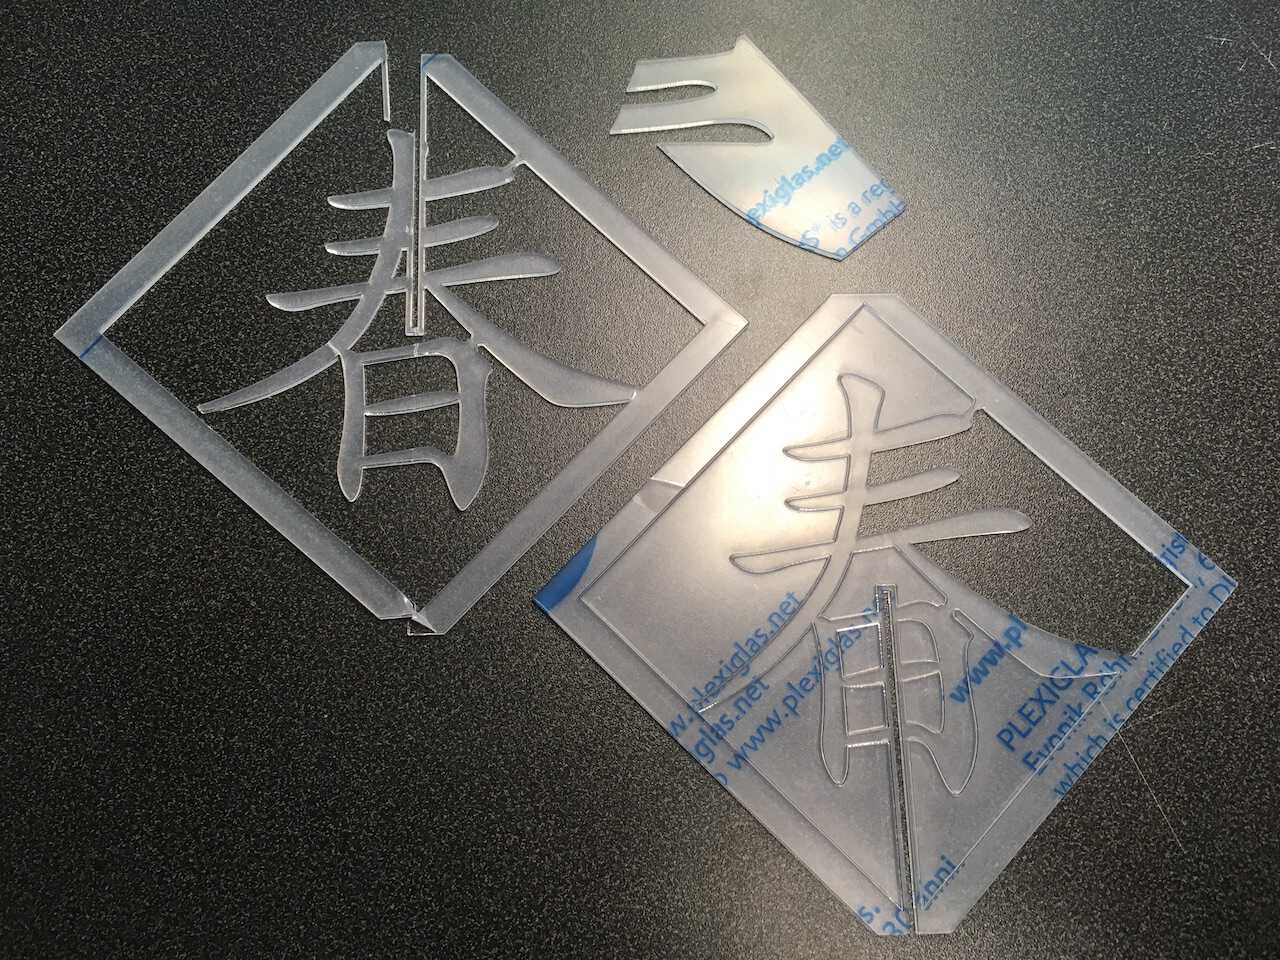
Try in acrylic!
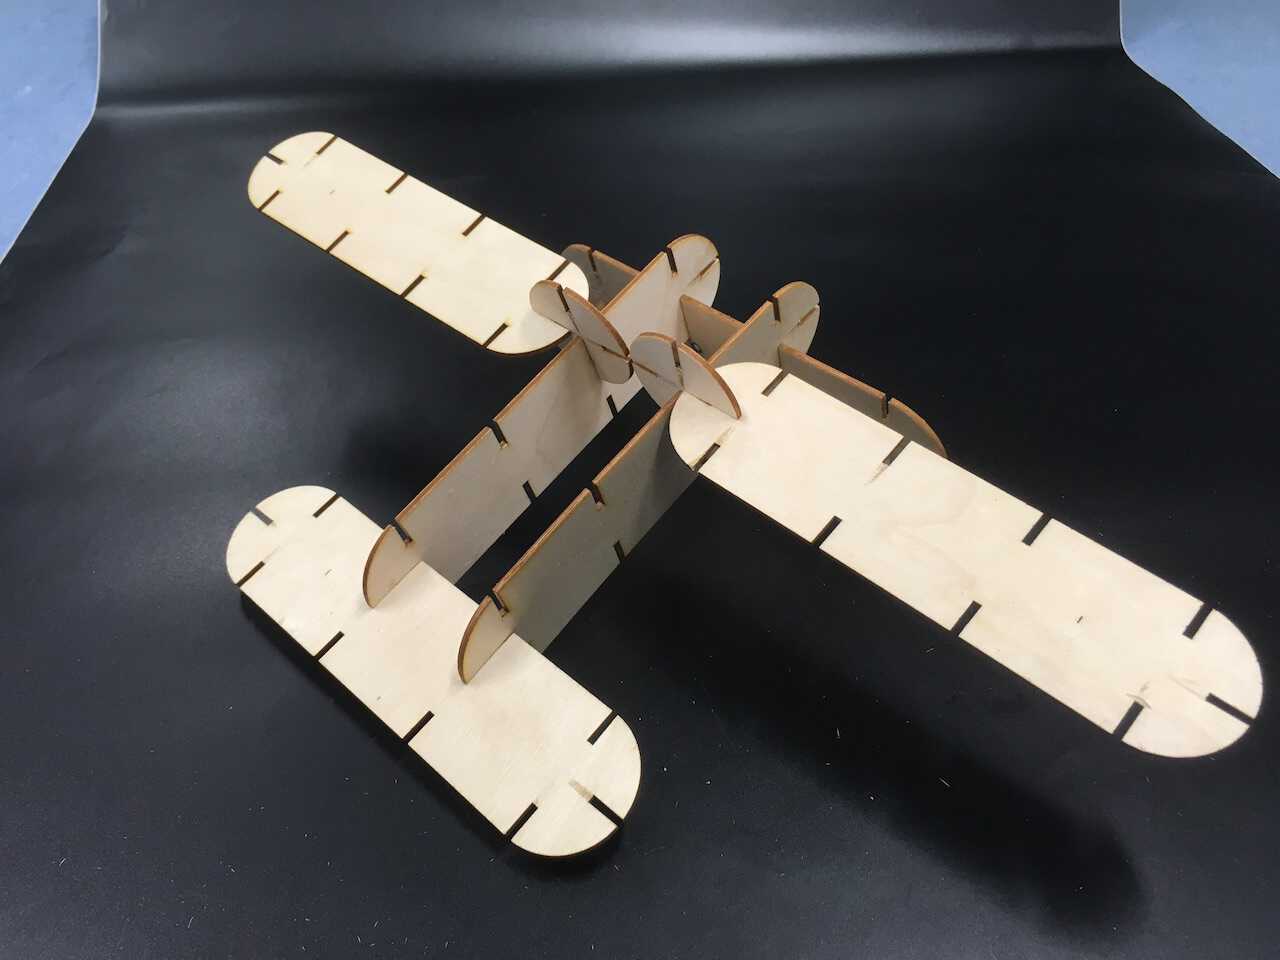
Parametric Construction Kit
After receiving the suggestion from the global evaluator, I made a new Parametric Construction Kit.
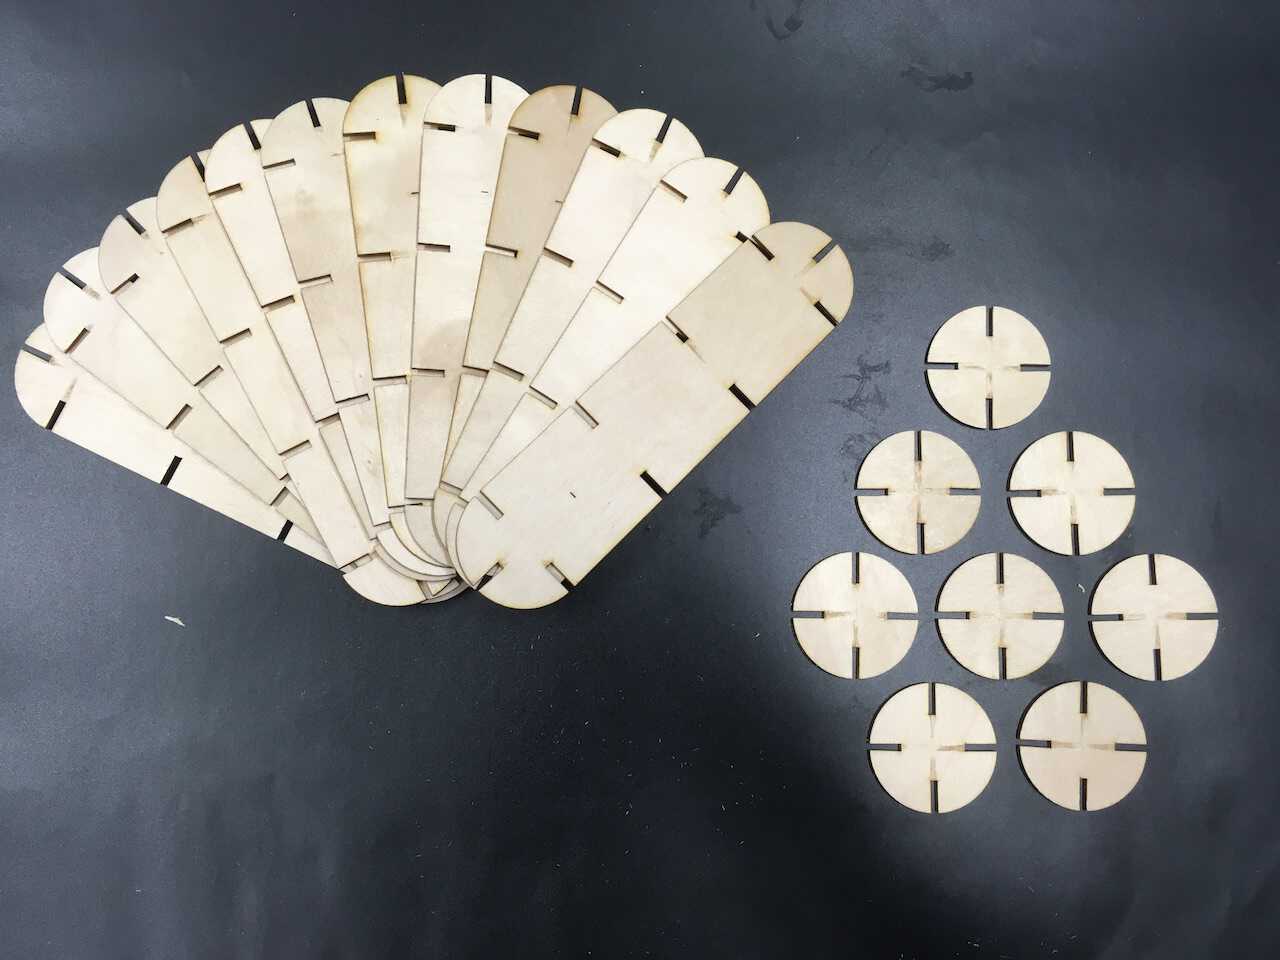
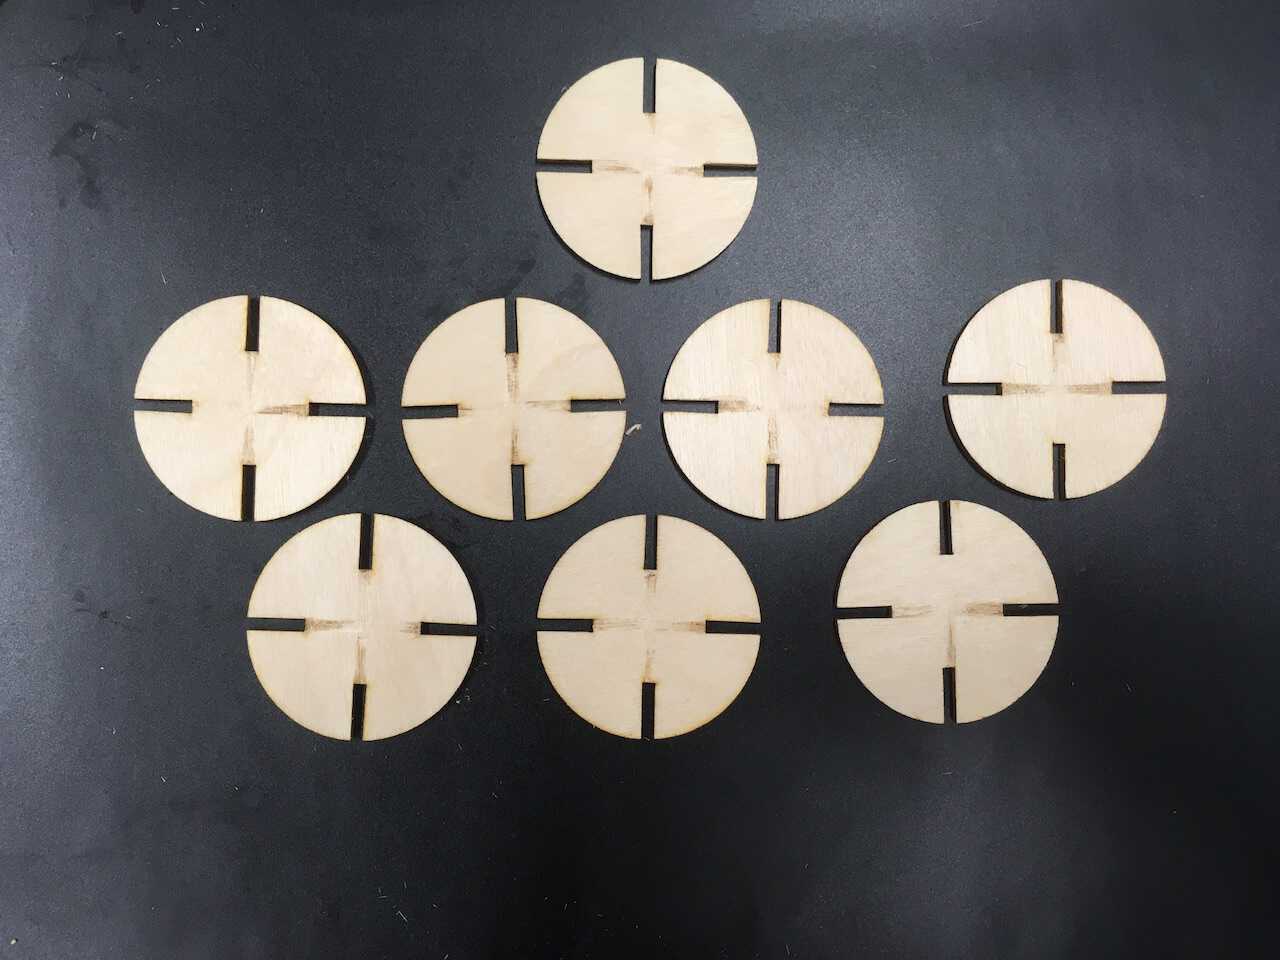
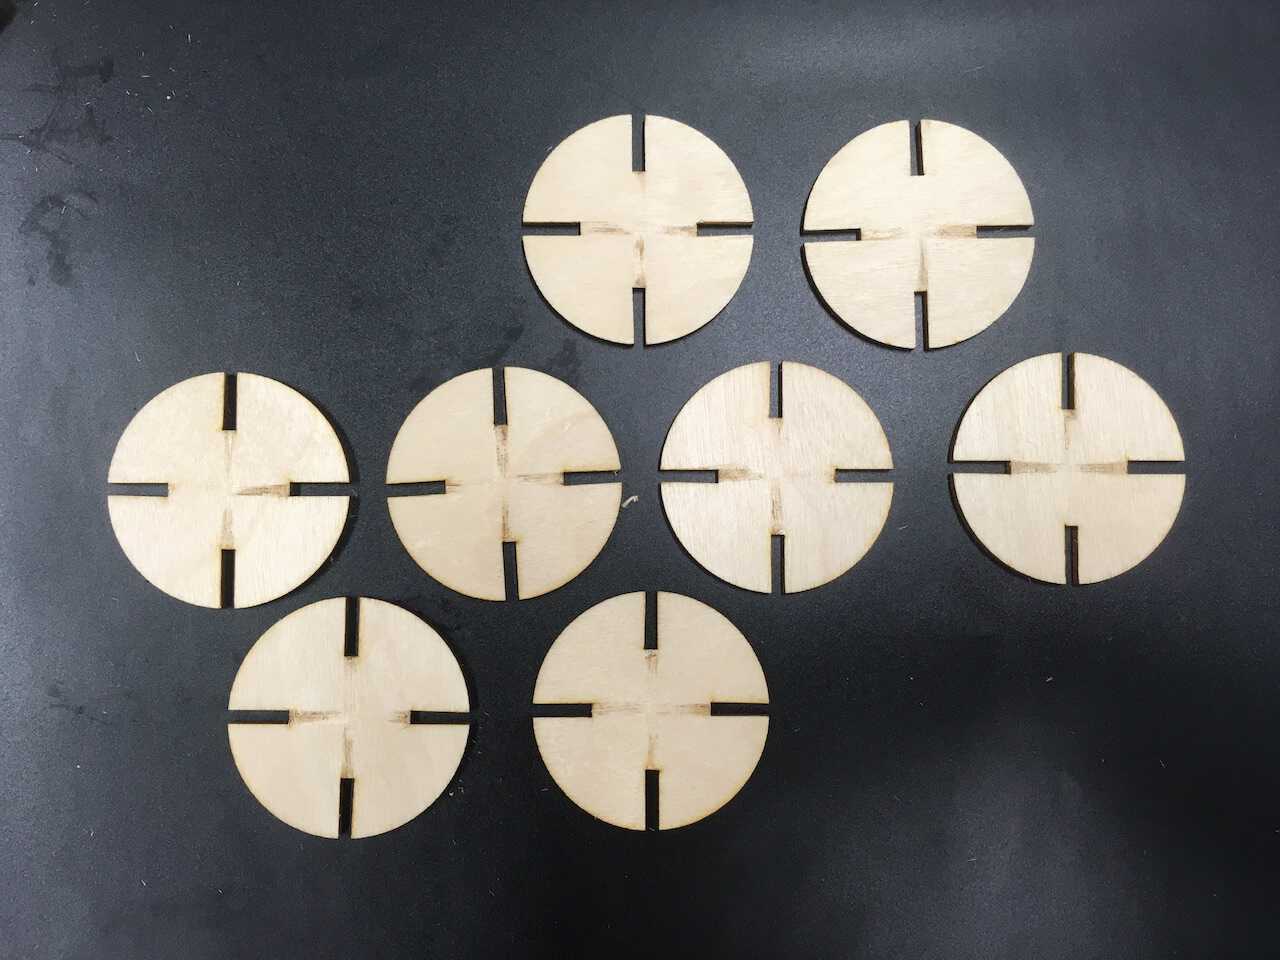
From the previous practices, I could use the same parameters. Also being more familiar with the Fusion 360 and laser cutter, the working procedure became more efficient.

Hero Shots of Parametric Construction Kit
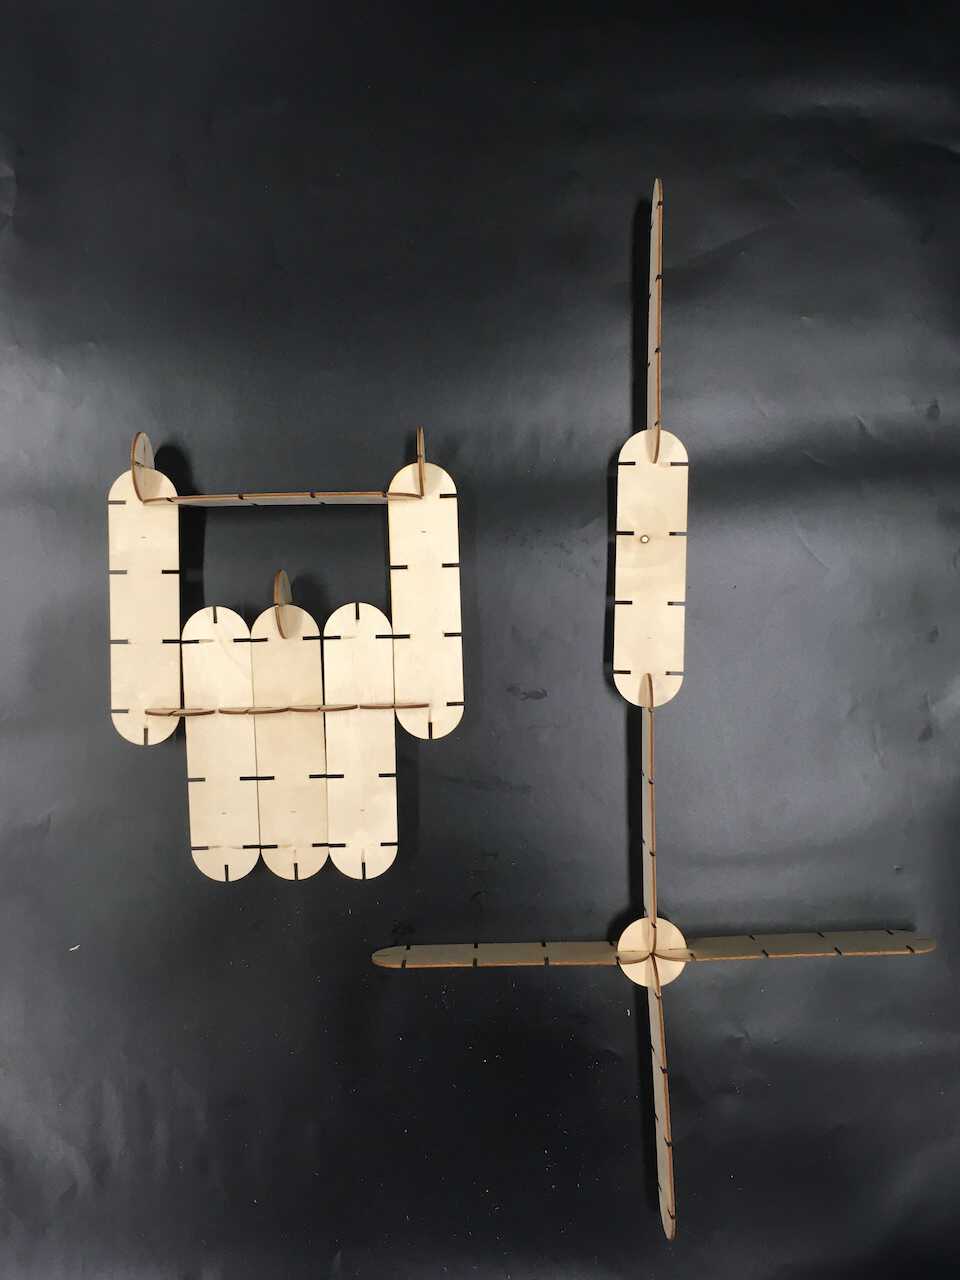 Shield and Sword
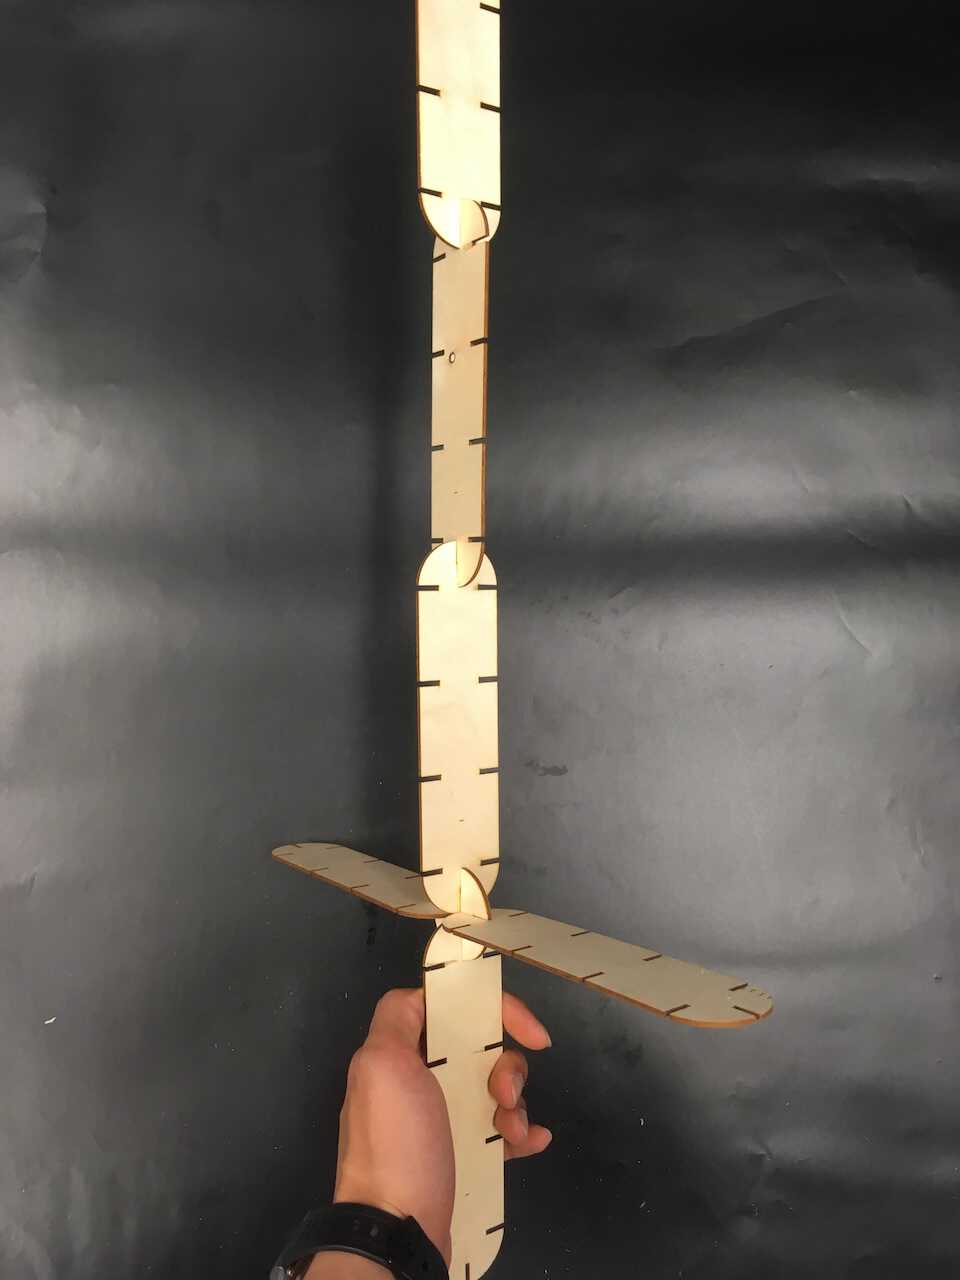 Sword
Sword
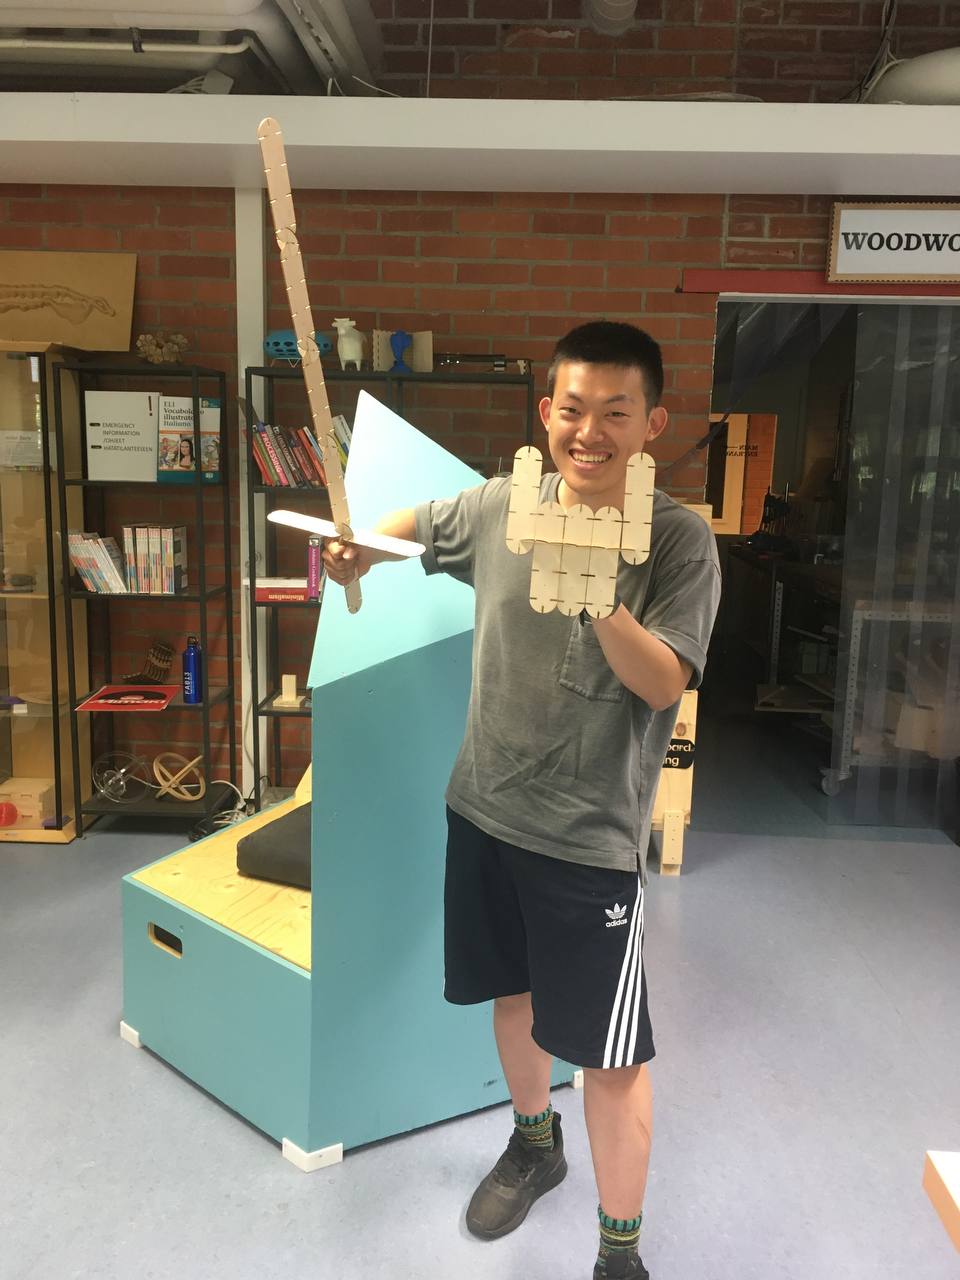

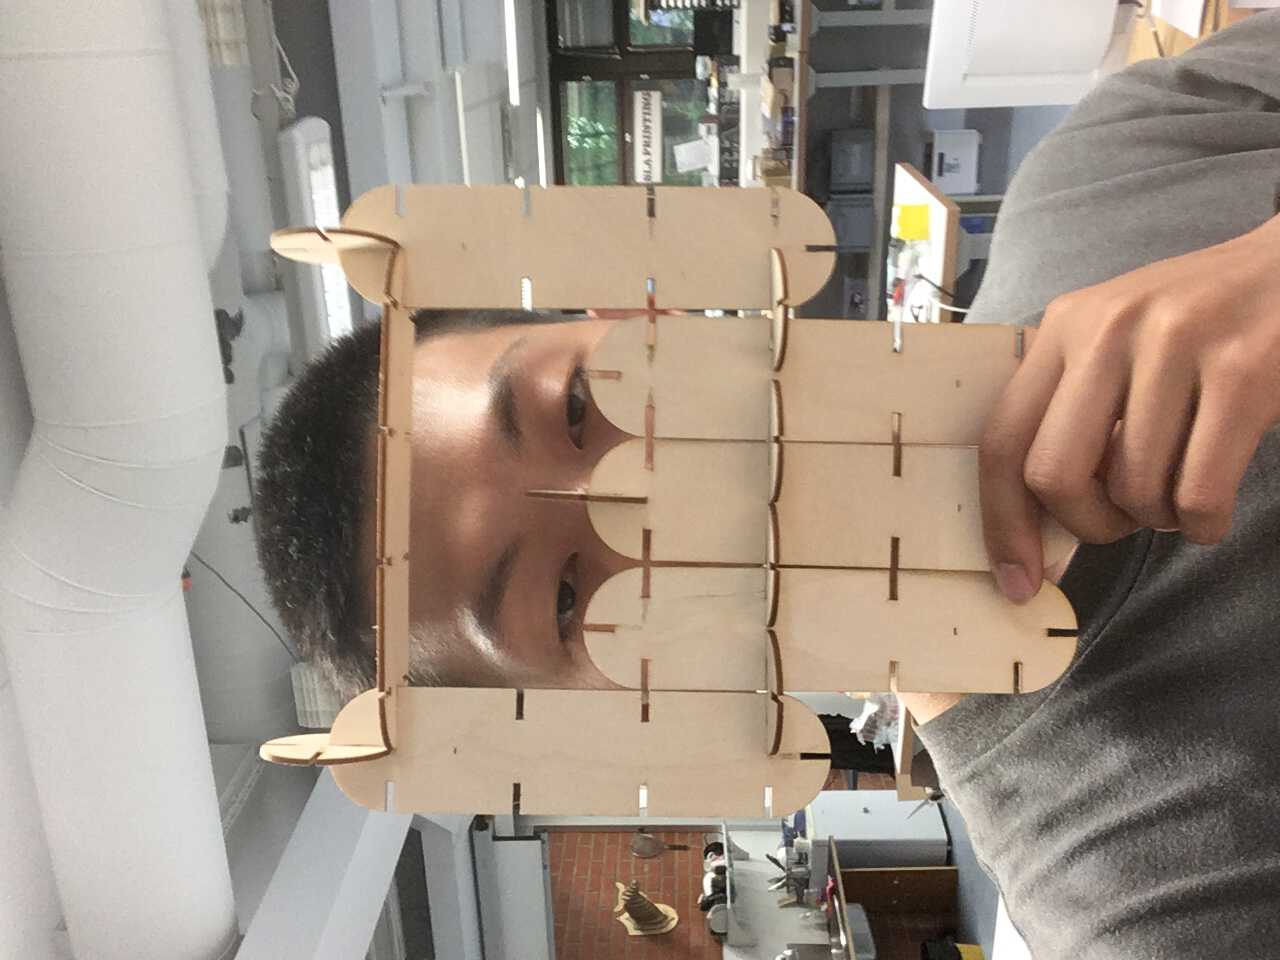 Mask
Mask
Challenges
- While I imported the SVG file into Fusion 360, the size was changed. The answer is here.
- The sketch of the gap I created with the Square Root function. The function could be found here.
- The 2mm acrylic is fragile and couldn’t be cut well by laser cutter, although I set the speed:35, power:100, frequency:5000. And it is always smelly.
Download
-
The smile sticker and the spring couplets files are available here.
-
Parametric Construction Kit