Illustrator
I used Illustrator to draw a 春聯, spring couplet.
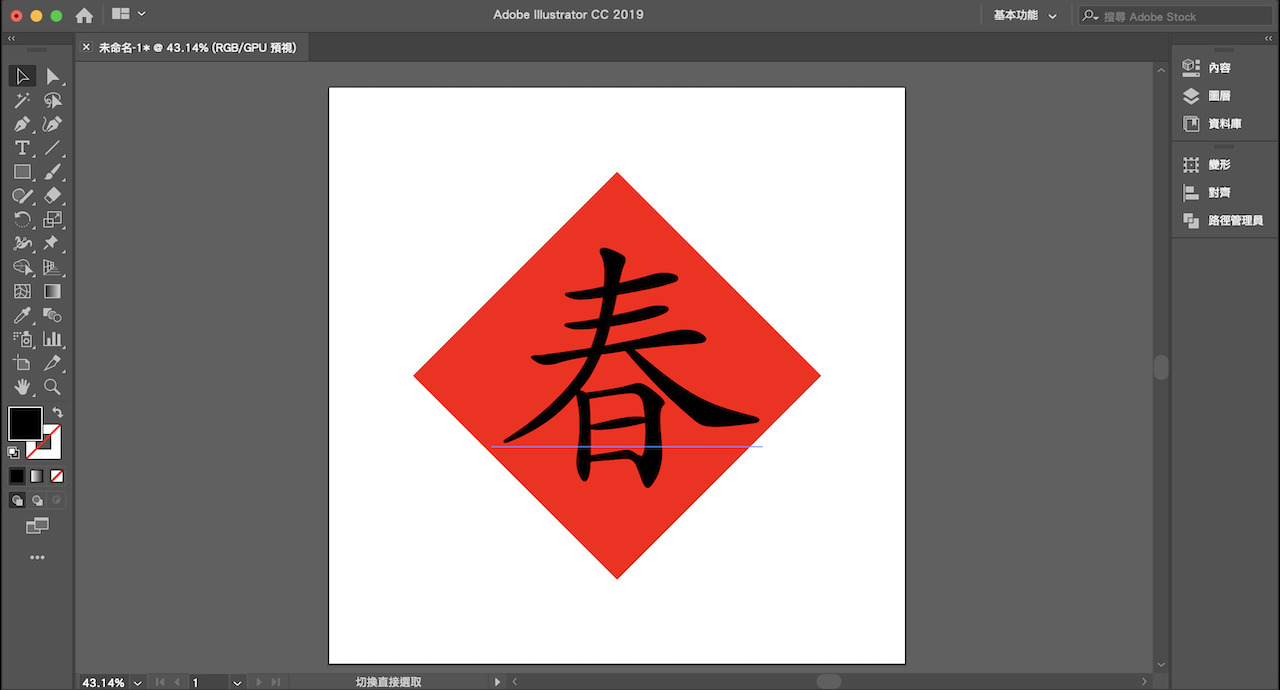
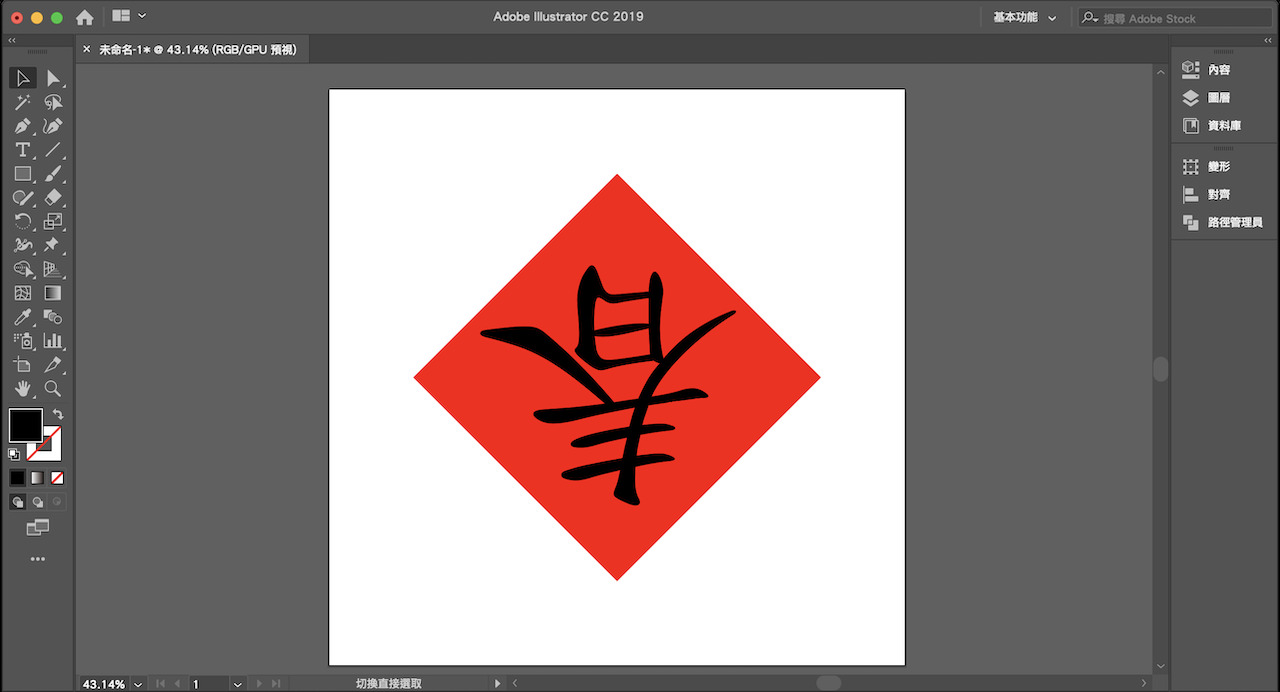
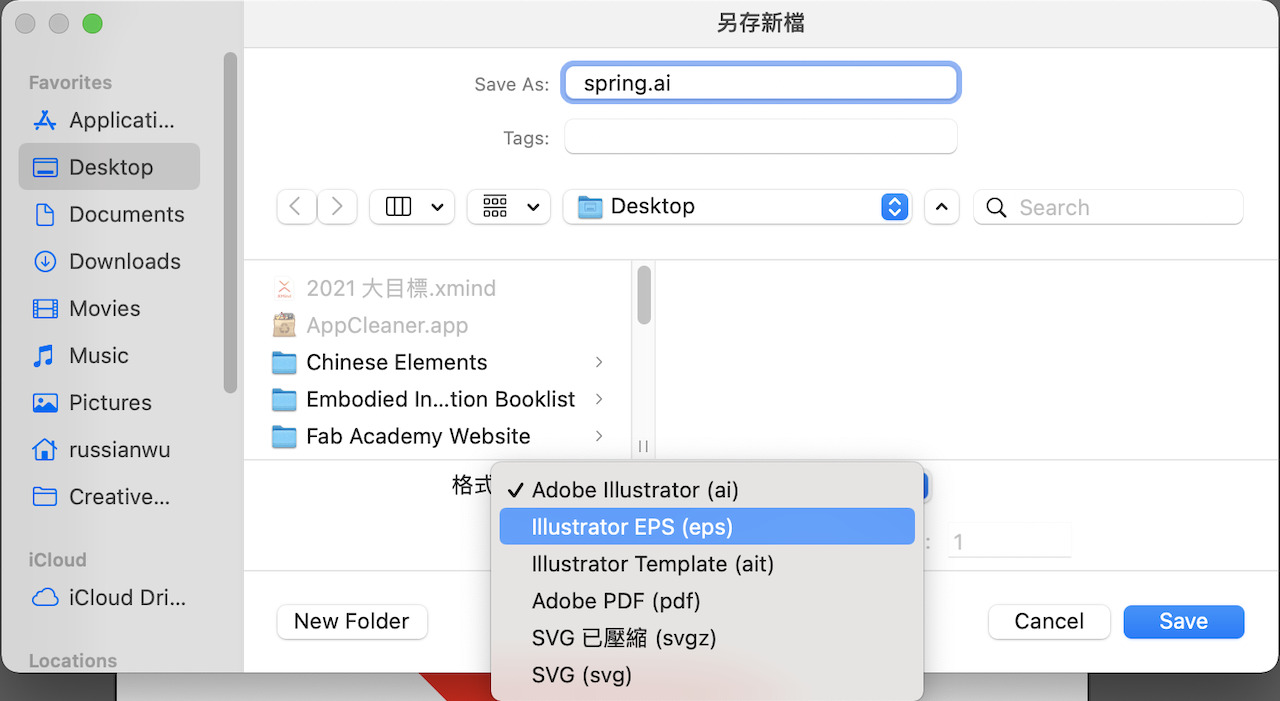
The file can be saved into different vector files.
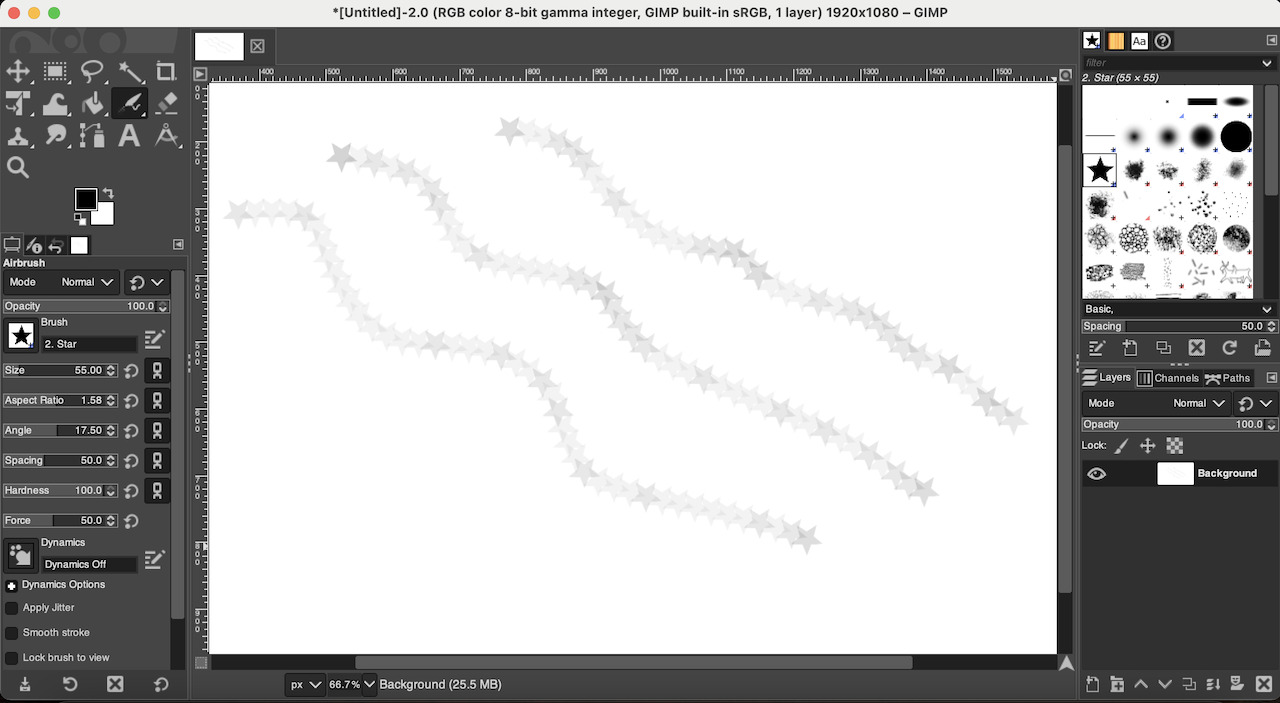
GIMP
It’s my first time using GIMP, but the functions of it seem quite enough. While I am worried about the compatible problem of the file format, .xcf, it shows that the file could also export into a .png file.
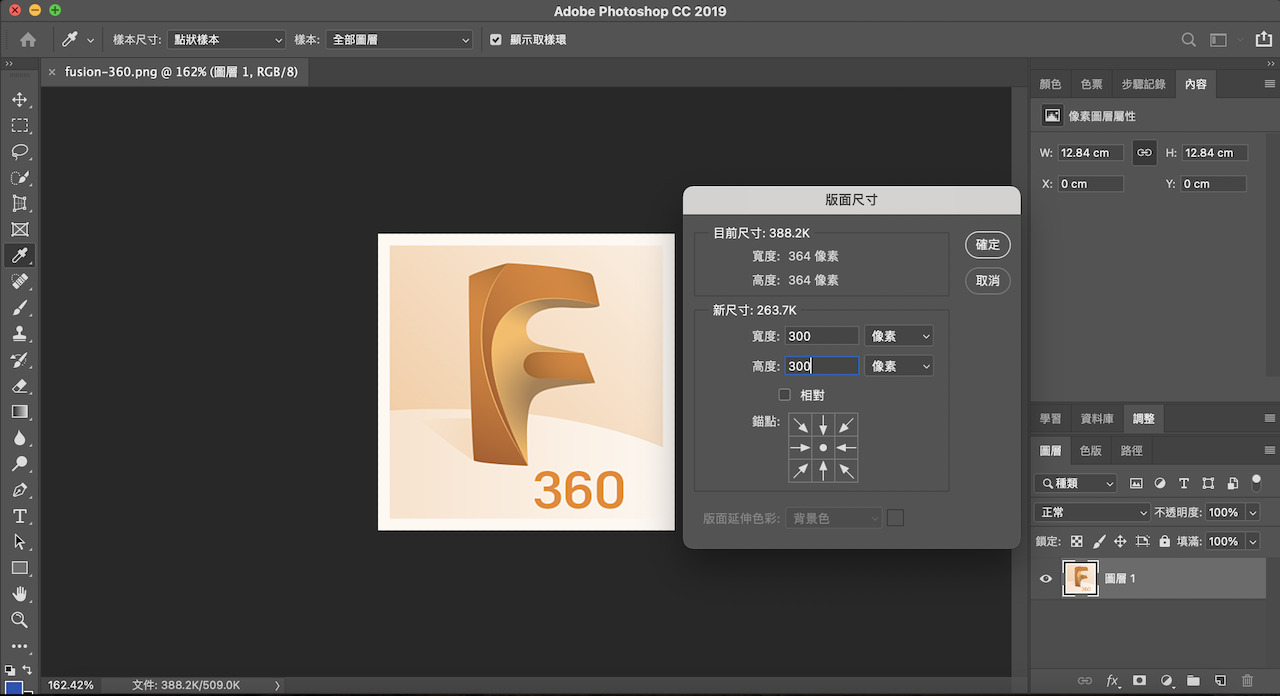
Photoshop
I usually create my thumbnails with Photoshop, it can easily and quickly change the size of pictures.
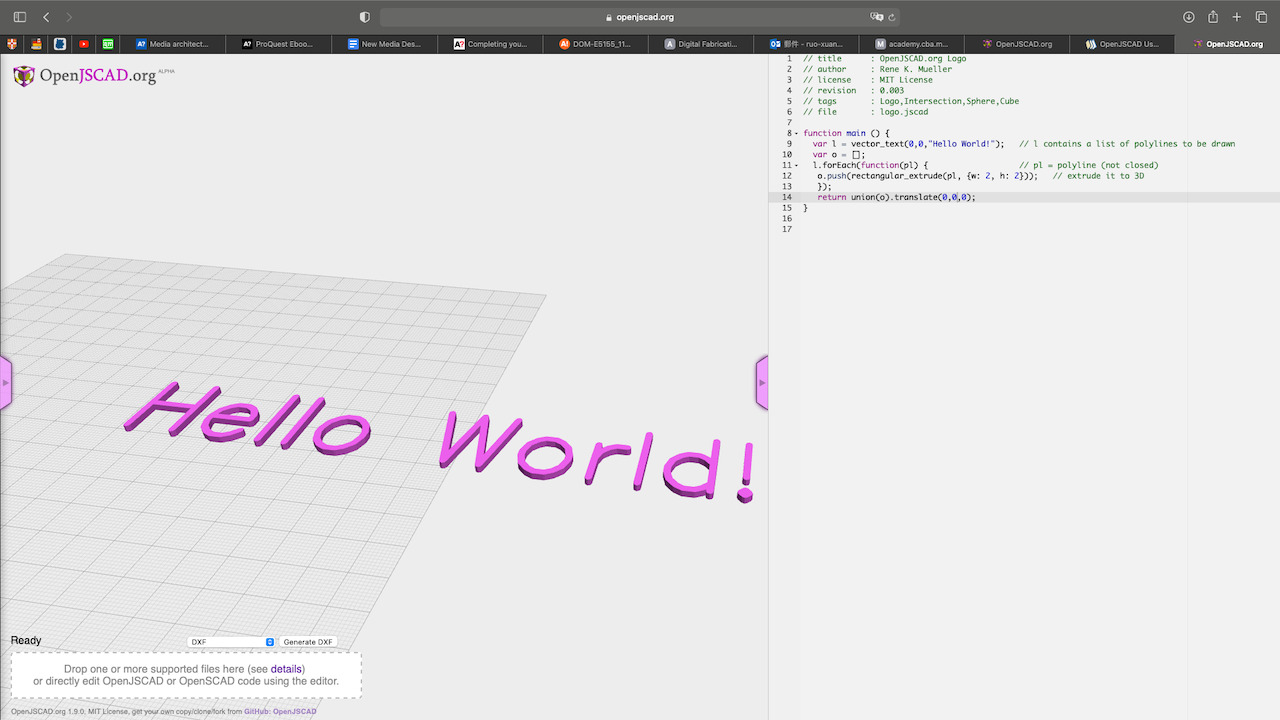
OpenJSCAD
It is an amazing website, which allows me to explore the background of 3D software. If I have more free time, I would like to dive into it deeper. The javascript stirs up my memory of Processing.
The exported file is here.
Blender
Blender is a really popular 3D modeling software recently, not only because it is free but also the rendering quality is pretty well. However, after few minutes of trying, I just couldn’t even create a sphere… I think I need to spend more time on it.
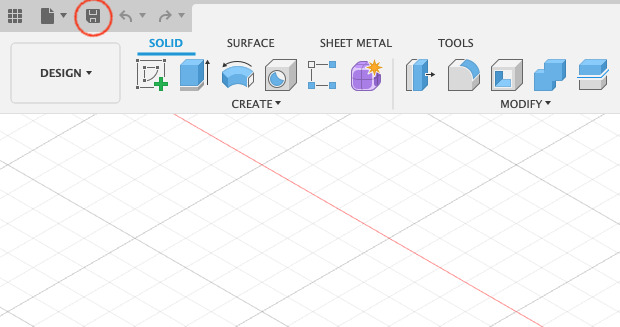
Fusion 360
I followed the tutorials from Product Designer Online. And the following are my documentations steps by step.
-
Create a new project, save it into a new file. It’s good to create a folder to save the similar files
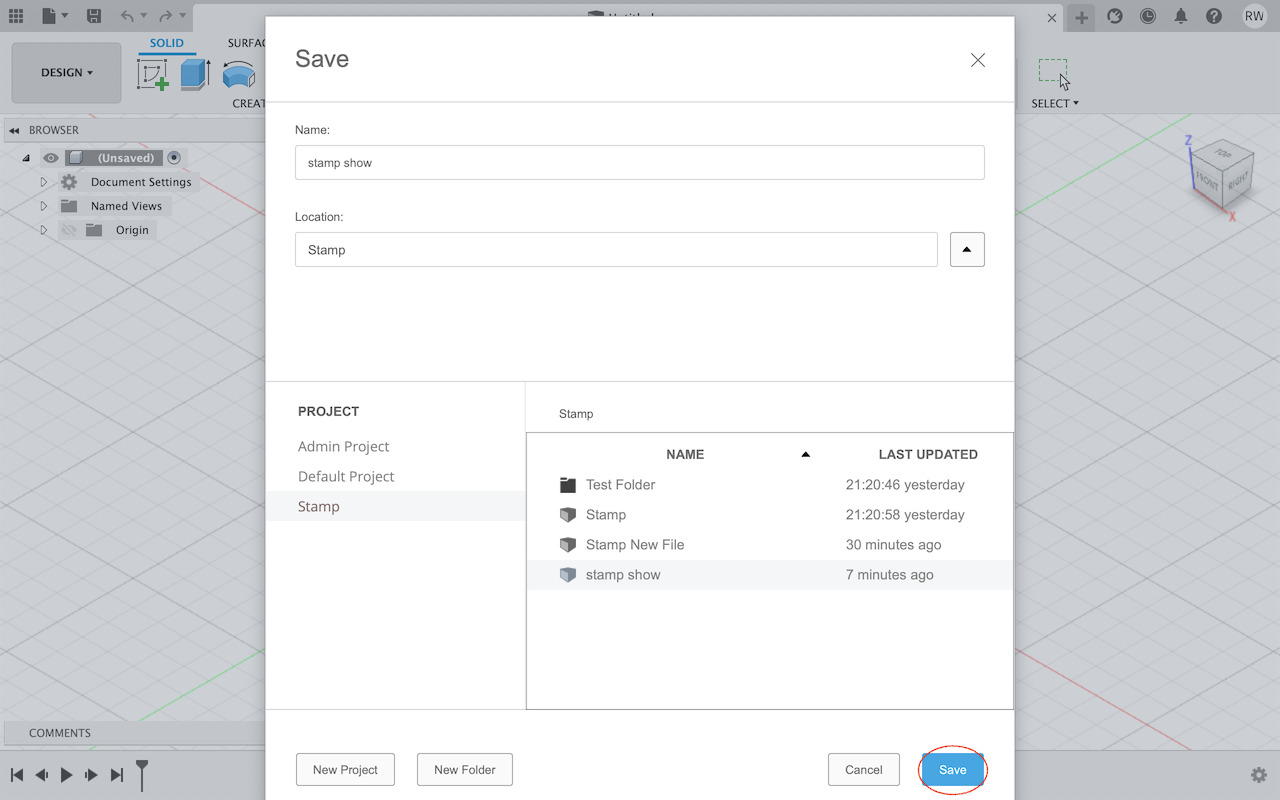
Once created successfully, the file name would show on the File tab, like this:

-
Open a new component and name it. Tips: Always create a new component when creating a new part of project
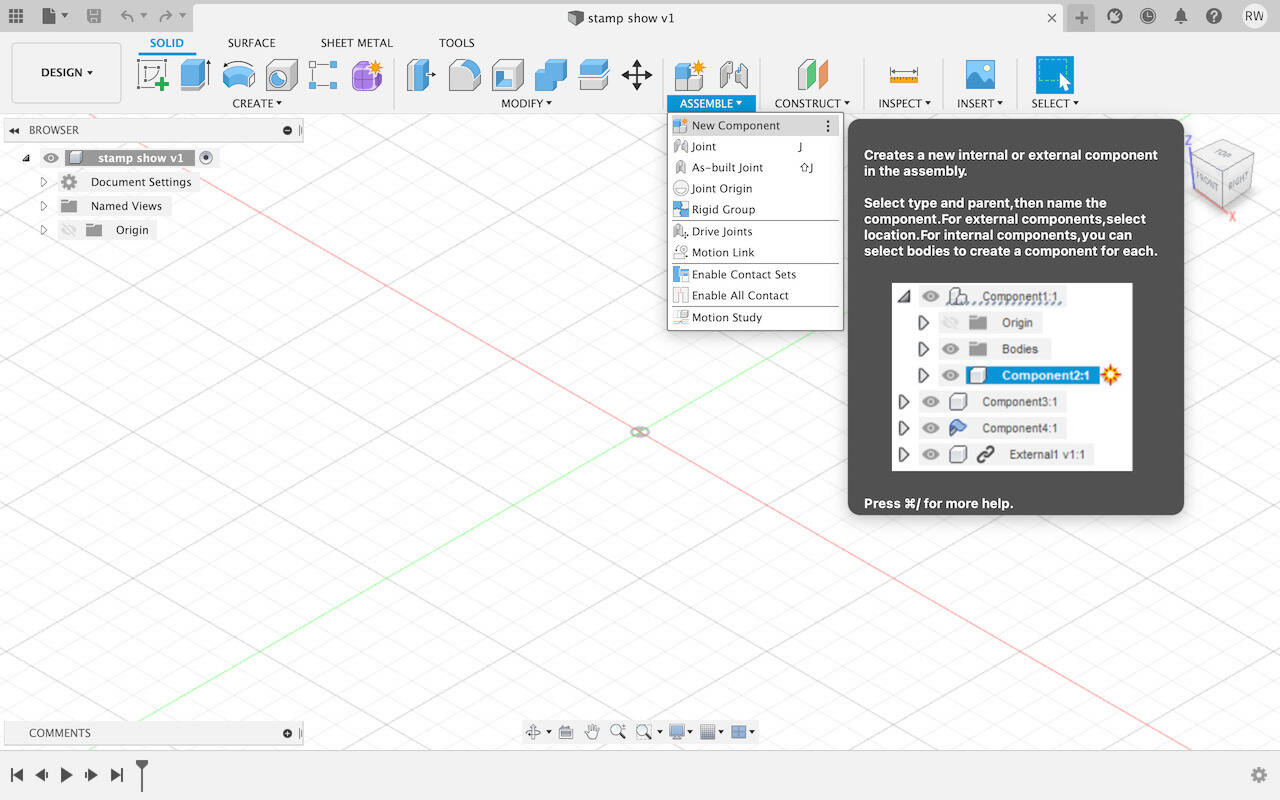
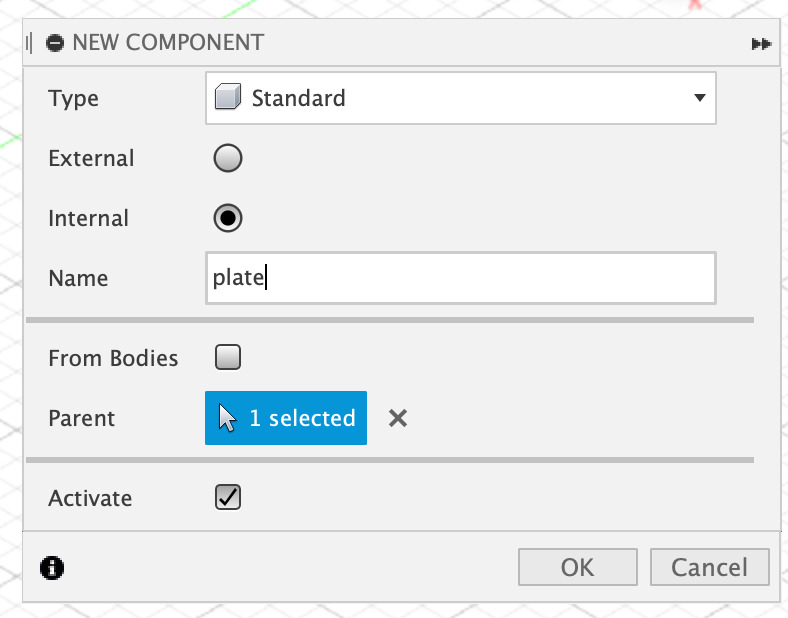

You will see the component is activated in the browser.
-
Create a Line with shortcut L
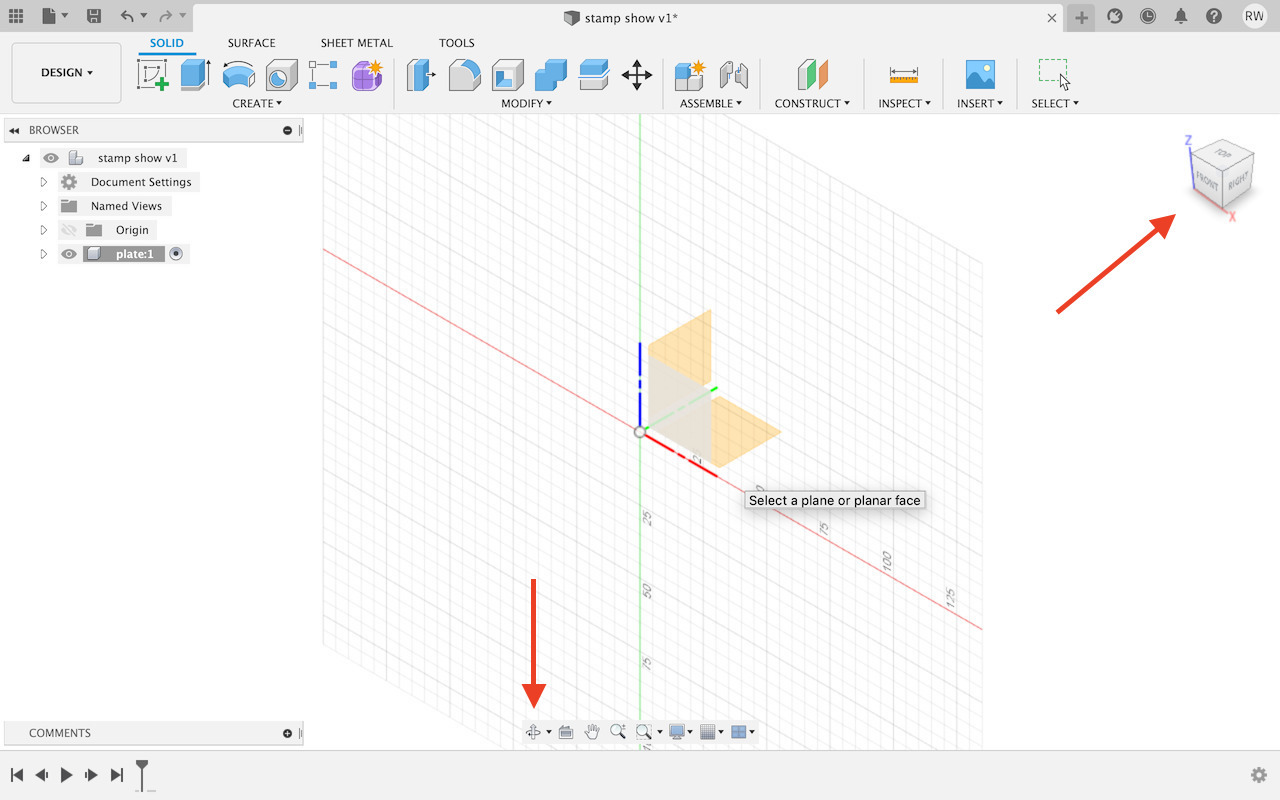
The viewing point can be rotated with the cube on the right-top side. Or on the bottom.
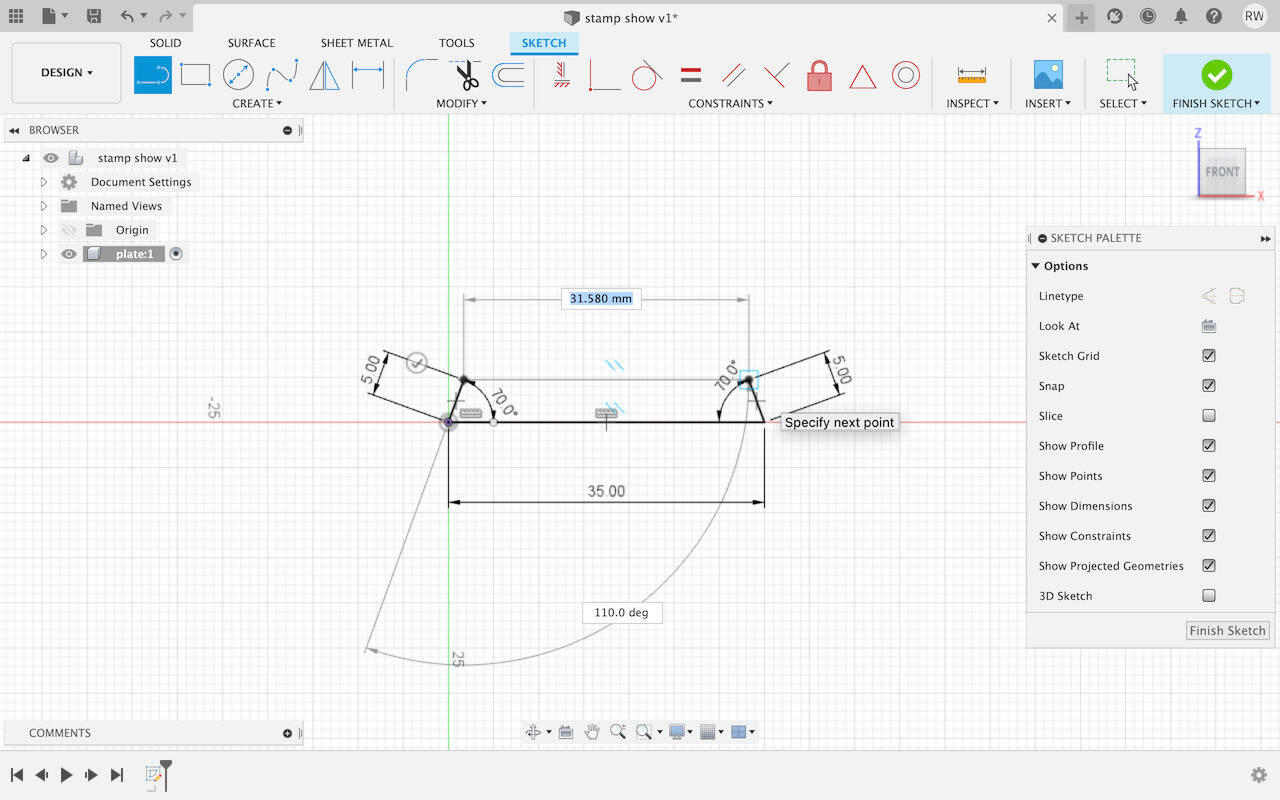
Click on the origin point, type the length of the line, and click on the other place, the drawing line procedure will go on.

Type in the length and press Tab to switch on degree, finish the drawing with ESC.

Right-click the mouse and select Repeat Line.
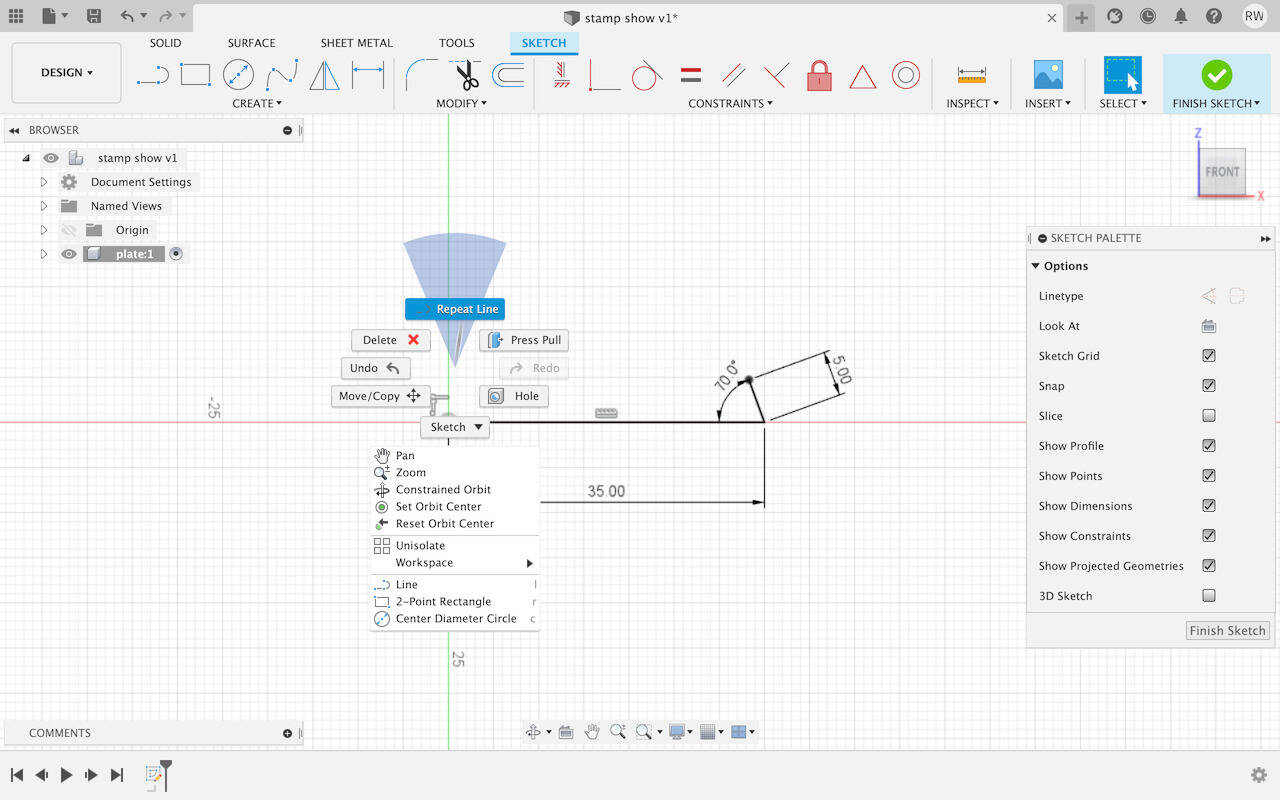
Finish the line.
-
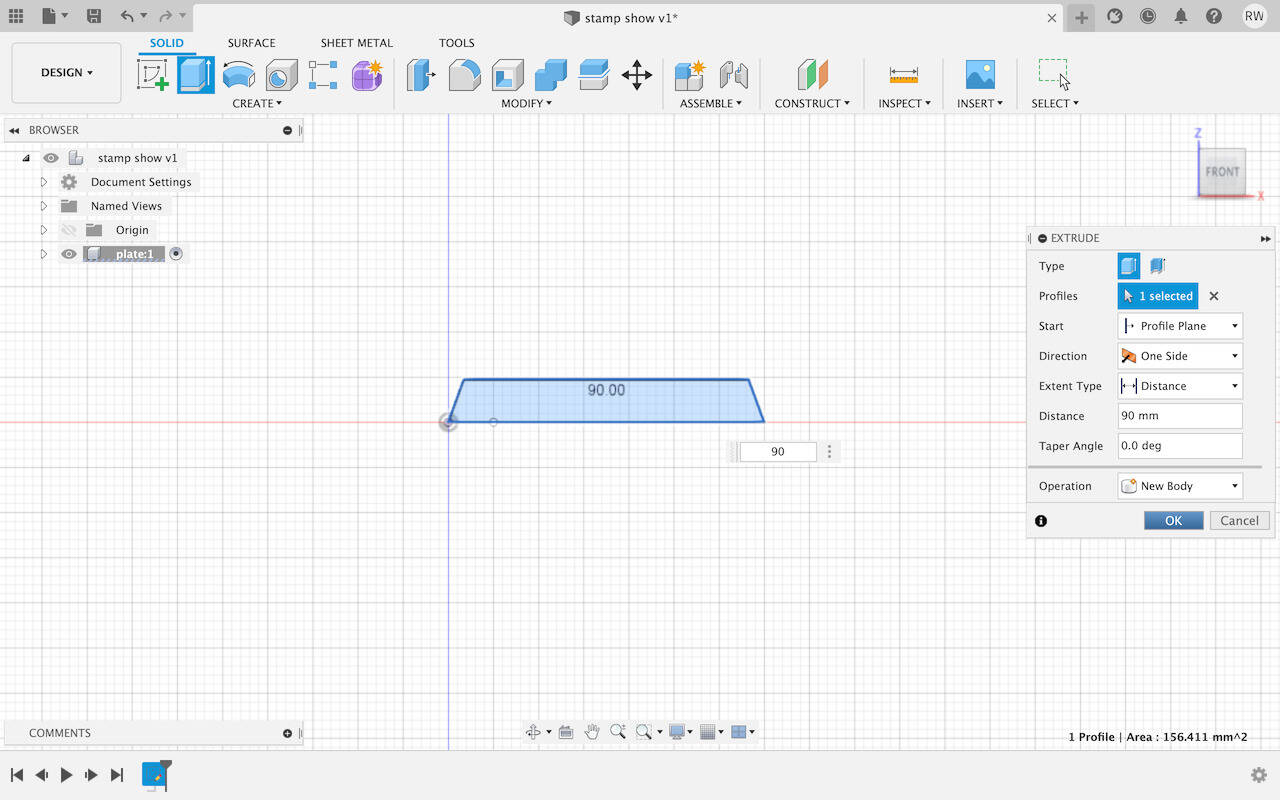
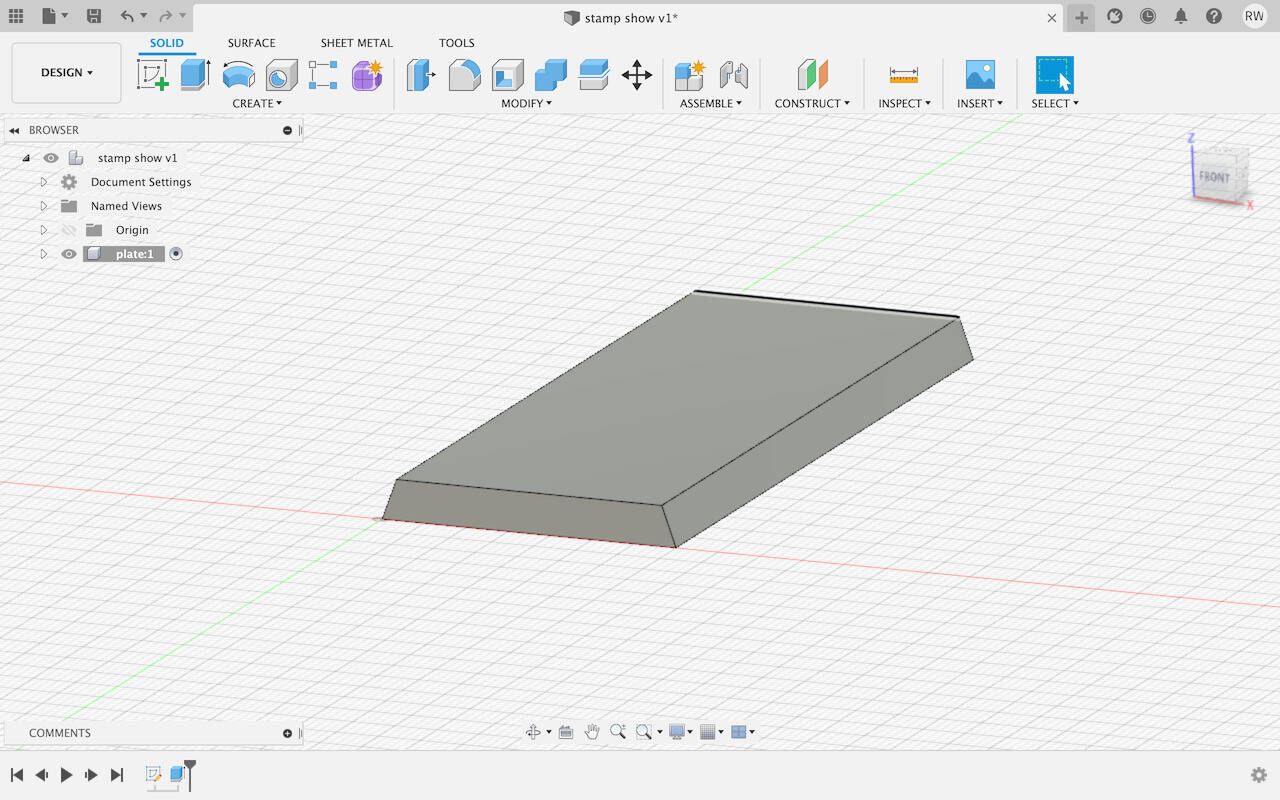
Extrude the surface

Type in the length and click ok.
-
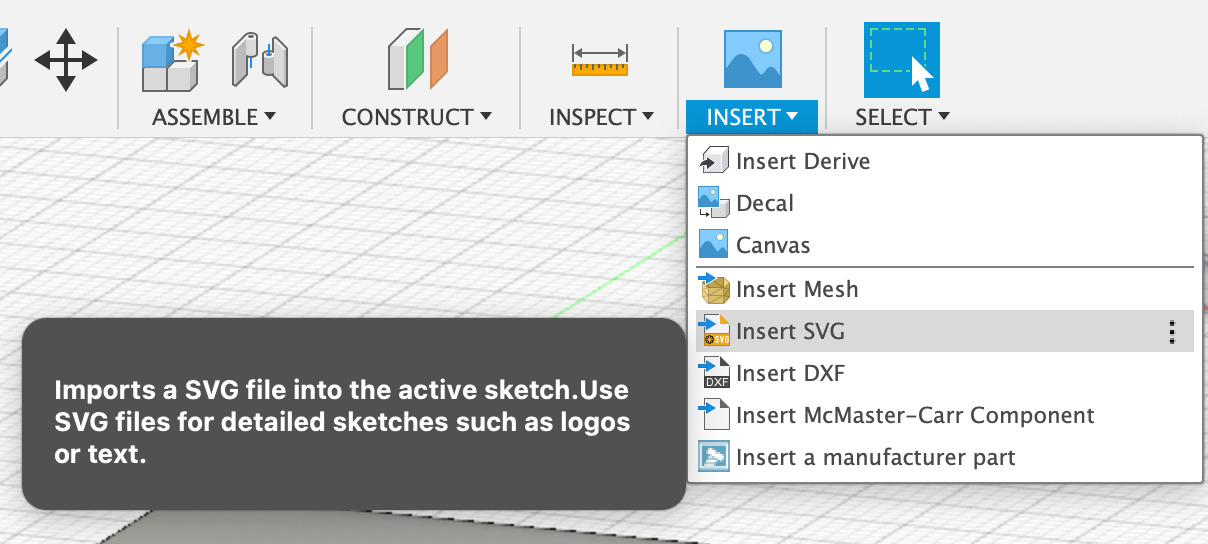
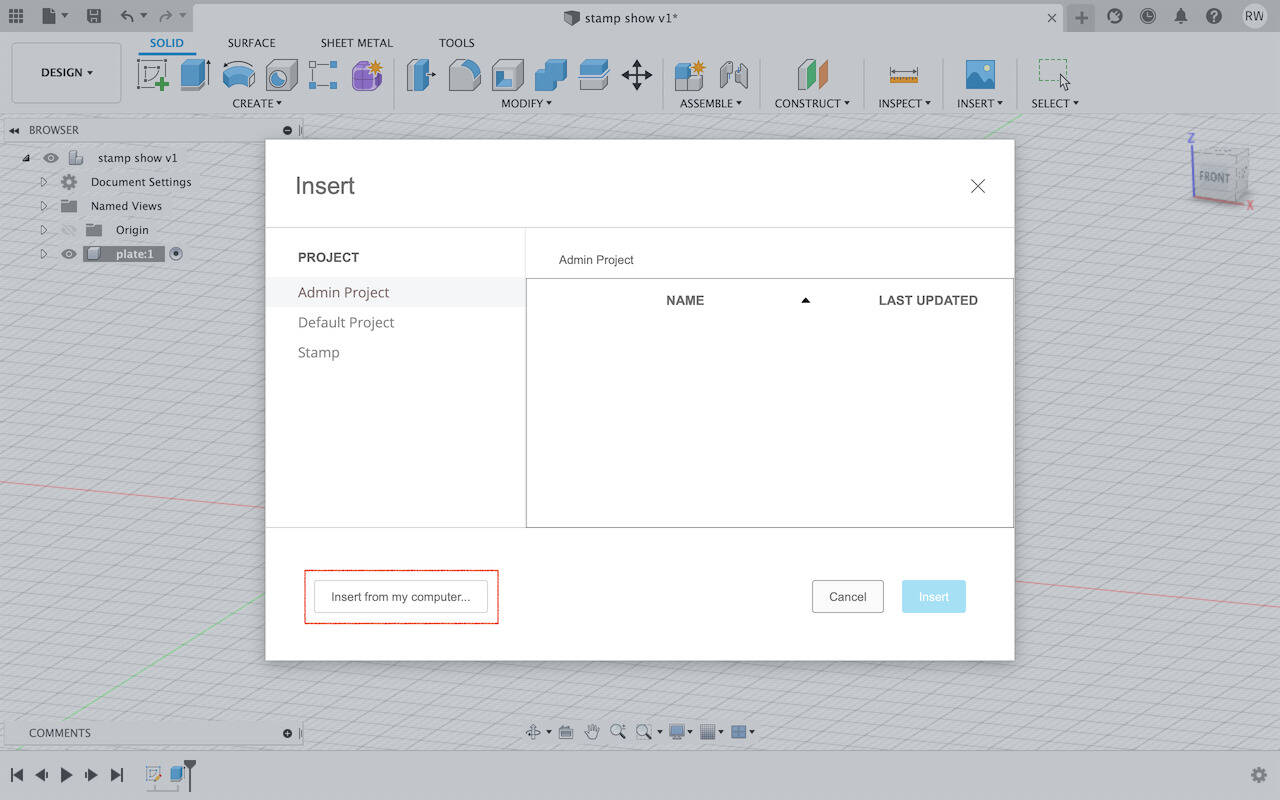
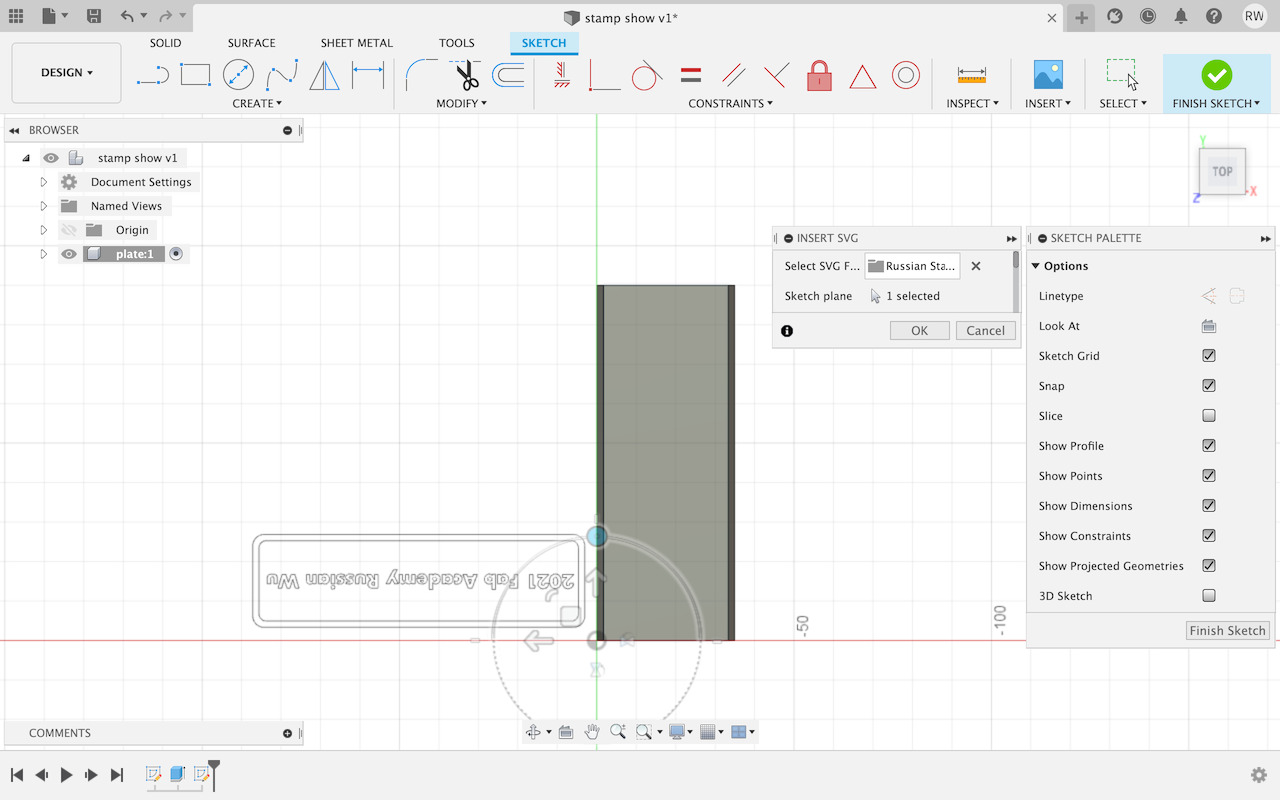
Insert SVG file
Select the top surface

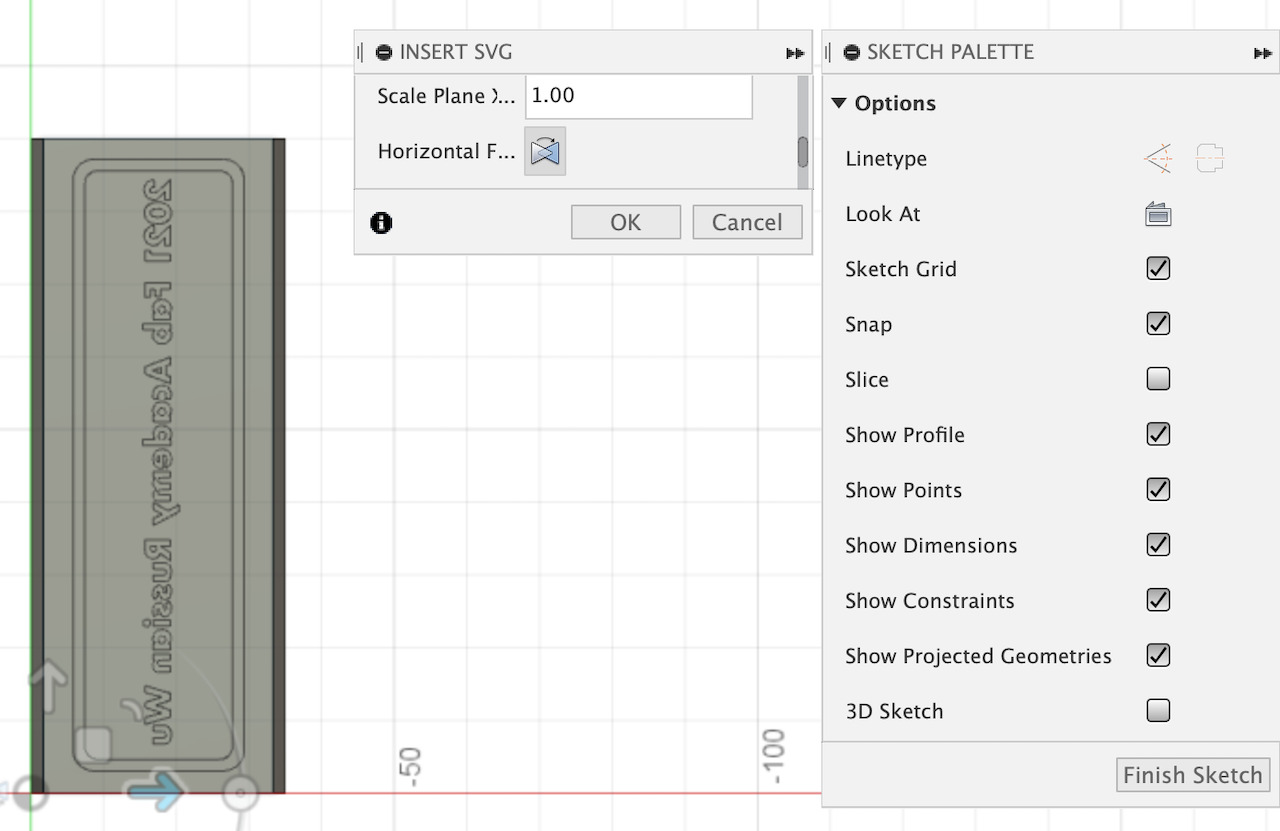
Rotate and move the SVG file in the correct direction
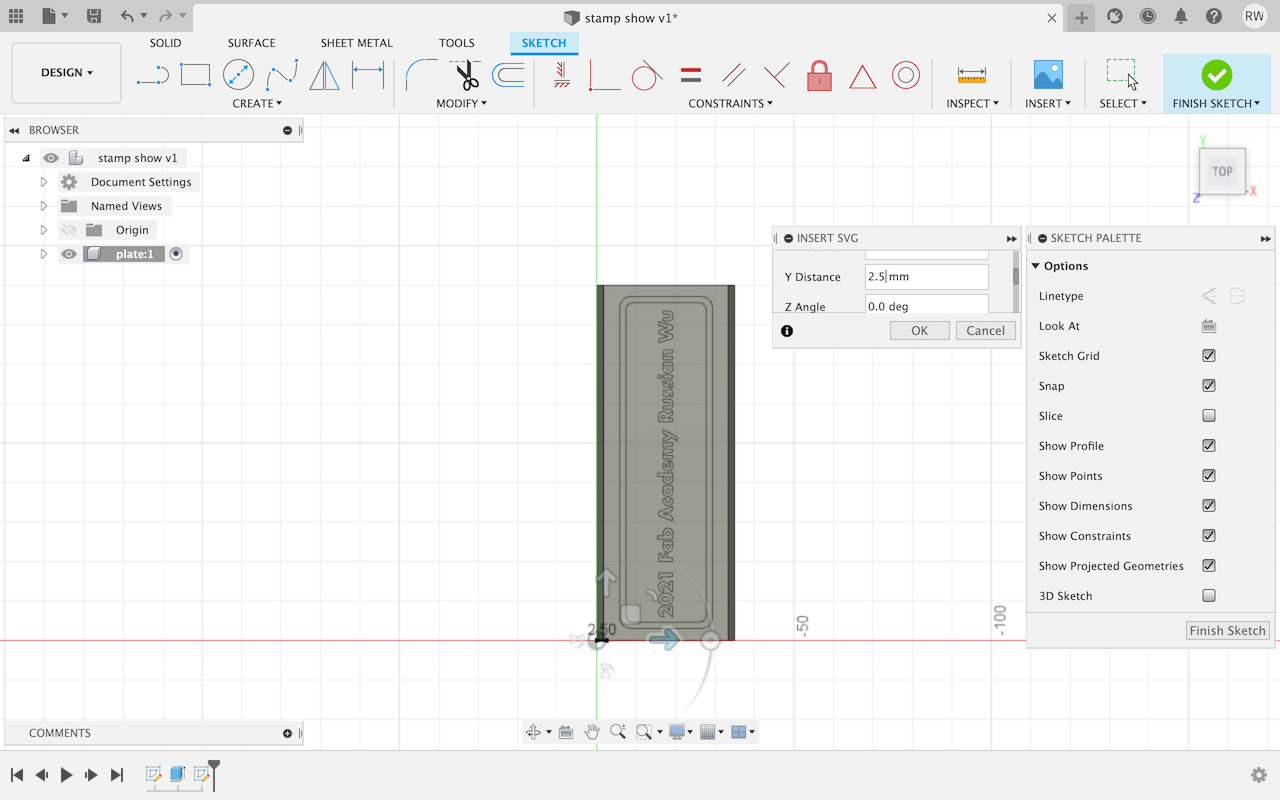
The most important thing, remember to click the Horizontal Flip
-
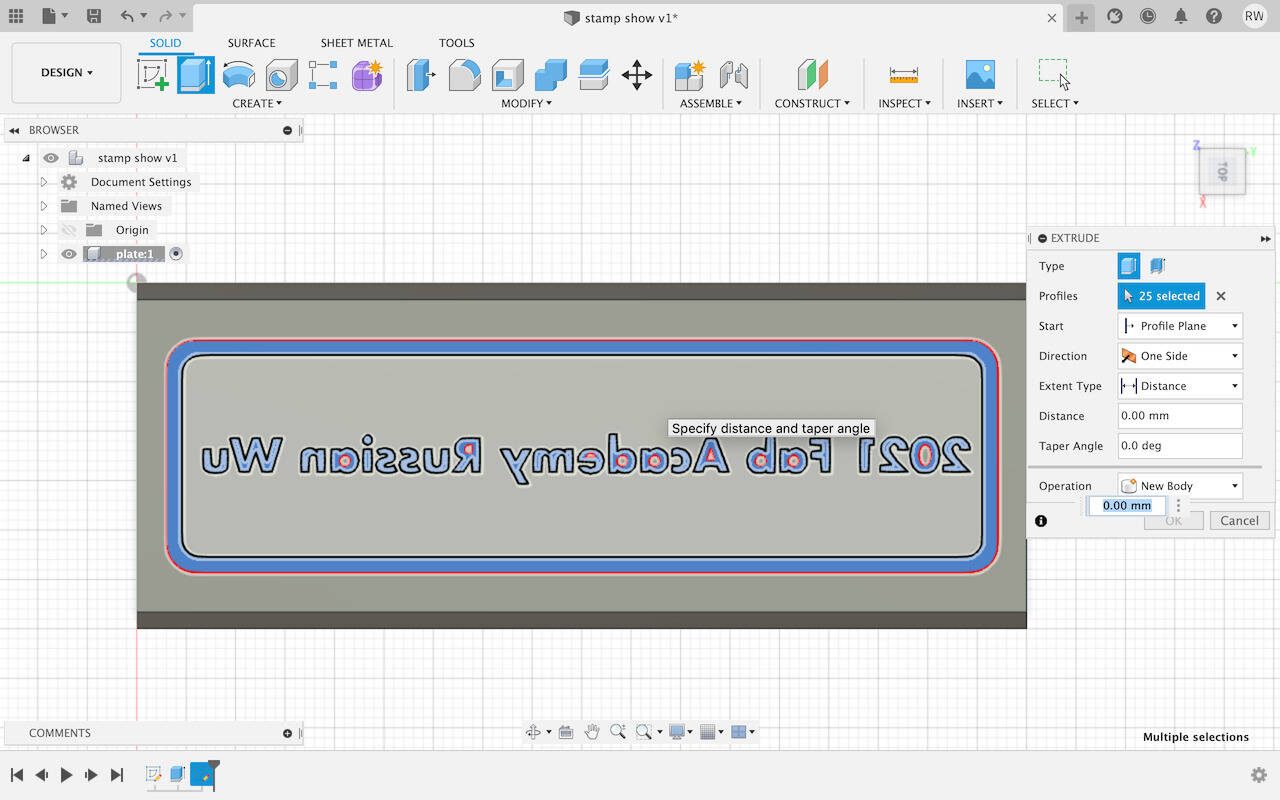
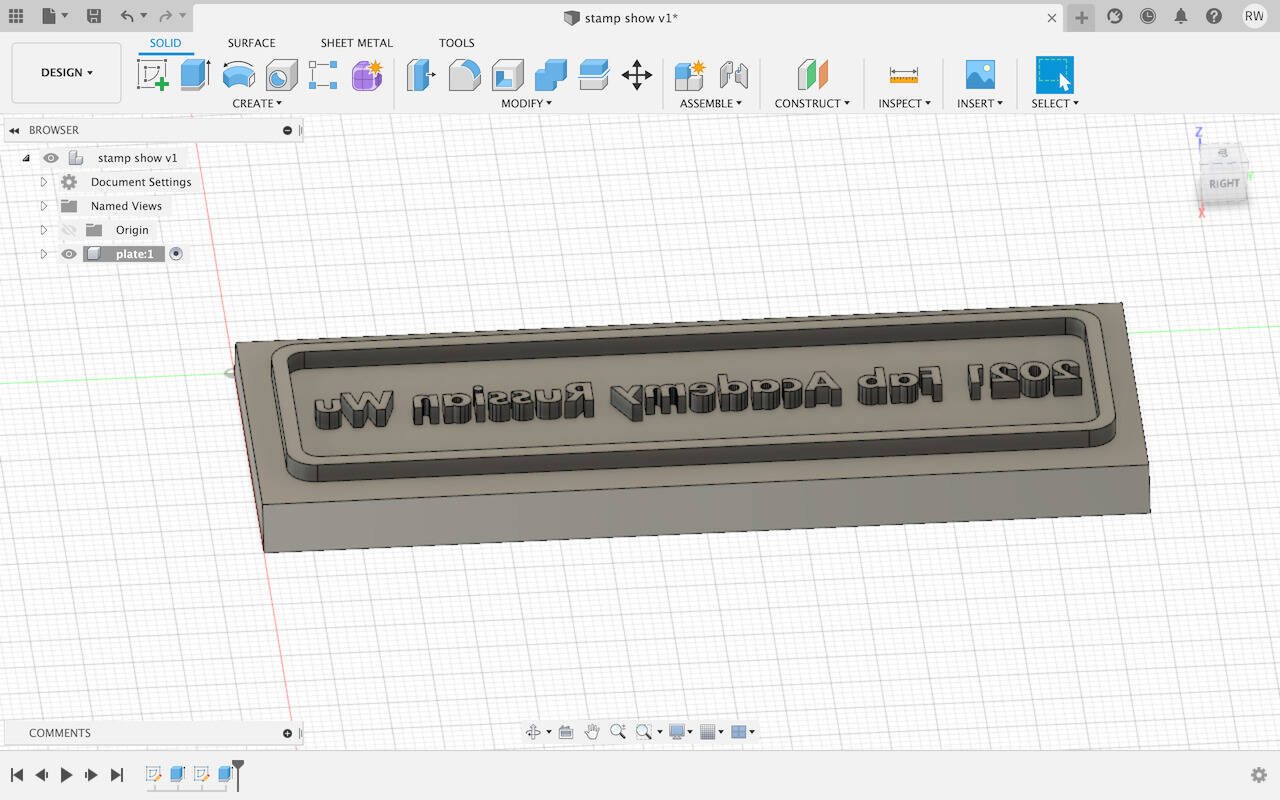
Extrude the logo from the SVG file, select all the elements that need to be extruded. Tips: double click whatever mis-selected to unselect. Type in the distance and click the OK button to finish the extrusion.
-
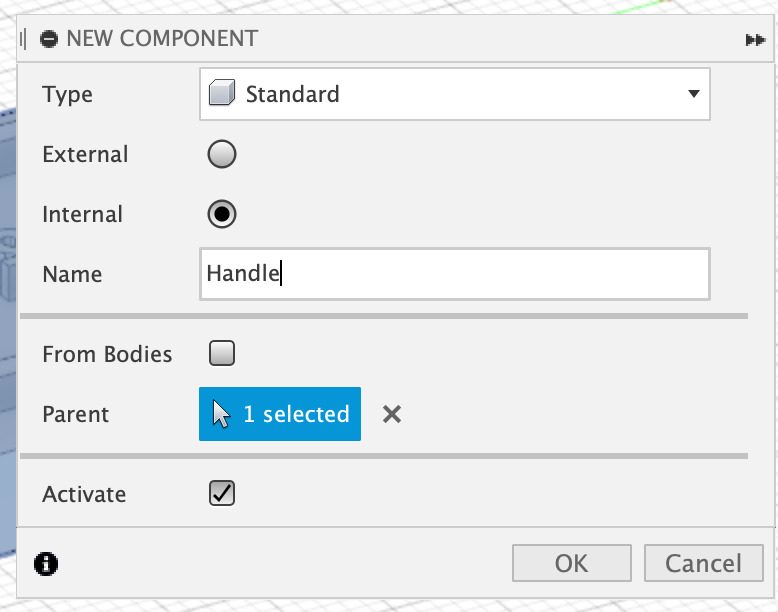
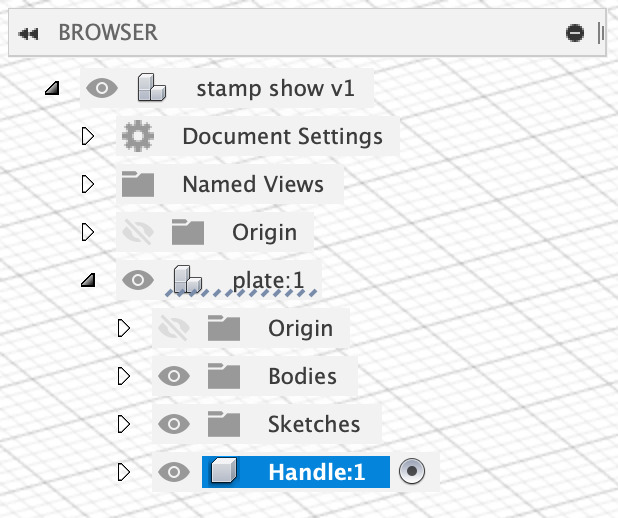
Create a new component and name it in Handle
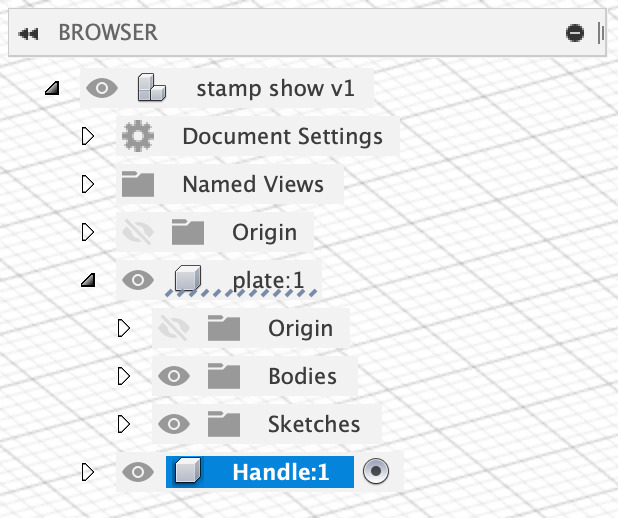
The handle component is under the nest of plate 1, we can move it out by dragging the handle onto the upper layer.
-
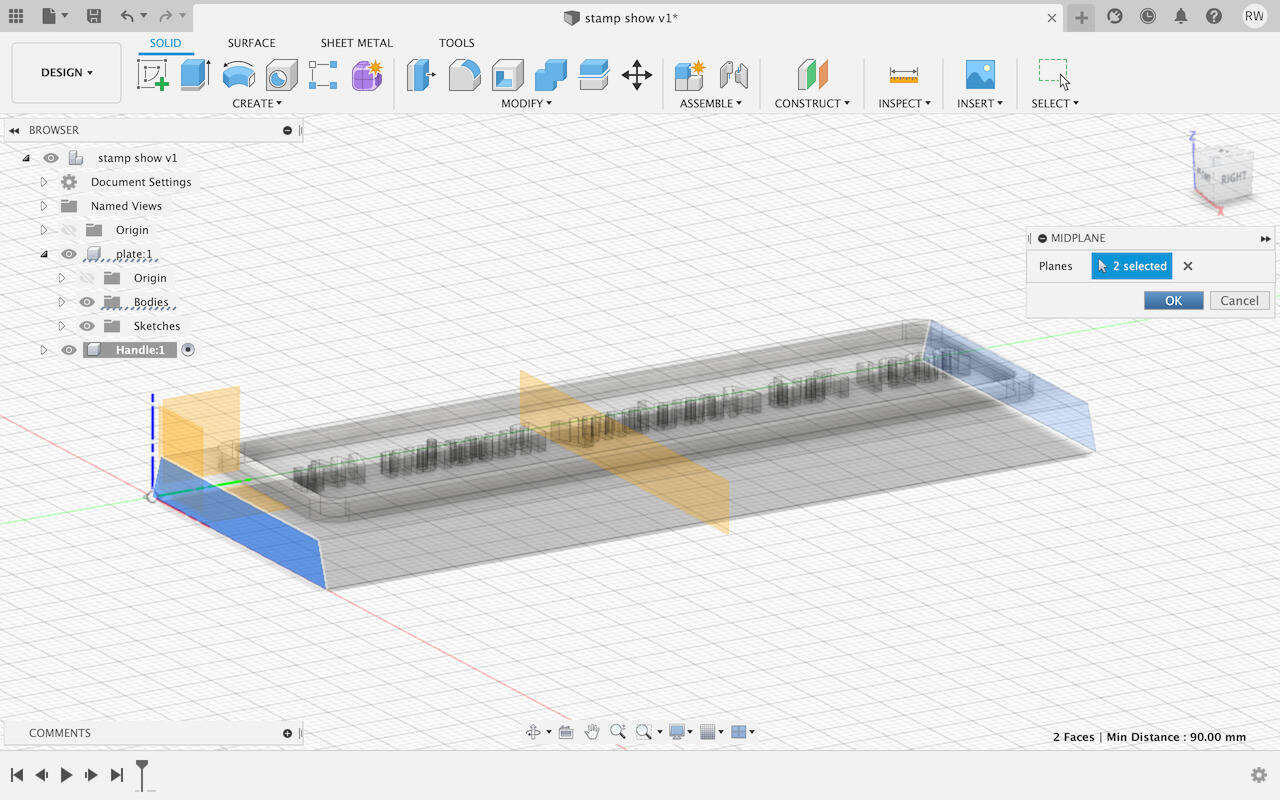
Construct a handle with middle plane
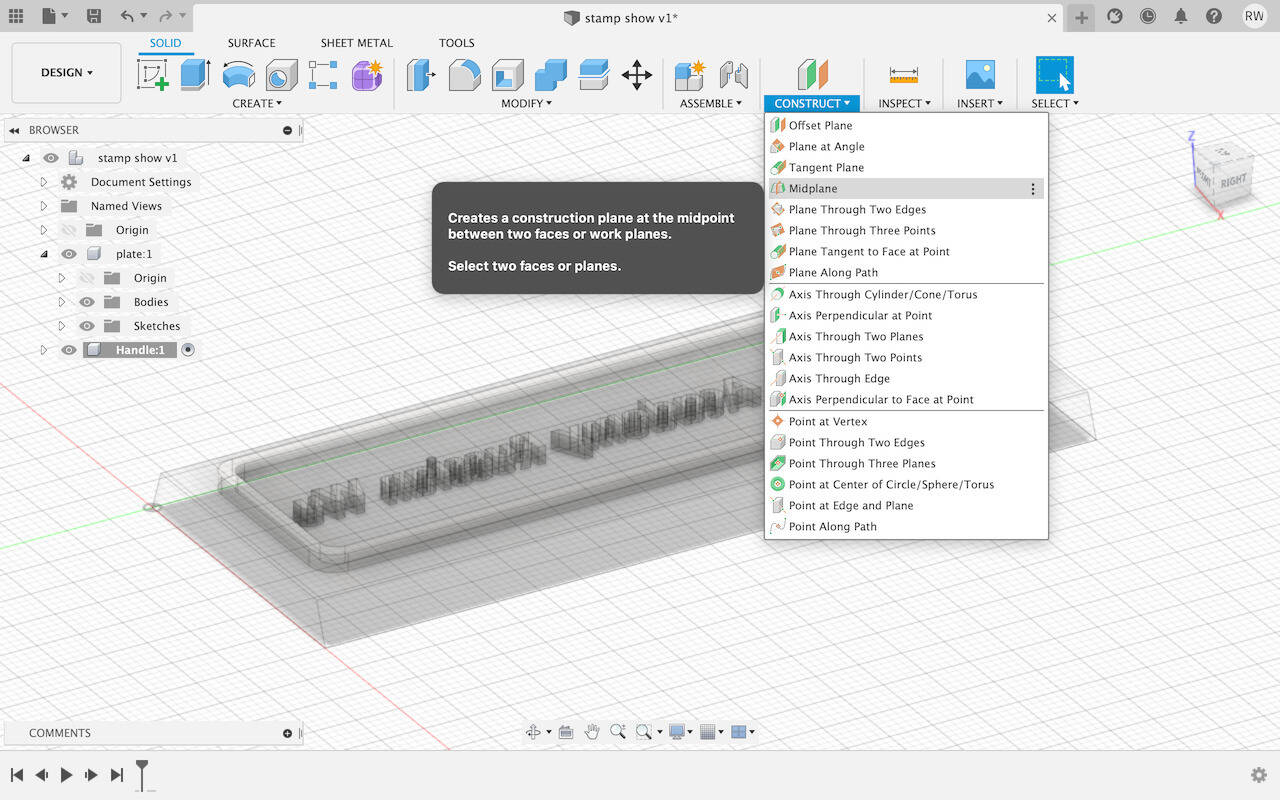
Select two sides of planes
-
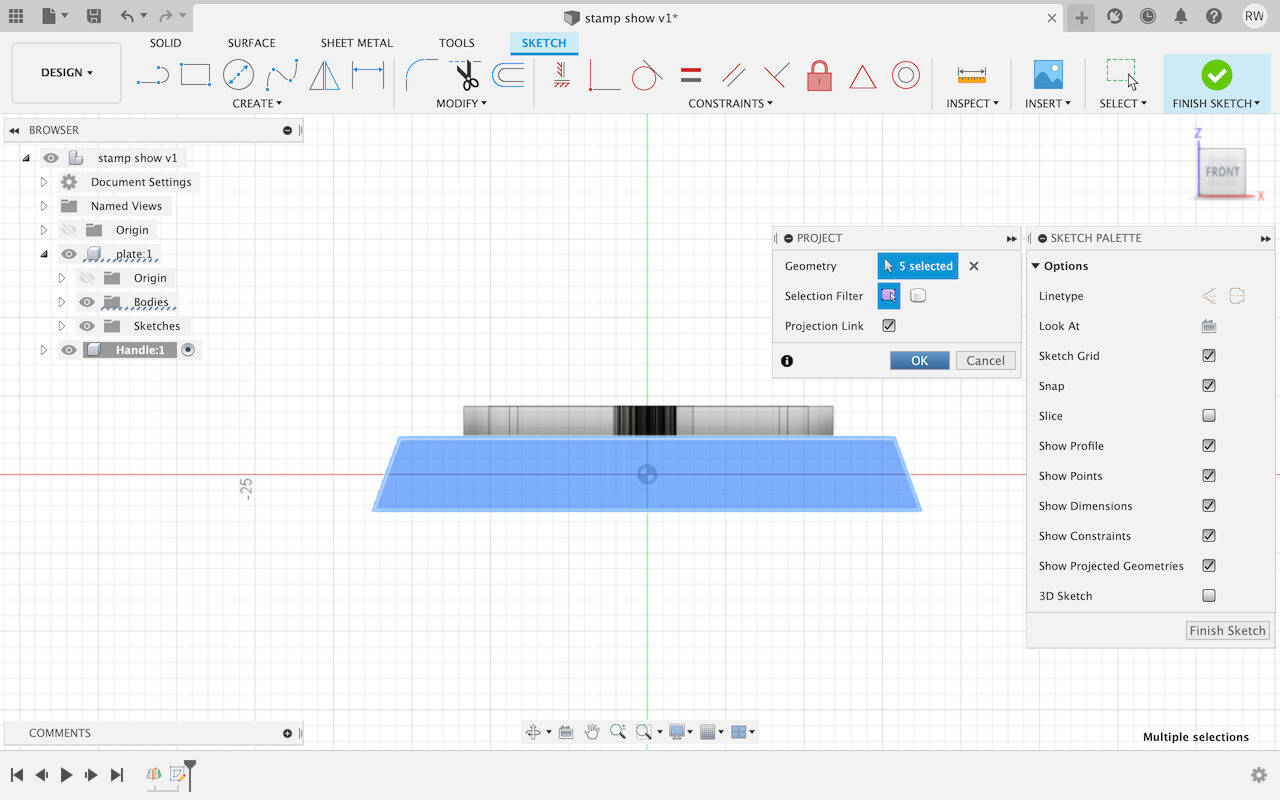
Press P, Projection, to convert the middle plane into a 2D sketch
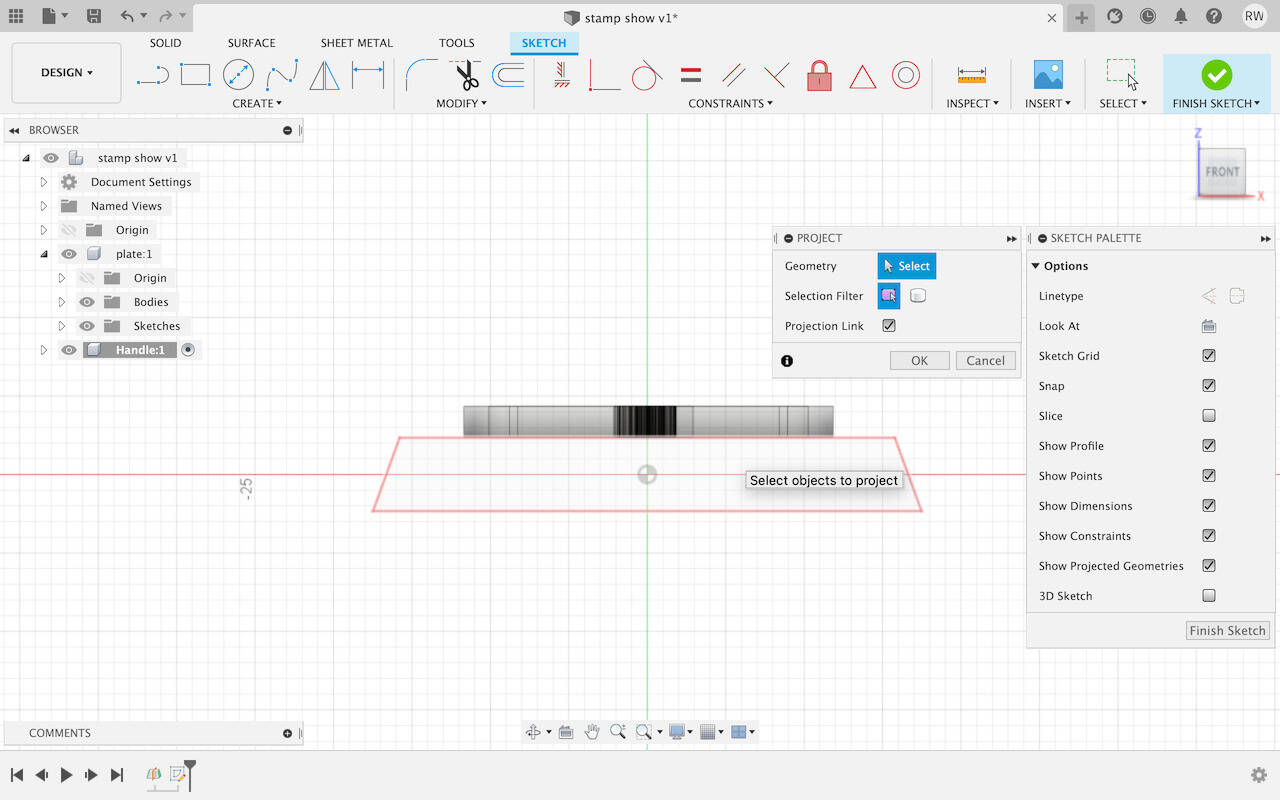
Select the plane you want to project by clicking the surface or outline
-
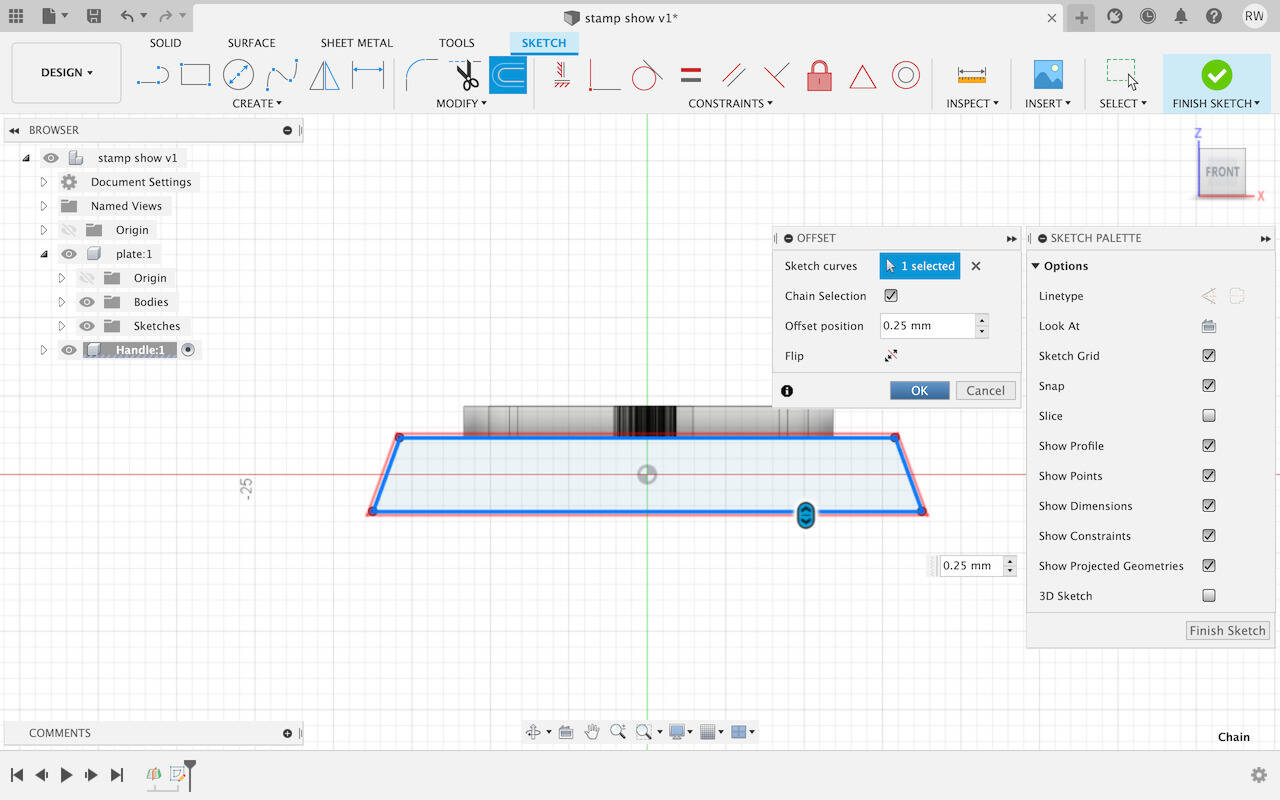
Use Offest to create the handle from the projected plane
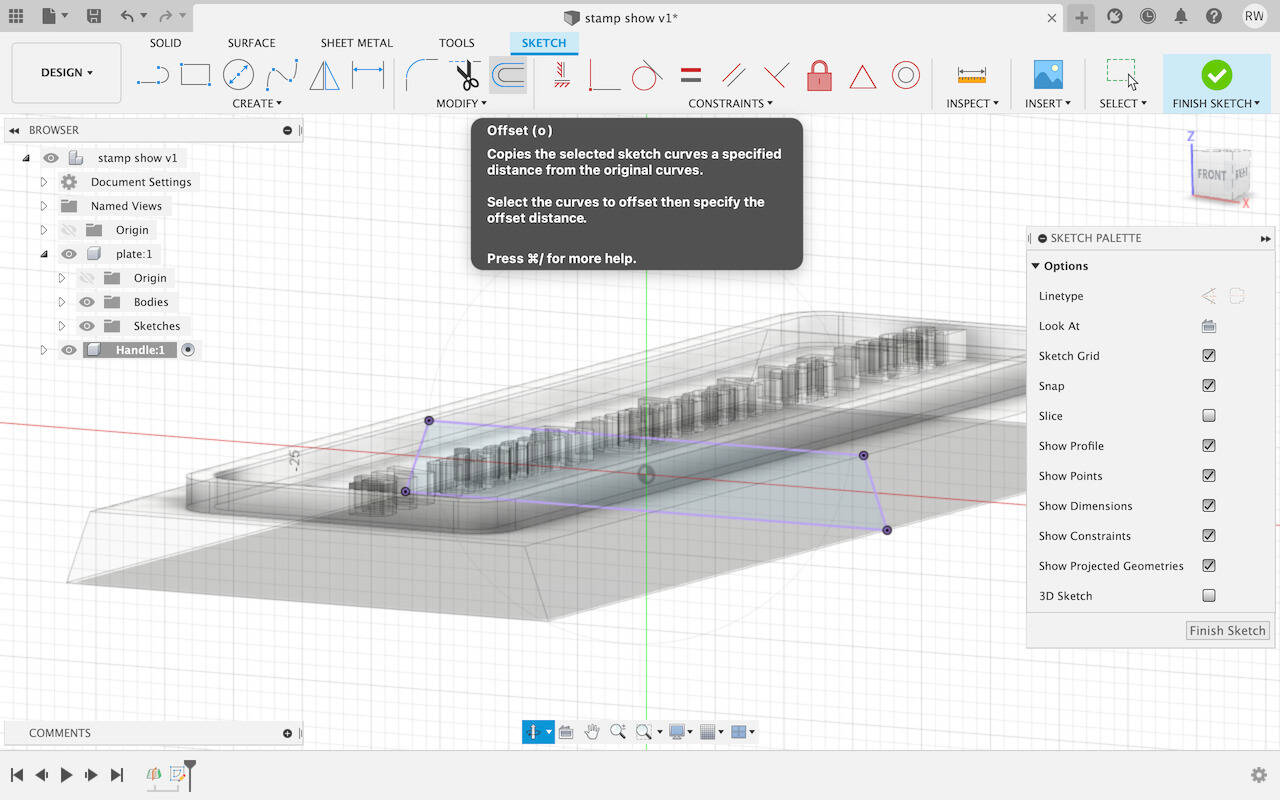
Type 0.25 mm depends on the 3D printer quality.
-
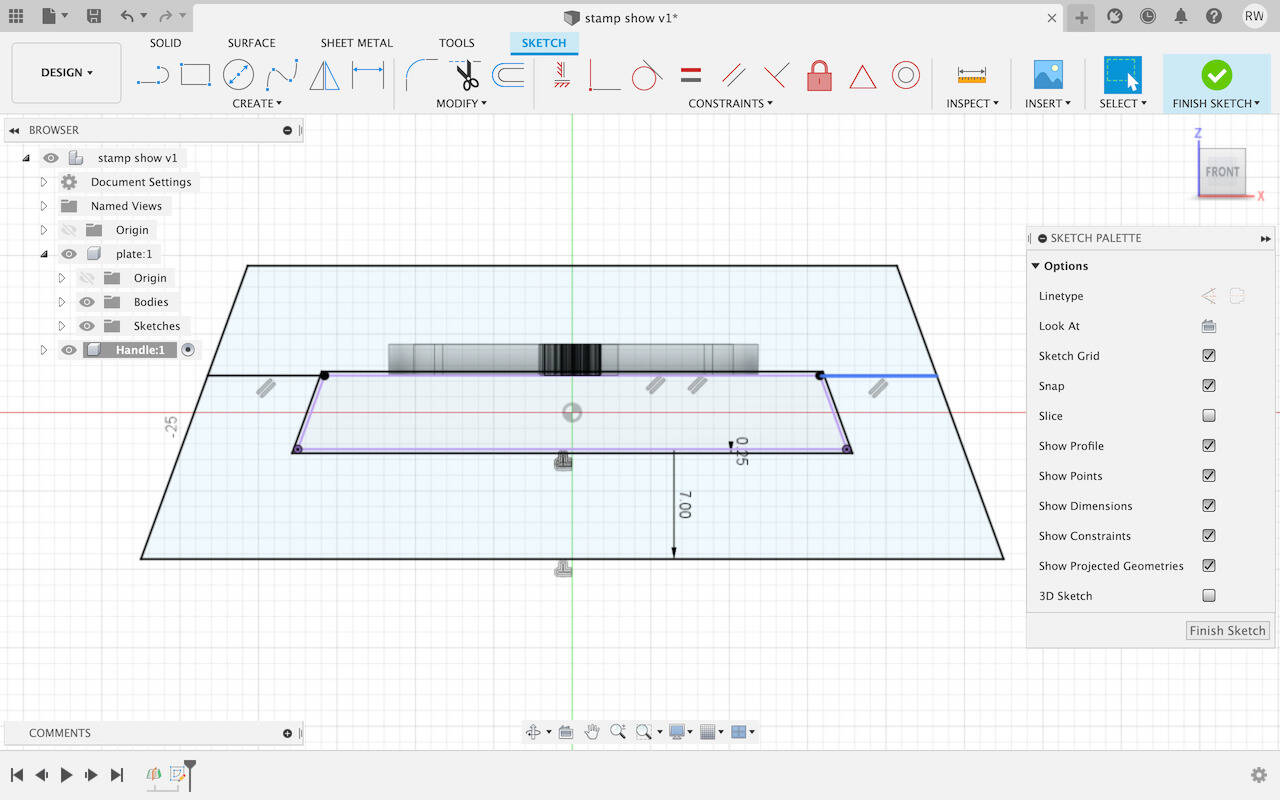
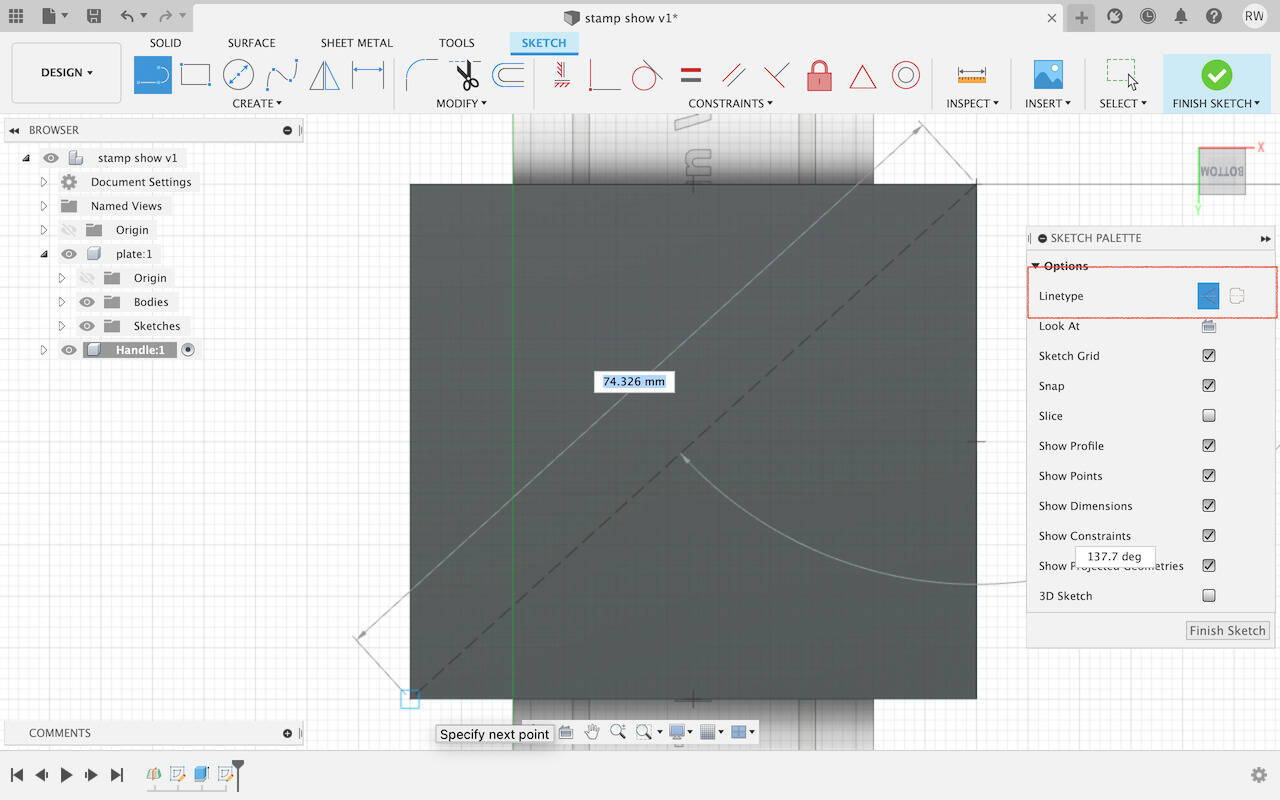
Cut the offset with Line
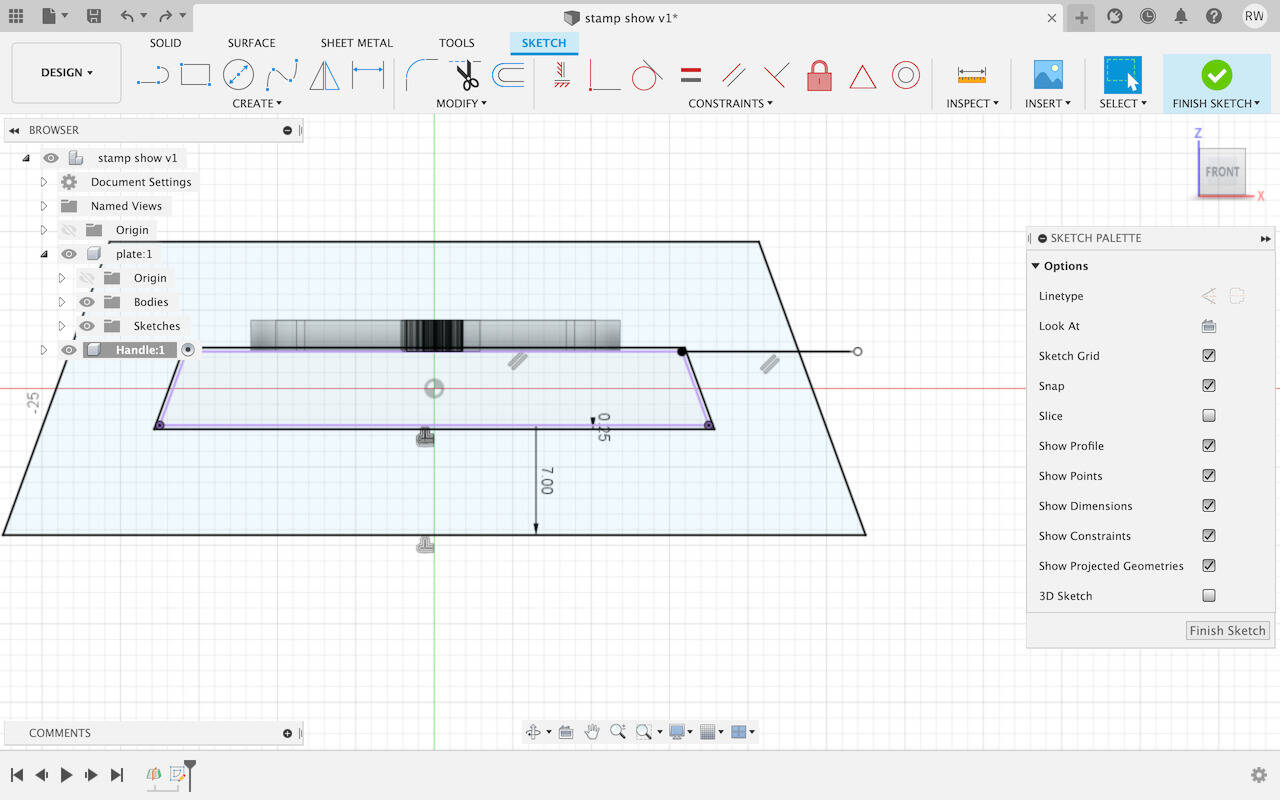
Remember to draw the line out of a plane and drag it back to snippet to confirm it cut the plane.
-
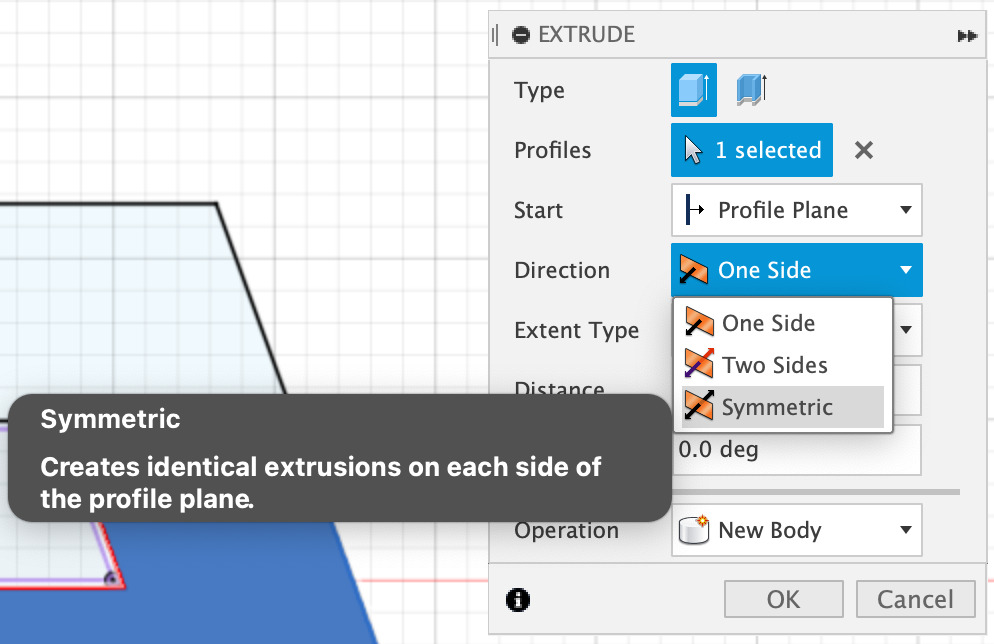
Extrude the plane
Select the surface want to extrude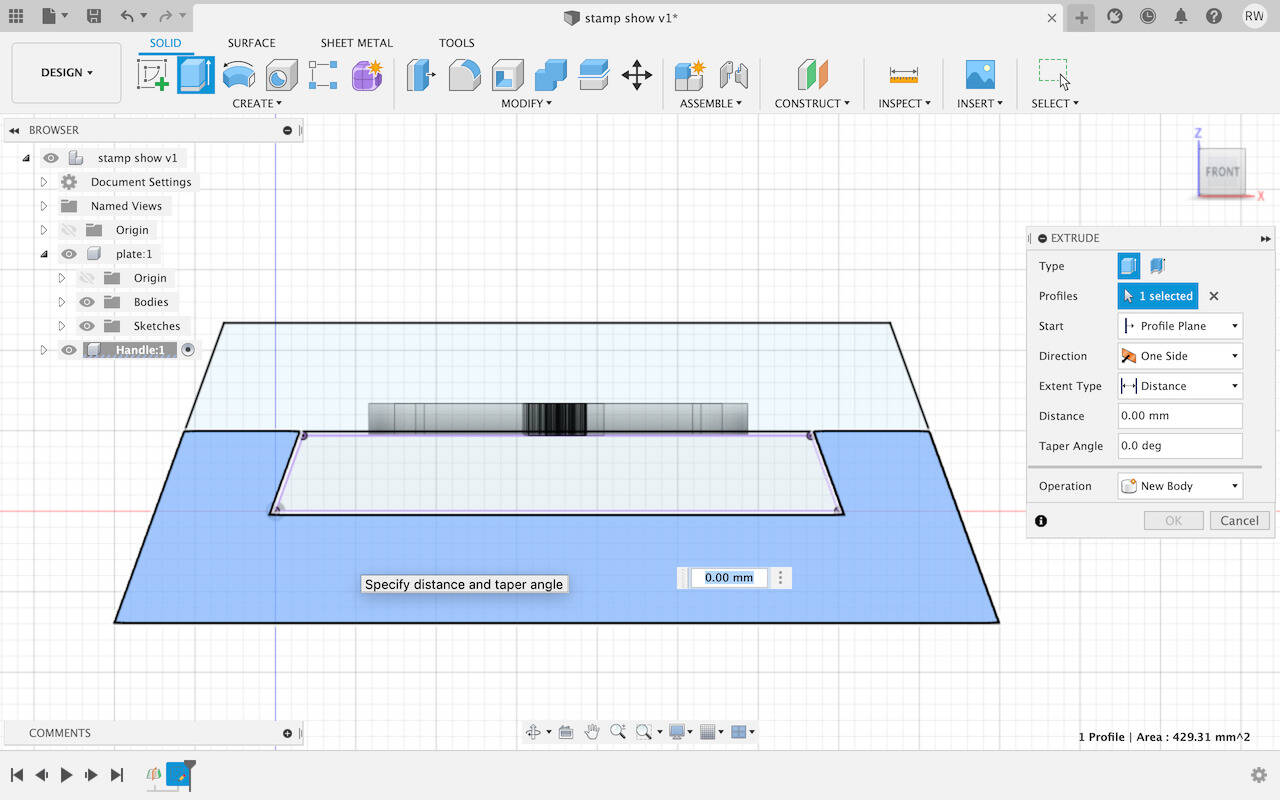
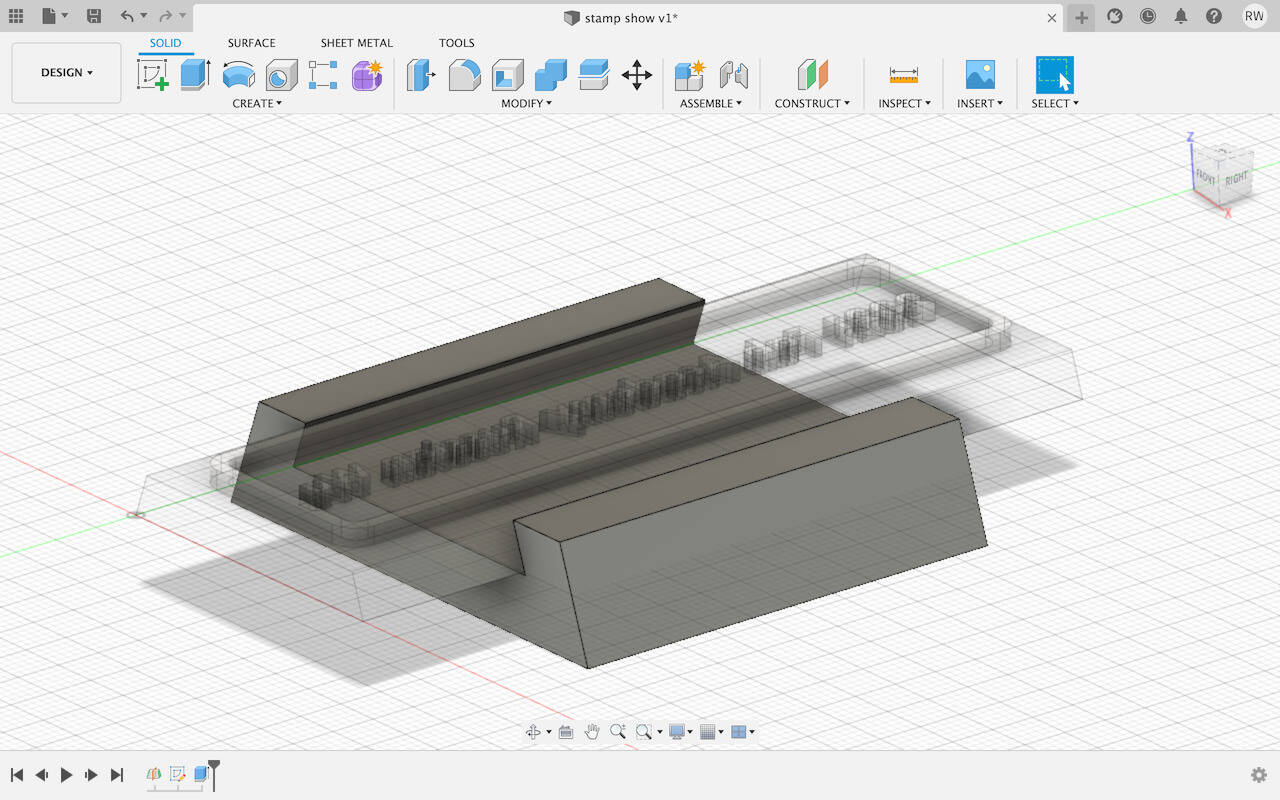
Select Symmetric to extrude the object to both sides
And we get this!!
-
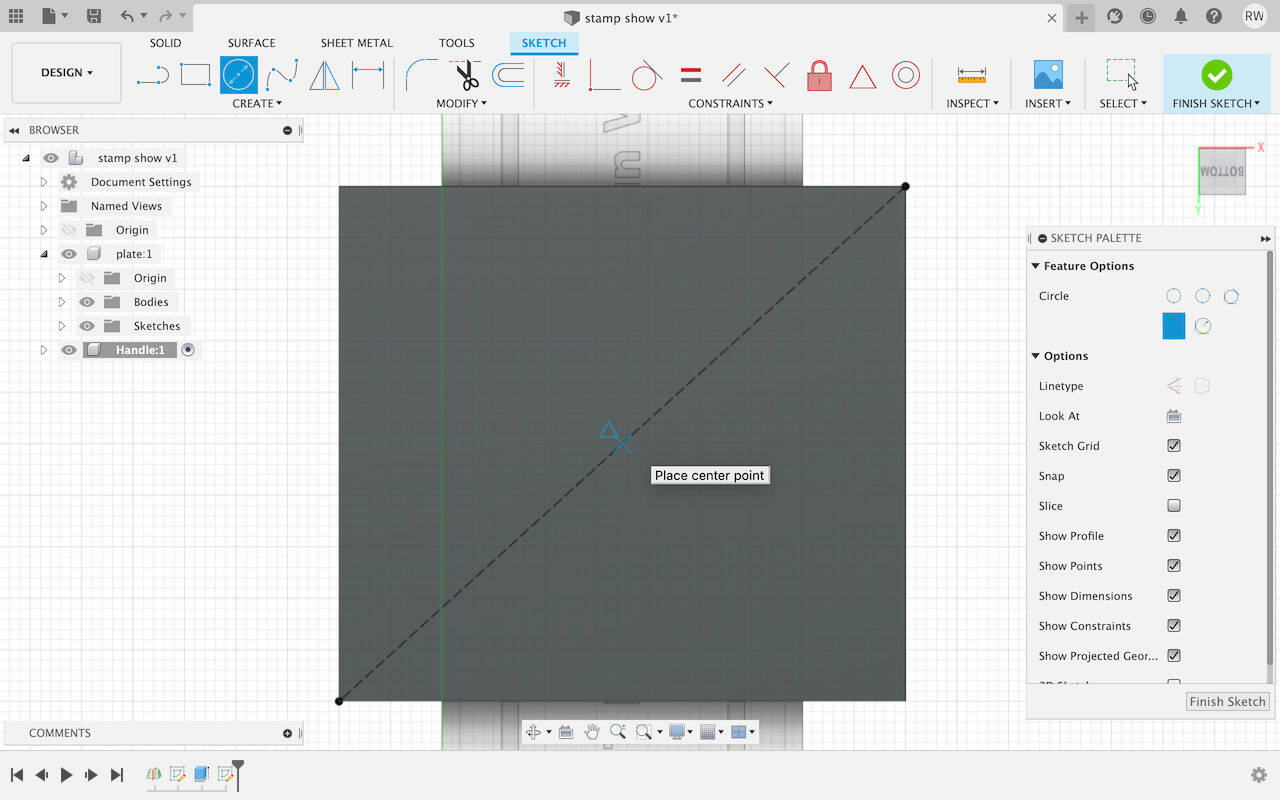
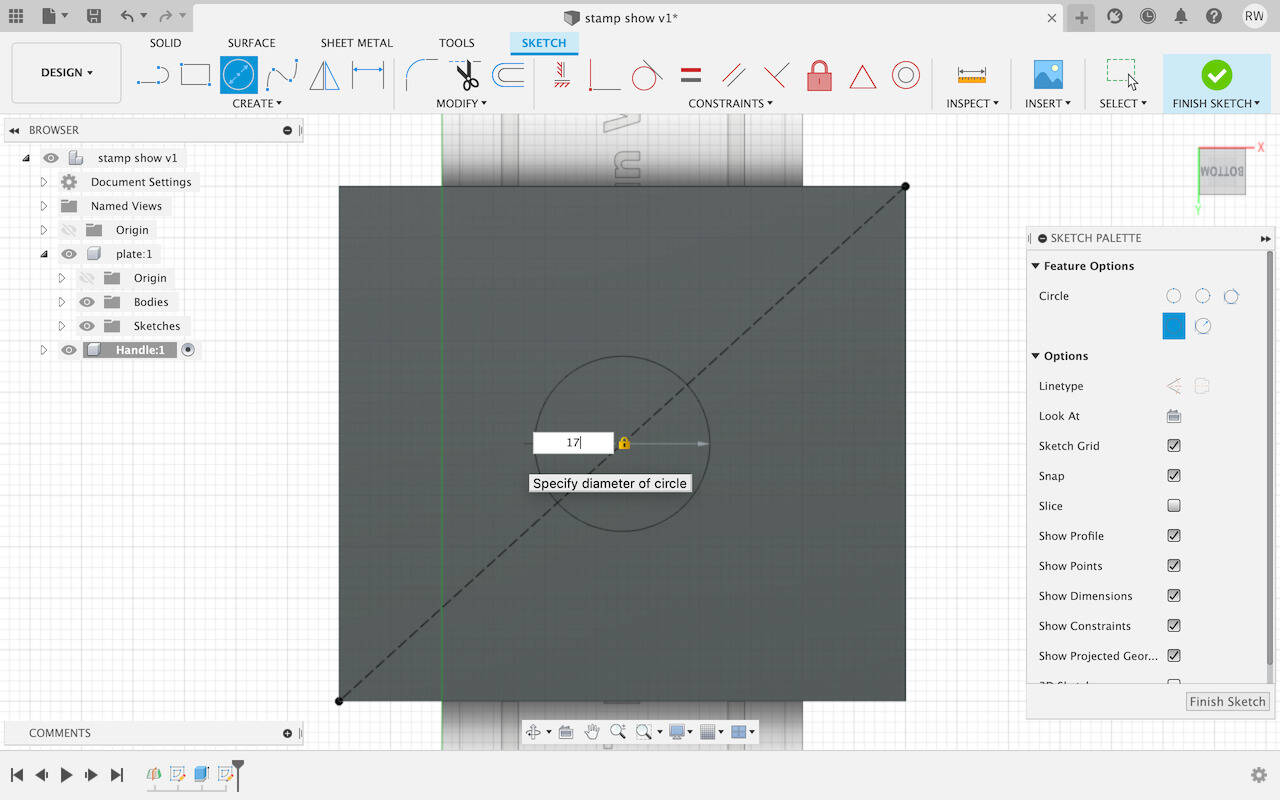
Draw a construction line on the button to help with the middle circle drawing
Press C to activate Circle, and put the mouse no middle it would show a triangle which means it is in the center.
-
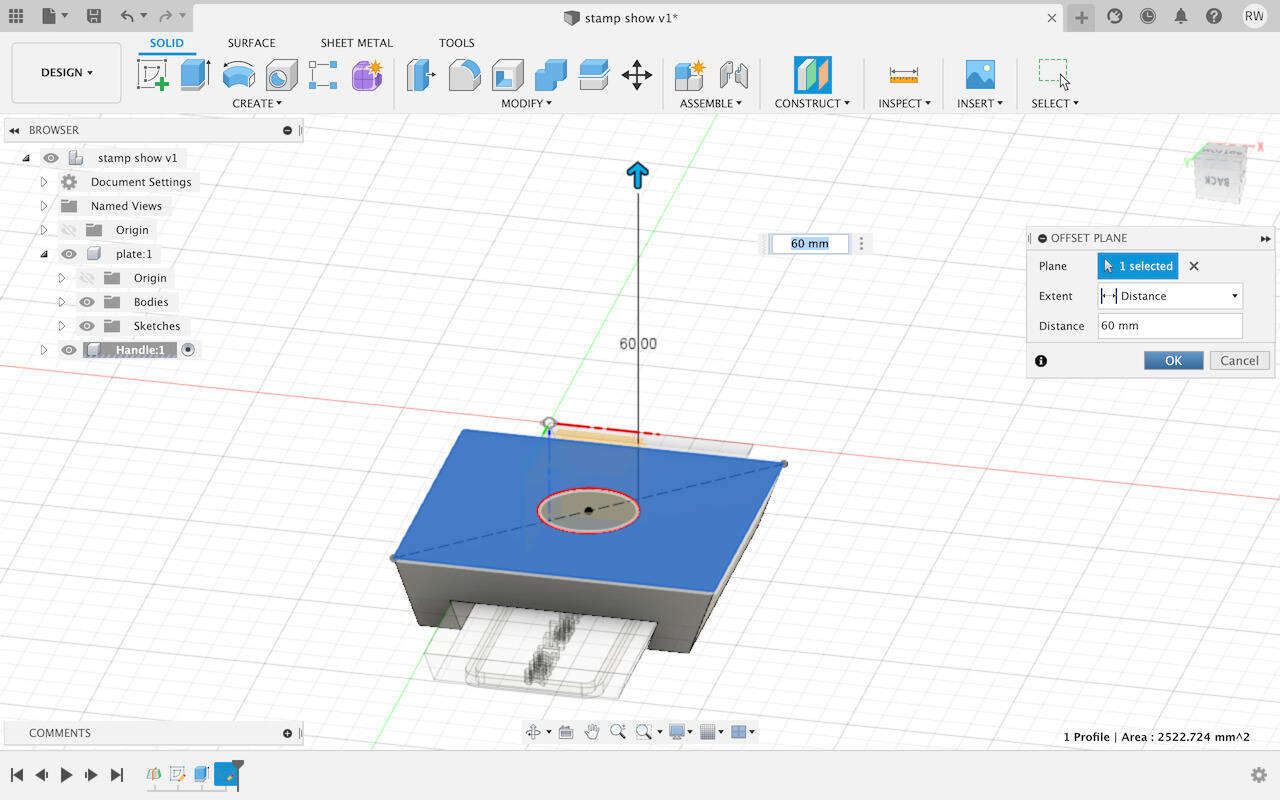
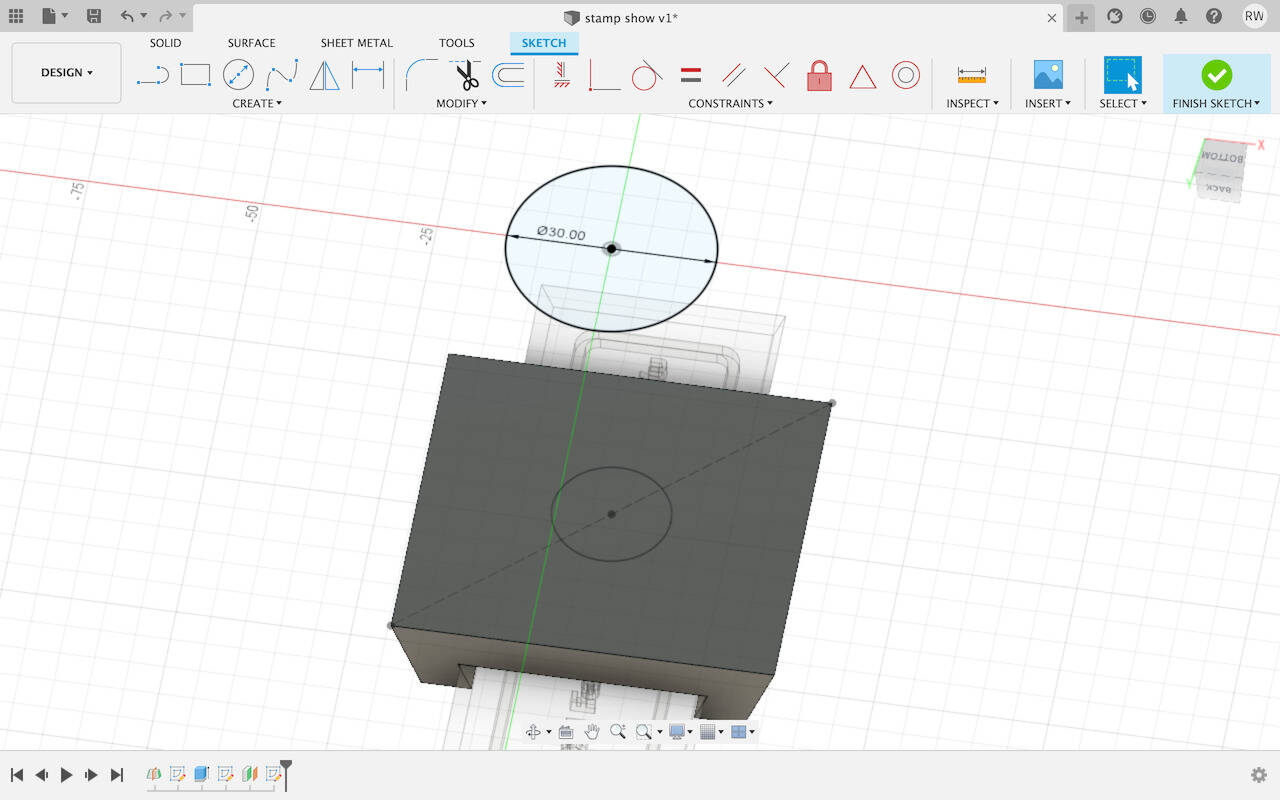
Create another circle with Offset Plane
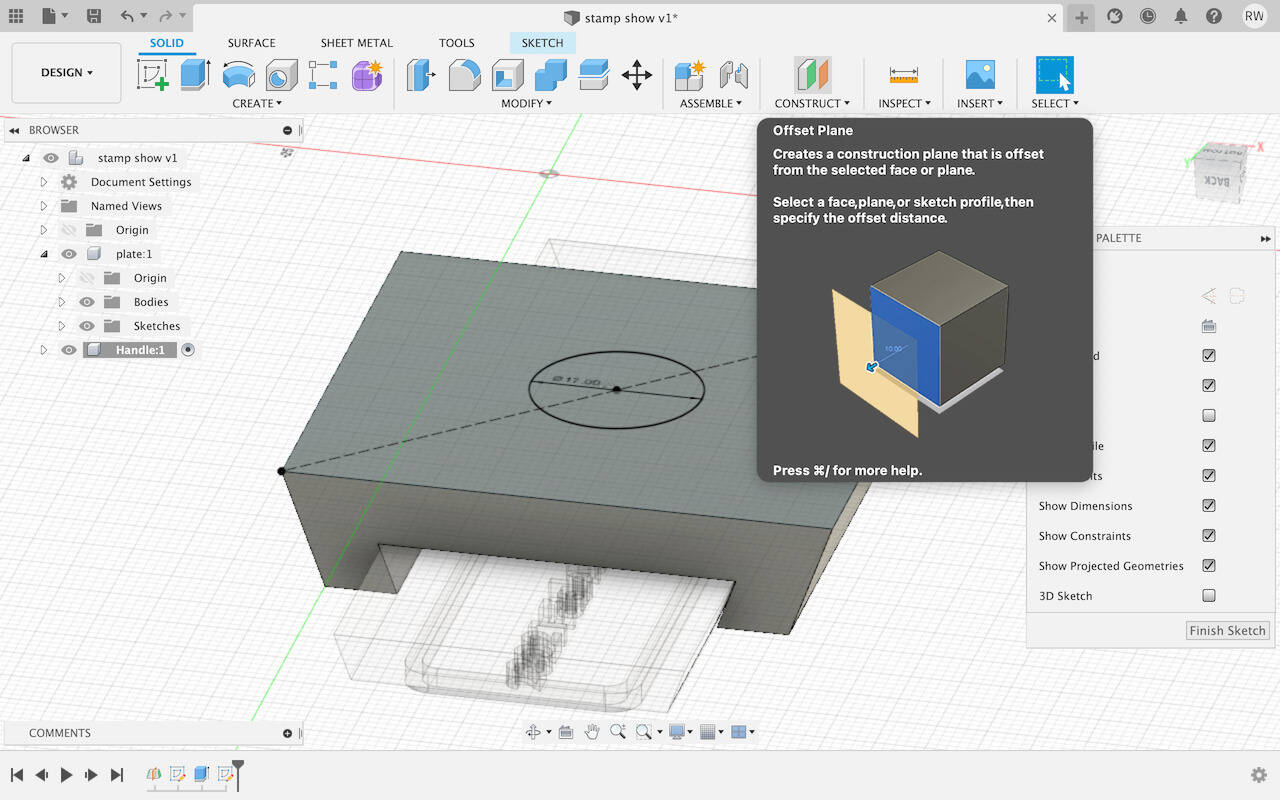
Select the plane you want to offset and type in 60 mm.
Press C and type in 30 mm to draw the circle
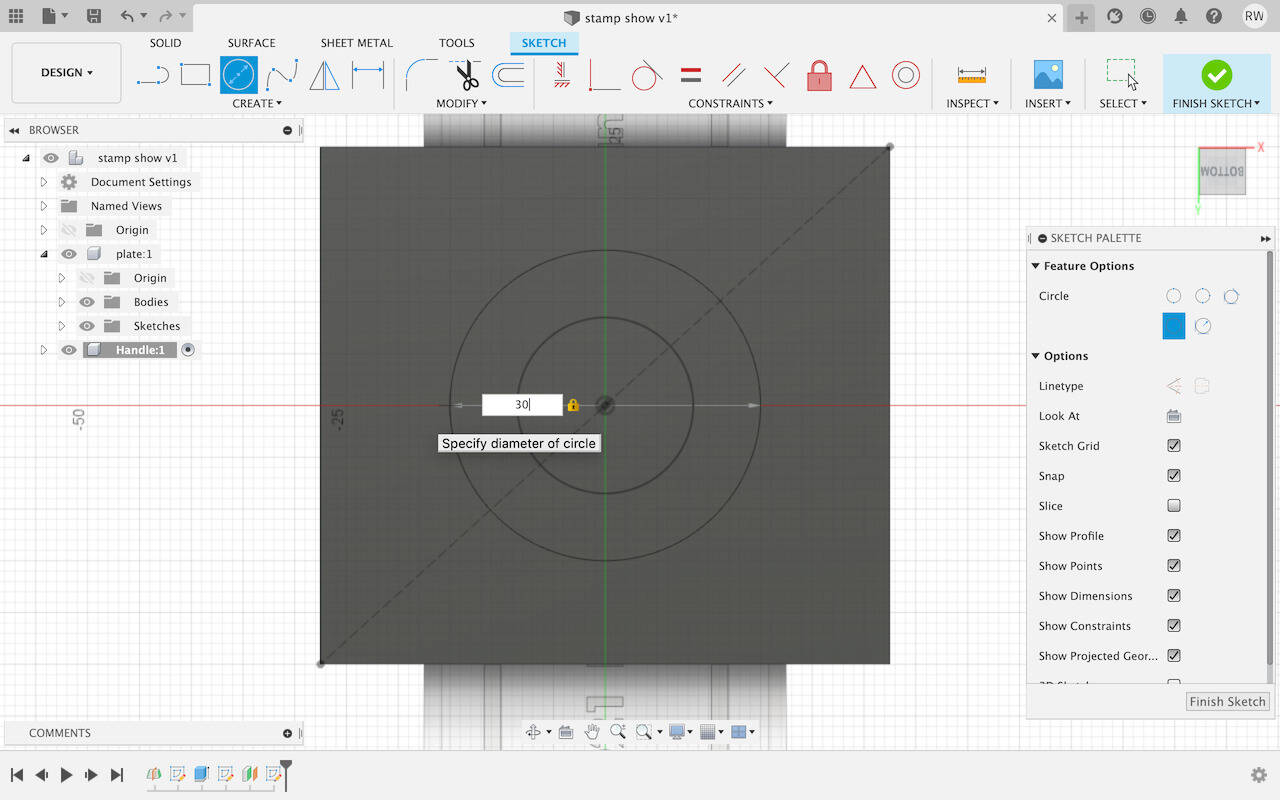
We will get this
-
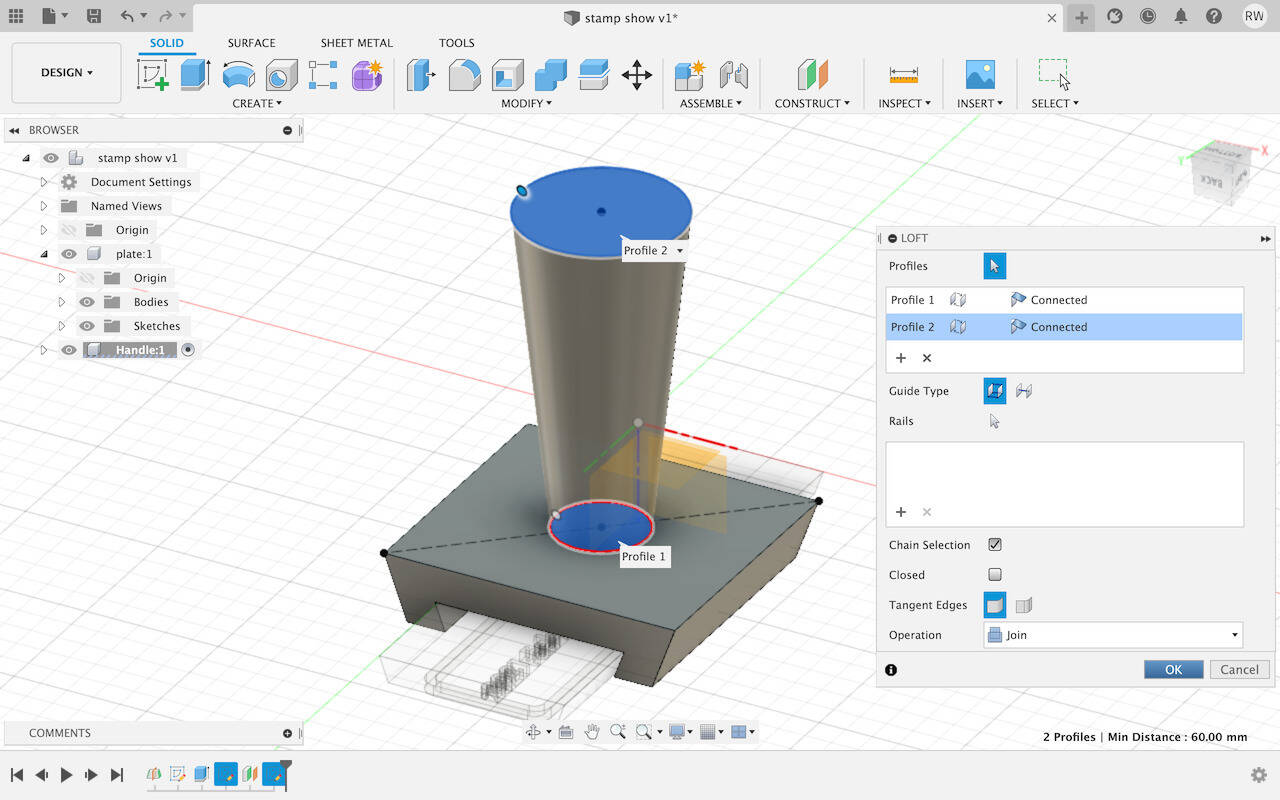
Use Loft command to connect the dots
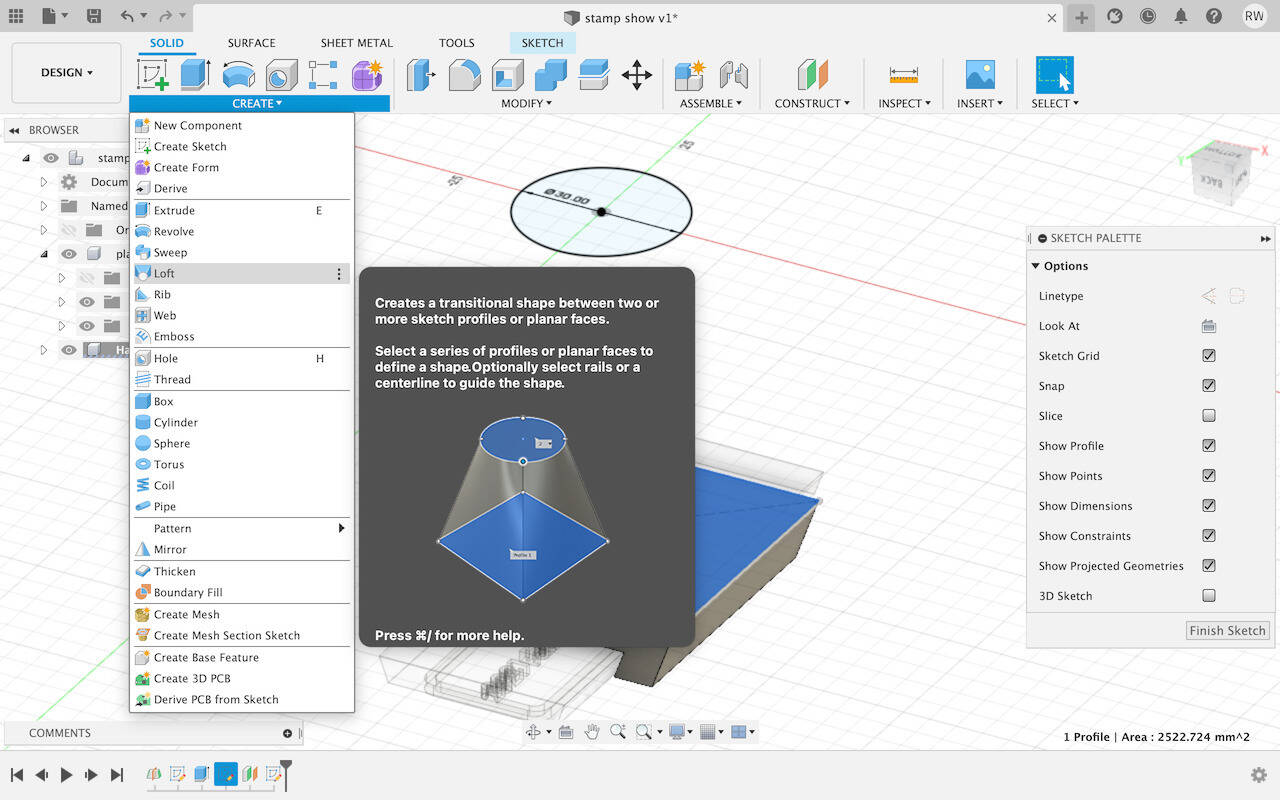 Select two circles
-
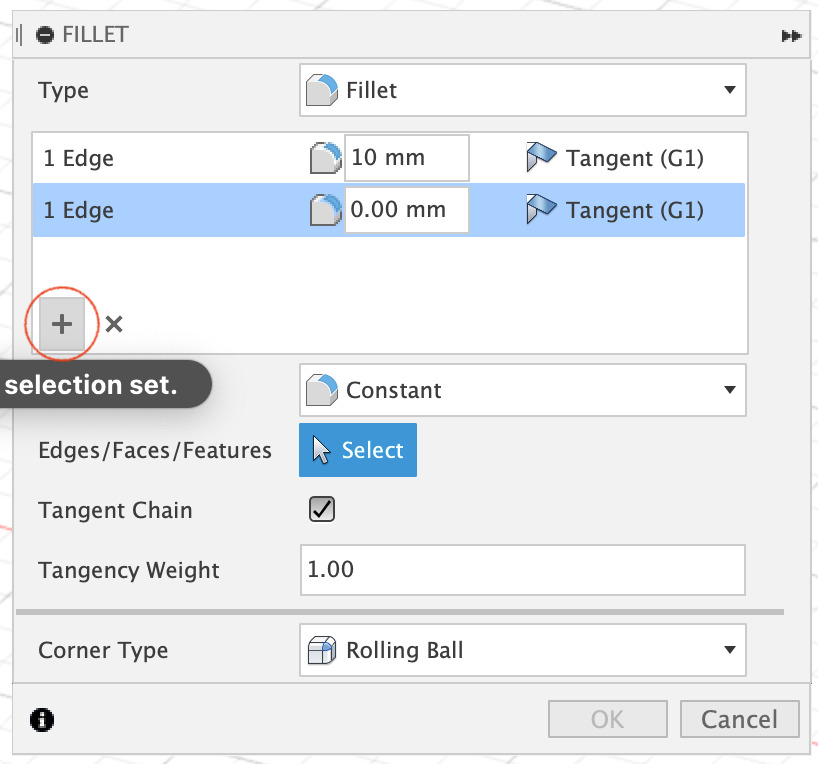
Use Fillet to create rounded edges to beautify the handle.
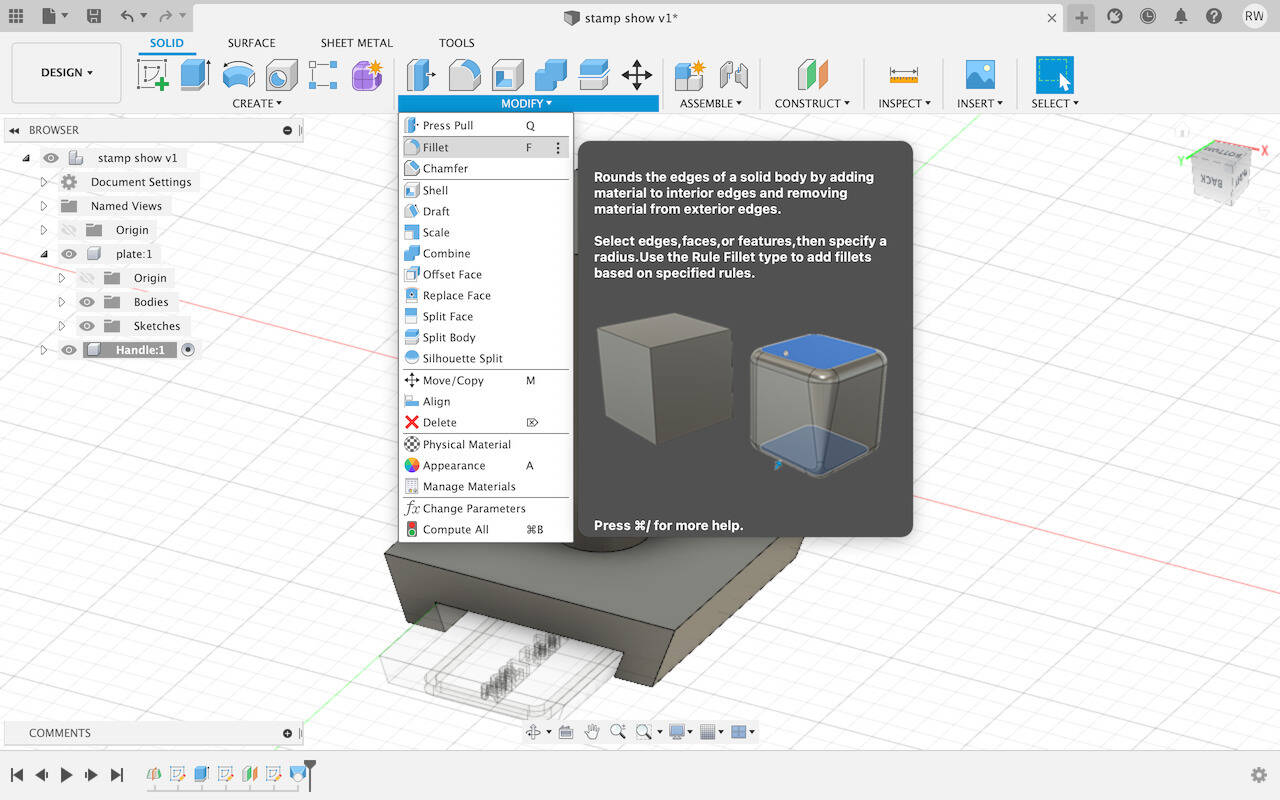
Select the edge and type in 10 mm, press + to select another edge to fillet in a different size
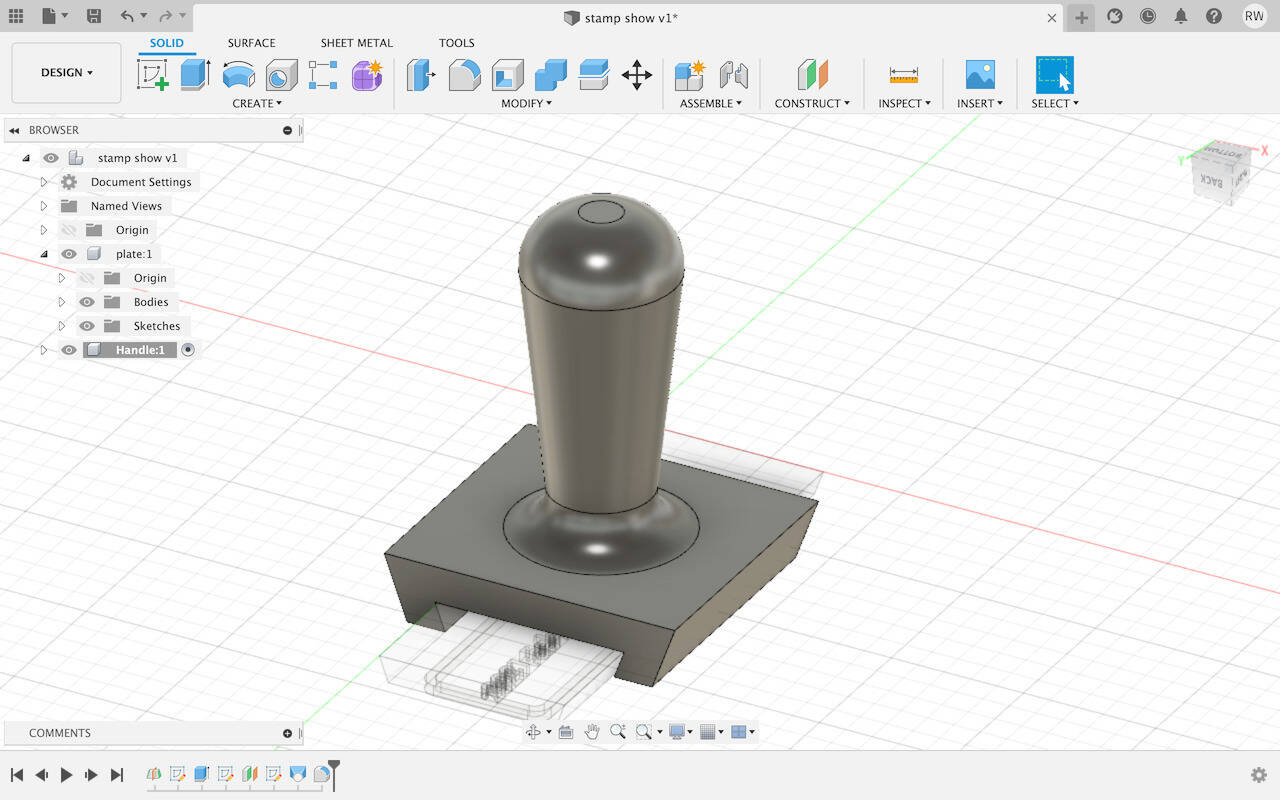
Then it’s done!!
-
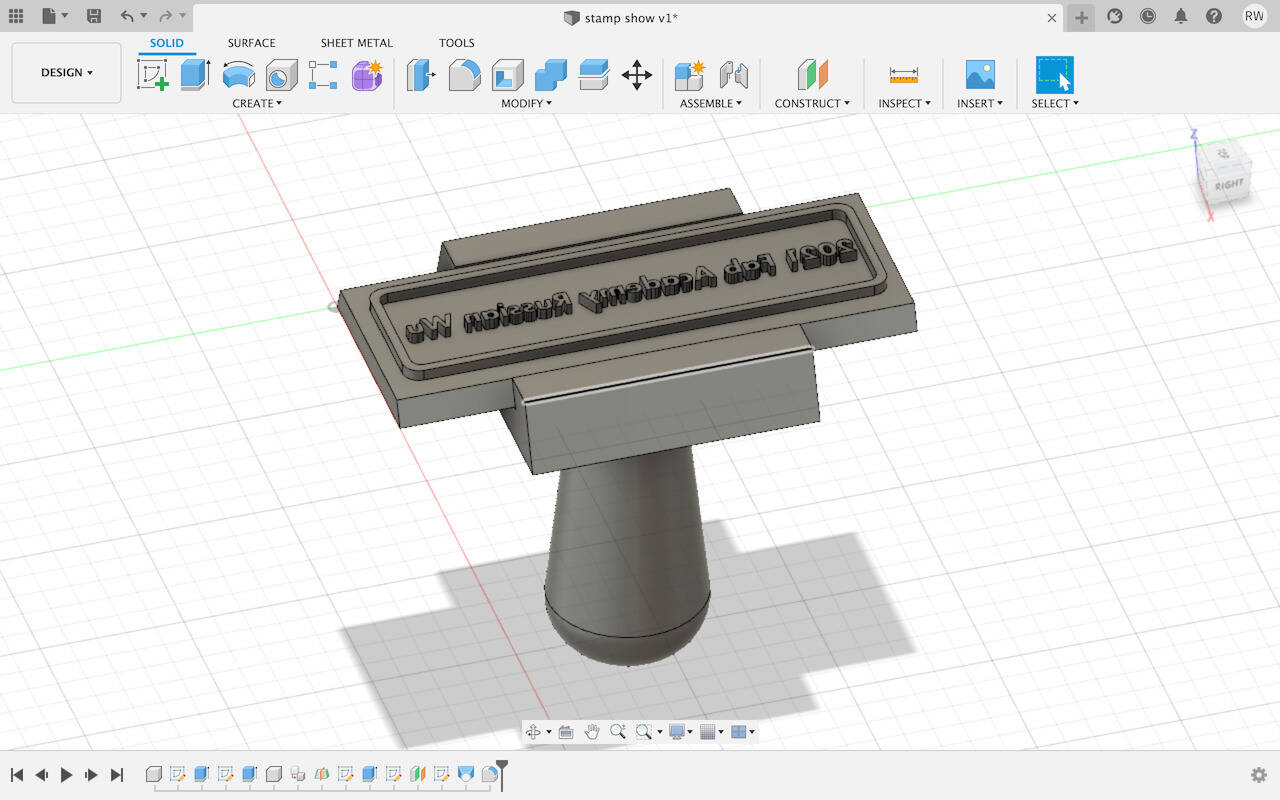
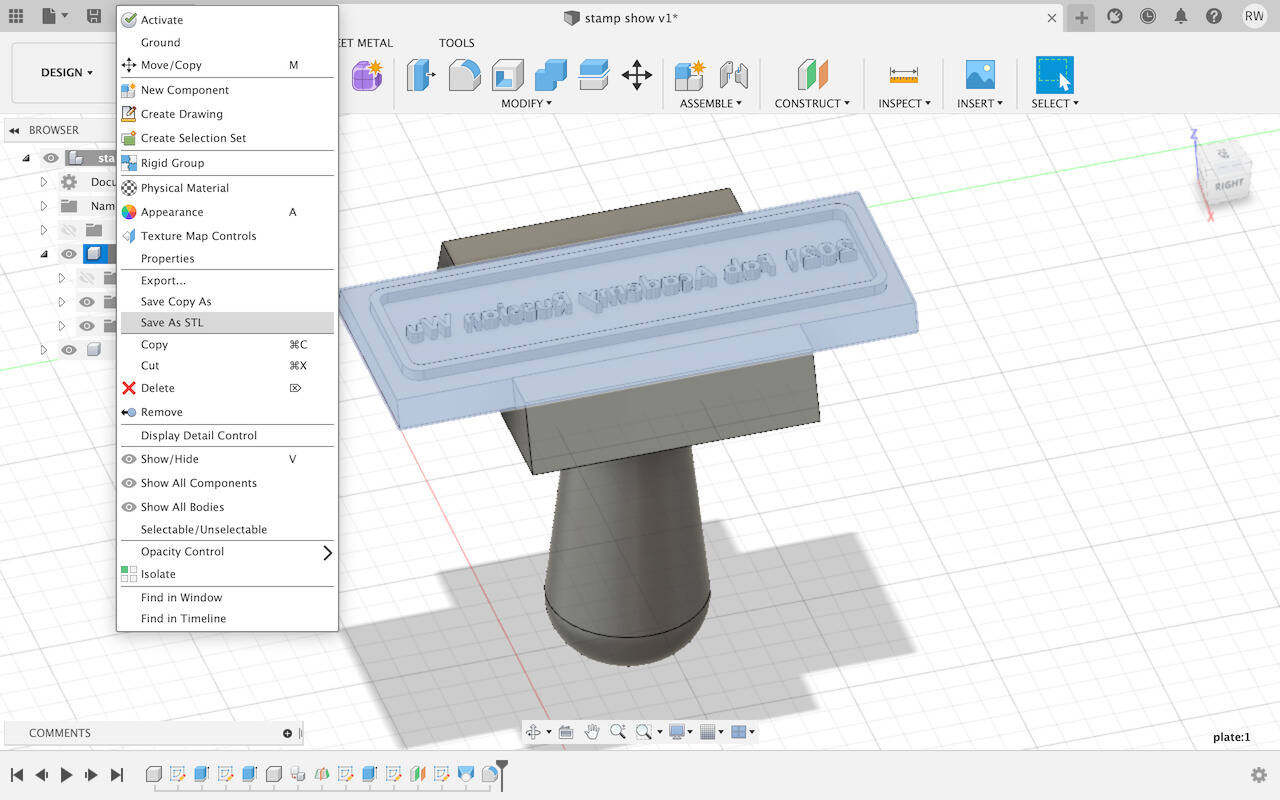
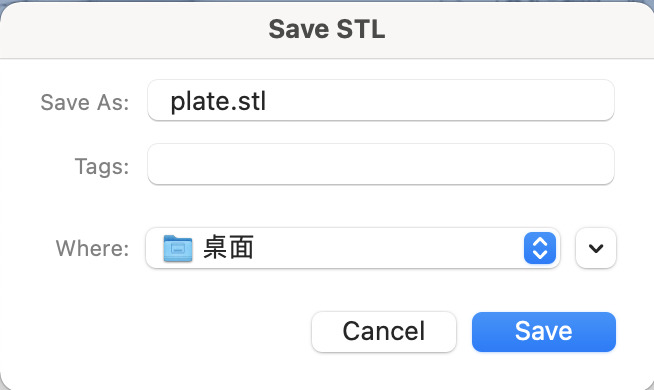
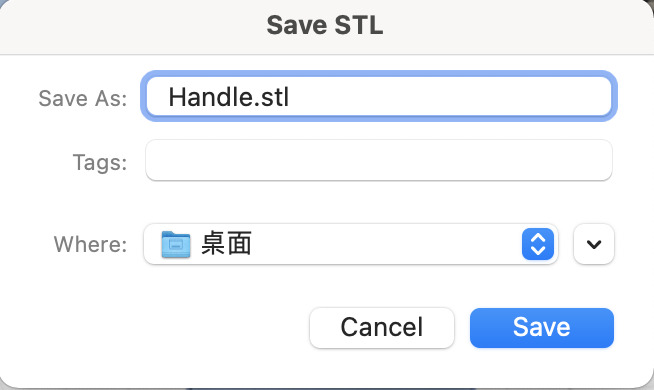
Export into STL file, by right-clicking on the component and select Save as STL
Download
The zip file of Week 03: Computer-Aided Design could be found here.
- My spring couplet can be found in spring.ai.
- SVG file for the stamp is russian-stamp.svg.
- The final .fbx of the stamp is stamp.f3d.