Important Documents
Day 01: HTML Basics
Today we learned from the brief history of the World Wide Web, which was invented by Tim Berners-Lee in 1989. And Kris also explained the relationship from Server, DNS Server to Client.
Because of my habits, I selected Sublime as a text editor, Chrome, and Safari as my browsers.
Everything start from Html basic structure:
<!DOCTYPE html>
<html>
<head>
	<title>Fab Academy 2021</title>
	<meta charset="utf-8">
	<meta name="viewport" content="width=device-width">
</head>
<body>
	Hello.
</body>
</html>
Something needs to mention:
<meta charset="utf-8">
It makes the browser can display special characters.
<meta name="viewport" content="width=device-width">
With this script, the content will automatically adjust to different devices' browsers, as know as Responsive Website Design (RWD).
When we need headings:
<h1>Heading 1</h1>
<h2>Heading 2</h2>
<h3>Heading 3</h3>
<h4>Heading 4</h4>
<h5>Heading 5</h5>
<h6>Heading 6</h6>
When we need lists:
<ul>
	<li>Coffee</li>
	<li>Tea</li>
	<li>Milk</li>
</ul>
When we need paragraphs:
<p>This is a paragraph.</p>
<p>This is another paragraph.</p>
HTML links could be added after most of tags:
<a href="url">link text</a>
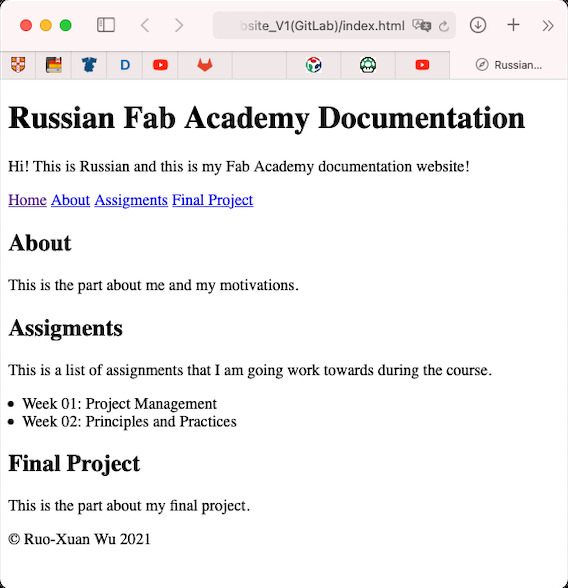
After all the steps, we finally got this :) ↓
The further information can be found :
- MDN web docs
- W3schools
- Day 01 video could be found from last year.
Day 02: Command Line and Git Basics
Command Line
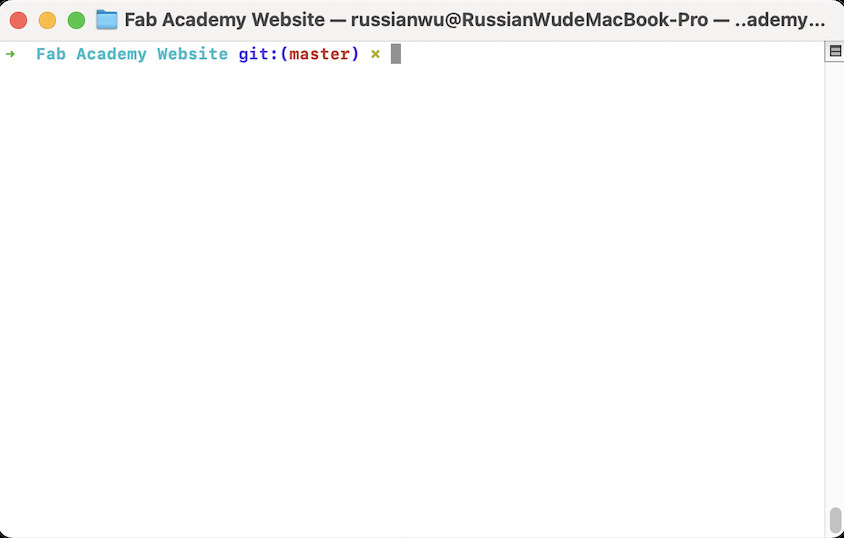
On the second day, we talked about the history of command line. It came from teleprinter, teletypewriter and later became computer terminals. In the MacOSX Zsh is defaulted, so the Mac user can easily access it from Terminal.

Git
Git is a version controller. It was created by Linus Torvalds for providing Linux kernel development an alternative. After installing it in the folder, we can use the command line to update and manage old and new files to record down every step we did.Hint: GNU nano is a text editor for operating environments using a command line interface.
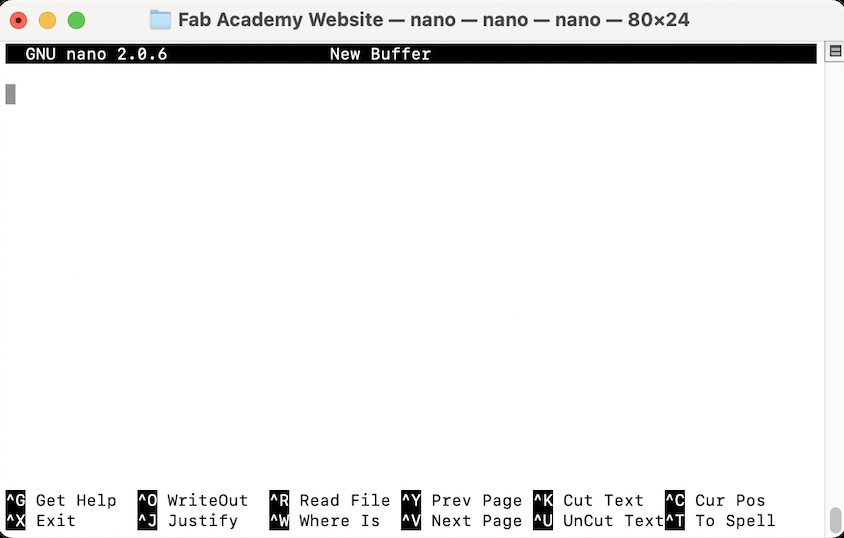
$ nano hello.txt
Command in Command Line
-
Change the directory:
$ cd Desktop/ -
Stay in the same directory:
$ cd . -
Go to one layer above
$ cd .. -
Print out the file in current direcrory:
$ ls README.md content layouts -
List all contents in current directory including hidden files and directories
$ ls -a . .git README.md layouts .. content .DS_Store -
List all files with the authorities and creator information
$ ls -l -rw-r--r-- 1 russianwu staff 195 1 22 00:24 README.md drwxr-xr-x 7 russianwu staff 224 1 28 14:01 content drwxr-xr-x 3 russianwu staff 96 1 28 01:27 static -
Print the path of the working directory
$ pwd /home/ccuser/workspace/blog -
Clean the terminal screen
$ clear -
Creat a file
$ touch data.txt
Git Installation
For macOS users to install git, please follow the instruction in the Homebrew.
-
Confirm the installation:
$ git version git version 2.25.1 -
Git Initailization:
$ git init $ ls -a . .. electronics.png .git index.html -
Setting the username:
$ git config --global user.name "John Doe" $ git config --global user.email johndoe@example.com -
Checking the status all the time:
$ git status Untracked file... -
Adding the file to staging erea:
$ git add filename.jpg $ git add . (all the file) -
Commiting the file:
$ git commit -m 'Initial commit' 2 files changed... -
Checking the history of commit:
$ git log -
Get out of git log:
$ q -
Checking the difference from last version:
$ git diff
HTML
-
Table
<table> <tr> <td></td> <td></td> </tr> </table> -
Image
<img src="electronics.png" alt="Temporary Image"> -
Copyright
© -
Links
<a href="index.html">Home</a>
The further command can be found :
- Codeacademy
- Day 02 video could be found from here.
Day 03: Setting up and Using GitLab

GitLab
GitLab is a web-based DevOps tool and developed by Ukrainian developers: Valery Sizov and Dmitriy Zaporozhets. Git repository hosting implements into the DevOps cycle: Build → Test → Result
SSH public key (Secure Shell)
GitLab needs your ssh public key for decoding your information. It can be set by following steps:
-
Generate SSH key:
$ ssh-keygen -t ed25519 -C "My Key"
Follwing the default without the passphrase.
-
Print SSH public key:
$ cat id_ed25519.pub -
Copy the result and past in the GitLab: Go by Profile icon → Setting → SSH Keys → Add key
Command Line
-
remove
$ rm id_ed25519 id_ed25519.pub
Creat new project in Gitlab
-
Create blank project
-
Project name: Fab Academy
-
Visibility Level: Public
-
Push an exisiting Git repository
$ git remote add origin git@gitlab.com:russianwu/fab-academy.git $ git push -u origin --all -
Everytime want to update the new file:
$ git push -
In order to download all the updated file:
$ git pull
Markdown
It is a simplify version of HTML. Further information could be found here.
.gitlab-ci.yml
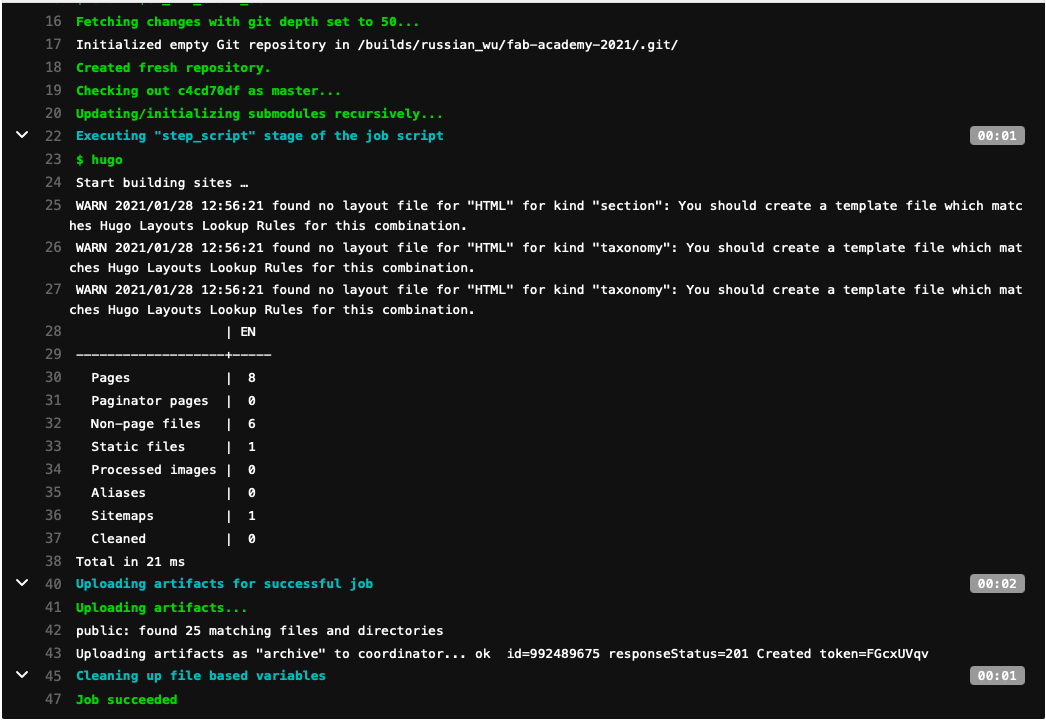
Automatically publish the website:
- click button +
- .gitlab-ci.yml
- HTML
- Enter commit message
- Commit change
- Check the running pipeline
Open the website
From setting → Pages → https://russian_wu.gitlab.io/fab-academy-2021
Day 03 video could be found from here.
Day 04: Using a Static Website Generator
- A static web page delivers the user’s web browser exactly as stored.
- A dynamic web page could show the information according to the user input data.
Hugo
Hugo builds with GoLang and has no dependencies.
Hugo Installation
-
Download Hugo
Latest version could be downloaded from here.
-
Extract hugo to wherever you want
-
Check if the hugo executable:
$ ./hugo versionIf it pops up the following similar context, then it works.
Hugo Static Site Generator v0.80.0-792EF0F4 darwin/amd64 BuildDate: 2020-12-31T13:36:47Z -
Find a program location by
$ which ls $ which mv /bin/rm -
Move the hugo into user program location with Super User Do (sudo)
$ sudo mv hugo /usr/local/bin -
Confirm the location of hugo
$ which hugo /usr/local/bin/hugo -
Then hugo can access in the computor from anywhere
 $ hugo version
 Hugo Static Site Generator v0.80.0-792EF0F4 darwin/amd64 BuildDate: 2020-12-31T13:36:47Z
Implment hugo into our file
-
Create a .temp directory to store all previous files
 $ mkdir .temp
 $ mv ./* .temp
Hints: touch is to create a file; mkdir is to create a directiry
	$ hugo new site ./ --force

<img class="img-fluid pt-1 pb-3" style="width: 40rem;" src="../hugo.jpg" alt="config">
-
Get rid of the files we don’t need: archetypes, data, and themes
-
Edit config.toml file

-
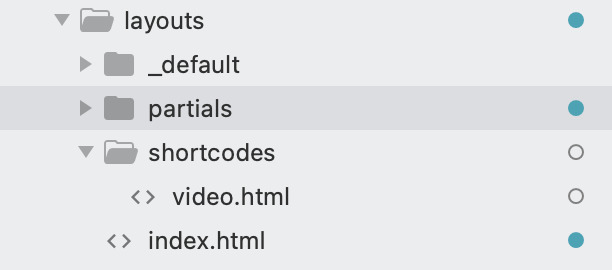
Move index.html into layouts file
-
Check the lastest changes
$ hugo server -
Open http://localhost:1313/fab-academy-2021/
-
Replace the varies content with variables and edit params
-
Create a partials folder for navigation.html

-
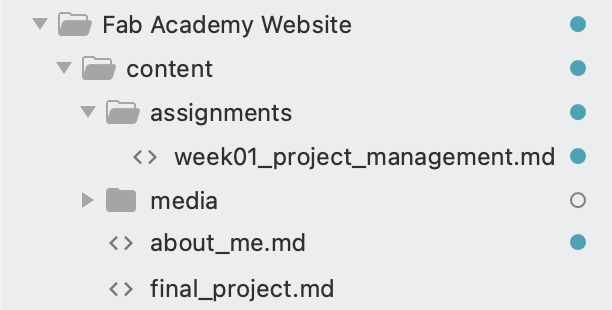
Create markdown files in content directory
-
Create single.html in _default folder

-
Change the navitigation path
-
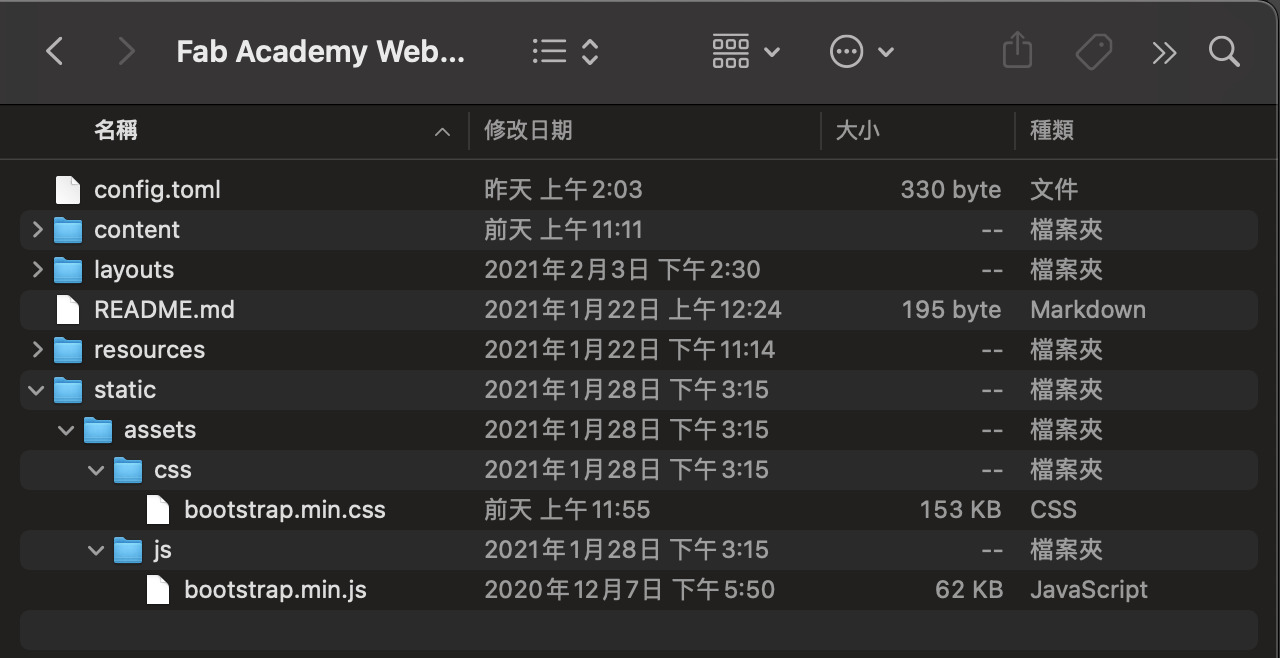
The files in the static would be accessable index.html file
-
Move README.md file in to the root
$ mv .temp/README.md ./ -
Create a .gitignore to write down the file need to be ignored
$ touch .gitignore -
delete the old .gitlab-ci.yml file
-
Create a new .gitlab-ci.yml
- click button +
- .gitlab-ci.yml
- Hugo
- Enter commit message
- Commit change
- Check the running pipeline
Day 04 video could be found from here.
Day 05: Optimizing Images and Videos
Two types of images
Vector (.svg) and Raster (.png, .jpg) files are wildly used in the internet. However, there are some specialties for each. Png files can store transparent pictures. Jpg stores the files are effective. SVG and ai files could zoom into any size without crap resolutions.
Videos
Videos are the sequence of images and playing together, and the eyes working system would consider it as a continual video. The most popular compression file nowadays is H.264 file, it can minimize the file size and maximize the video quality.
Choose for documentations
Because I am working on MacOS, I usually use Quicktime and Preview to screenshot or record the monitor. For video editing, I usually use Premiere or even After Effect when I need it. After the class, I also tried ImageMagick for image compression. It is amazing and effective, you can see from the following pictures.
-
Install imagemagick with Homebrew:
$ brew install imagemagick -
See the data of images:
$ identify DSC05173.jpg -
Resize the images:
$ convert -resize 60% DSC05173.jpg test.jpg
$ convert -resize 1280x720 DSC05173.jpg test.jpg
$ convert -quality 65 DSC05173.jpg test.jpg

- Install ffmpeg with Homebrew:
$ brew install ffmpeg - See the data of videos:
$ ffmpeg -i test.mp4 - Resize videos
$ ffmpeg -i IMG_2228.mov -vf scale=1280x720 video-resized.mp4 - Edit videos
$ ffmpeg -i IMG_2228.mov -ss 4 -t 5 -vf scale=1280x720 video-resized-5s.mp4
Insert a shortcodes
$ {{ <video> }} video-resized-5s.mp4{{ </video> }}

The futher information can be found :
- Information of Video tags.
- Day 05 video could be found from here.
Bootstrap

Where to download it?
-
Include the link in the scripts, however, it only works when you have internet.
<link href="https://cdn.jsdelivr.net/npm/bootstrap@5.0.0-beta1/dist/css/bootstrap.min.css" rel="stylesheet" integrity="sha384-giJF6kkoqNQ00vy+HMDP7azOuL0xtbfIcaT9wjKHr8RbDVddVHyTfAAsrekwKmP1" crossorigin="anonymous"> -
Download the compiled CSS and JS from website.
How to start it?
-
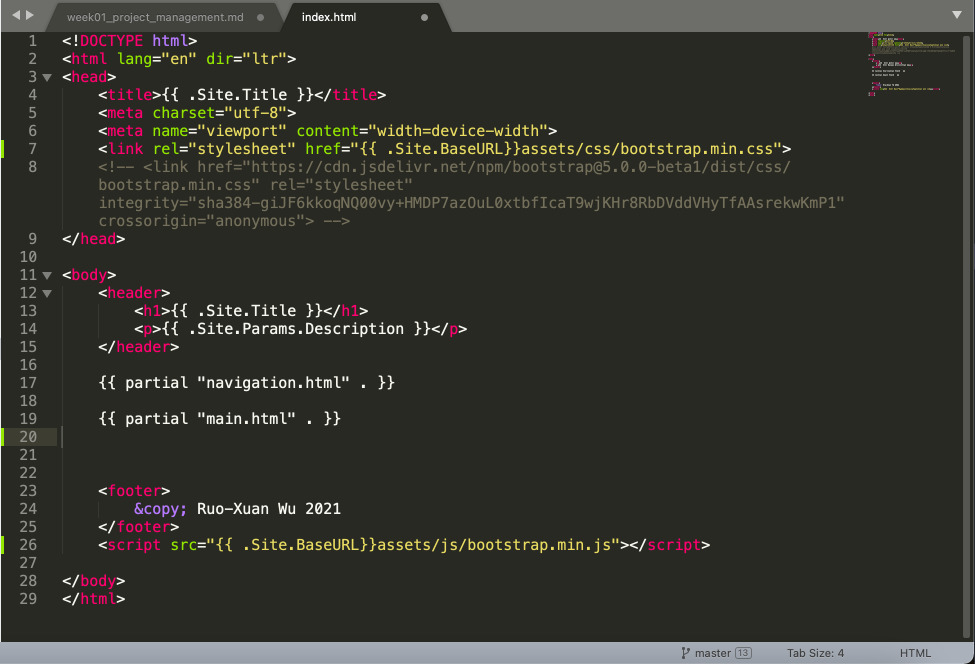
Copy the bootstrap.min.css and bootstrap.min.js files into the static file which we built in Hugo, because the scripts should be able to access by all the folders.
-
Add
<link rel="stylesheet" href="{{ .Site.BaseURL }}assets/css/bootstrap.min.css">into the head of website. Min means the minified version of bootstrap library. -
Add
<script src="{{ .Site.BaseURL }}assets/js/bootstrap.min.js"></script>at the end of page.
Futher information could be found from Bootstrap Documentation
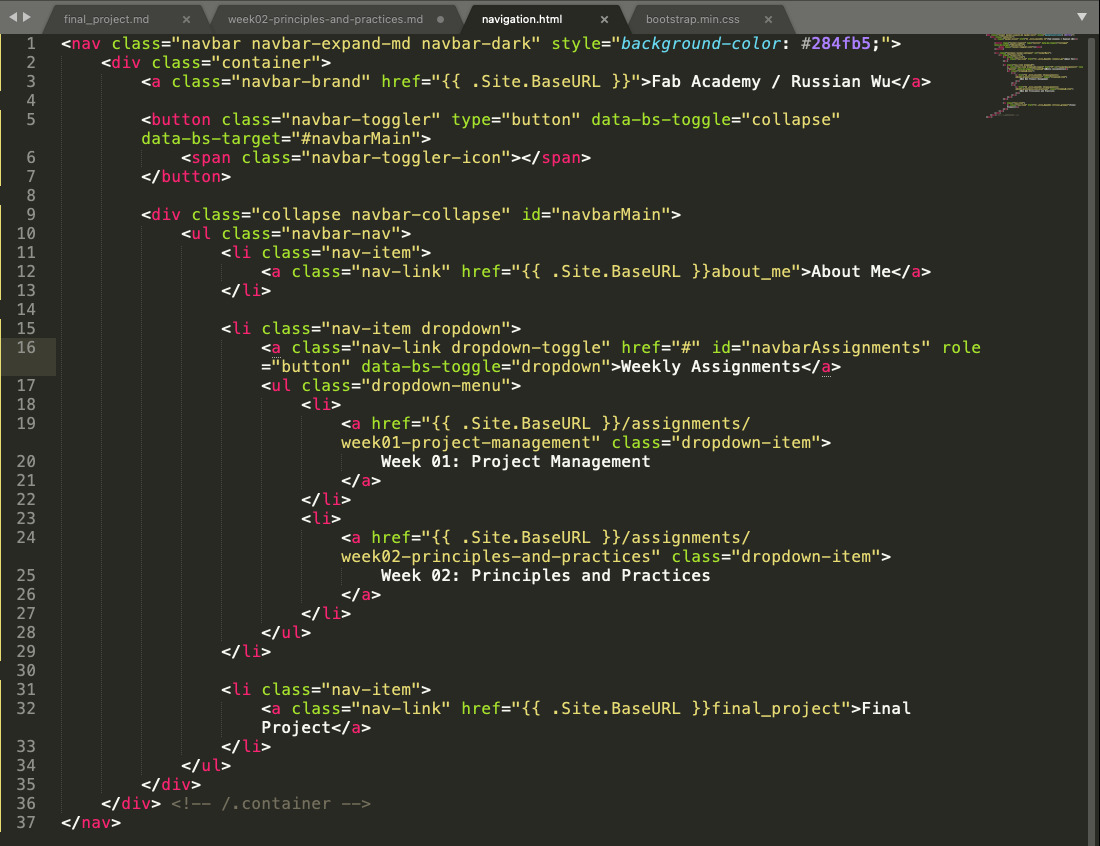
Build a Navbar
-
<nav class="navbar navbar-expand-md navbar-dark" style="background-color: #284fb5;"></nav>mdis Breakpoints which are the triggers in Bootstrap for how your layout responsive changes across device or viewport sizes.navbar-darkdecides the color of wordsbg-lightdecides the background color, which can also change intostyle="background-color: #284fb5;"
-
class="container-fluid"enable container to be fit all the page,class="container"makes the container to be responsive The container of navbar allows bootstrap to assign class through all the content -
Botton
<button class="navbar-toggler" type="button" data-bs-toggle="collapse" data-bs-target="#navbarMain"></button> -
Dropdown
<li class="nav-item dropdown"></li> -
Dropdown menu
<ul class="dropdown-menu"></ul>
Header

ppadding aroundpy-5padding in y directionpx-5padding in x direction<h1 class="display-1"></h1>font size in the maximum<p class="lead"></p>paragraph in the lead size
Main
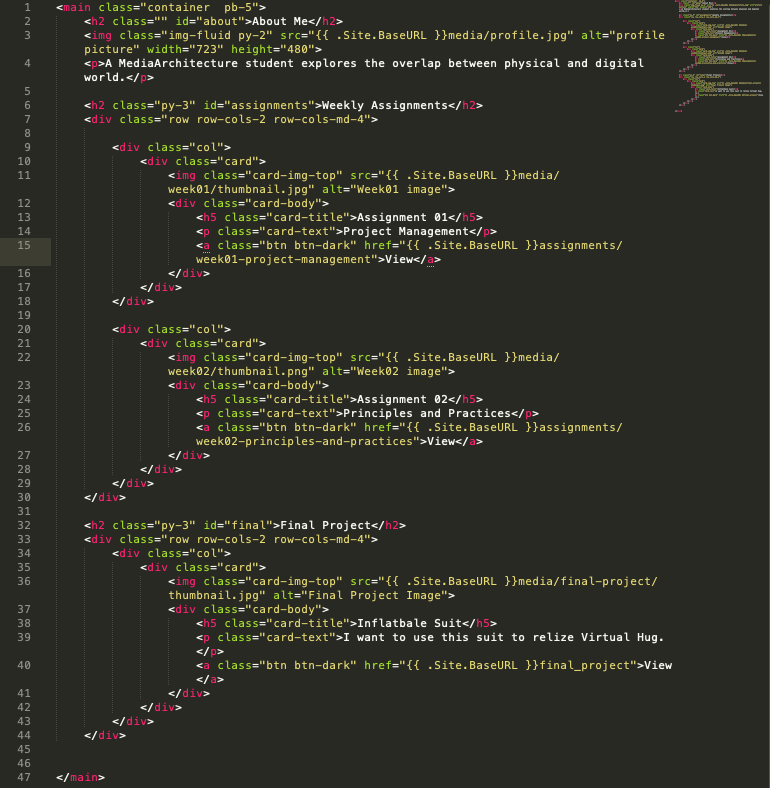
- Read the detail of
<div class="row row-cols-2 row-cols-md-4"></div>in Row columns. - Read the detail of
<div class="card"></div>in Card. <a class="btn btn-dark" href="{{ .Site.BaseURL }}assignments/week01-project-management">View</a>is for View button
Footer

{{ now.Format "2006" }}can access the time for now
Markdown Tips
-
{{ .Page.Title }}the title would get from content -
{{ .Site.Title }}the title would get from config.toml