Version Control
This is all new to me. In general I would say that documentation is a weak point for me.
I usually get so involved in whatever I'm doing that I don't even think about saving anything for future reference.
I recognize this as a fault, and something that has held me back from pushing projects further ahead than the bare minimum
working prototype. During this week we learned about Git, Github and version control.
Version control, in essence, allows you to store snapshots of a project as you or your team work on it. This is especially useful for software and web development,
as it allows you to return to working versions of the project if you have made a change that breaks it. We are using Gitlab, but there are many other popular options.
It was most interesting to me to learn that Fusion 360, my preferred CAD software, includes version control in its workflow automatically.
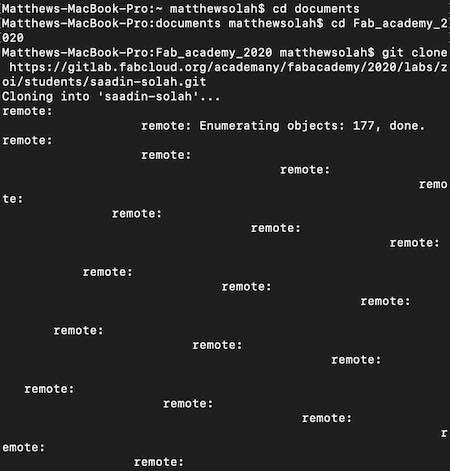
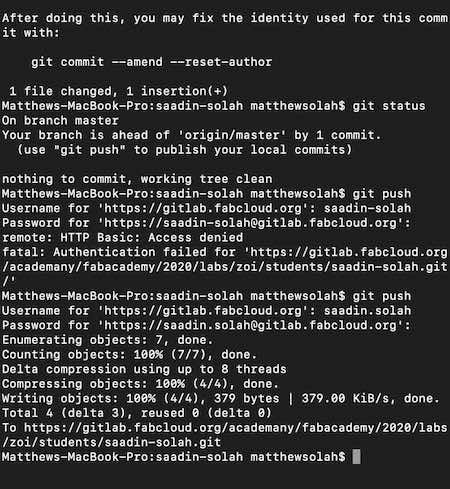
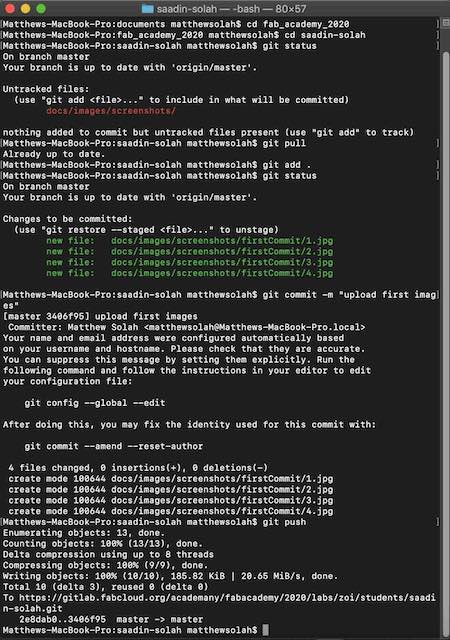
The following images are screenshots depicting the process followed from the console on my Macbook
in order to do my first push on Git. The pattern I learned is git
pull >> git add . >> git commit -m "label" >> git push.
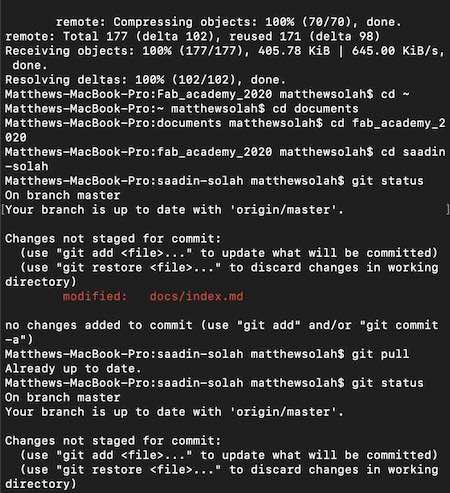
This series of commands first ensures that I am synchronized with my
online repository on github, then adds changes from my computer,
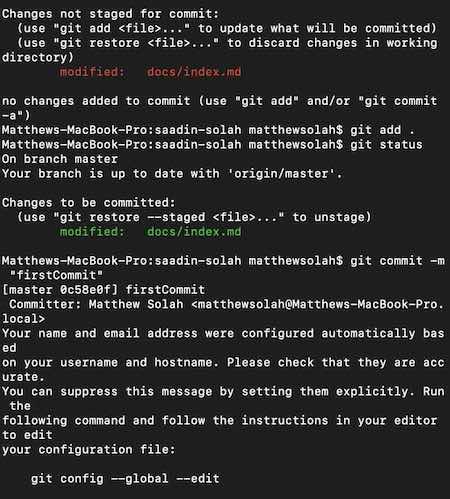
followed by naming the change via commit for version control and
finally "pushing" data from my computer onto github.
This process was straightforward.
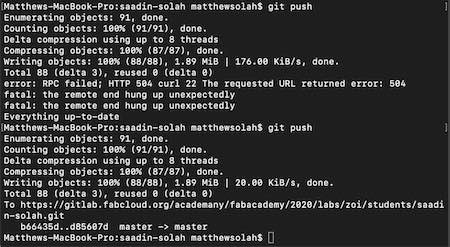
I have only encountered one issue with this process so far. During
the lecture with Neil on wednesday feb. 5 there seemed to be heavy
traffic on the Fab Academy GitHub site. I believe this is the reason
why I received the following error message when I attempted to
update my website during the lecture. As is shown in the image, I got the
hearwarming master master message on a second attempt.
Project Documentation
I think I had one or two computer science periods where we briefly wrote some simple HTML. Other than that, pretty much all of this is a first for me. In order to document our Fab Academy experience, we area expected to create a website to expose everything we do in what is to me e x c r u t i a t i n g detail.
I started off by making some shy ammendments to the markup code that we
all had by default on our student pages. I then proceeded to run through the
git gauntlet once more.
We were told there is a "wall of shame" for people who can't keep their
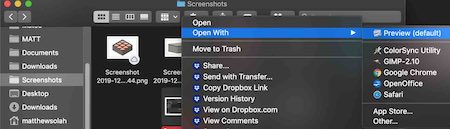
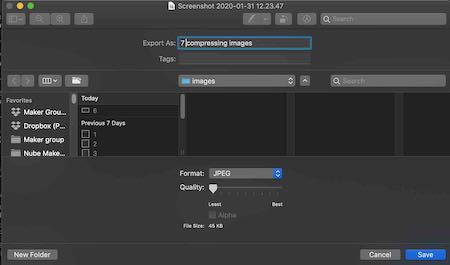
websites light. I am terrified of shame, so I did some work to compress the images
that I uploaded in the process shown in the previous image. The following images outline the process
using the default preview program on my macbook. I thought about using BIMP, but I had a hard time
trying to get it to work quickly, so I stuck to preview.
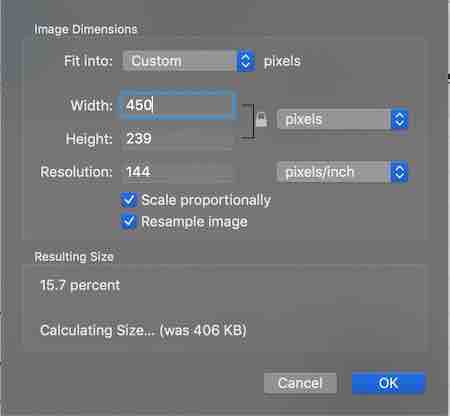
This worked to reduce the resolution, but I found that I could use this in tandem with the
image size reduction function in Preview in order to further reduce my file size.
I had been following the HTML course on Codecademy
, and I was more familiar with HTML than Markup, so I decided to switch
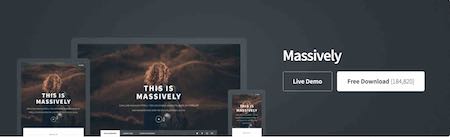
my page to HTML code and start over. As reccomended by our instructor, I
looked for a cool HTML template on HTML 5 UP
and I found one that looked good to me. I proceeded to begin to edit that site.
At this point I also decided to check on the total weight of my webpage. My page
was HEAVY. Fear of the wall of shame took hold and I decided to
start over. I did a quick google search for "basic HTML templates" and stumbled upon
the one I am currently using on OS Templates.
It turns out that the previous template included an assets folder in it that contained several megabytes of stylistic
files in it.
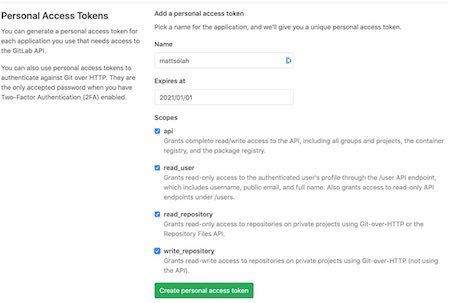
We were also urged to create a private Token, which I have posted here.