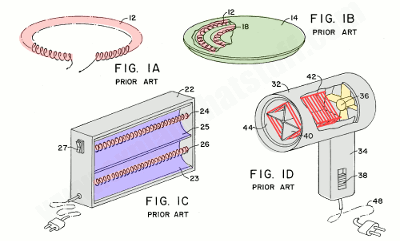
 at this point i had the option of using a normal coil, and the test was needed how hot
air will circullate on the drier
at this point i had the option of using a normal coil, and the test was needed how hot
air will circullate on the drier
This process involved brain storming, then proceded to doing the sketches, then CAD design
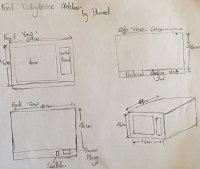
This process invovles deciding with materials and as well as which modelling way to start going with before it could be translated into 3D modelling designs. This involved getting some dimensions and visualizing of how it the dehydrator will look like
I decided to use solid works design software for the casing for my food dehydrator this came after putting the design on paper and translating it to CAD. This came after passing it through my instructors and having them critic the whole design. Going back to the drawing board and adjusting to the requirement of the end user.
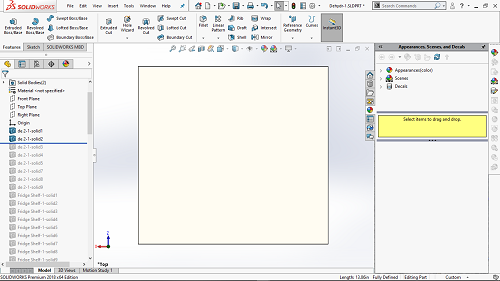
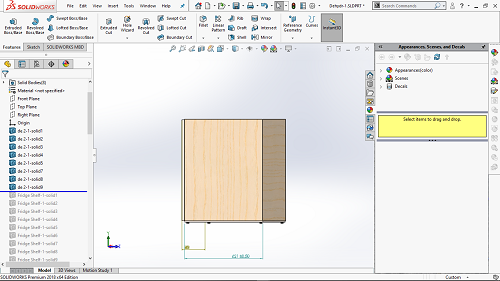
I continued to Addparts of how the outside will look like
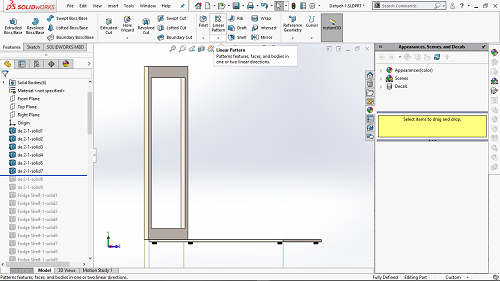
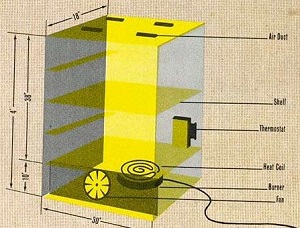
At this piont i felt like this should be of the size of the of mini fridge this will allow substancial amount of food to be stored
Continued to design the inner shelf of the dehydrator which looked something like this
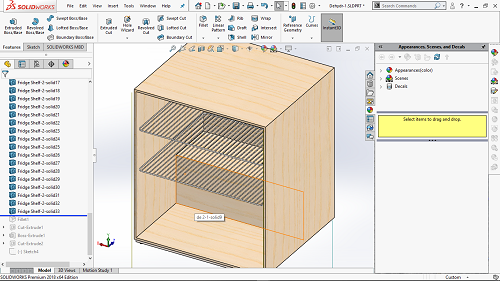
the idea was to design something that would fit in a kitchen area without having to inconvinince any workflow related to the kitchen area
design fileAt this point i decided that i will add some ON and OFF labling from the vinyle cutter and some functionality directives on the casing if i am to add timer on the control box
this involved choosing electronics and further designing a control pannel if needed be
This were some of the electronics that i decided to go with during the manufacture of the dehydrator:
at this point i had the option of using a normal coil, and the test was needed how hot
air will circullate on the drier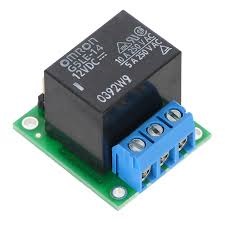
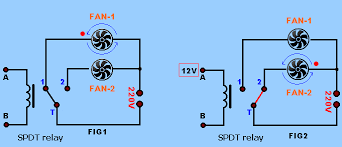
this are very useful in some applications due to its internal configuration. It has one common terminal and 2 contacts in 2 different versions can be normally closed and the other opened, or it may be normally open and the other closed. So basically you can see the spdt relay as a way to toggle between 2 loops: when there is no voltage at the coil is one circuit receives current, the other is not and when the coil gets voltage is reversed. it works In Fig. 1 the DC voltage is supplied to the coil so the terminal T is connected to contact 1 therefore the current can flow through the fan 1 and it cannot flow through the fan 2. In Fig.2, When the DC voltage is supplied to the coil and the terminal T is now connected to pin-2, so that current does not flow through the fan 1, but now it flows through the fan-2.
Below is a list of materials plus the pricing of each
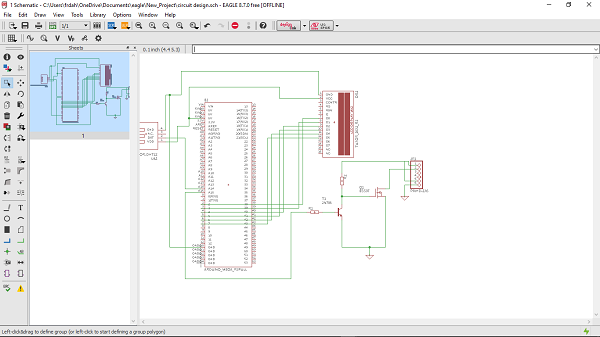
At point, i decided to design a control pannel for a time for different kind of food i decided to used eagle software to design and implement the control circuit. This is the final design
As part of control mechanism i decided to design a circuit to control the temparatures and speed of the cooling fun
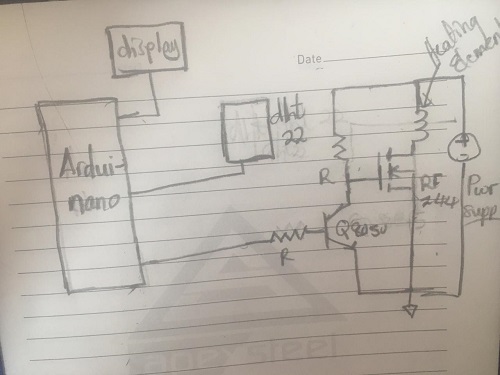
I went ahead and did a program to control the above circuit while testing each module
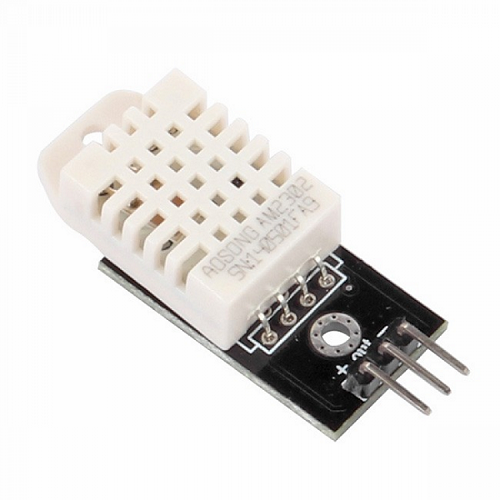
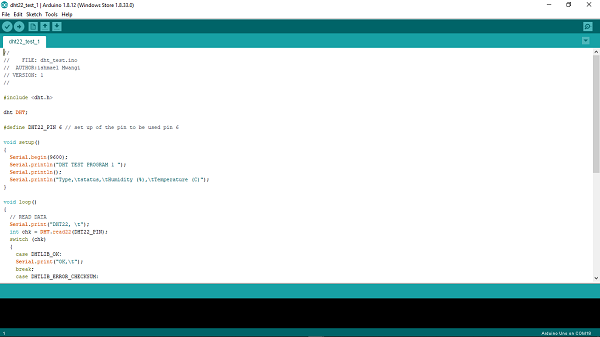
This is the sensor that i decided to go with for my final project and this as an input device i needed to check if its working as well the correct files for the same.
i went right ahead to finding the libraries for the same
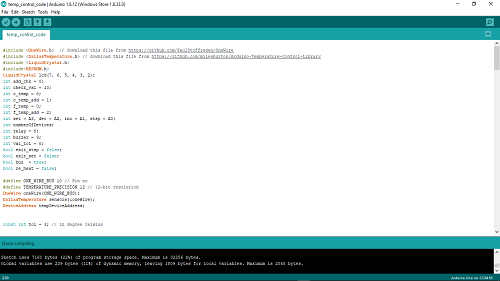
I decided to edit the code to do what i what as follows via Arduino IDE:
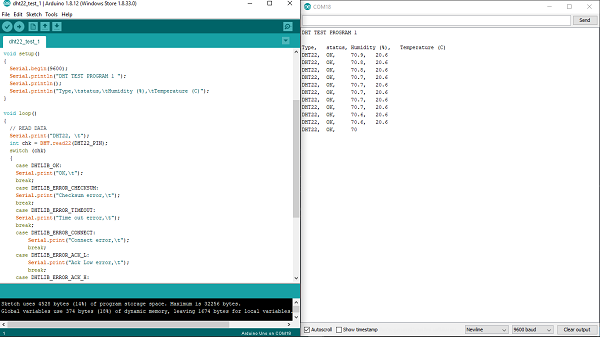
 after uploading to arduino this were the result
working perfectly
after uploading to arduino this were the result
working perfectly
 this was the set up that i used for testing
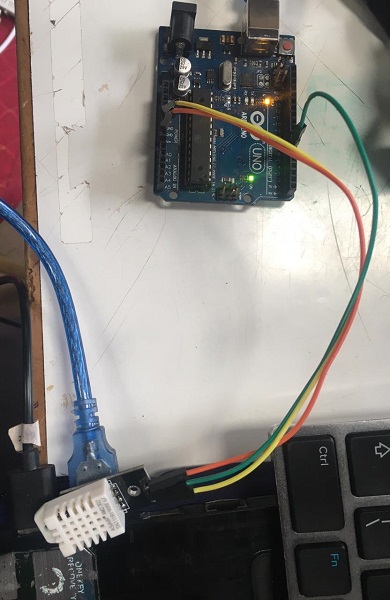
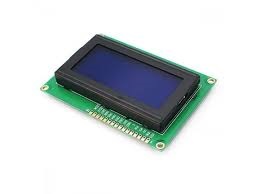
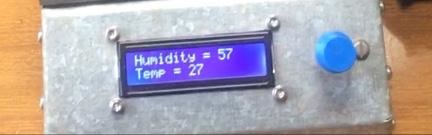
i decided to monitor the above outputs on the screen:
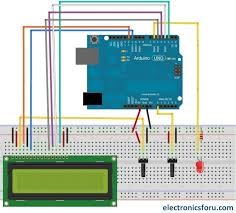
I went right ahead to connect screen to arduino and first test if i could display anything
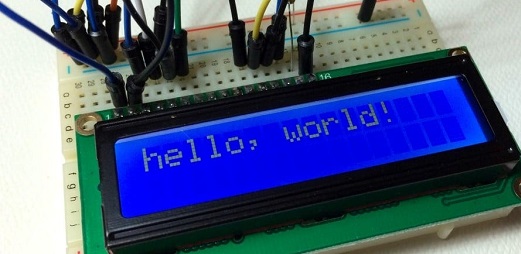 after connecting and displaying some output it was time to display data from the sensor am working with for monitoring
purposes
after connecting and displaying some output it was time to display data from the sensor am working with for monitoring
purposes
After all as done i went ahead to design a cicuit through etchig proces
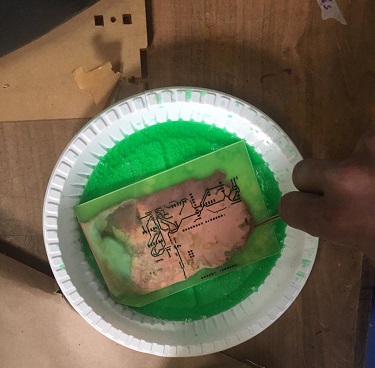
And the final results
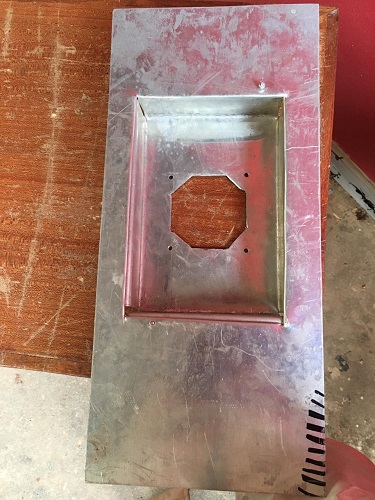
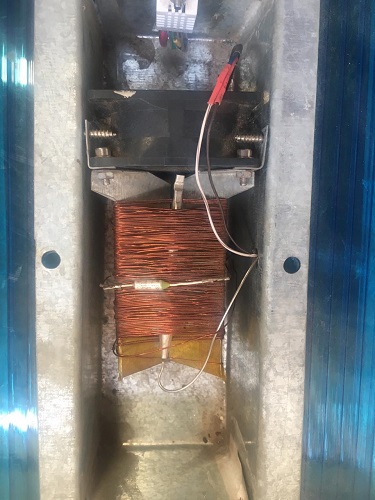
I decided to start with the Assembly of the heating block since is the major part of the project, its like the brains of the whole project
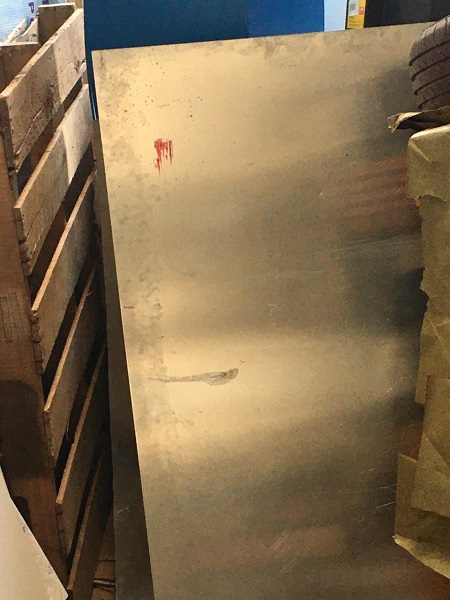
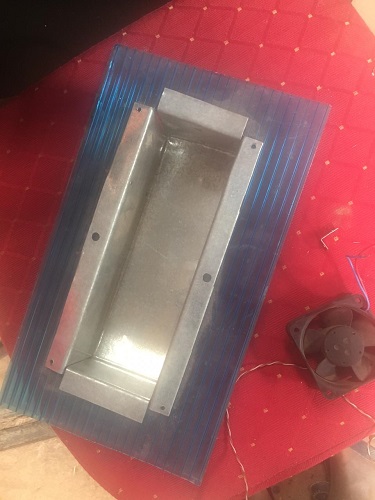
i decide to shape the casing from iron sheet bought to fit my heating elements and the display and this involved walking in the metal workshop.
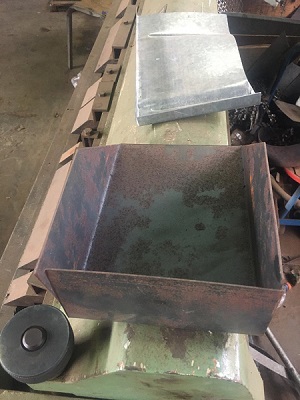
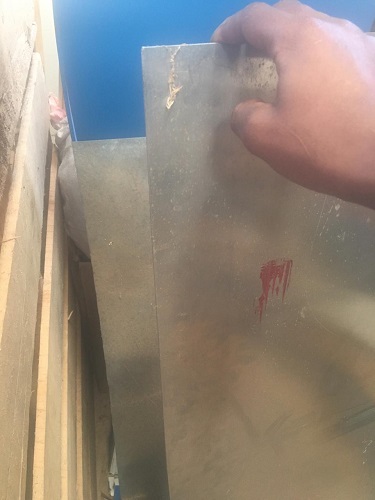
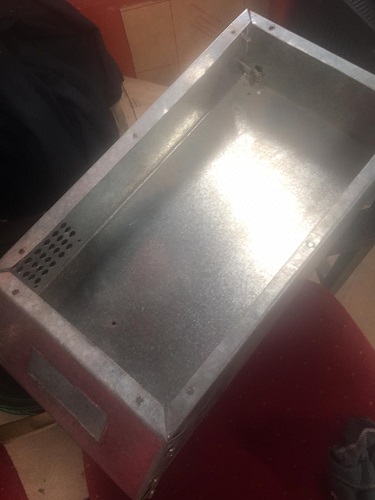
where the heating element was going to be placed i placed some form majorly to prevent heat from spreading to the external casing.
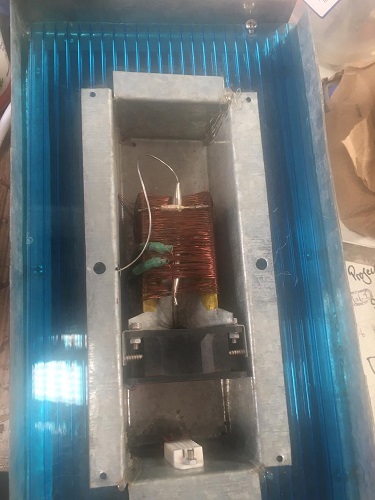
At this point i decided to go ahead and mount the dht22 and fun at the location of the
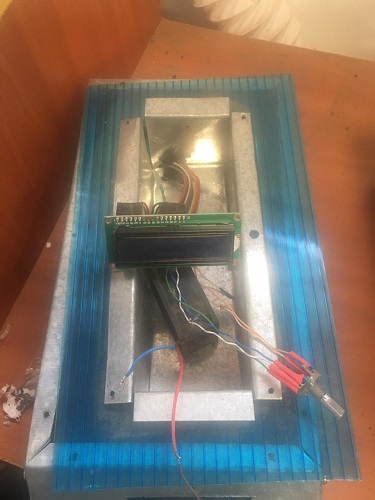
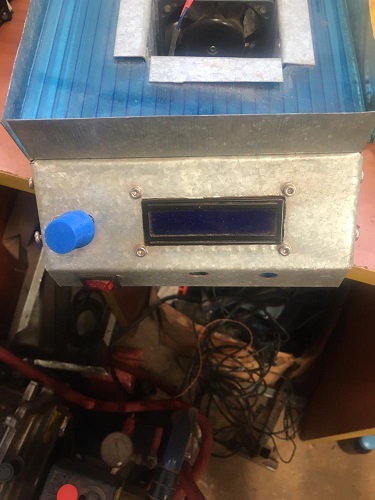
At this point i decided to add the display and on and off battons as well as the knob to control the temparature in the box
alignment of dht22 fun and coil the heat box
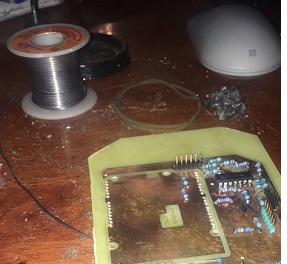
as a test i decided to connect everthing to a paforated board and see if there will be any shots of wires and also to test if everthig was working properly

This was later to be replaced with pcd designed
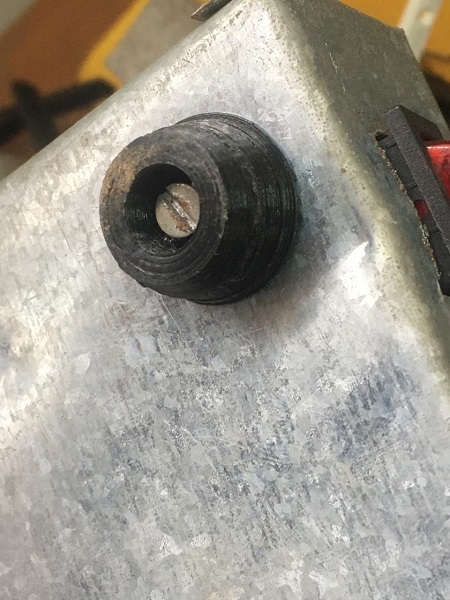
At this point i decided to print knoba and support using my 3D printer
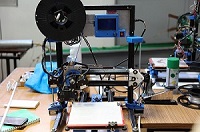
I went right ahead and printed the folowing to enhance the usage
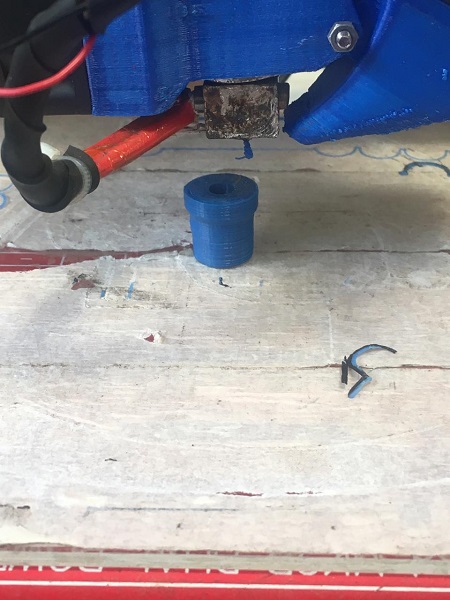 which was placed as follows

this also done for the support of the casing
which appeared as follows
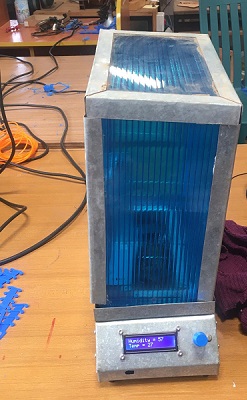
Final presentation
