Week 4 - Group assignment - Electronics production
Assignment
Characterize the design rules for your PCB production process
For this assignment, we were instructed to mill the same image four times in a copper board using our lab's Roland MDX 20 milling machine. With a single flute 0.8mm drill bit attached to the machine, we would mill the same design using both climb and conventional directions. We would then change the drillbit to a two flute 0.8mm bit and again mill the same image using both climb and conventional. We downloaded the .png file we would use from the fabacademy website, then began:
- Hyejin attached the one flute 0.8mm drillbit to the mill by holding it the way henk had instructed us–using a flat hand with the bit between middle and ring fingers, and using the allen key with the other hand.
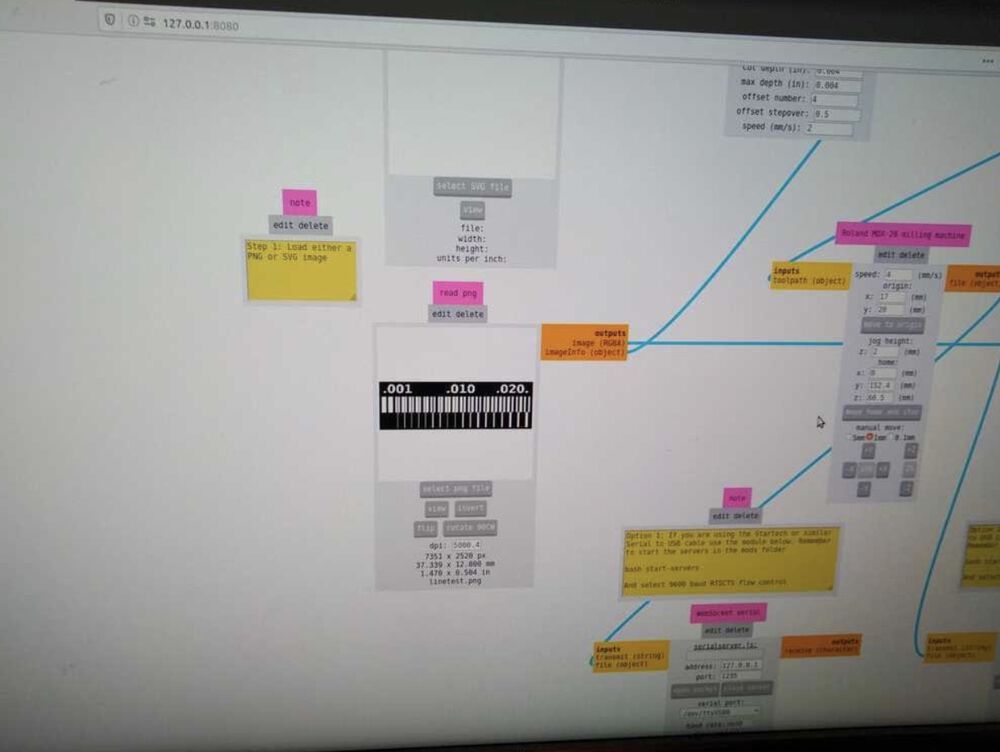
This is the same way the bit should be held as it is removed from the machine, so as to prevent it from falling. - Mods was already open, so we did not have to open it.
Normally, the process would be to click the start-server icon on the deskto that Waag uses to load mods, then select Menu > Programs > open program > Mdx 20/PCB in the firefox window that opens. - We imported the png file in the read file png mod.
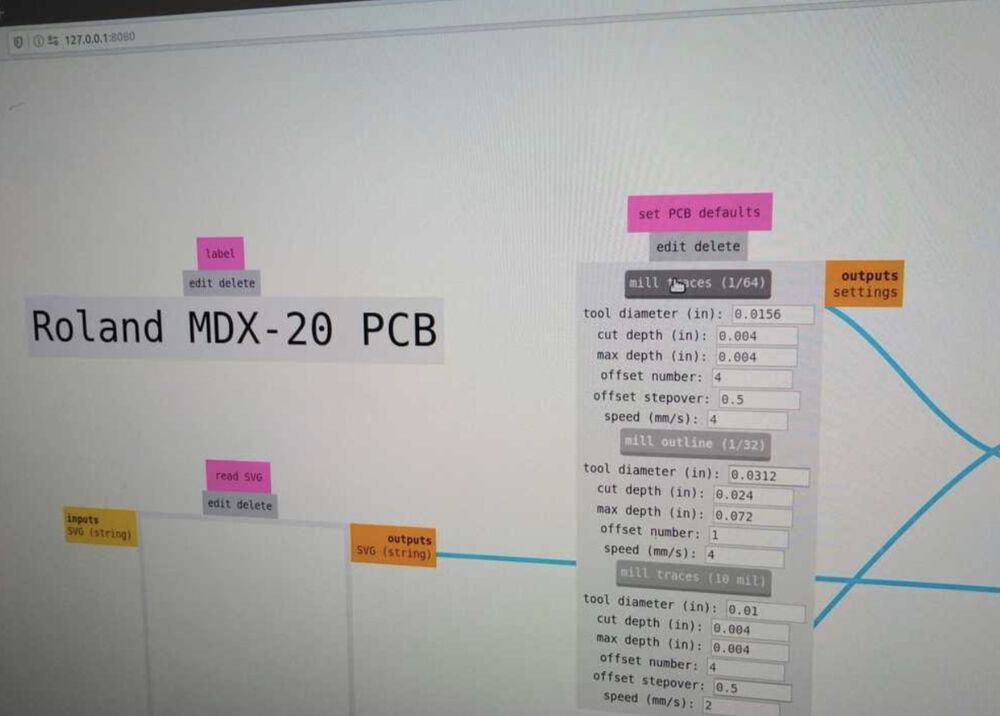
- In set PCB defaults we chose the mill traces default. We accidentally changed the speed in this area to 1- but this is not where you change the speed! We caught the mistake and changed it in the Roland MDX mod instead.
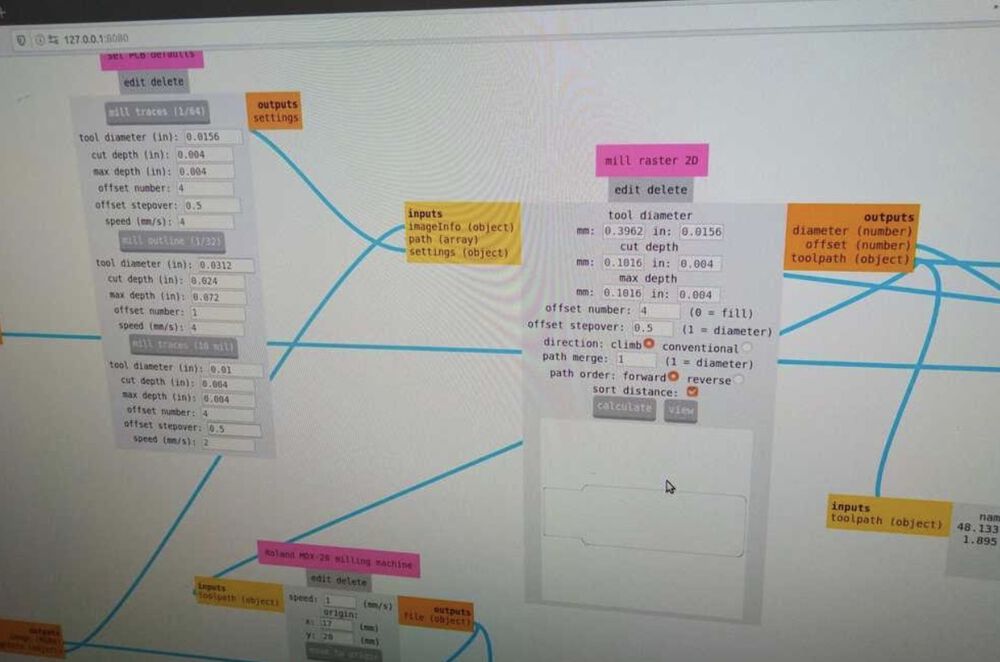
- We went to mill raster 2d and used the default settings imported from clicking mill traces
- Offset: 4
- Stepover: 0.5
- Path merge: 1
- Direction: Climb
- Path order: Forward
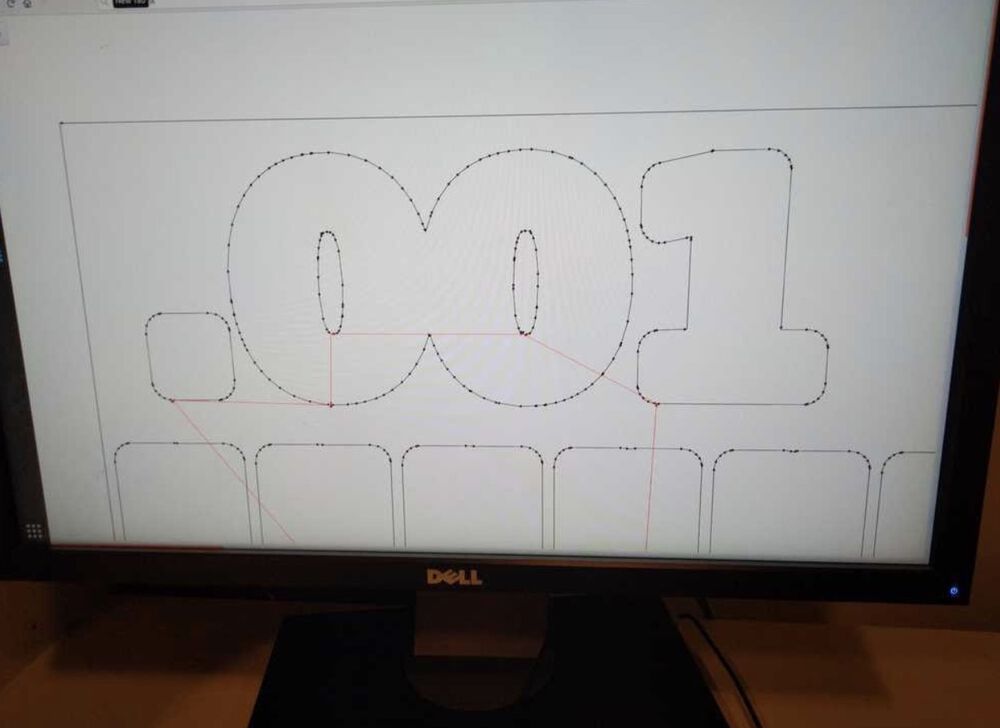
- We hit view in the mill raster 2d mod and we were not sure if the image showed 4 traces, even though we had set offset to 4 and we had learned that offset determines the number of traces. We set offset to 1, hit calculate, and viewed the new image. Comparing both, we could see that we did, in fact, have 4 lines the first time.
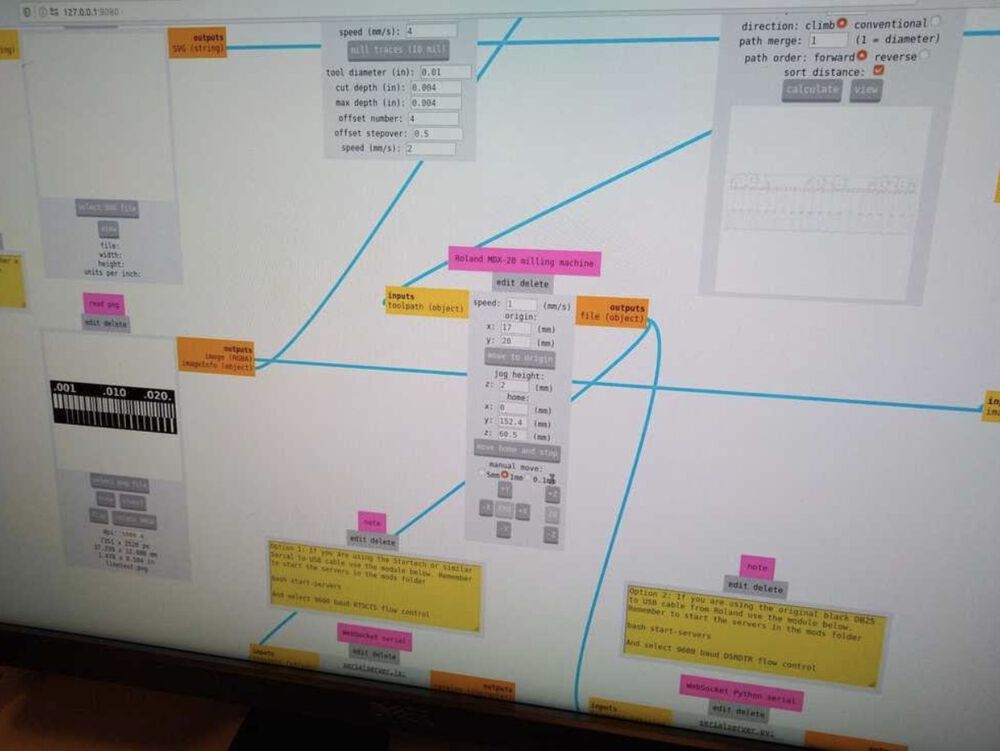
- From here, we went to the Roland MDX 20 mod and again checked that our speed was at 1.
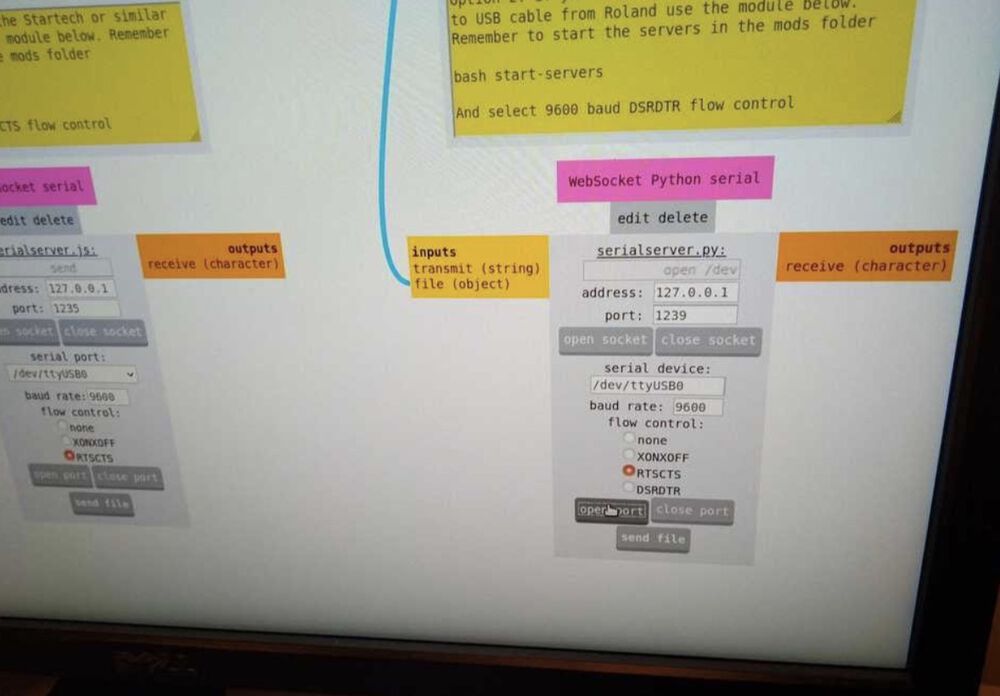
- We went to the python websocket port and clicked open port and open socket to make sure the socket was open. Though we normally use Websocket port and not Python websocket port at Waag, we had to use the python websocket today because of connection errors.
- We discussed if we should send file or not at this point- Henk did accidentally send the file at this point in our tutorial, but Tessel had written down that after doing so he said "not yet!" We went to the machine to set the origin first.
- On the machine, we hit view. The drill and board went to their home position.
- We first brought the z axis of the head all the way down using the down tool button. We were scared to start setting x and y because it seemed possible that when we brought the bit closer to the board, it would collide with it. Hyejin thought she could push the bit higher when she had put it in, so we decided to try to push it higher to be safe.
- Back on the Roland MDX 20 mod on the computer, we started to adjust X and Y origin. We realized that the x placement of 17 from the last cut was fine, and we set y to 40. So our origin was (17,40).
- We then brought the z up a tiny bit so that the machine would have room to drill into the material, then lowered the bit to the surface of the material.
- We hit send file on the python websocket port. It started milling successfully.
- After it was done, we vacuumed up the dust and started the next board. We decided all we would have to change would be the direction and origin
- In the Roland MDX 20 mod, we changed the origin to 17,55 to move the drill bit to a fresh part of the board.
- We changed the direction to conventional in the Mill Raster 2d mod.
- We hit calculate, checked the port was open, and sent the file. Done with one flute!
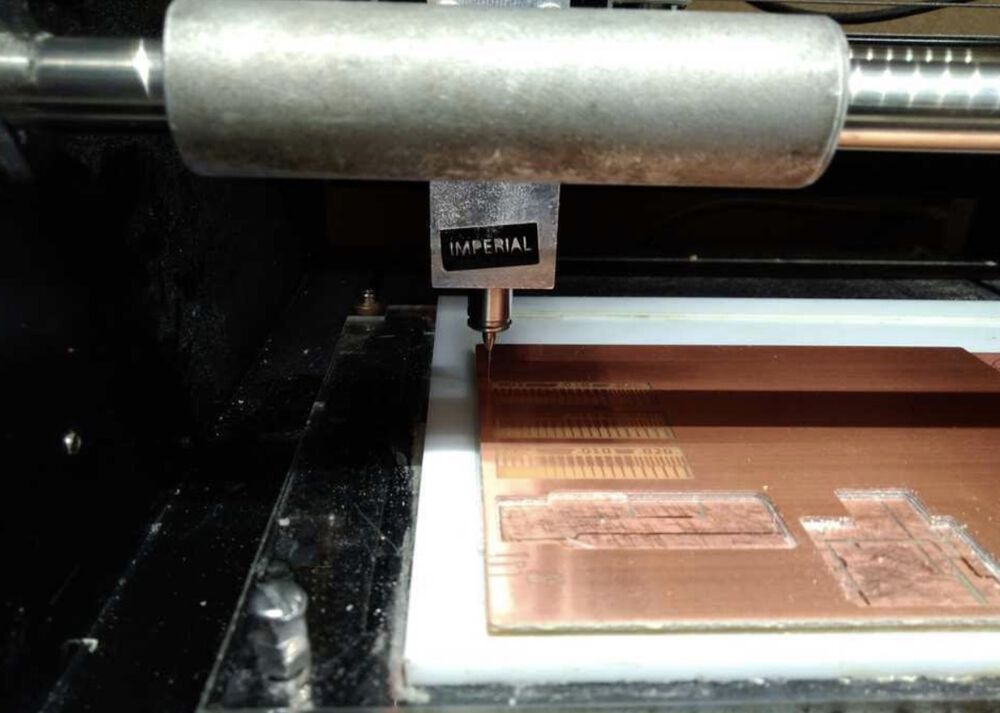
- We installed the 2 flute 0.8mm bit using the method described in step 1.
Note: There are two holes for the allen key on the drill head. Only one tightens/loosens the drill bit. It is easier to do this if the hole is facing out—you can turn the drillhead until it does, even if you feel some resistance. - We set the direction to climb, changed the origin to 17, 70 and hit send file.
- We noticed that although the mill was moving, it was not actually cutting—maybe we had not lowered the bit enough.
- We hit view on the machine, cancelled the job on the computer, and tried to hold down tool up and down at the same time as Henk had instructed us to do if something went wrong. This should clear the machine's memory.
We tried to do this several times but every time we hit view again, the machine would start trying to mill the old job. Henk came over and showed us how after you hold up and down at the same time, you have to wait for the light on the machine to stop blinking. This takes much longer than expected, because the machine is running off of a microcontroller. (You also have to click the cancel button in the mods. This is the part where writing down the origin comes in handy on #17) - After this, we hit move to origin again on the Roland MDX mod. We set the Z axis again by lowering it completely using the machine's tool controls, raising it a tiny bit, loosening the drillbit, and lowering it until it touched the material. This time, we held down the drill bit as we tightened it to make sure it did not move up at all.
- We hit send file- it worked! We waited, and vacuumed up the dust after the machine completed the milling.
- We had to do the 4th cut in the morning and Henk had cut a board before we arrived, so we had to change the bit again. We inserted the 0.8mm 2 flute bit.
- On the computer, we hit mill traces in the settings mod, speed 1 in the Roland MDX mod, and **conventional**/Calculate/view in the Raster 2D mod.
- We set X and Y to 17, 85 and hit send file from the Websocket Python serial.
- Again we waited and vacuumed up the dust when we finished.
offset number 1
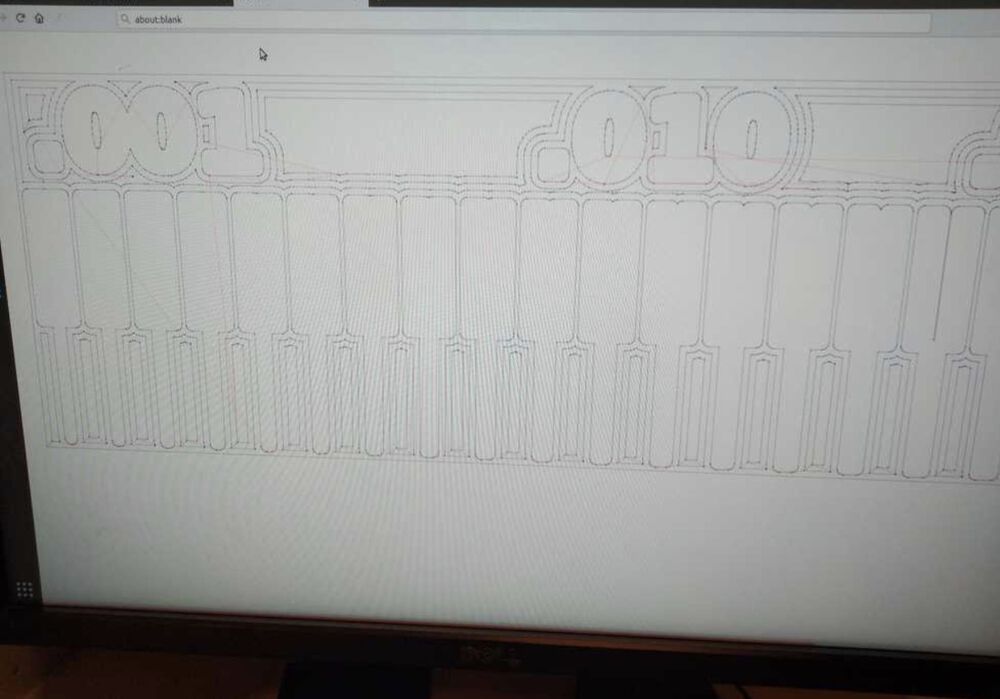
offset number 4
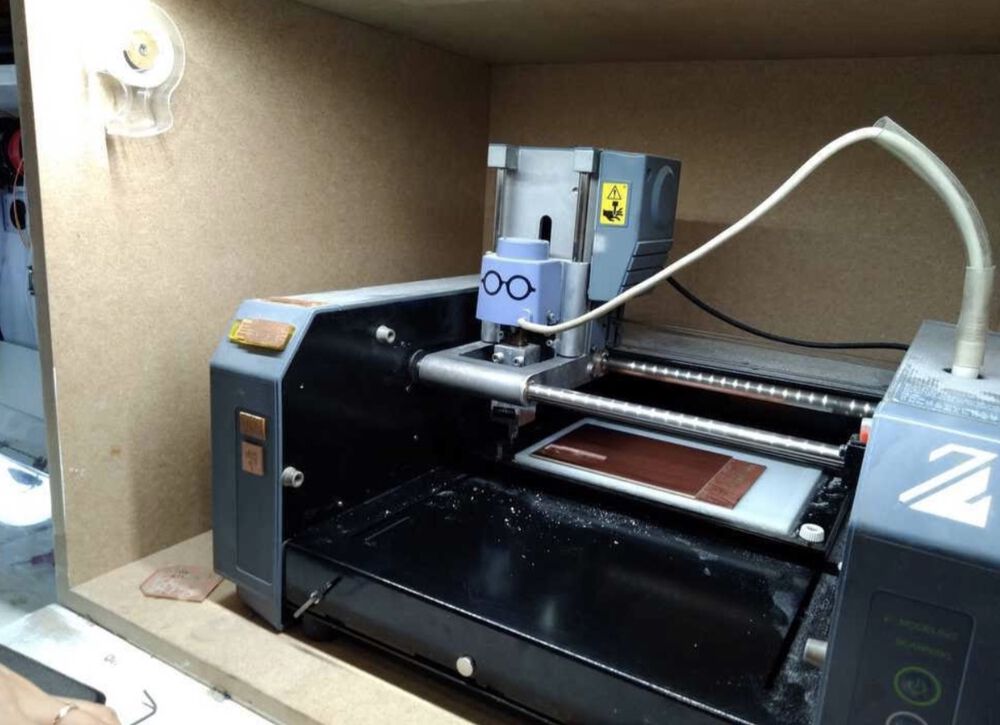

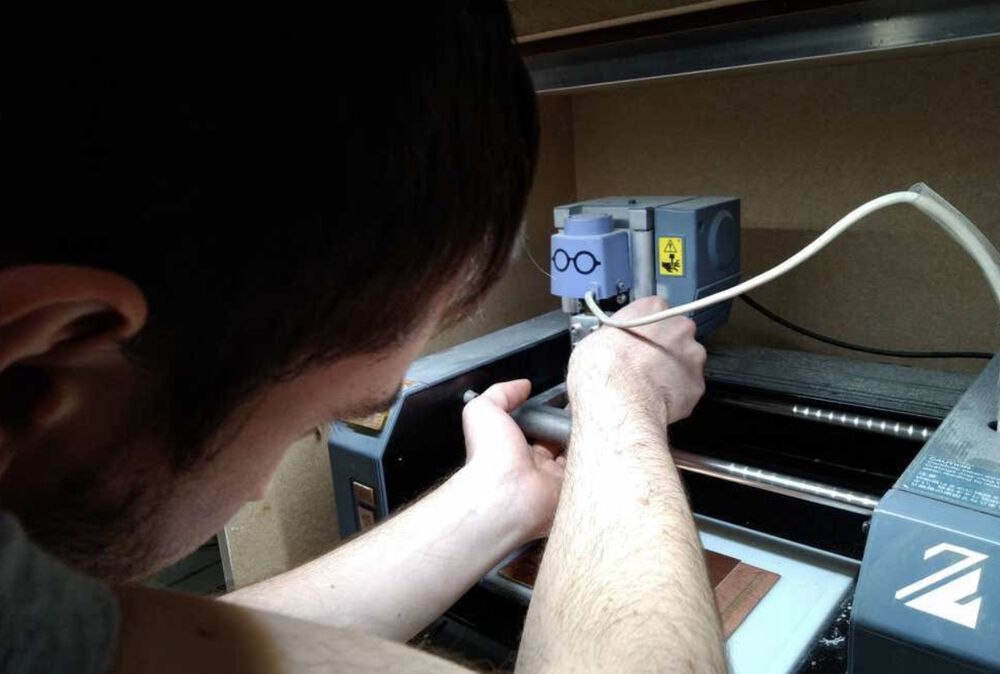
Nathan places the2-flute drill bit
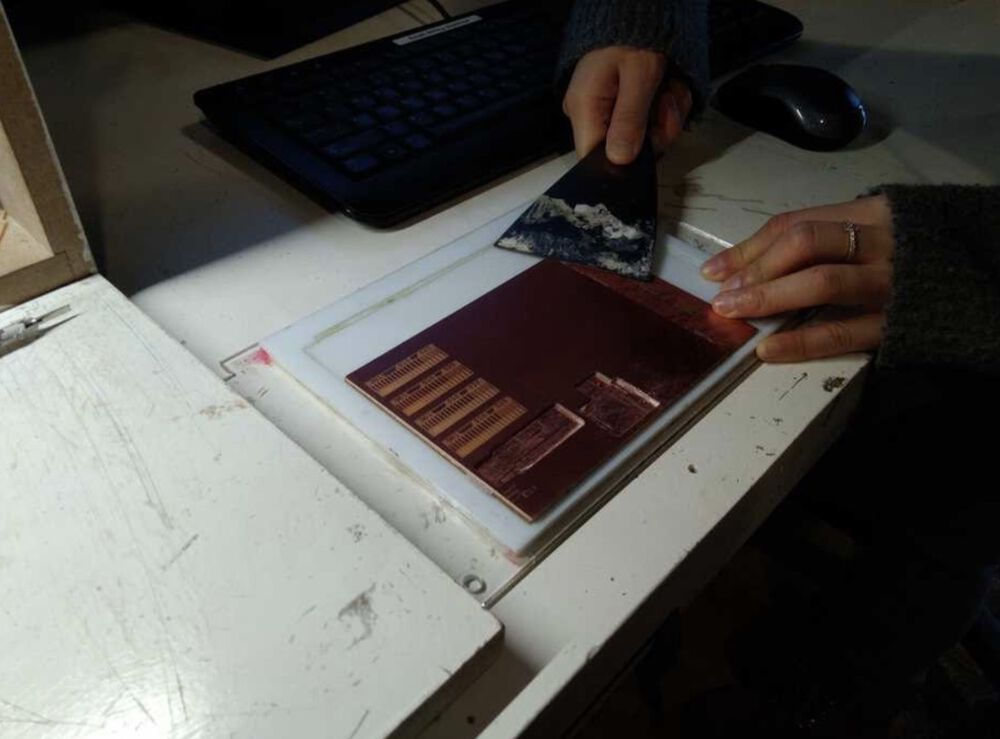
Don’t forget to leave the milling machine cleaner than you found it! Hyejin removed the board from the sacrificial layer so the next person can use the machine.
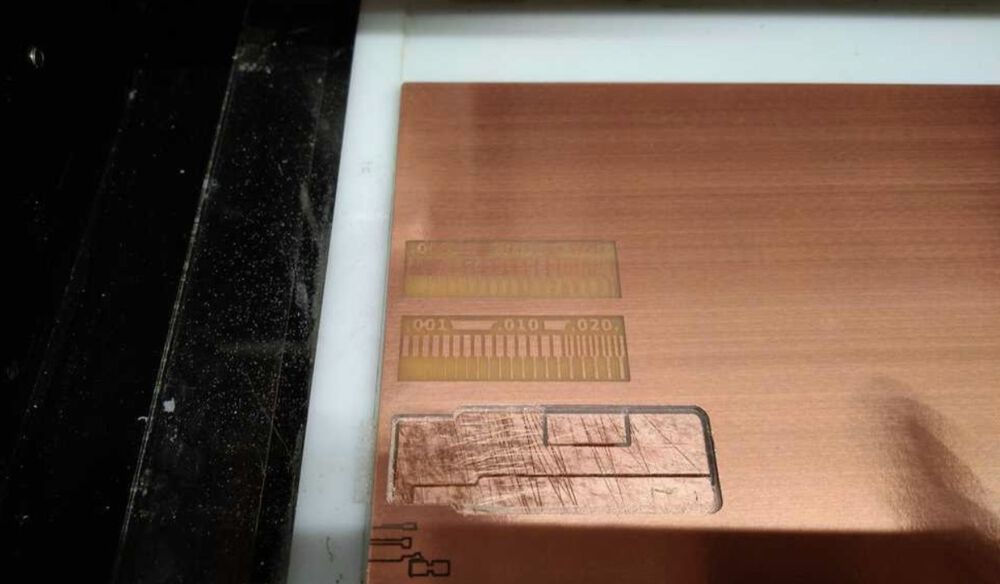
Our final Result
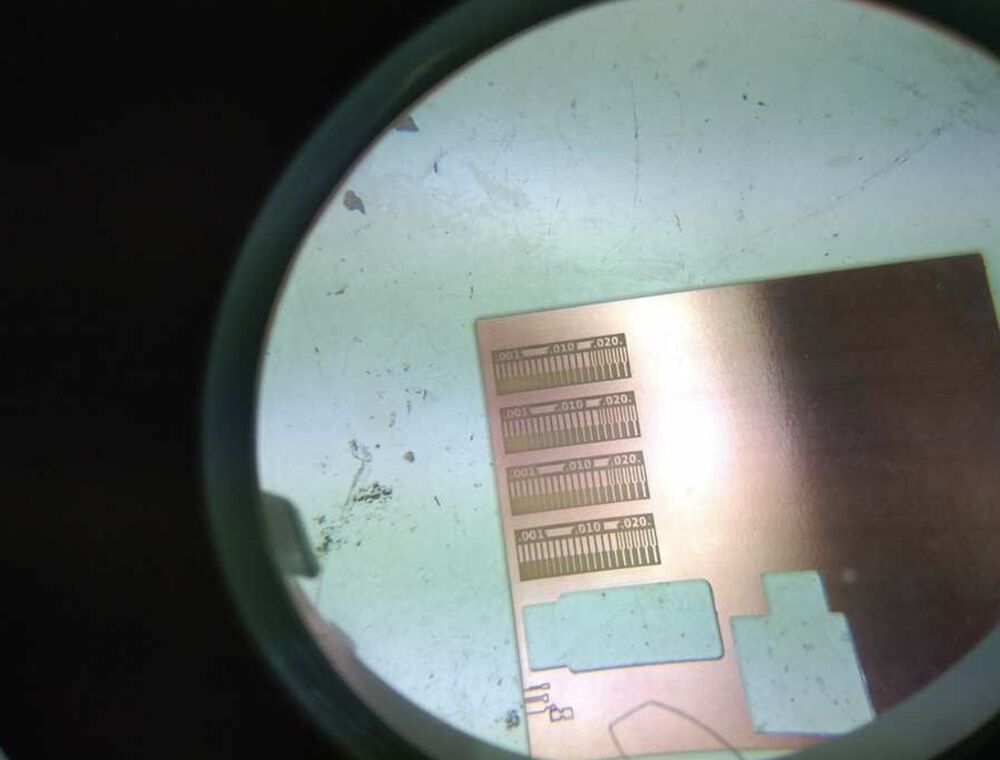
Milling job as seen through a magnifying glass.
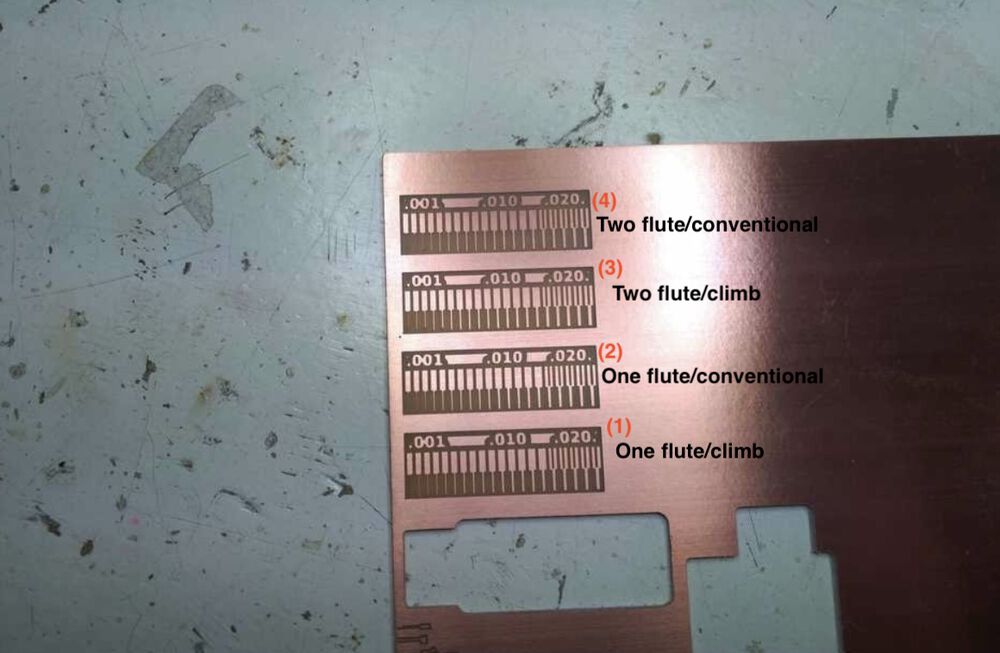
From our results it looked like both one flute and climb produced smoother lines in more detail. In order of producing results that most resembled the .png, we ranked the milling:
1. One flute/climb
2. One flute/conventional
3. Two flute/climb
4. Two flute/conventional
What went wrong
On our first trial, the endmill didn't scrape the copper board. We stopped the machine by pressing the view button and clicked the cancel button on the computer. But when we pressed the view button again to adjust the height of the endmill, the machine restarted the previous work. We tried to reset the machine, but it kept rerunning the previous milling. We tried to press the up and down buttons together until the blinking light went away, but it didn't go away.
We finally asked Henk, and he told us to do what we just did. It turned out it takes pretty long for the blinking light to go away, and we didn't wait long enough. Finally, we were able to reset the machine and restart the job.