Using the Arduino Nano as programmer
Since part of my final project is to create a sound pad I decided to create a simple sound pad in this week. I haven’t made a midi controller yet so for this I’m using the Arduino Uno.
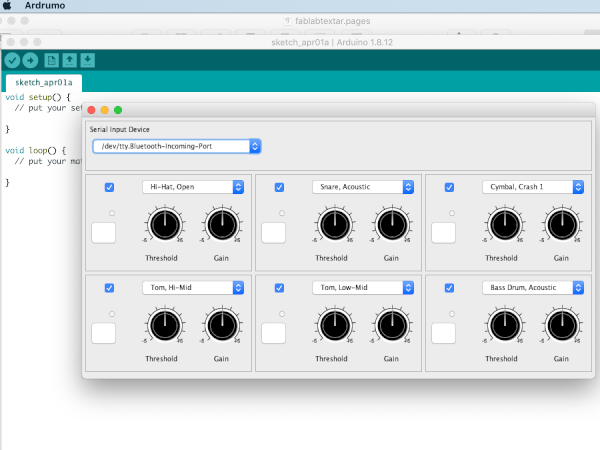
I downloaded the Ardruno Virtual Midi Interface for my MacBook. Ardruno is designed to accept serial data from the Arduino Uno board and convert it into midi drum data for the Mac.

I followed instructions on THIS page to assemble my small Arduino Drum Kit.
I used the laser cutter to make a casing for the drum pad but I did not assemble it. Placing rubber pads on top of the Piezo vibration sensors did not give me accurate reading. It will need more elaborate design to get it accurate. I did some testing with the Arduino and drumming on the pads worked but sometimes it gave me few readings with only on knock on the pad and sometimes it did not read the knock at all.
Piezo vibration sensors will not work for my final project because the sound pad will be part of a guitar amplifier so there will be a lot of vibration going on there. But I had those Piezo sensors here in the lab so I decided to use them to connect with the Ardruno software. And it worked quite well and I did some simple programming, even using the Piezo as a speaker:
I plan to do more frequency testing with different sensors and build a better pad for them but I might use buttons instead of sensors. The Piezo sensors are limited because they can only read “on or off“. In my final project I would like to be able to play sounds f.ex. chords on the sound pad. If I want to “hold” a sound, like a note, buttons might work better.
The third option and the one I’m most exited about is to use capacitive touch pads fo the sound pad. I think it will be more accurate then buttons and it has the ability to hold sounds, not just “on-off”.
What kind of button/sensor I end up using does not matter at this point. Using the ATtiny board I already made, I’m making a button board with three buttons that I want to program and use with the Ardruno Virtual Midi Interface.
Designing a button board
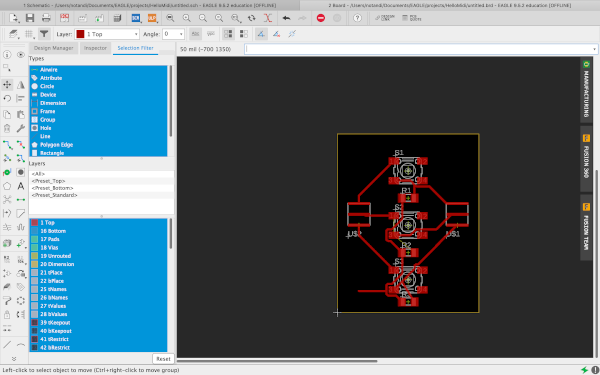
I designed a 3 button board in Eagle.

I milled my bard and soldered the components on it, then I added 3 pins to my “old” ATtiny board.
I connected the my button board to my ATtiny board and used the Arduiona Nano to program the ATtiny board to turn on it’s 2 leds when pushing the buttons on the button board. For this test I only used 2 analog pins on my ATtiny, I used analog pins 8 and 10 to read the buttons and turn on the leds through analog 6 and 7. As you can see in the video below it worked and I could make the leds go on and off using the buttons. Thanks to my instructor Jón Þór for the sound effects.....next step is to get the buttons to give us some sound.
Capasitive sensors and Ardrumo
Next step was to try Capasitive sensors and connecting with Ardrumo and GarageBand in my MAcBook.

In Eagle I designed a board based on the AtTiny3216 board.
I milled the board and soldered all the components. Then I connected it with Arduino Nano to program it and I it worked.
Next I made a simple sound pad using copper foil that I cut with the vinyl cutter.
With the laser cutter I made a small plexiglass base for the copper foil sensors and then I solederd a 8 pin header on my new soundpad.
When I connected the soundpad to Garageband and Anrumo using the Attiny3216 it didn't work. I got no connection between the soundpad and programs. I tried changing the code and the Ardrumo detected the USB input but nothing hapend when I touched the capacitive sensors. There might be a problem with the AtTiny 3216, maybe a problem with the placement of the capacator. So that is something I have to look into.
I decided to drop the AtTiny3216 for now and see if I could get the sound pad to work using the Arduino Uno with a breadboard.