Testing 3D Printer
I went to Thingiverse on the internet to get a 3D printer test model that had all the necessary tests and design rules to see the printers capabilities. I downloaded the files and extracted 3D_Printer_test_stl.
Opened the file in the slicer program Cura, created by Ultimaker.
I’m using a 0,6 mm nosle and material is PLA.
Settings for the Ultimaker2+, at default setting estimated time for printing was almost 8 hours so I changed the settings. I changed the layer hight from 0,1 mm to 0,2 mm, halfing the printing time. Then I reduced the Infill Density from 50 down to 25. I made no changes to the print speed, kept it at 70 mm/s.
Saved the file to a SD card and took it to the printer, pressed print and found the file in the Ultimaker.
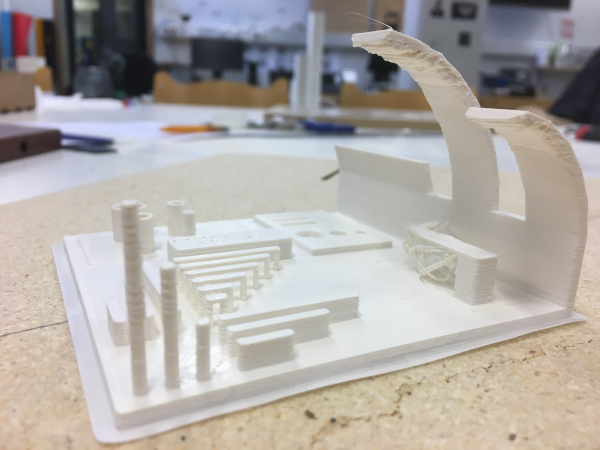
The 3D printertest demonstrates the printers ability of the following:
-Overhang test; with 10° increment the printer did a good job up to around 40° and with 15° increment it printed well up to 45°.
-Bridging test; all bridges from 2mm up to 20mm the printer did a great job. In the 25mm brighe there were some imperfections.
-Hole test; in the 8mm hole it had an offset of +0,3 mm, in the 6mm and 4mm it had an offset of -0,5mm.
-Diameter test; went great in 4,6,8 and 10mm thickness and only had the offset of -0,1mm
-Tower test; the towers were 2mm wide. Up to 10mm it printed the towers well but higher than 10mm it became quite rough and worse as it got higher.
Designing a Small Object
Next thing I did was printing a design I did in week3, a volume button for my amp that I designed in Fusion360. I saved the button as a _stl file and opened it in Cura. Chose nozzle size 0,4mm and layer hight 0,1mm to get decent quality. Saved to SD card and took it to the printer. I knew the design was not perfect but I decided to make a 3D print to inspect.
Looking at the button I printed it was clear that it was too small but the general look of it was nice. So I had to scale it up and design the hole in the button so it would fit on the potentiometer I'm planning to use.
In fusion36 I designed a hole the same size as the pin of the potentiometer. The pin has 18 teeth so I used circular pattern in sketch to create 18 teeth from a single circle. By using sketch dimentions I could controll the diameter of the hole and teeth for prototypes.
By extruding a circle and using intersection I was able to make a smaller piece for quicker printing as I was getting the size of the hole exactly right. The potentiometer fitted realy nicely after 3 adjustments of the diameter
I decided to make a 120° angle on the inner hole so I would not have to apply suport while printing
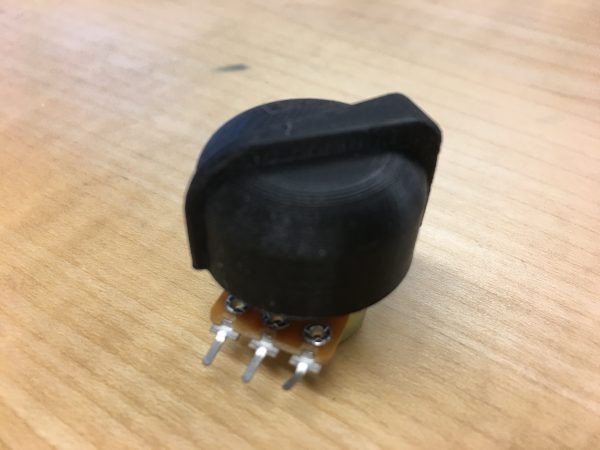
The knob fitts snuggely on the potentiometer, it's not hard to remove it but it's not loose.
3D Printing
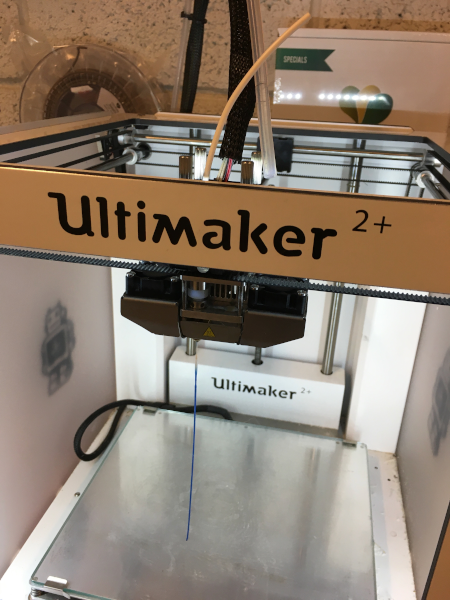
I had to change the nozzle so I went to “material” to extract the existing material and then I canceled so I could do the atomic method. Put a small length of material down the nozzel and then cooled the nozzle down to 90 degrees and janked out the material, cleaning the nozzle.
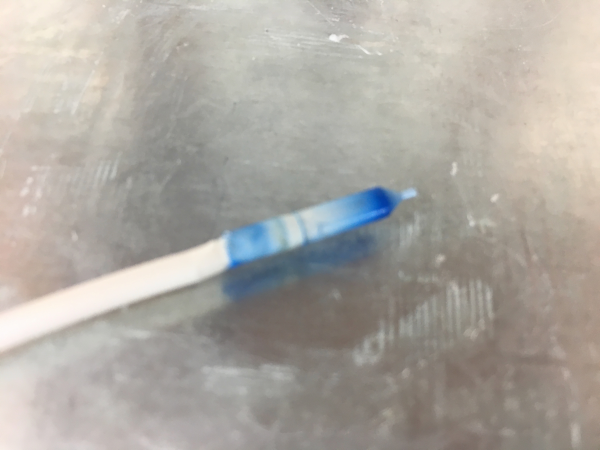
I printed the button and then went back to the computer to make some changes to my design. When I started printing again the nozzle was not laying the PLA down evenly so I decided to adjust the build plate. Opened “buildplate” and adjusted the height.
These were the only adjustments I made on the 3D printer, the printer was working fine after this and all my efforts went to changing my design and making adjustments to have a functional knob for my final project.
3D Scanning
I decided I wanted a 3D scan of my self because I’m so egocentric…. My mentor orbited my for couple of minutes (5 circles) and took 121 pictures of me. Then I opened 3DF Zephyr Lite 4.530.
In Workflow I chose “New Project” and imported all the images I ran Reconstruction with the settings on “general” and “deep” for accurate scan.
Reconstruction was successful and all the images were added to the workplace.
Pressed finish and went back to “workflow” and pressed “3D Model generation”, chose “high details” in both “dense point cloud” and “surface reconstruction” and pressed run.
In "Autodesk Meshmixer" I fixed some imperfections in the scanned model using the "sculped" tool.
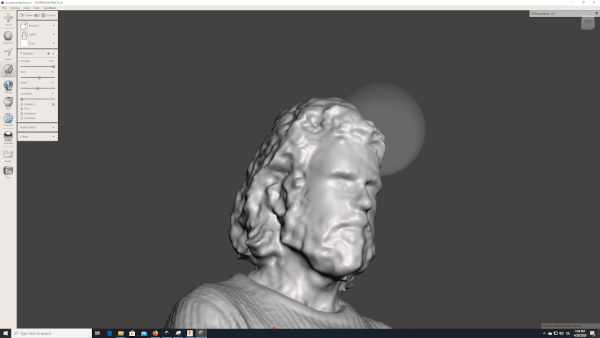
Finally I took the design to the Ultimaker 3D printer