Vinyl Cutting
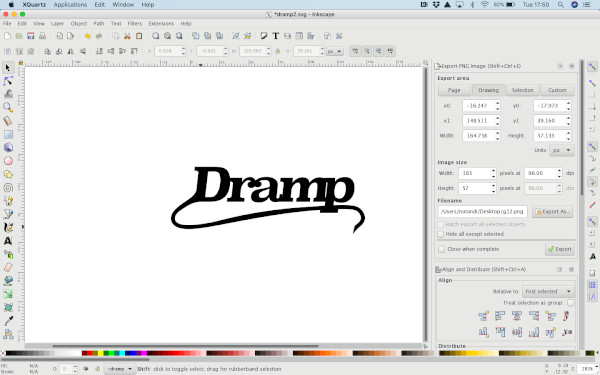
For my first vinyl cutting I decided to make a simple logo for my amp. I used Inkscape to write a text, clicked on “path menu” and chose “Object to Path”. In “view” I selected “Outline” and then I ungrouped the letters in the “Object” menu. I moved the letters so they were all touching end then grouped them together again. Then I used the pencil to draw a curved line under the letters. I then did “stroke to path” to make it a solid line. After selecting the view “outline” I saved it as a pdf and took it to the vinyl cutter.
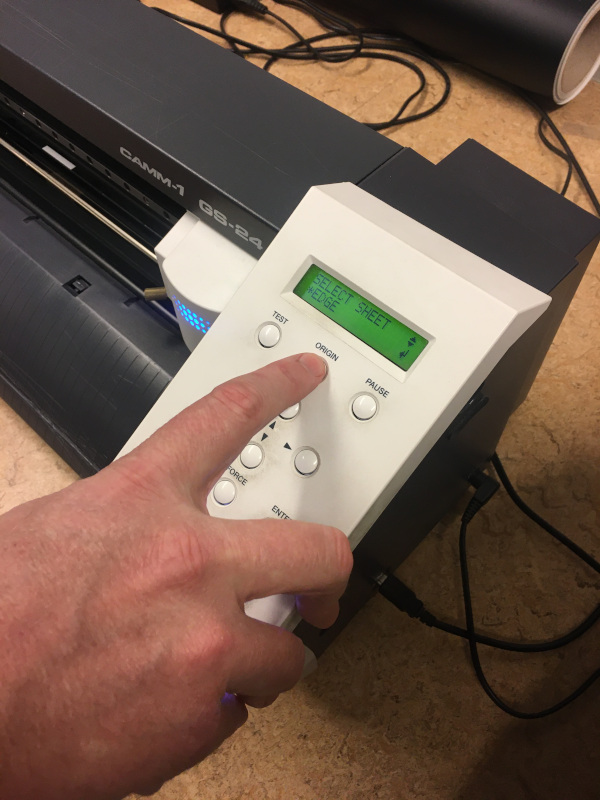
I did a test on the vinylcutter it worked fine so I decided to cut my logo. At first try it didn't come easily from the the base. It was cutting into the base so I and adjusted the cutting force by holding in the "force" button and lowering the force
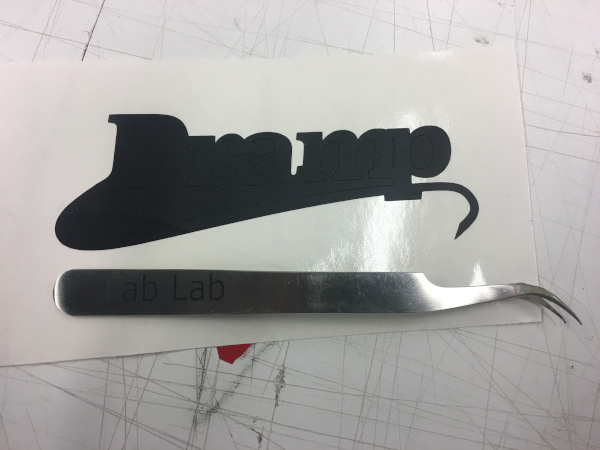
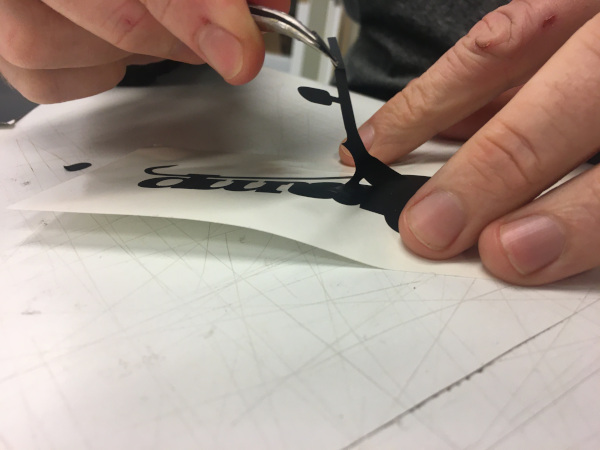
I removed all the extra material around my logo and then I put adhesive tape over it and removed the base.
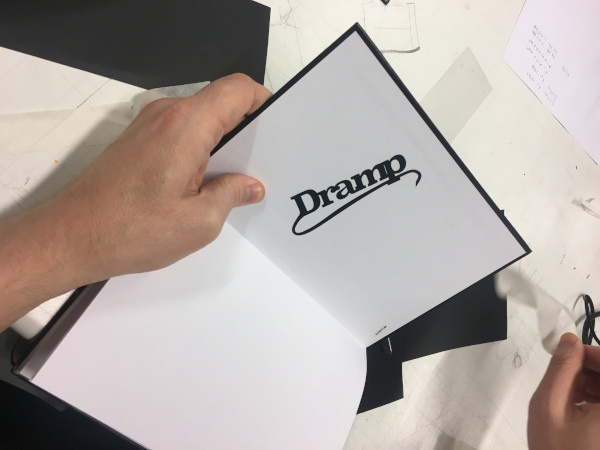
Pretty happy with my first sticker and put it inside my notebook.
Laser Kerf
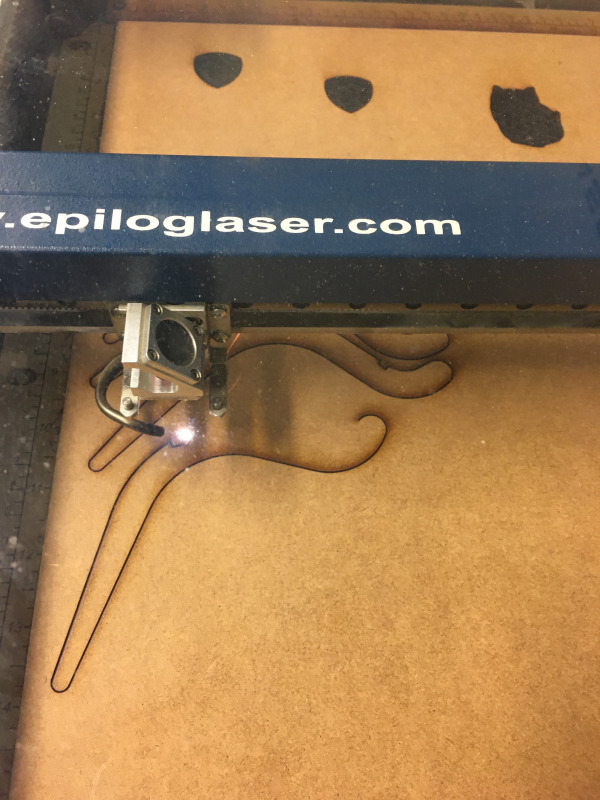
To test the accuracy of the laser cutter I started with a simple design in Inkscape, just two small squares I could join together. I took them to the laser cutter and the outcome was not bad, they were a little loose so I did a Laser Kerf test.
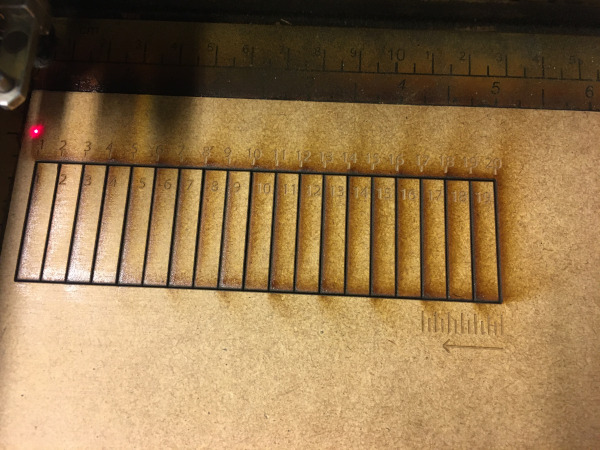
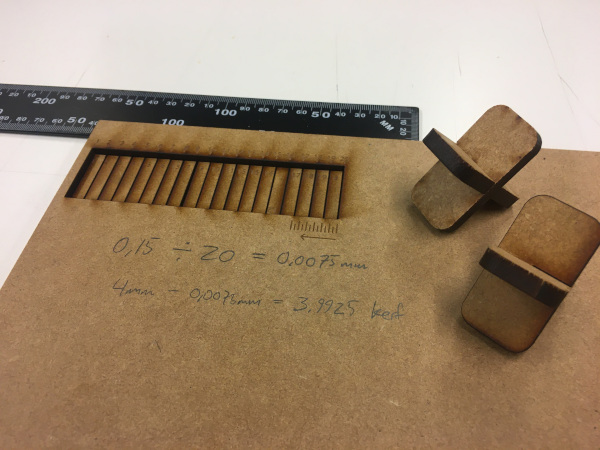
The test came out good, I was not loosing much material in the cuts so the laser cutter seems to be well set up and accurate.
By making 20 cuts the material loss was only 0.15 mm, which is just 0.0075 mm per cut. So I went back to my design in Inkscape and made adjustments according to my results from the test and did another laser cut. By changing the joining slots from 4mm to 3.9925mm the two pieces were now a tight fit.
Parametric Construction Kit
This was my first time using parameters in a design in Fusion360. So I stared by drawing a circle, setting parameters for material thickness and then using that parametric value for the joining slots. I used circular pattern to make slots all around the circle and then I drew a rectangle using the same parametrics so it could be joined to the circle.
Next I extruded the pieces by the material thickness and joined them together
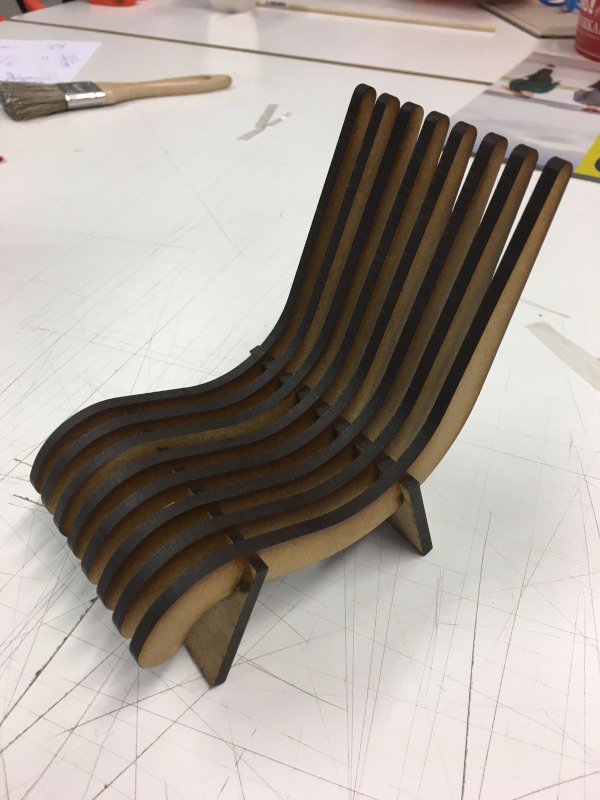
After this small exercise I started designing a chair. I measured a normal chair in the Fablab to get the size right and designed it in Fusion360 using parameters in full size. I set parameters for material thickness 10mm and and a dominating height number then used that parameter to set different measurements. The only locked measurments were degrees of chairs angles.
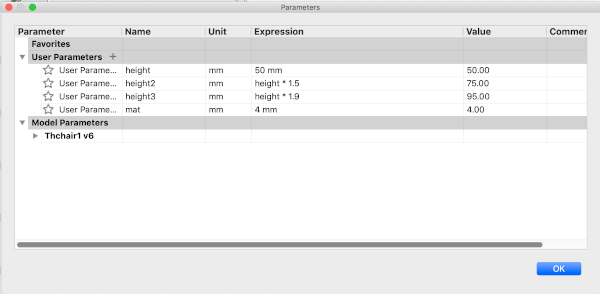
Because I had set parametric values for the measurements now I could change the value and scale down the chair by only changing material thickness and hight to make a small prototype in the lazer cutter.
