Designing Final Project in Fusion360
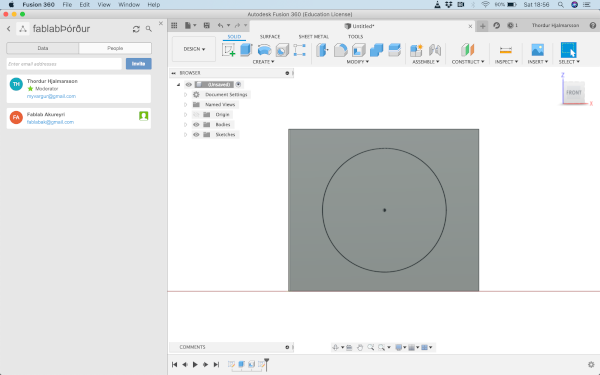
Based on my first sketch on paper I started draving my guitar amp in Inkscape but since I had allready downloaded Fusion360 and tried it a bit I shortly threw out what I had started in Inkskape and whent straight to Fusion360.
Even though I hadn't used Fusion360 much I was quite impressed by that program and I knew I wanted to use that for designing my final project. Inkscape is nice making 2D design for lasercutting but for a bigger 3D piece like this I just wanted to use Fusion360 straight away. Fusion360 has more accurate 2D design capabilities in sketch mode and from 2D sketching a straight forward step to 3D modeling.
I wathed some tutorials I found on youtube.com here is part one of three that I watched.
I wanted to make a small practice amp so I made the front panel as small as the size of the speakers allowed. The smaller speaker is on a 70mm x 70mm base and the big speaker is 254 mm in diameter. I designed the frontpanel to bee 350mm x 400mm witch gave me a small speaker but the speakers were not crammed together. A great thing about Fusion360 is that I can go back on the timeline and make changes to dimentions to resize and adjust my whole design if I need to.
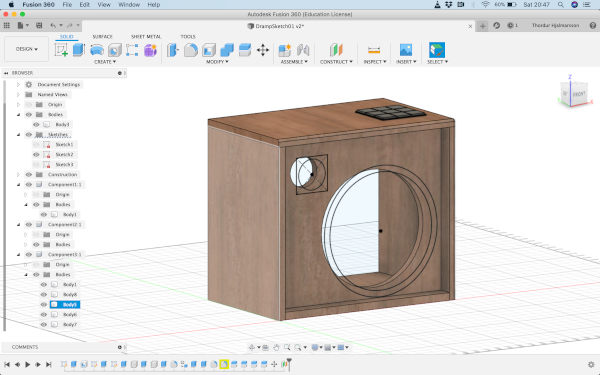
After sketching the bottom of the amp I extruded it to the height of the speaker (350mm). Then I used the "schell" function to hollow out the box and split the bodies to get all the sides separated.
I extruded the holes for the speakers and made a simple design for the soundpad and placed it on top of the amp extruding a square in the amp to mount it in.
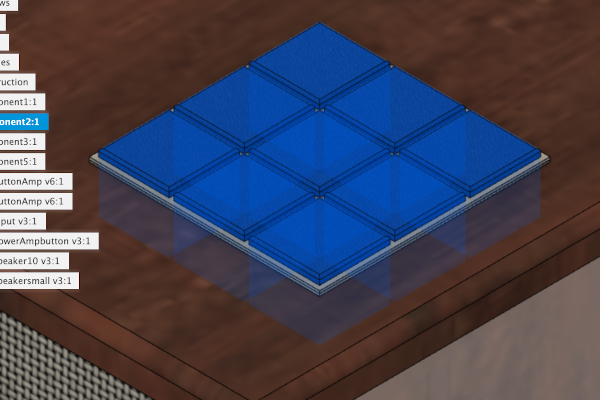
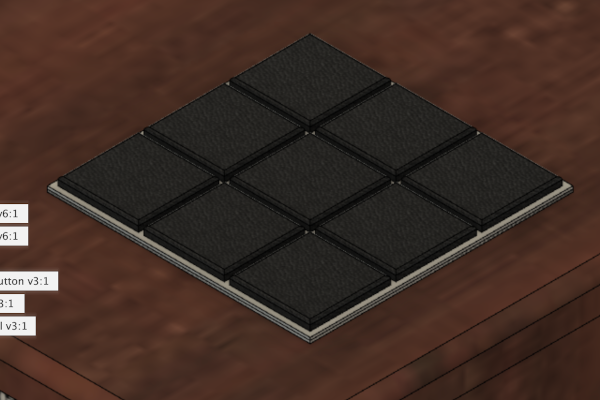
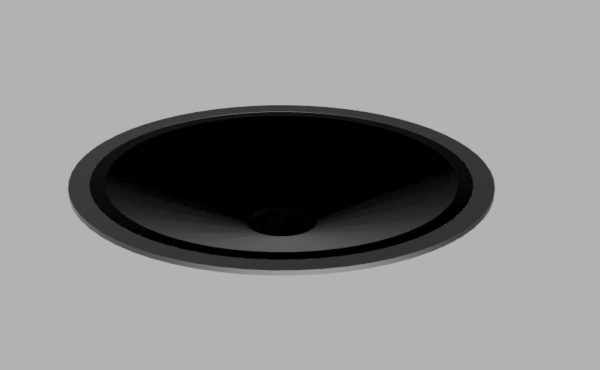
In a new design I designed the speakers by sketching circles in the right dimentions and then using the "Loft" function to create the speaker cone.
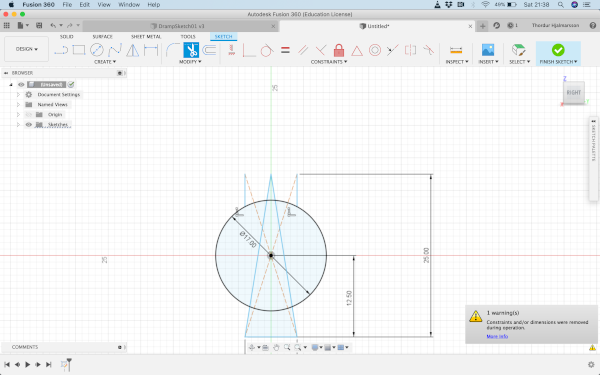
I designed the buttons for the amp in separate designs. By sketching...
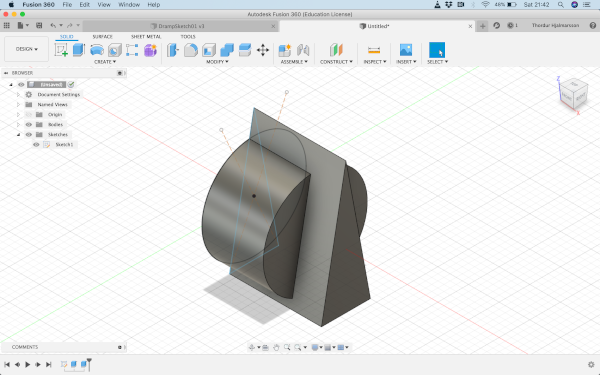
Extruding....
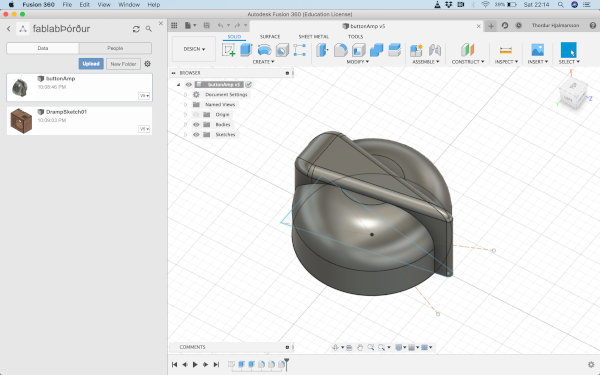
and "Fillet" function
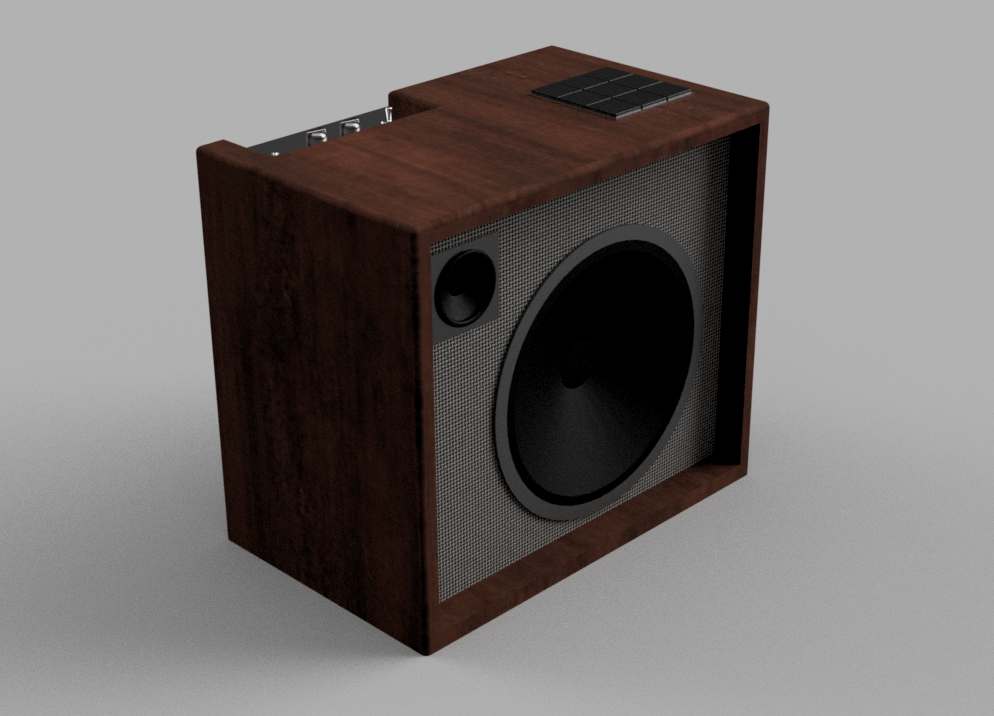
Here is the rendered design of my amp
Links to Fusion360 designs: