Designing a mould
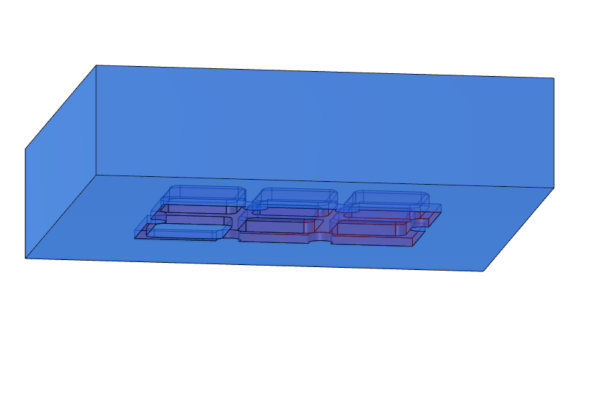
I had already made the frame for my soundpad, milling it in mdf. But for the buttons I wanted to use silicon. So I used the design for the frame I had in Fusion360 to make a "negative" to mill a casting mould for the silicon.
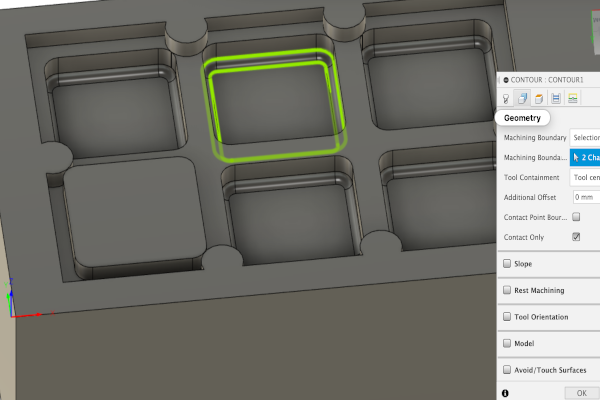
I made the design for the silicon buttons 1mm smaller on each side than the holes in the frame so it would not be too tight fit.
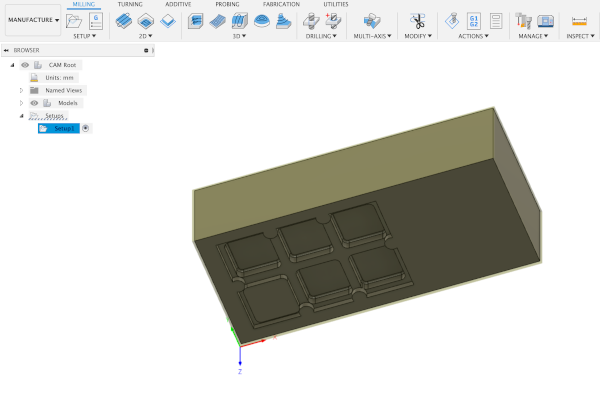
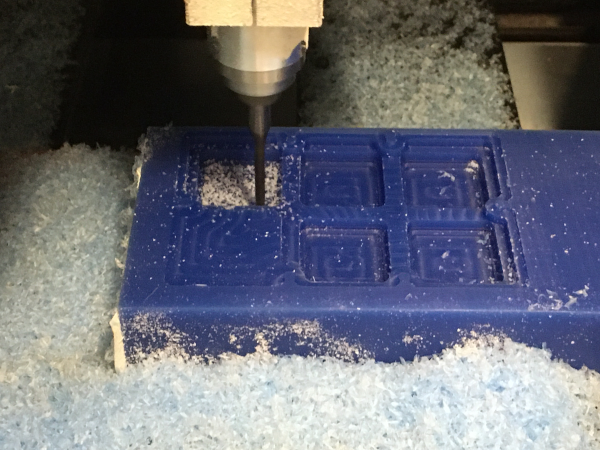
Next I used the Roland M40 milling machine to mill a mold out of wax.
The design is relatively simple so I could mill it out with only 2 different drill bits.
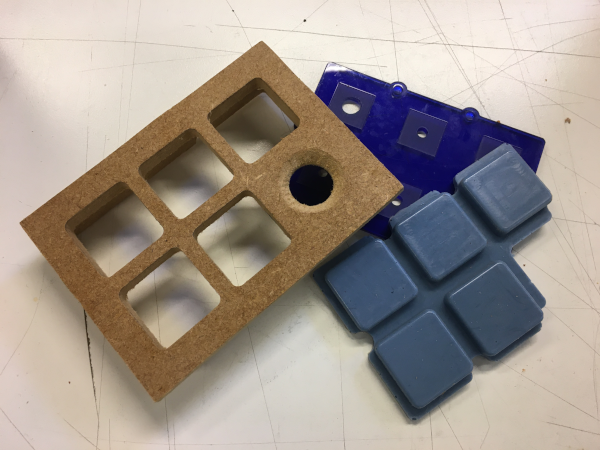
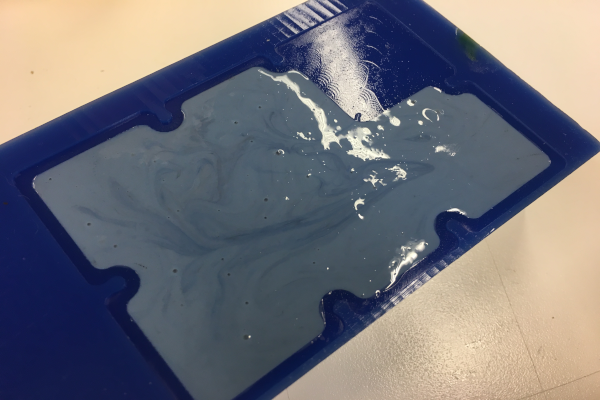
The milling came out nicely so the next step was to mix the silicon. I put some colours in it until I got a colour I was happy with.

Next I poured the mix slowly into the mould gave it few good knocks to get rid of any air.
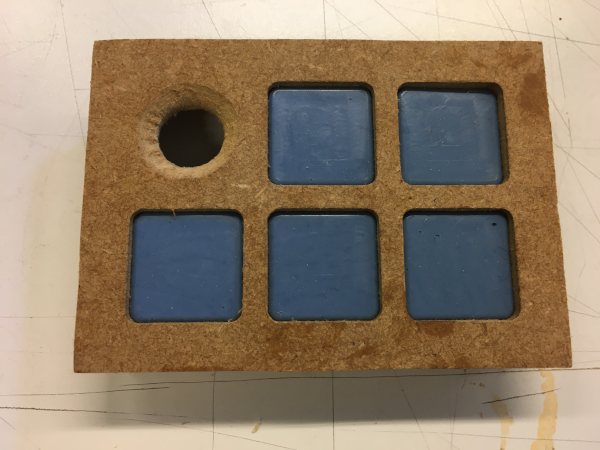
Then I went home and the day after I could easily remove the silicon from the mould. It fitted nicely in the frame.