Website design
The first thing I did when I started creating my website was to learn the basics of html5. and css3 with the help of my instructor and looking at tutorials like this.
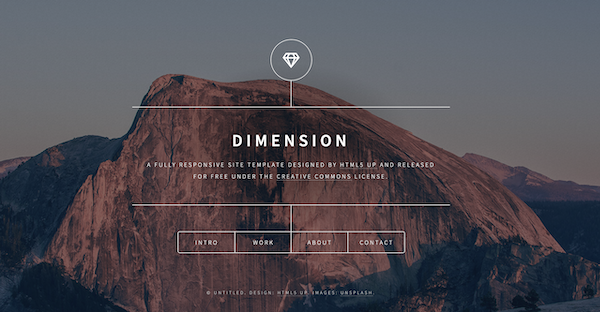
Then I browsed the internet for templates. I found a style of template that I liked on html5up.net
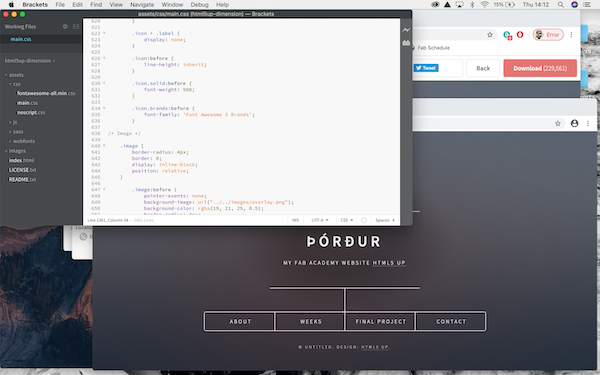
I used website development program called "Brackets". I put the template I chose called Dimension into Brackets and customised it to my liking. Brackets is a text editor for web development designed for coding in html and css.
Using CSS coding I changed paragraph dimensions, background and heading. I changed the menu in the template so now I have "About" for introducing me, "Weeks" that include all my weekly assignments, "Final Project" where I will document the process of my final project and "Contact" for my email.
I used an existing code for the the subcategories of "Weeks", my assignments category. I made changes to the code using both css and html. Then I copied the code to create the following weeks.
To add pictures I used an existing code and used GimP.2.10 to crop and resise them. To add videos to my website I found a html code on this site
Git lab
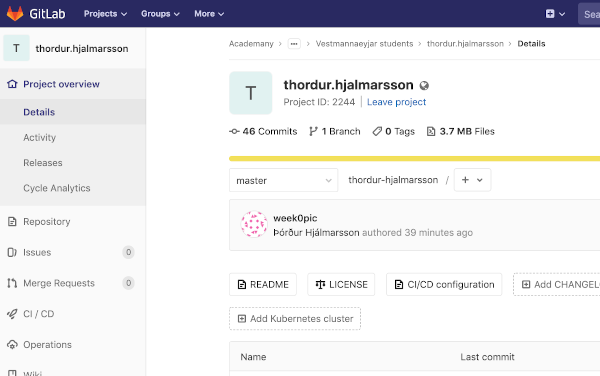
GitLab is an open source code repository and collaborative development platform.
Website of the students is hosted in a git repository, on a custom gitlab server. Gitlab is a web interface to create and manage git repositories.
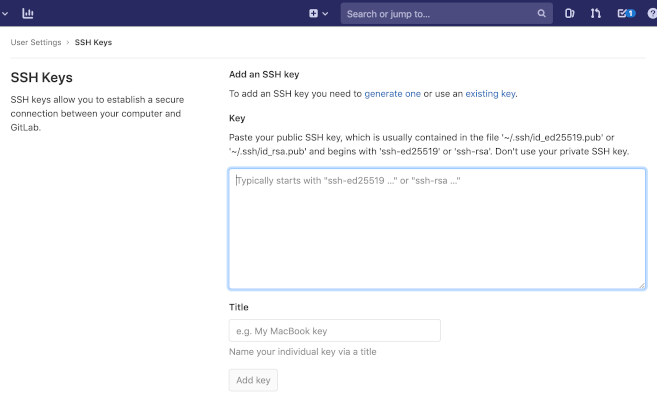
In Gitlab, Fab Academy students were granted access to the Fab Akademy Project. First I created a ssh key, witch creates a secure access between my computer and the GitLab server.
In GitLab tool I went to "setting" and generated a new ssh key. In GitBash I pasted the key and pressed enter. Then I entered a filename, where to save the key. Then I copied the key fingerprint and pasted it in GitLab in "Add an SSH key"
Then I cloned the git repository to create a local copy on my computer where I can edit and add changes to the repository.
In Terminal (gitbash):
Git Clone git@gitlab.fabcloud.org:academany/fabacademy/2020/labs/vestmannaeyjar/students/thordur-hjalmarsson.
git cd “your name”
git config –global user.email “your email”
git config –global user.name “your name”
Now I can edit my website using Brackets and then push it to the repsitoy hosted in Gitlab.
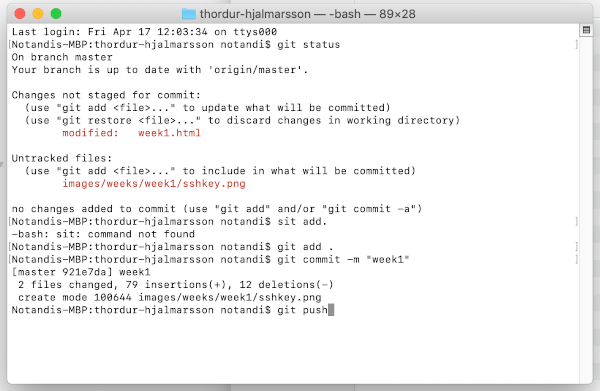
GitBash and Brackets
I use Brackets to add and make changes to my website. Then I use GitBash in Terminal to push those changes from my local copy of the repository and publish it on the web.
I found a cheat sheet for commands I have to use in GitBash here.
The main commands I use are:
git status
git add .
git commit -m "week1example"
git push
Then finally: git status, to see if my work tree is clean