In this week we are required to write an application that interfaces a user with an input &/or output device that we made. So for this assignment I will be using processing which is a flexible software sketchbook and a language for learning how to code within the context of the visual arts. With the help of this tutorial and this video. I was able to build my own interface. I’m going to list down all the steps I did in order to build an interface.
Also I will be using blynk application.
I downloaded the processing IDE program from here.
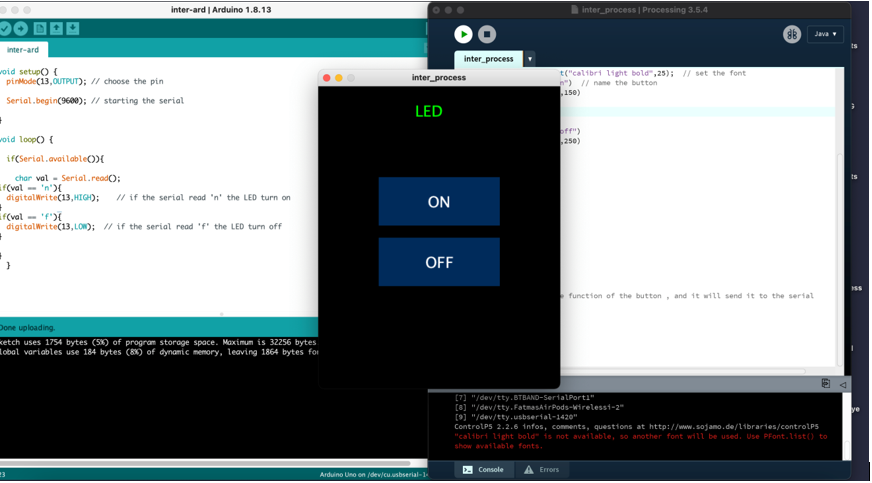
So all what I want that to make a window with two buttons , to control the LED however I should write two codes one with Arduino to uploaded to my board , and the other is in the processor , with java mode , to make the window and the buttons , then I will let them communicate through a serial port.
For coding I started by setting up the libraries that I need, so I open the processor , click on sketch >> import library >> add library >> add controlp5 library.
then I chose the mode that I want to work in , which is JAVA.
now I can start writing my code.
Processing code:
import controlP5.*;    // library to make the buttons
import processing.serial.*;  // library for serial comunication
Serial port;
ControlP5 cp5;  // creat object
PFont font;
void setup(){                       // the set up similar in arduino
             size(400,500);           // making a window (width , hight )
         printArray(Serial.list());

         port = new Serial(this,"/dev/tty.usbserial-FT9ZYG47",9600);   // the serial port i will use

        cp5 = new ControlP5(this);
        font = createFont("calibri light bold",25);  // set the font
        cp5.addButton("on")  // name the button
        .setPosition(100,150)
        .setSize(200,80)
        .setFont(font)
        ;
         cp5.addButton("off")
        .setPosition(100,250)
        .setSize(200,80)
        .setFont(font)
        ;
        }

   void draw(){

     background(0);
     fill(0,255,0);
     text("LED",160,50);
     textFont(font);
   }


void on(){
  port.write('n'); // the function of the button , and it will send it to the serial
}

void off(){
  port.write('f');
}
Arduino Code:
 void setup() {
  pinMode(13,OUTPUT); // choose the pin

  Serial.begin(9600); // starting the serial

}

void loop() {
  if(Serial.available()){

    char val = Serial.read();
if(val == 'n'){
  digitalWrite(13,HIGH);    // if the serial read 'n' the LED turn on
}
if(val == 'f'){
  digitalWrite(13,LOW);  // if the serial read 'f' the LED turn off
}

}
  }
The below video shows how it works:
To get started with Blynk:
I downloaded the blynk app on my phone.
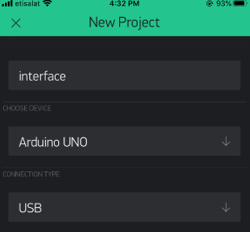
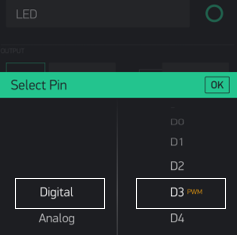
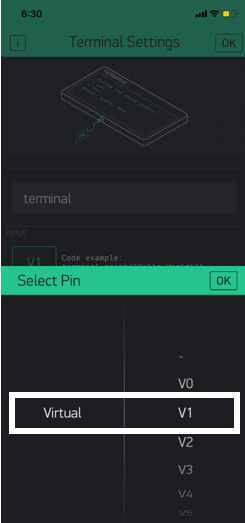
I opened the apps and created an account on it then I clicked on creating a new project. This screen will appear where I should choose the name for my project, device and the connection type which is as shown below:

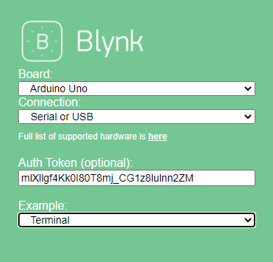
I opened Blynk website
I filled the boxes below and the code will changed based on the data that I entered
#include <SoftwareSerial.h>
SoftwareSerial SwSerial(10, 11); // RX, TX
#include <BlynkSimpleStream.h>
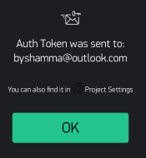
// You should get Auth Token in the Blynk App.
// Go to the Project Settings (nut icon).
char auth[] = "mlXllgf4Kk0I80T8mj_CG1z8lulnn2ZM";
// Attach virtual serial terminal to Virtual Pin V1
WidgetTerminal terminal(V1);
// You can send commands from Terminal to your hardware. Just use
// the same Virtual Pin as your Terminal Widget
BLYNK_WRITE(V1)
{
// if you type "Marco" into Terminal Widget - it will respond: "Polo:"
if (String("Marco") == param.asStr()) {
terminal.println("You said: 'Marco'") ;
terminal.println("I said: 'Polo'") ;
} else {
// Send it back
terminal.print("You said:");
terminal.write(param.getBuffer(), param.getLength());
terminal.println();
}
// Ensure everything is sent
terminal.flush();
}
void setup()
{
// Debug console
SwSerial.begin(9600);
// Blynk will work through Serial
// Do not read or write this serial manually in your sketch
Serial.begin(9600);
Blynk.begin(Serial, auth);
// Clear the terminal content
terminal.clear();
// This will print Blynk Software version to the Terminal Widget when
// your hardware gets connected to Blynk Server
terminal.println(F("Blynk v" BLYNK_VERSION ": Device started"));
terminal.println(F("-------------"));
terminal.println(F("Type 'Marco' and get a reply, or type"));
terminal.println(F("anything else and get it printed back."));
terminal.flush();
}
void loop()
{
Blynk.run();
}
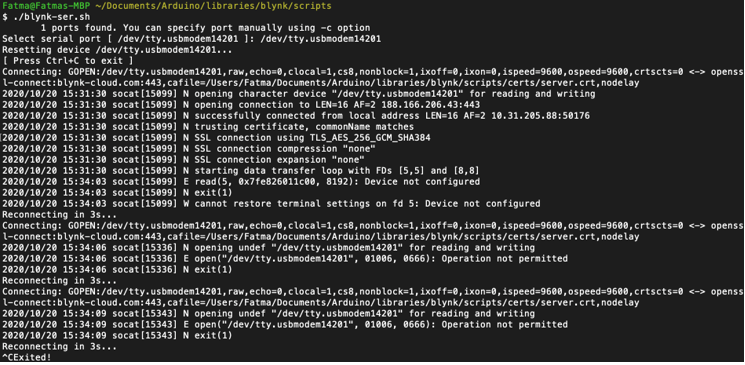
Load the Script ./blynk-ser.sh
The below command shows that the connection is done. so now I’m able to control the Arduino using the Blynk application.

At the beginning I thought that it is too hard to do this assignment. but with Blynk I found it too easy. I really loved this application because its straightforward and easy to use.