3D printing or additive manufacturing is a process of making three dimensional solid objects from a digital file.
The creation of a 3D printed object is achieved using additive processes. In an additive process an object is created by laying down successive layers of material until the object is created. Each of these layers can be seen as a thinly sliced horizontal cross-section of the eventual object.
3D printing is the opposite of subtractive manufacturing which is cutting out / hollowing out a piece of metal or plastic with for instance a milling machine.
3D printing enables you to produce complex shapes using less material than traditional manufacturing methods.
Many different materials can be used for 3D printing, such as ABS plastic, PLA, polyamide (nylon), glass filled polyamide, stereolithography materials (epoxy resins), silver, titanium, steel, wax, photopolymers and polycarbonate.
In the group assignment we are required to test the design rule of the printer. So I chose the finishing to be my test. For more details about the group assignment visit this page:
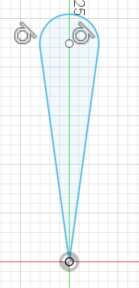
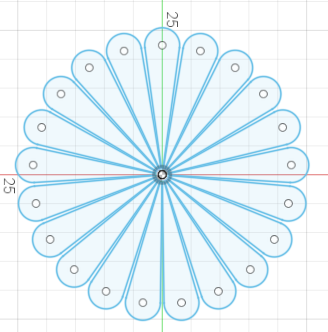
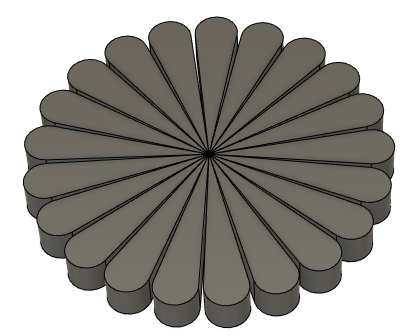
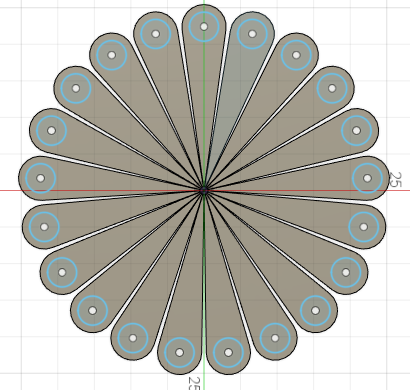
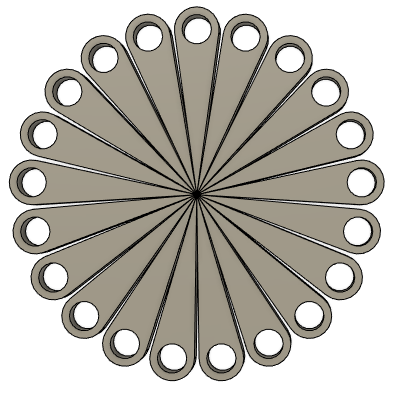
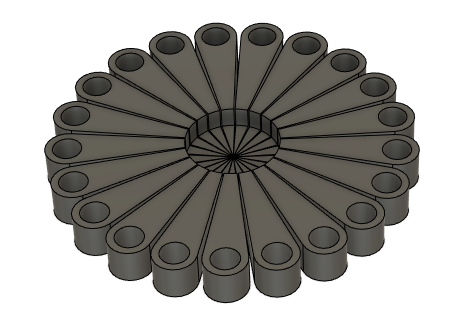
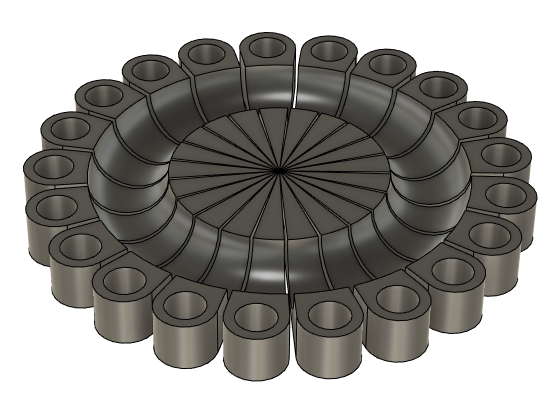
In this week, We are required to execute a 3D design with the exception that it should only be printed by the 3D printer. At the start, there wasn’t any design on my mind so I took a brief look on the work of previous Fablab students to have an idea of what should I do and I liked one of them which was a flower but I couldn’t come up with a similar design. So I decided to do my own flower and down below I listed all the steps that were done. This week was light and very entertaining and I want to say that 3D printing is very easy to deal with and use.

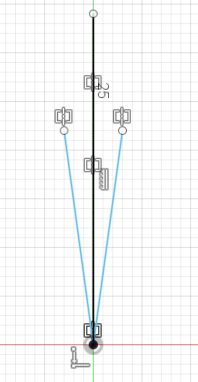
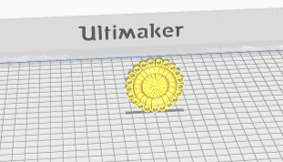
I saved the file as .stl in order to open it in the Cura software which is a software that is designed for 3D printing.
I opened the file in Cura software.
PLA material and the A4 0.4 print core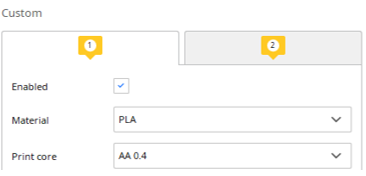
Layer height (the exact height of each layer of plastic extruded): 0.20 mm
Infill density (the amount of filament printed inside the object. it depends how strong you want your object): 20 %
Infill pattern (can affect the object’s final strength without changing the print’s weight or filament used): Triangles.
Wall thickness (= the distance between one surface of your model and the opposite sheer surface.) : 1 mm
slice option to calculate the required time to print my piece.
I saved the file on my USB to use it in the printer.
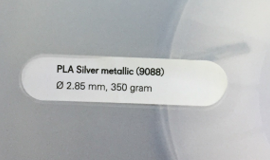
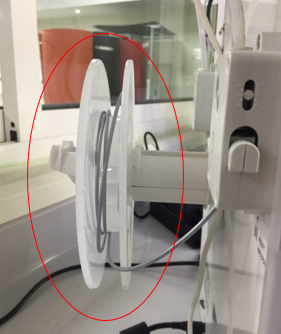
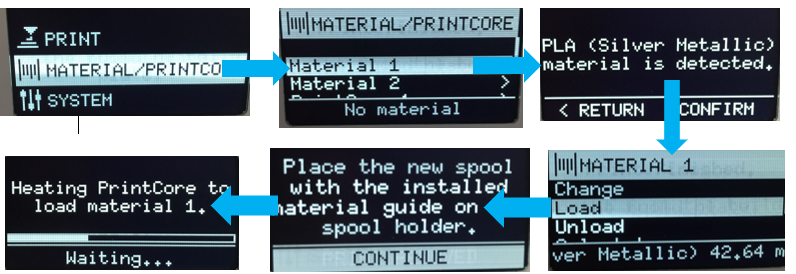
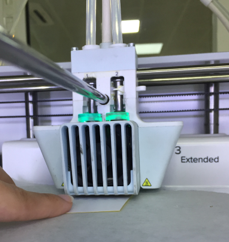
Now, I have to select the PLA material in order to execute the printing so I selected silver as shown in the figure below.


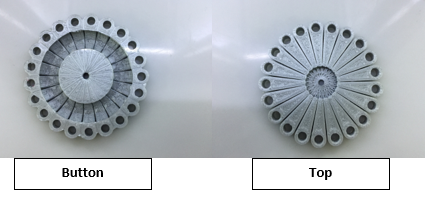
Because of the small details in the small circle
Because of the small spaces between the things
3D scanning is the process of analyzing a real-world object or environment to collect data on its shape and possibly its appearance. The collected data can then be used to construct digital 3D models.
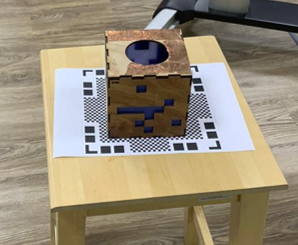
I used mobile app called Qlone 3D scanner. I will explain how this app work:
First we need to print the included AR mat
I placed the object in the middle of the mat and let the Augmented reality dome guide me through the scanning process.
I scanned the object from two different angles then I auto merged for complete 3D results.
Done with the 3D scanning