3D SCANNING AND PRINTING
This week we use 3D printers and 3D scanner, subjecting them to different tests.
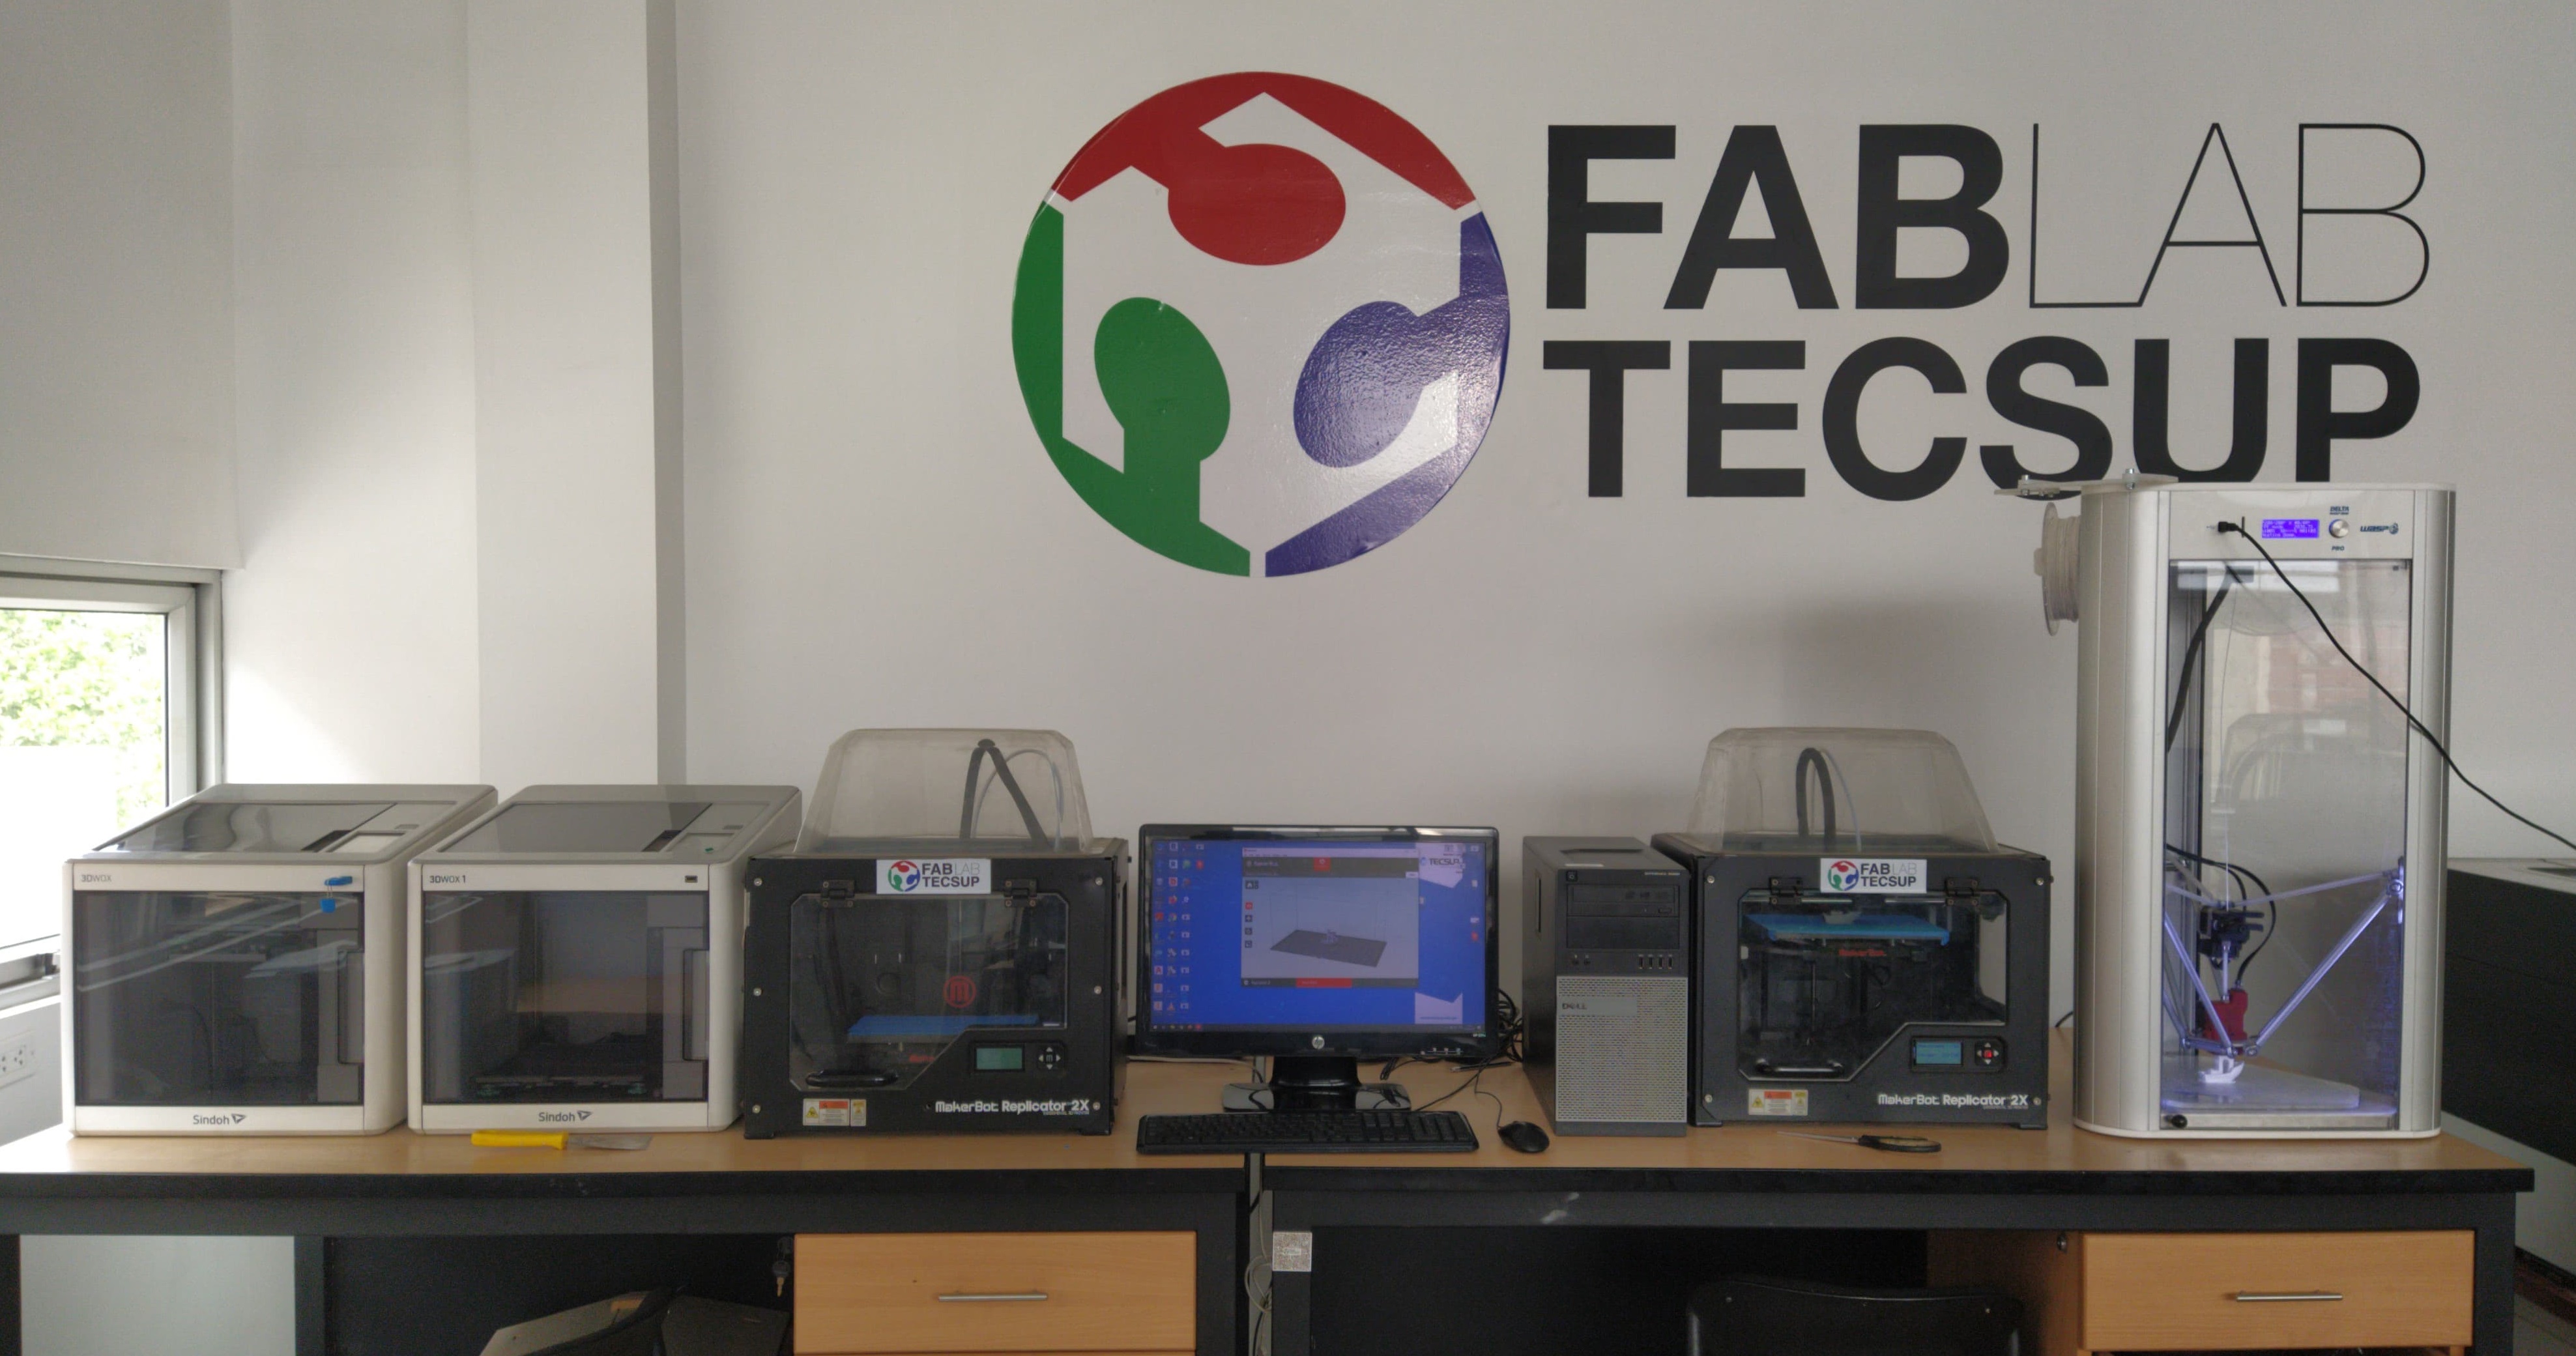
FABLAB 3D PRINTER TEST
We have three brands of printers
1-SINDOH, uses 3DWOX software, has a magnetic and flexible printing surface, does not require preparation.
2- MAKERBOT: REPLICATOR 2, uses the MAKERBOT software, requires placing adhesive paper tape on the printing surface.
3- WASP DELTA PRO, use ULTIMAKER CURA software, requires a small amount of liquid glue on the printing surface.

The 3DBENCHY model was printed on the 3 printers;
Blue = SINDOH
Gray = MAKERBOT
White = WAS


The following deficiencies were found:
Blue = SINDOH, the printing time is more than double purchased from the other printers, sagging in straight bridges.
Gray = MAKERBOT, a gap in the top layer and a curled corner.
White = WASP, blobs and zits, did not correctly define the lower letters and multiple subsidence in the bridges.
TEST MAKERBOT
We will continue the tests in the makerbot for being the one that obtained the best results in the previous tests

We proceeded to evaluate the test model in the standard configuration because we obtained better results.

Our resulting model with multiple ways to test the printer in a graduated way

We found a slight sagging in the bridges from 15mm and a layer separation of 60 degrees of inclination

3D SCANNER
I started with the assembly of the scanner, which has an activated arm, 2 cameras, a projector, a 360-degree rotating platform, and a glass wall for calibration.
Before carrying out the calibration process it is important to achieve a constant low light environment.

To be able to correctly calibrate the scanner we must adjust the brightness and contrast levels in the cameras, in addition to locating the glass wall in the proper position to be observable by both cameras the 6 black circles, since this determines the depth measurement Scanner.

Once calibrated we can proceed with the scanning of a piece, preferably this piece should not have a glossy surface or too opaque, so that we can help with substances that cover the piece without affecting the dimensions.

Using the default configuration, the scanner takes 6 images of the object rotating the platform so that each one of them can be joined by forming a 3D object.

To achieve a better result, the same object can be scanned in different positions to get the cameras to capture all the details of the object, then join the similarities by texture, points and surfaces.

the first piece that scanned was a DC motor, then proceed with a mask whose shape is more complex.

(1) The most complex views of the model were scanned, (2) then the views were considered for complementary purposes; (3) As a last step, proceed to the merger, where the software is responsible for filling holes and unclear areas.

As an additional step I proceeded to print the scanned models

I obtained these results, with some defects due to the complexity of the scan details, but with very satisfactory results.


I made the design of the head of a robot where you can place an ultrasonic sensor and switches to control the motor.

I used the cura software to generate the G-code.

This is the result of the printing of my design in PLA+.

Self evaluation
What problems did I have?
I had some problems with the installation of 3d scanner, due to the complexity of its installation and calibration.
How did I resolve the problems?
I solved it by leaving the scanner pre-installed and consulting with the advisors.
What should I improve?
I should document more about the possible configurations in the printers and the scanner.