Third assignment
Date
5 Feb 2020
This week's assignment is about using different Computer-Aided Design software and testing to design and model using different techniques like raster, vector, 2D, 3D, render, animate, simulate, etc.
Inkscape
Inkscape is an easy to learn software. I used it most of the time because of the Trace Bitmap tool. It is a great tool that converts any raster image to a vector.
Let me explain…
Raster vs Vector
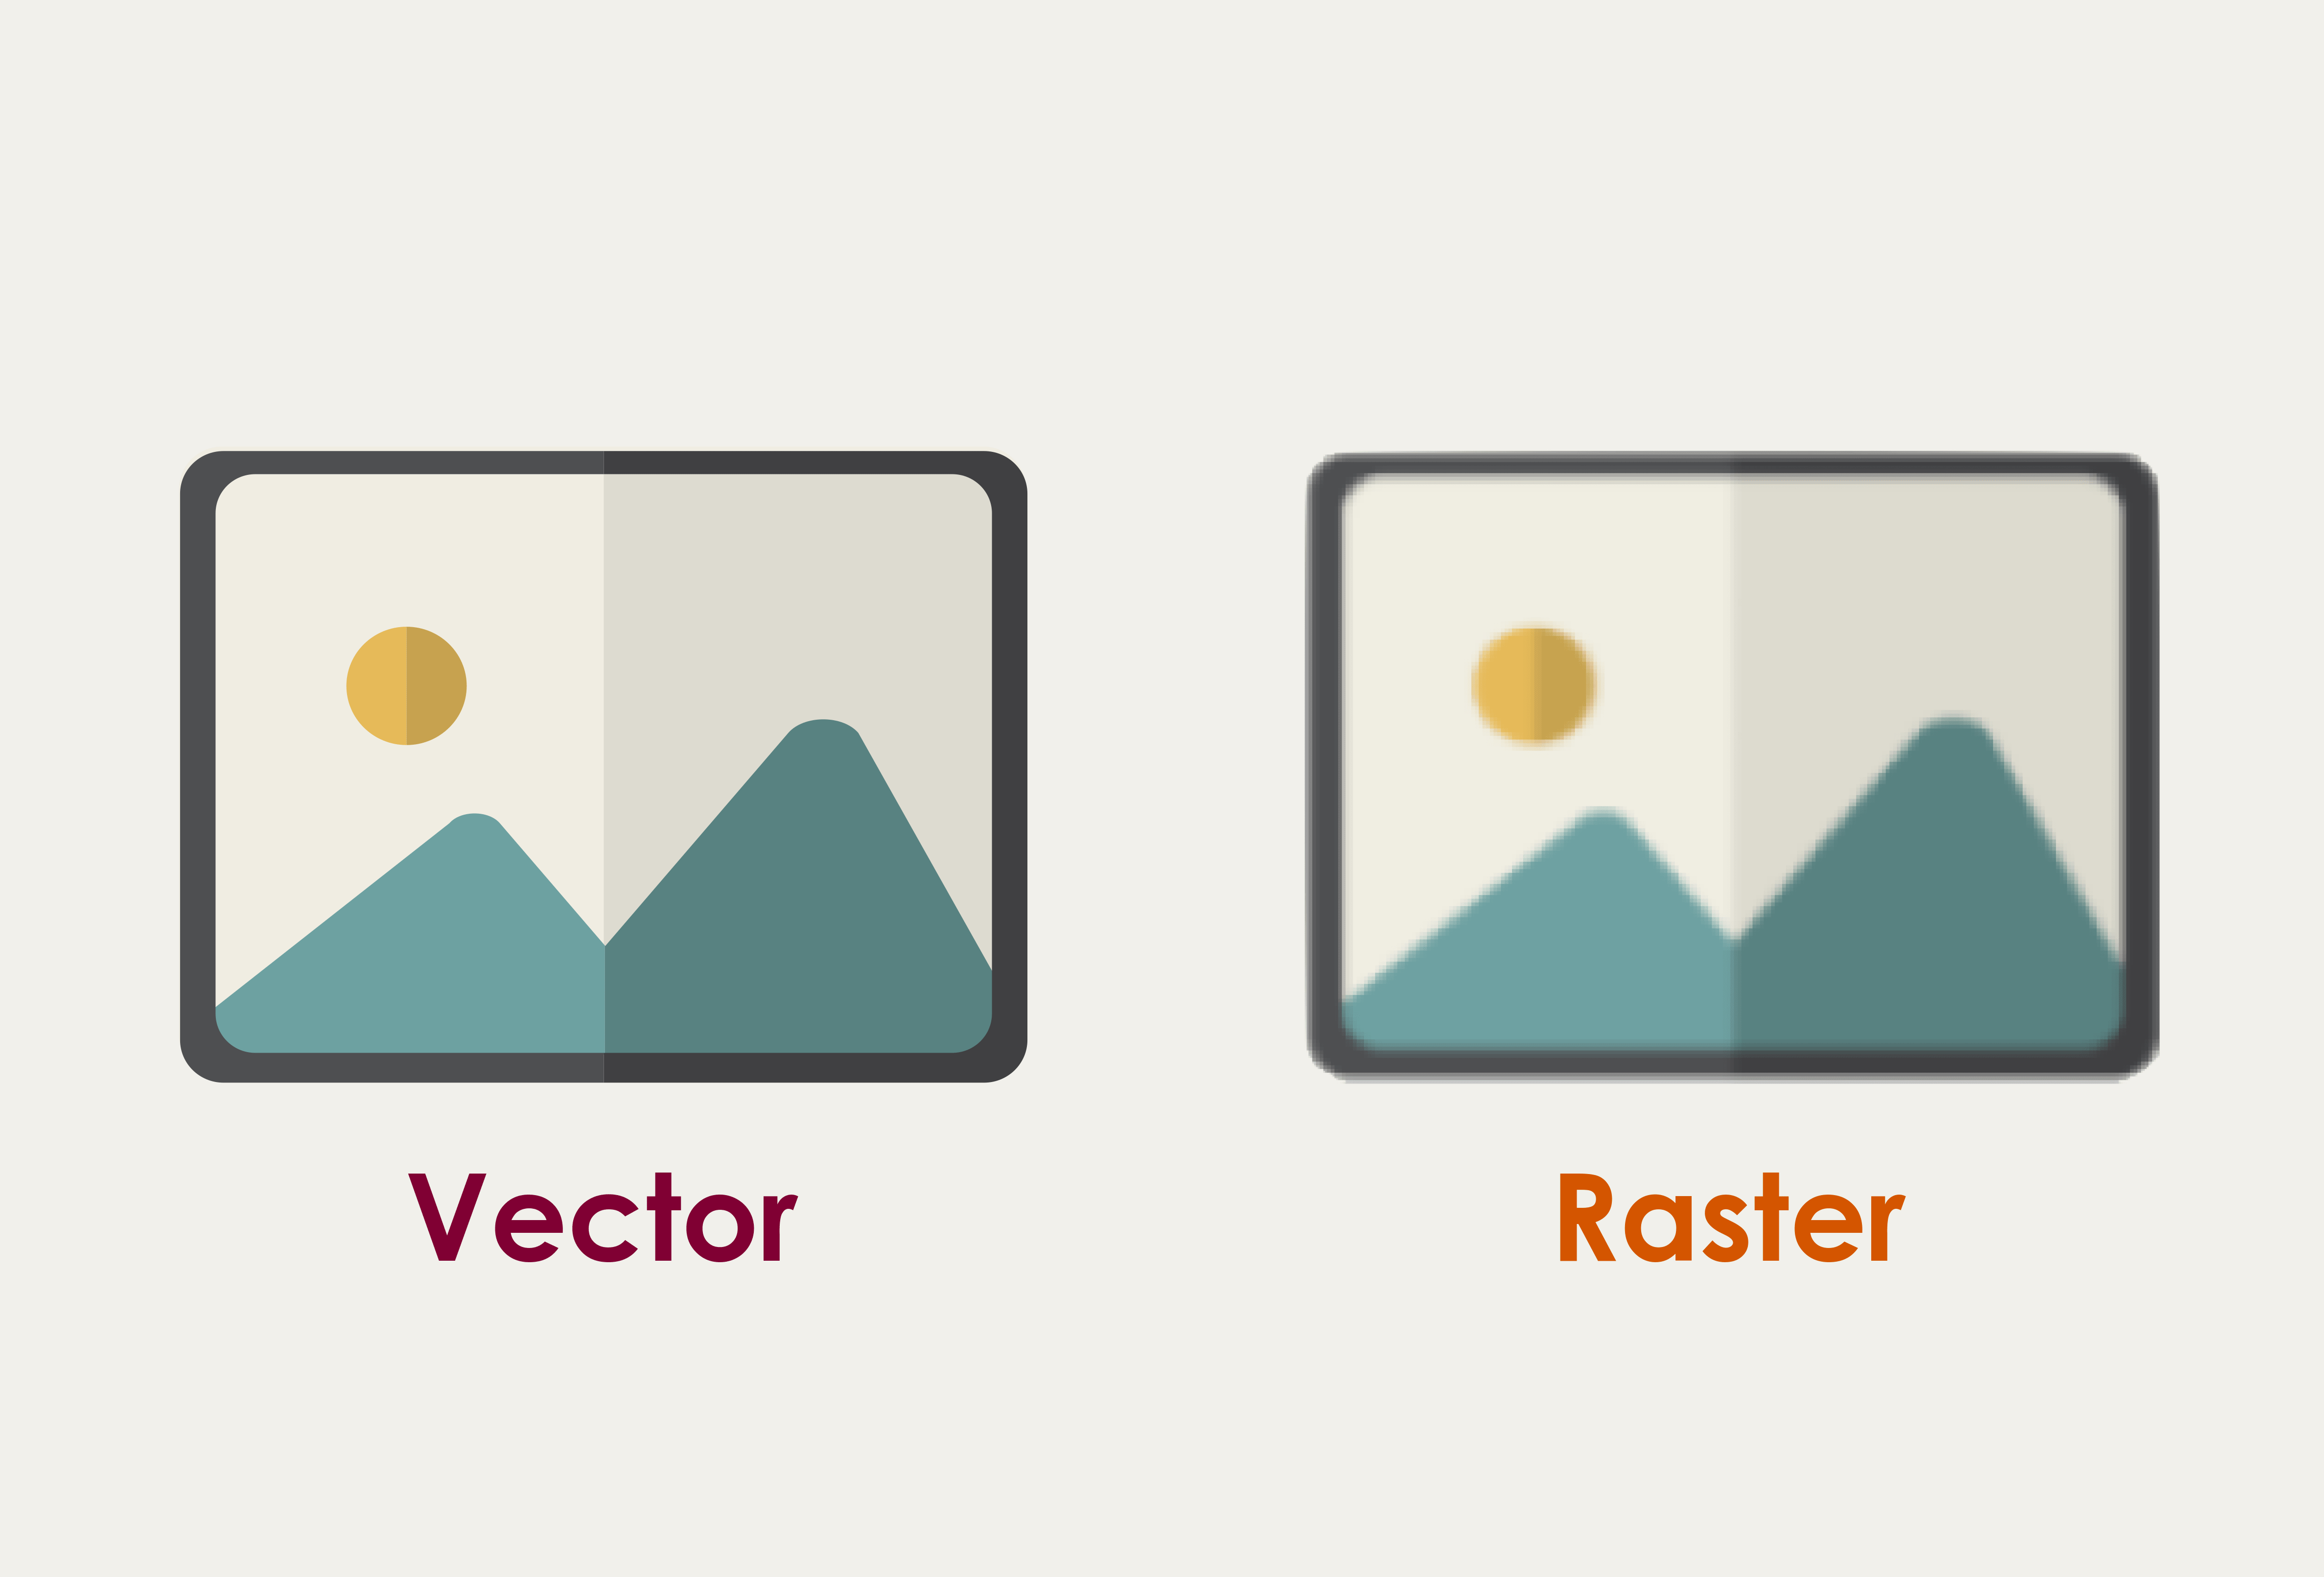
Raster(also called bitmap): an image that is formed of a collection of small pixels that are organized in rows and columns.
Vector: an image that is formed of paths that have mathematical calculation and starting and ending points.
The most obvious feature of a vector image is the flexibility of scaling it to any size without losing the quality of the resolution. In contrast, if the raster image scaled, it becomes blurry and that leads to damaging the quality.
How do I trace a bitmap ?
First, I chose the Fab Academy logo from the internet and downloaded it.

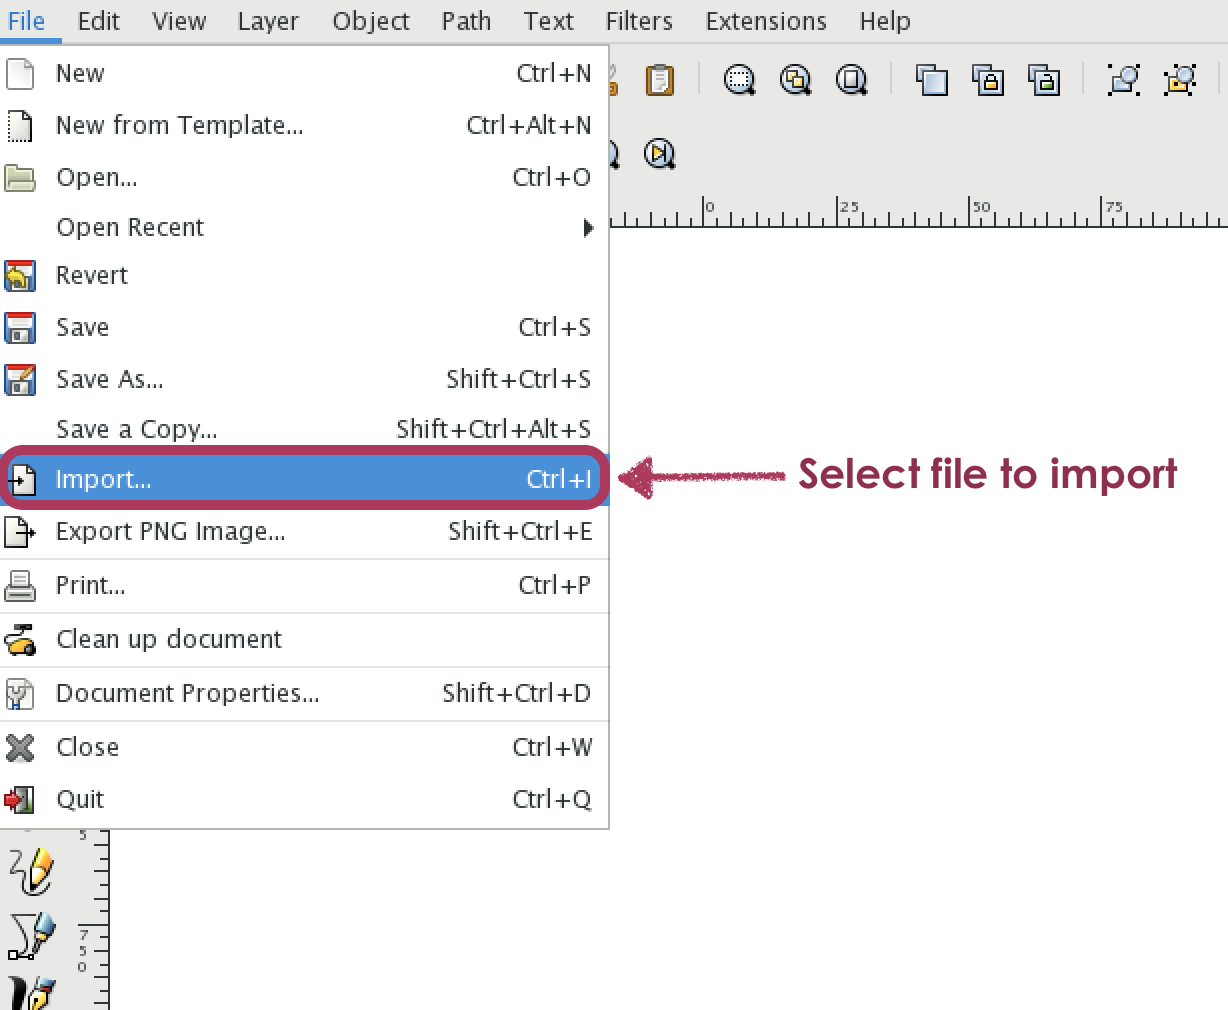
Then, I imported the image to Inkscape workspace.
Menu bar > File > Import
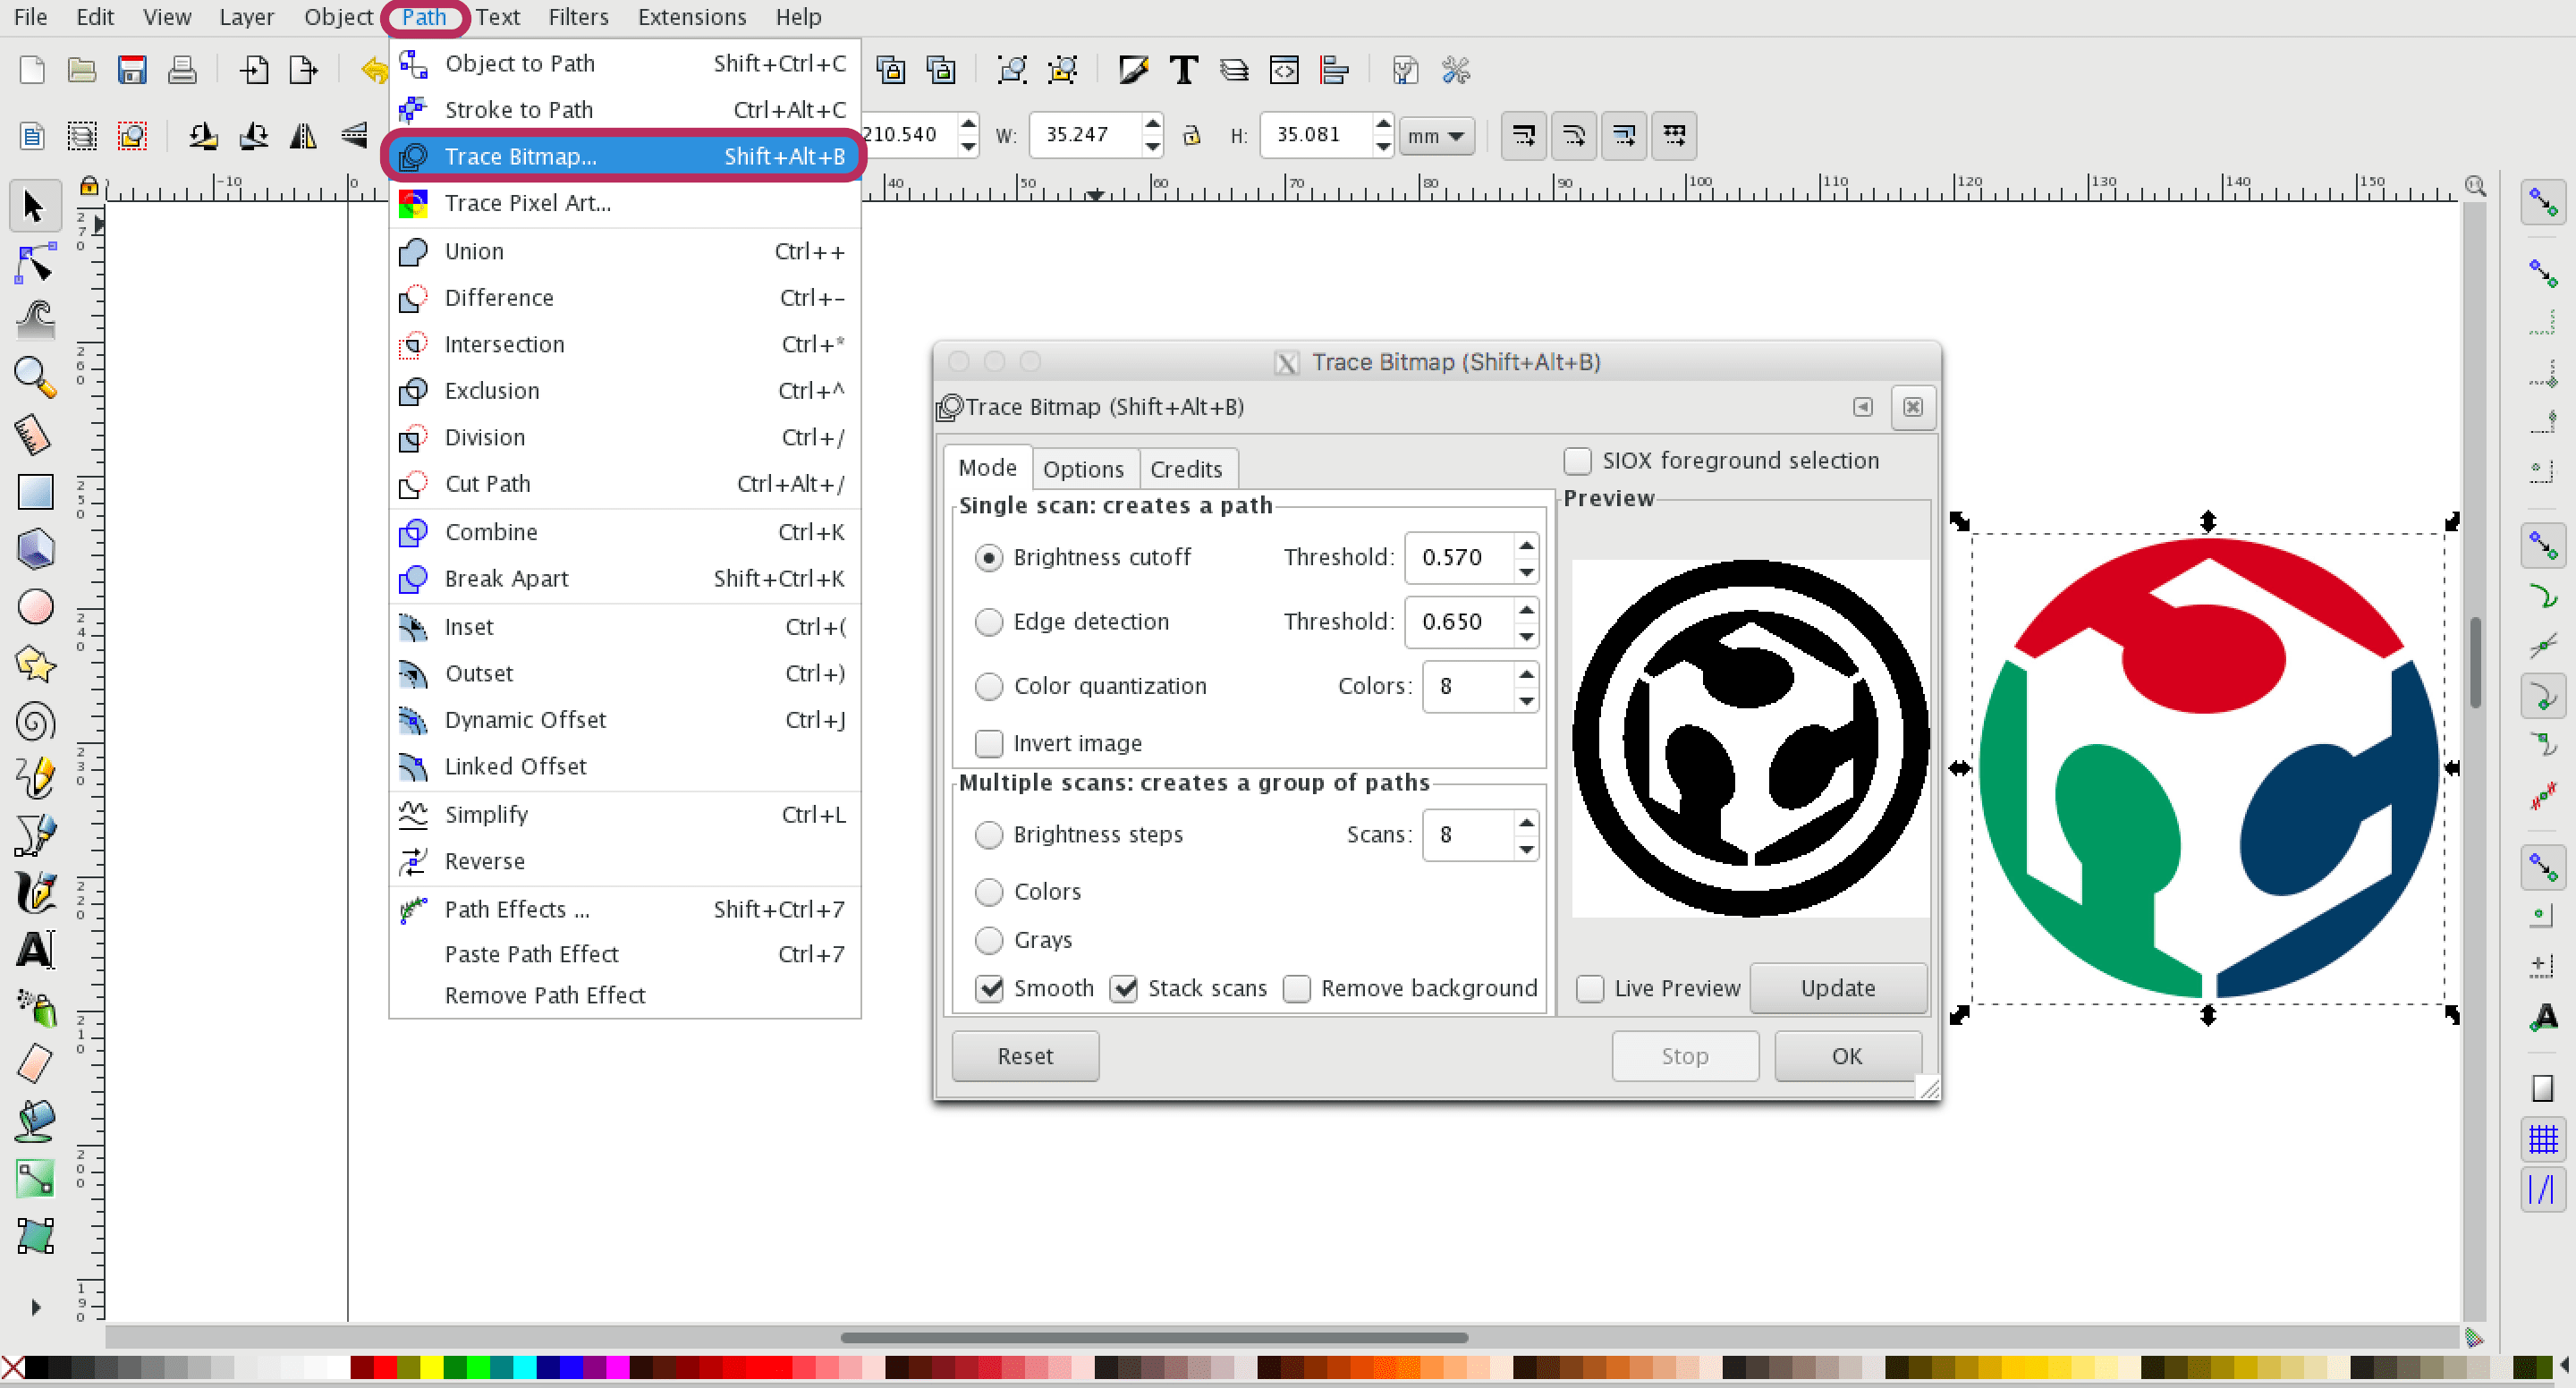
Next, I traced bitmap the image. The update button shows a preview of what the image will look like.
Menu bar > Path > Trace Bitmap
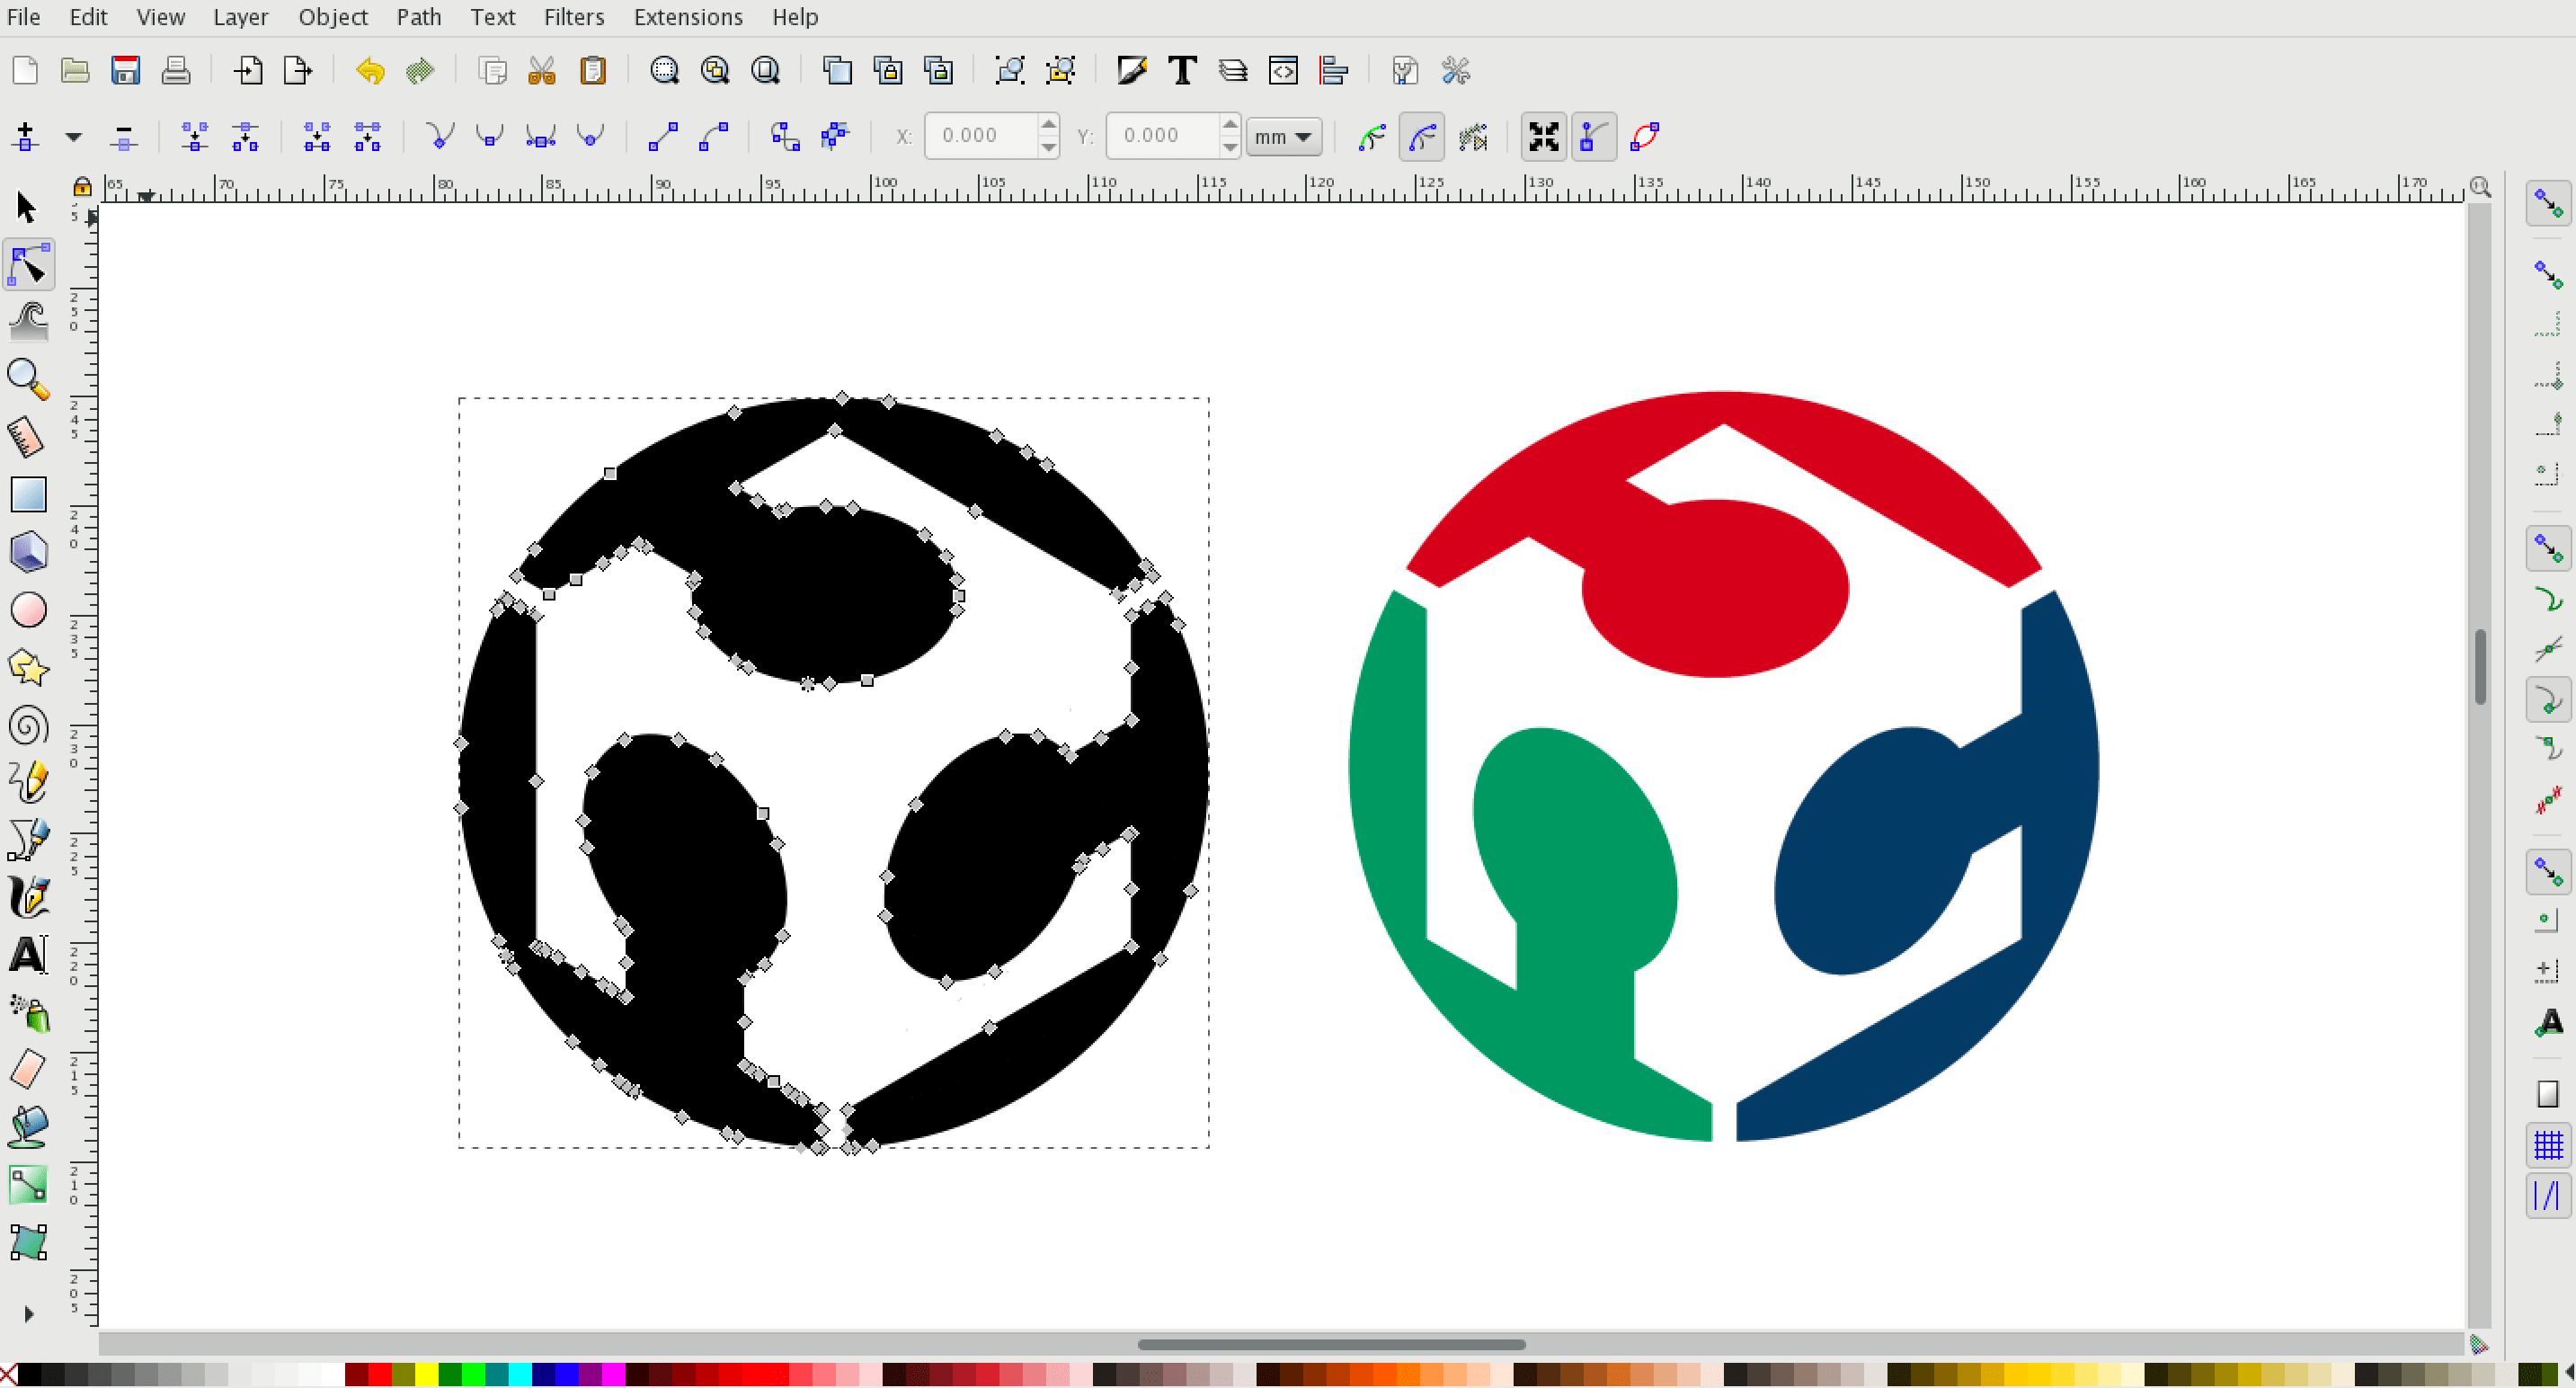
After I clicked on OK button, the paths were created and the bitmap image format converted to a SVG file.
Onshape
Onshape is a new software for me that I have not used before. This assignment gave me a chance to explore it and learn something new. I read and watched different tutorials to learn step by step on how to use it. Creating 3D objects in Onshape requires making a 2D sketch first then extruding it to 3d object by defining the depth. When the object is created, you can add the features by sketching the outline then extrude it.
Why Onshape?
Free CAD tool.
It is a 3D computer-aided design (CAD) Software.
No need to download and install because it is an online platform.
Login from any device.
Creating Onshape Account
- Go to www.onshape.com.
This is the Onshape Home Page :
If you do not have an account, create one.
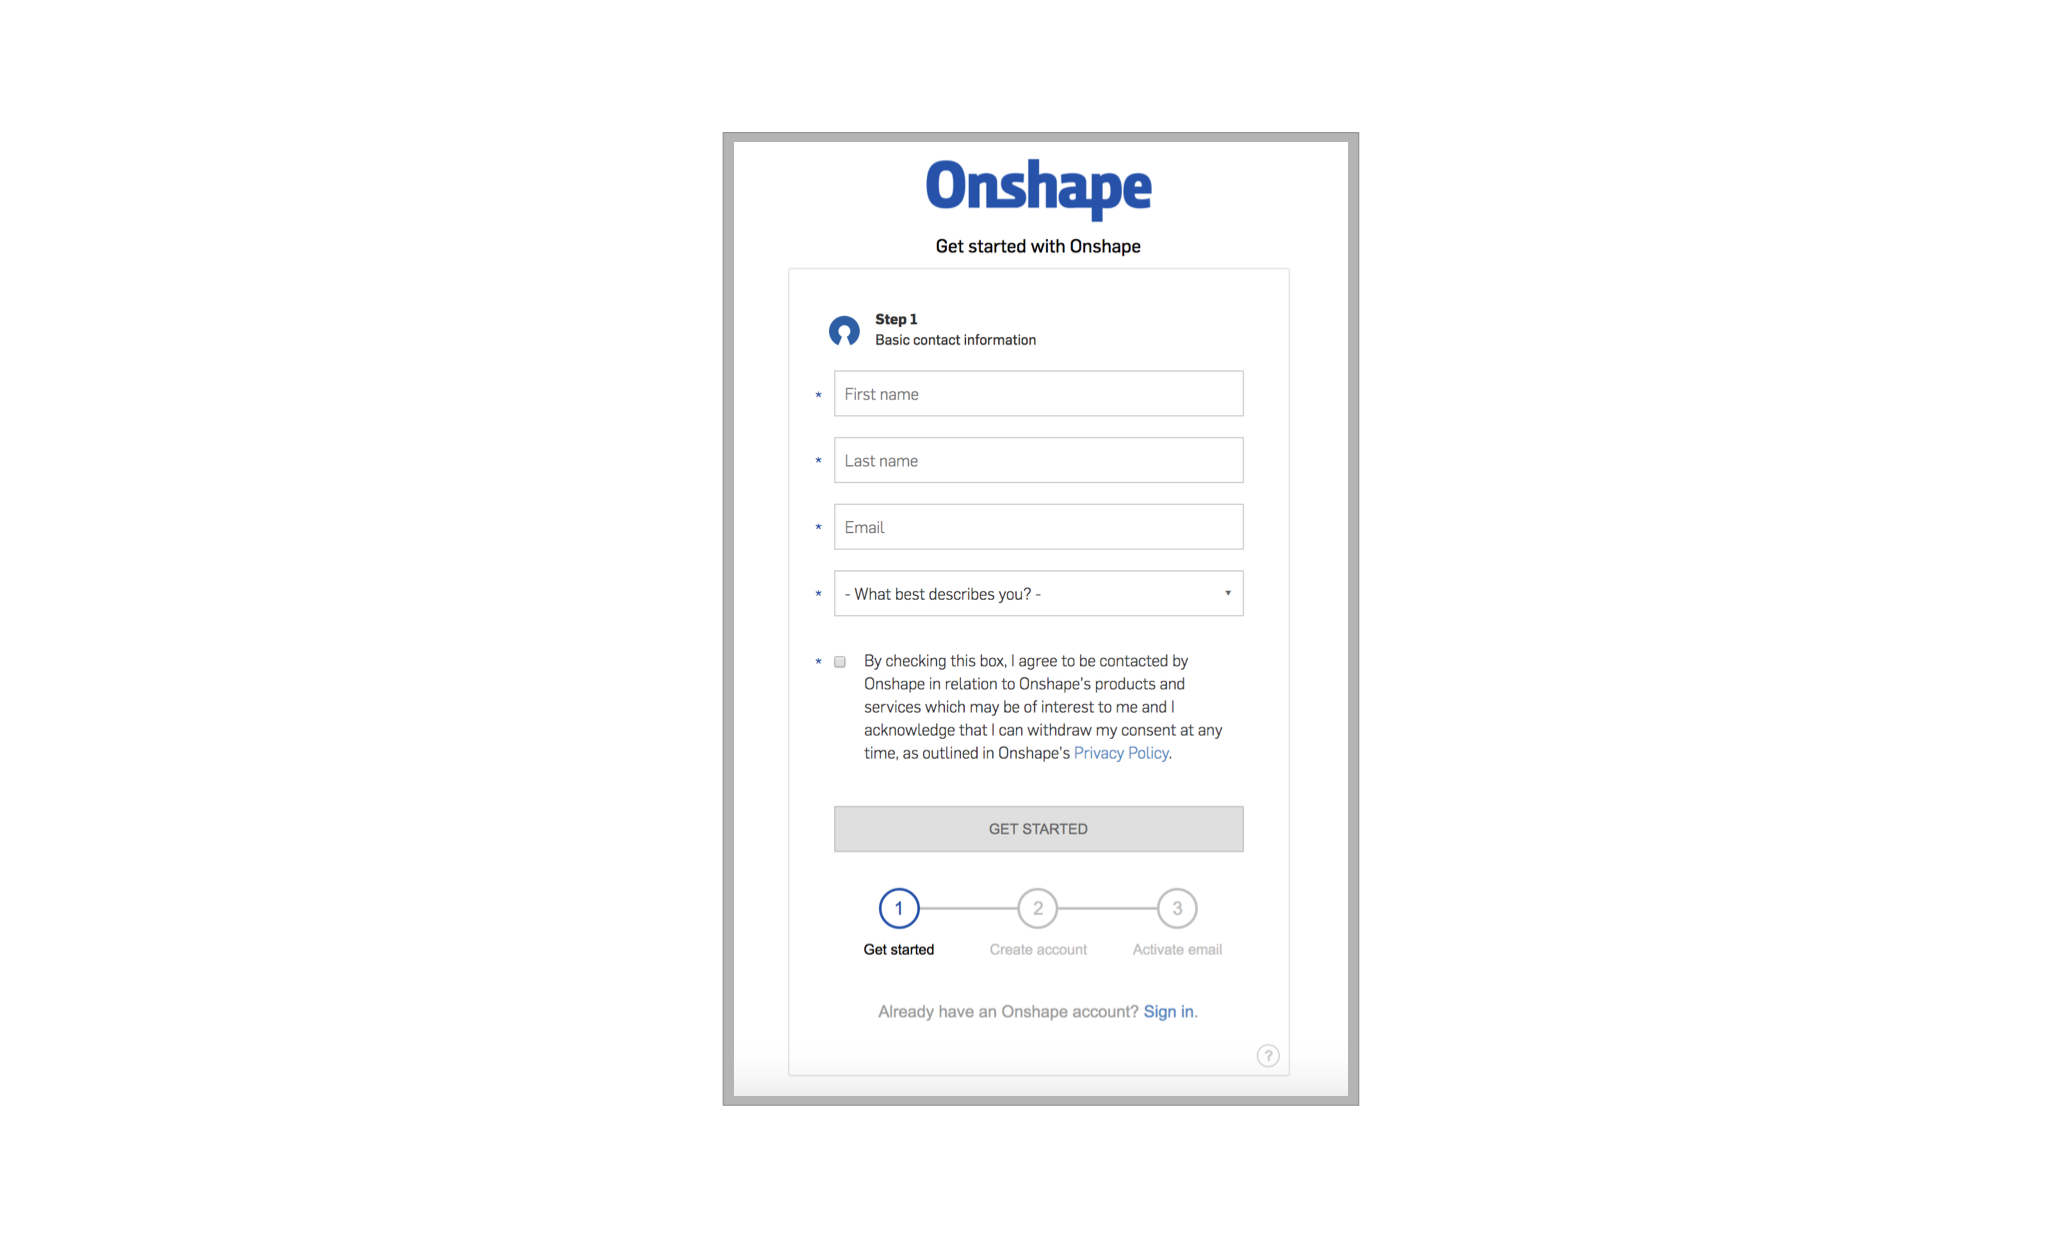
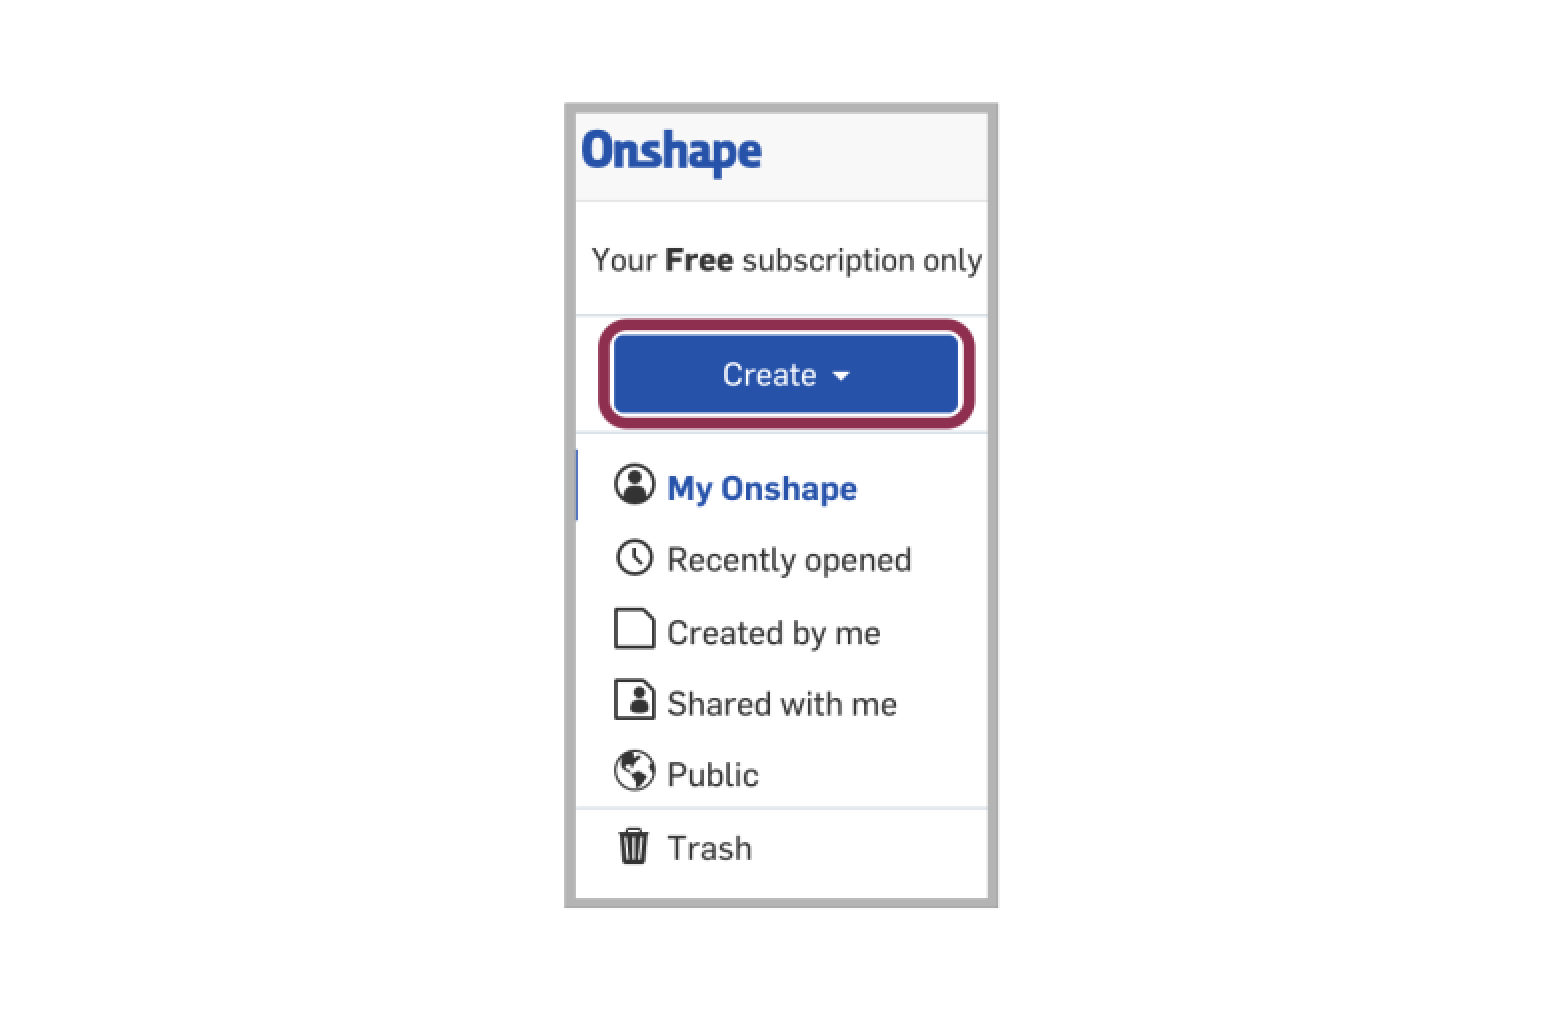
- Click on the blue create button to create the document.
- Write a name for your project. Also, you can decide if you want it private or public.
Onshape interface includes different tools, I will explain some basics :
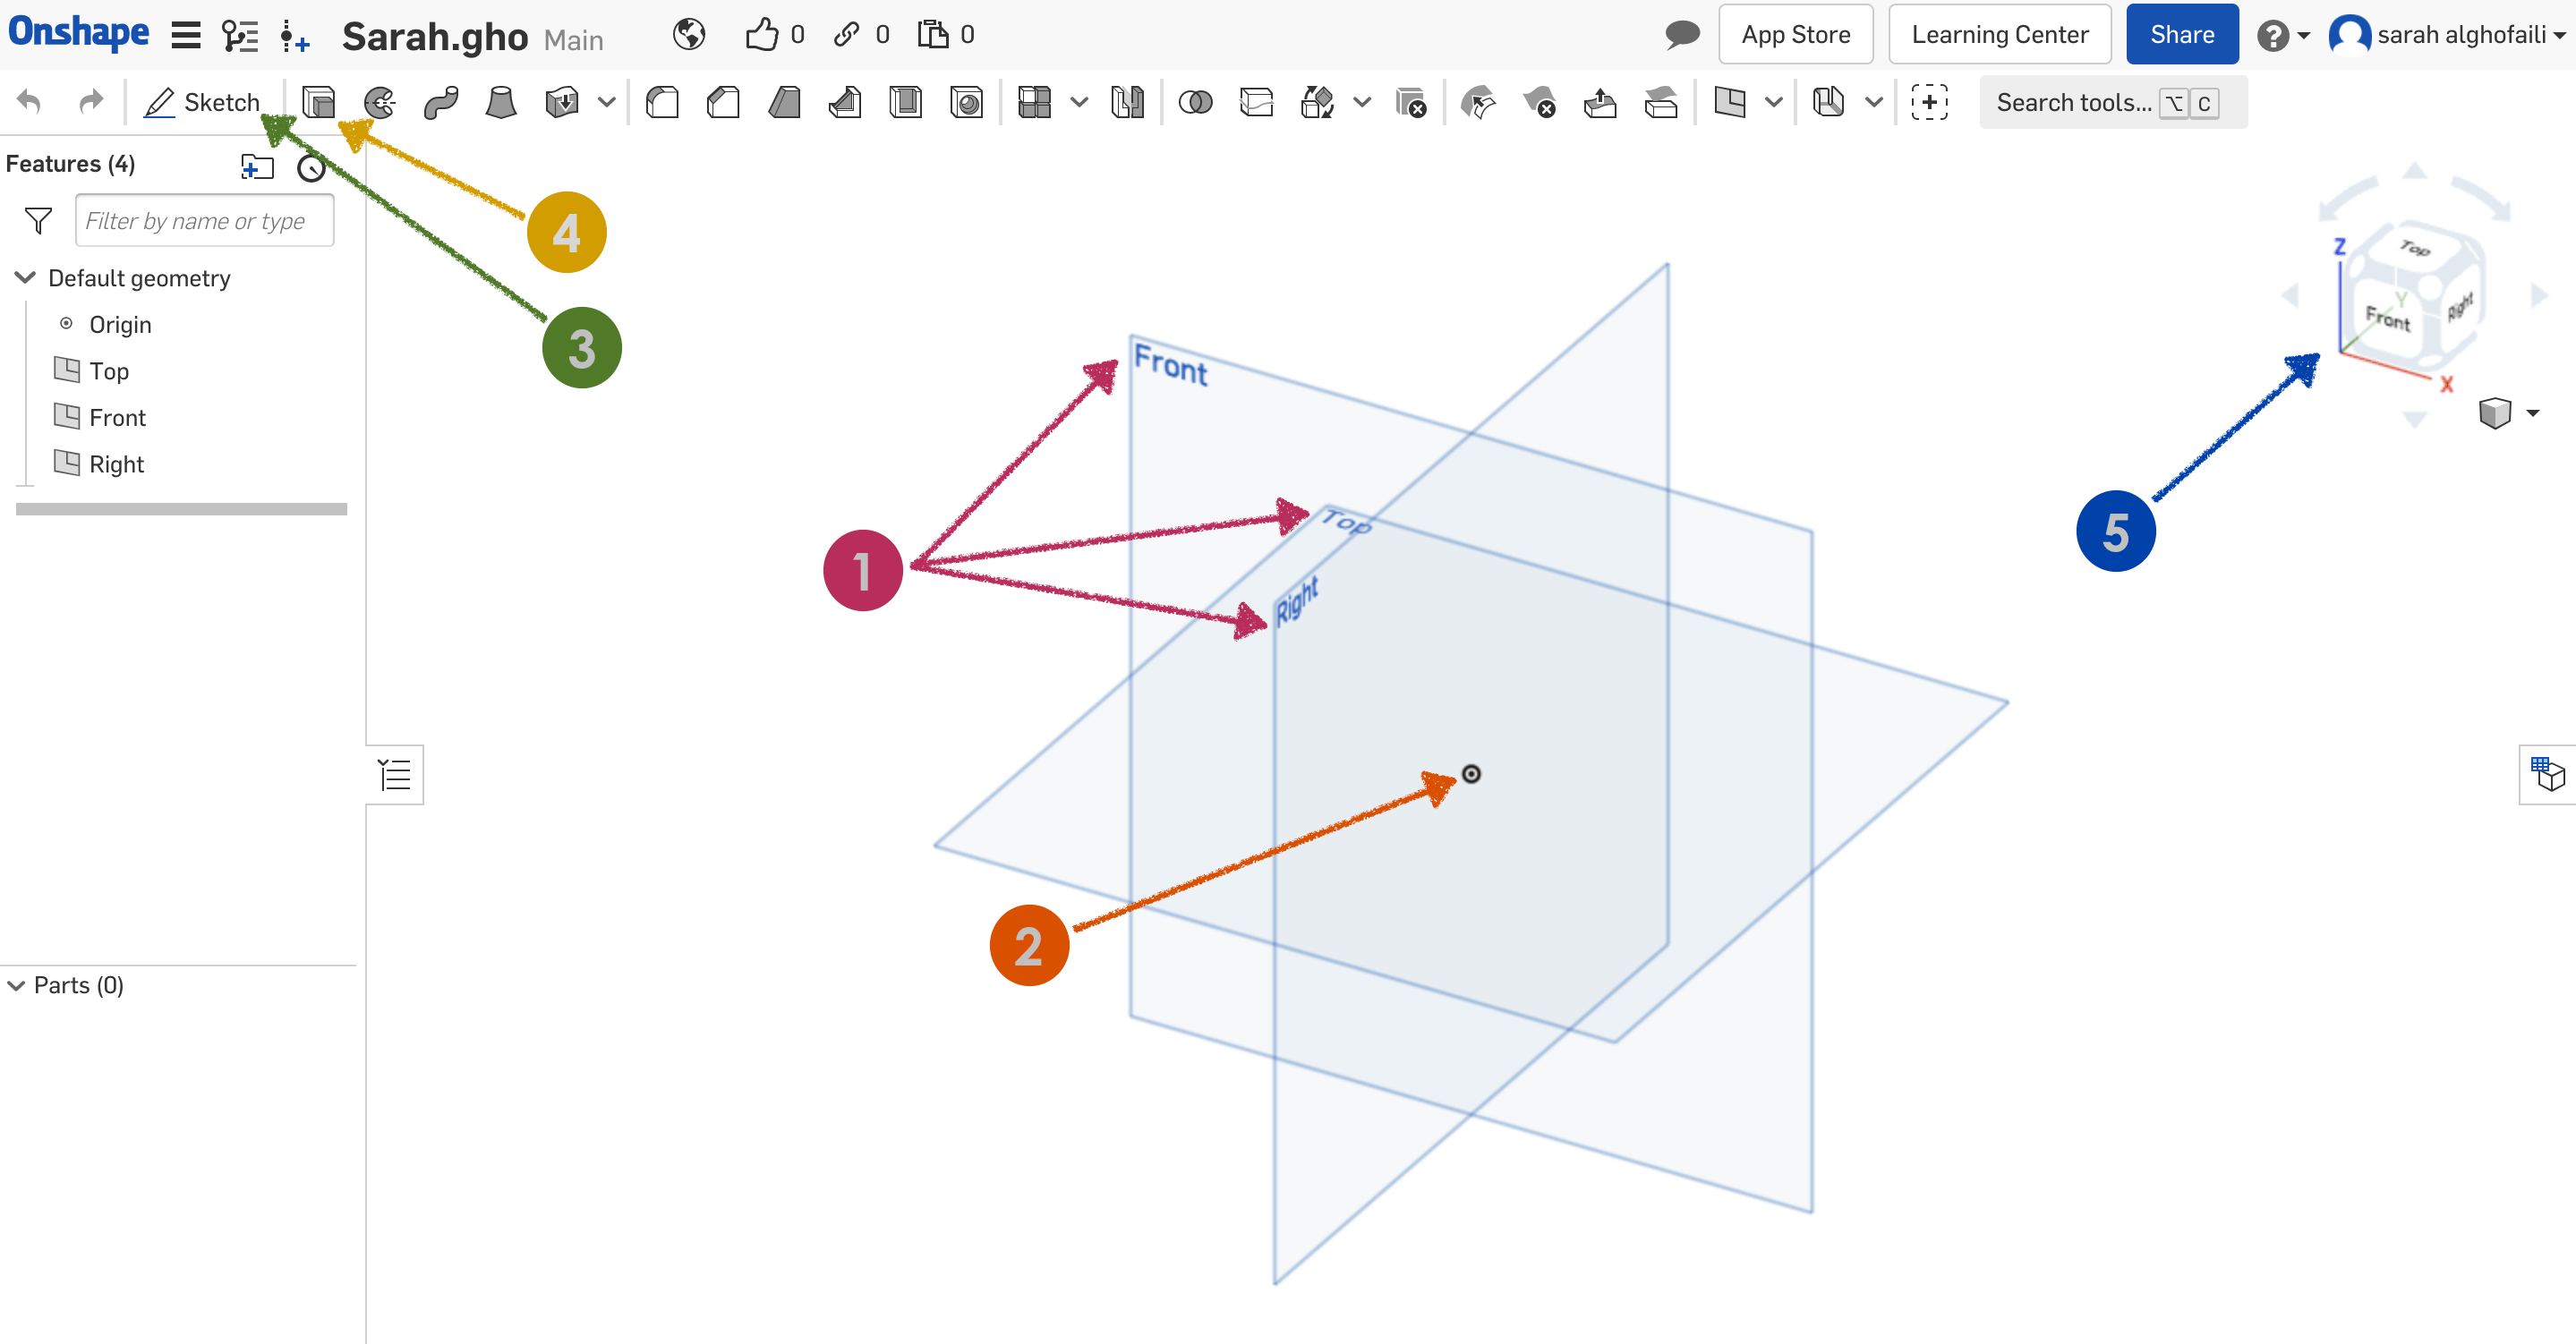
(1) The workspace includes 3 planes (Top, Front, Right).
(2) The origin is the center of all surfaces.
(3) To start the sketch click the sketch icon then you should choose one plane and hide the other planes by clicking the eye icon.
(4) The extrude icon to extrude the 2d sketch to 3D model.
(5) The viewing cube used to rotate the workspace views.
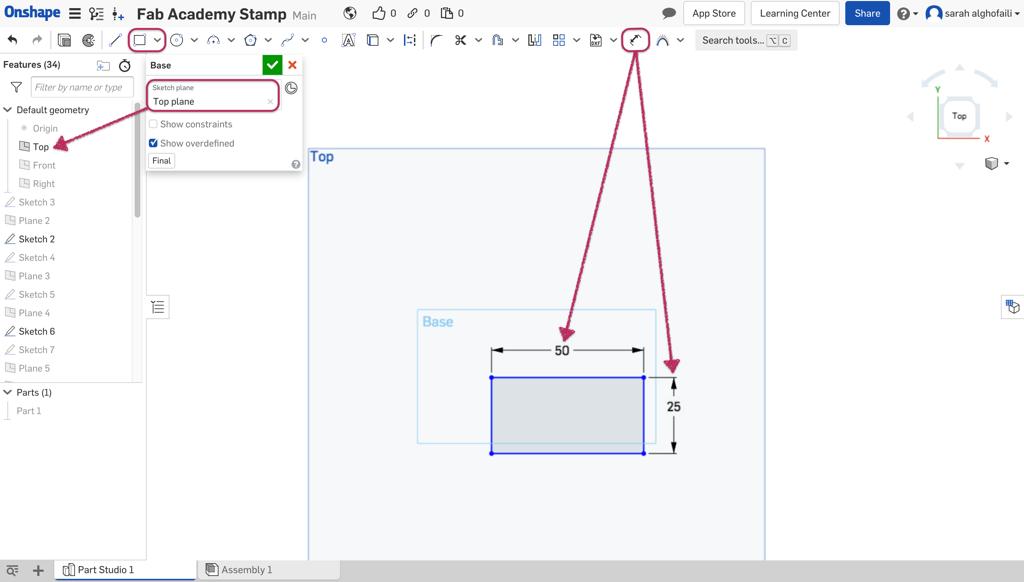
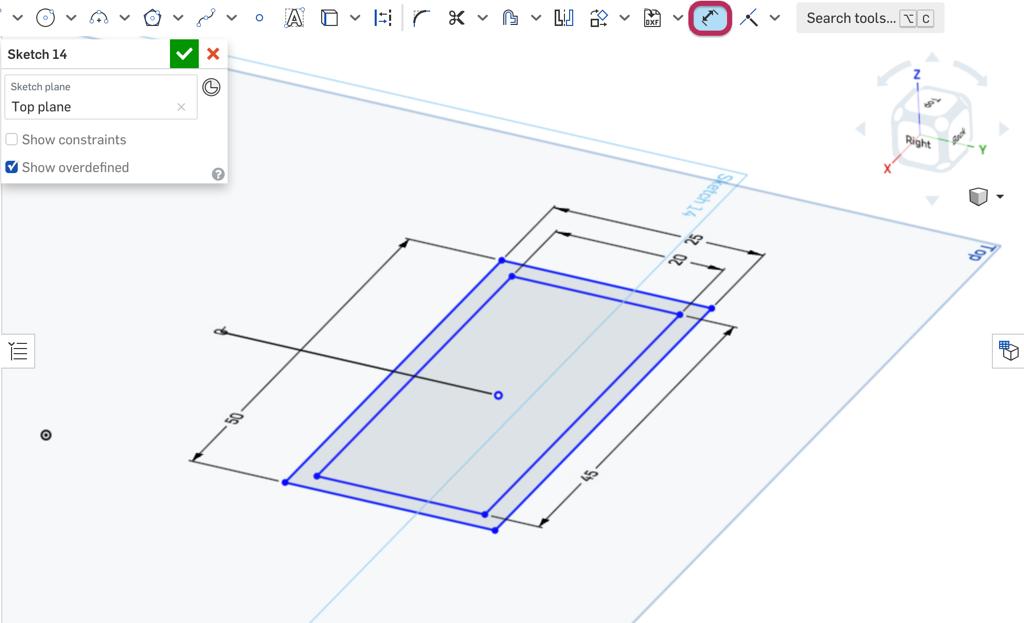
I designed a customized stamp for the Fab Academy course. First of all, I sketched the stamp’s base by clicking on the Sketch button and selecting the plane. Then, I chose the corner rectangle and added dimensions by using the dimension from the top bar.
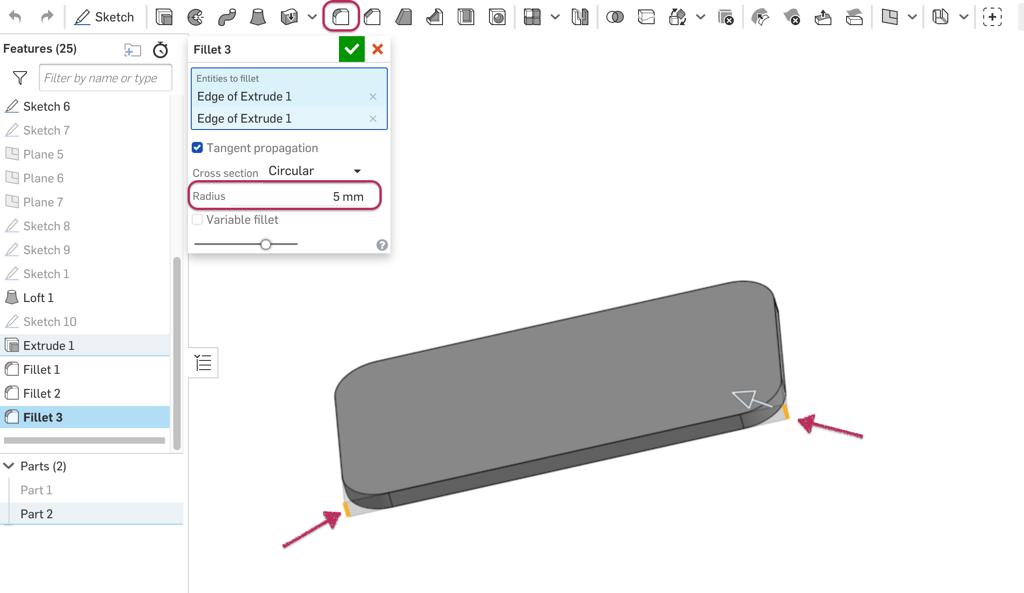
Next, I modified the corners to be more rounded by raising the radius value using the Fillet tool.
After that, I created the stamp handle by drawing multiple shapes at different planes and dimensions.
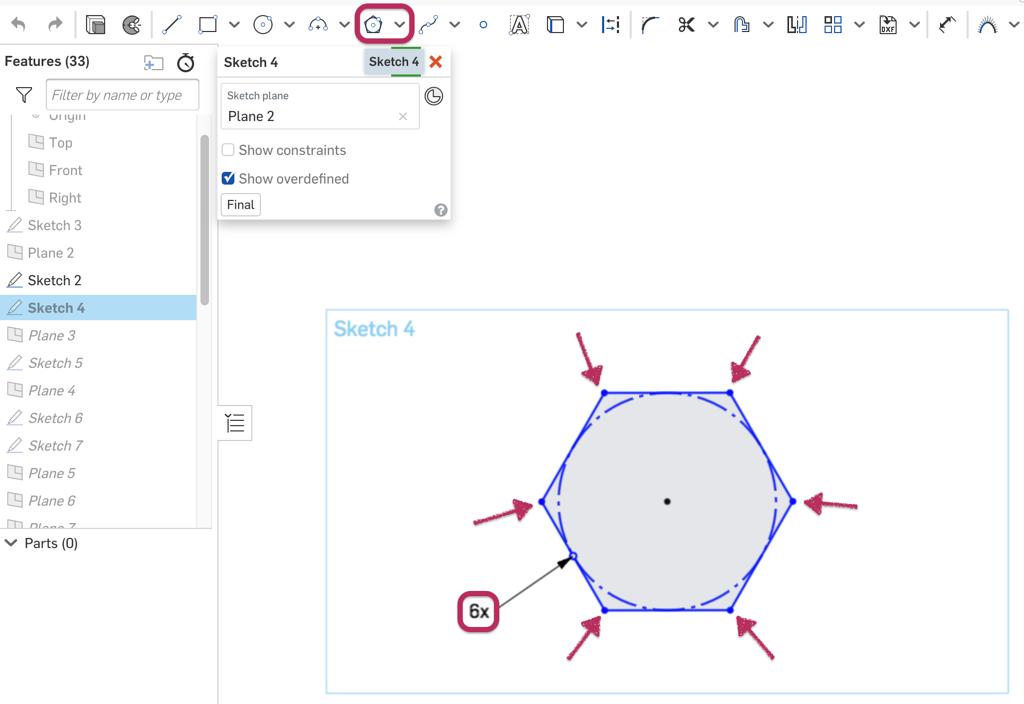
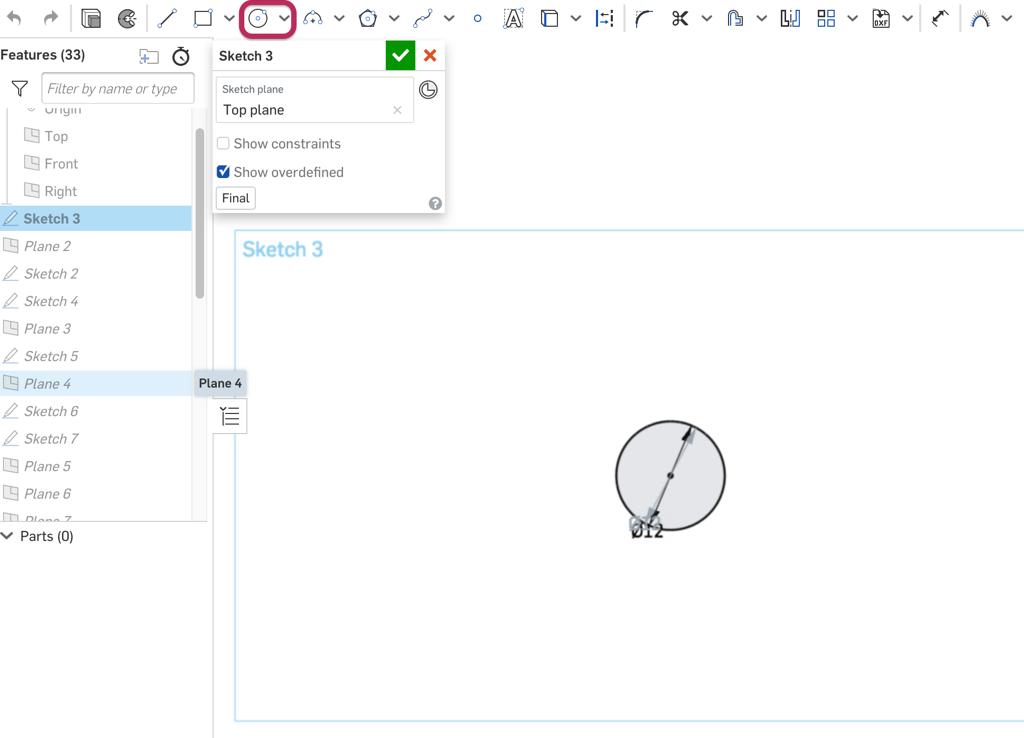
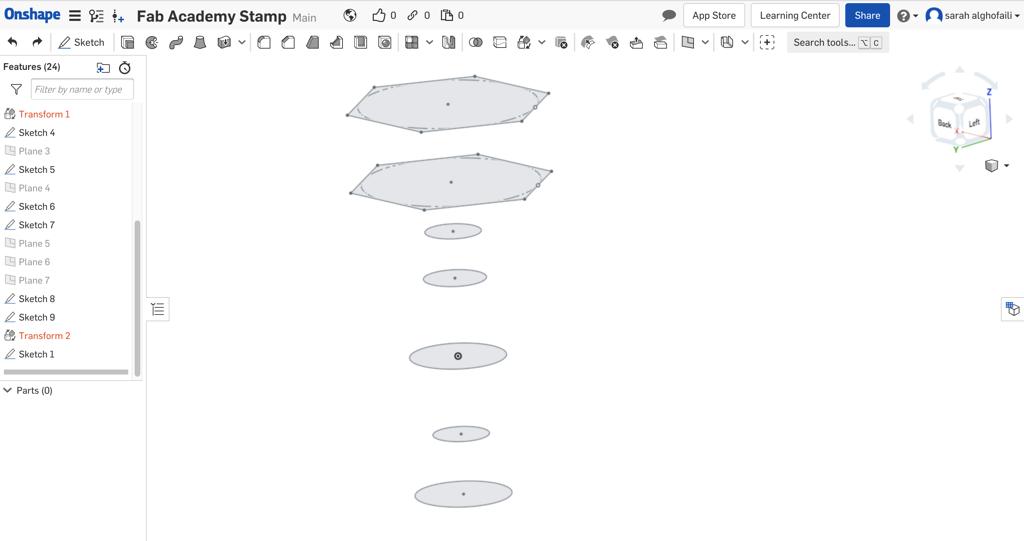
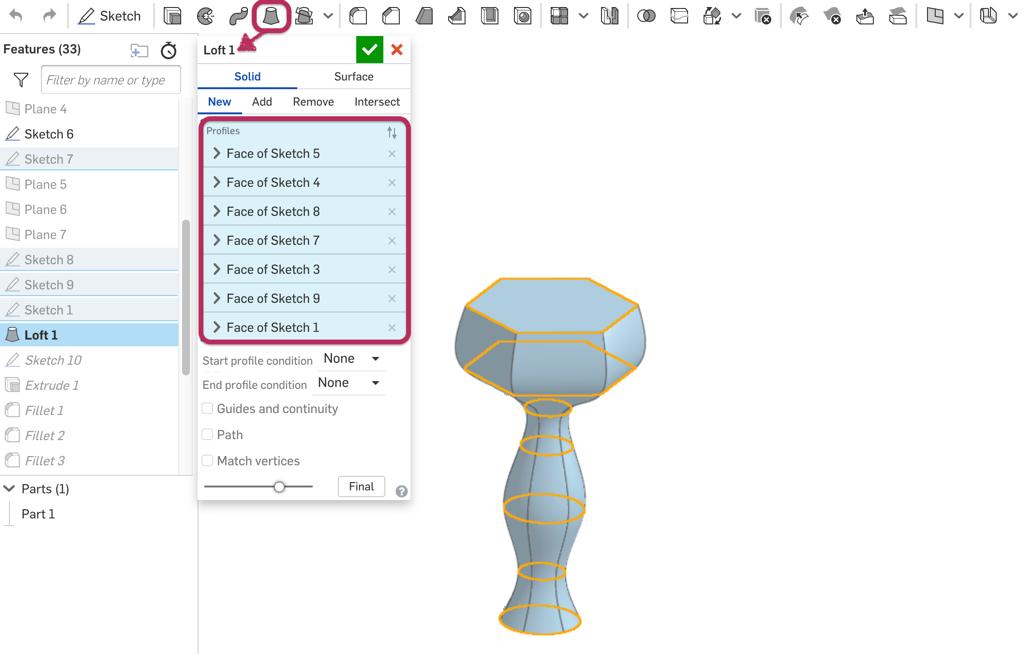
To shape the handle I used the Loft tool and chose all the sketches in order.
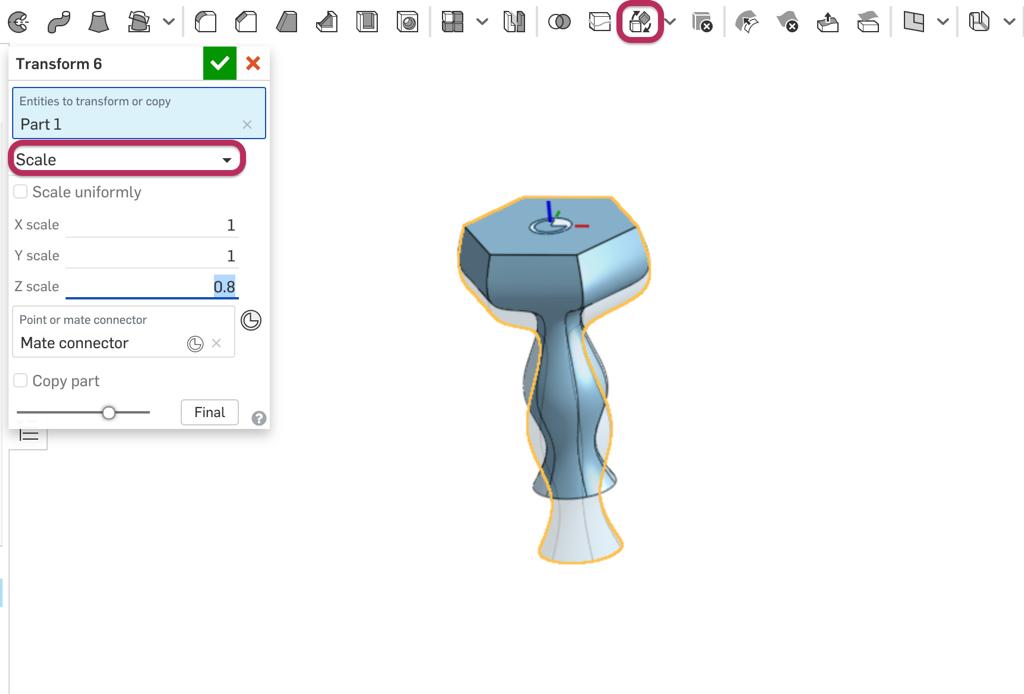
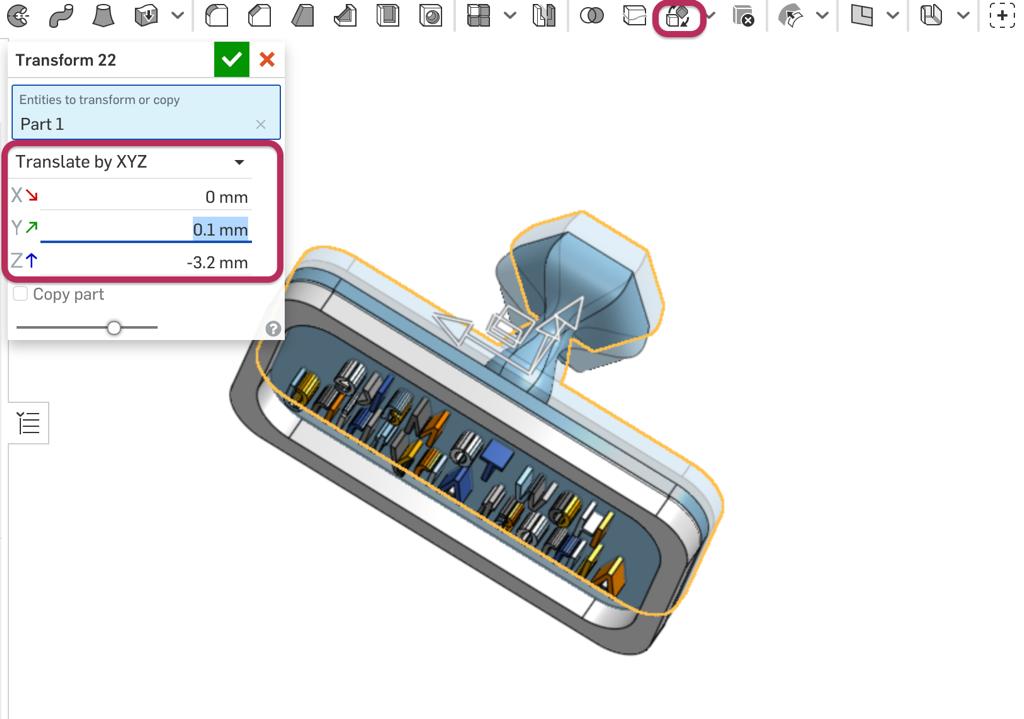
I noticed the handle was so long so changed the size by transform tool.
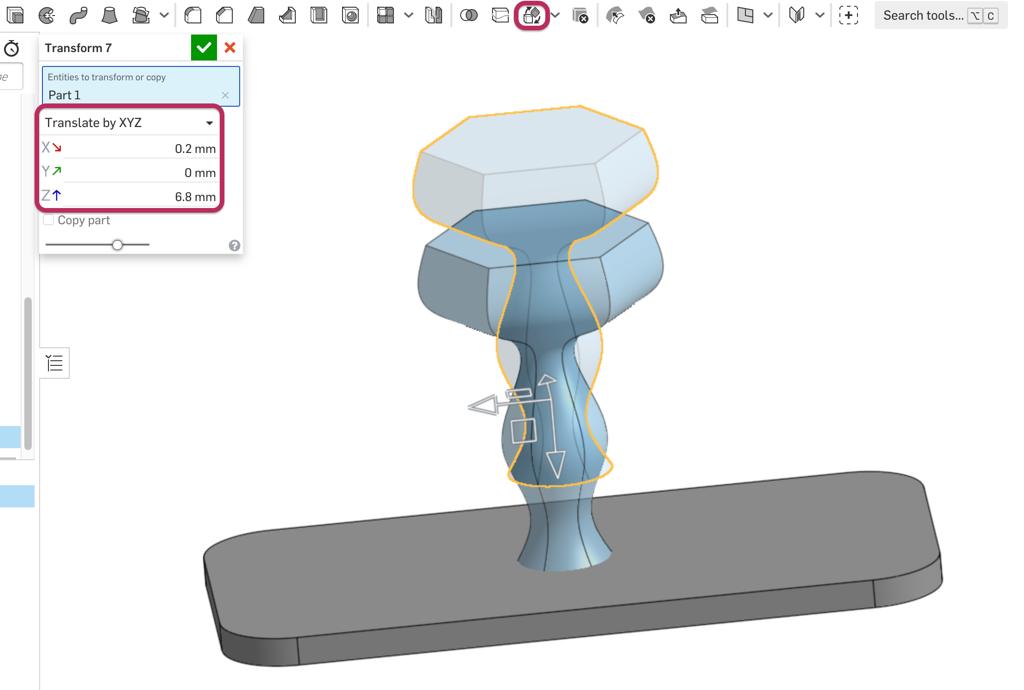
Also, I placed it on the base by using the transform tool that allows us to move the object.
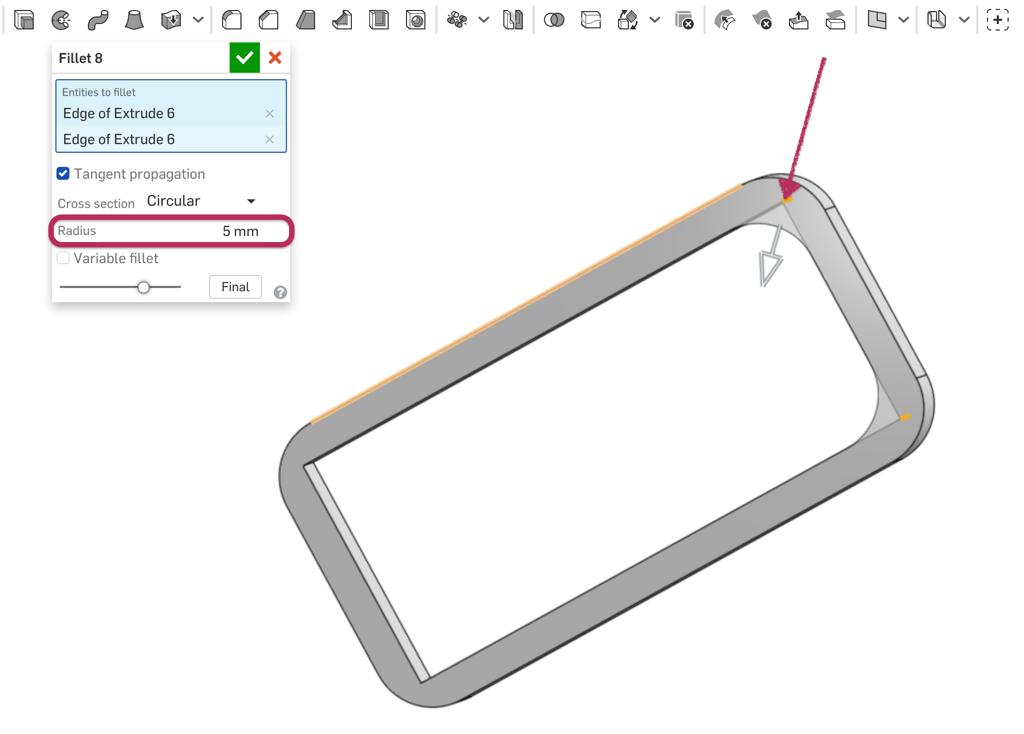
Then, I sketched two rectangles as a frame for the stamp text by extruding the big rectangle and subtracting the other. As the previous one, I rounded the extremal and the internal edges.
Next, I Imported the Fab Academy logo with DXF format. Then, I placed it on the top of the stamp handle and subtracted it.
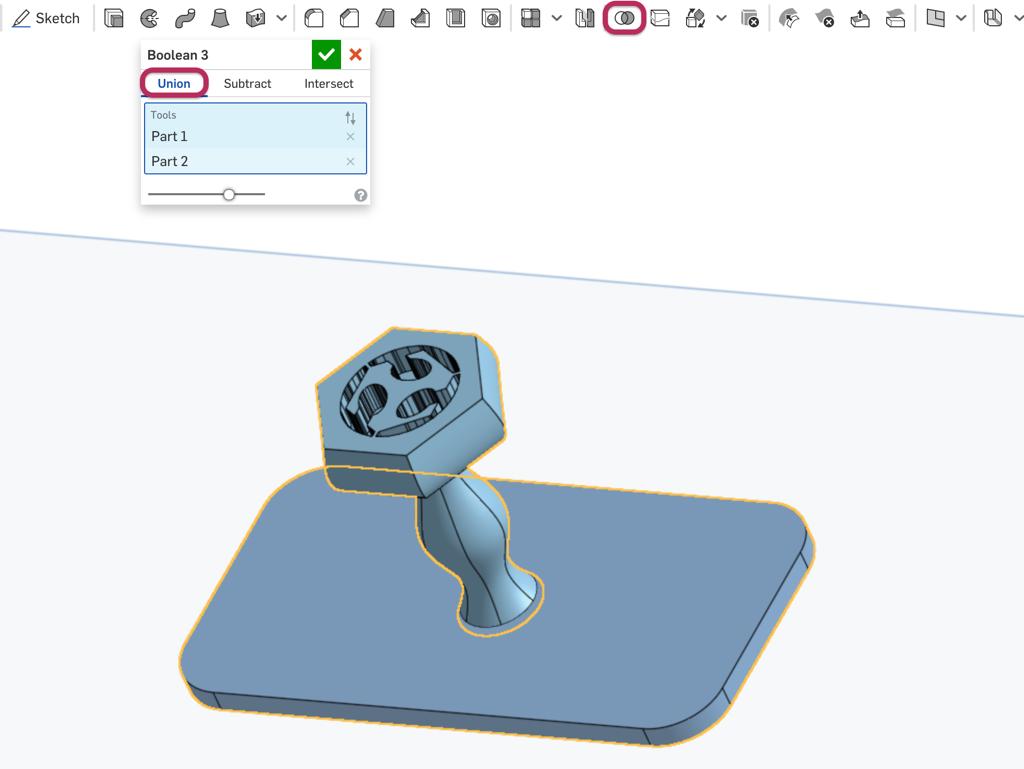
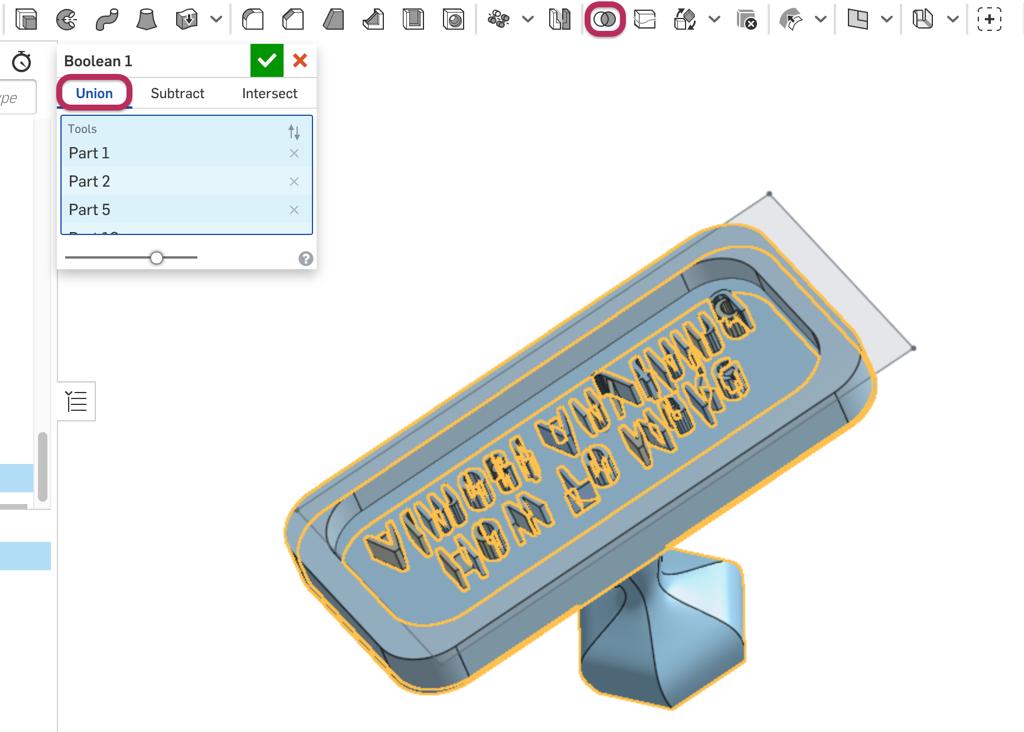
I used the Boolean tool to union the handle with the base.
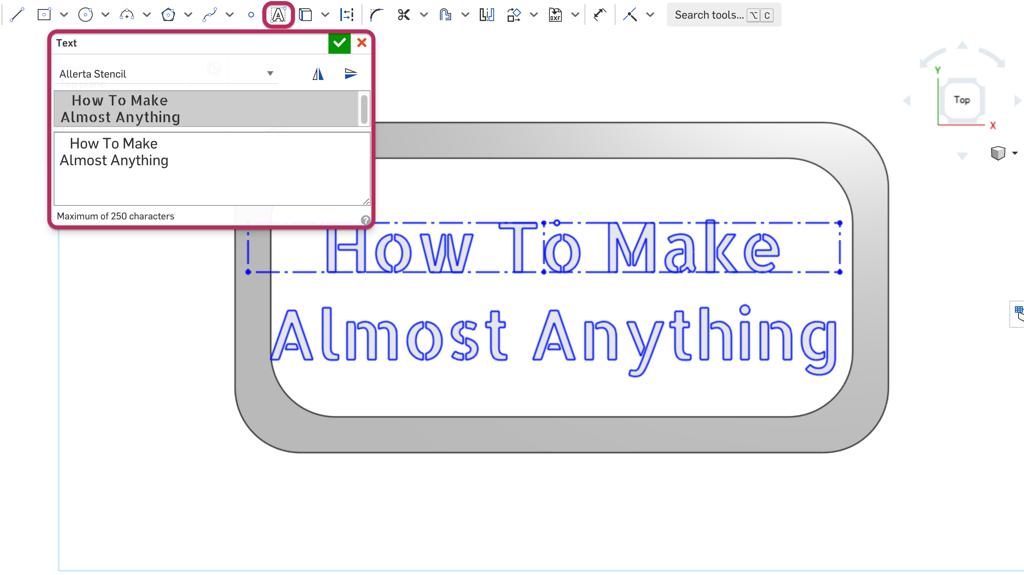
To add a text I selected the text tool and wrote the motto then extruded it.
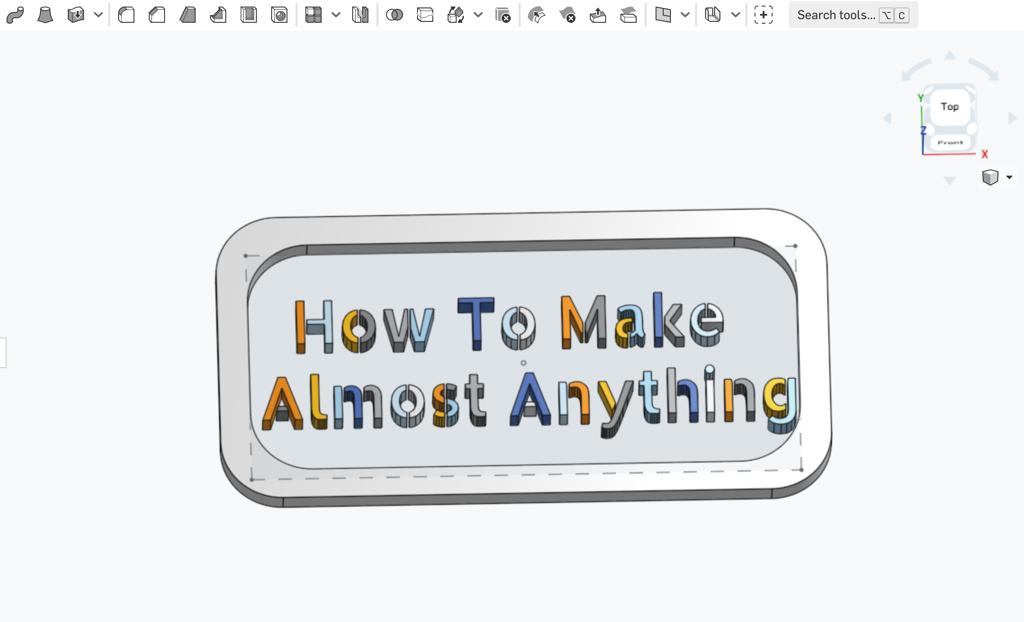
Finally, I selected transform to align all the parts then I chose Boolean tool to union all the objects.
TinkerCAD
As a trainer, I used to teach students at different levels (Elementary, Middle and high school) how to create 3D models. Tinkercad was a great choice for several reasons.
Why TinkerCAD?
Free CAD tool.
Online platform for 3d modeling.
Easy to learn and Simple because it is a drag-and-drop method of basic 3D shapes.
Files are stored in the cloud, which means you can access your Designs from anywhere.
Creating TinkerCAD Account
- Go to to www.tinkercad.com.
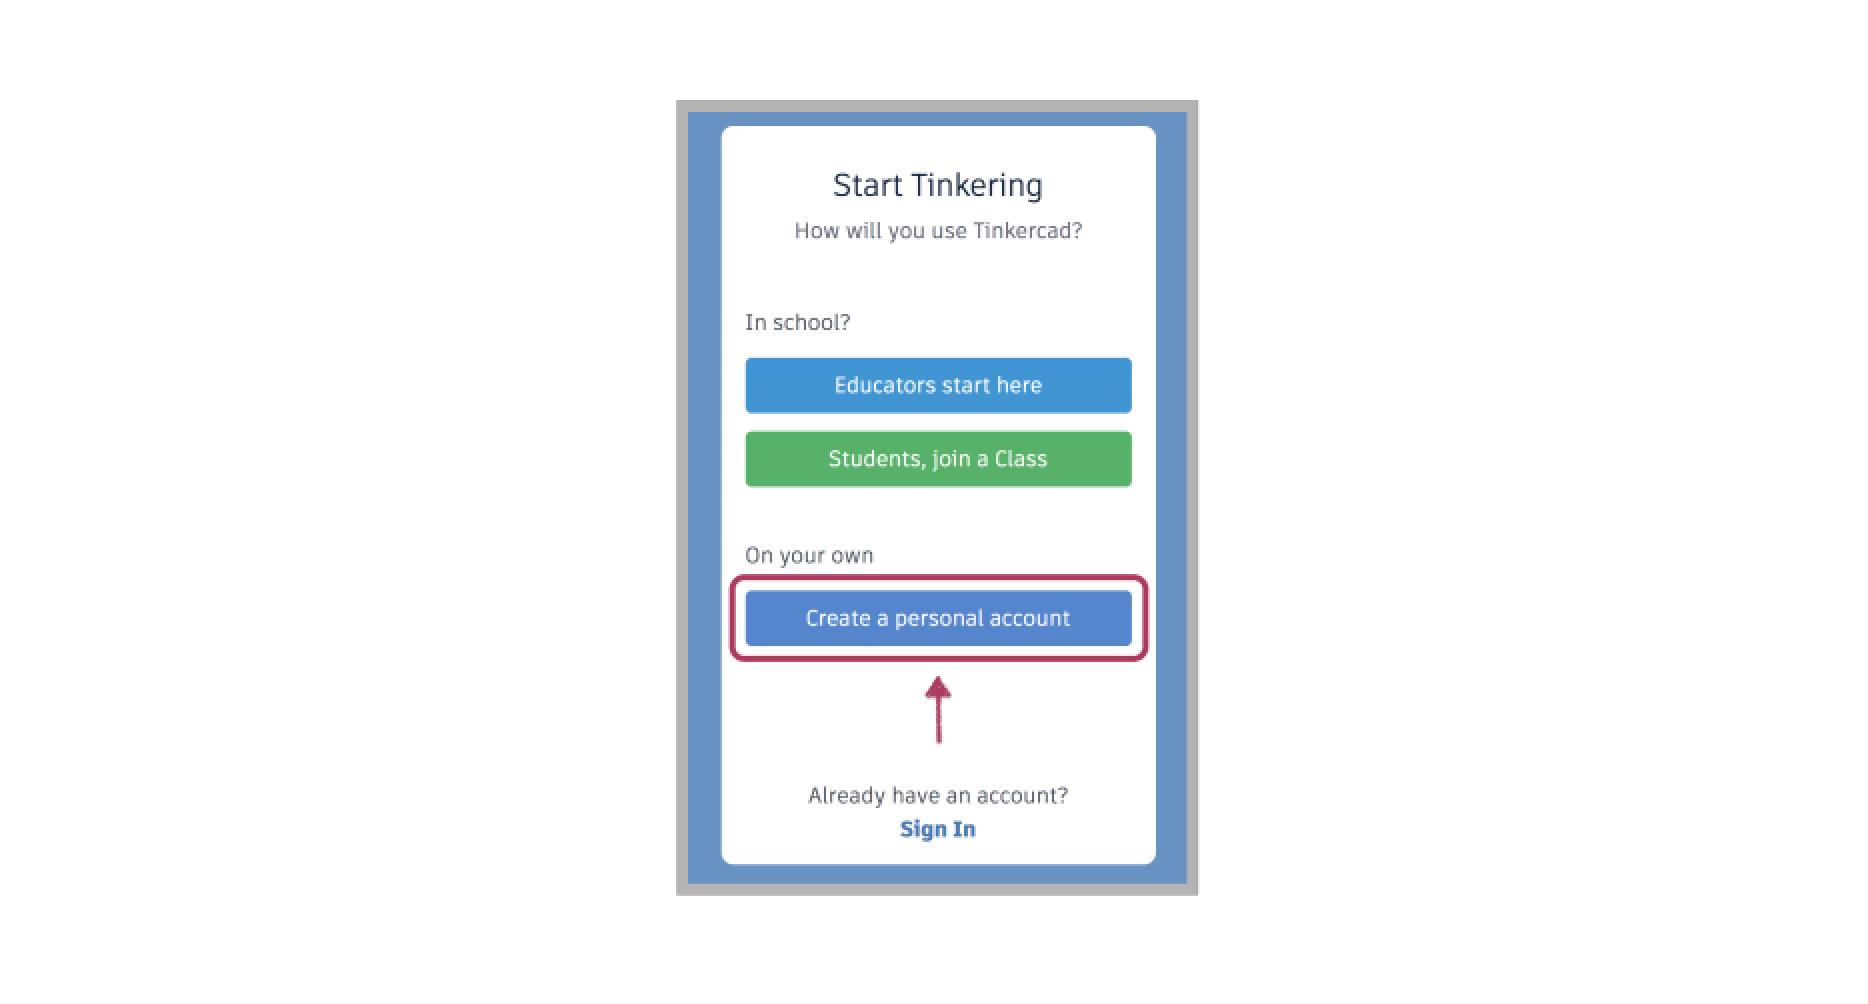
This is the TinkerCAD Home Page :
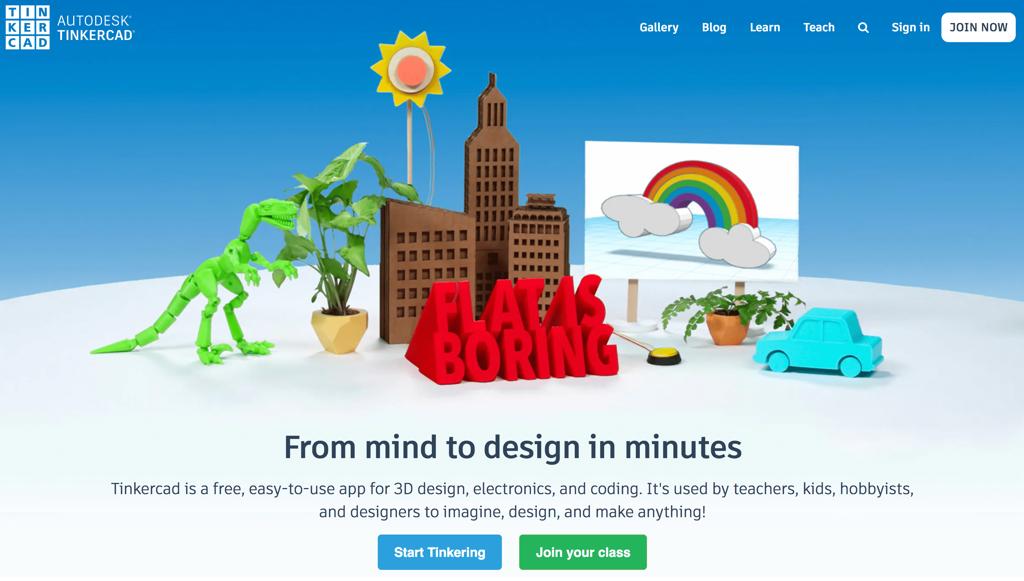
If you do not have an Autodesk account, create one.
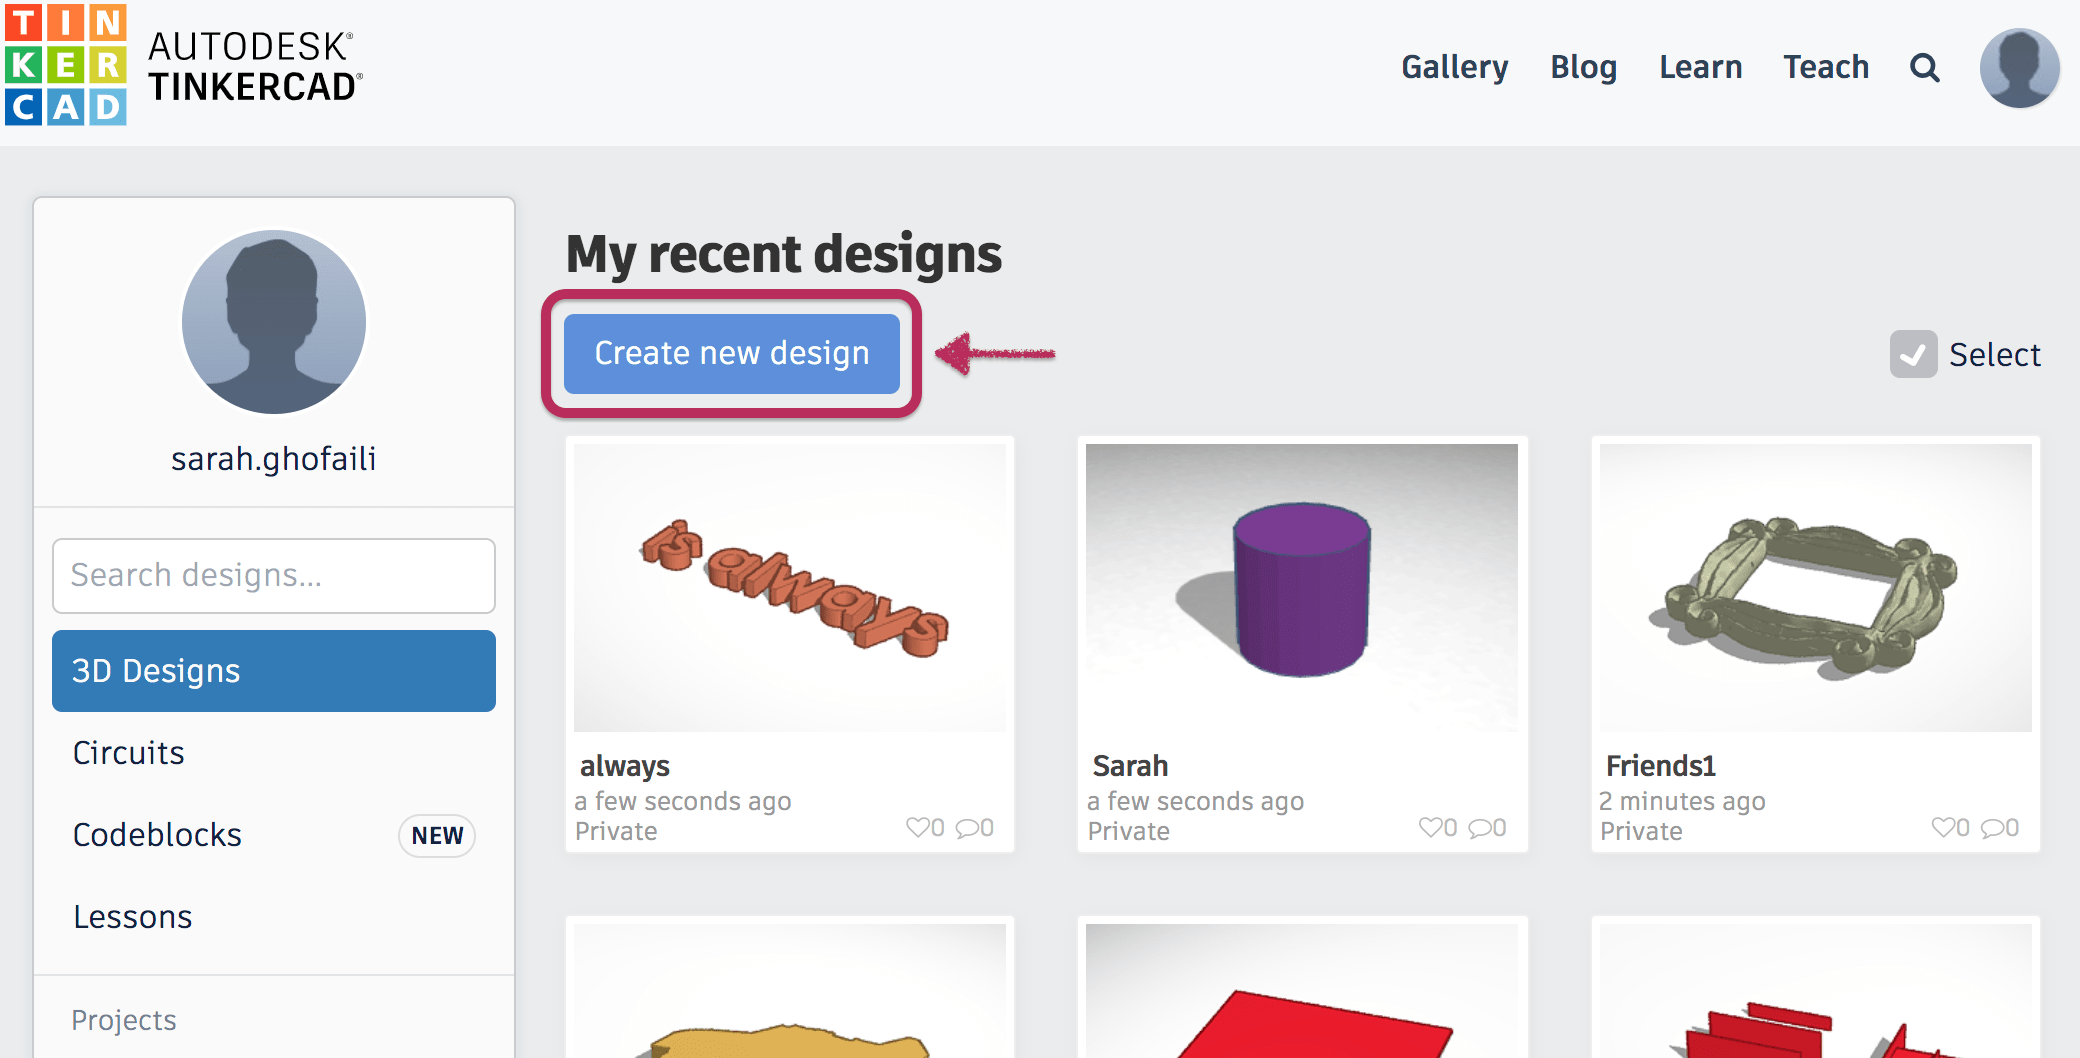
After the account is created, it can be used for all Autodesk software. You will have your own dashboard to create projects as many as you want.
- Click “create new design” to build your 3d model.
TinkerCAD interface includes:
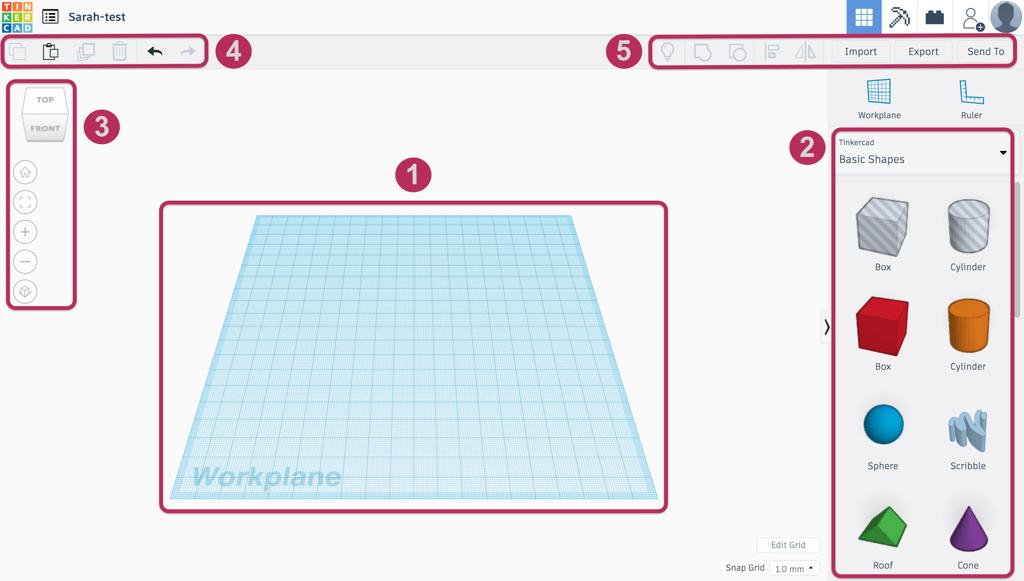
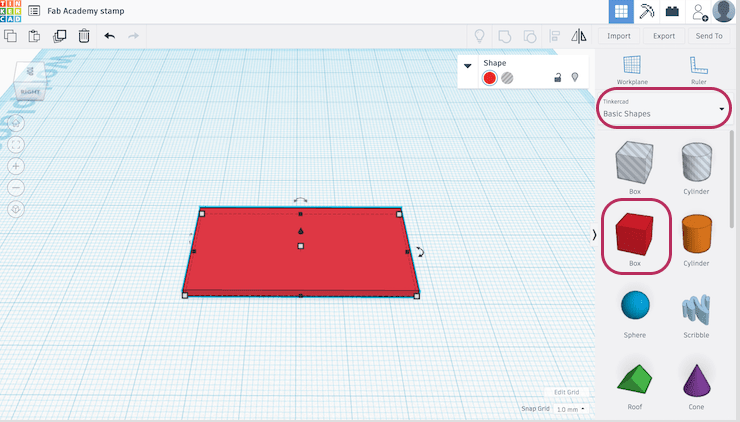
(1) The Blue square is the workspace where you will design your work.
(2) The basic components located on the right. You can easily drag and drop any shape to the workspace.
(3) The view cube and the view panel are located on the left side. They used to change the view of the object by clicking and moving the mouse (front, back, right, left, edge,zoom in…etc).
(4) The top menu bar located on the left side includes: copy , paste , duplicate , repeat, delete, undo and Redo.
(5) The top menu bar located on the right side includes: group , ungroup , align , and mirror. Also, this bar includes important tools like import , export and send to. These tools allow the users to upload and download different 2D and 3D files.
Tinkercad accepts (STL, OBJ, GLTF) formats for 3d print and (SVG) format for Laser Cutting.
Fab Academy Stamp
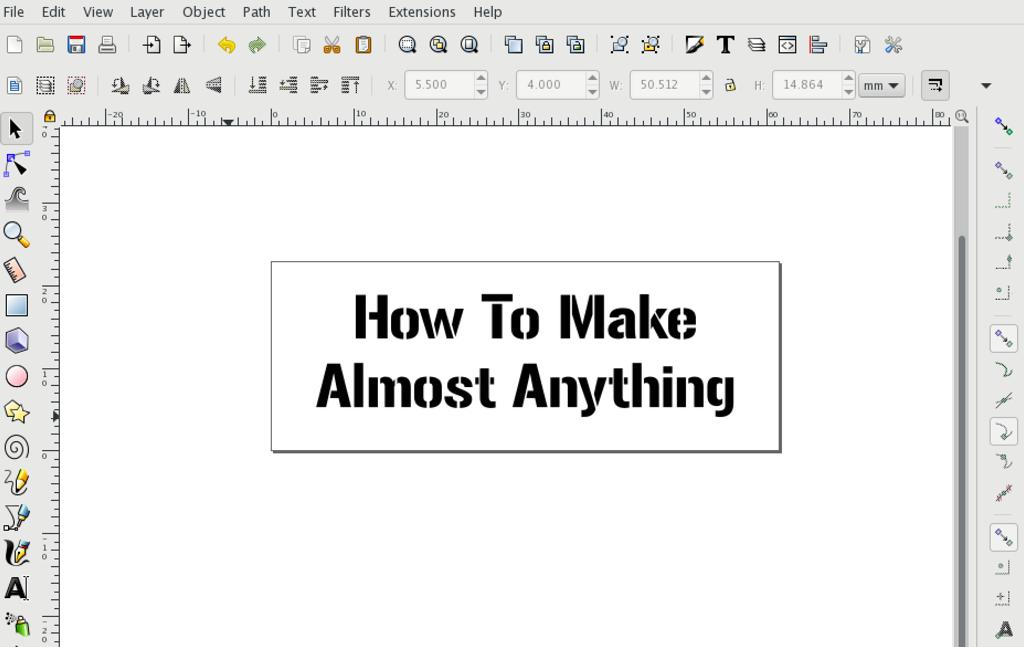
It is easy to design a customized stamp using TinkerCad. I made a SVG file for the motto “How To Make Almost Anything“ and I used the Fab Academy logo that I vectorized before.
In the TinkerCad, I started with the stamp base by dragging a rectangle from the components bar. Then I adjusted the rectangle height to 2 mm and the length X width to 50 X 25 mm.
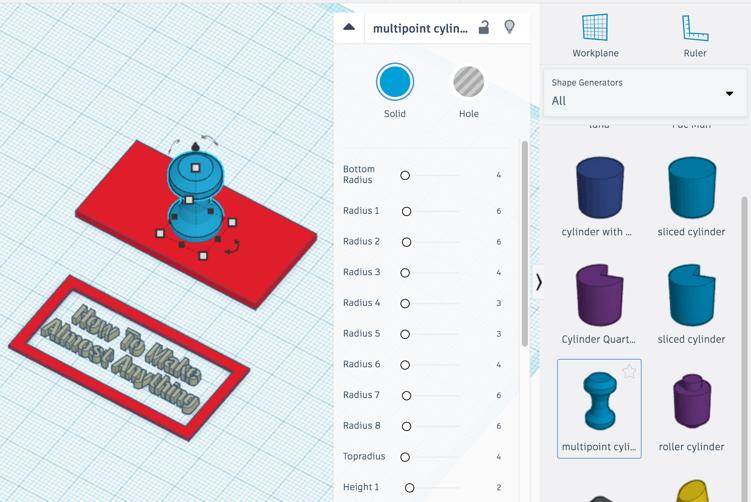
To make the stamp handle, I clicked on the shape generators from the components bar and I chose a shape called “ multipoint cylinder”. Next, I imported the SVG files to the workplace to convert both files into a 3D model. After that, I created a rectangle frame around the text and I placed the stamp base above it.
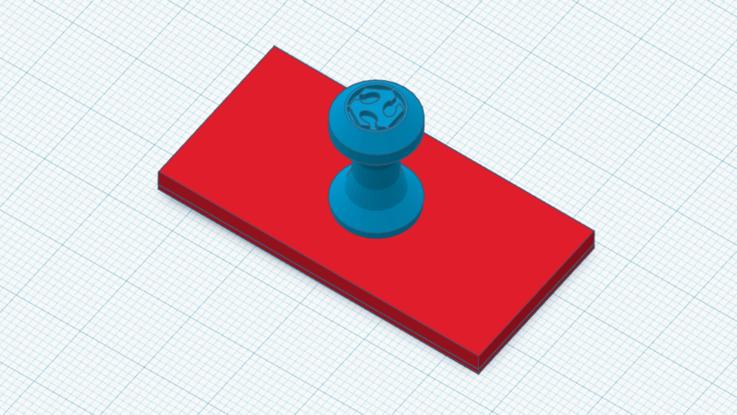
I transformed the Fab Academy logo from solid to hole. Then, I subtracted it from the handle surface by aligning both objects and clicking the group button.
Be sure the text is mirrored to appear correctly. Otherwise, the stamp will read backwards.
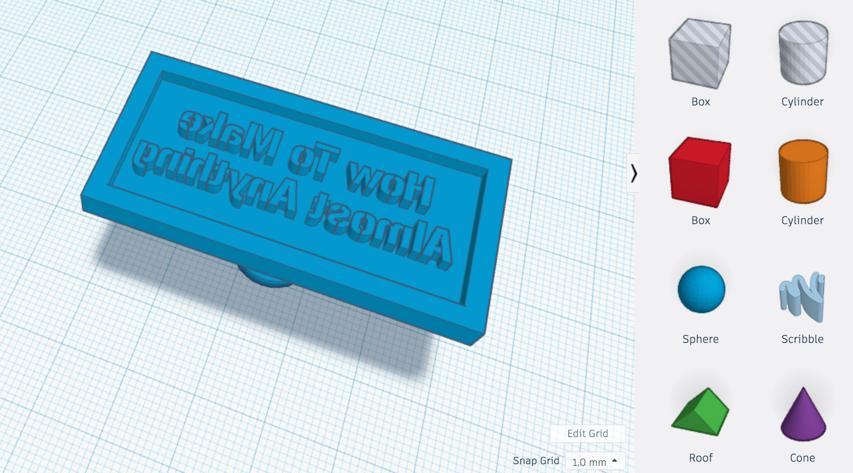
Print it and start stamping !
The design files :
Inkscape :
Onshape :
TinkerCad :