Second assignment
Date
29 Jan 2020
Project management is the first building block to build any project. Documenting all the assignments on a personal website is the method that Fab Academy chooses to share the project through the Fab Academy Network. The website will assist you in organizing tasks, managing time, and monitoring the project. Also, allows the instructor to track the progress of your work.
When I read the assignment I was so excited ! because It is my first time making a website.
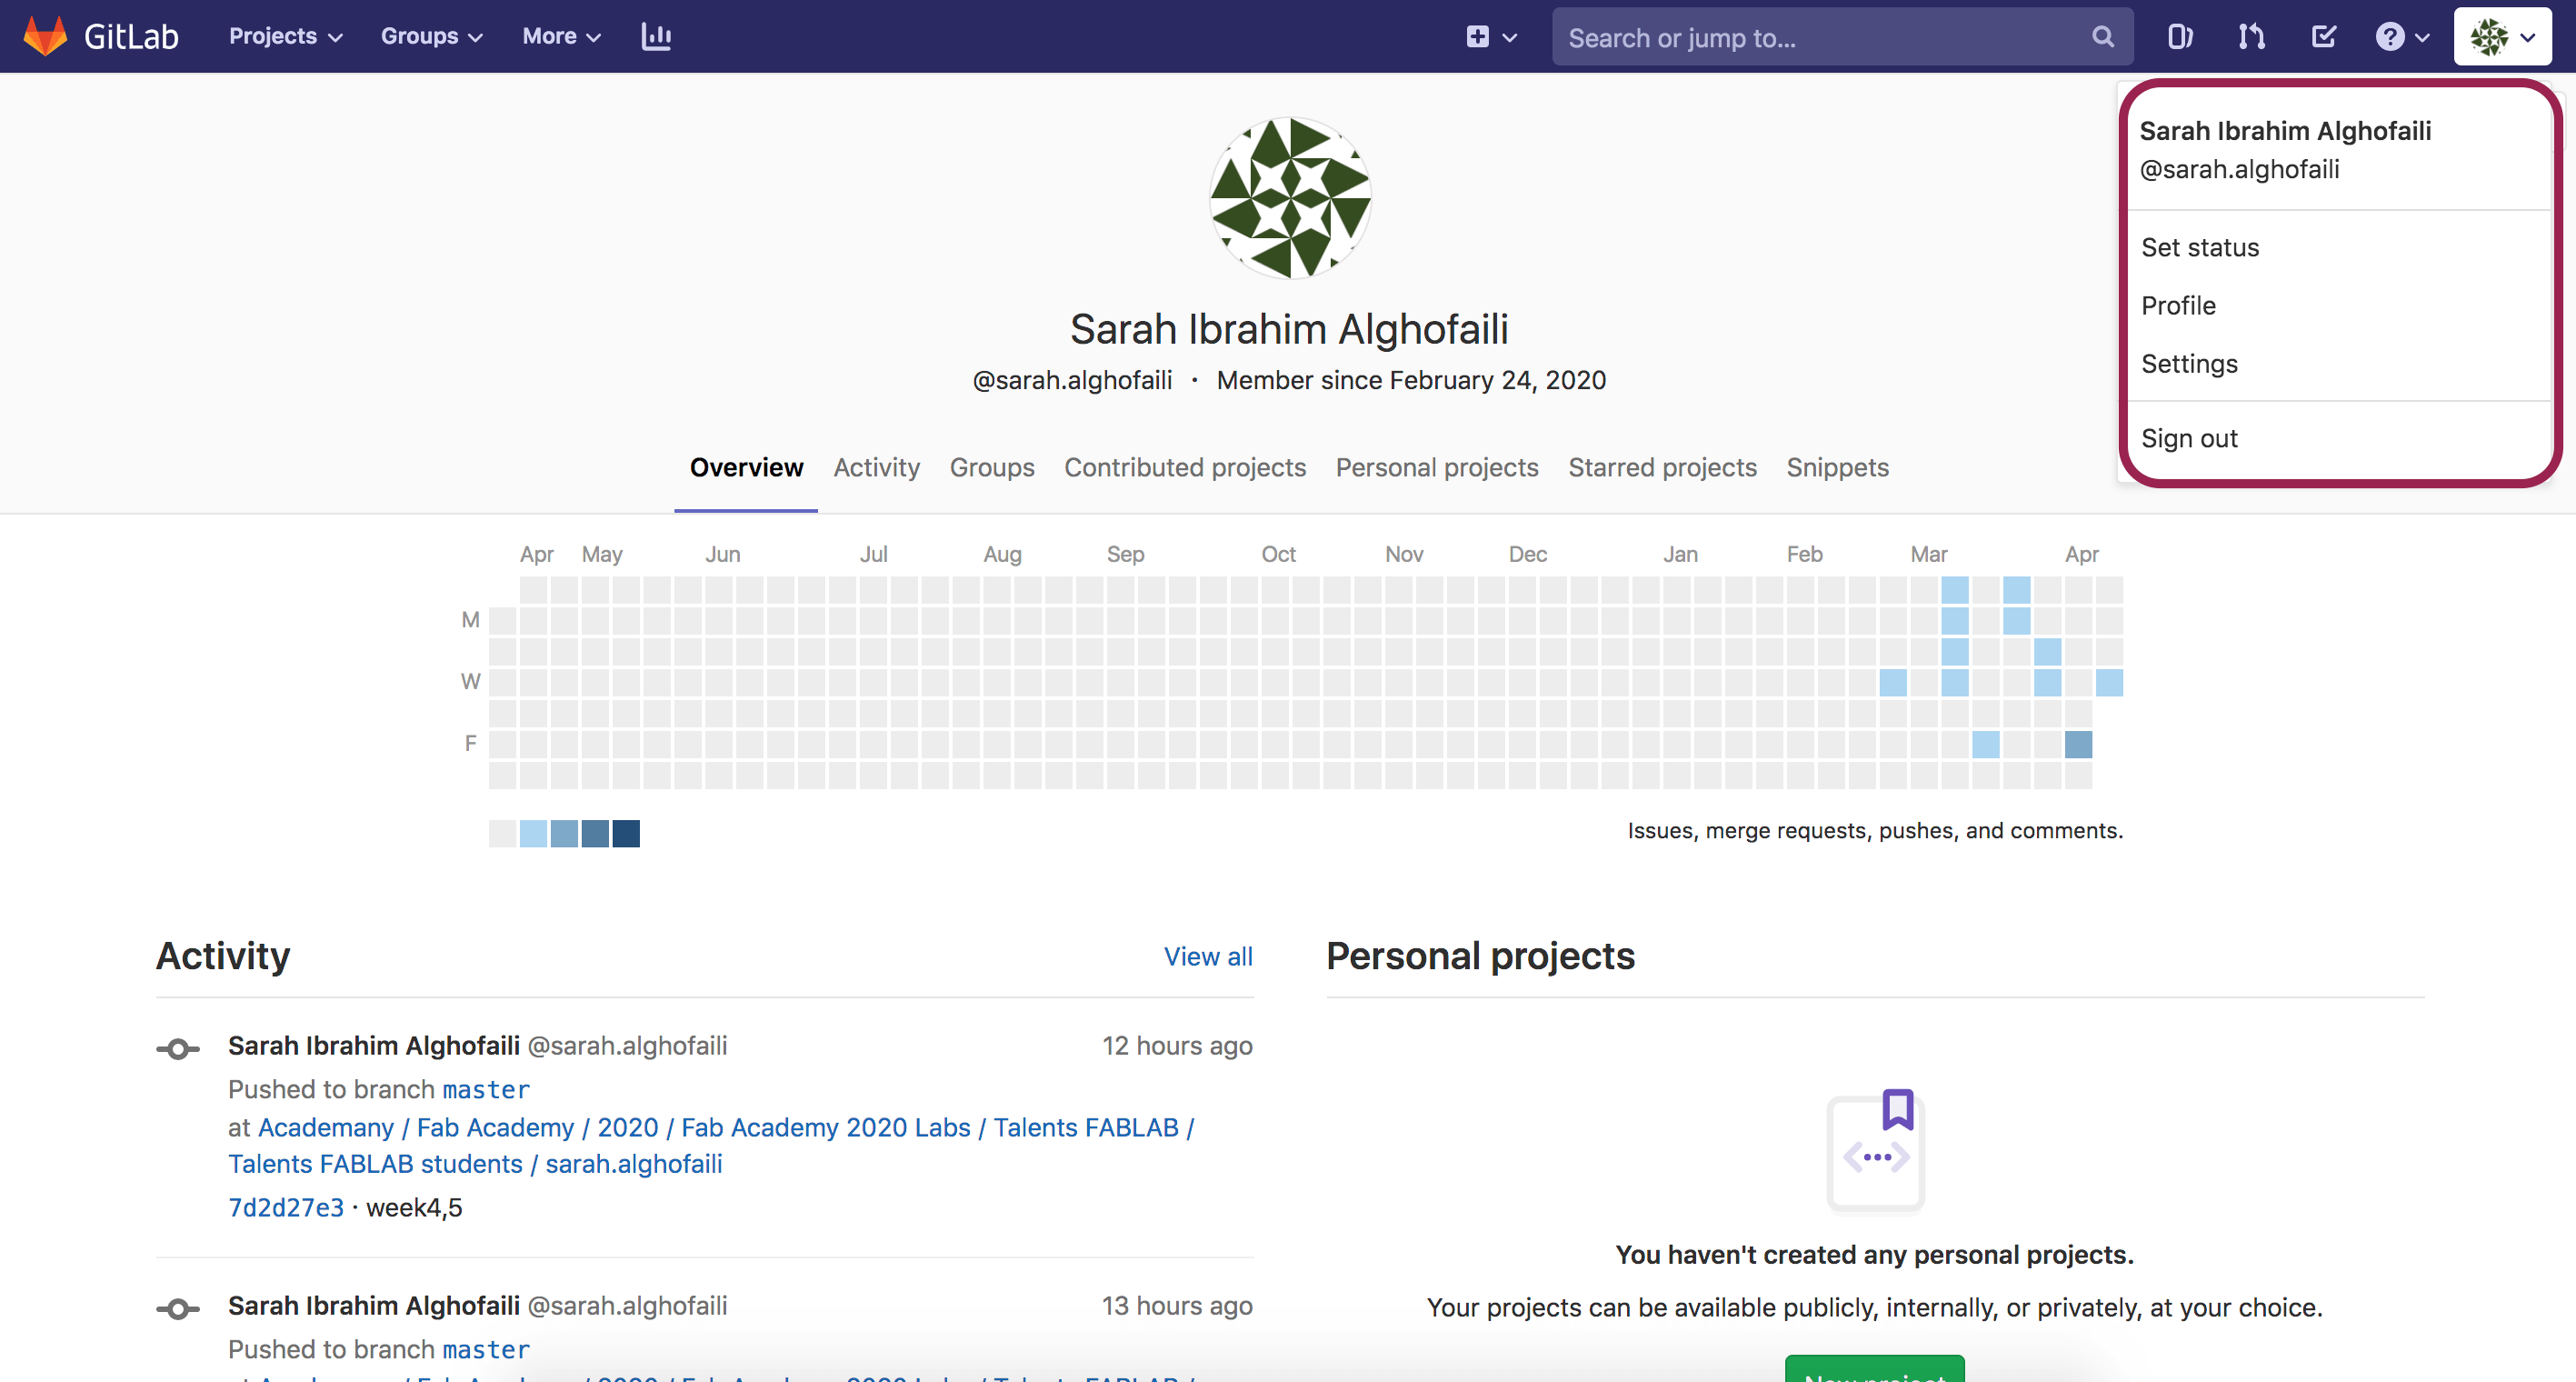
First of all, I received my GitLab account that was created by Fab academy.
What is GitLab?
GitLab is a web-based platform and an open source developer collaboration service that allows us to store our repositories and code.
Then I created my personal website by following several steps from tutorial or this tutorial.
1: Activate the SSH key
SSH stands for “Secure Shell”. It is a network protocol that provides a secure tunnel to send data from the computer to the server.
I downloaded PuTTY which is a SSH client for Windows to generate the SSH key. To do that :
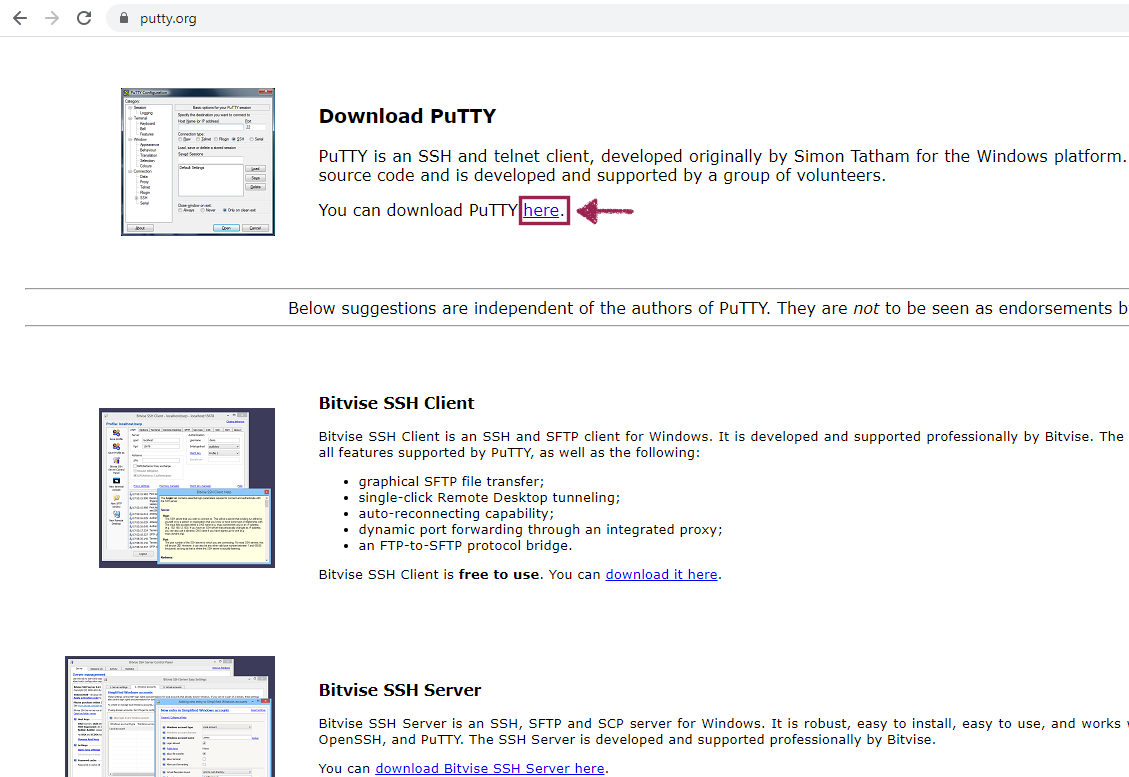
- Go to www.putty.org.
- Click "here" As shown in the figure below.
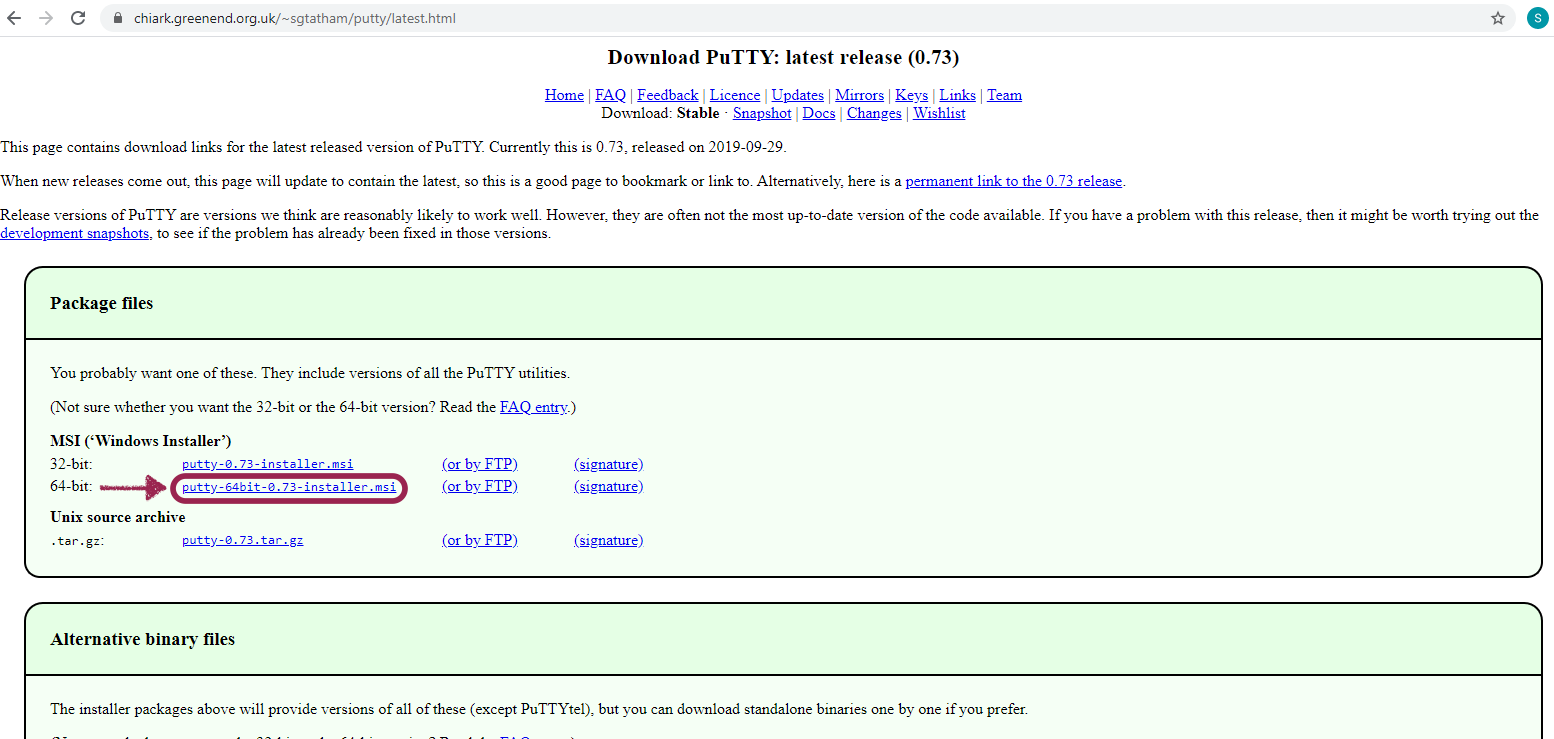
- I chose "putty-64bit-0.73-installer.msi" depending on my Windows PC.
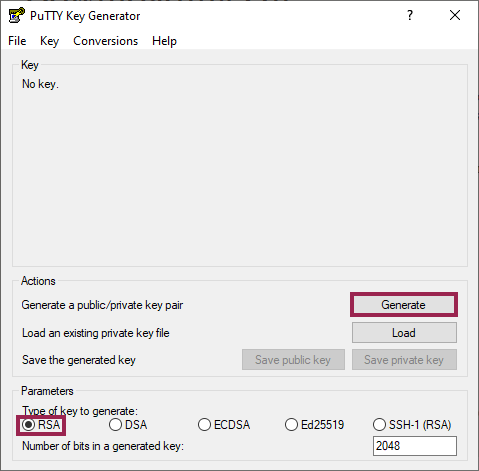
After completing the installation:
- Select “RSA” as the type of key.
- Click the “Generate” button to generate the new key pair.
I faced a problem in this step. The green progress bar doesn't move ! but then I noticed there is a written instruction above the bar "Please generate some randomness by moving the mouse over the blank area" I know it sounds weird but it works !
- In the "Key passphrase" field and "Confirm passphrase" field make sure to type the same password then click the "Save private key" button.
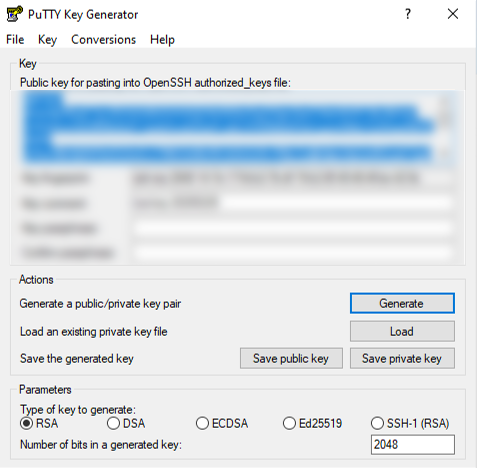
- Copy the public key and add it to your “GitLab” page.

2: Find a free HTML template
I spent a lot of time choosing a template for my webpage because there were plenty of free CSS templates with beautiful designs. Finally ! I chose the HTML template from here My Template .
I liked it so much ! It looks simple and professional at the same time. Also, It has different tabs that I can use for the final project, Home page, About me, contact me and the assignments.

3: Editing the webpage
For modifying my web page, I decided to use Notepad++. Actually It is my first time using this application.
Let’s explore it !
What is Notepad++ ?
Notepad++ is a text editor and free source code editor that supports several languages ,such as C++, Javascript, Python and HTML.
Downloading and Installing
First, I opened the Notepad++ website. Then, I clicked on the download tab and chose the last Notepad++ release.
After that, I installed it by following all the regular steps that appeared on the installing window.
I noticed that Notepad++ interface is very simple. I started by choosing the coding language from the menu tab by clicking on Languages > H > HTML
One of the features that I liked on the Notepad++ is supporting Syntax Highlighting.
What is Syntax highlighting ?
It is a feature that displays the codes in different colors and fonts. This feature makes the code readable and helps me to understand it.
What is HTML ?
HTML stands for Hyper Text Markup Language. It is the most used language to create Web pages for display in Web Browsers.
HTML Language includes tags, elements and attributes.
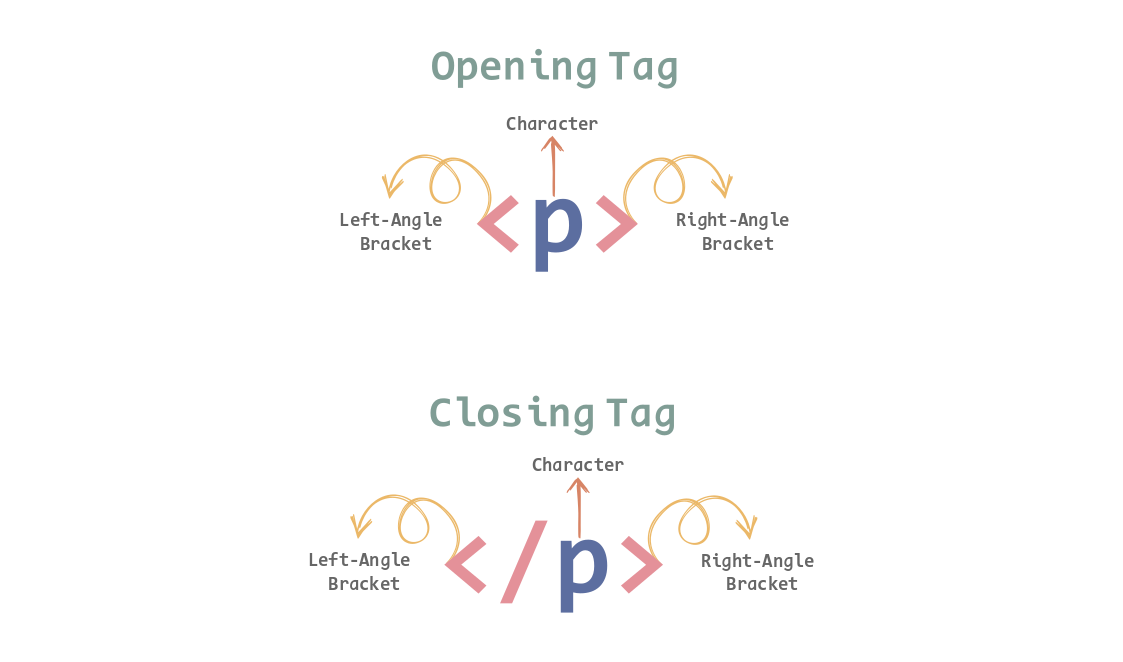
Tag is a special word or letter surrounded by angle brackets < > that indicates to a web browser of how a web page should display. It marks the start or end of an element.
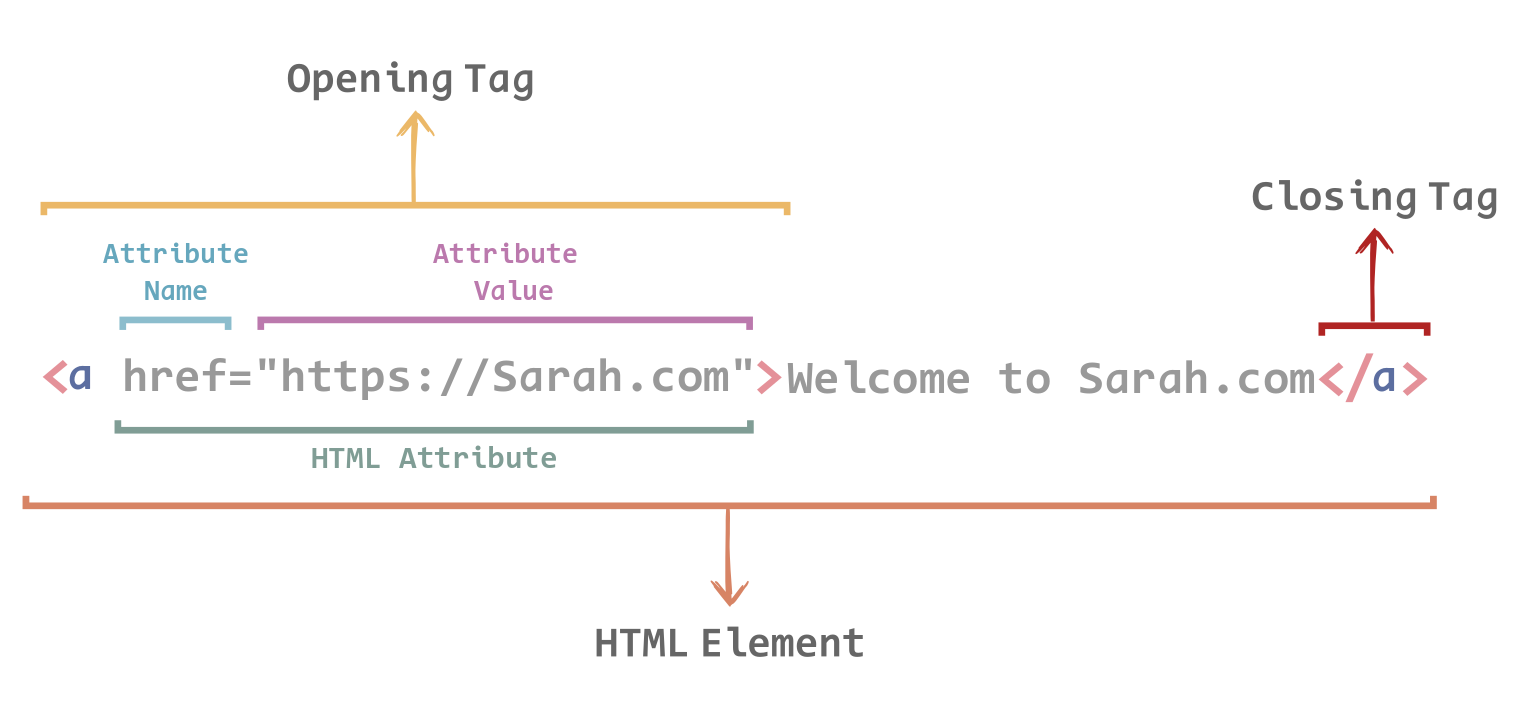
Element is the basic building block of HTML that is defined by a start tag, some content, and an end tag.

Attributes are a modifier of an HTML element type such as width and height of an image. It is always located in the opening tag and consists of name/value like name="value" that provide additional information about HTML elements.
The most Tag that I used are :
To write the document head :
<head>...</head>The root element :
<html>...</html>The page's content :
<body>...</body>section heading :
<h1>...</h1>A heading line :
<h4>...</h4>A paragraph :
<p>...</p>A link :
<a>...</a>An image :
<img>Unordered list :
<ul>...</ul>Ordered list :
<o>...</ol>List element :
<li>...</li>A block-level container for content :
<div>...</div>
Also, there are some Attributes that I used permanently :
hrefattribute of<a>specifies the URL of the page the link goes to.srcattribute of<img>specifies the path to the image to be displayed.widthandheightattributes of<img>provide size information for images.altattribute of<img>provides an alternate text for an image.styleattribute is used to add styles to an element, such as color, font and size.
4: Download Git Bash
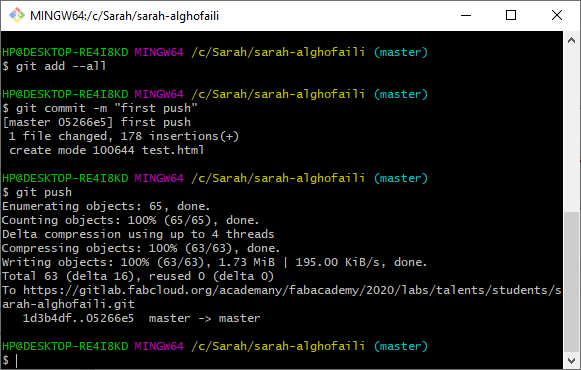
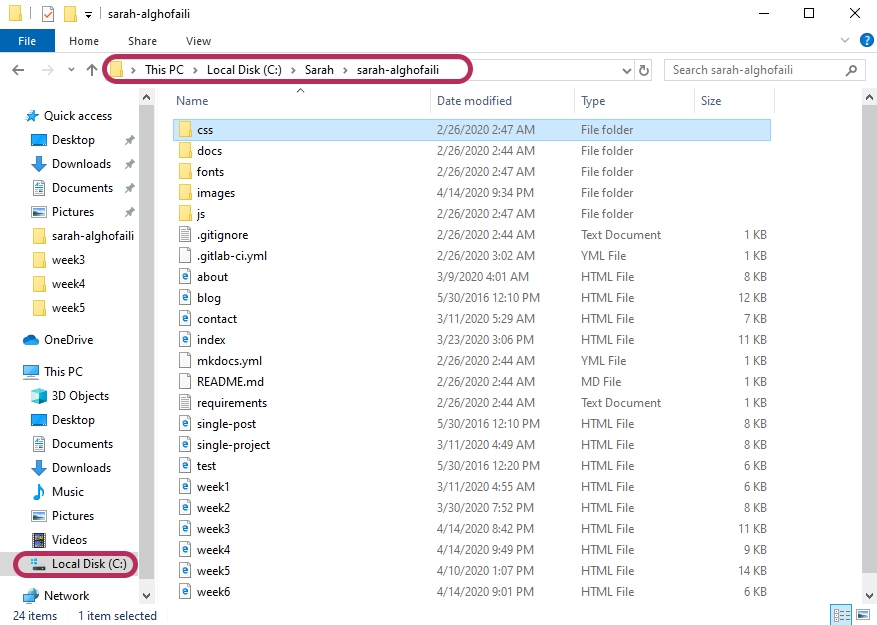
I create a Master file to start pushing the commit from my local repository and pulling from the remote repository.
- Install GitBash for windows : GitBash.
-Some of Git Command that used to pull and push the site:
mkdir to create a folder in the current directory.
cd to navigate a specific folder.
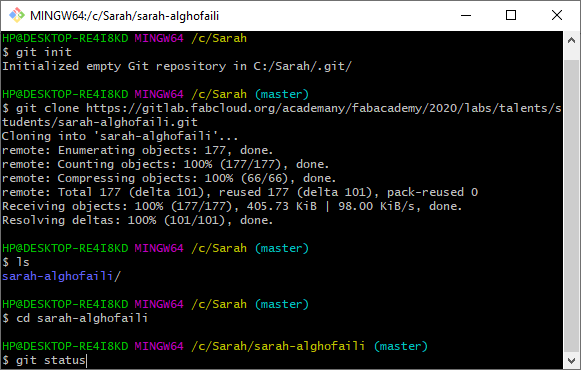
git init to create an empty Git repository or initialize an existing one.
git clone to clone a repository into a new directory HTTP from GitLab.
git pull to get a copy of your website from fabcloud to your local host.
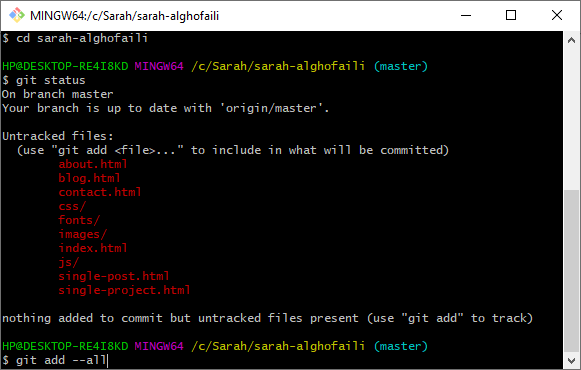
git status to show all new or modified files not yet committed.
git add --all to add all the new file to be ready to push.