seventeenth Assignment
Date
20 May 2020
Open your imagination !
In this week’s assignment we are supposed to design and produce something new with a digital fabrication process that is not covered in another assignment.
3D printing is my favourite technique. it plays an essential role in making prototype parts required by many industries such as aerospace, automotive, fashion, etc.
Printing on fabric is interesting and I did not try it before.
Let us make 3d printing more wearable and fun !
The normal fabric stretches along the X and Y planes. 3D printing would allow a material to stretch in the Z plane.
Fabric types:
Polyester
Cotton
Nylon
Blends
Knits like tshirts
Woven like dress shirts
Netting
Tulle
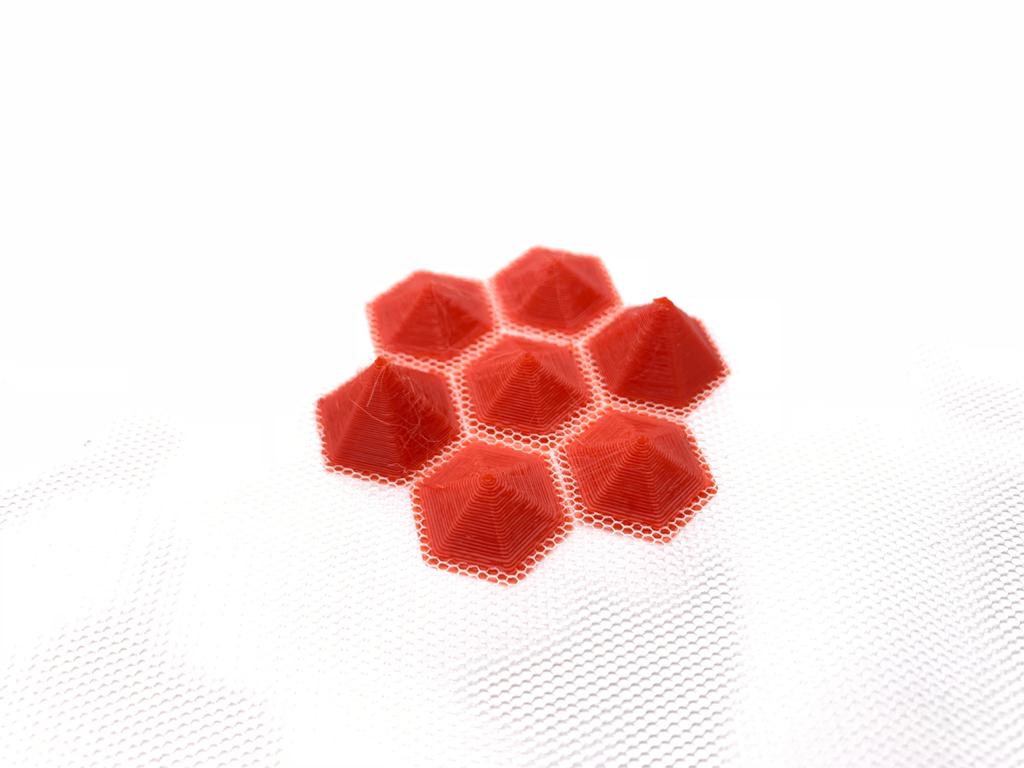
3D Printing on fabric
I chose to print on Tulle fabric because the melted plastic can fill the Tulle gaps and perfectly join the lower and upper parts of the print.
What I need for 3D printing fabric are :
3D Printer, I used prusa
PLA filament
Tulle fabric
Double-sided tape or binder clips
Scissors
Designing
In the designing process, the placement is an important step. I aligned the parts as I wanted then I exported them as one design into the slicer.
I kept in mind that I need to design something that will not require support material otherwise the support material will also attach to the tulle fabric. Also,I considered the size of the printer bed to define the design dimensions.
I used Prusaslicer Software to slice the model and convert it to gCode. After quick search, I found that 15% to 30% infill is suitable for most models.
Print on Tulle Fabric
I started by warming up the Prusa 3d printer bed to prepare it for printing. The critical step after the second or third layer was printed is I pausing the printer to lay down the tulle fabric.
There are two ways to pause the printer:
The first way is editing the script for a pause by adding specific information:
{REPLACE "; layer 2," "G28 Y0 X0\nM0\n; layer 2,"}
under the section “Additional terminal commands for post processing” to get the print to pause and move the head to Y0 X0 to put the tulle fabric.
The second way which I followed is to pause the printer manually. The trick is to add a small design near the Y0 X0 position to force the head to move away and that will allow me to put the tulle fabric.
The important step is to smoothen the fabric over the print bed to make sure that there are no wrinkles.I found that using double-sided tape or clips on the build plate edges will hold down the fabric perfectly.
After securing it down to the print bed then I clicked the resume button to move the nozzle back to where it left off in the print . The tulle fabric is porous material that allows the nozzle to print directly on top of the tulle fusing the bottom. In this step I watched the printer for the next couple of layers to be sure the extruder head isn’t pulling the fabric too much.
Summary of the Steps:
Print 2-3 Layers
Hit Pause
Place the Tulle fabric
Mount it with tape flat on top the printed parts
Resume the Print
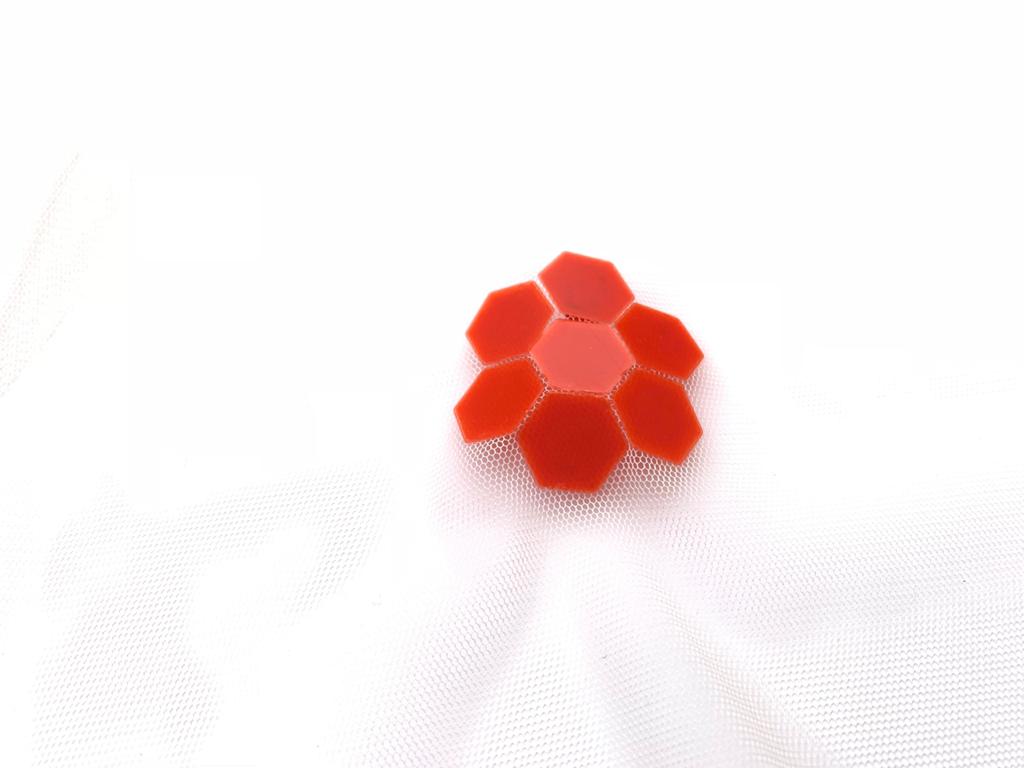
Finished !
After the print is finished, I removed the tape carefully to protect the tulle from tearing. The last touch is cutting out the excess parts of the fabric using the scissors.
I really enjoyed this experience that inspired me with new ideas that I plan to try in future. This technique has a lot of possibilities that need to be discovered !
Leather Stamps
Usually stamps are created using metal material, but I planned to create leather stamps using 3D printing technique. designing leather stamps using 3D printing gives leather beautiful patterns and textures.
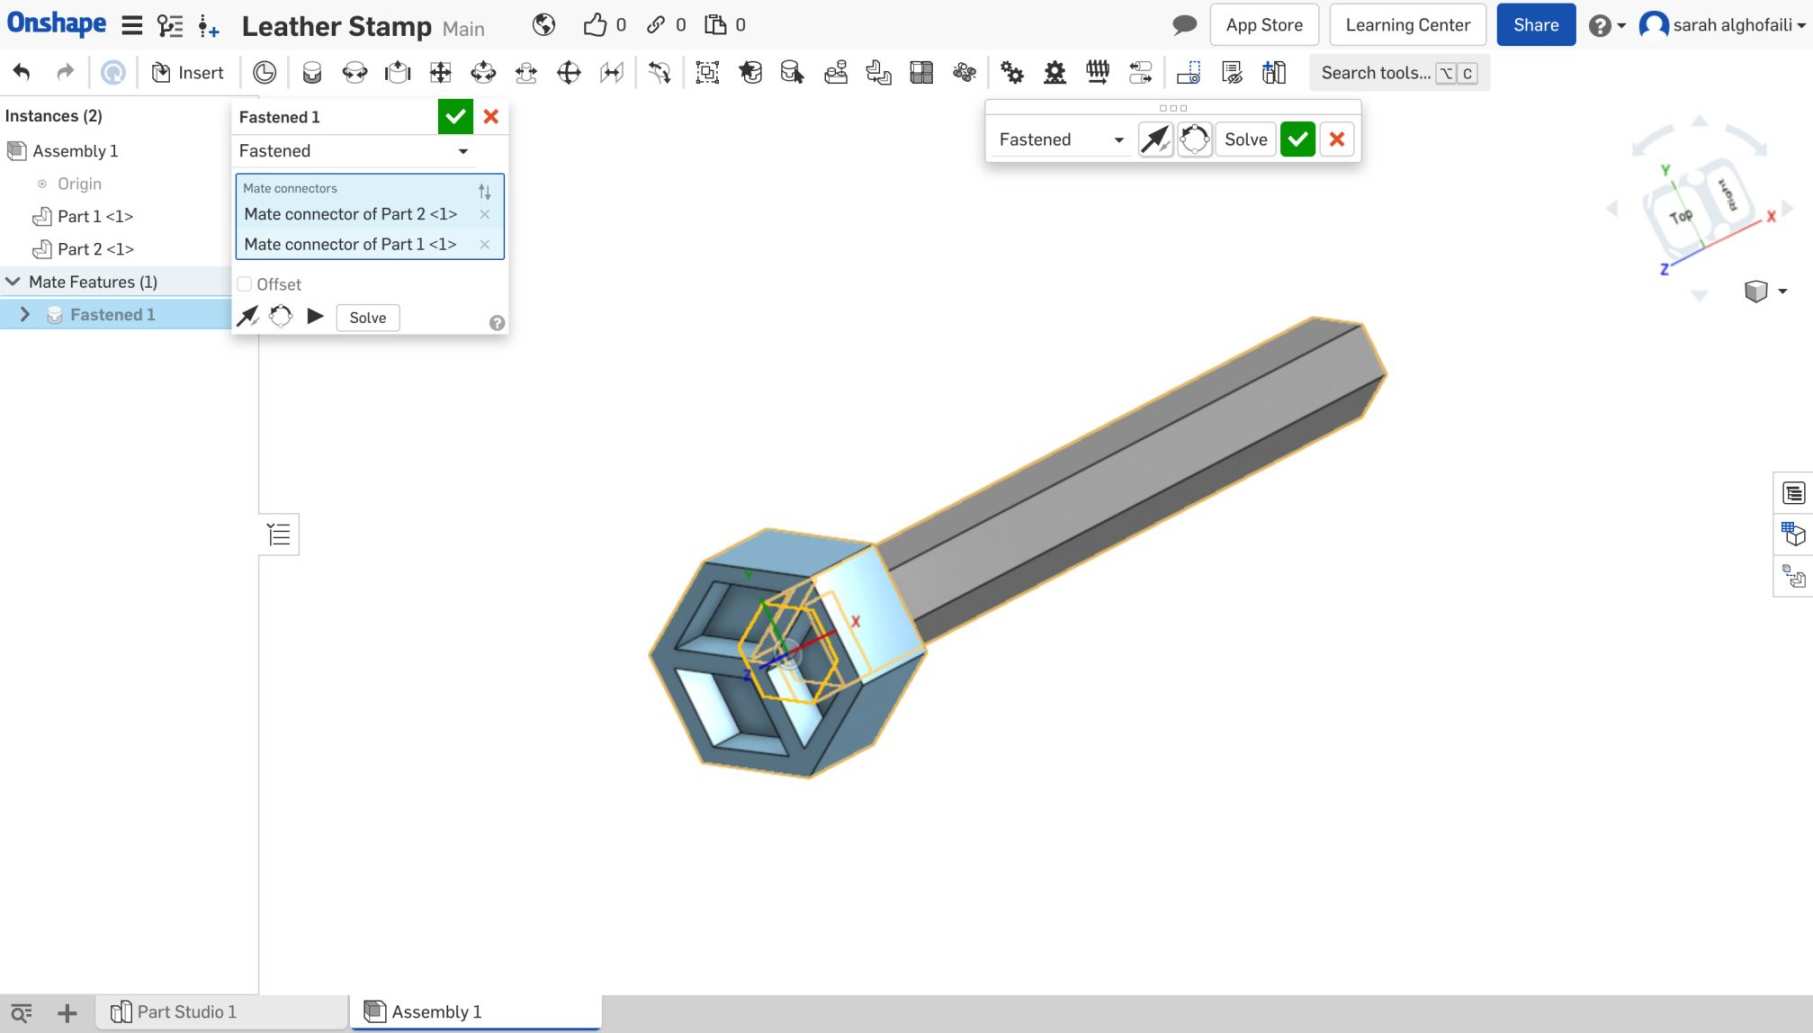
Designing
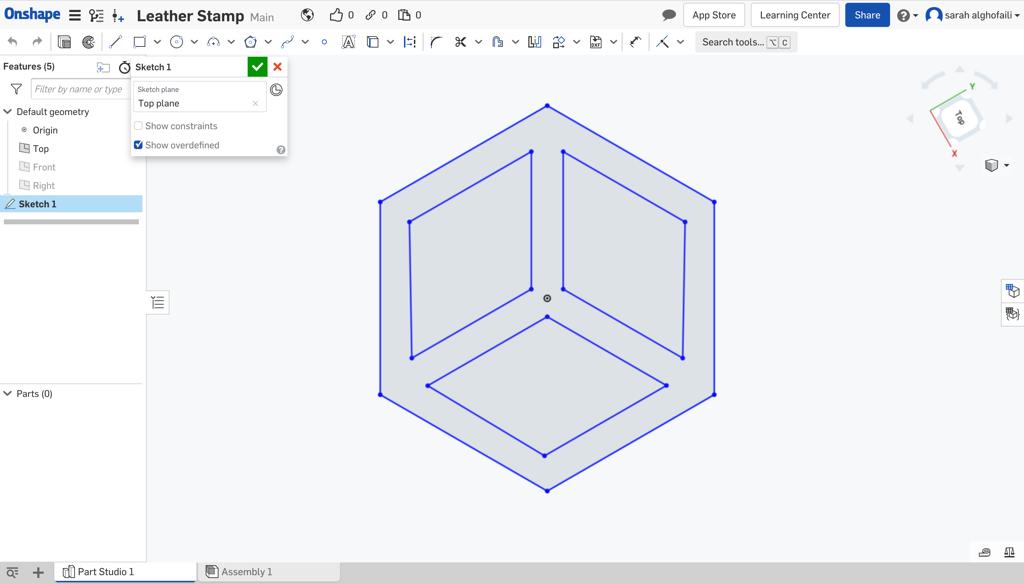
I designed the leather stamp using Onshape software. First, I sketched a hexagon by clicking on the polygon from the tool menu.
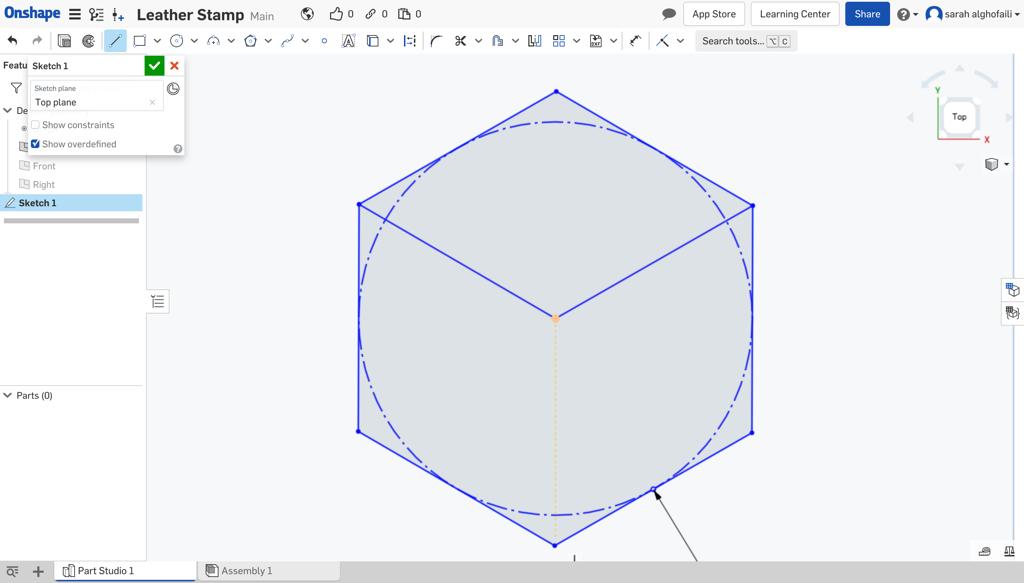
Then, I drew multiple lines to create three rhombuses.
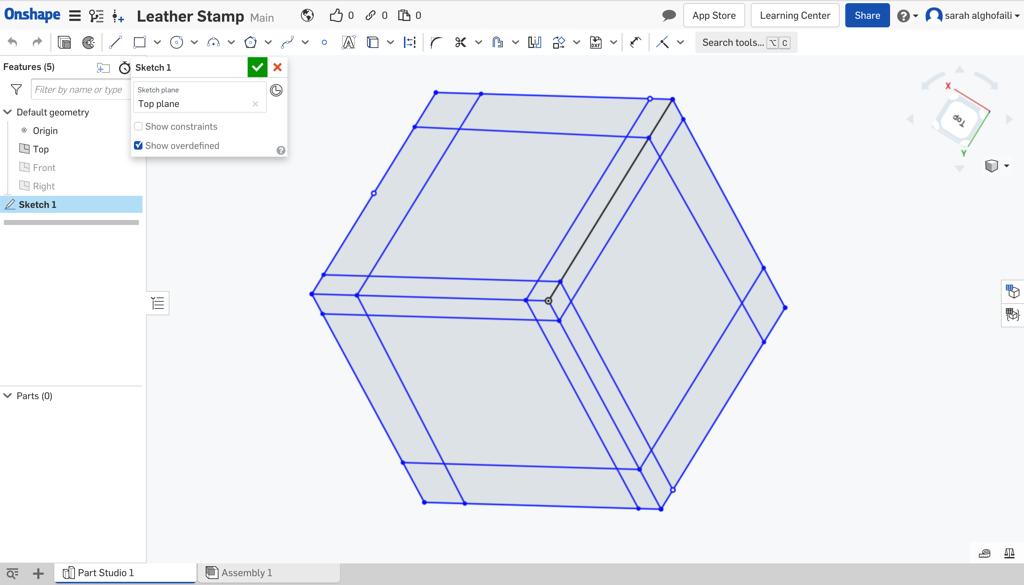
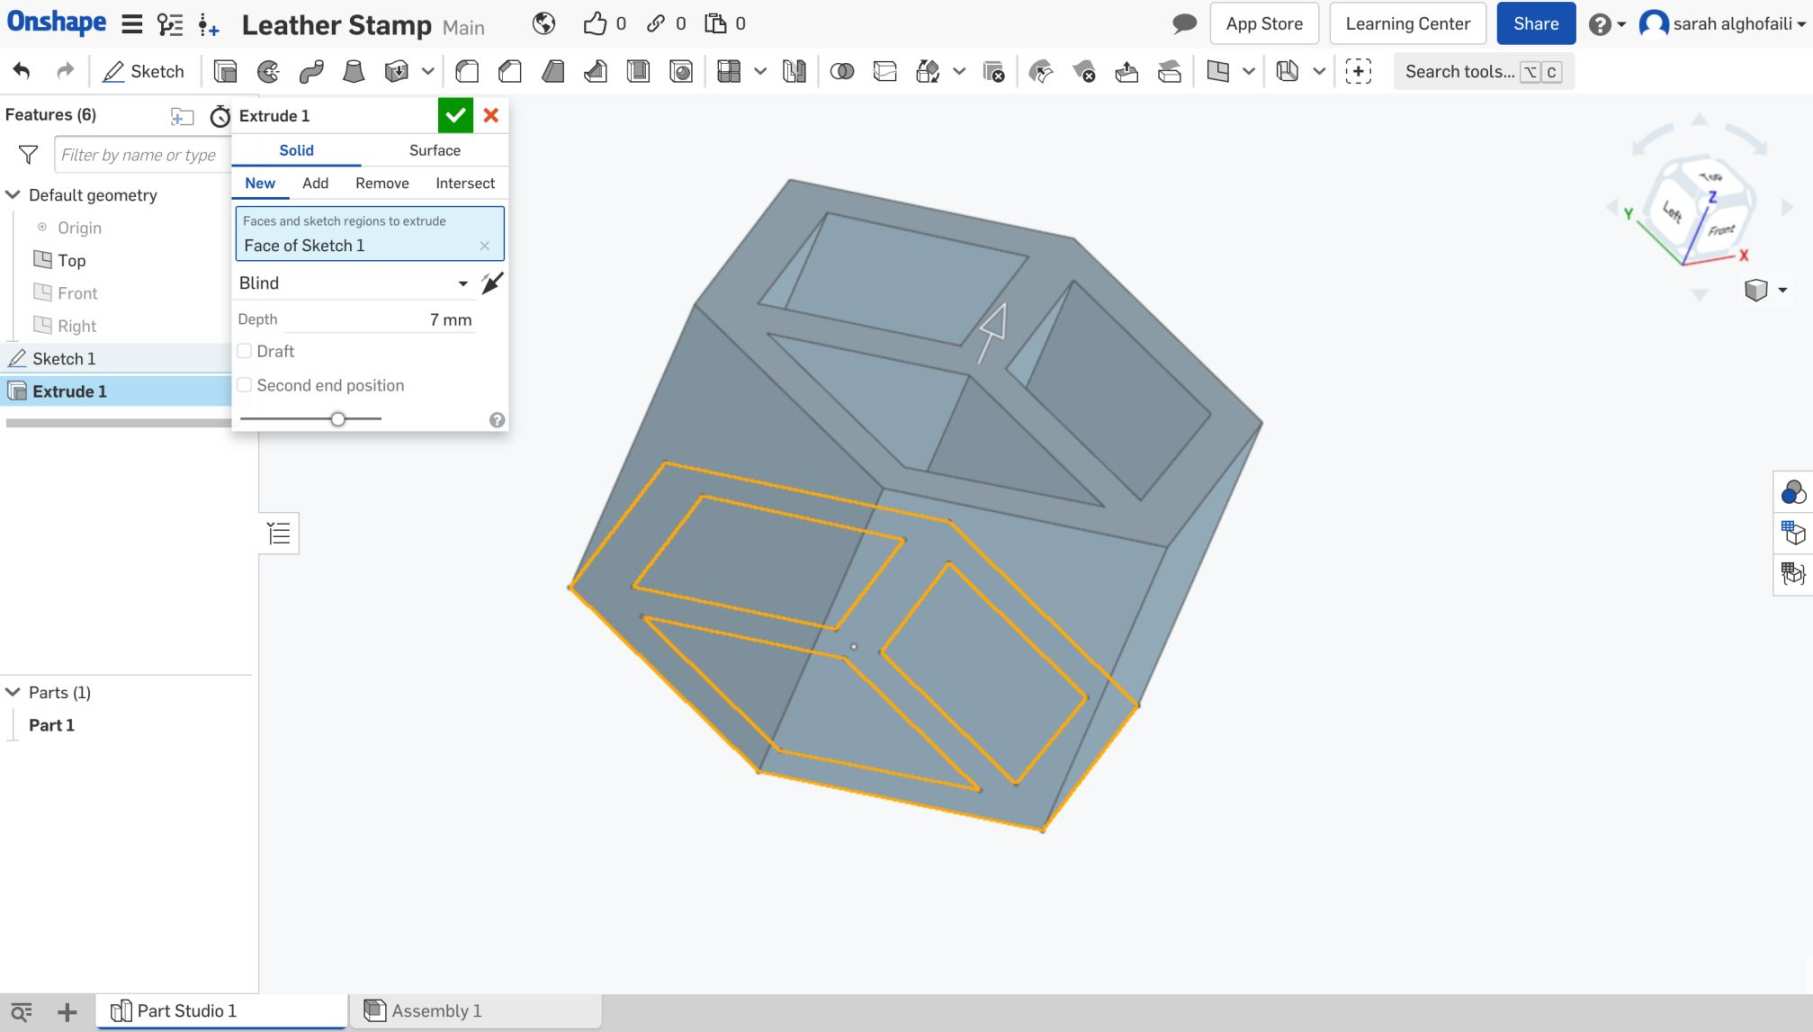
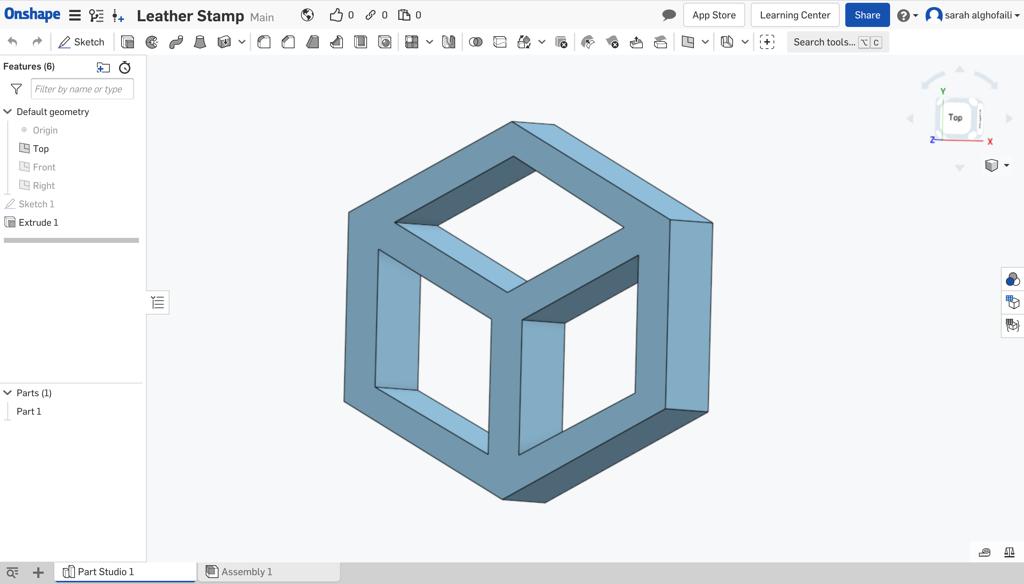
Next, I extruded the shape with 7 mm depth.
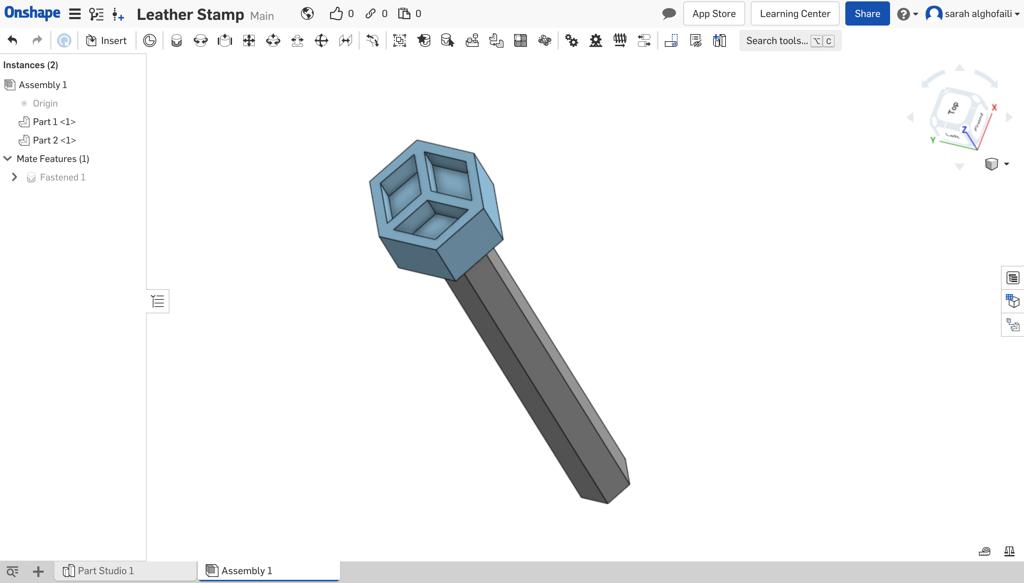
After that, I created a stick to hold the stamp and place it behind the stamp.
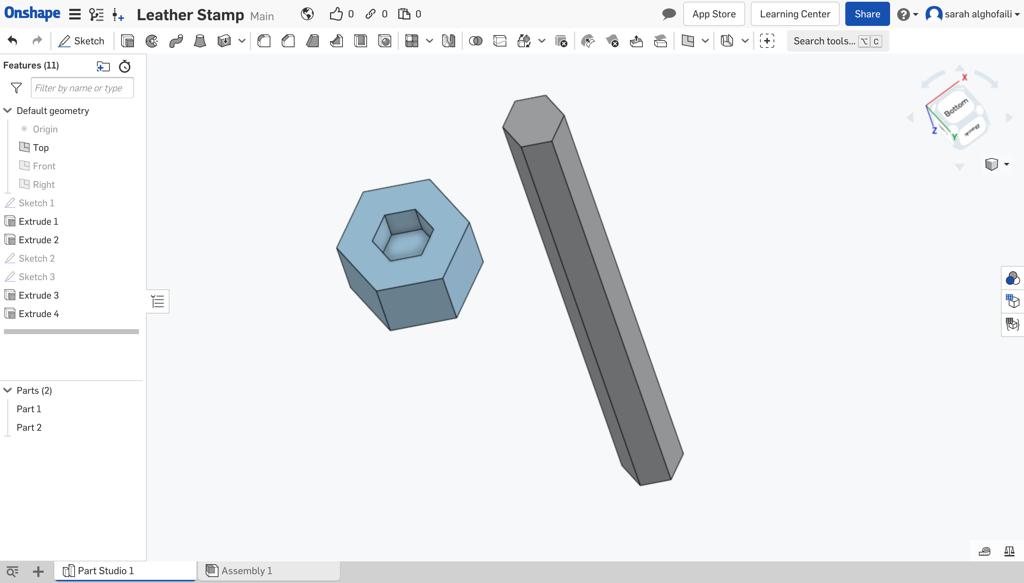
Last step was to assemble the two parts to check if they fit correctly or not.
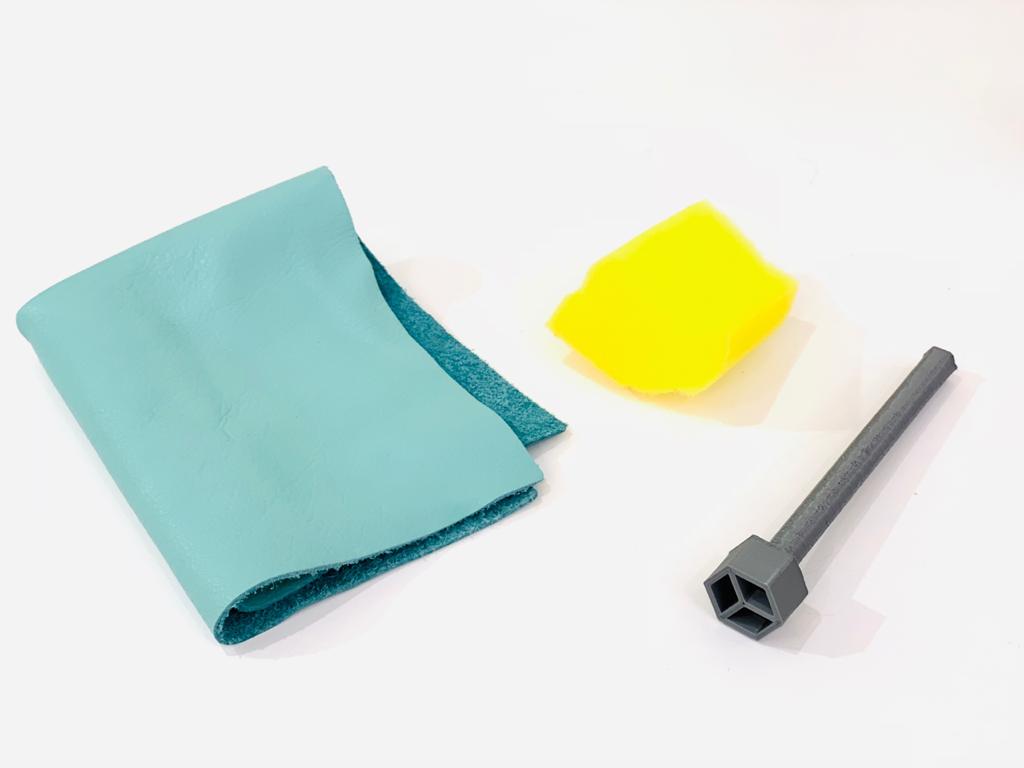
Let’s Stamping !
I chose a leather with a nice color and I put it on a hard surface. The next step was applying water to both sides of the leather with a sponge. I need to make the leather piece be damp, not soaked.
Then, I waited a few minutes until the leather had gone back to its original color to start stamping. After that, I took the hammer and hit the stamp carefully to push the pattern into leather.
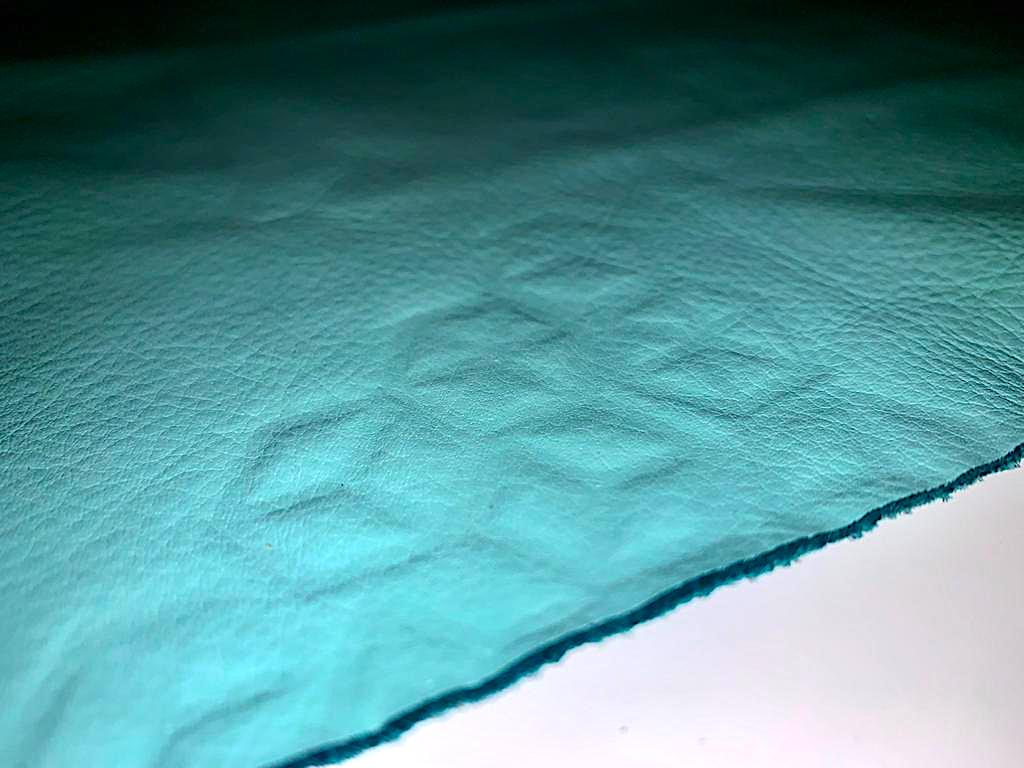
Hmmm.. the result was not good. I think this may have had more to do with the type of leather. After a quick search, I found that some kinds of leather will stamp and some won't . The best leather to create a pattern on is the Vegetable Tanned Leather. But unfortunately I did not have it. Unlike The Faux leather which I used was not stamped correctly because it is not a natural material. Also, the leather that I used is thick and I found that the thinner leather is better for stamping.