Wildcard Week
Design and produce something with a digital fabrication process (incorporating computer-aided design and manufacturing) not covered in another assignment, documenting the requirements that your assignment meets, and including everything necessary to reproduce it. Possibilities include but are not limited to wildcard week examples.
digital embroidery
I decided to make something using a digital embroidery machine for the wildcard week.
It was necessary to download the inkscape to make pes files for digital embroidery.
inkscape download here
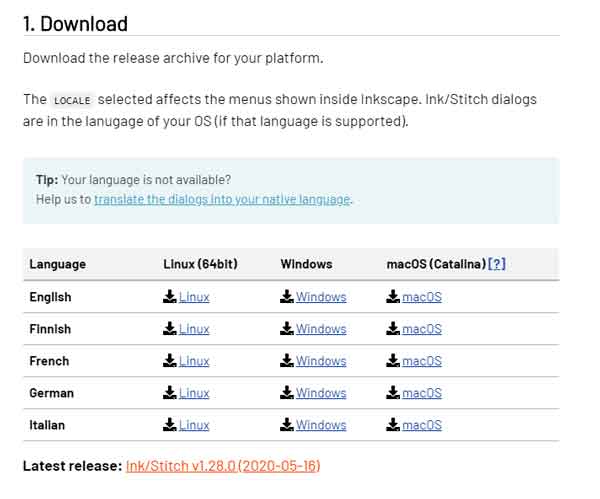
 Download Ink/Stitch (Inkscape extension for machine embedded design) and install
Unzip the downloaded zip file.
Ink/Stitch download here
Download Ink/Stitch (Inkscape extension for machine embedded design) and install
Unzip the downloaded zip file.
Ink/Stitch download here
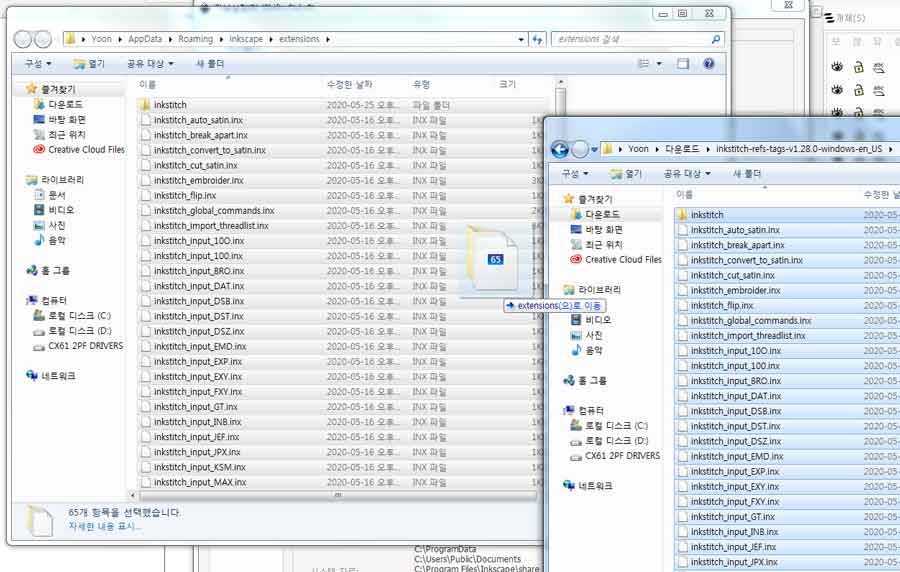
.jpg) Edit > Preferences > System and check where your User Extensions folder is.
Edit > Preferences > System and check where your User Extensions folder is.
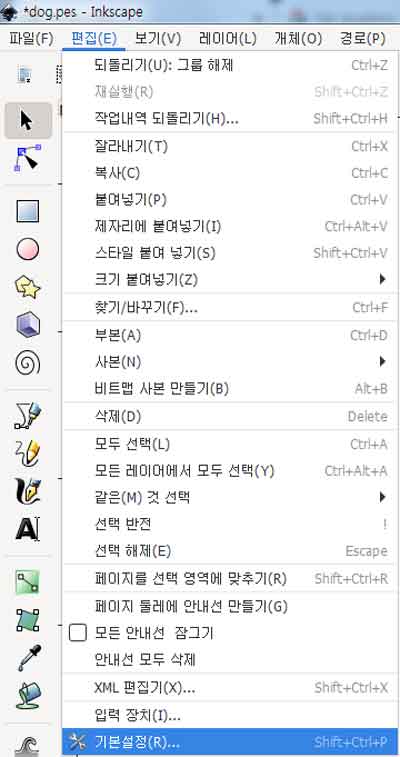
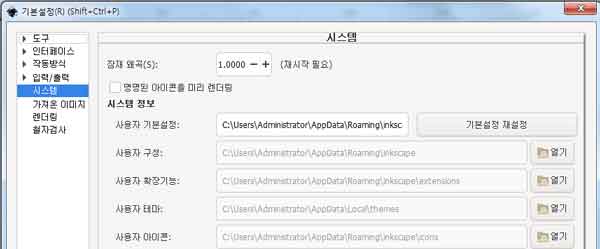 Insert the downloaded Ink/Stitch file into the User Extensions folder.
 Re-run Inkscape and test the installed Ink/Stitch for operation.
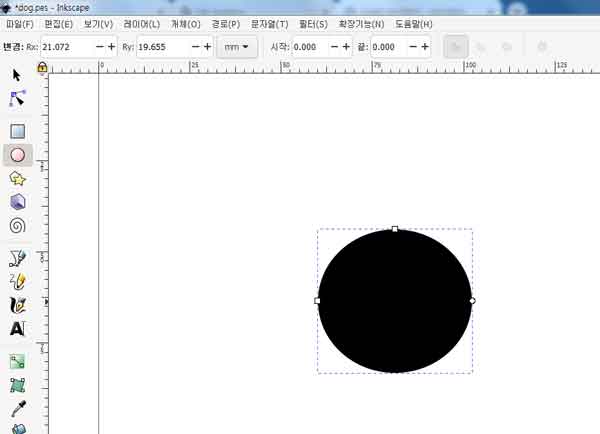
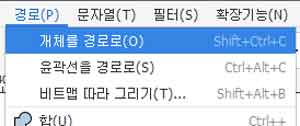
Draw a simple shape and set "path > object to path".
Re-run Inkscape and test the installed Ink/Stitch for operation.
Draw a simple shape and set "path > object to path".
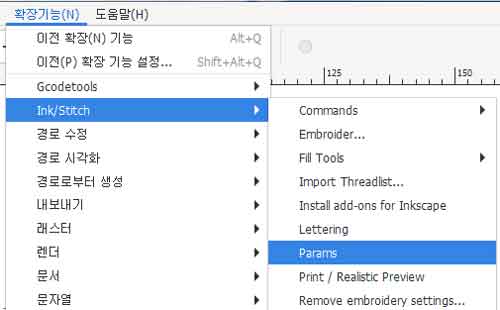
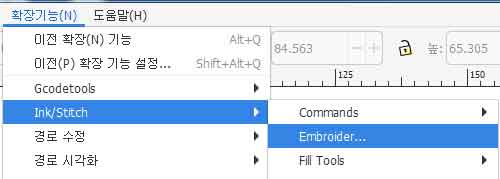
 After path set "Extensions > Ink/Stitch > Params" run the params.
 Good!
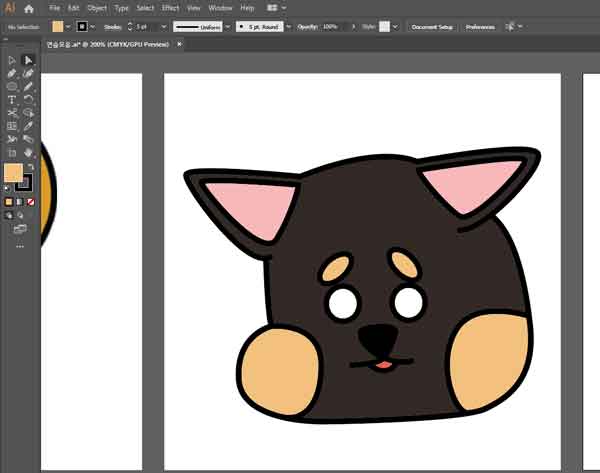
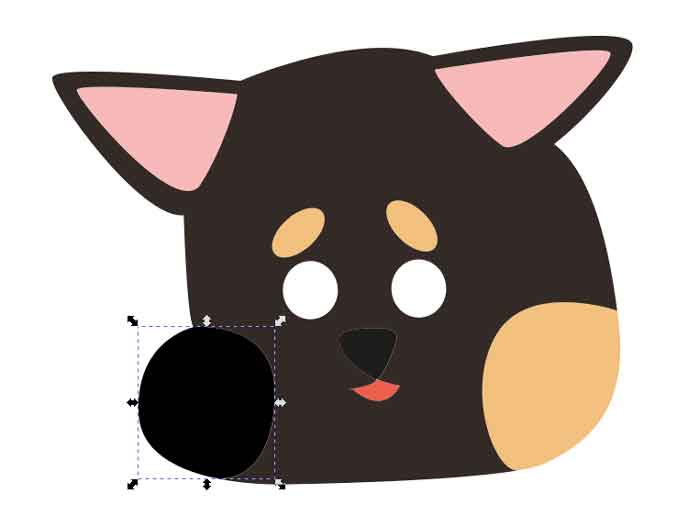
After the Ink/Stitch install, the design for the digital embroidery machine was created using an illustrator.
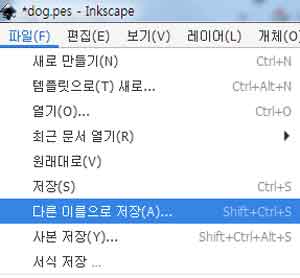
And after the design, I saved it as a svg file.
Good!
After the Ink/Stitch install, the design for the digital embroidery machine was created using an illustrator.
And after the design, I saved it as a svg file.
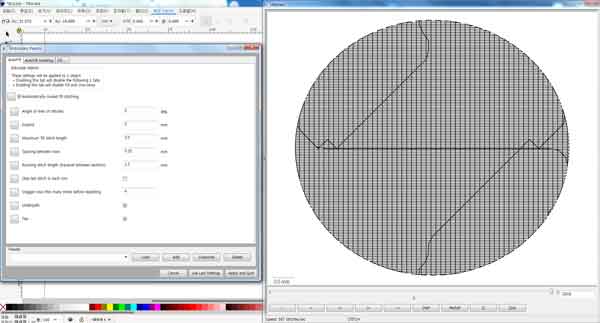
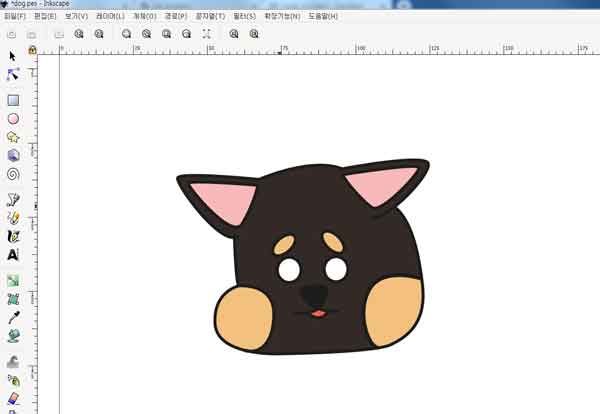
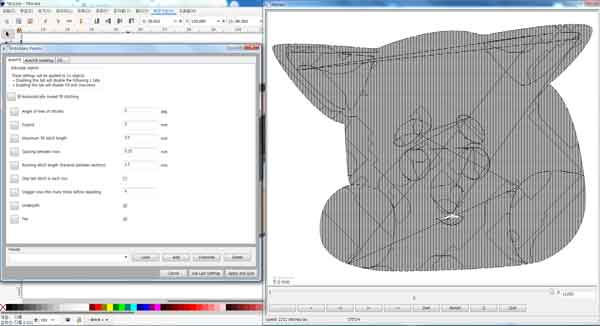
 The svg file was opened in Inkscape and run the params the part to be embroidered
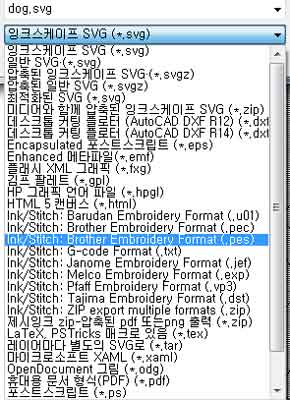
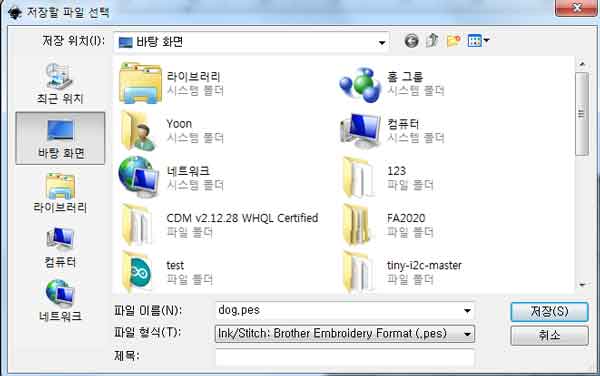
 Save as and Select pes file
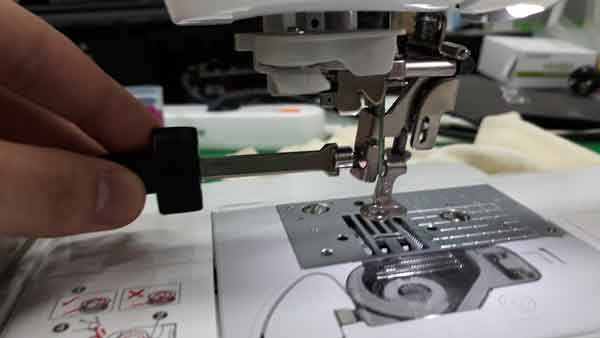
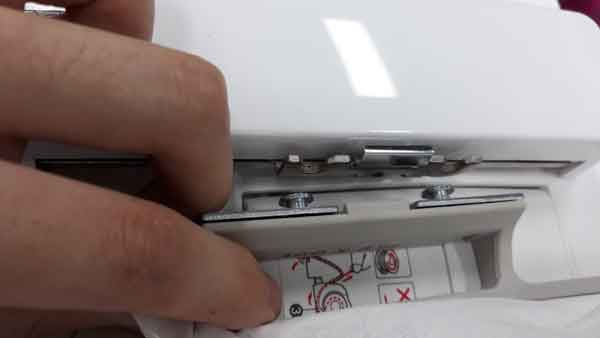
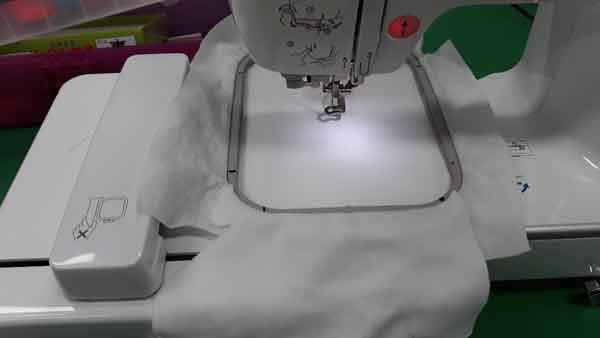
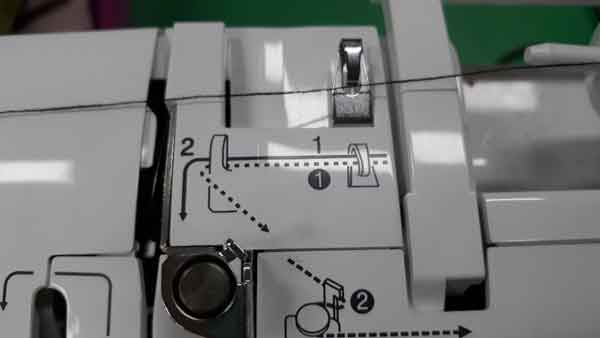
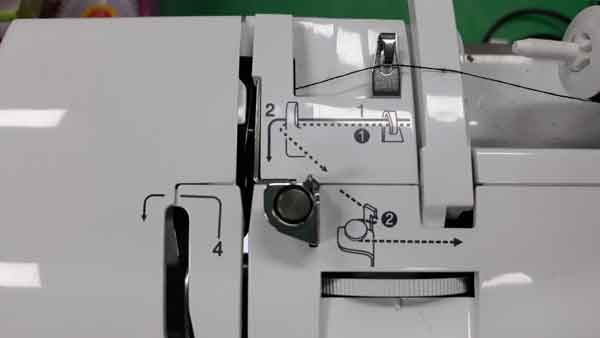
 came back to the embroidery machine, changed the presser foot, and prepared a cloth

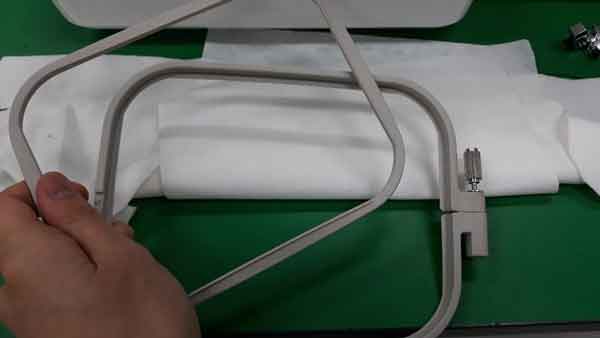
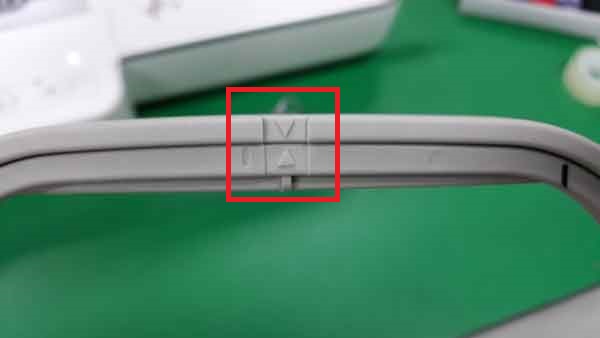
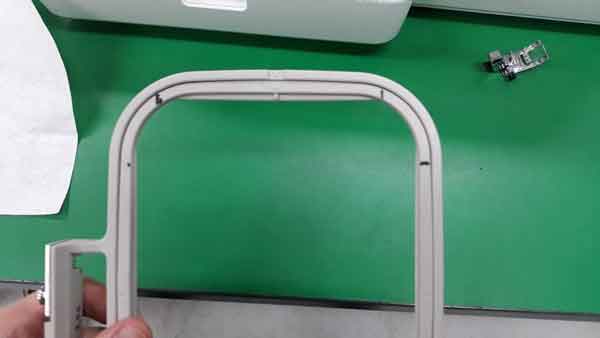
 The frame for setting the cloth has a direction, so you have to look carefully and set it up.
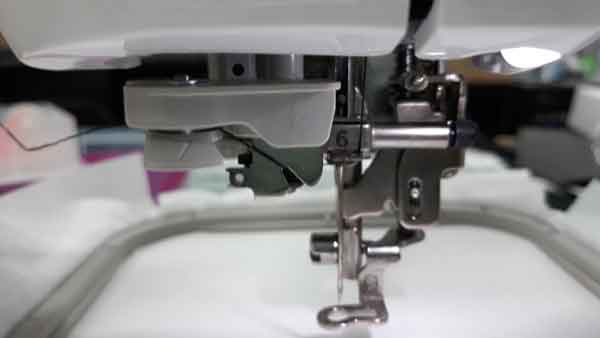
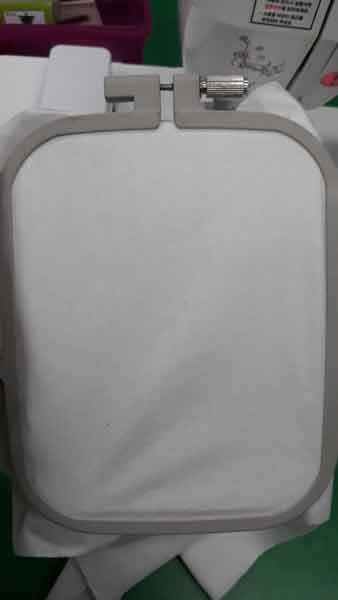 The cloth was set to the frame and attached to the embroidery machine.
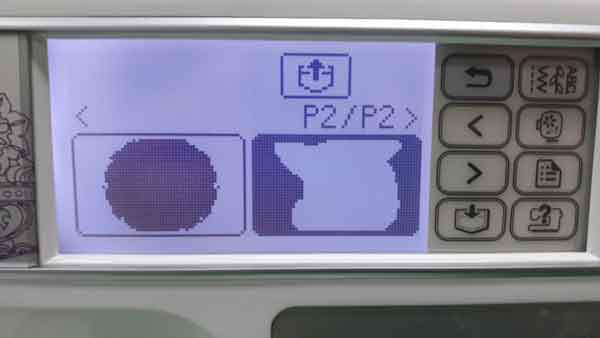
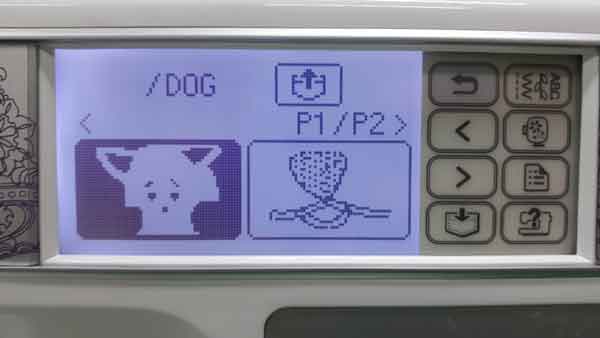
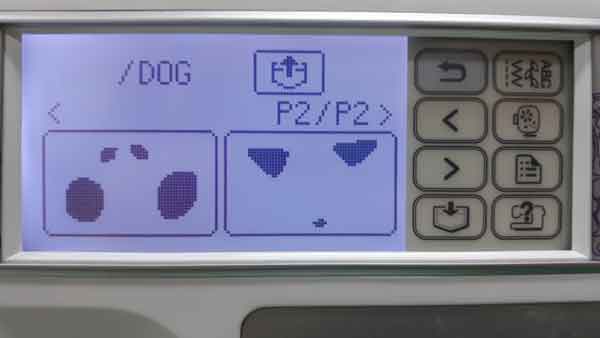
 After setting the cloth, connect usb containing pes files to the embroidery machine and select the file to print.
.jpg)
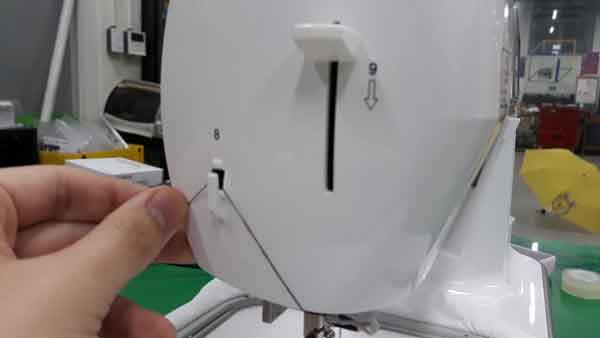
 It changed the color of the yarn to be used before printing the design from the digital embroidery machine.
To change the thread, follow the tutorial on the embroidery machine. Very easy
It changed the color of the yarn to be used before printing the design from the digital embroidery machine.
To change the thread, follow the tutorial on the embroidery machine. Very easy
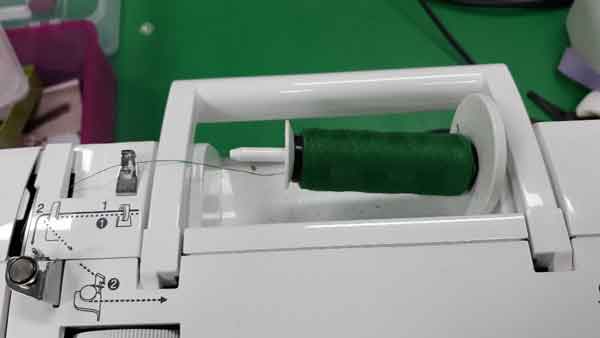
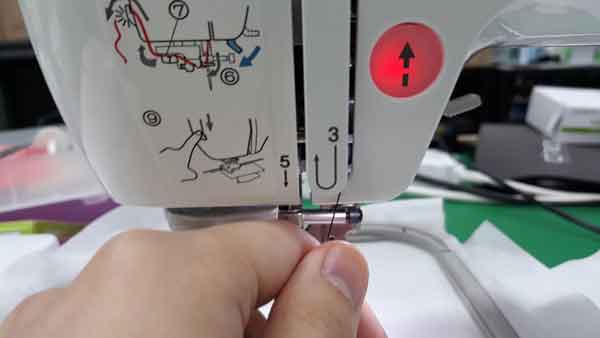
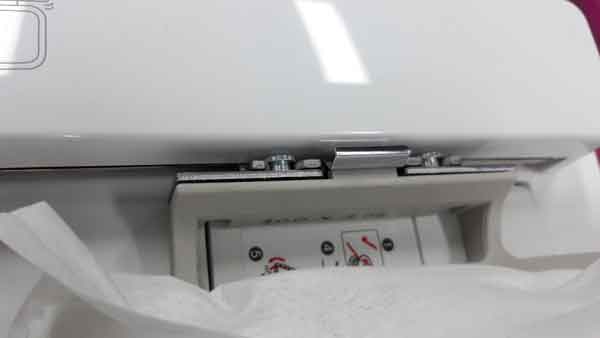
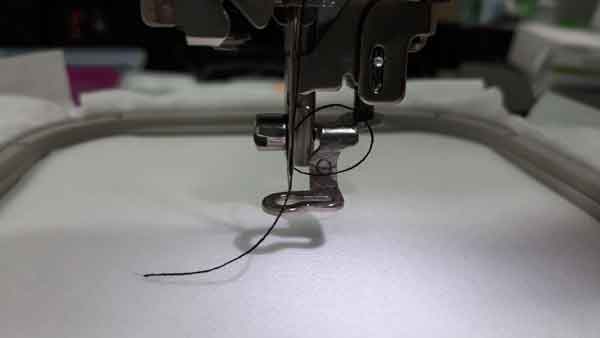 After changing the thread, lower the presser foot.
.jpg)
.jpg) I finished setting up and ran a digital embroidery, but there was a problem with all layers printed out at once.
I finished setting up and ran a digital embroidery, but there was a problem with all layers printed out at once.
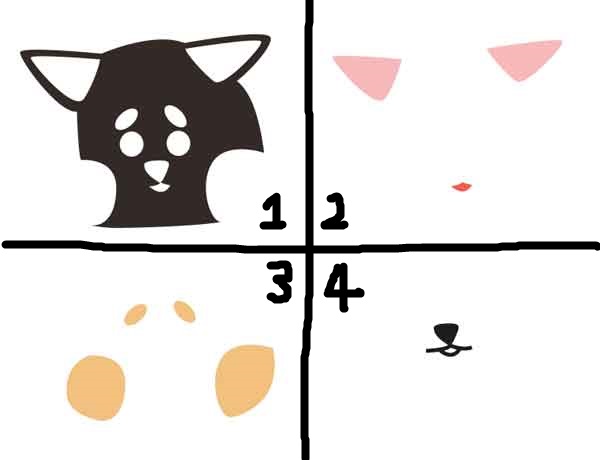
 I thought there was a problem with the Inkscape layer setting, so I saved it separately for each layer.

 Upload to the embroidery machine and execute the work.
 look like fine. Good plan.
I printed out the next layer.
look like fine. Good plan.
I printed out the next layer.
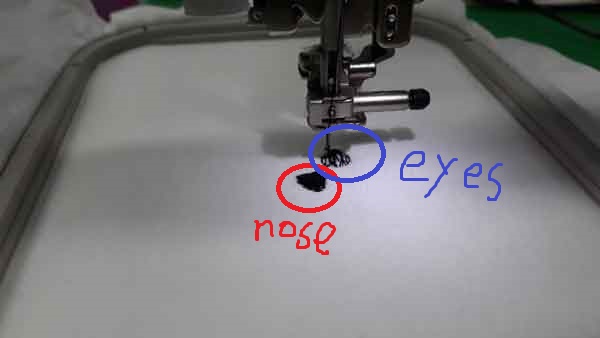
 ??????????????
nose has been printed on the eyebrows.
??????????????
nose has been printed on the eyebrows.
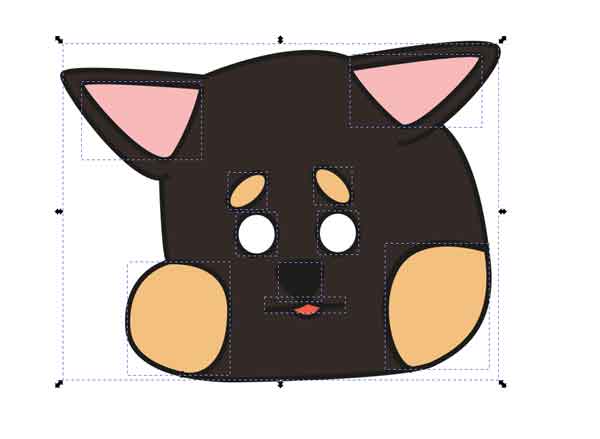
 I were struggling to solve the layer problem.
Then Ji-hwan told me how to solve the problem.
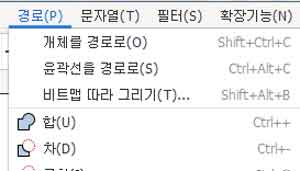
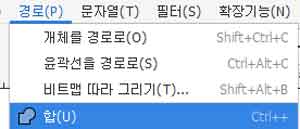
I used the union function in "path >union" and re-setting the color for each part.
I were struggling to solve the layer problem.
Then Ji-hwan told me how to solve the problem.
I used the union function in "path >union" and re-setting the color for each part.
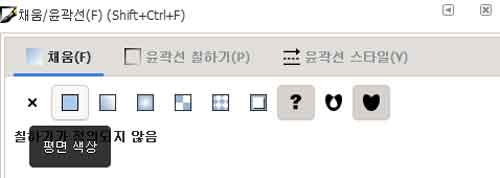 Use the params function to check if the problem has been resolved.
Good. The colors are being distinguished.
Use the params function to check if the problem has been resolved.
Good. The colors are being distinguished.
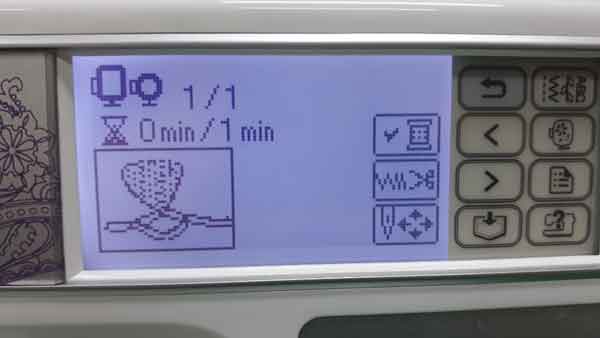
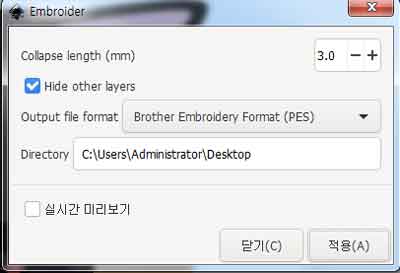
.jpg) "Extensions > Embroider" save the pes file
"Extensions > Embroider" save the pes file
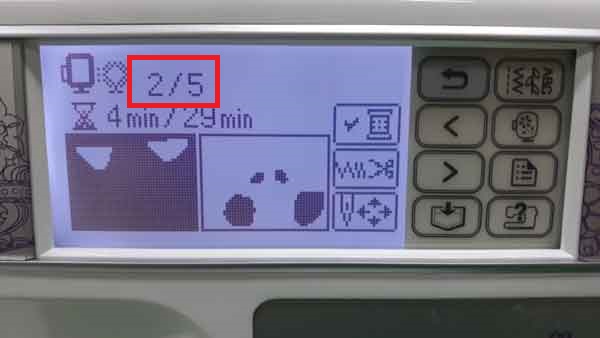
 I could check the layer from the digital embroidery machine.
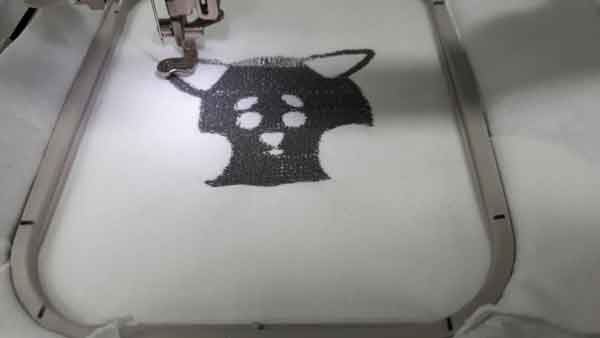
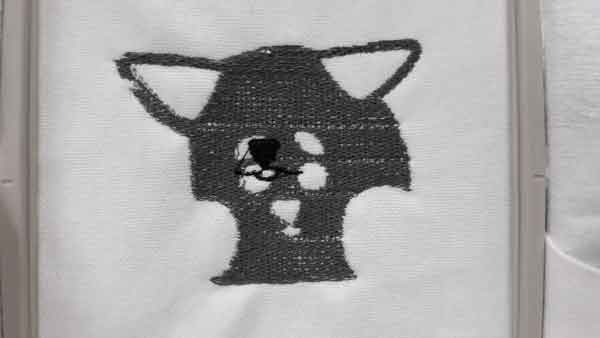
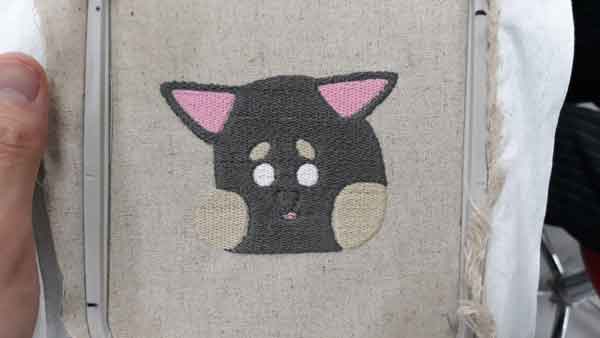
 I was so happy that I printed it out right away.
But why don't you have a nose...?
I was so happy that I printed it out right away.
But why don't you have a nose...?
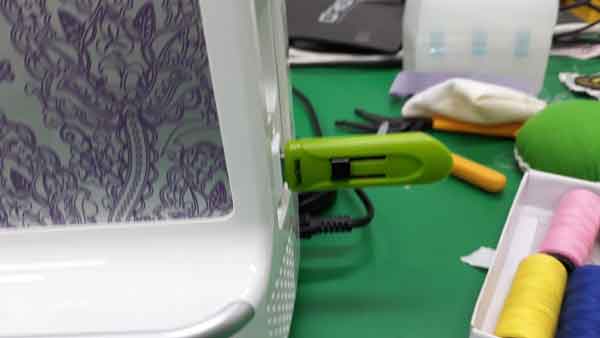
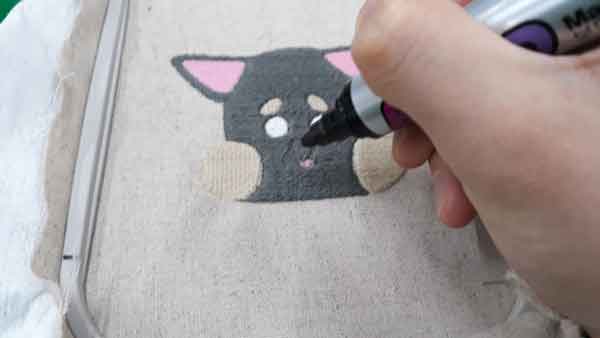
 I decided to draw a dog's nose with a board marker.
 Completion :)
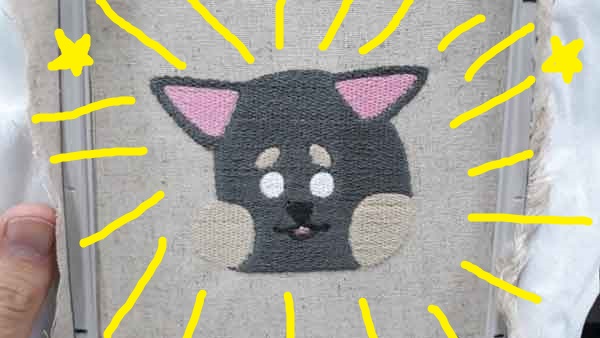
my work
my eps File here
Nose is, must draw yourself :)