Moulding and Casting
Group assignment
- Review the safety data sheets for each of your molding and casting materials
- Make and compare test casts with each of them
Individual assignment
- Design a 3D mould around the stock and tooling that you'll be using, mill it (rough cut + (at least) three-axis finish cut), and use it to cast parts.
- I decided to make an umbrella handle(final project) on Moulding and Casting Week.
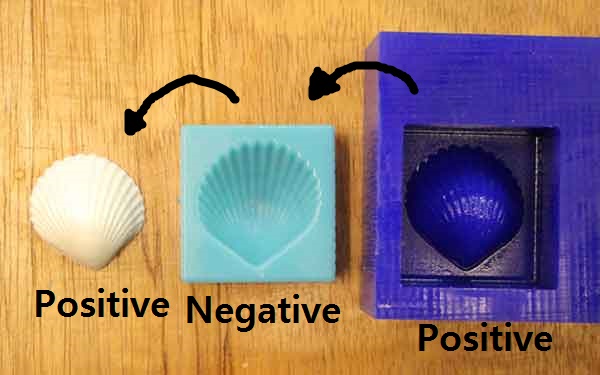
- When molding and casting, we should know that the work is done in positive, negative, and positive order.
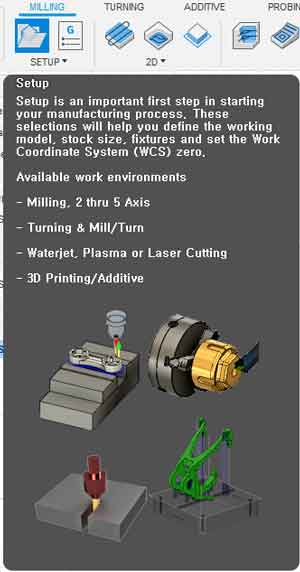
- I decided to use Fusion360 to make the Positive Mold Model.
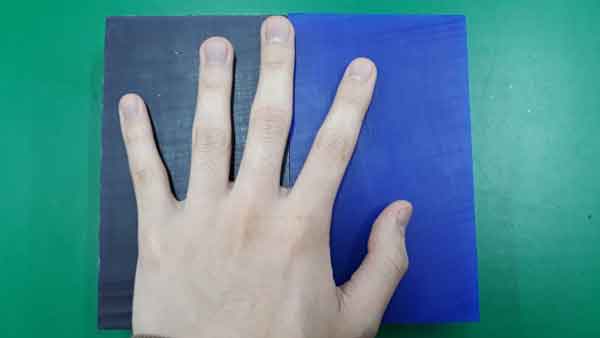
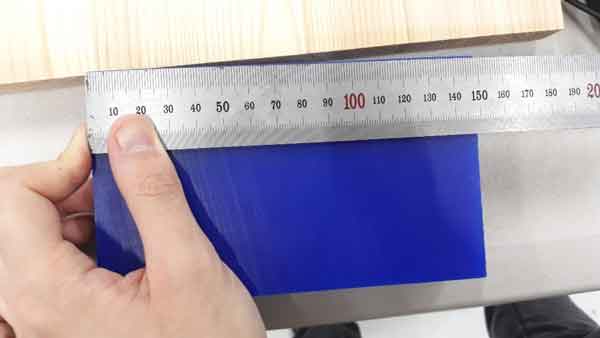
- First, I measured the size of wax to be used in the Positive Mold Model.
-
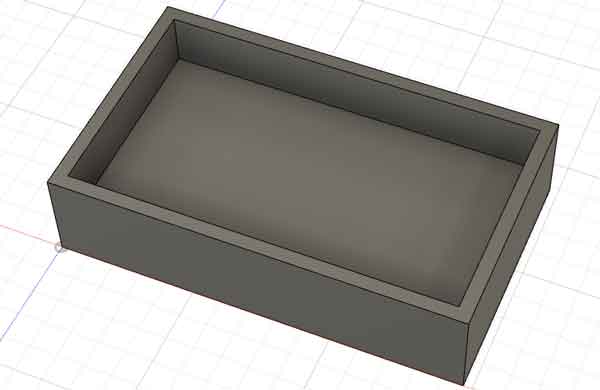
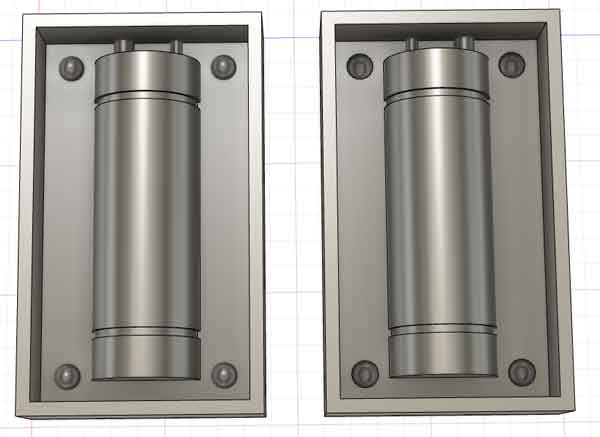
- Based on the measured wax size, the frame was made and the handle design was added.
-
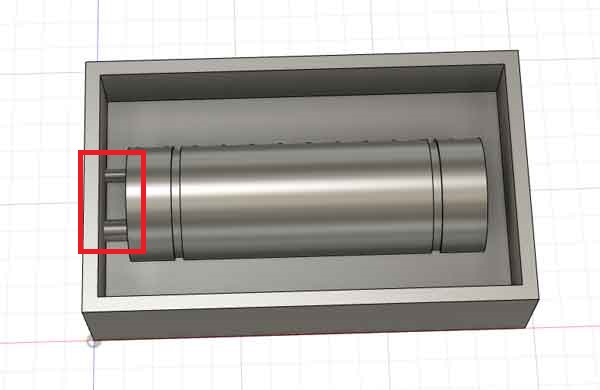
- I made hole for the material and air hole.
-
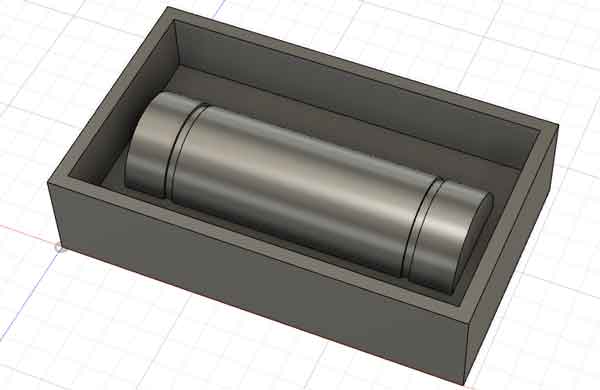
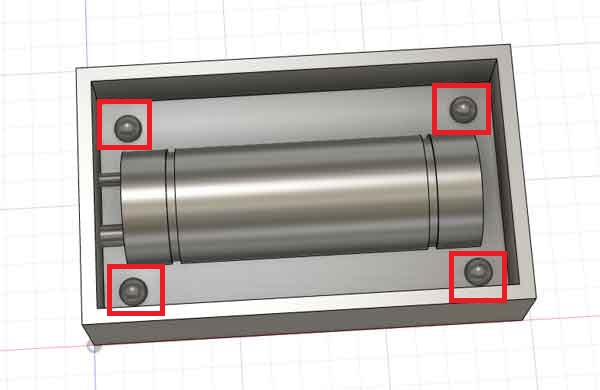
- made a sphere that could hold the frame and made a mold design on the opposite side.
-
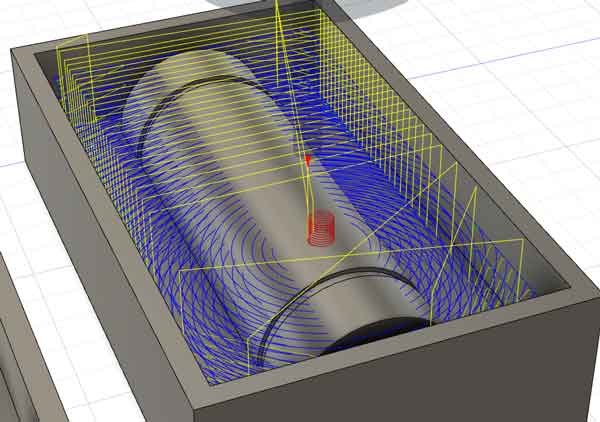
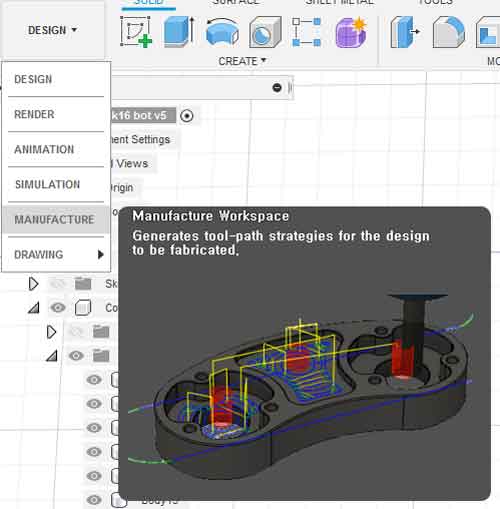
- The simulation and tool pass were set using the manufacture function in Fusion360.
-
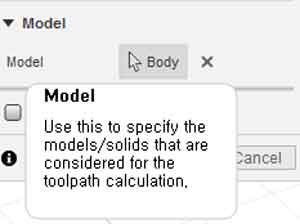
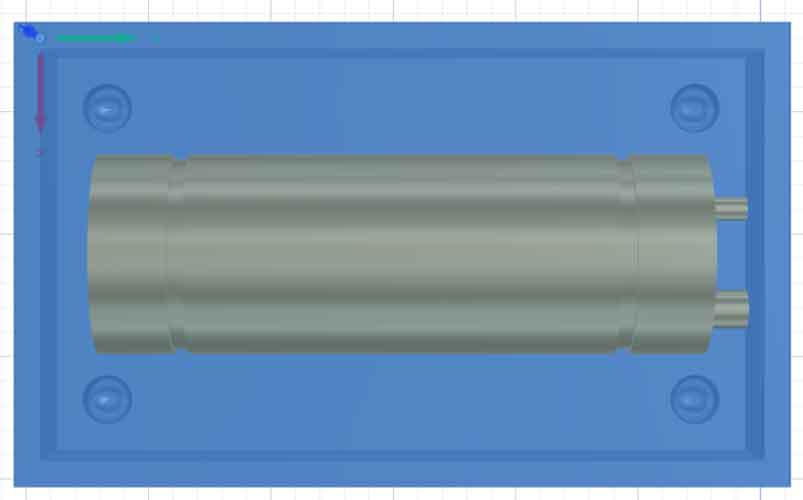
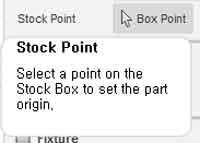
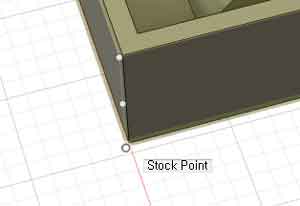
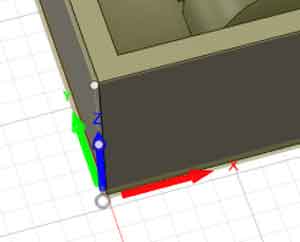
- Use setup function to set the x,y,x axis and stock.
-
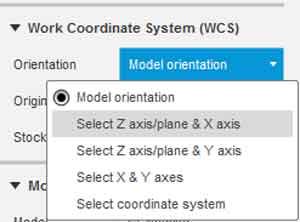
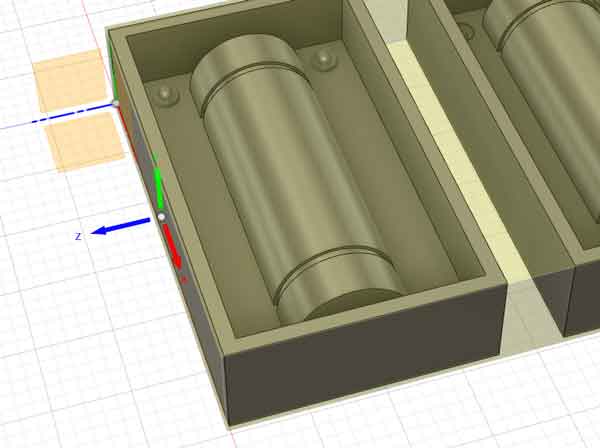
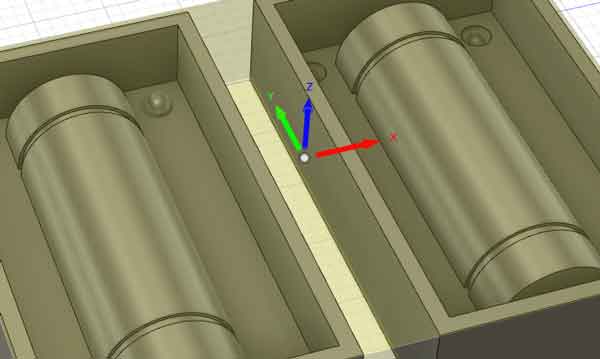
- Axis position is set by the stock point function.
-
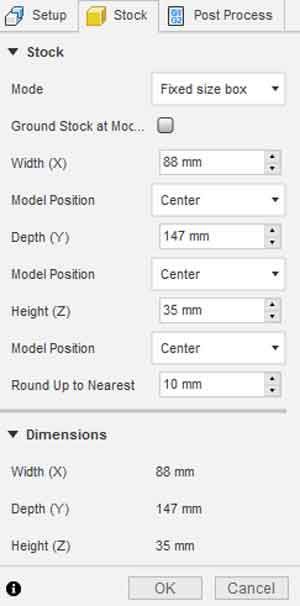
- stock size is set to the size of the wax used
-
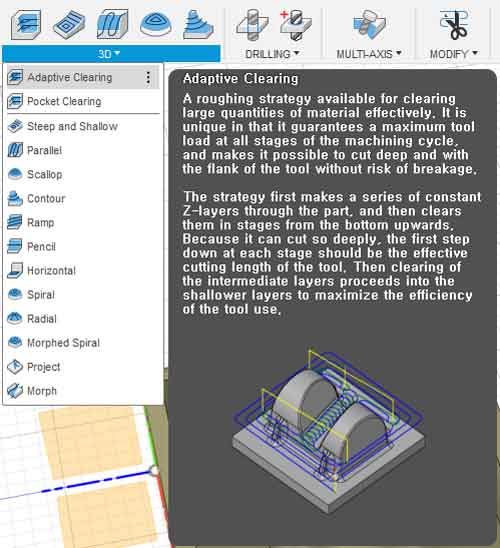
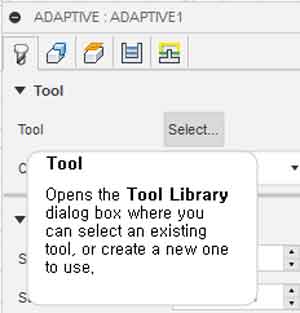
- The adaptive cleaning function was used to set the end mill and cut.
-
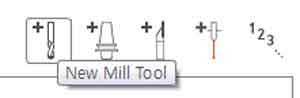
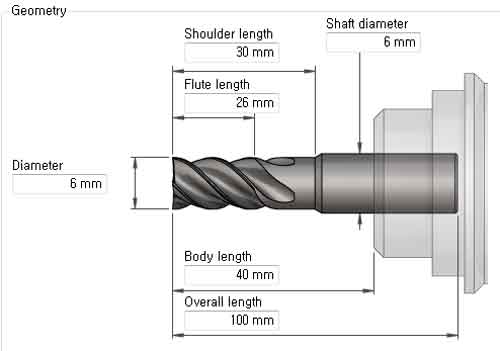
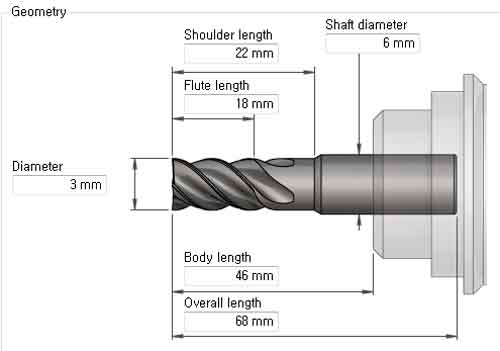
- The size of the end mill to be used was measured and a new end mill setting was created.
-
- finished setting and did simulation.
- In the simulation, we found a problem of ignoring the handle and proceeding with the cutting.
- The model that was ignored in the simulation was selected in setup and the problem was solved.
moulding plan
Create a Positive Mold Model