Computer-Controlled Machining
Week 07
Machines and Materials
Softwares
Files
Group Assignments
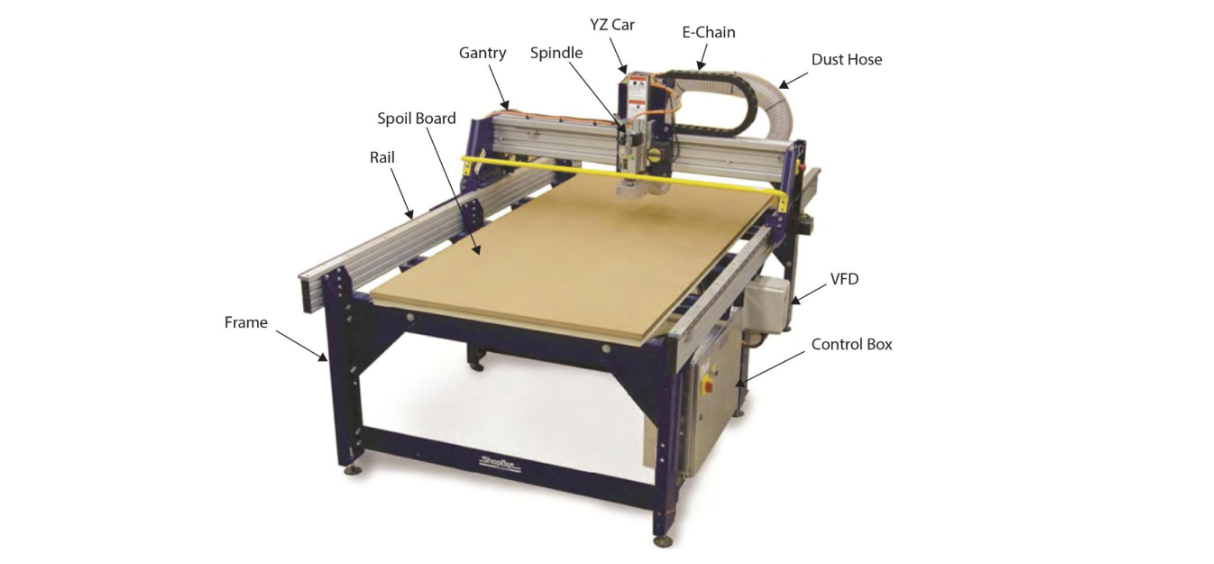
During this week we are going to be using Computer-Controlled Machining, in our lab we currently have a Shopbot CNC with a table of 122 x 244 cm. The weekly assignment consist of "making something big" in the CNC and using different types of joints.
Individual Assigment
Make (design+mill+assemble) something big.
I followed the next steps to my assignment.
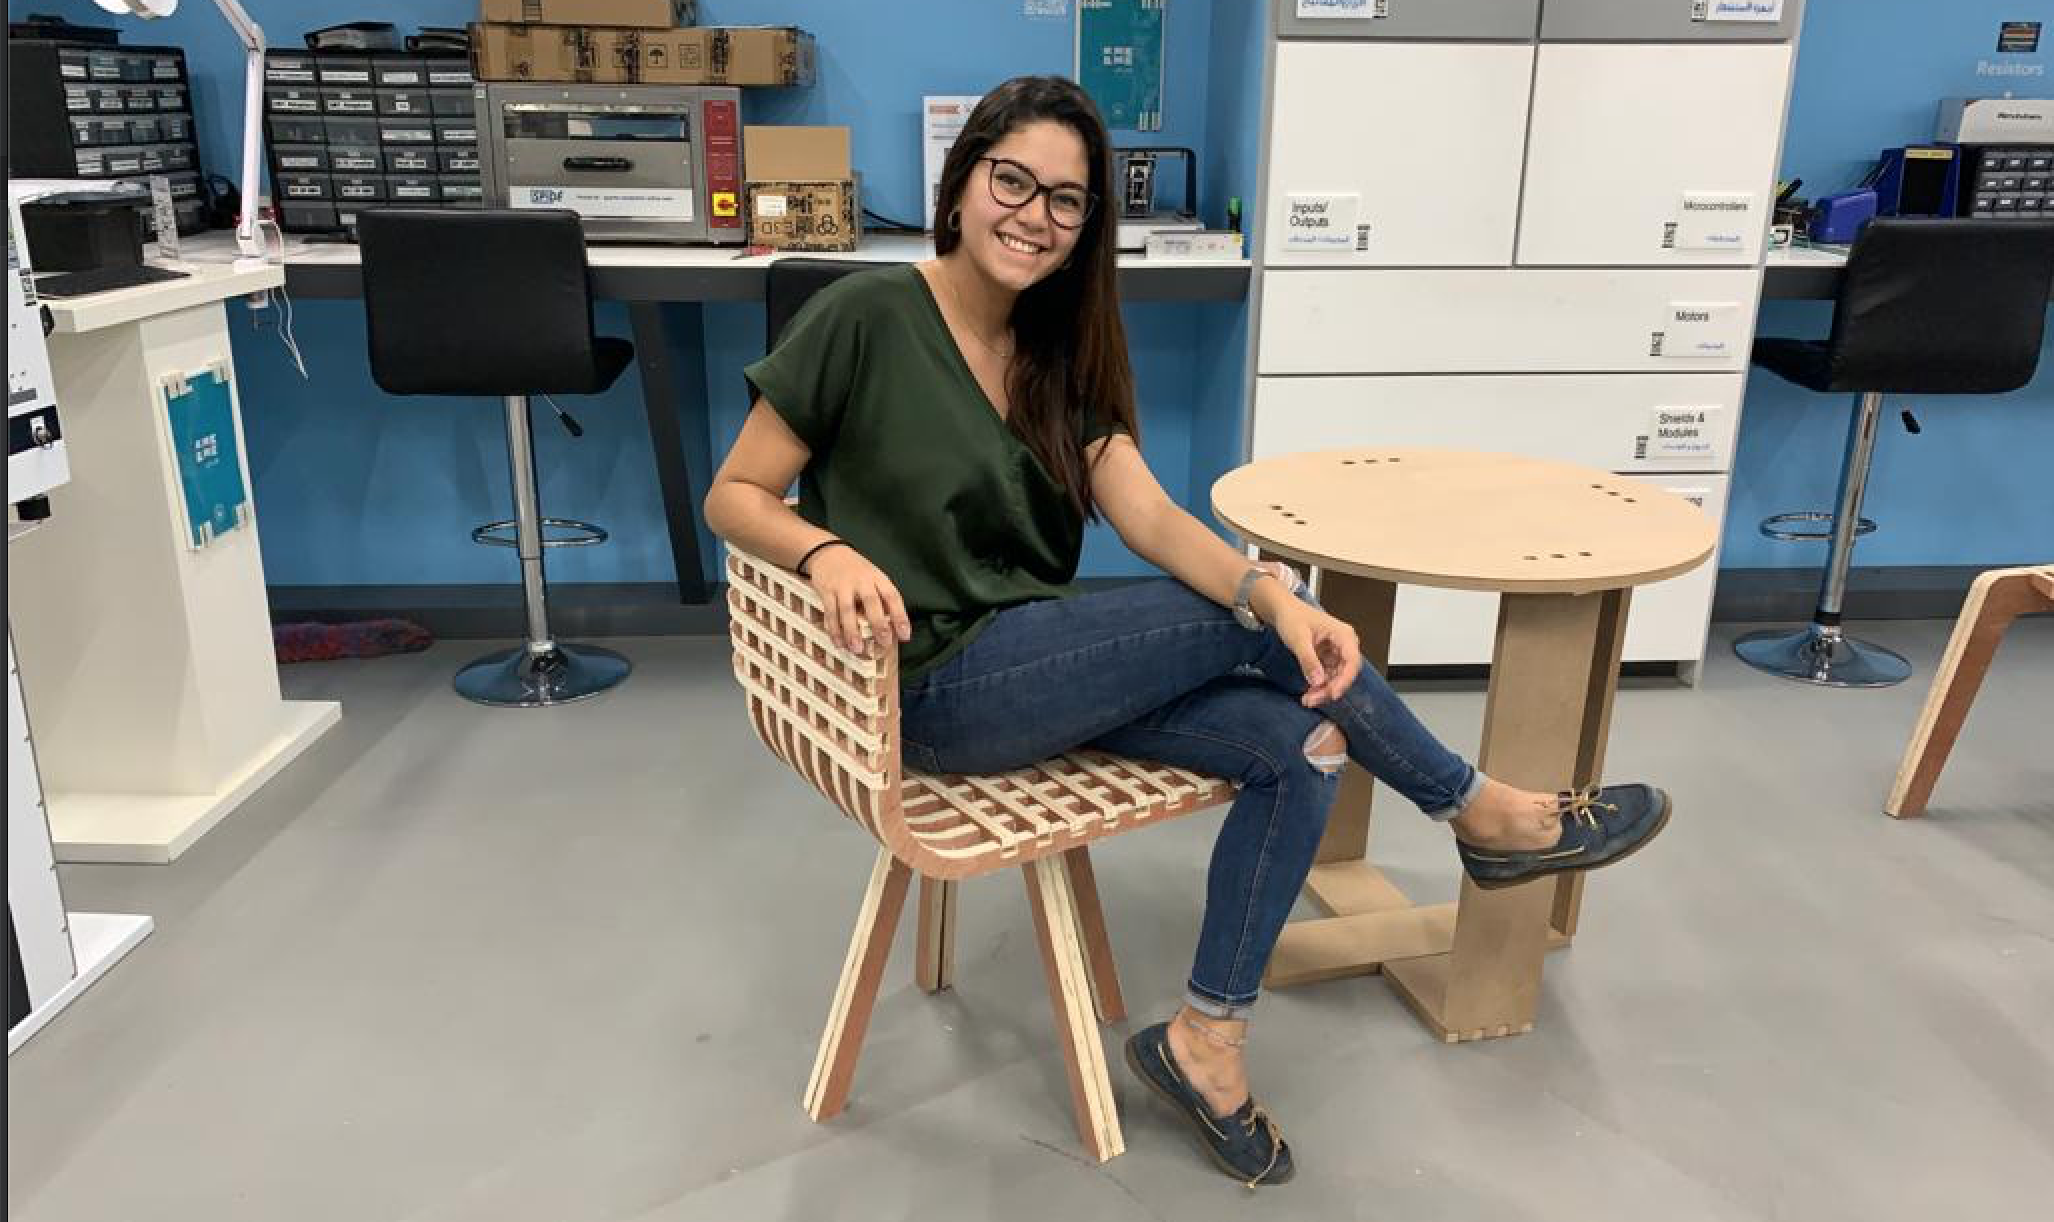
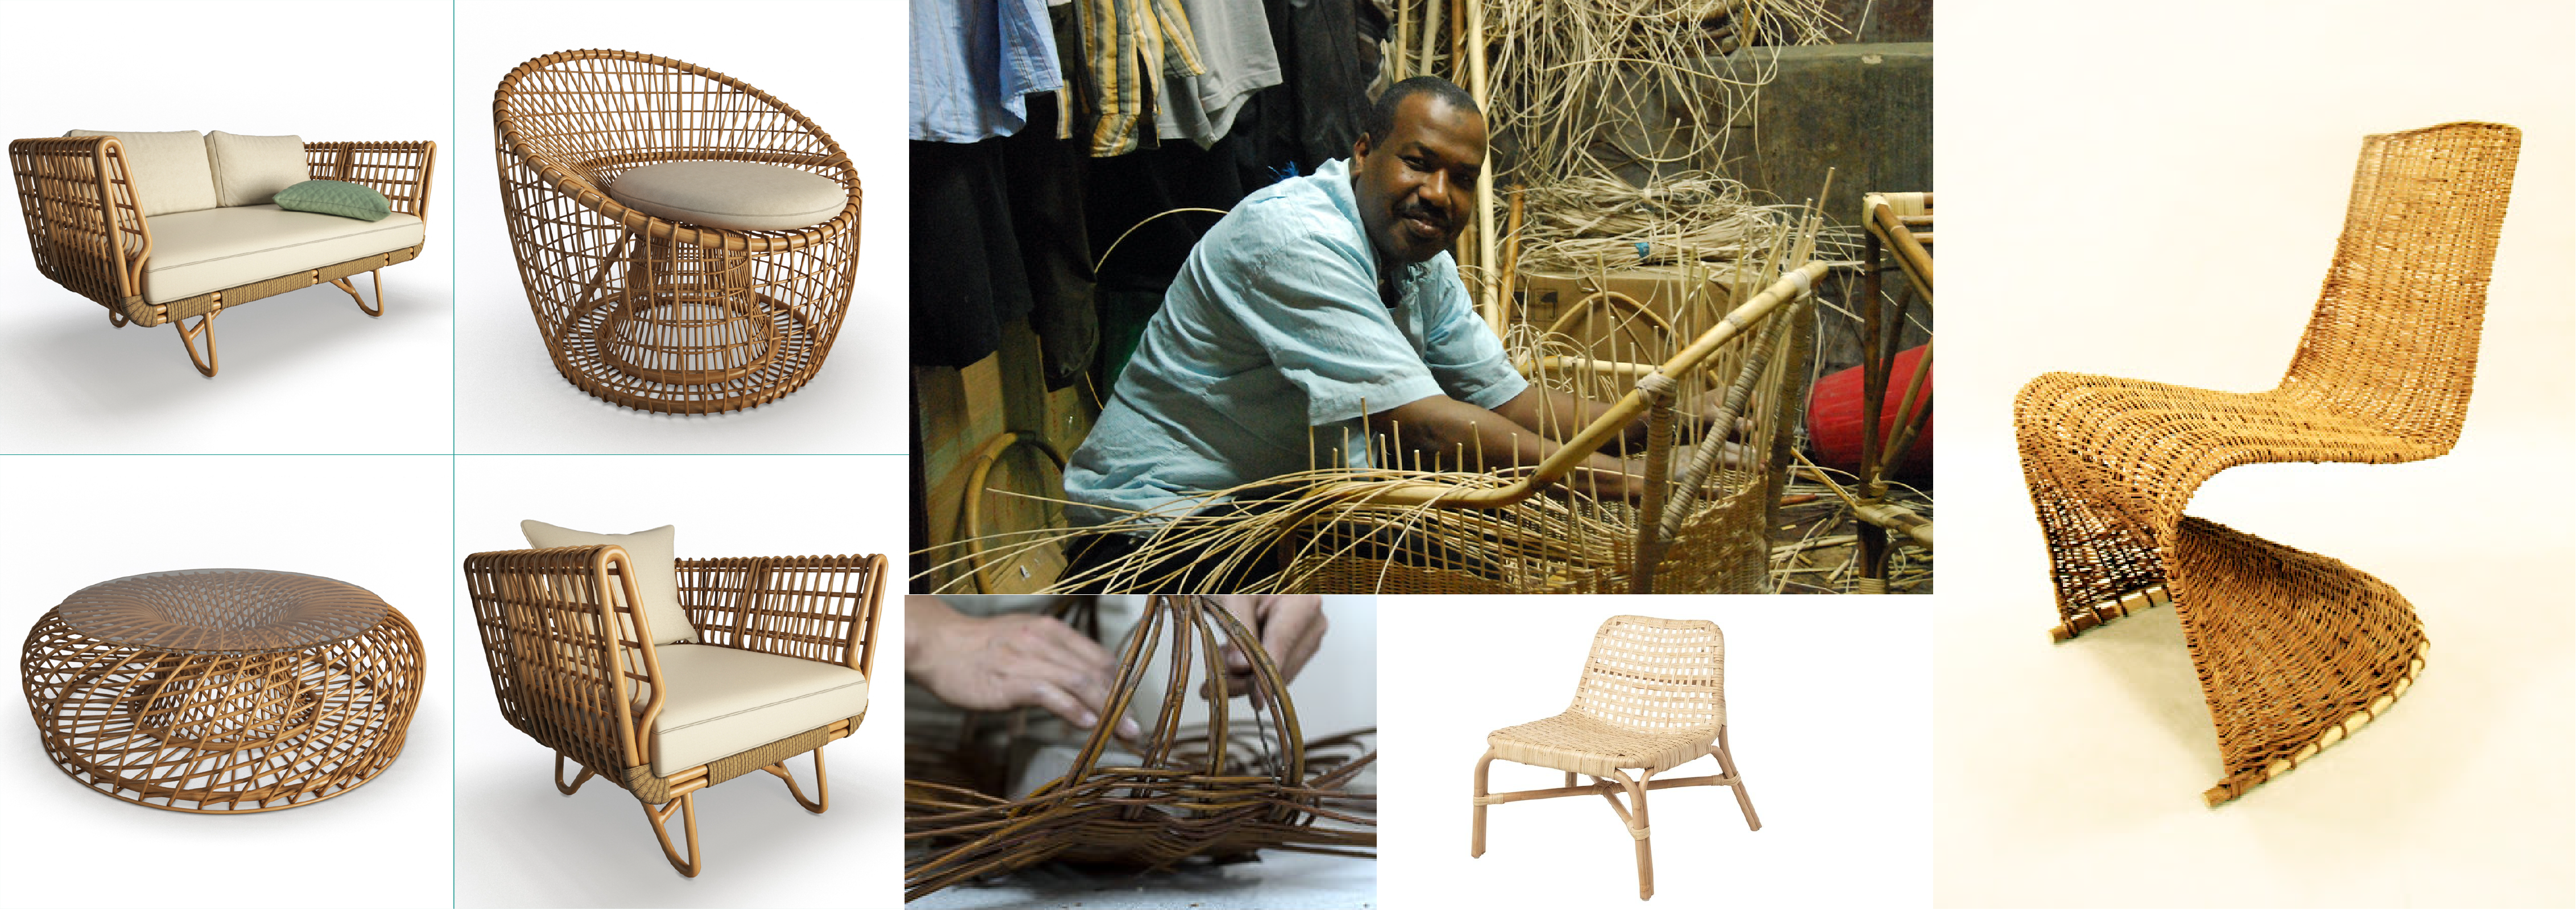
1- I decided to make a chair inpired in the Wicker techinique used by local craftman in Latin America and in many other countries around the glob.
2- Sketch
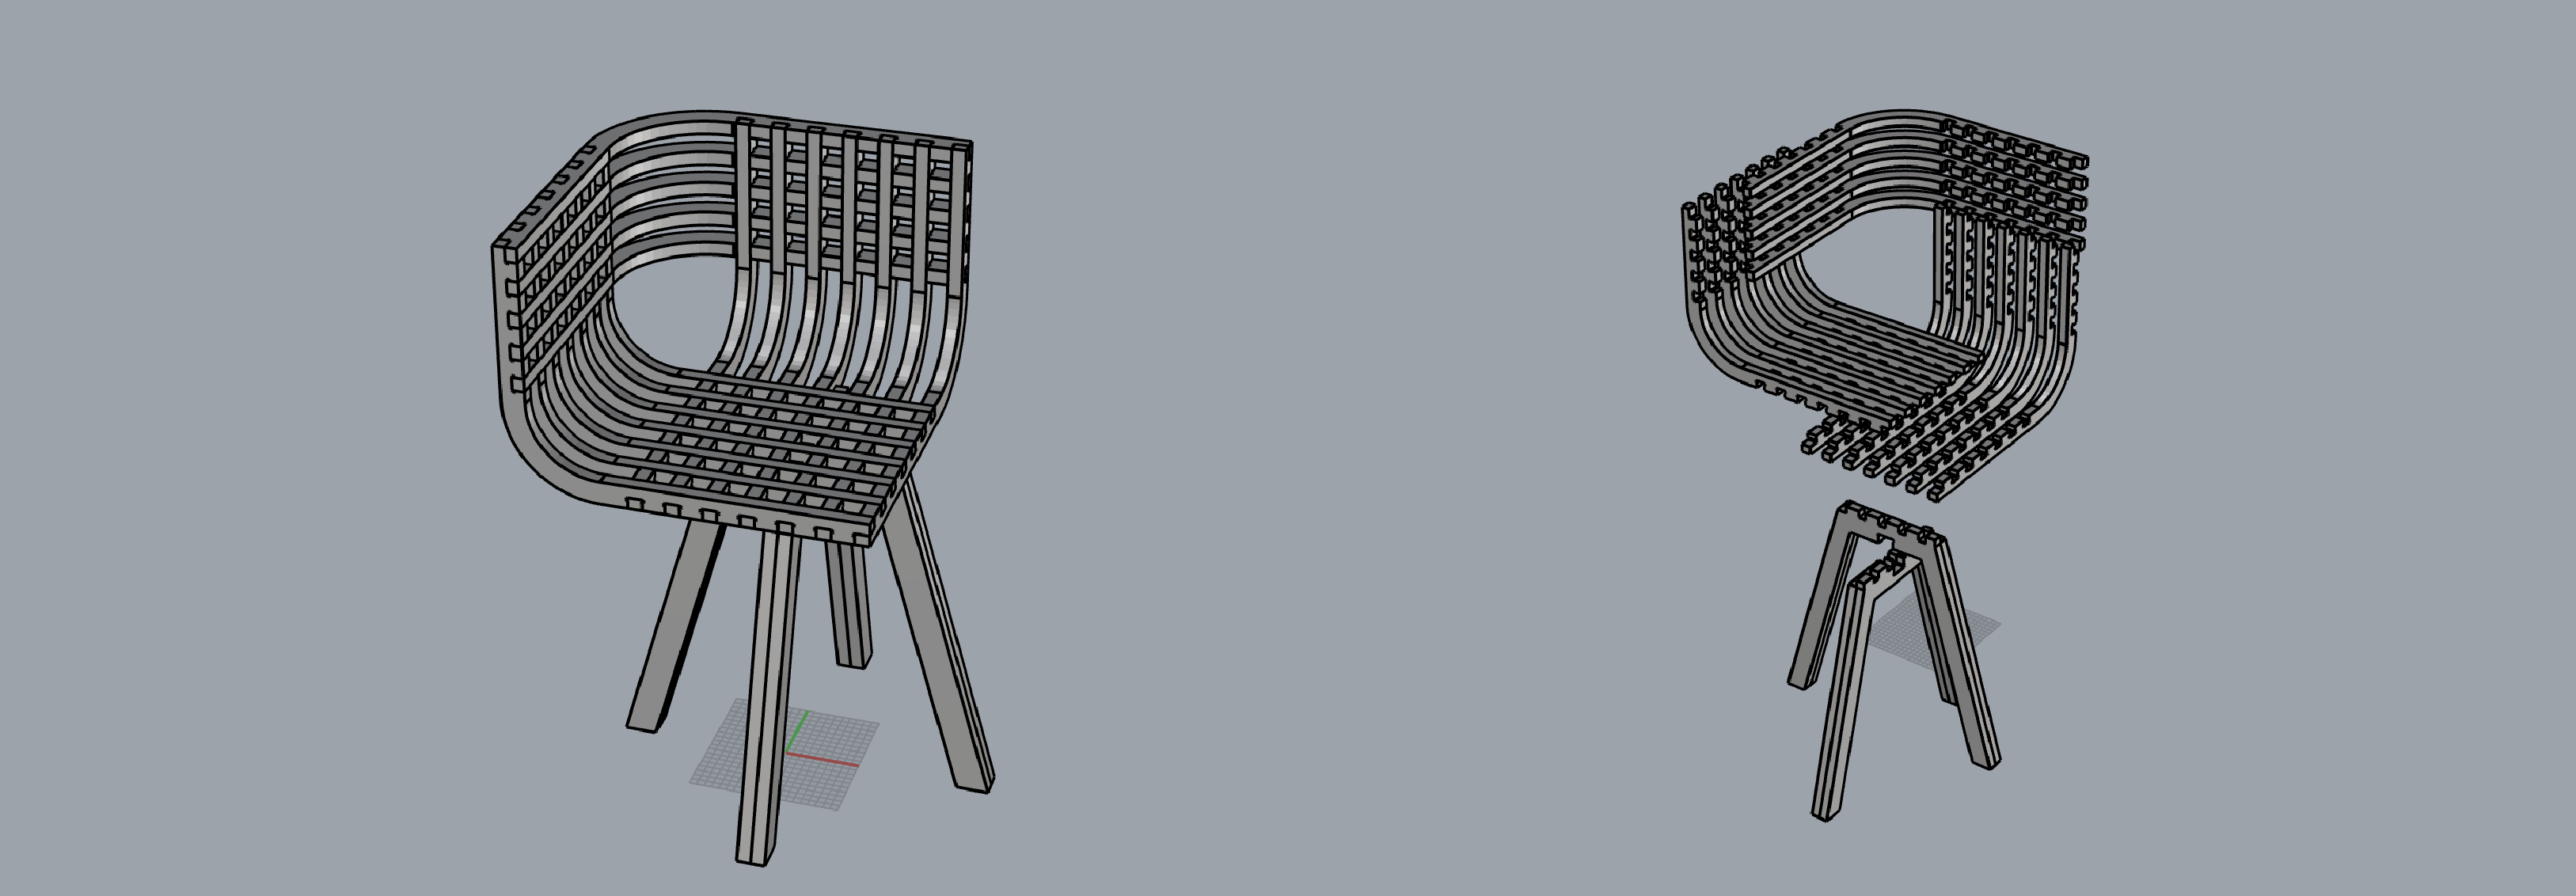
3- I 3D modeled my design unsign Rhino
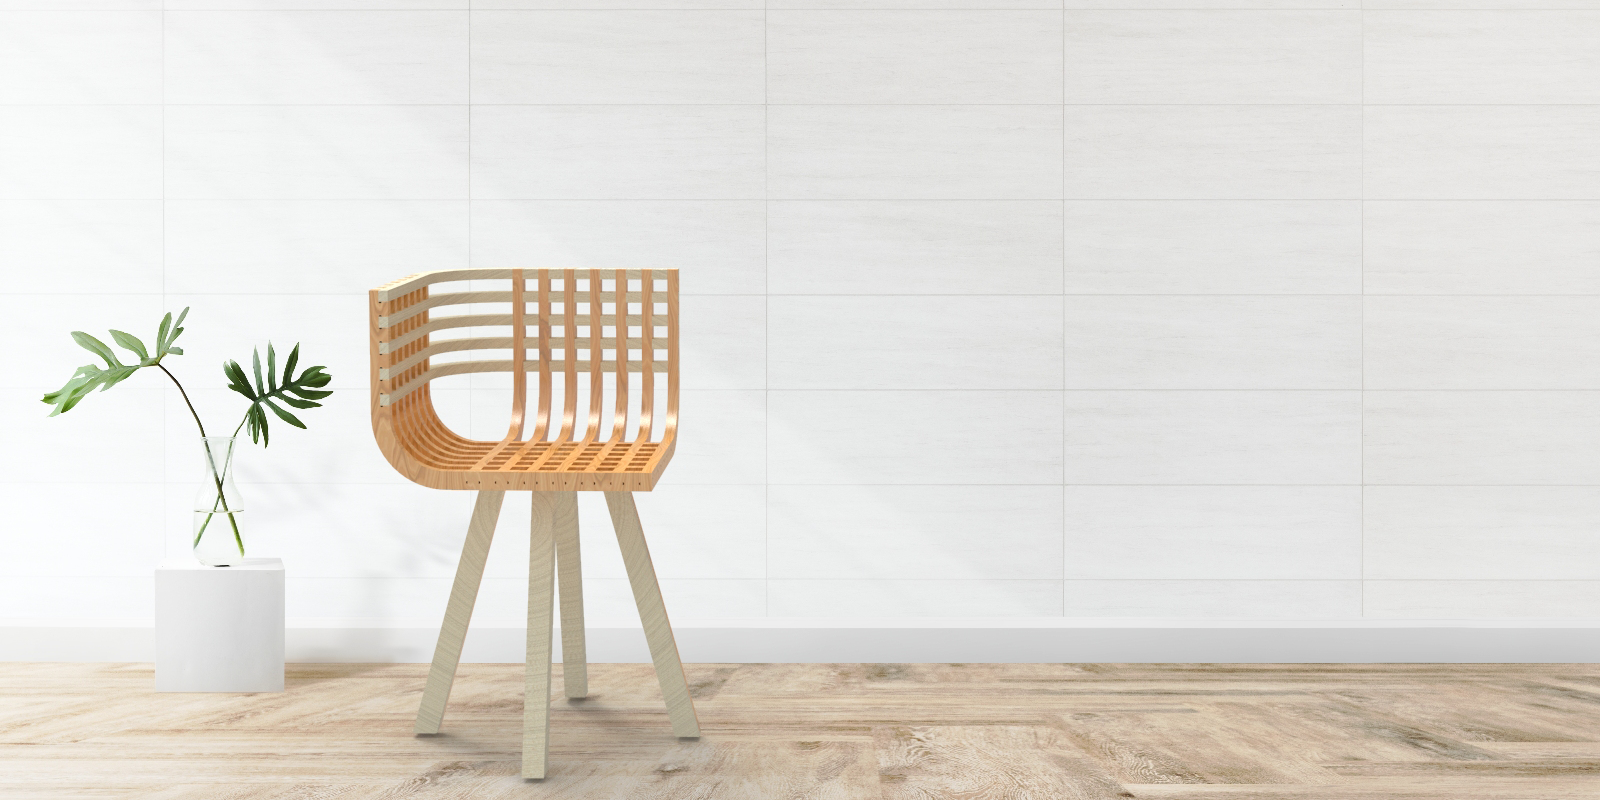
4- To have a better idea I made a quick render in Keyshot.
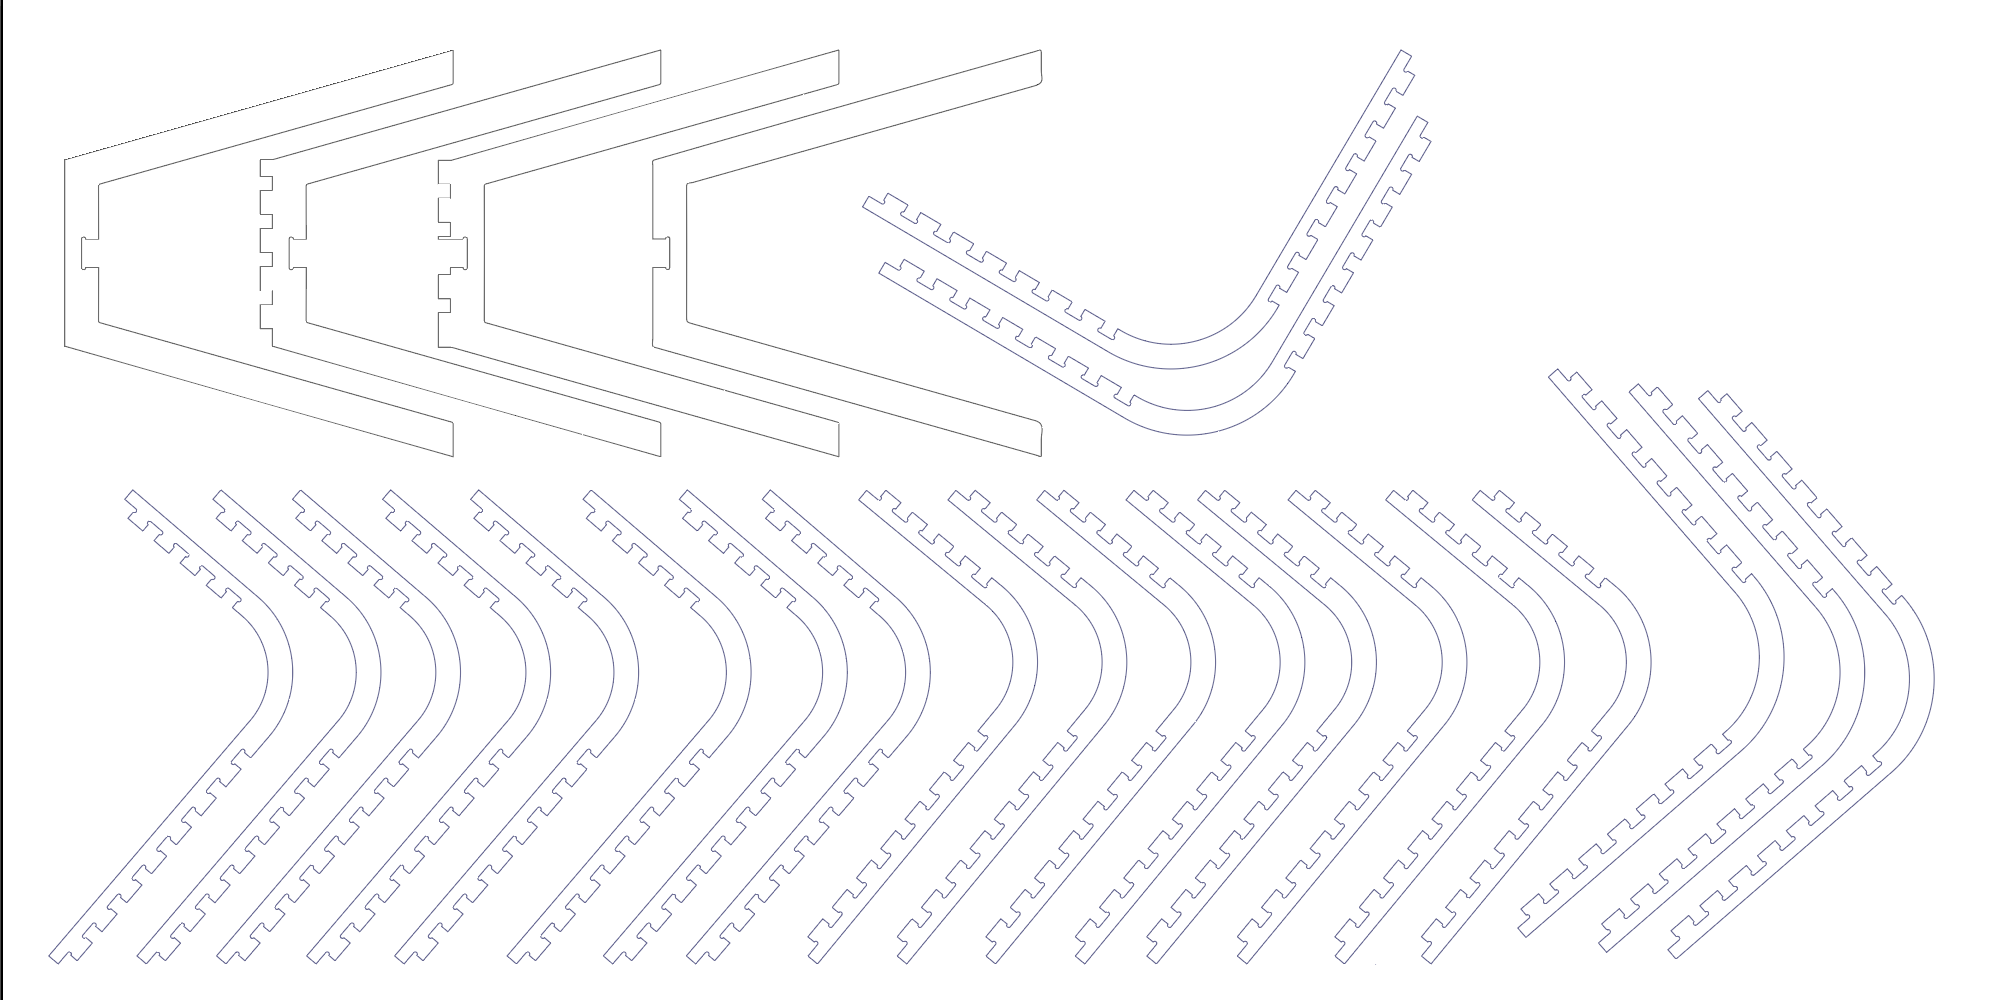
5- Start preparing the file. In Rhino I used the "make 2D" option to get the vector of my model and I manually nested it into a 122 x 244 cm. In the past I've had problems when exporting straight from Rhino (the machine cant find the origin or the orintation) to avoid this I always open it in Illustrator and from there export it into DXF.
Setting up the Shopbot
1. We start by securing the material in the table with some screws. We secure every corner to prevent the material from moving.
2. Open the Shopbot panel
The panel will look like this:
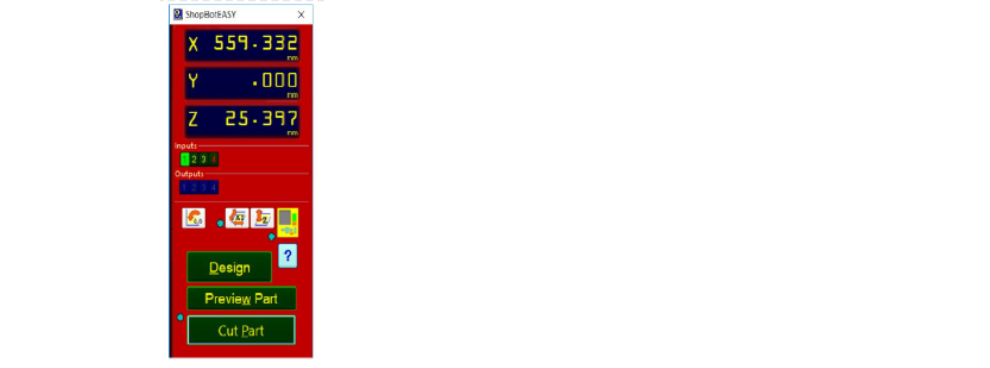
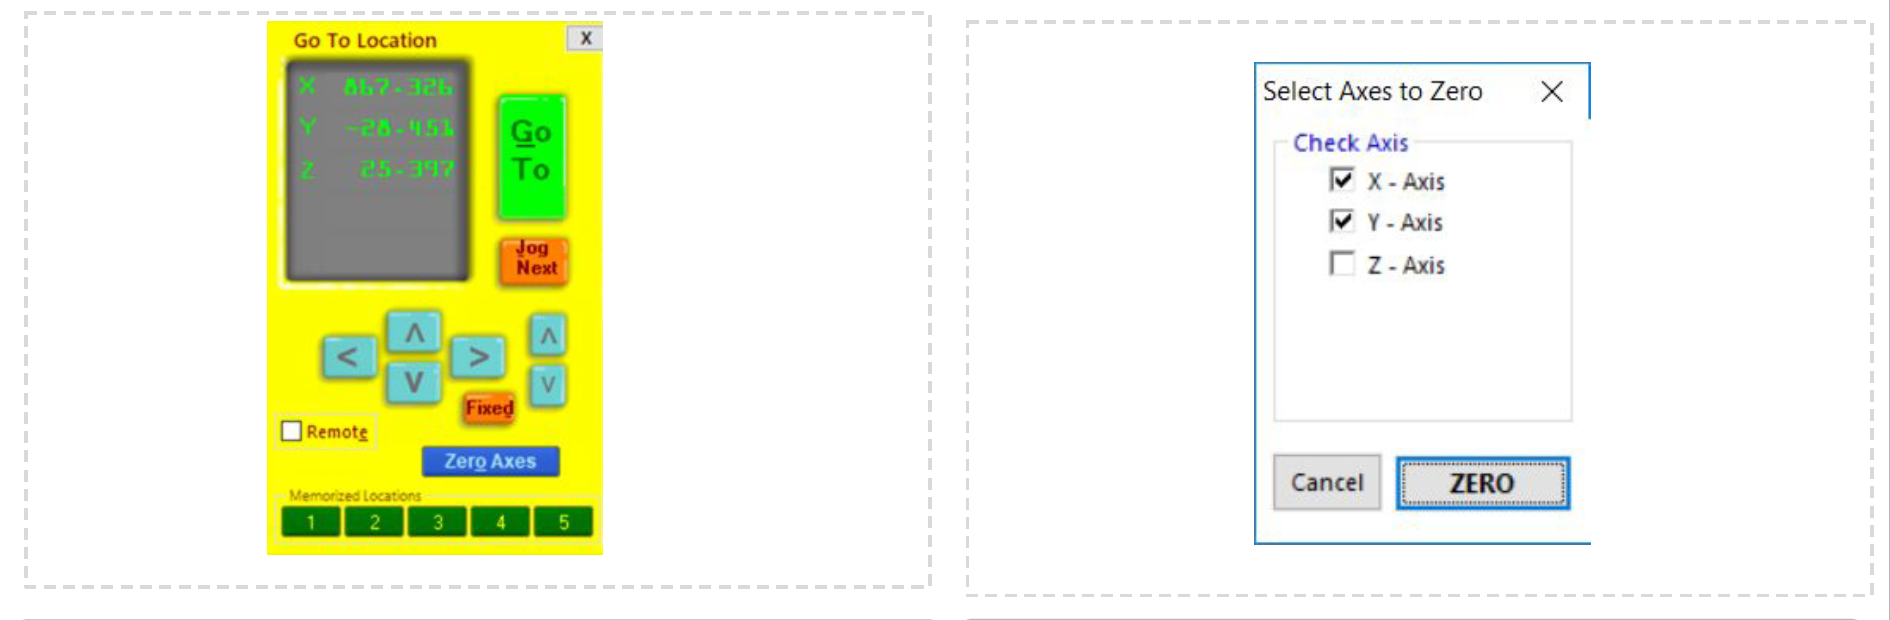
3. Click on the "yellow" icon, to move the car and set the X and Y origin.
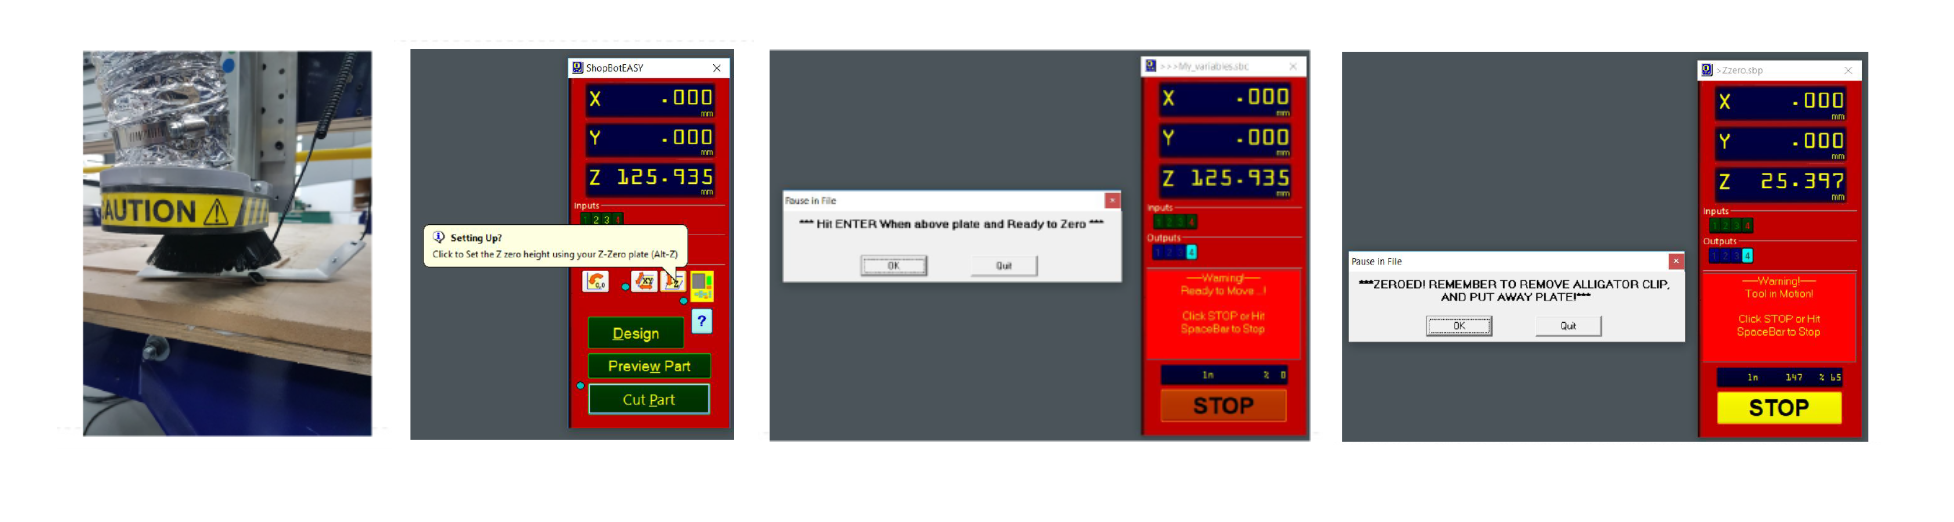
4. Place the plate under the spindle a clip the nut.
5. Click on the "Z" icon. A window will pop and when ready click "ok".
After the Z sense is done, click "ok" and remove the plate and clip.
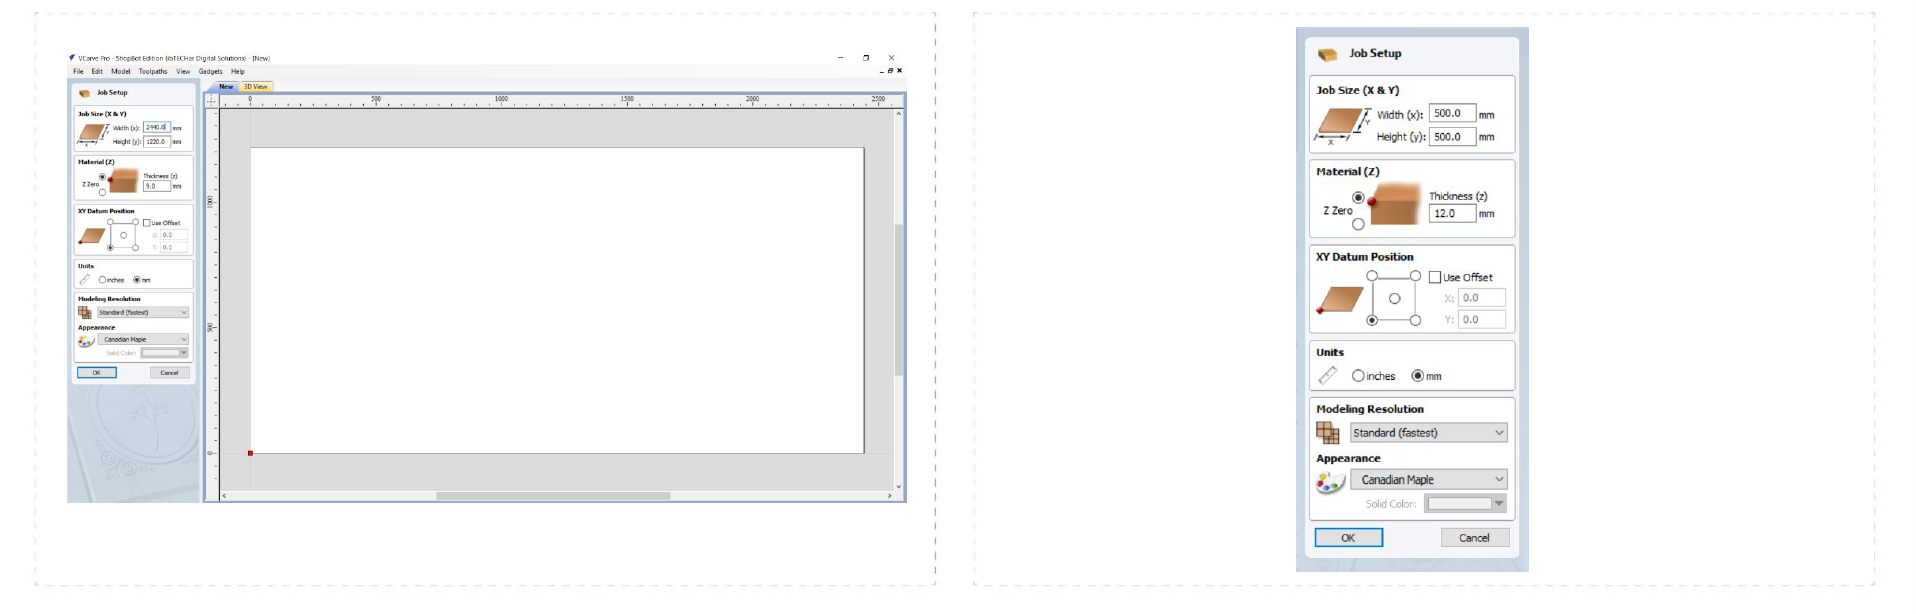
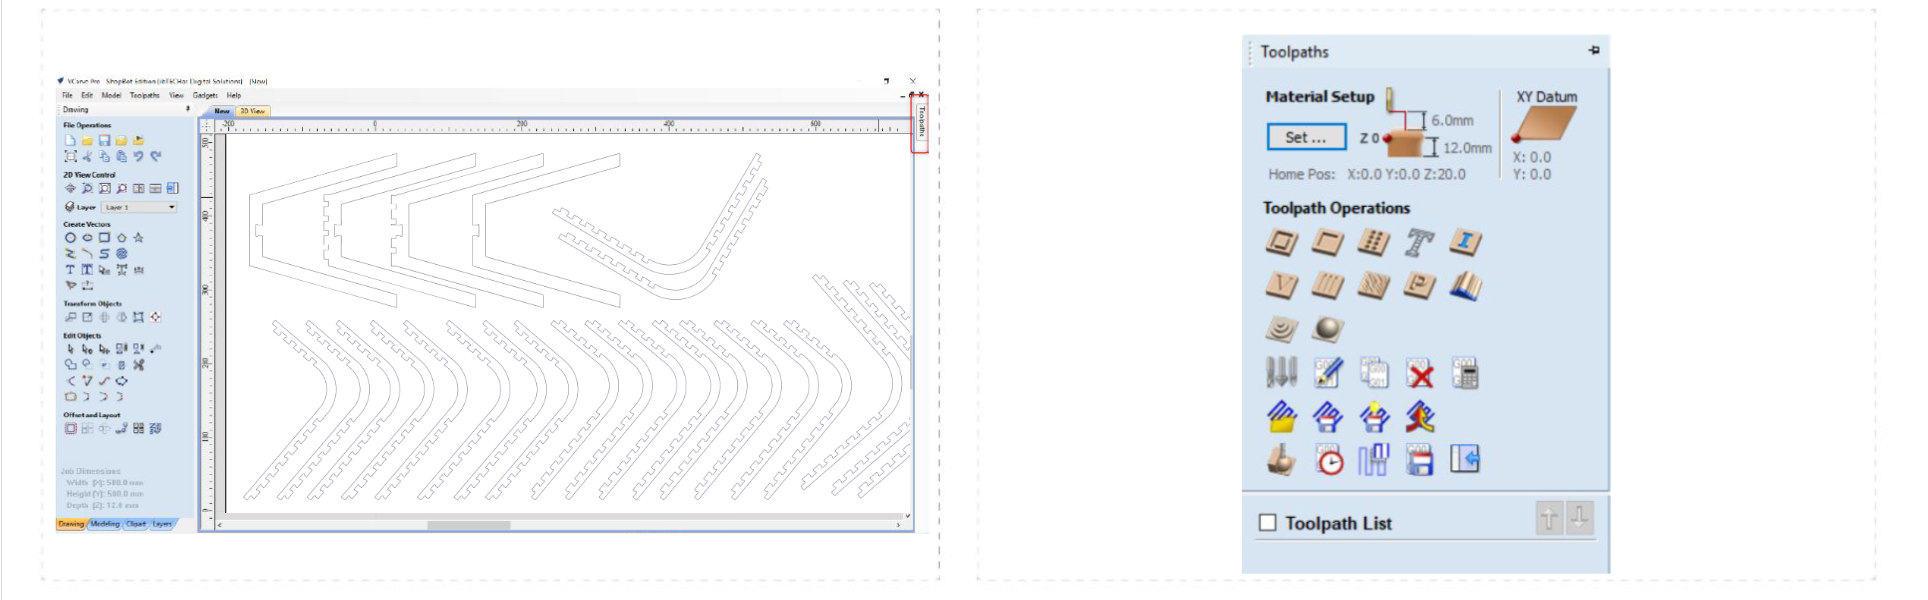
6. Open V Carve Pro, and set up the sheet according to your design.
First the material size, then the material thicknes, and the starting point or origin.
7. When done setting up the material, click on tootlpath and for cuts we use the first icon.
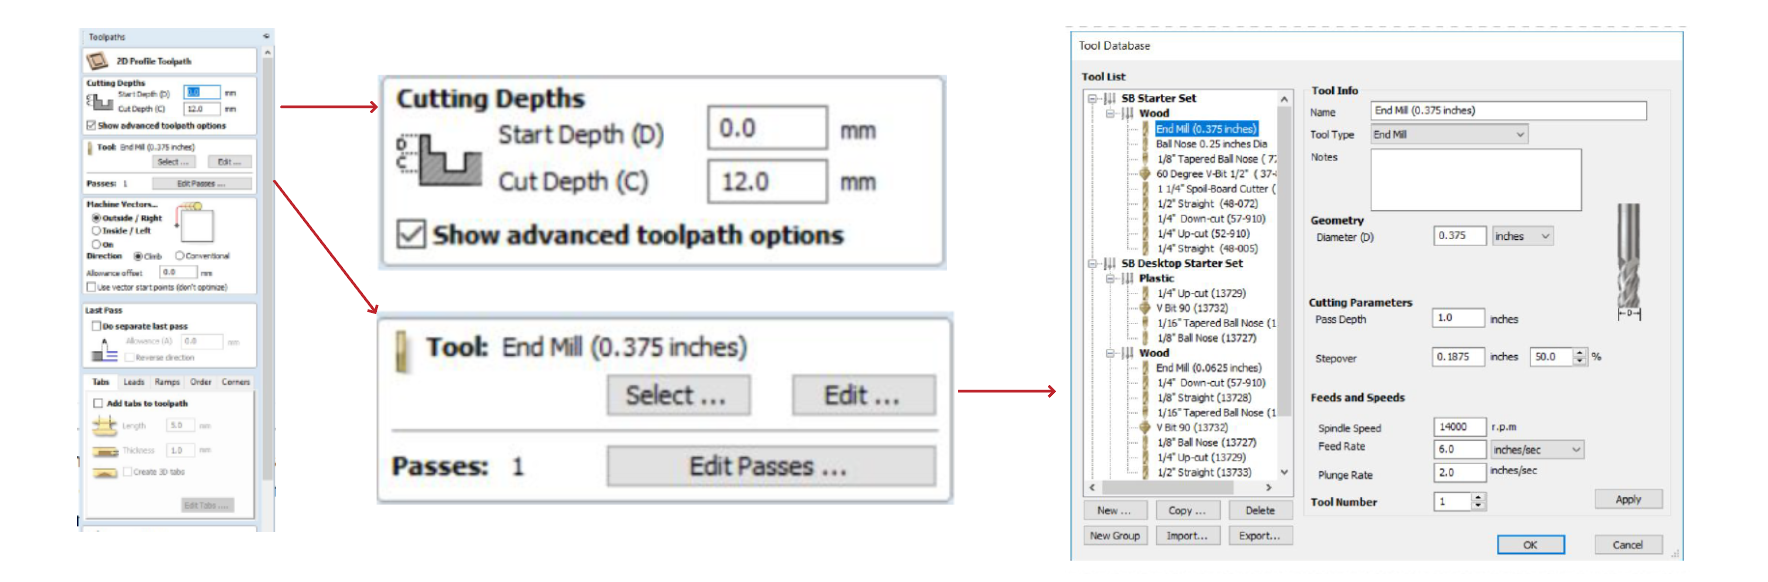
8. Set up the cutting depth (usally 1 mm more than the material thickness)
- Select the tool and the pases. (one pass should be same as the radio)
- Add tabs (small conexions that prevent your pieces to move)
- Press calculate.
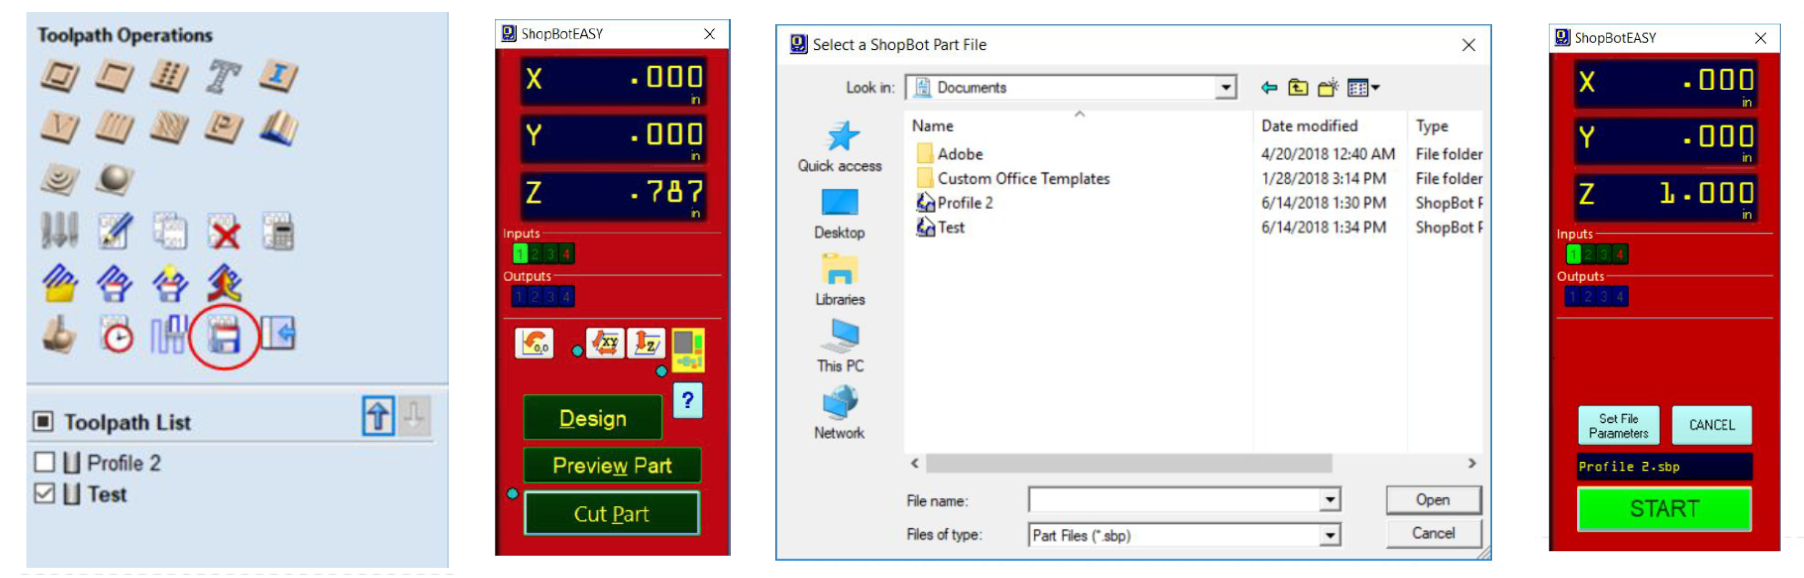
9. Save it
Open the shopbot panel> cut part> open.
10. Press START.
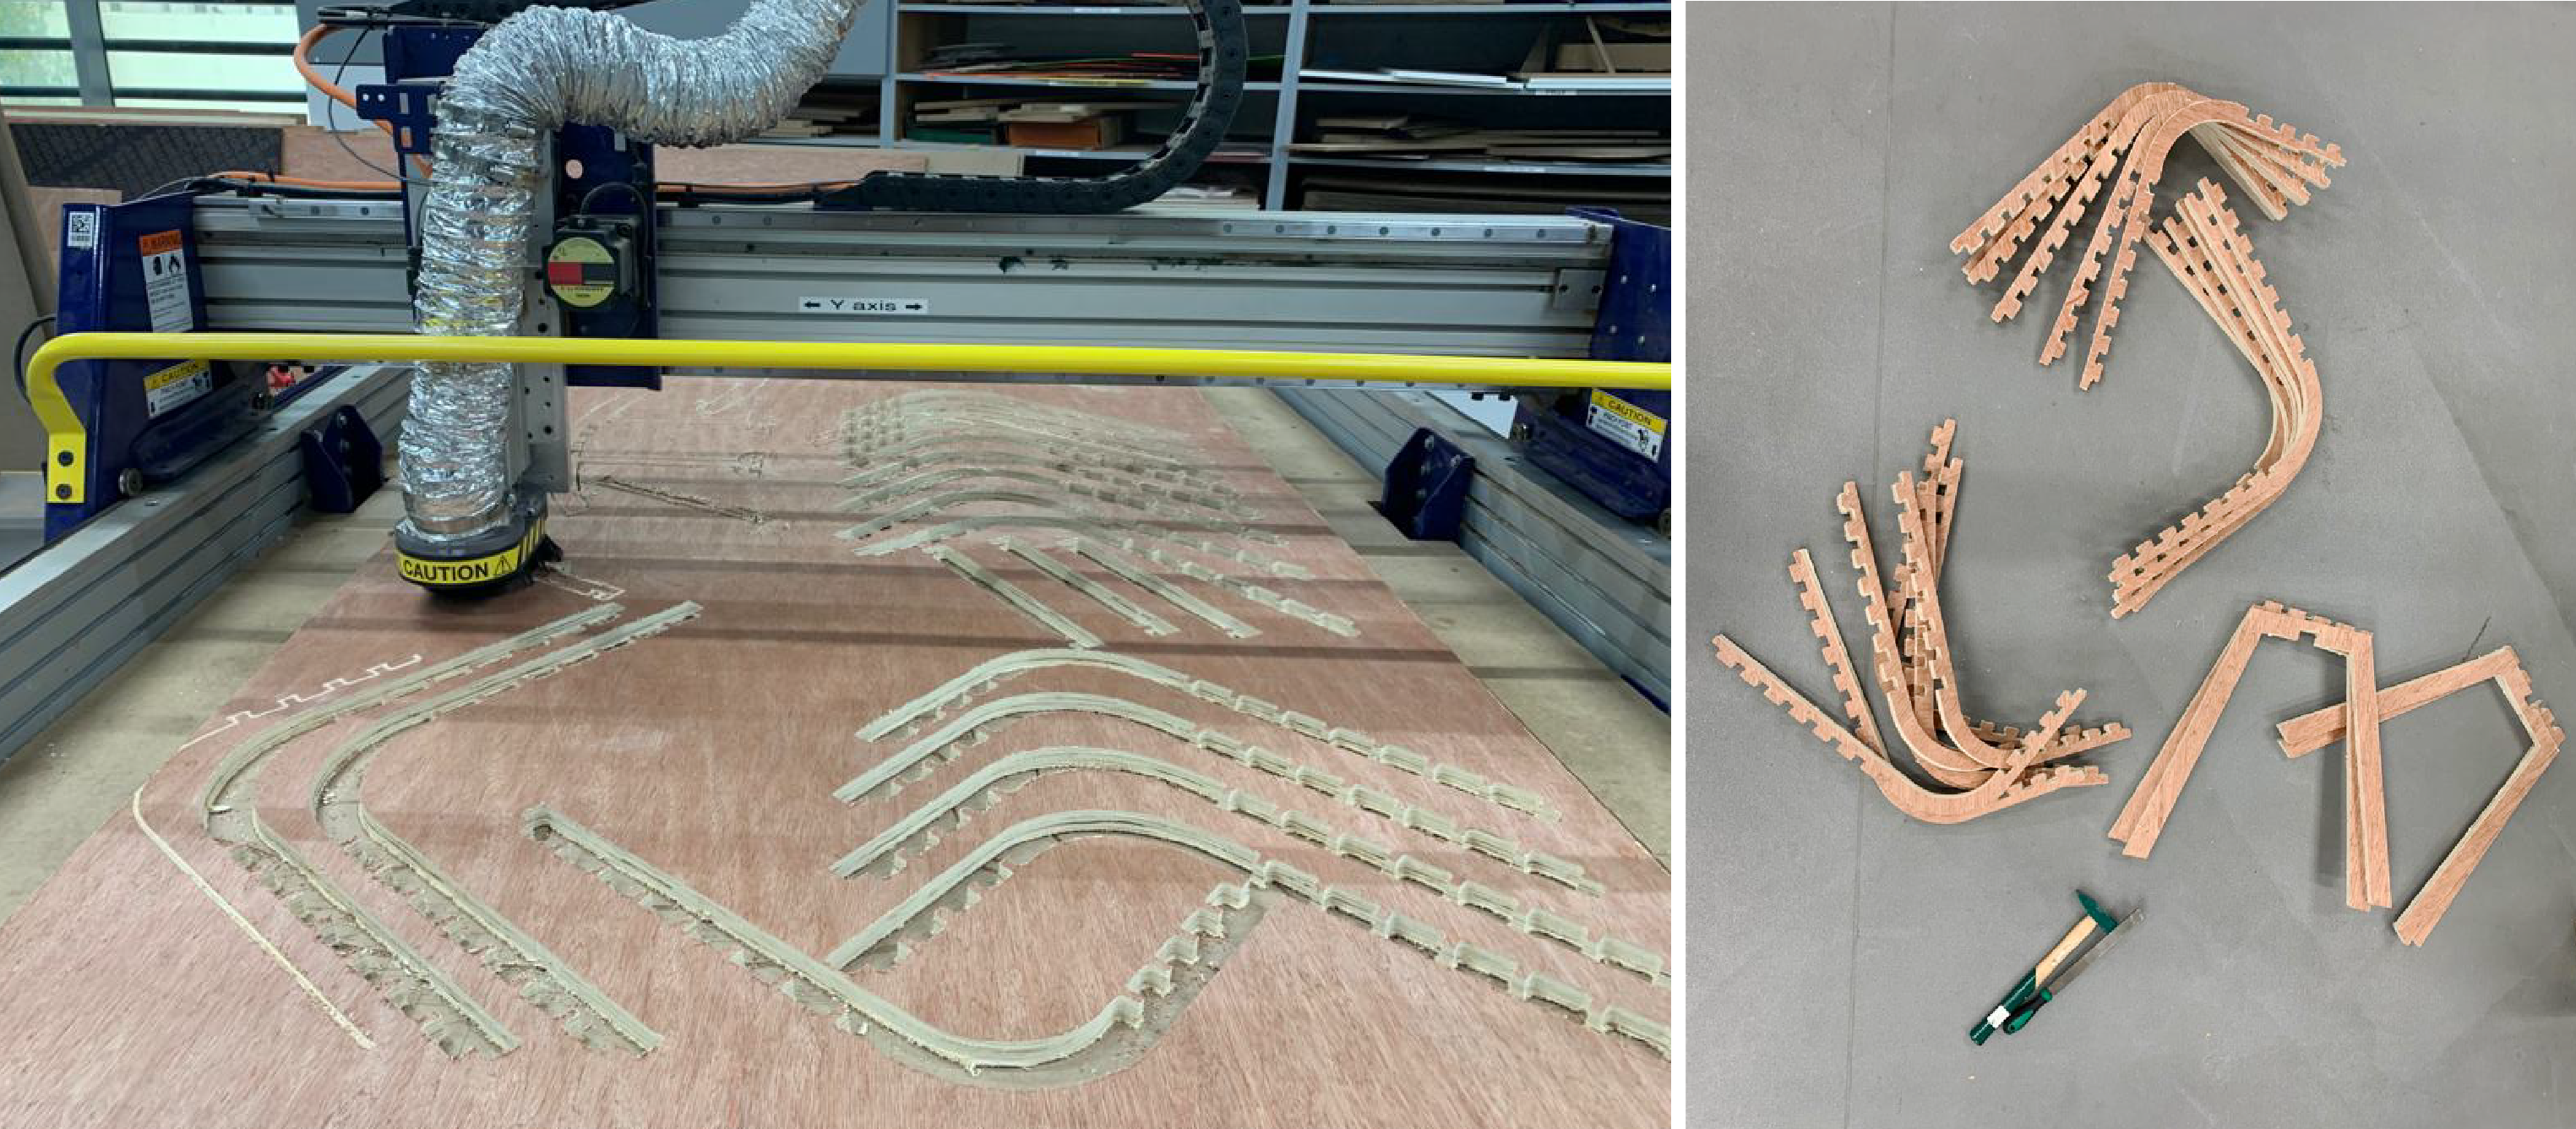
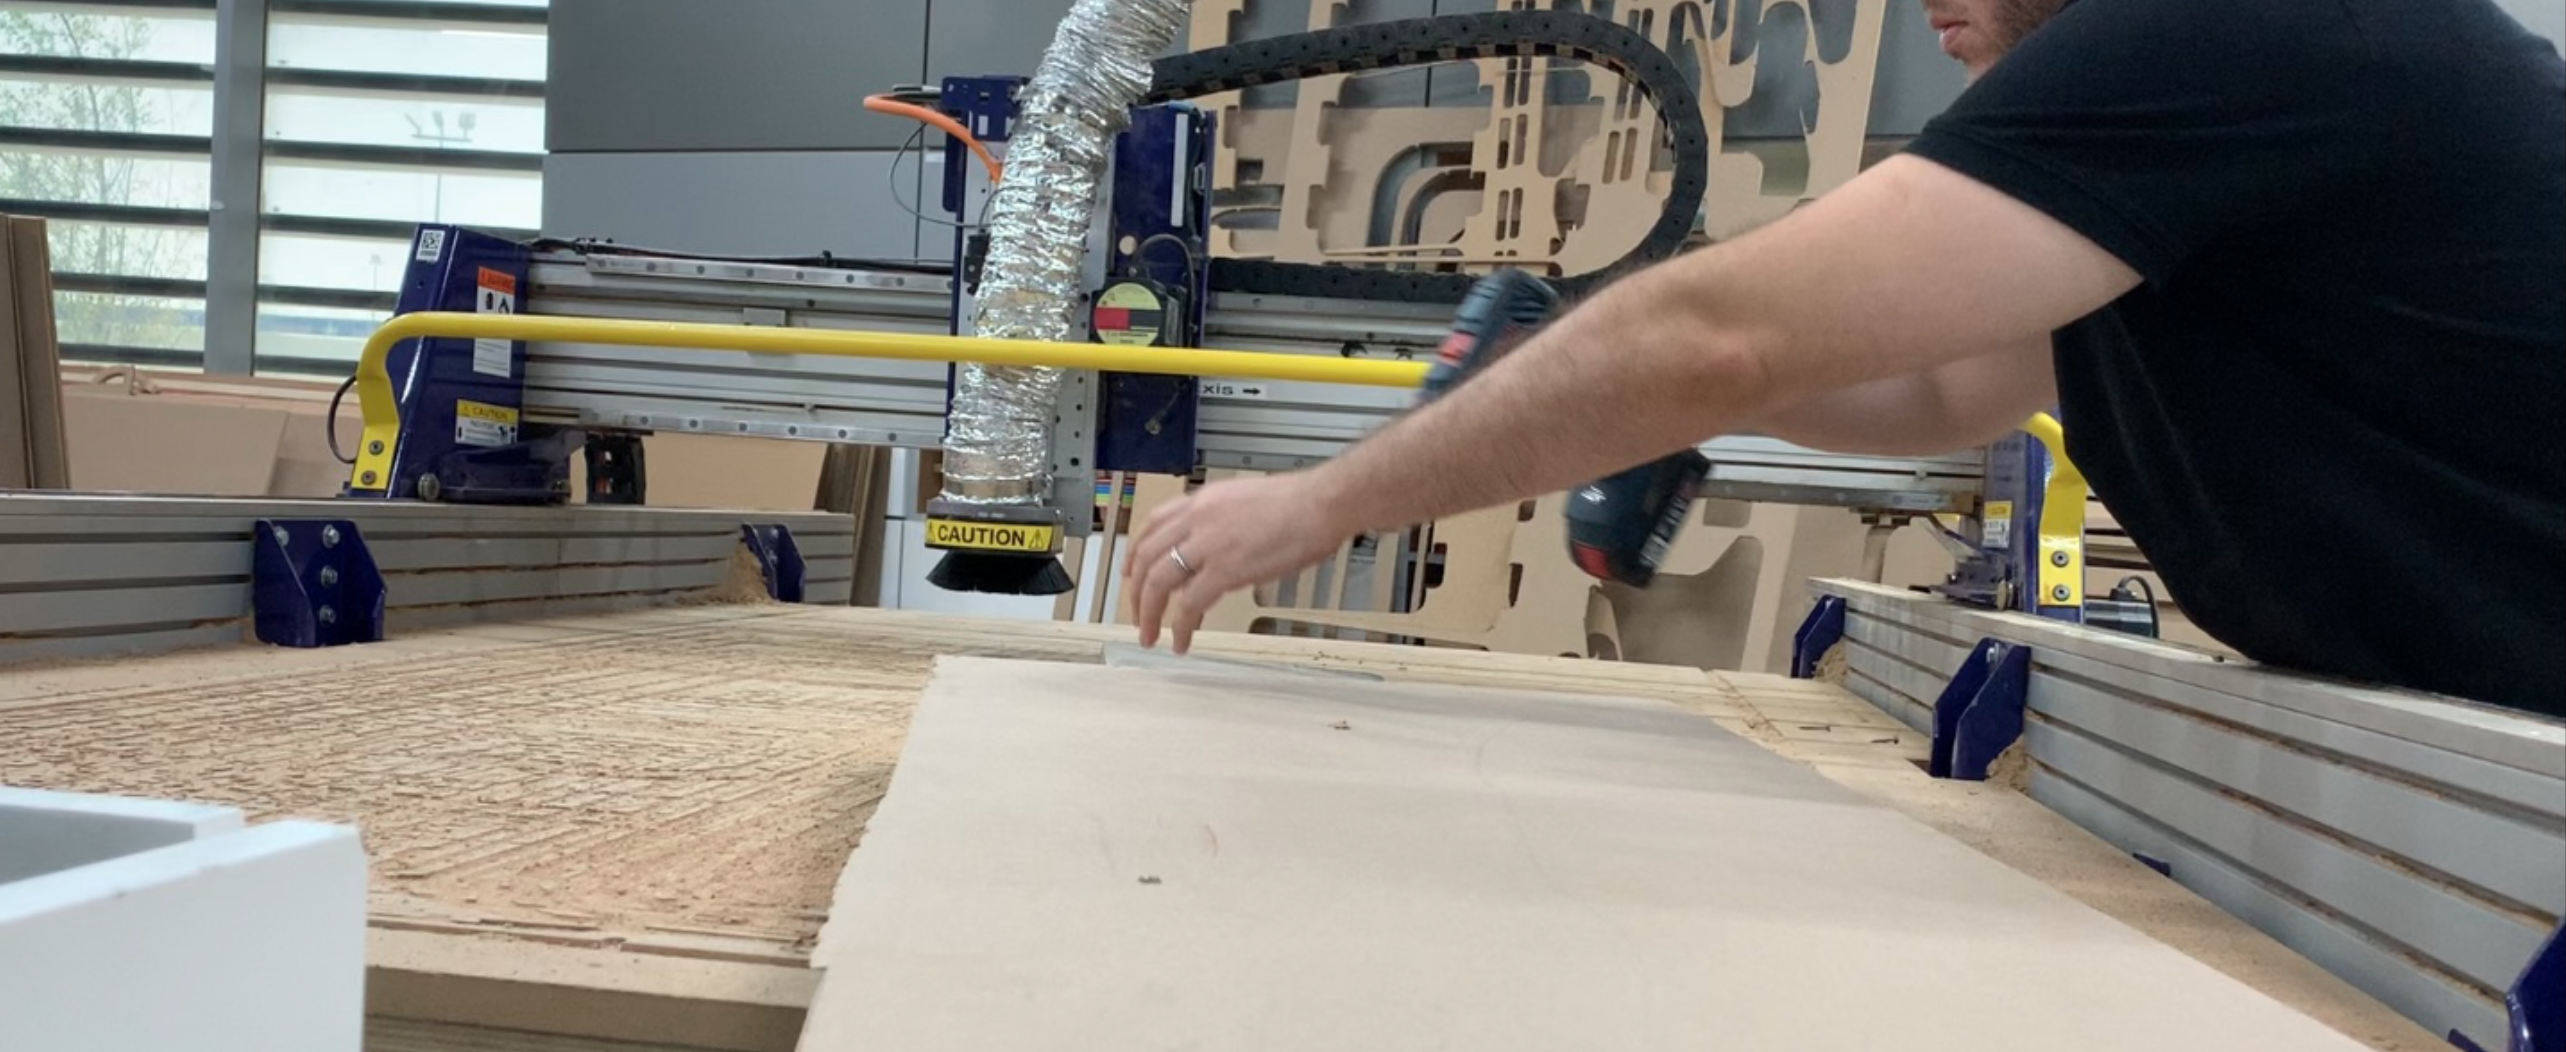
Final result!