3D Scanning and Printing
Week 05
Machines and Materials
Softwares
Files
During this week we were introduced to 3D Sacnning and 3D Printing, essential tools at the lab and for digital fabrication at the moment.For the group assigment we had to test the Design Rules for 3D printing. For the individual assigment we had to scan an object or ourselves and print an element that can not be done by subtractive manufacturing.
Group Assignment.
Aim: Test the Design Rules for our 3D printing, in our lab we are using Ultimaker +2, FDM technology.
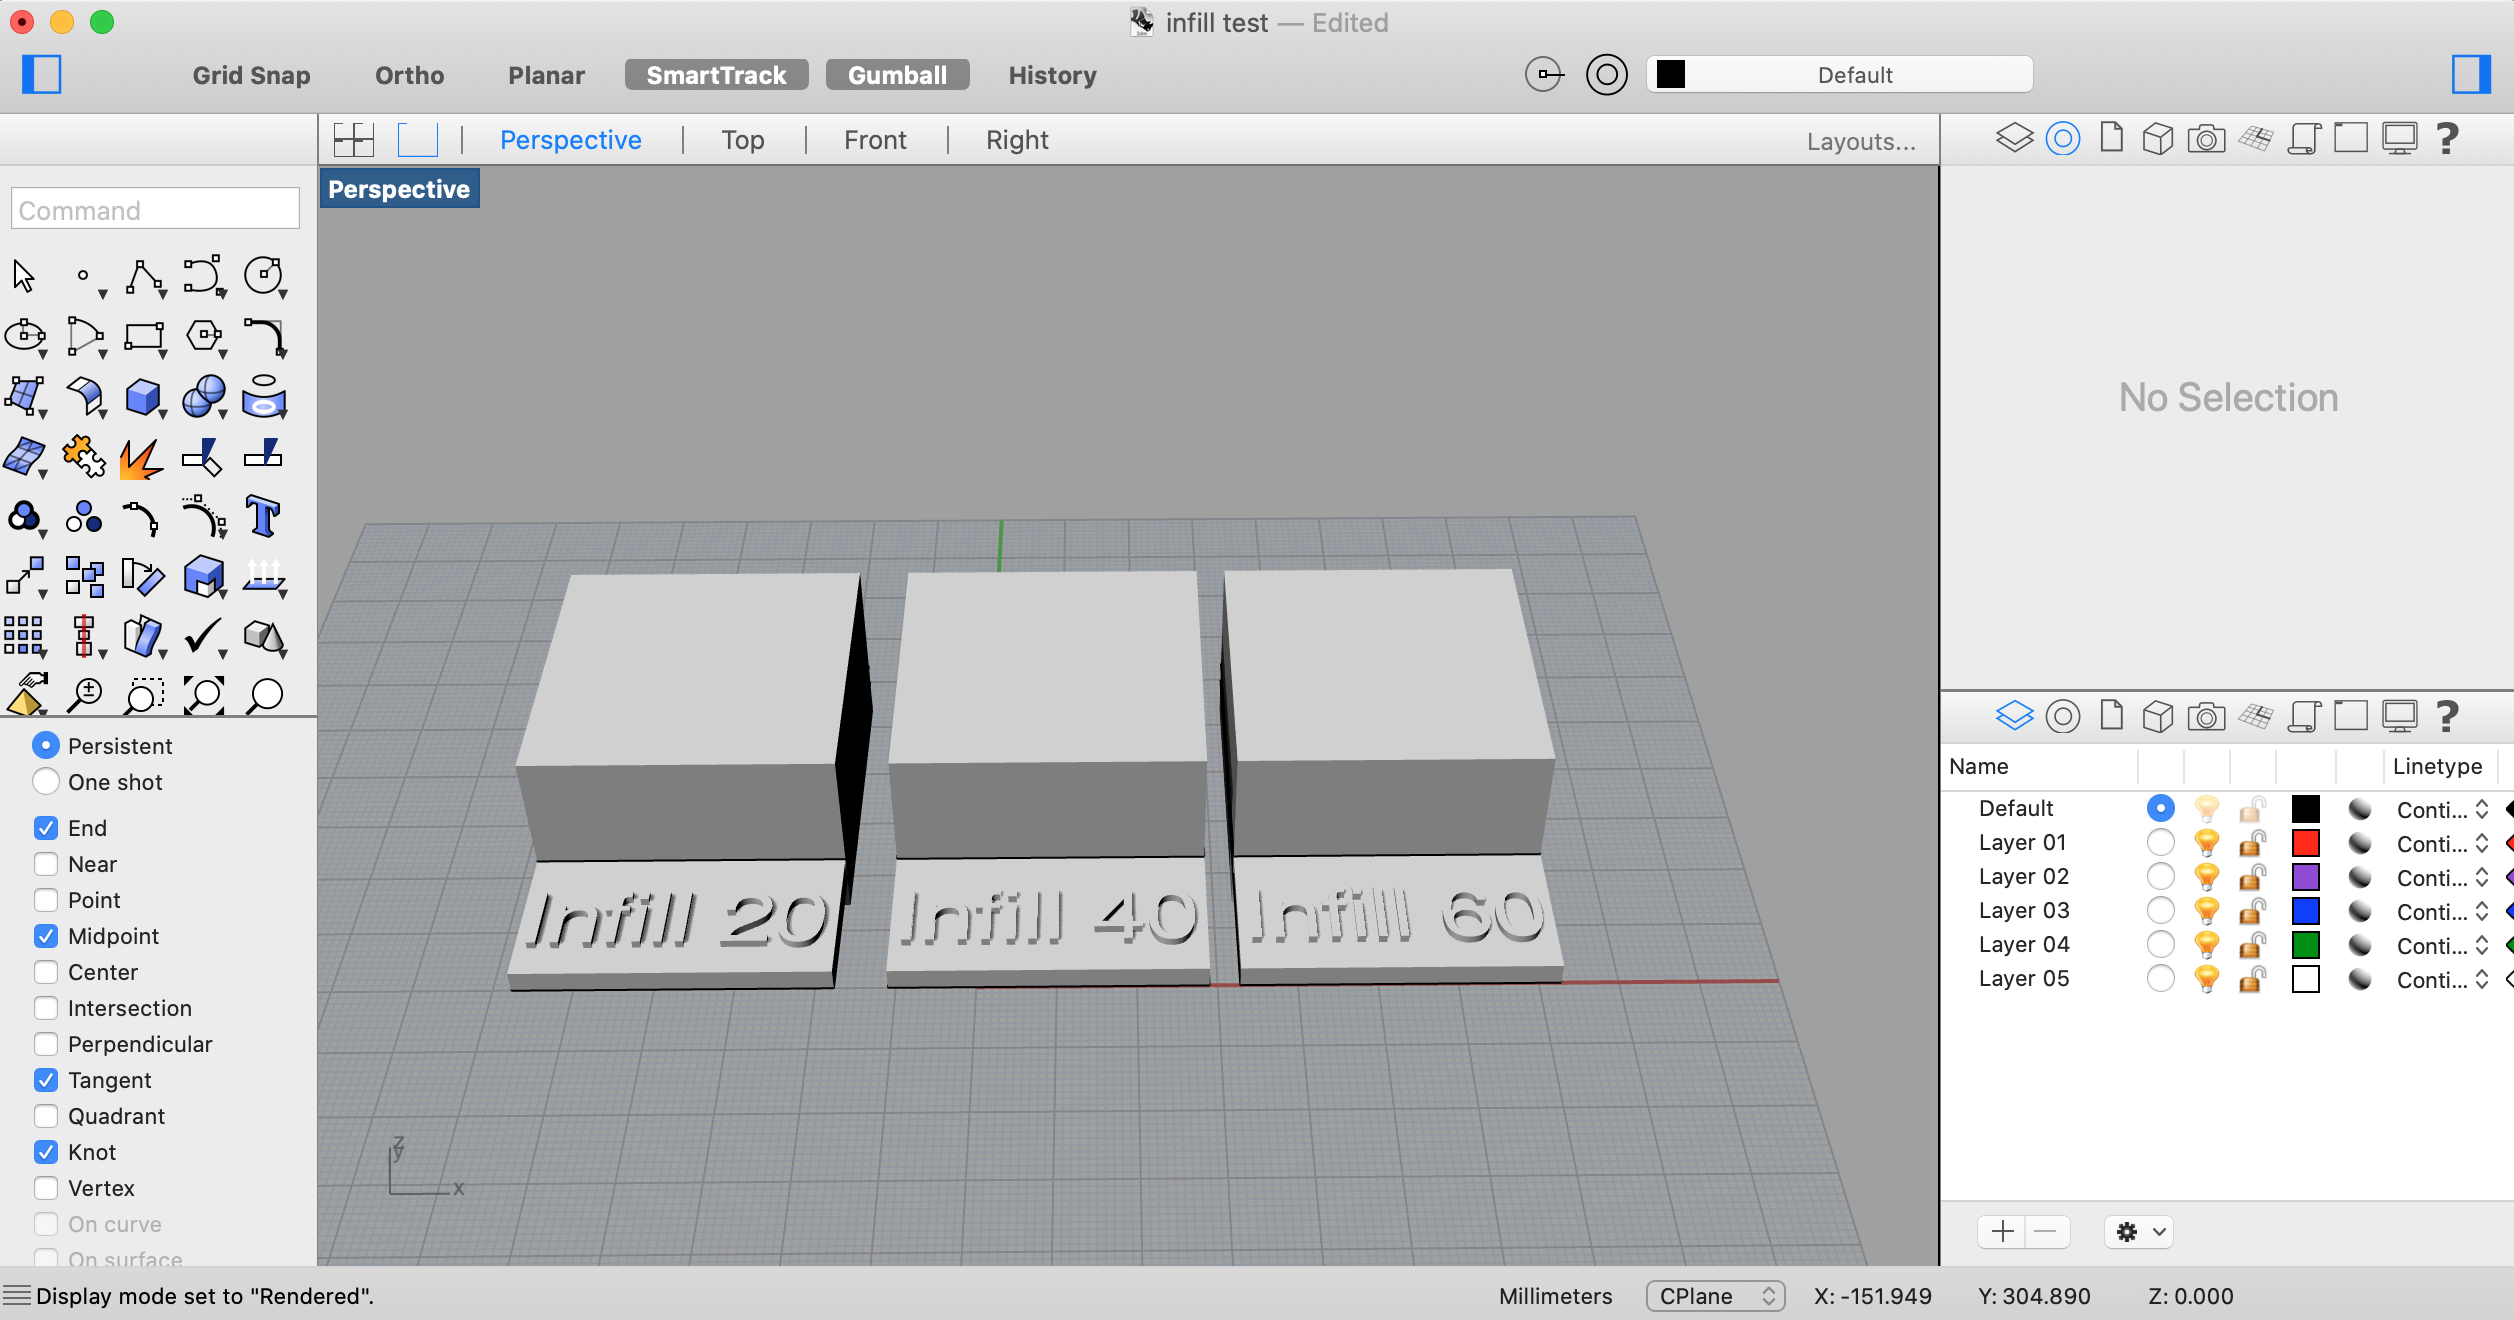
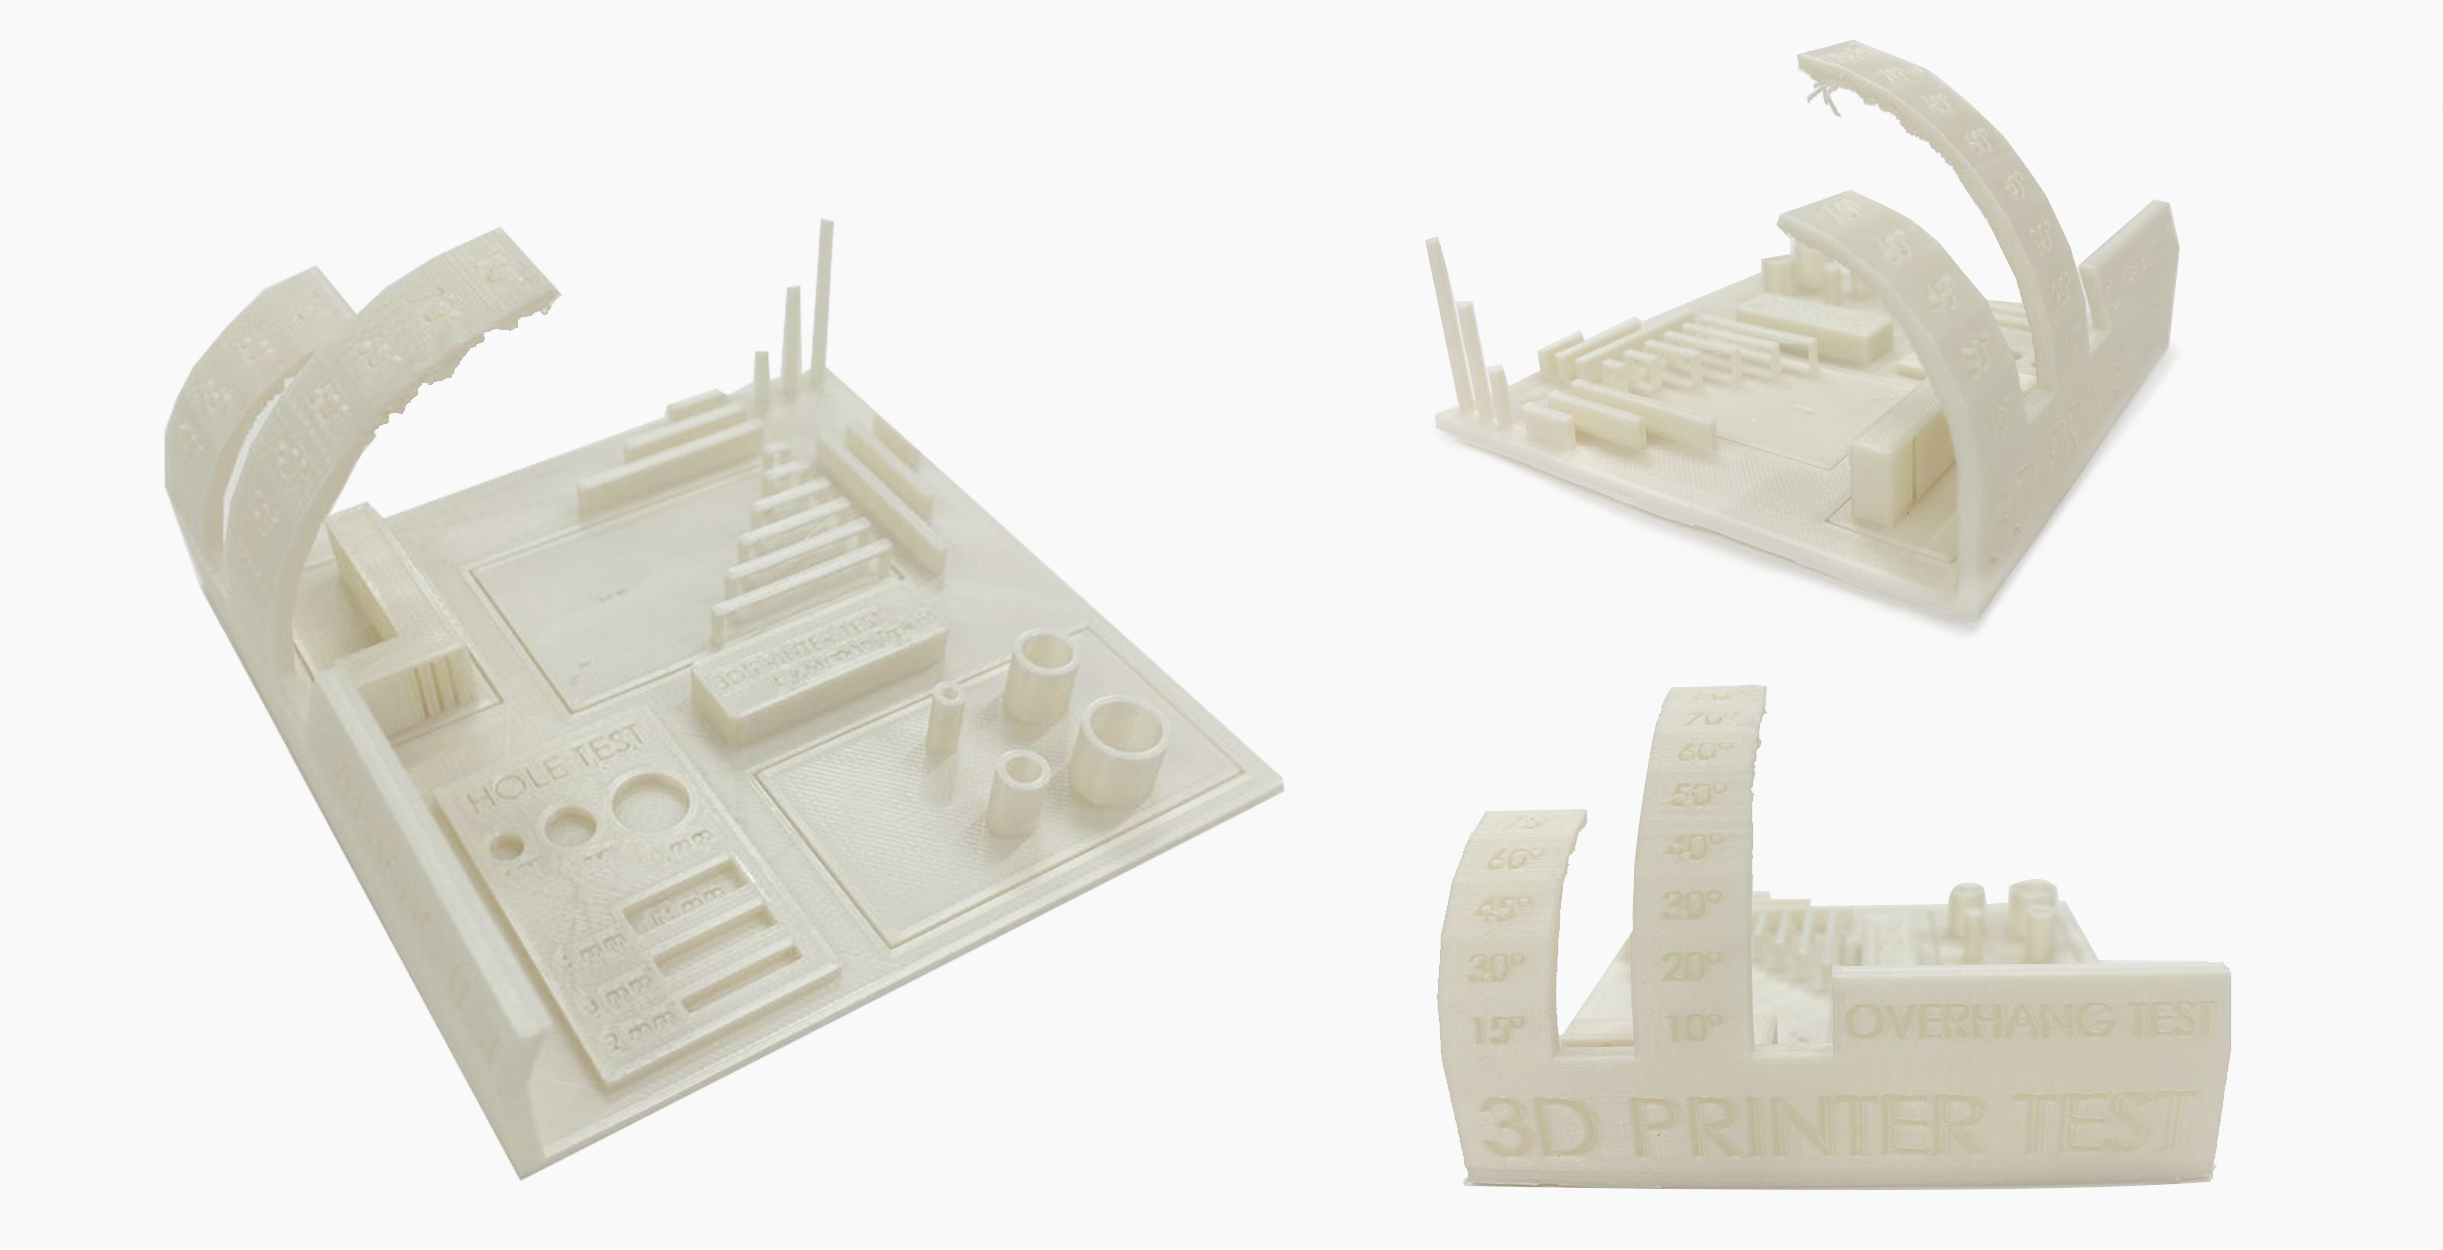
1- Create or download a 3d model, I downloaded the overhang test from thingiverse and modeled the infill in Rhino
2- Export the file to STL
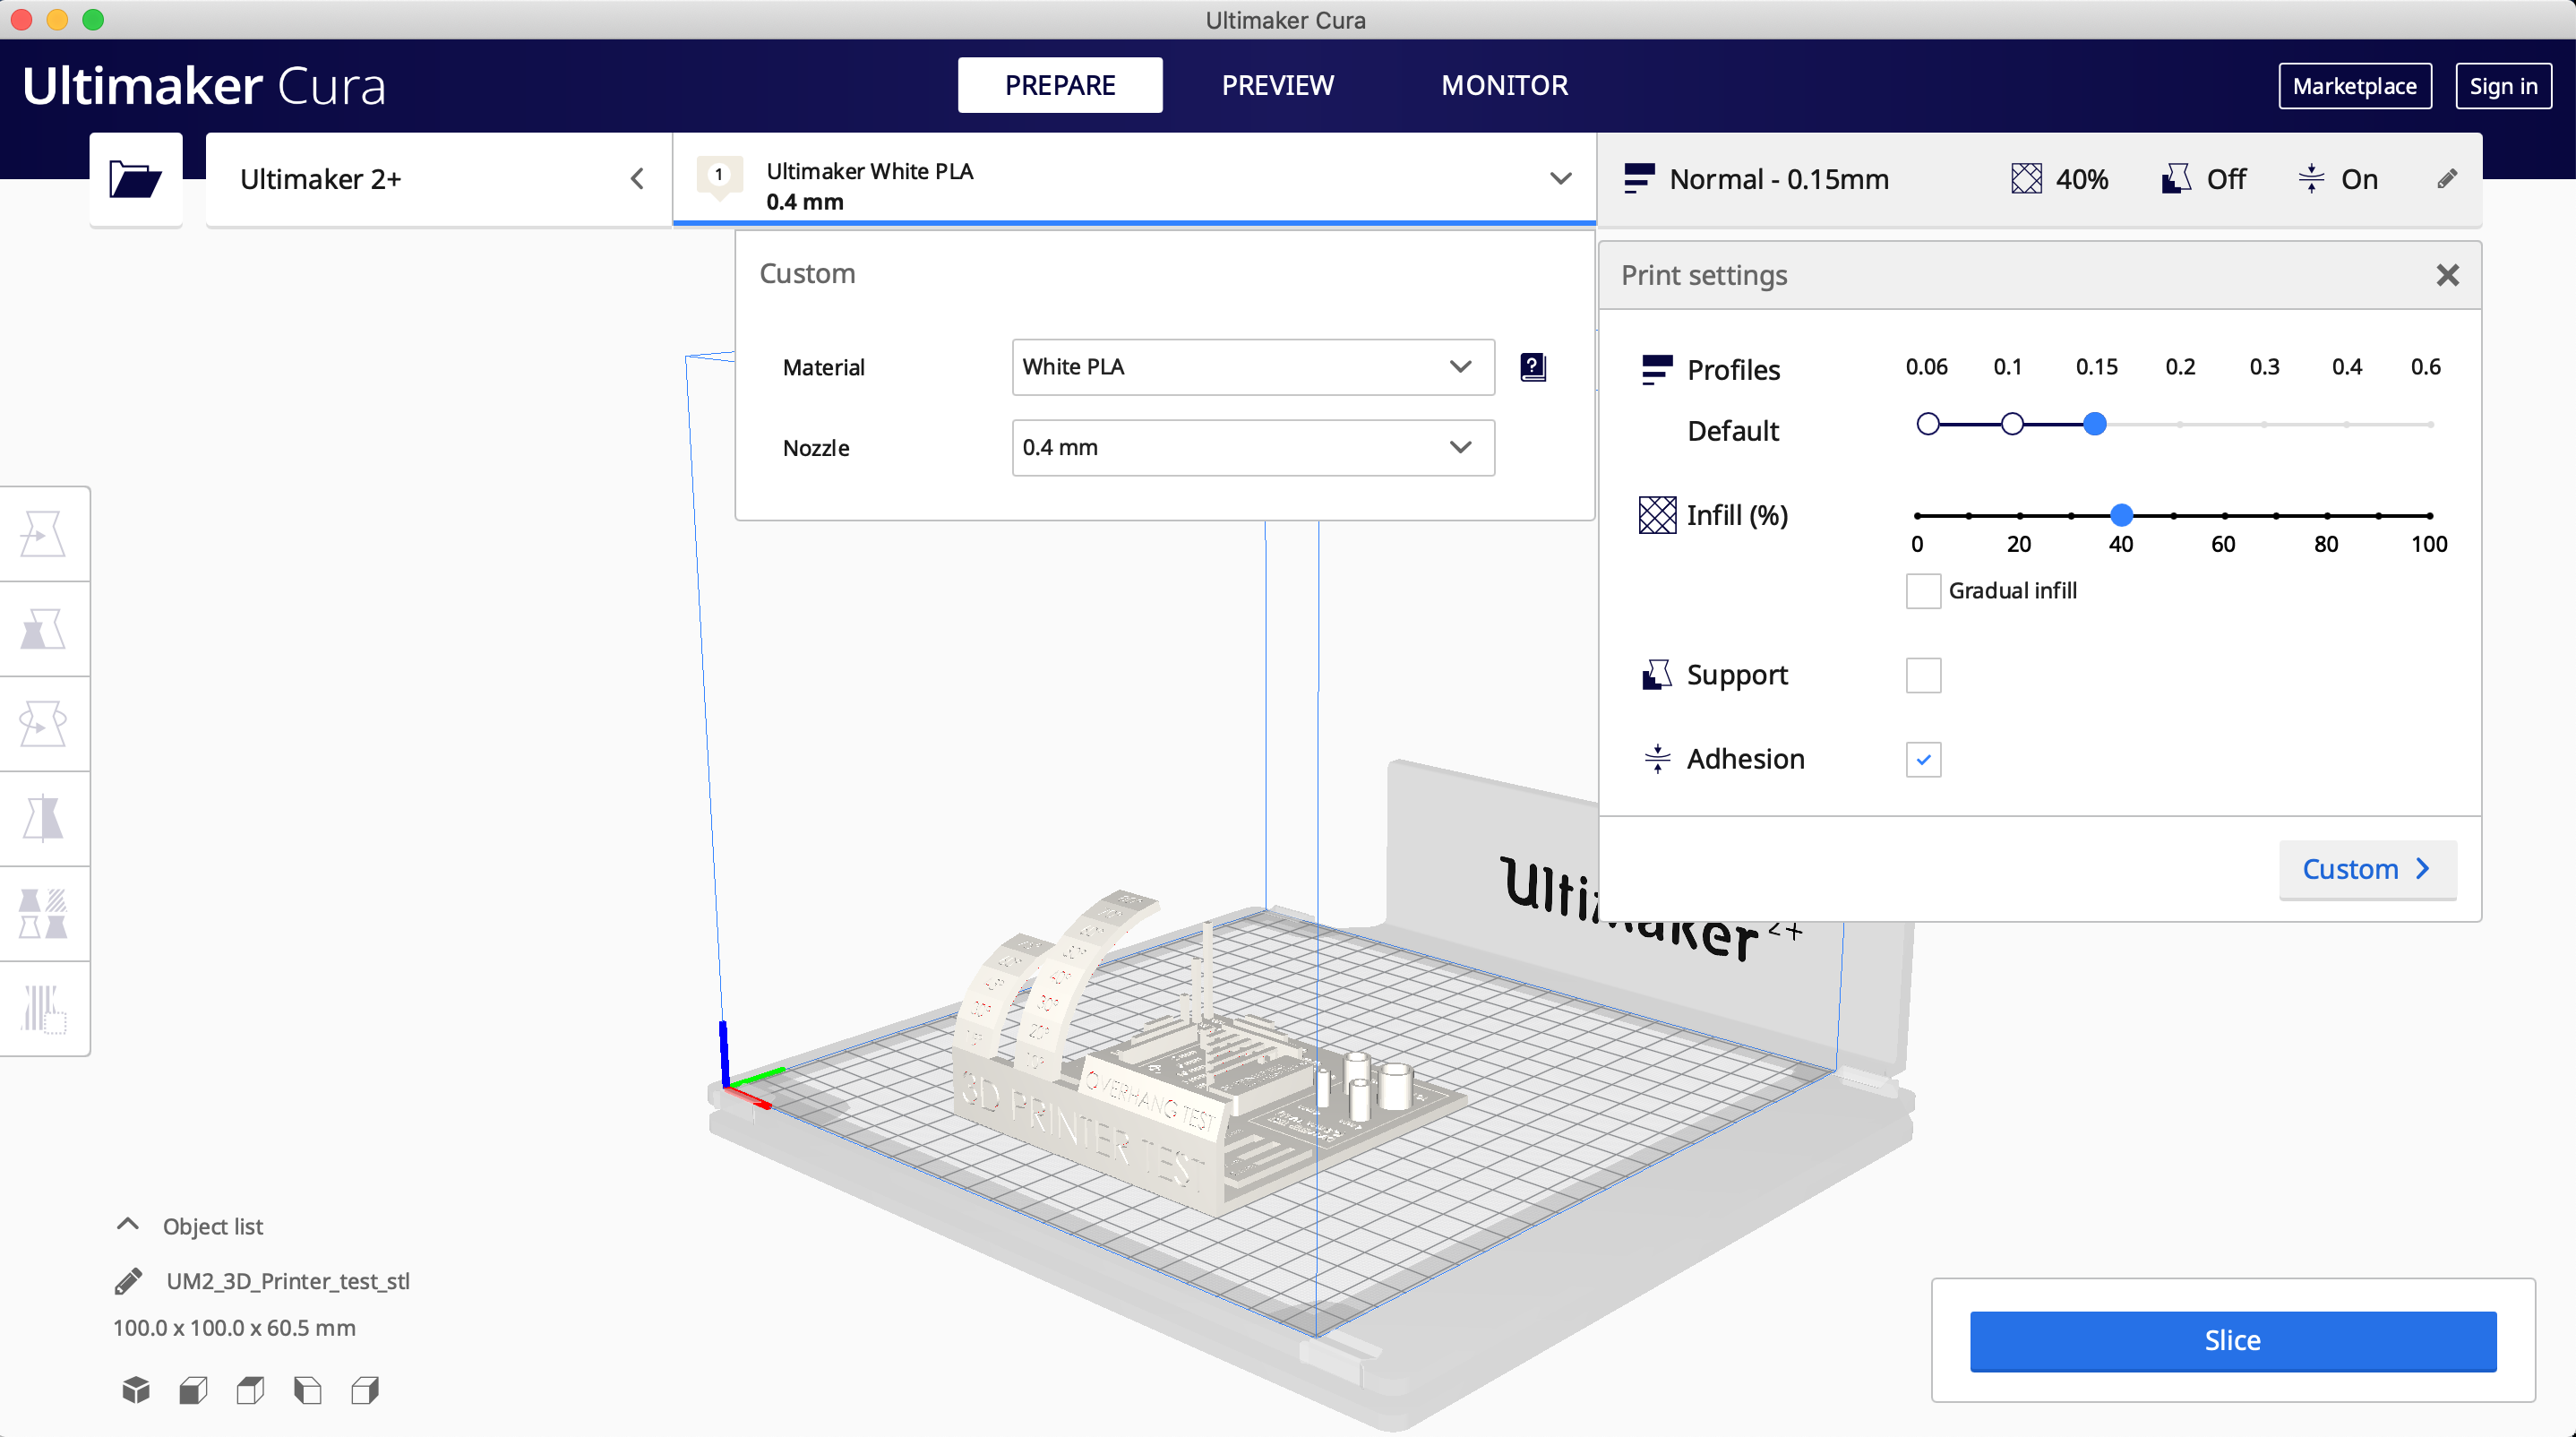
3- Open Ultimaker Cura Software
4- Drop the STL file in the builtplate
5- Select the printer, Ultimaker +2, and material, white PLA and nozzle .4 mm
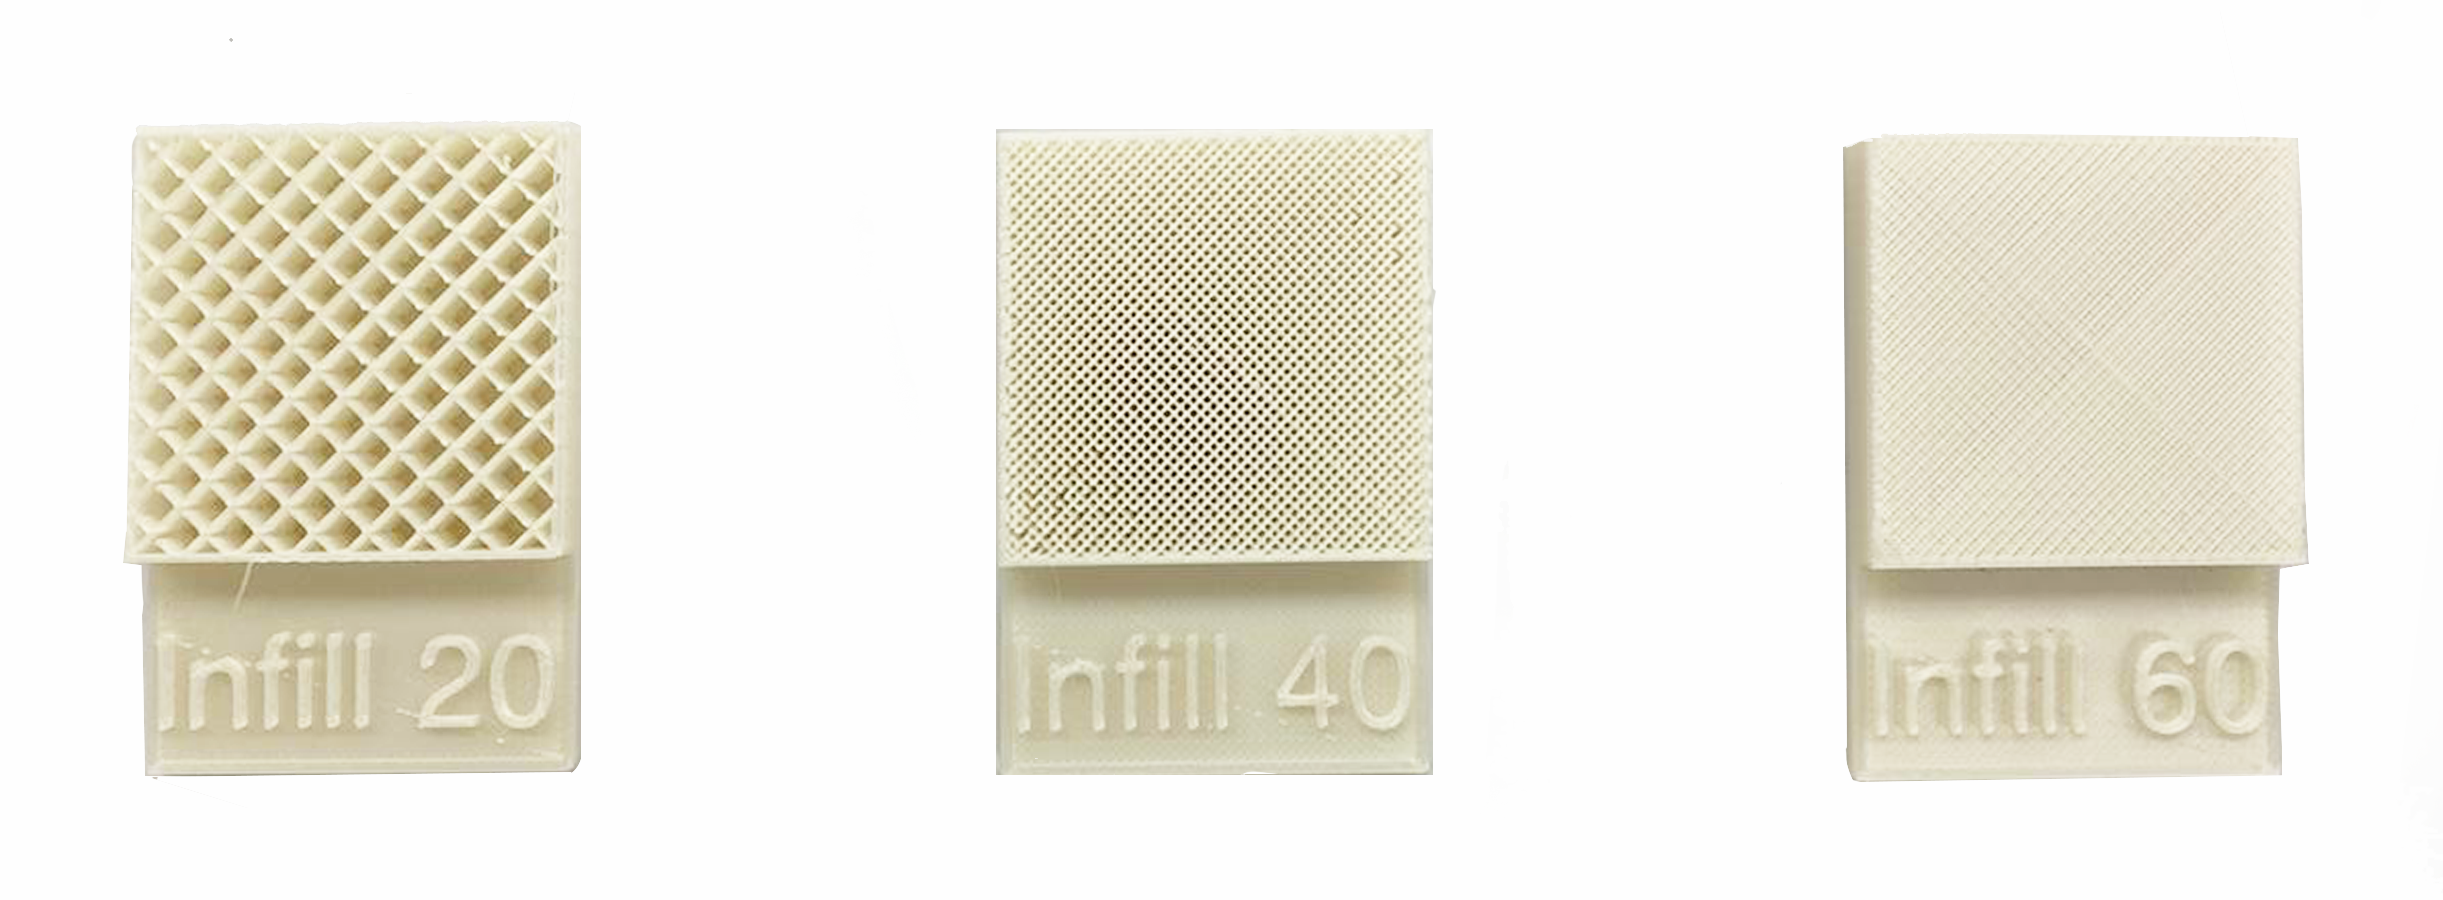
6- In the print settings: Profile Setup .15 Gradual Infill:40
Note: Do not add support since we want to test the printer limits.
7- Slice and save it to the SD card.
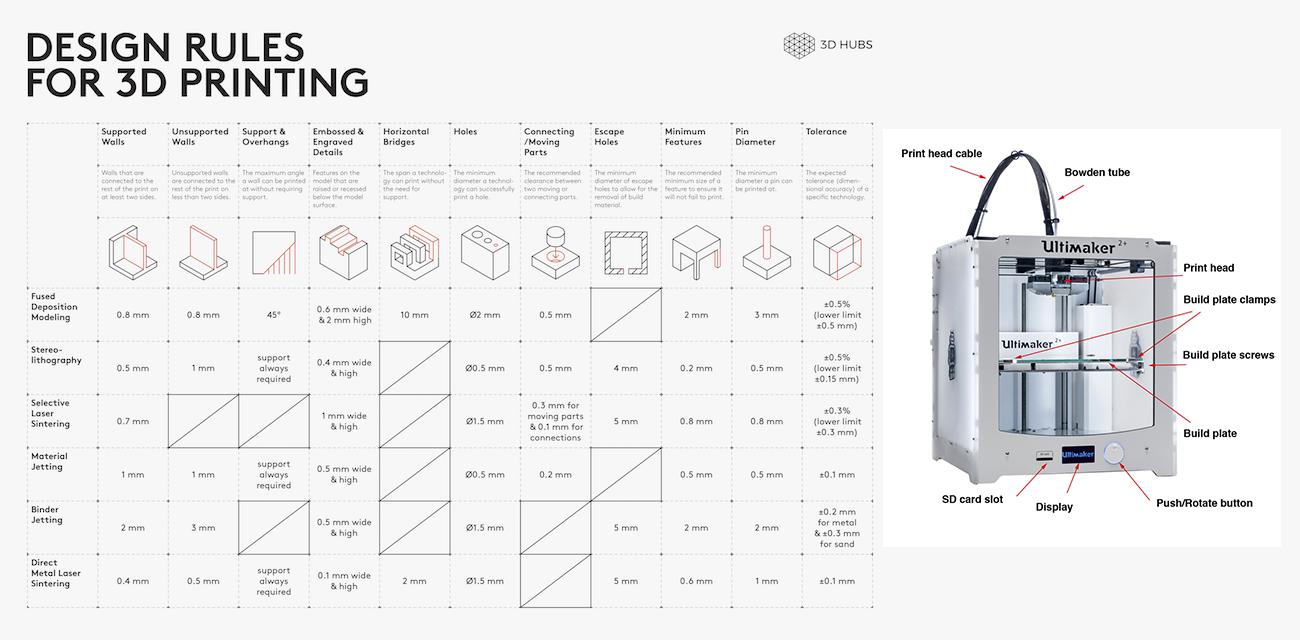
Attached you can also find a table from 3D hubs about Design Rules for 3D Printing for FDM technology.
No we bring our SD card to the Ultimaker +2
1- Insert the SD Card
2- Click "Print"
3- Scroll and click on the file.
4- Wait till the print is finished and remove.
-
Conclusion:
The Overhang Test proved that no support is needed until 45 degrees.
-Clean bridges without support can be printed until 8mm.
-Vertical prints of 2 mm base are completely fine.
- Rectangular holes are accurate (- approx.15mm)
-Circular holes are not that accurate (+ approx .85mm)
-60 and 40 infill is extremely dense even if it doesn't sound like it.
Individual Assignment
3D Scanning
For the individual assignment we had to scan and object and print it (optionally). I scanned myself first using Ksan and Kinetic at the lab and then using Skanect and Kinetic which is suitable for Mac users, Skanect worked amazing but the free version has a limit in the mesh faces you can export.
Here is the process for SKanet:
1- Prepare -> New and selct either body, object or room and the bounding box and click start.
2- Place the object in a rotating base (I sat in a chair)
3- Record -> click on start recording
4- Rotate SLOWLY the object
5- Stop recording
6- Reconstruct -> Fusion and select the fidelity of your model
7- Proces -> Edit Gemoetry and color: remove extra mesh, add/remove color, soften mesh
8- Export!
- I saved my file as STL and exported it to sketchfab

My 3D model
I was not satisfied with my scan so I did it again.
The results:
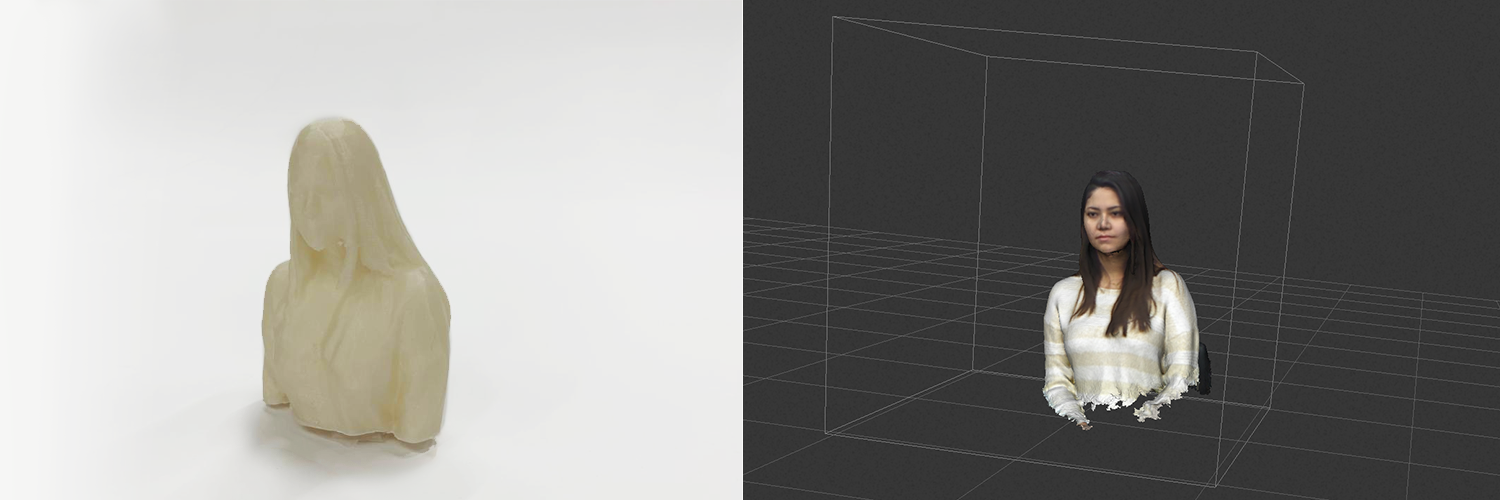
Pictures of the process
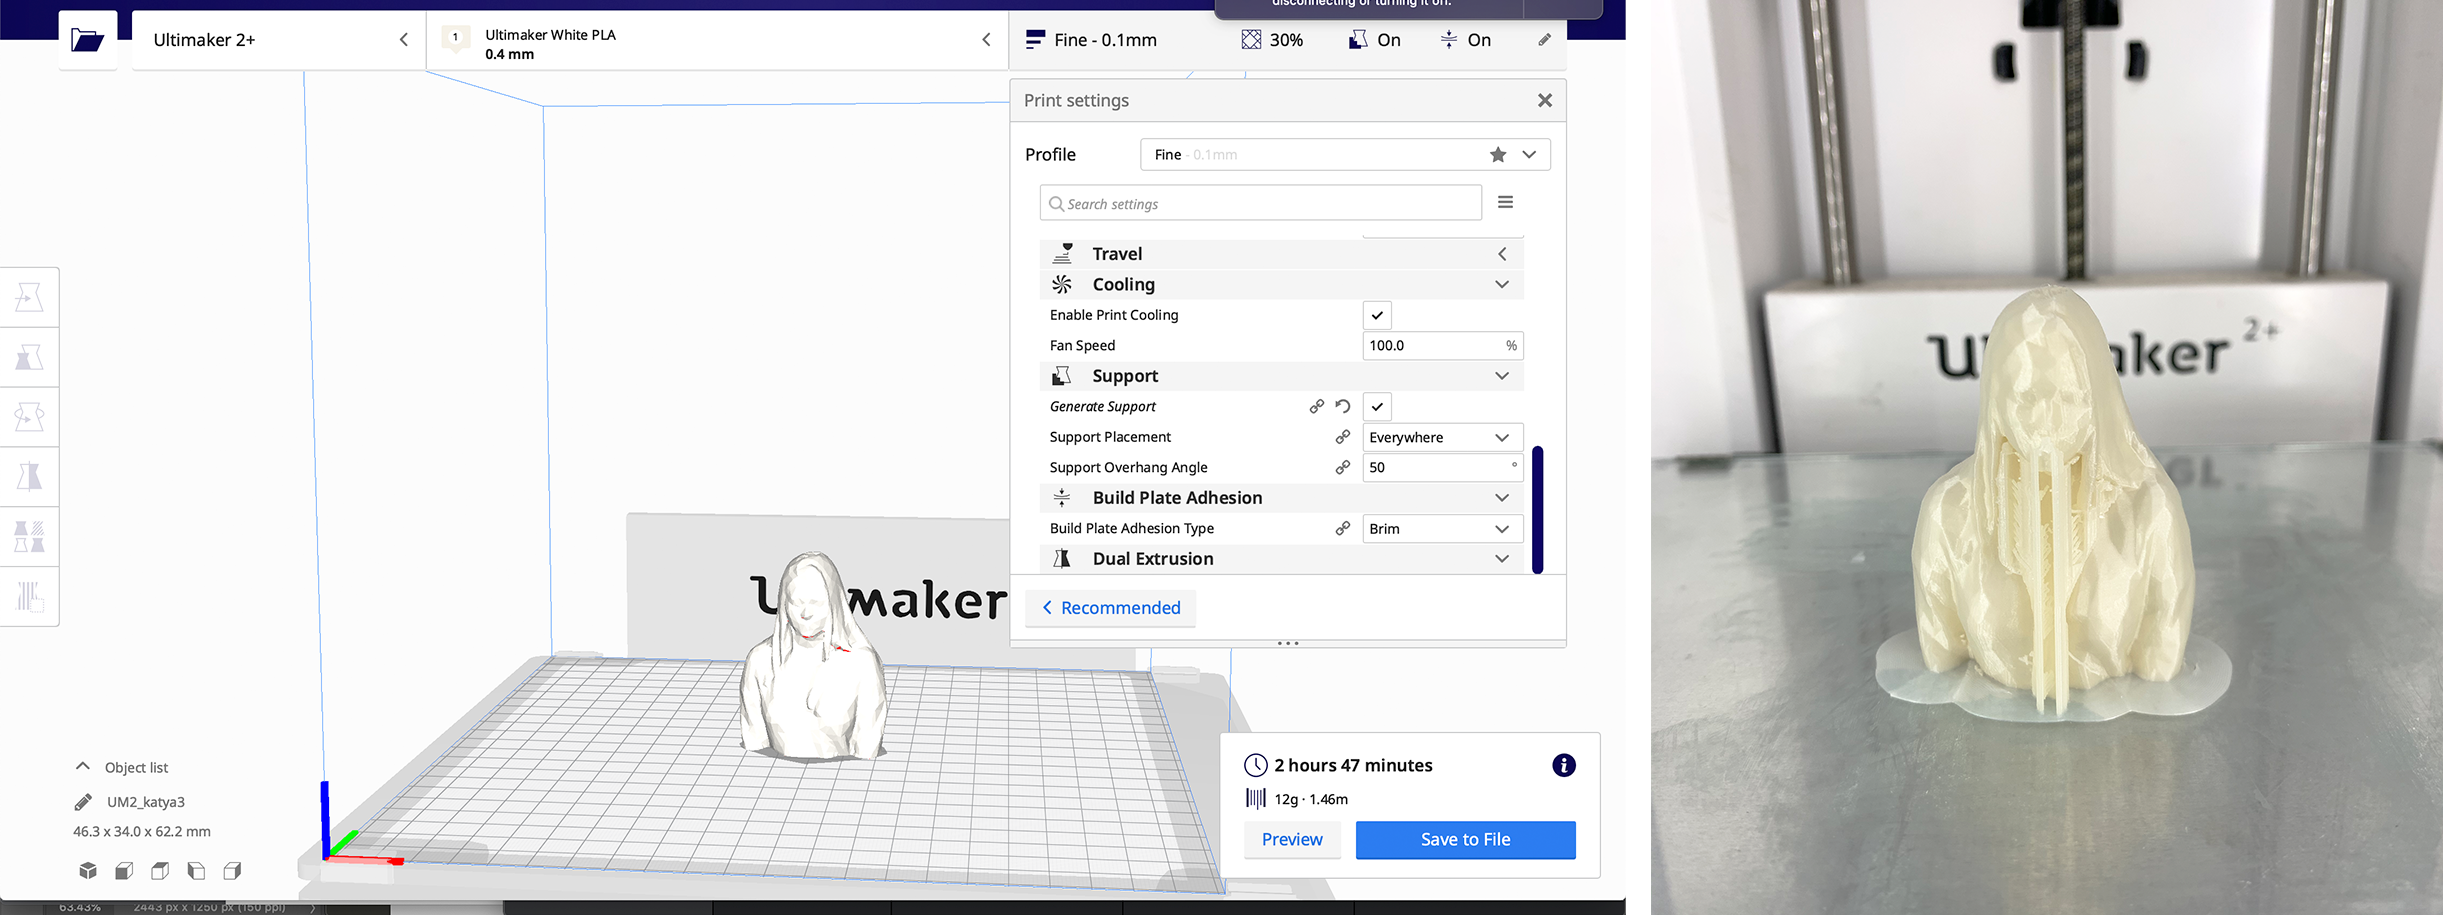
Individual Assignment
3D Printing
For the indiviual assigment for this week we had to 3D print and object that could only be made by additive manufacture. I designed a case for my final project, Esarthquake Alert, in Rhino and the print it in the Formlab 2, an SLA (Stereolithography) printer.
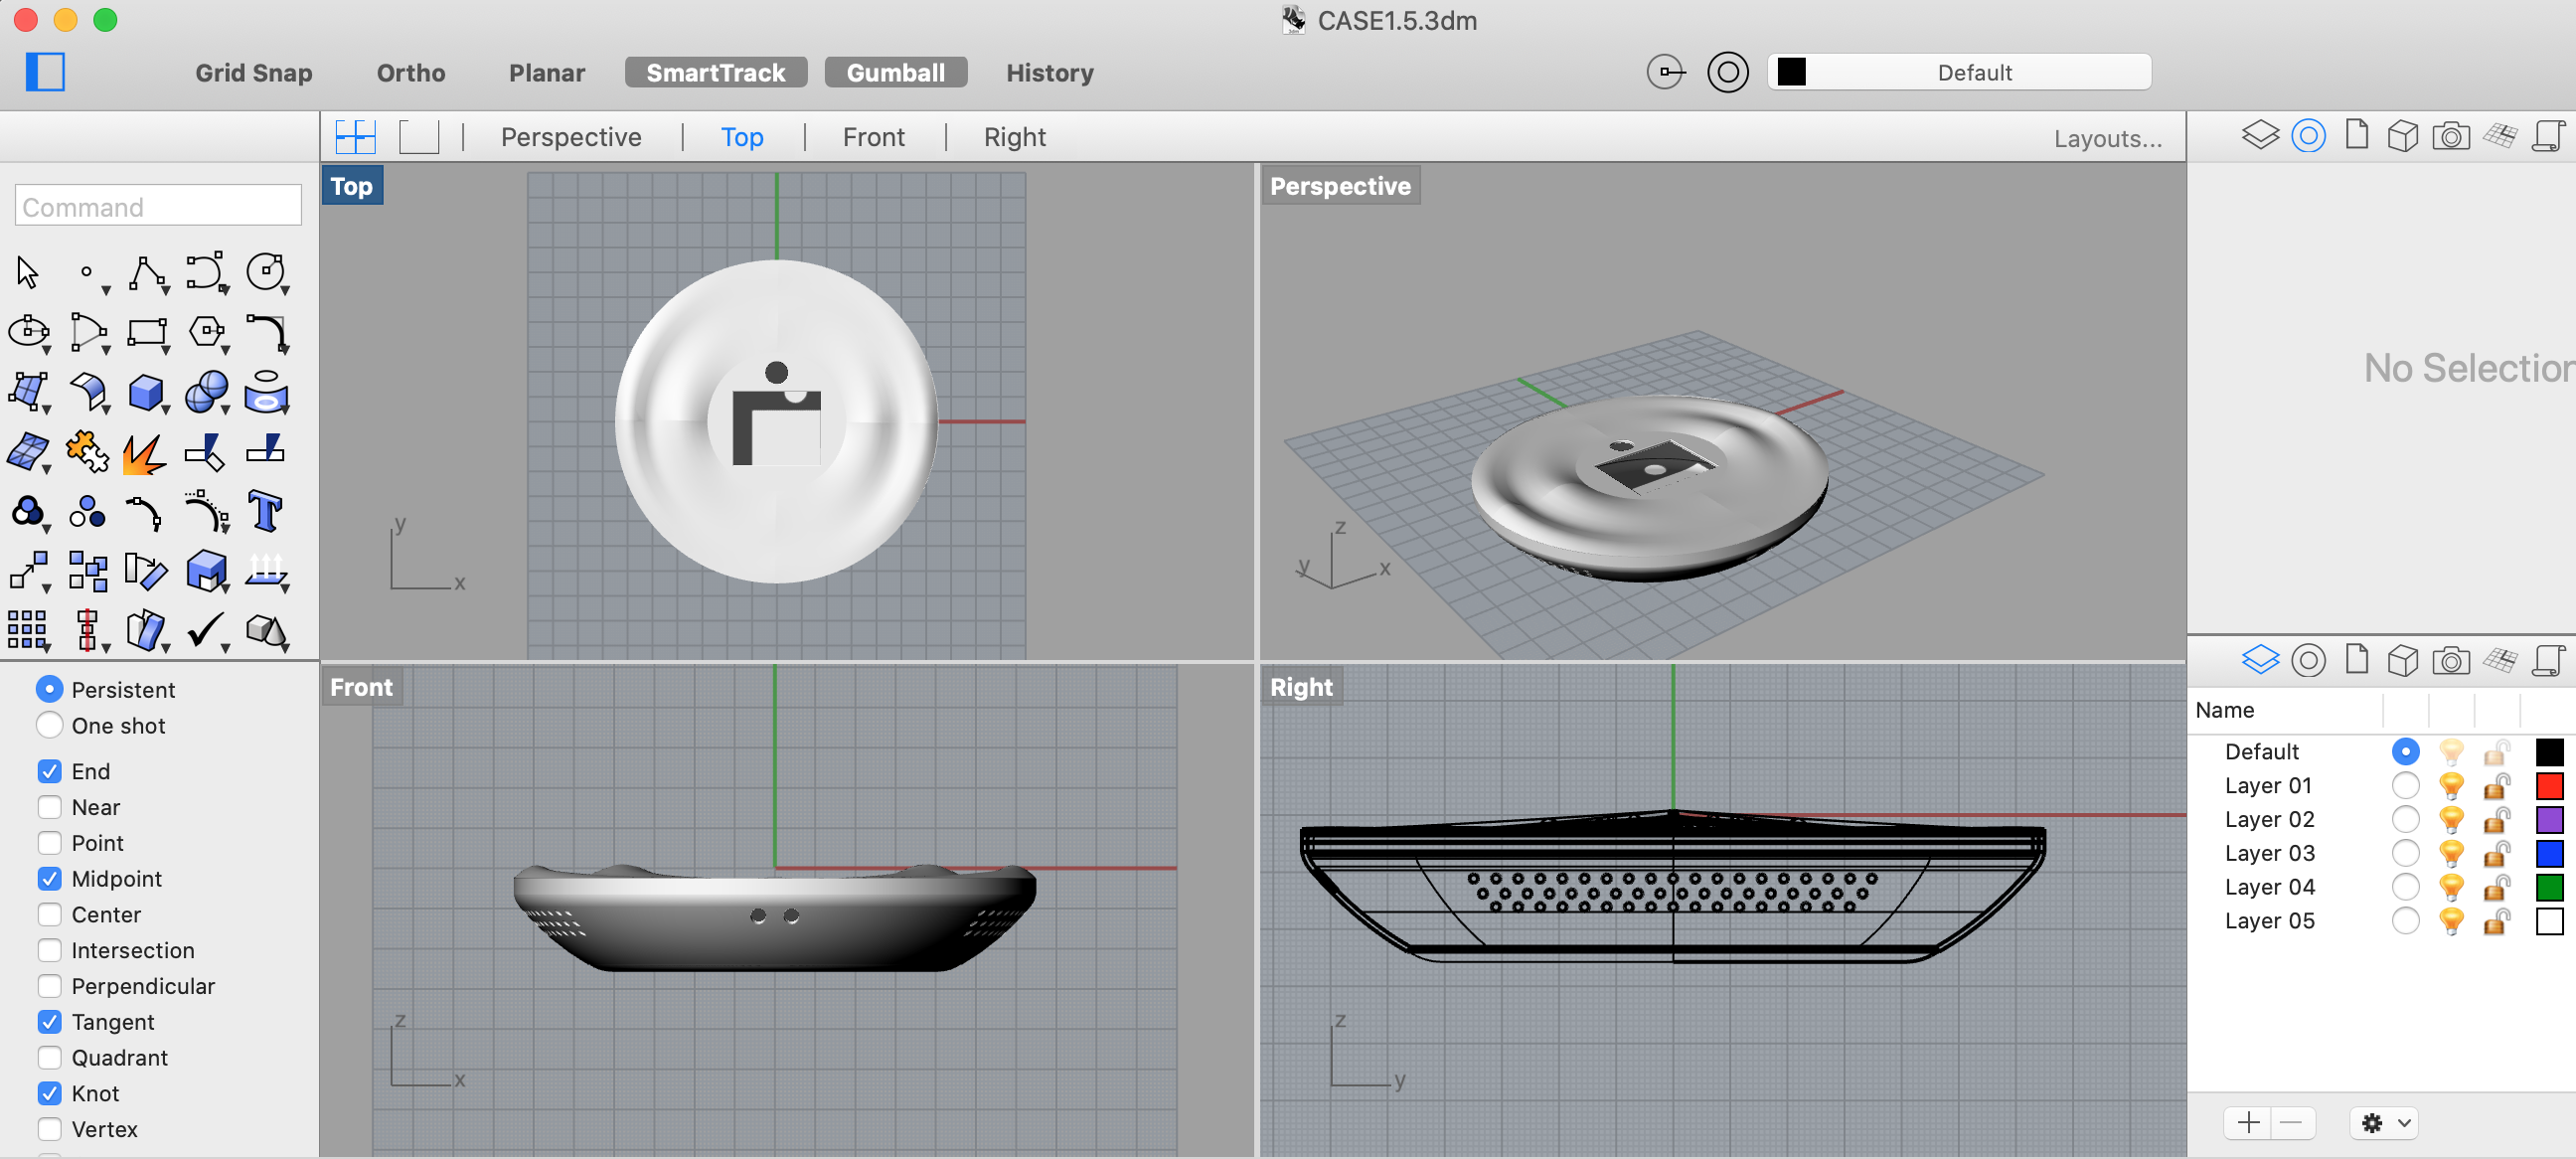
After exporting the file to STL format I dropped it in PreForm the slicing software for Formlab printers.
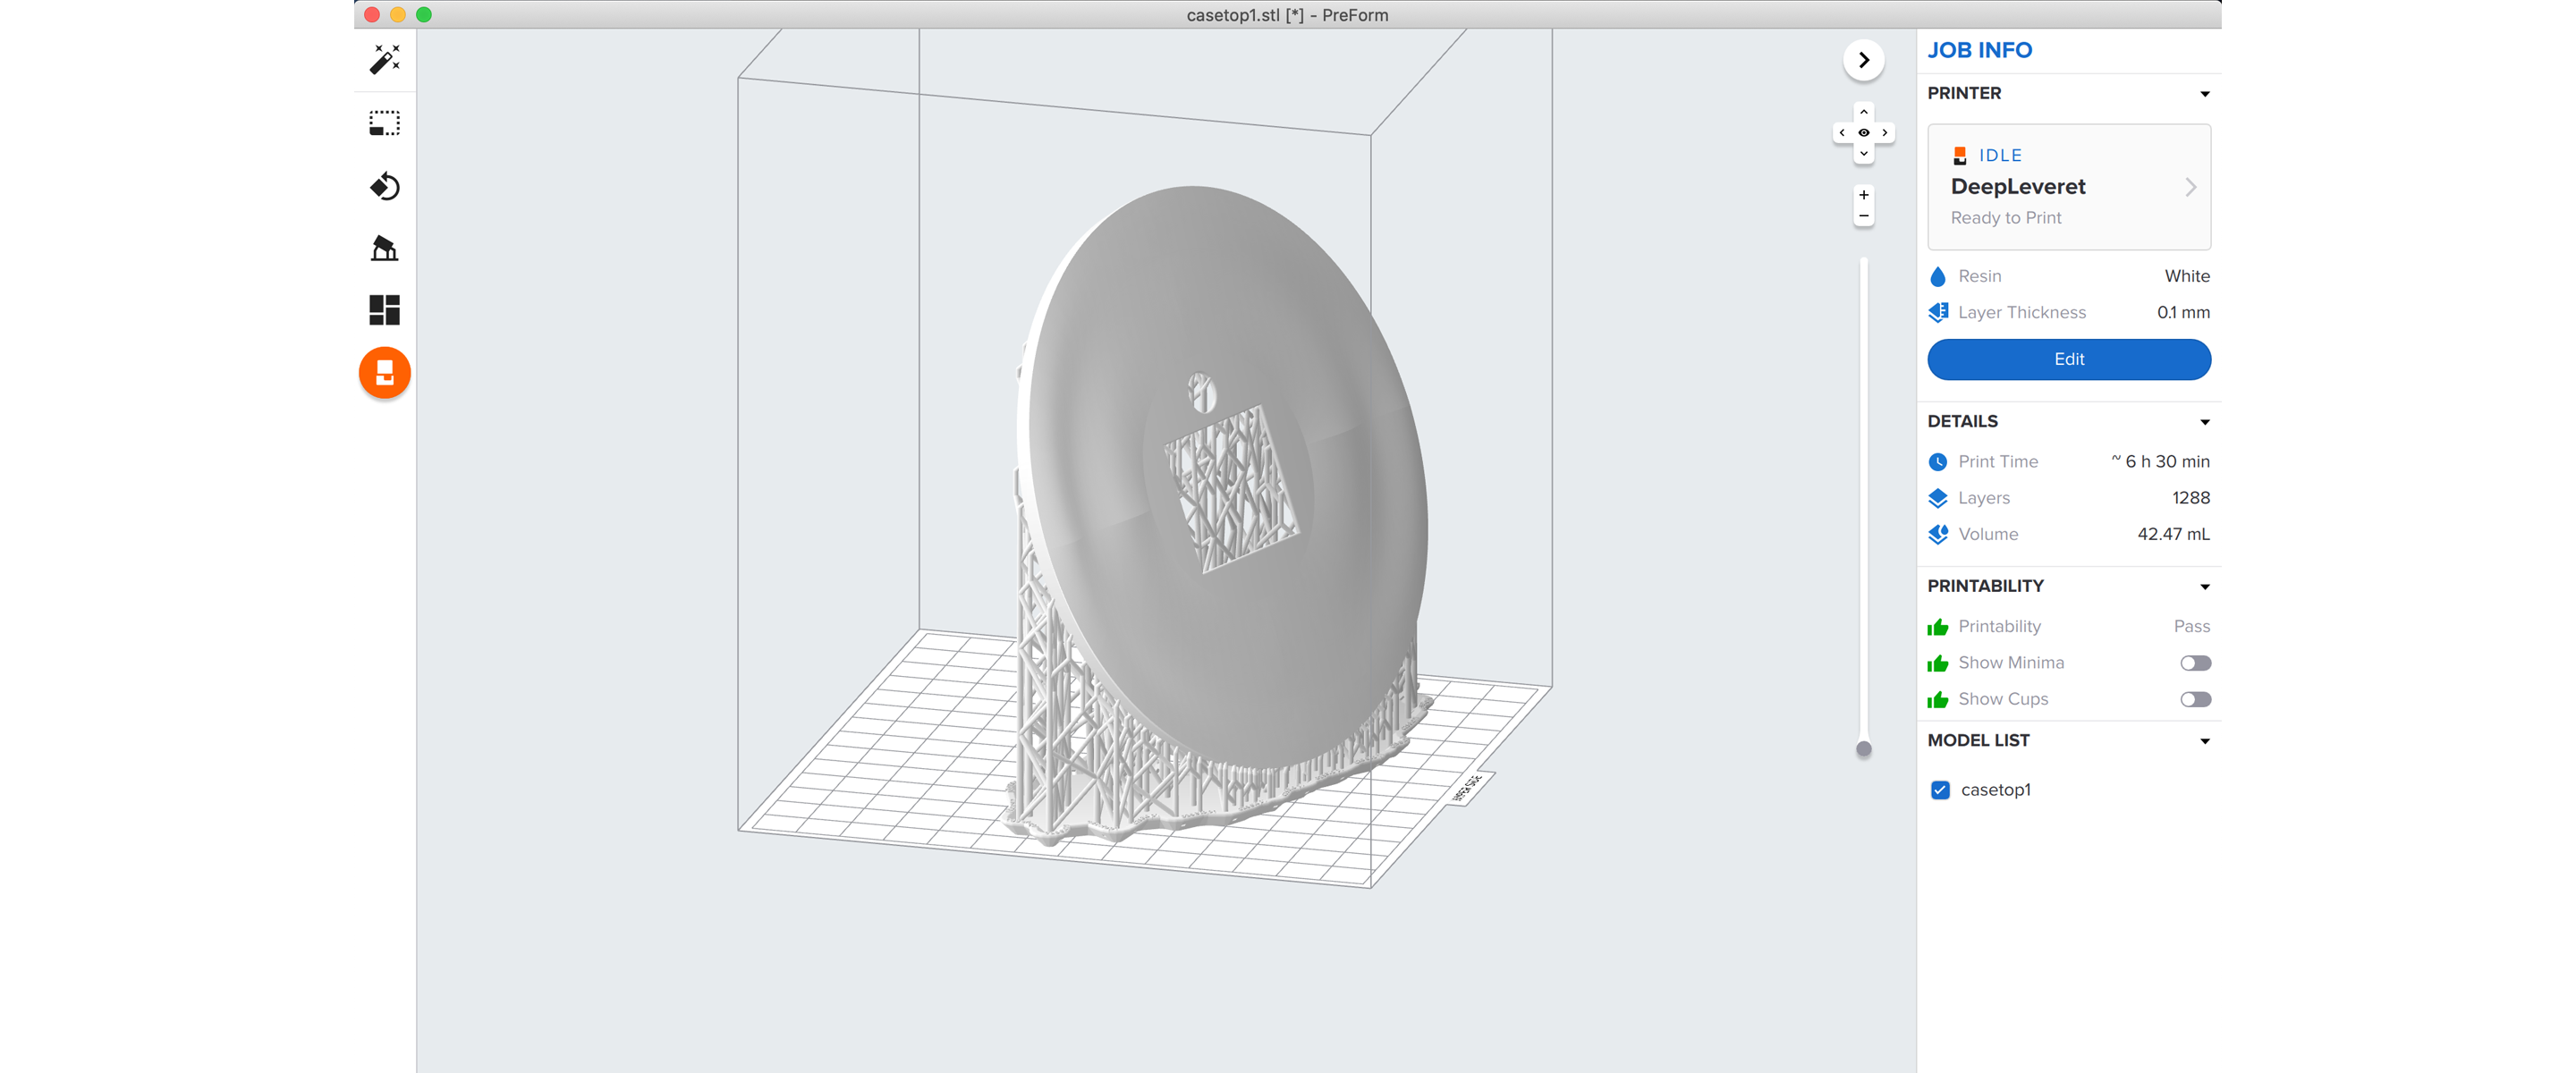
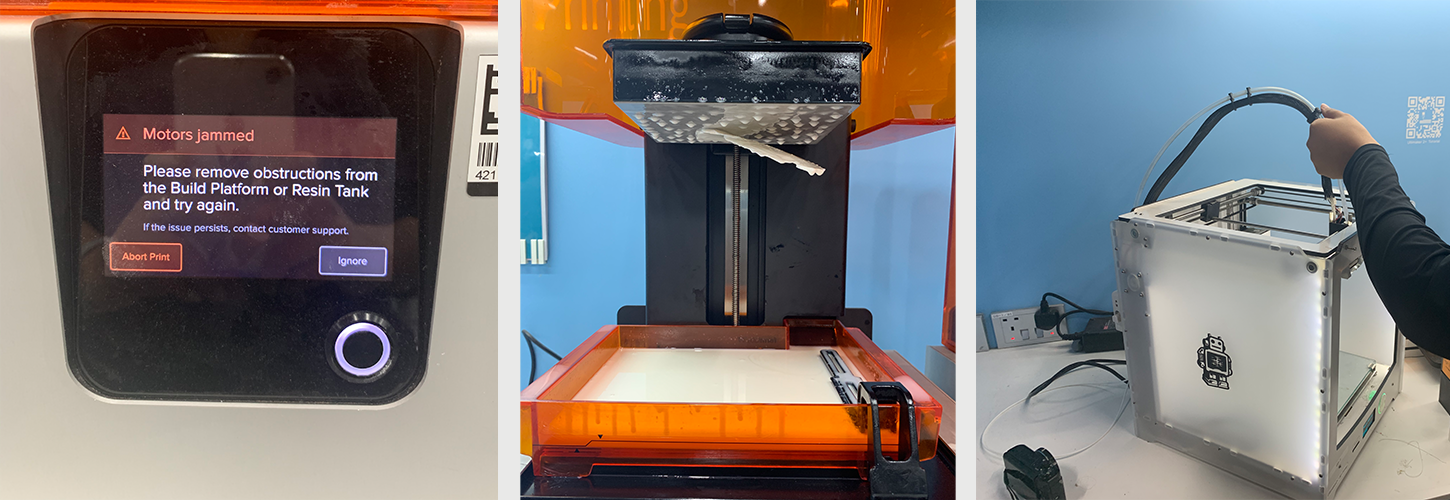
Unfortunatelly we had some issues with our printers at the lab, so my model is still printing.
Thru the middle of fab academy I decided to change my project to a Smart Diffuser. You can see the results in my "Final Project". It has 3 main parts, the body, the base, the water container and some holders. Here an exploded view.
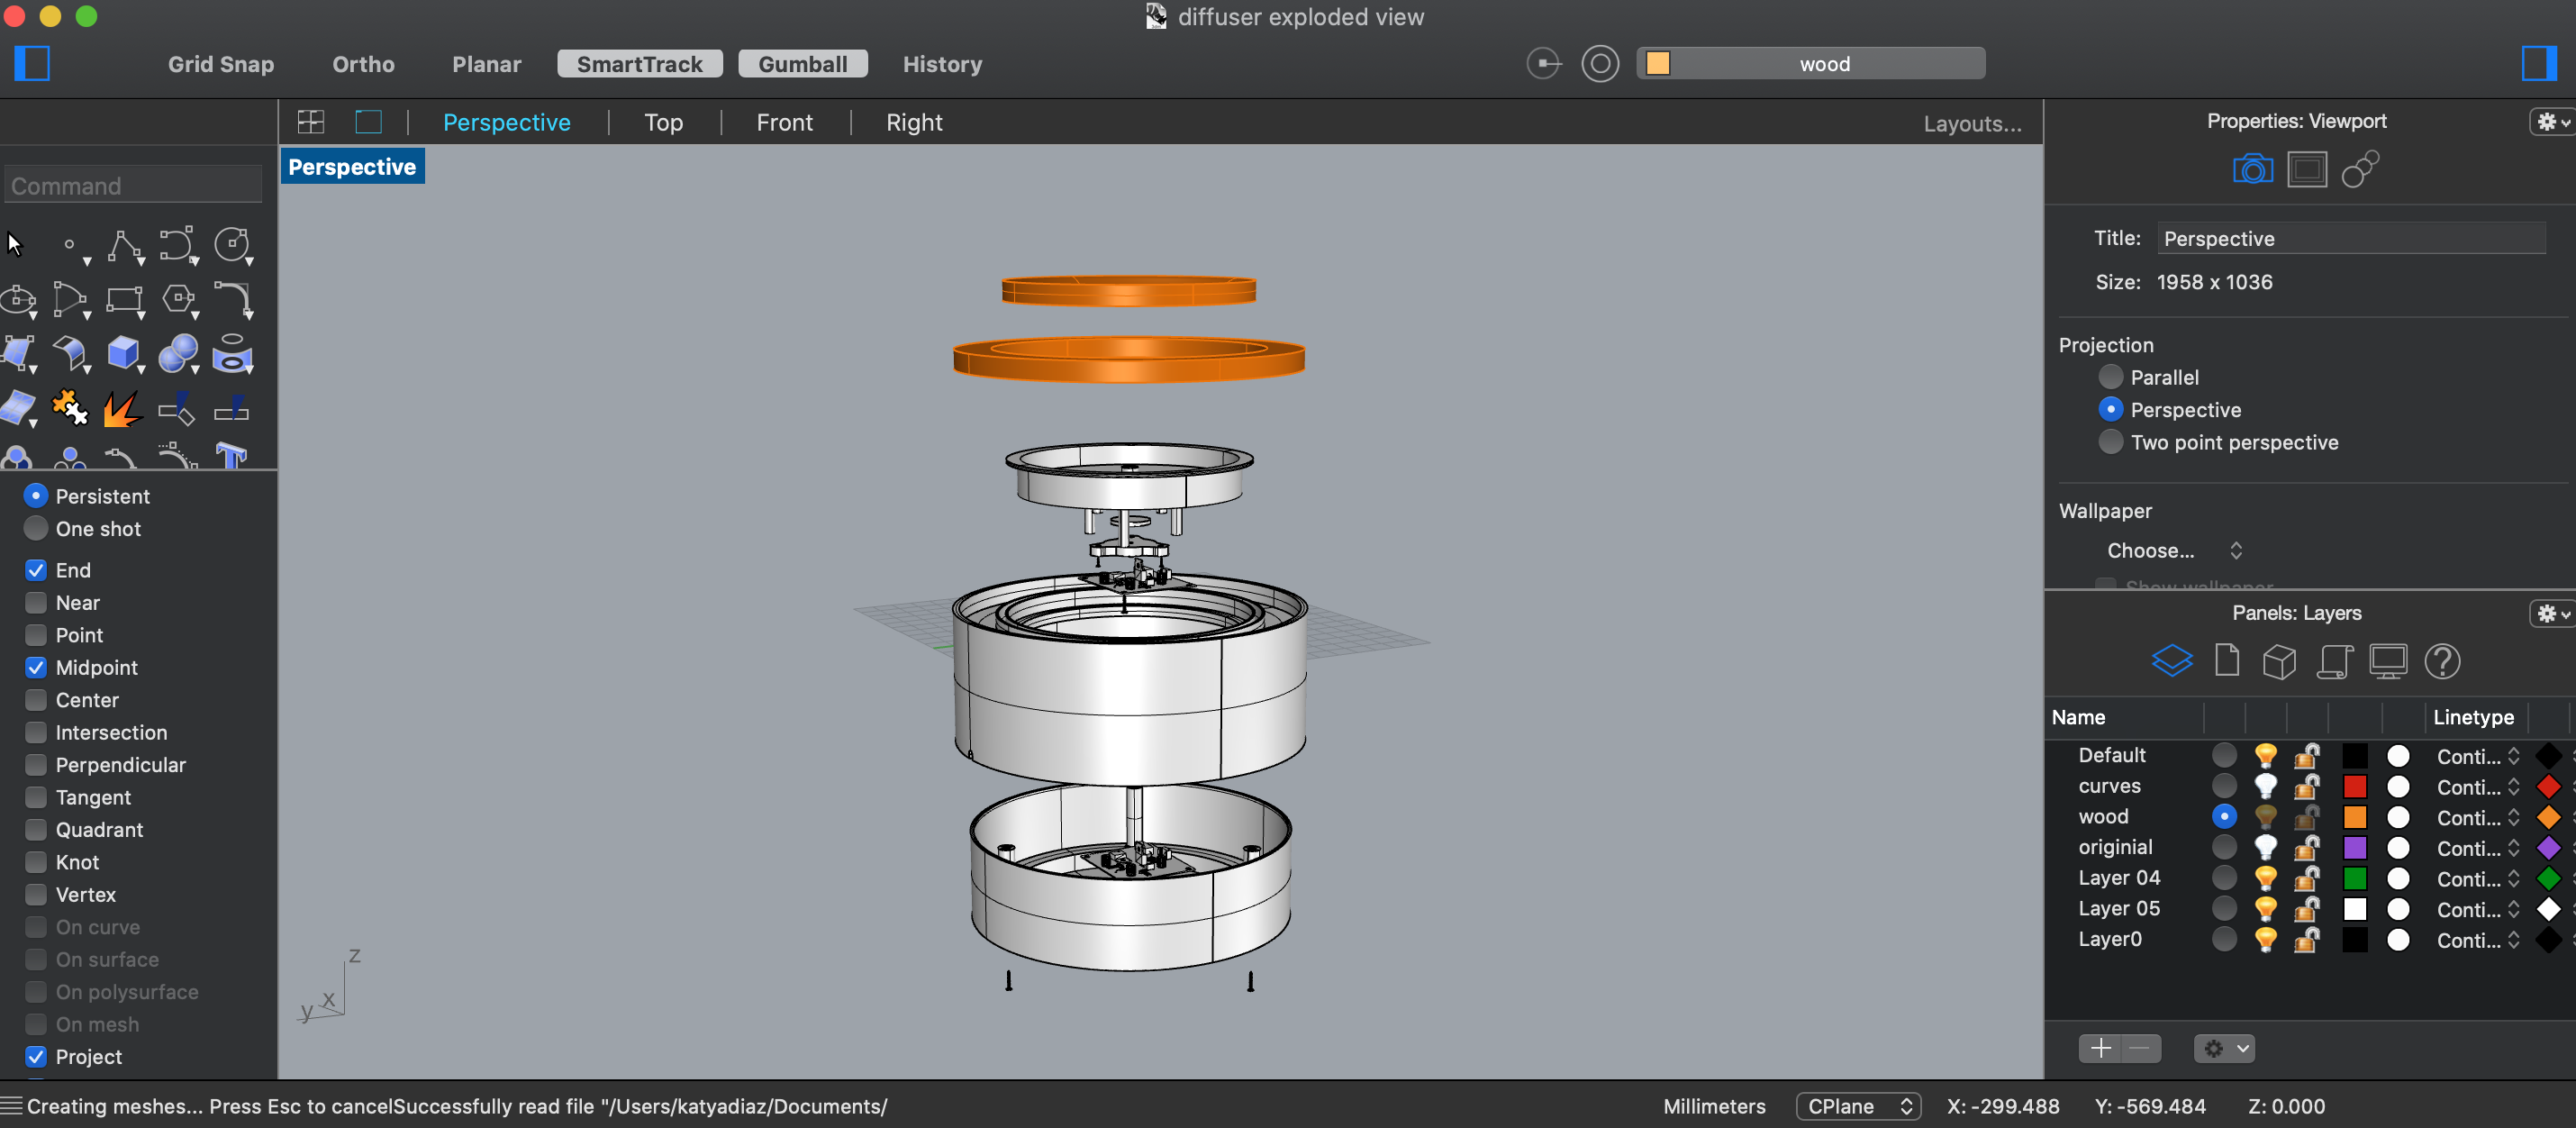
I used the same parameters for all the pieces. During the 3d printing tests I realized 30% infill work well with almost all of my pieces.
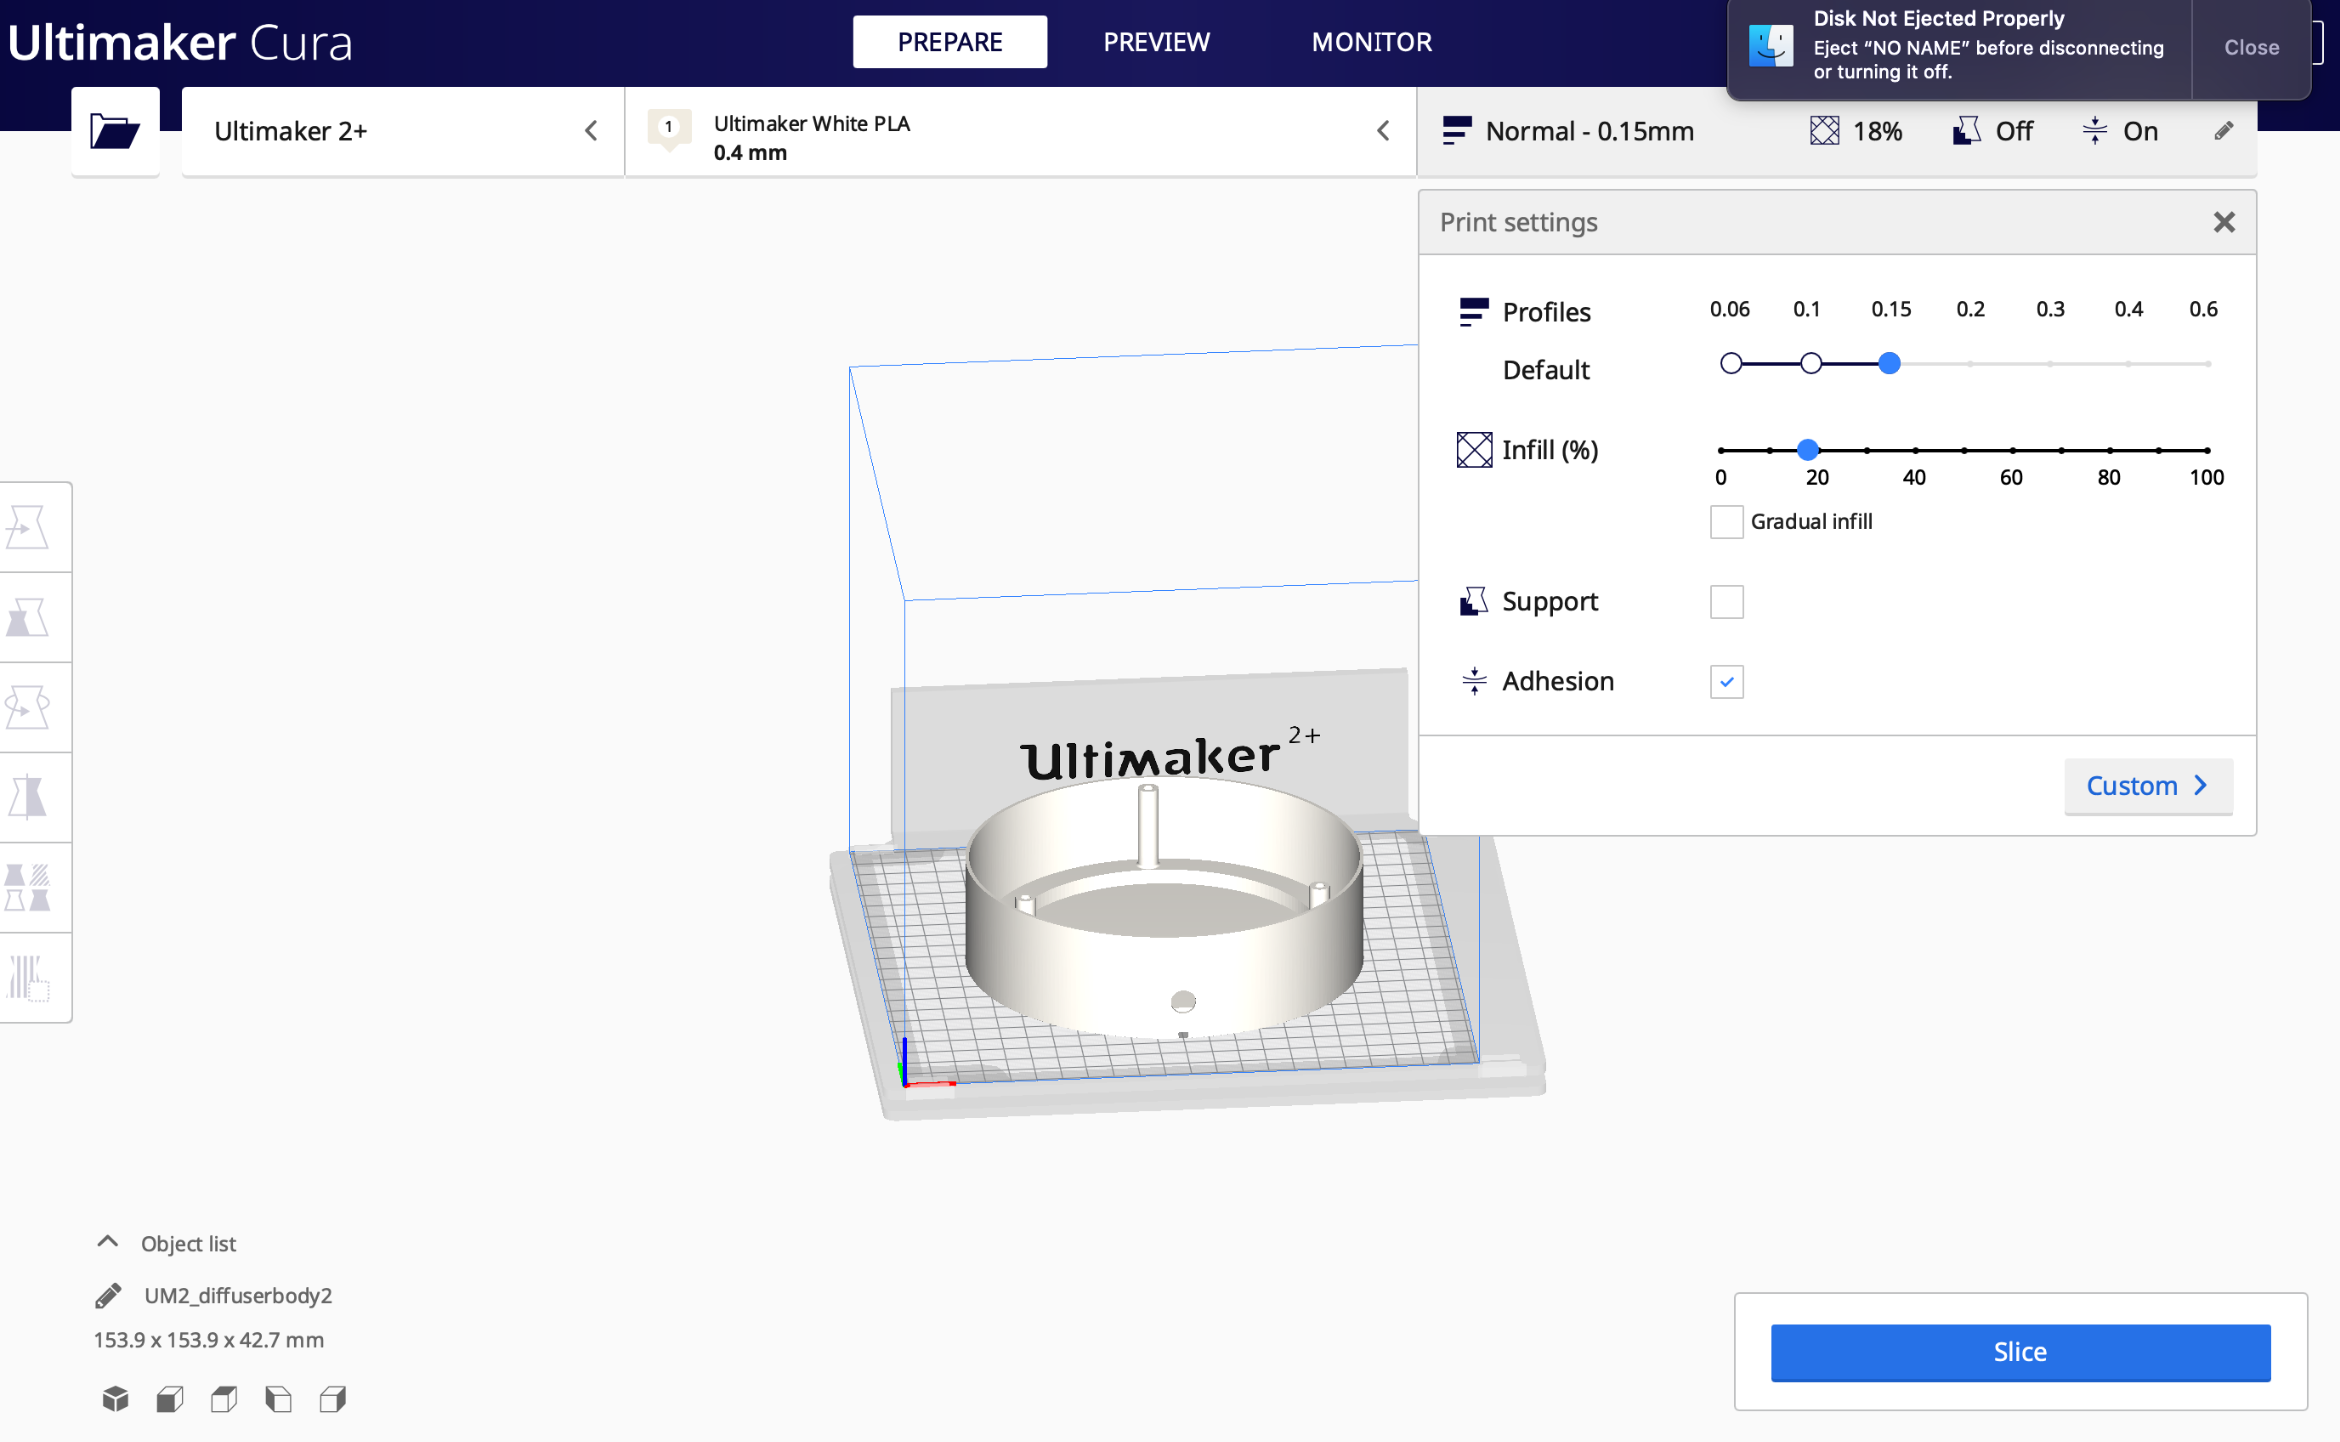
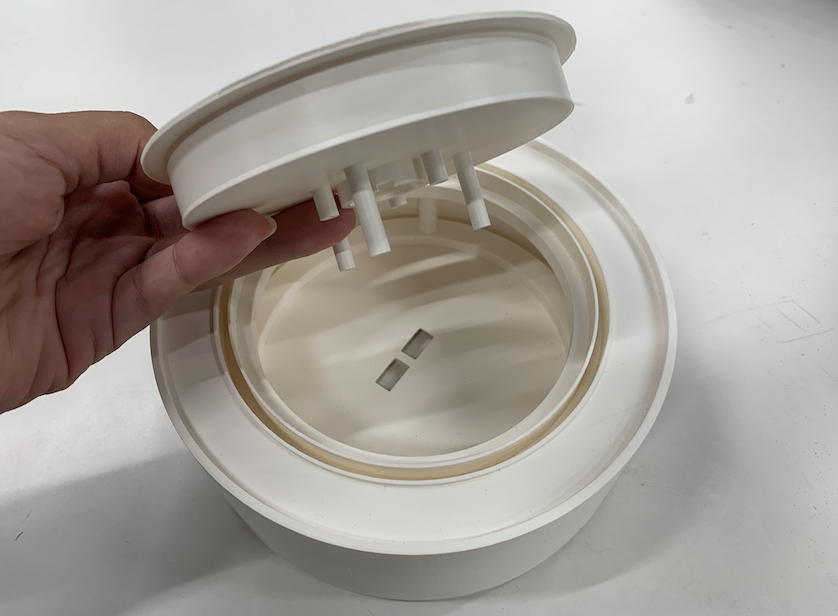
And here the final results:
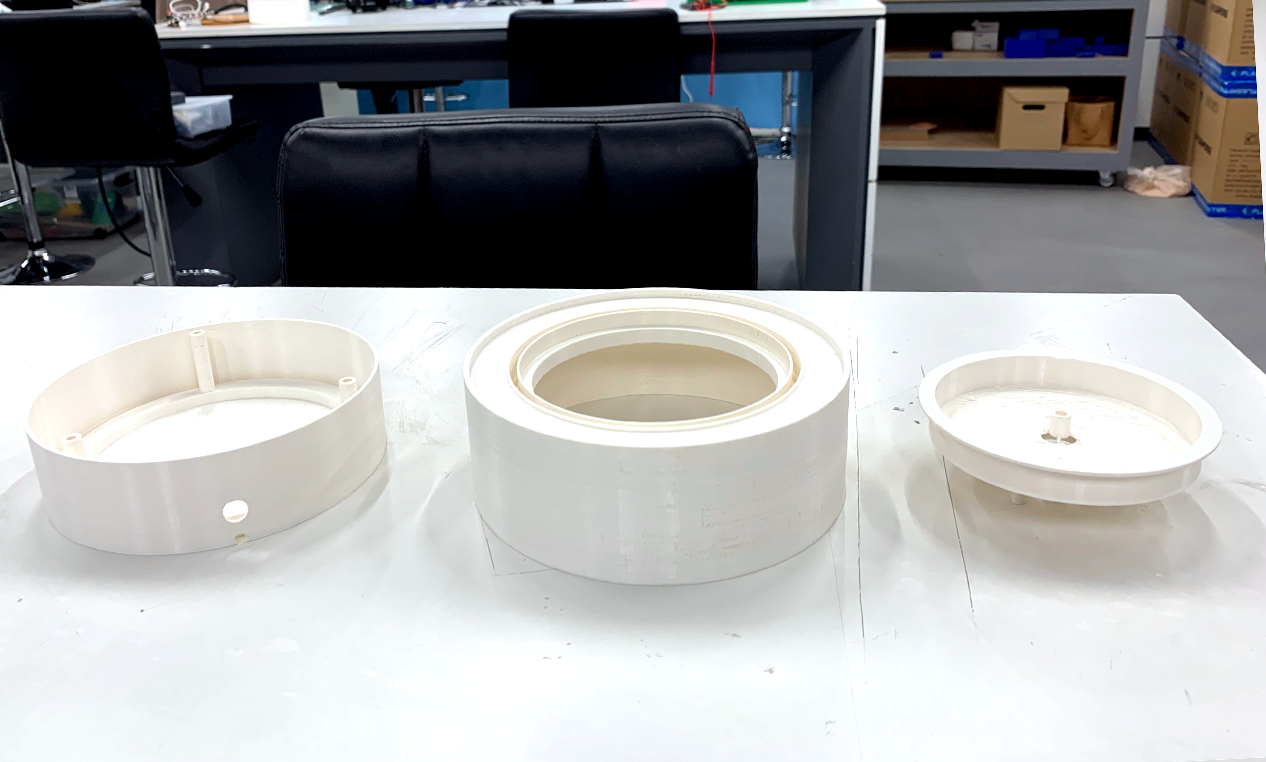
It fits nicely!
