Week 8: Embedded Programming
to Program the board designed during Week6, the following steps were done.
Board Wiring
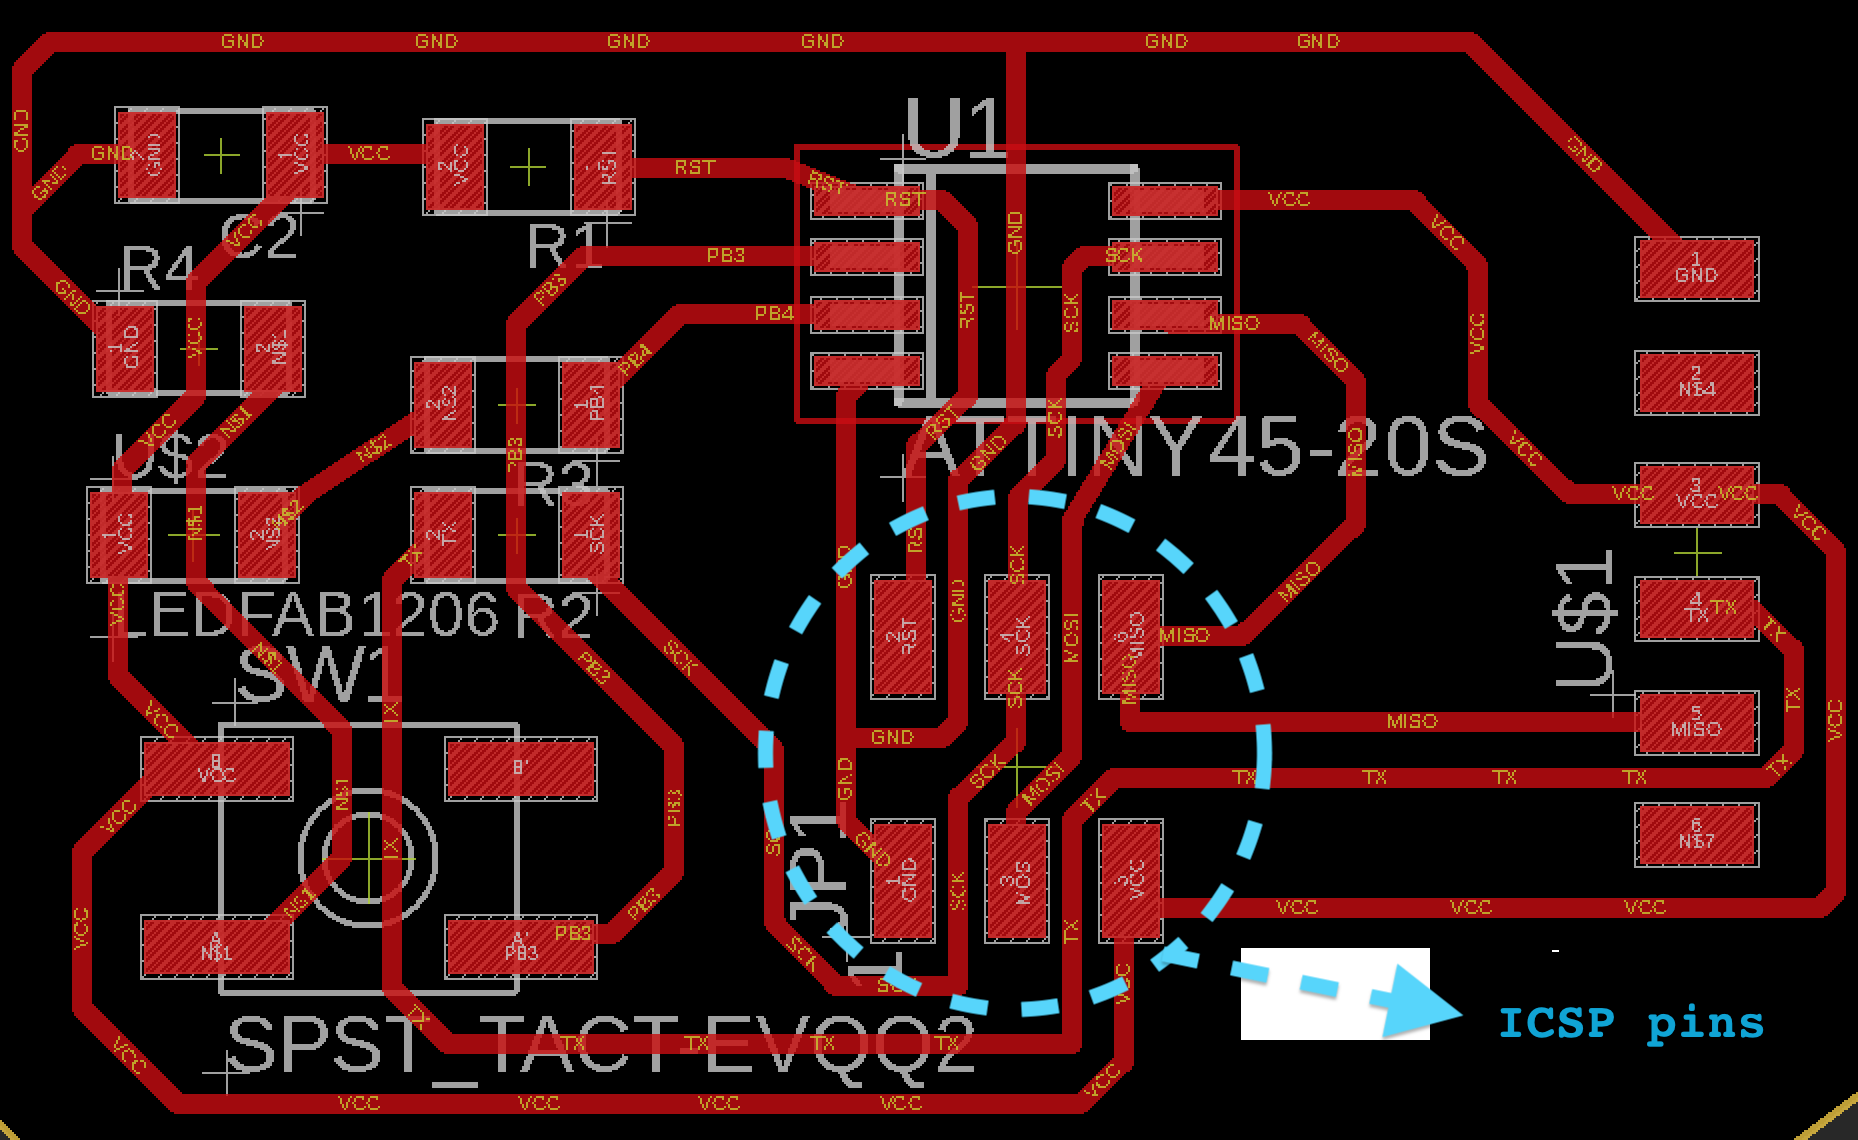
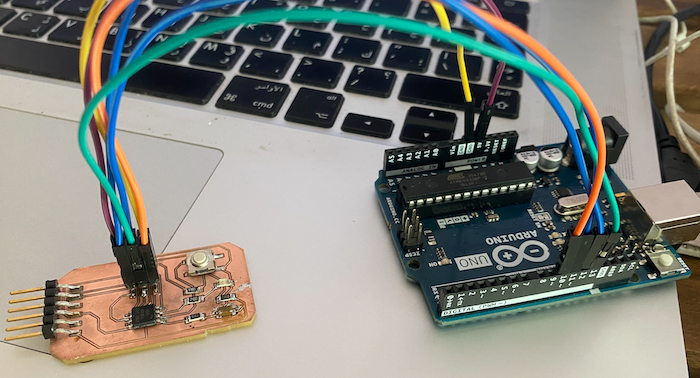
I opted to use Arduino Uno as my programmer. To do this, Arduino Uno was connected to the ICSP pins on the microcontroller with Attiny45.The picture below shows the ICSP pins on the board.
Each pin was connected to the Arduino Uno pins in the following way:
| Micro Controller pin | Arduino Pin |
|---|---|
| Pin 1 | Ground |
| Pin 2 (RST) | Pin 10 |
| Pin 3 (MOSI) | Pin 11 |
| Pin 4 (SCK) | Pin 13 |
| Pin 5 (VCC) | 5V |
| Pin 6 (MISO) | Pin 12 |
The final connection should look like this:
Programming the programmer
After wiring, we should prepare the Arduino Uno to act as a programmer. This step is relatively simple.- connect Arduino Uno via USB
- Make sure the correct board (Arduino UNO) and port are selected in Tools tab
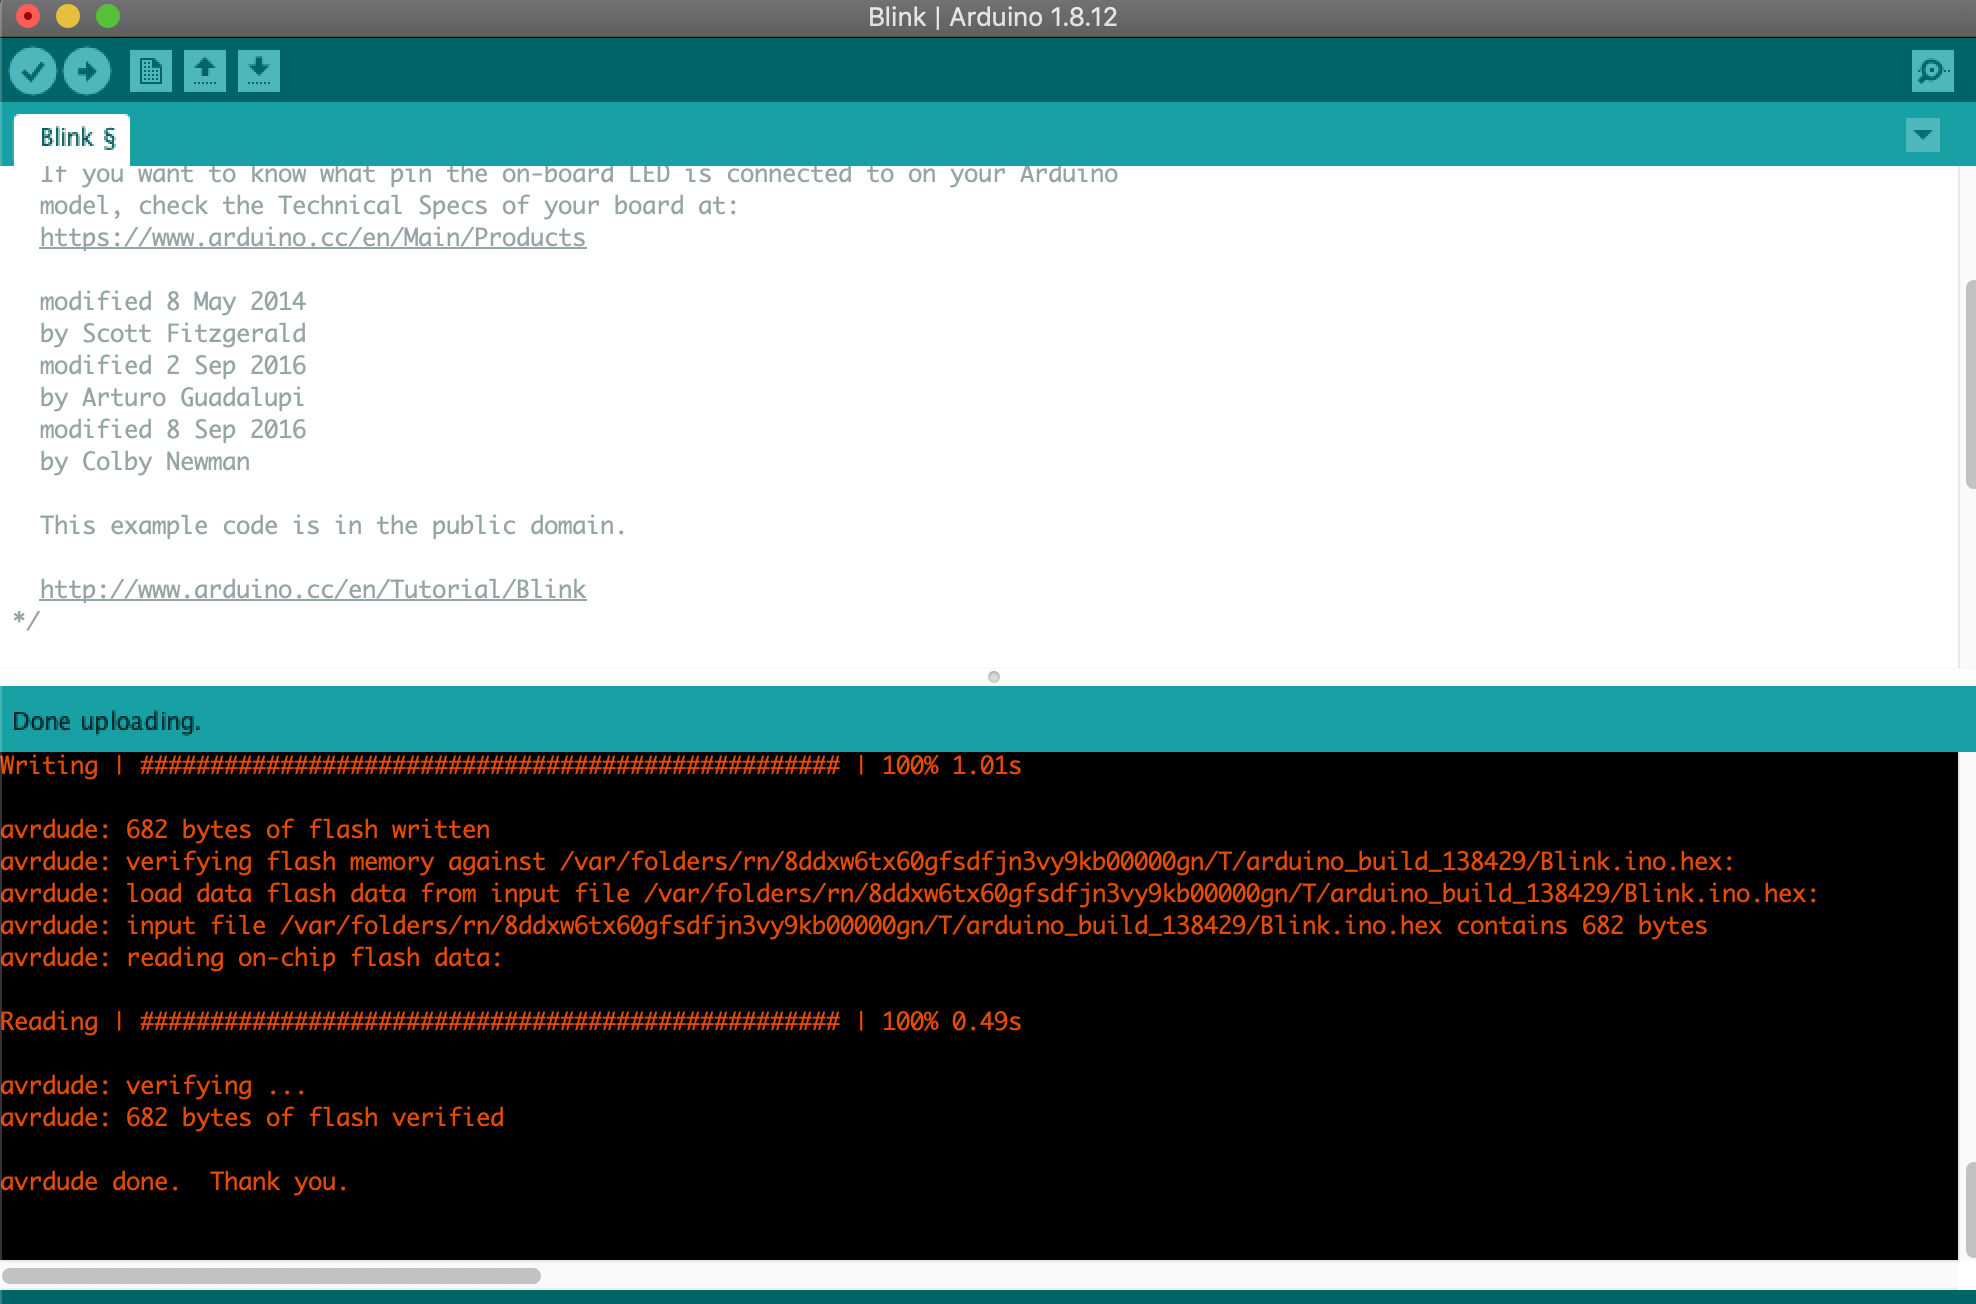
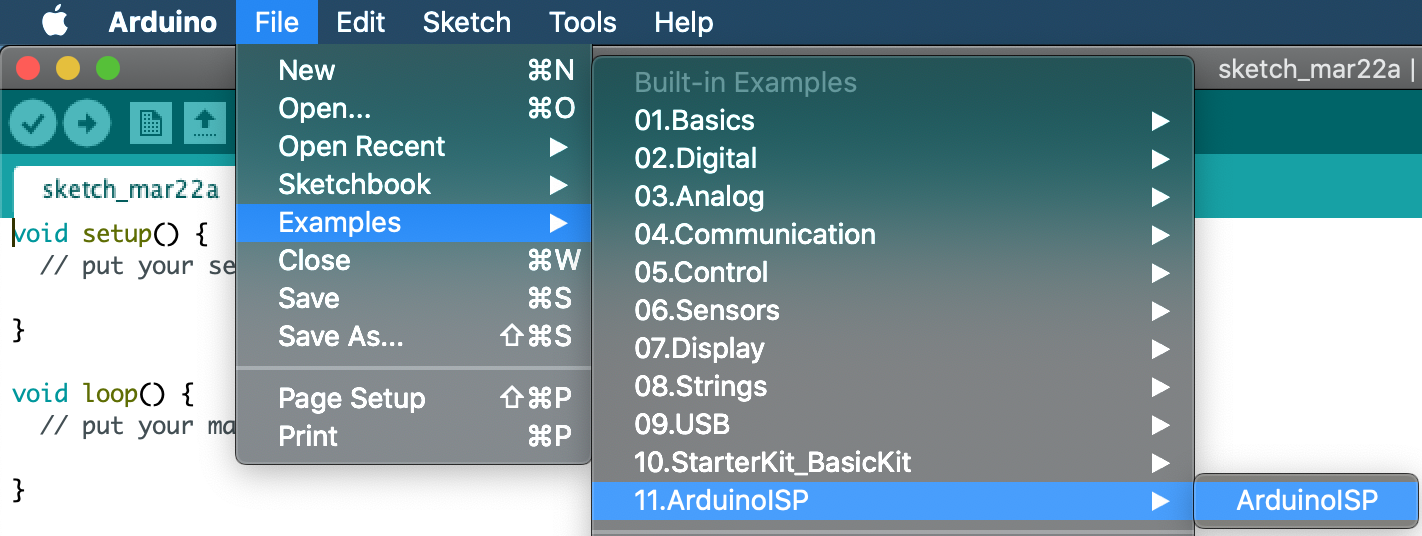
- load the example (arduinoISP) buy going to File > examples > ArduinoISP
- upload this code to your Arduino UNO
After loarding the code to Arduino Uno, it's time to program Attiny45 board.
Programming the programmer
Now that the Arduino Uno is ready to program the Attiny45 board, we need to prepare the board settings on Arduino IDE.First the Attiny library has to be imported. To do this follow the steps below:
- Click on Arduino>Prefrences
- Copy the link below and paste it in Prefrences:
https://raw.githubusercontent.com/damellis/attiny/ide-1.6.x-boards-manager/package_damellis_attiny_index.json

- From the Arduino IDE , go to Tools > Board > Board Manager
- In Board Manager install the Attiny library
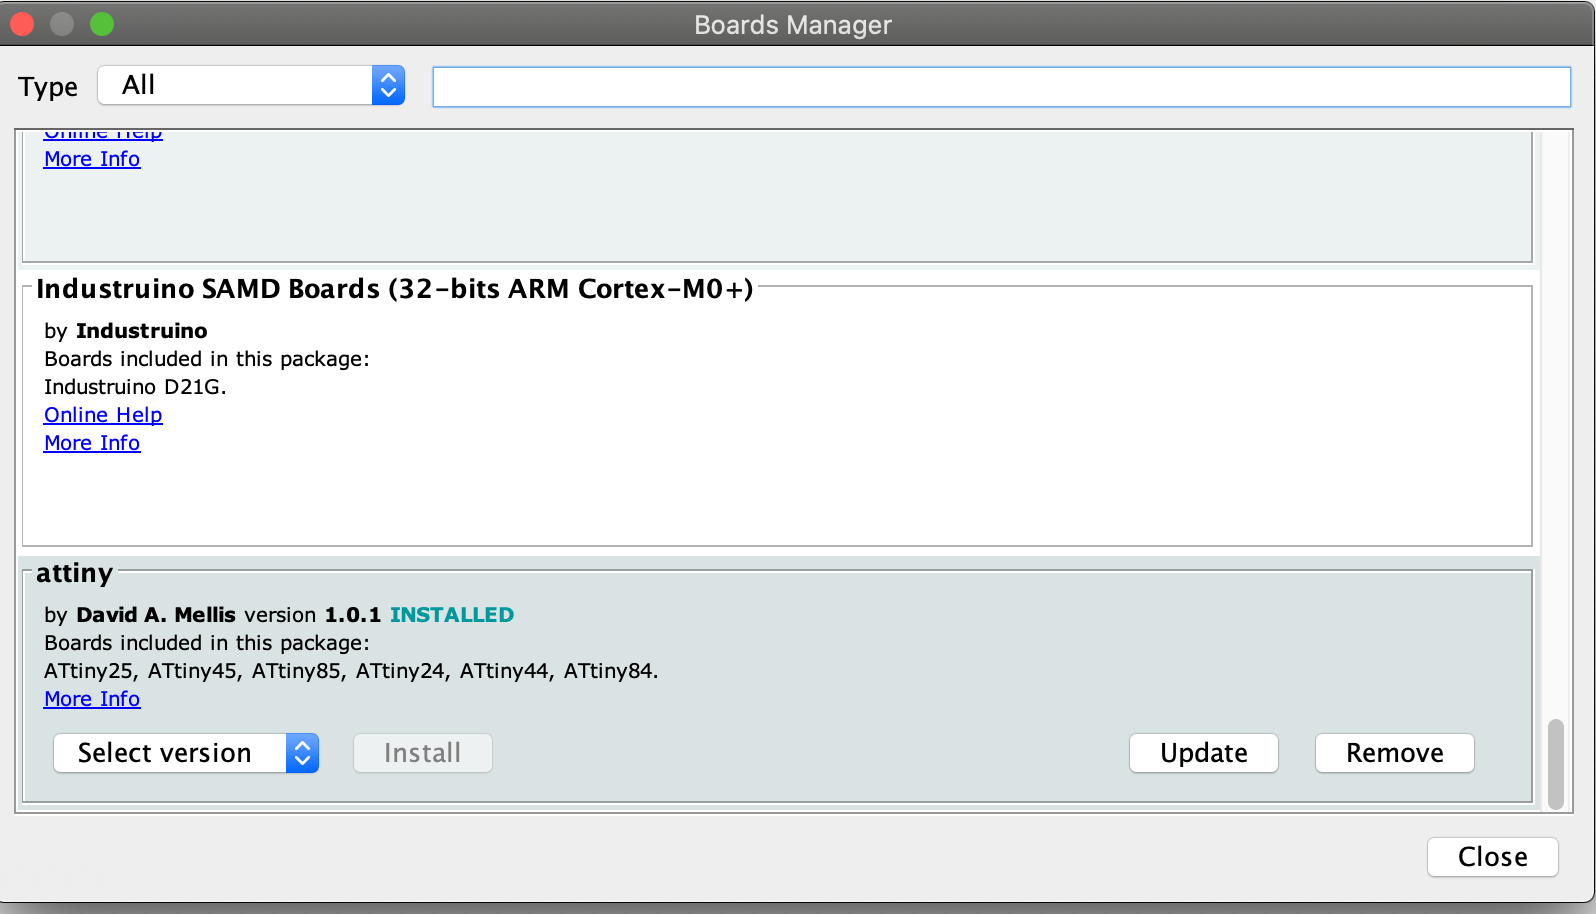
- From Tools, select Attiny in Boards, Attiny45 in processor, Clock: 8Mhz, Port:your USB port, Programmer: Arduino as ISP

- to upload a simple program, go to File > Examples > 01.Basic > Blink
- change the program to match your board pins (in my example the LED is connected to PB04 (pin 4).
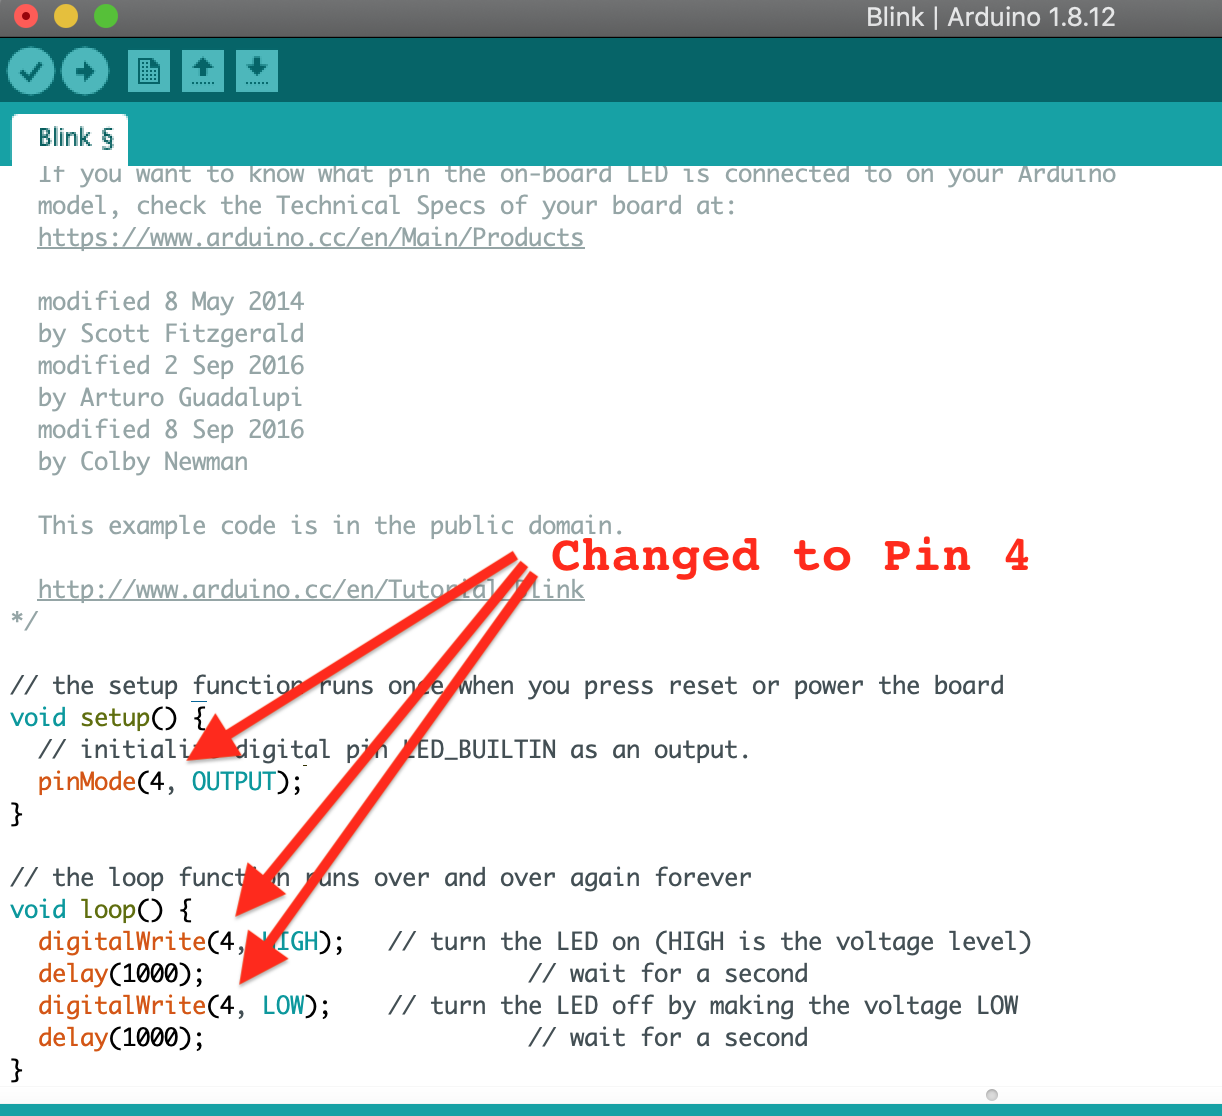
- Upload the program to your Attiny45 board by clicking Upload.