Week 5
This week we talked about 3D printing and scanning. Different printing technologies were discusse as well as the limitation of every technique.
The group assignment was to test the design rules of our printer (Ultimaker). These rules are what controls the design (such as overhang parts, bridges, small corner tolerances..etc).
The Induvidual assignment was to print something that can't be made subtractively. To cover 3D scanning, we had to scan an object and printed (optional).
Group Assignment
To test 3D printers, there are several files available online such as the famous Benchy boat and the calibration cube that checks every axis of the printer.We decided to go with the All-in-One 3D Print Test found on Thingiverse.com. Once printed this object tests several limitation machines can have such as overhang angles, holes sizes, bridge lengths, supports..etc.
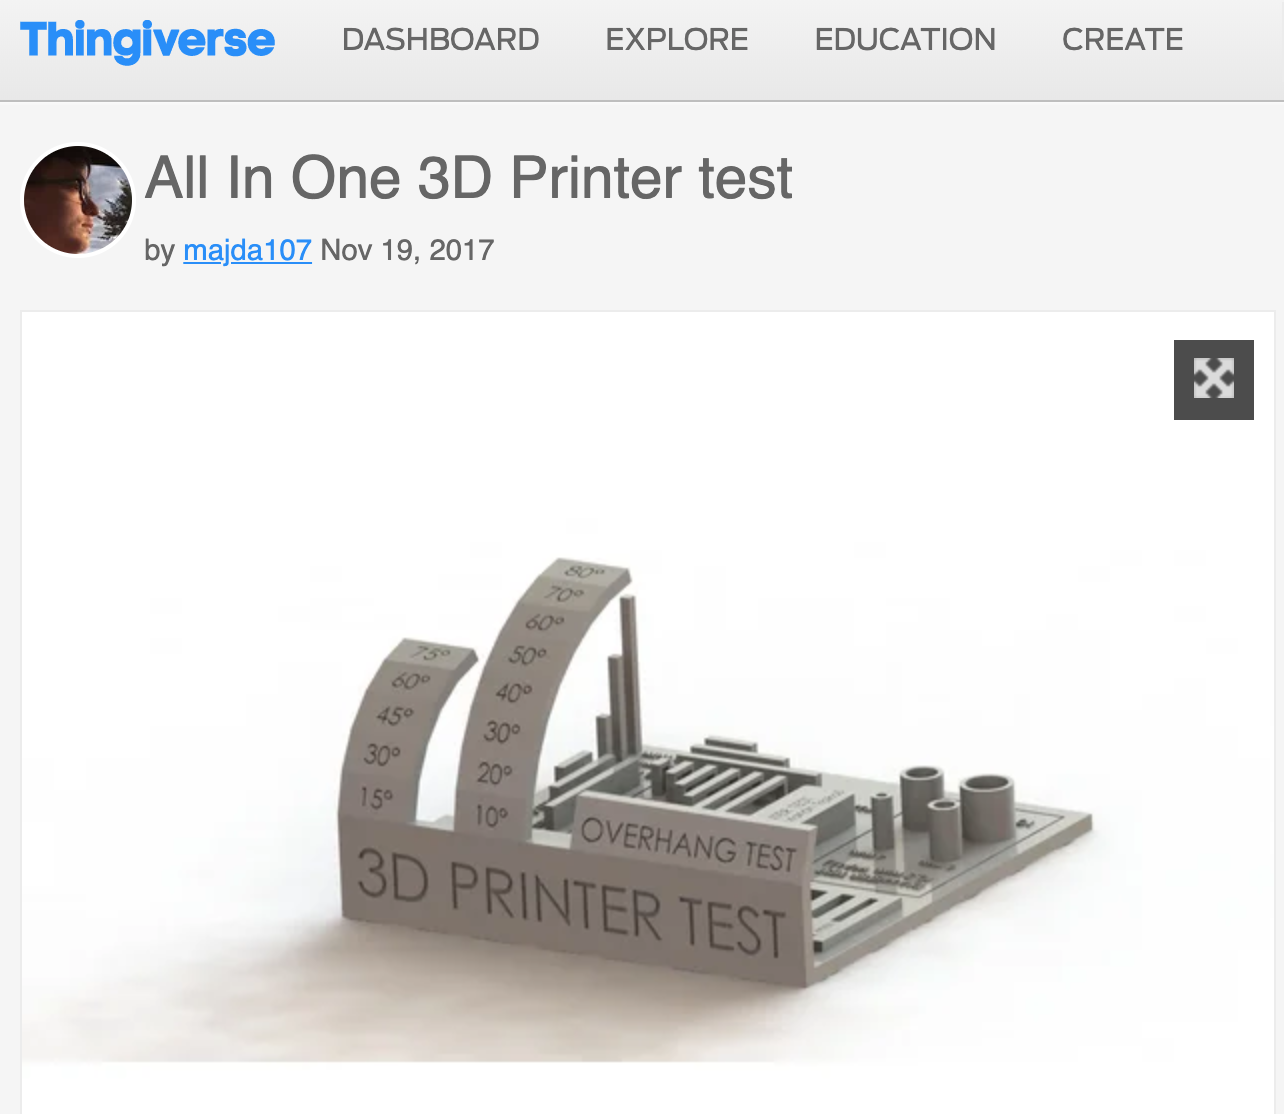
Below is a photo of the printed test. The test shoes that the printer is capable to print objects and overhand angle of 45 degrees. Beyond this angle the print started to fail and string out. Similar deformities were visible on long bridges.

Another test was performed to test different infill setting. The object was surprisingly strong even at 20% infill.

Individual Assignment
3D Printed object
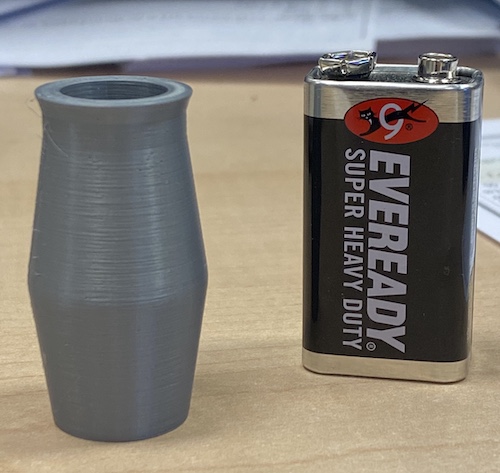
The Idea for this object came from from my 5 year old son. It is difficult for him to inflate a balloon because air keeps escaping whenever he tries to take another breath while blowing the balloon.So I thought of making a one-way valve that will close when he wanted to catch his breath. The valve is basically two concentric cylinders where the outer shell is tapered on both sides to prevent the plug from coming out. The pressure from the balloon pushes the plug down and subsequently closes the air gap.
The air gap between two cylinders was set to 0.5 mm and it turned out to be sufficient to be printed without the two pieces fusing.
The object was printed as one piece in place using PLA and Prusa MK3s printer. It took about 2 hours to print at 0.15 layer height. Below is a quick video showing the design steps in Fusion 360.
DOWNLOAD THIS FILE BY CLICKING HERE
Here is another video of the valve releasing the air by pushing the plug up the shell.
3D scanning
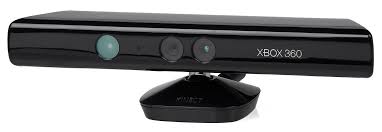
I chose to scan my own head just because it was the easiest option at the time. To scan, we used Microsoft Kinect and KScan software.
finally, the scan was finalized and the software generated a mesh of all the photos together.


This file could be exported and .stl file and used in any other software that supports stl files.