Week 2
This week was about CAD (computer aided design). We were introduced to severt softwares that can help with 2D and 3D design. These tools varried when it came to the learning curve
This week I chose these softwares to play around with. Some were completely new to me and some I had experience in.
- Autodesk Fusion 360
- Rhino 6
- Rhino 6 with Grasshopper
- GIMP
- Inkscape
- xDesign
Fusion 360
I'm going to start with this software since it's the one I have most experience in.
Fusion 360 is a very easy to learn and easy to use software. It's got similar capabalities to other renouned softwares in this field. Below I'll show a few examples of design ideas I had in mind that I was able to model using Fusion360
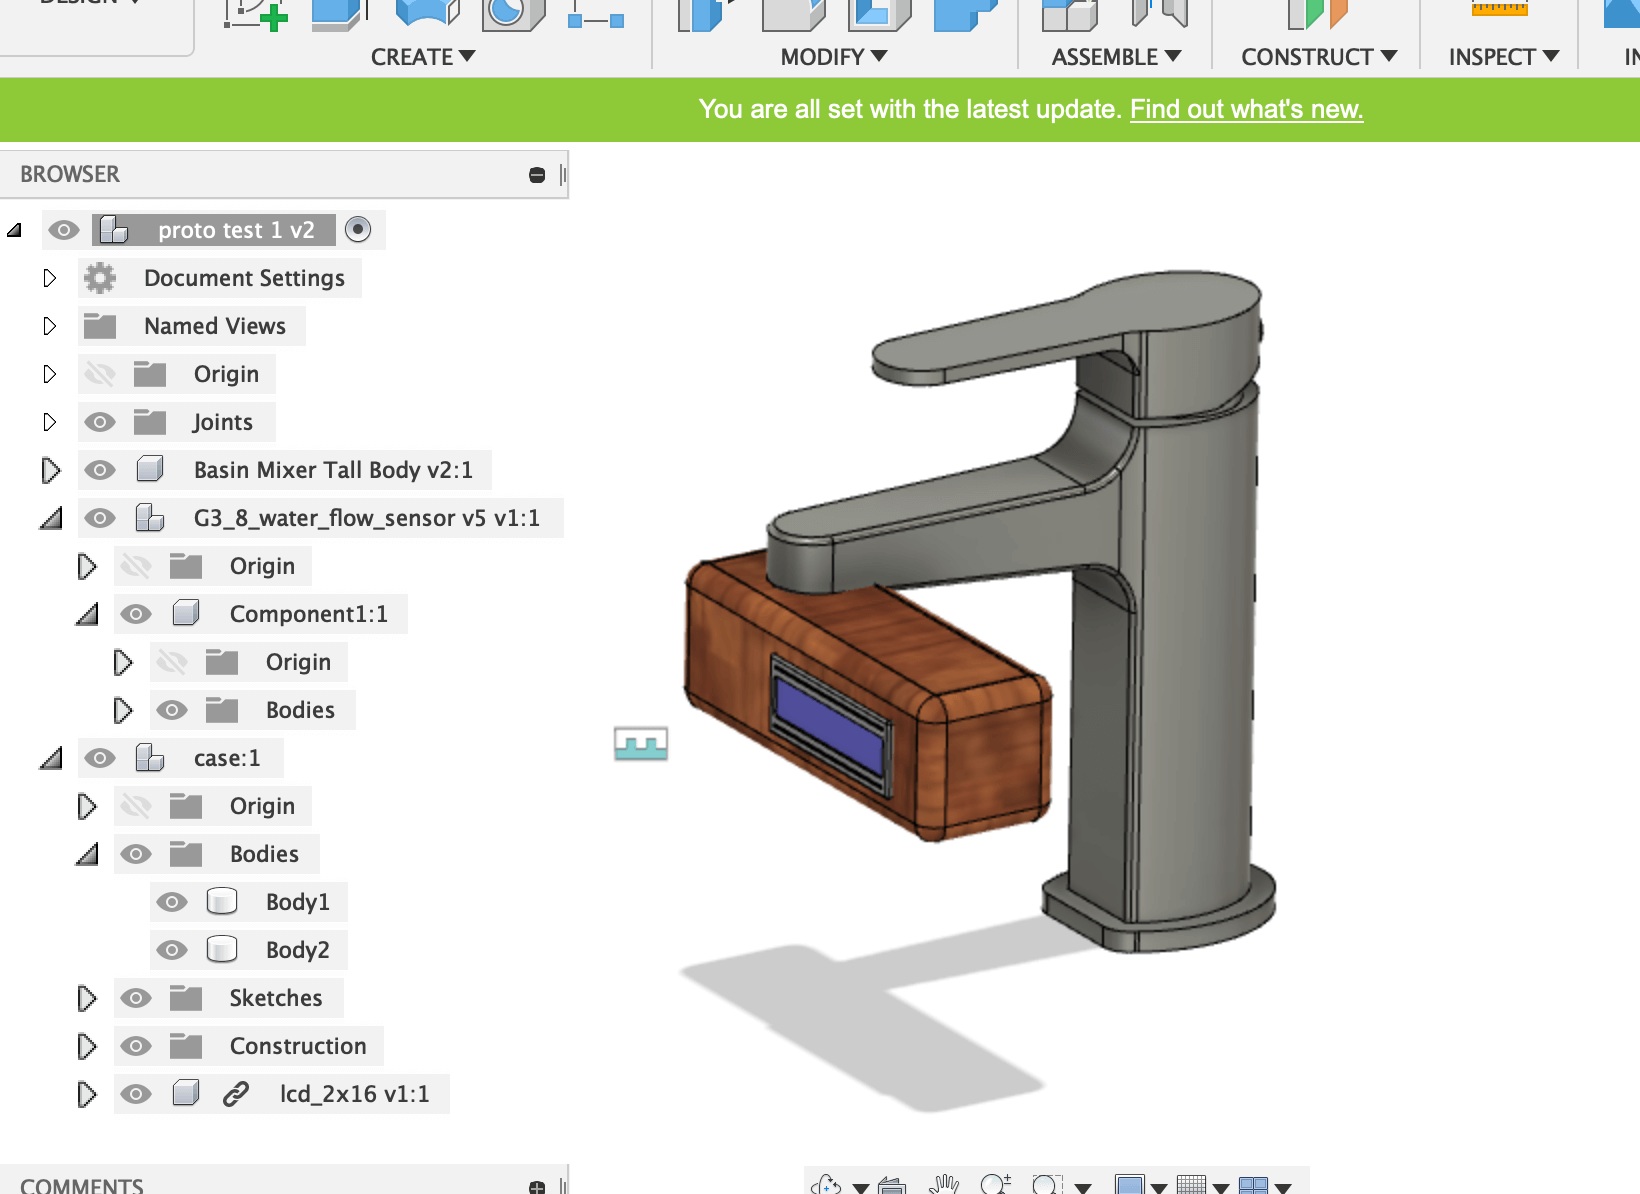
Idea 1: Water Consumption Meter:
- Theis was done by importing several .STEP filed from GrabCAD.com
 .
.
- 3 parts were imported into Fusion 360: the flow meter, LCD screen and the water faucet.
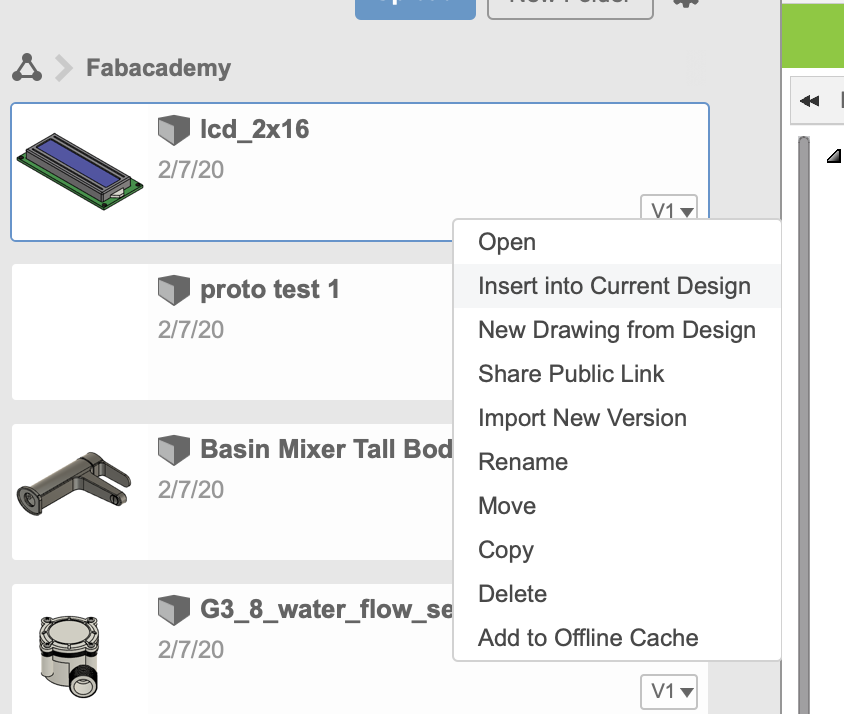
after uploading the files into Fusion360 library, they were imported into the current design.
- The current design consisted of a a box (wood) with cutout holes to accomodate the other components in the desing.
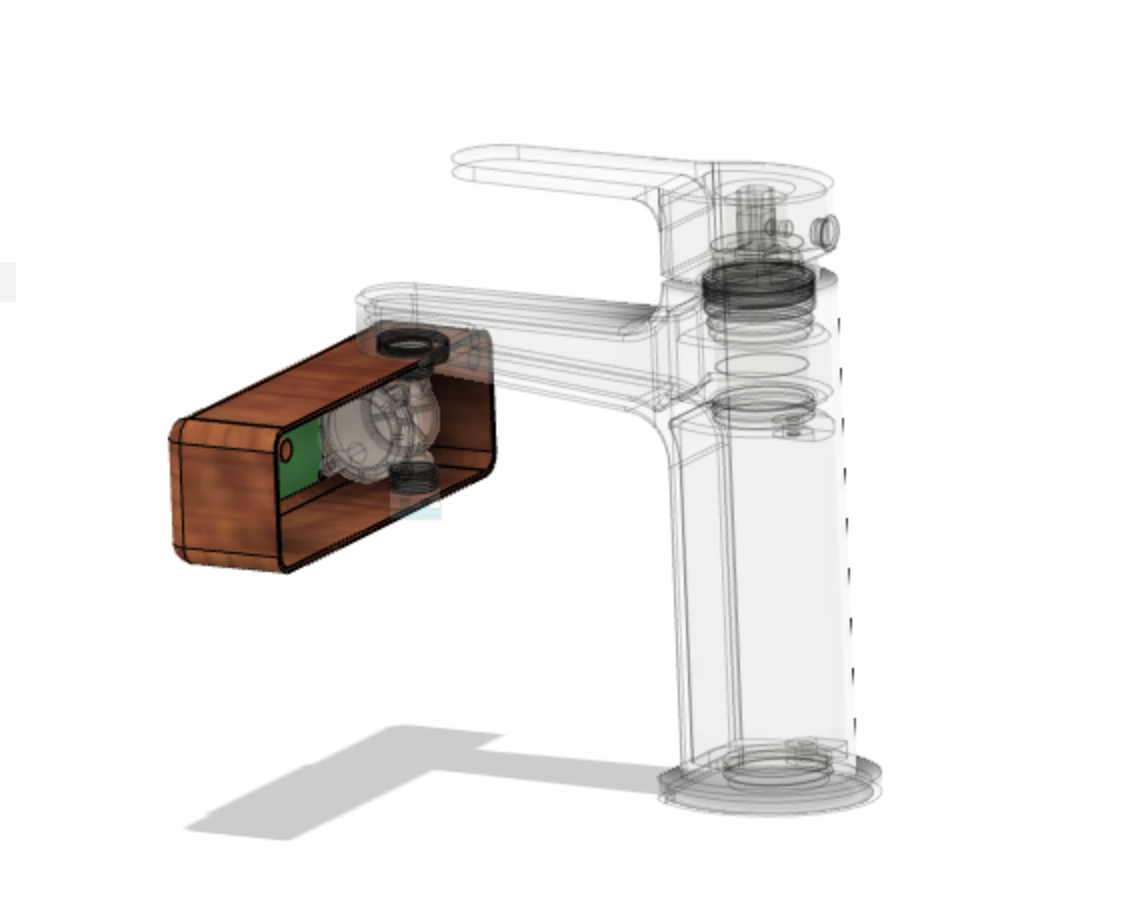
I know this doesn't include any electric ciruits or electronic parts, It's just for the visualization on what the final product might look like
Idea 2: Water bottle Compressor
unlike the other idea, this idea has some moving parts and components that fit into each other.
Again, I used grabcad.com to download the motors model as well as the water bottle.
- This is how I initially imagine the design to look like

- I tried rendering in Fusion360. This is the first time I try to render any model at all.

Rhino 6
Learning Rhino has been a challenge. Unlike Fusion360, I felt like Rhino has a steep learning curve. With that said, it has many features that aren't available in Fusion360. I've been looking at Youtube videos about combining Rhino and Grasshopper. This is more advanced and i'll put it off for another time
Rhino can be used for 2D as well as 3D design. I tried both.
- 2D patterns
I modeled a simple geometric shape using simple lines
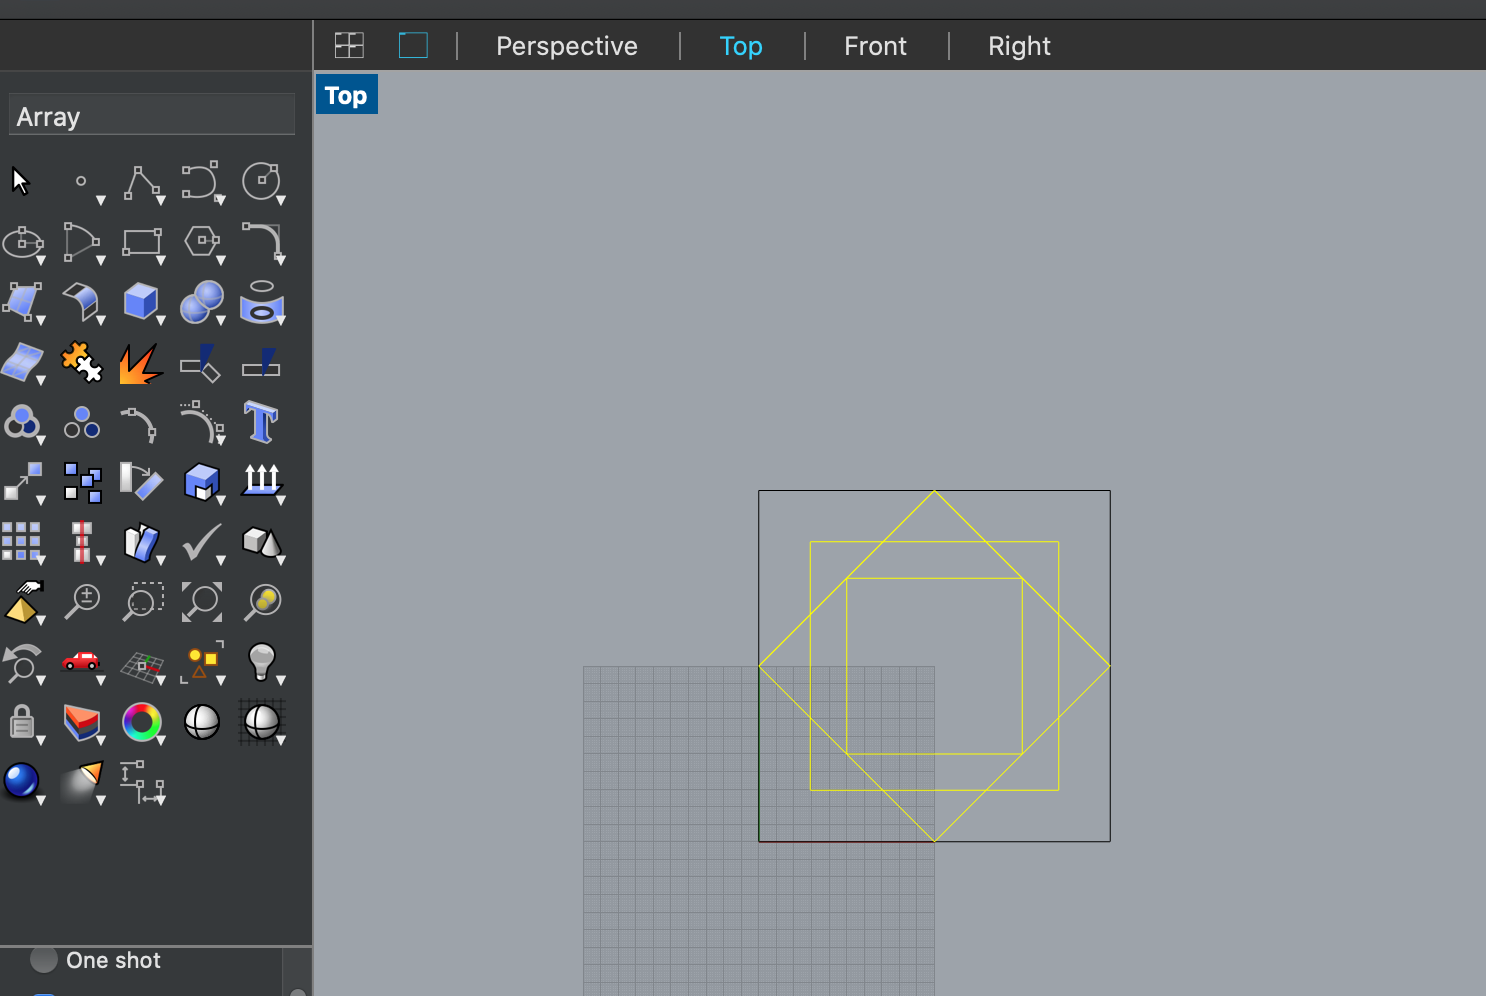
I, then trimmed some of the lines using Trim command:
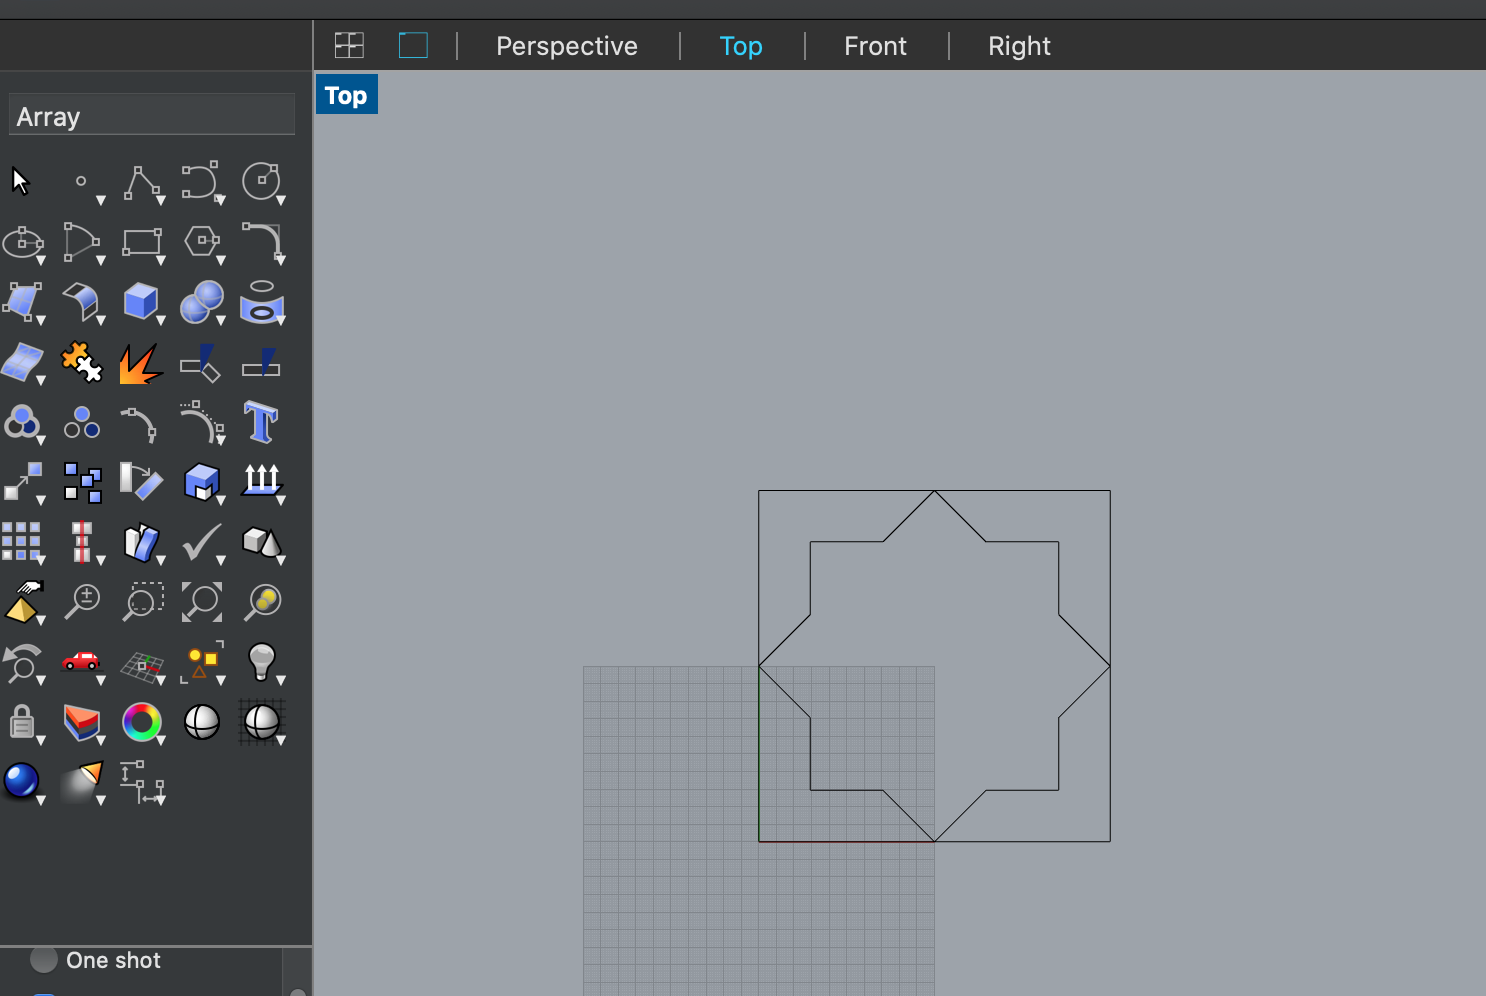
This square will be used a cell in an array of many cells to create a bigger shape.
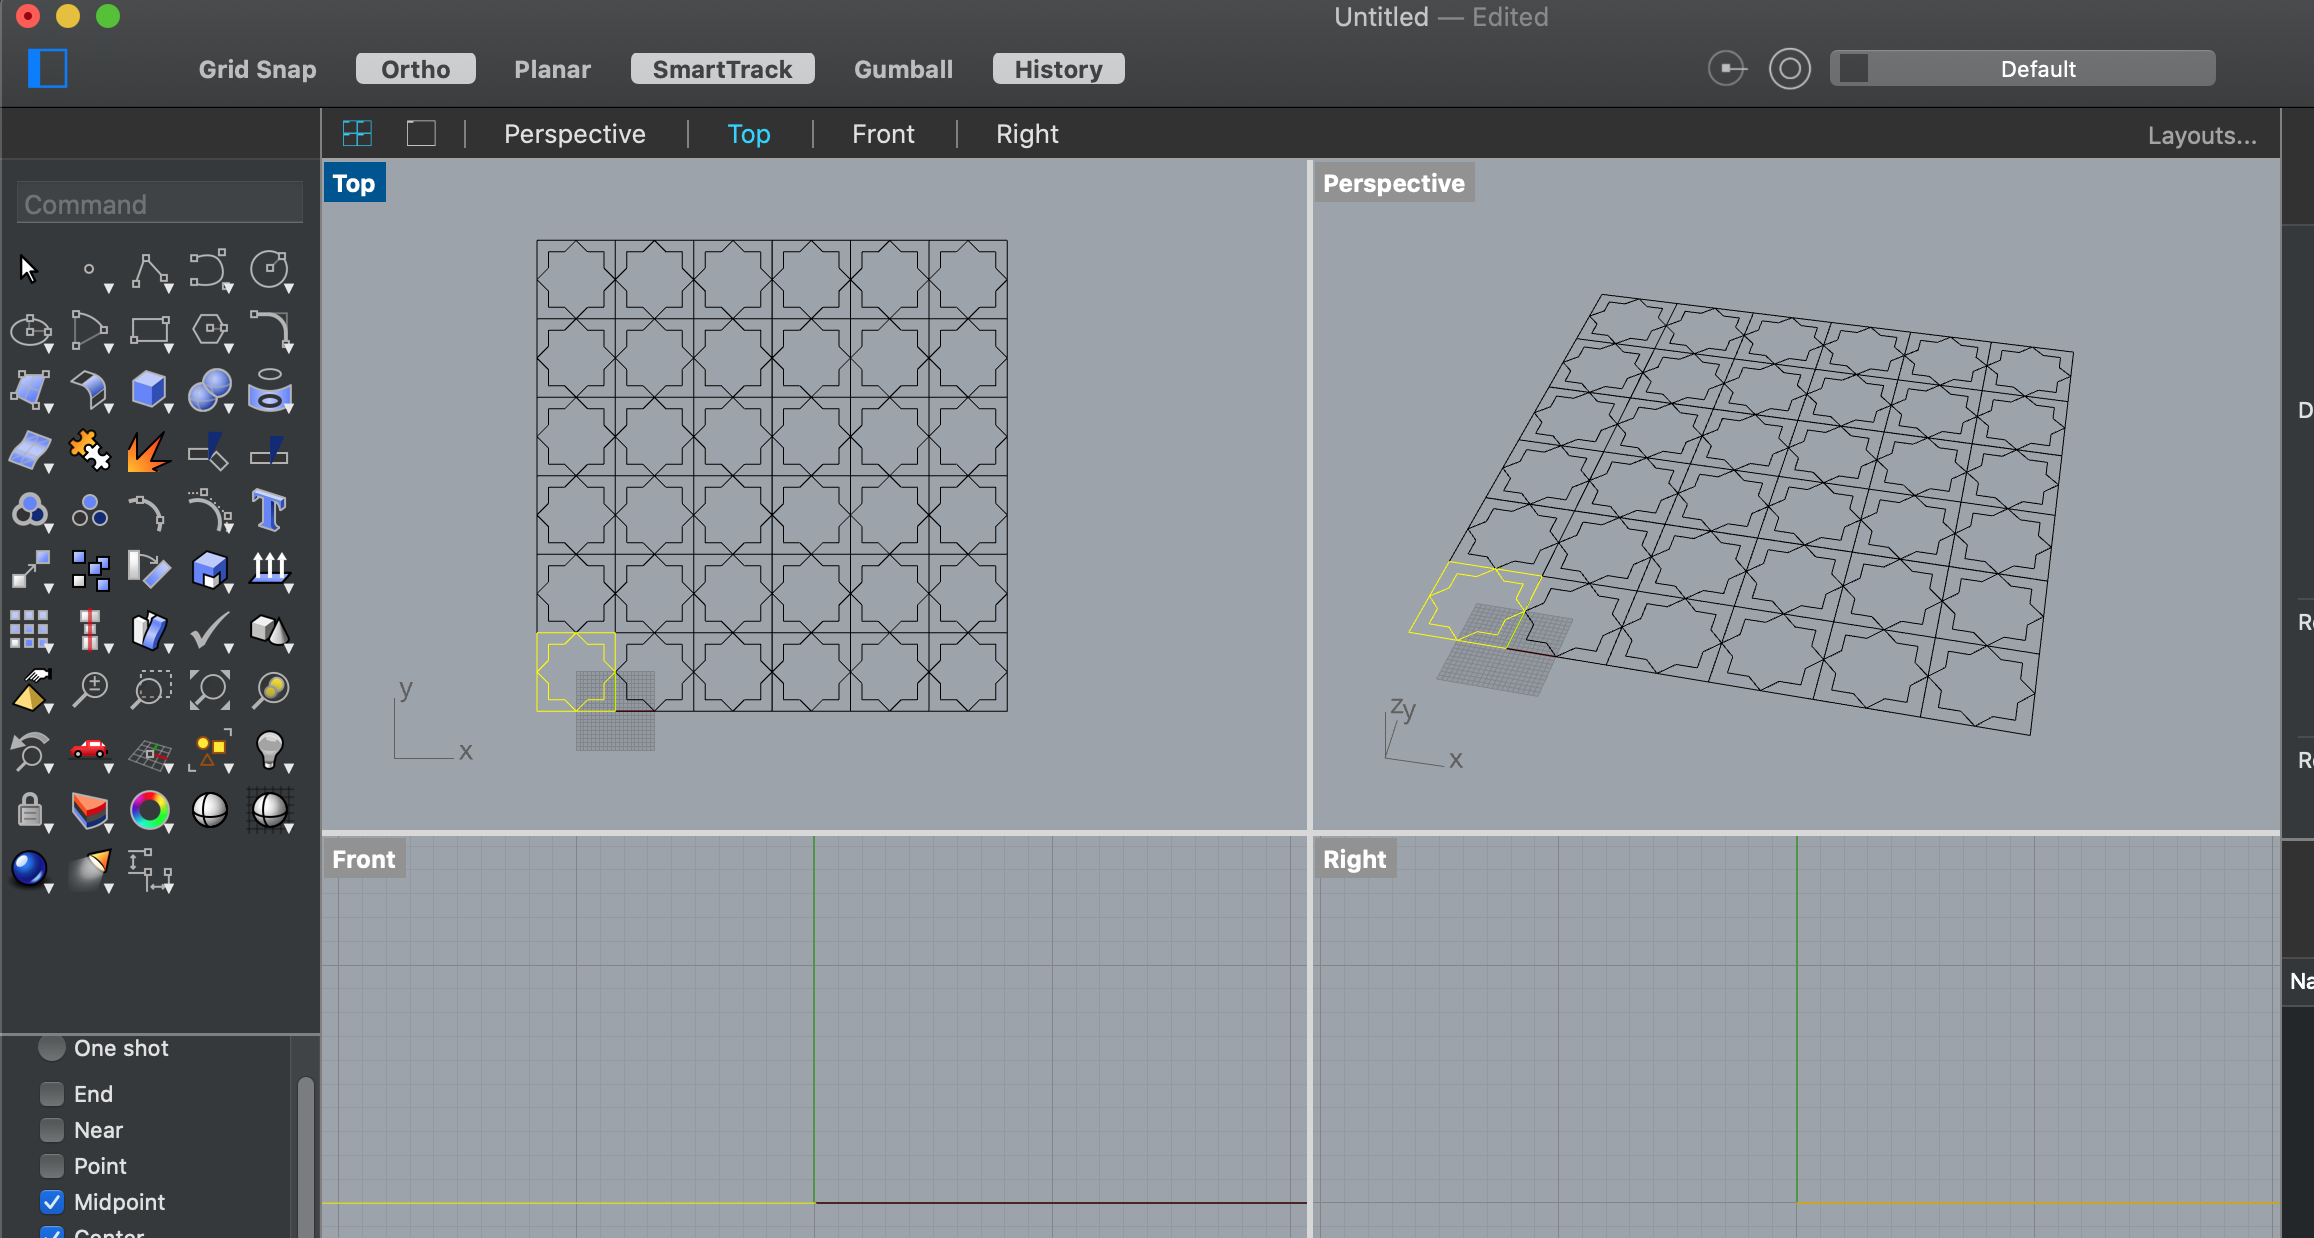
Here is where I entered the command Array

The array repeated the "cell" a few times to create this shape:
- 3D modeling
I Drew this shape:
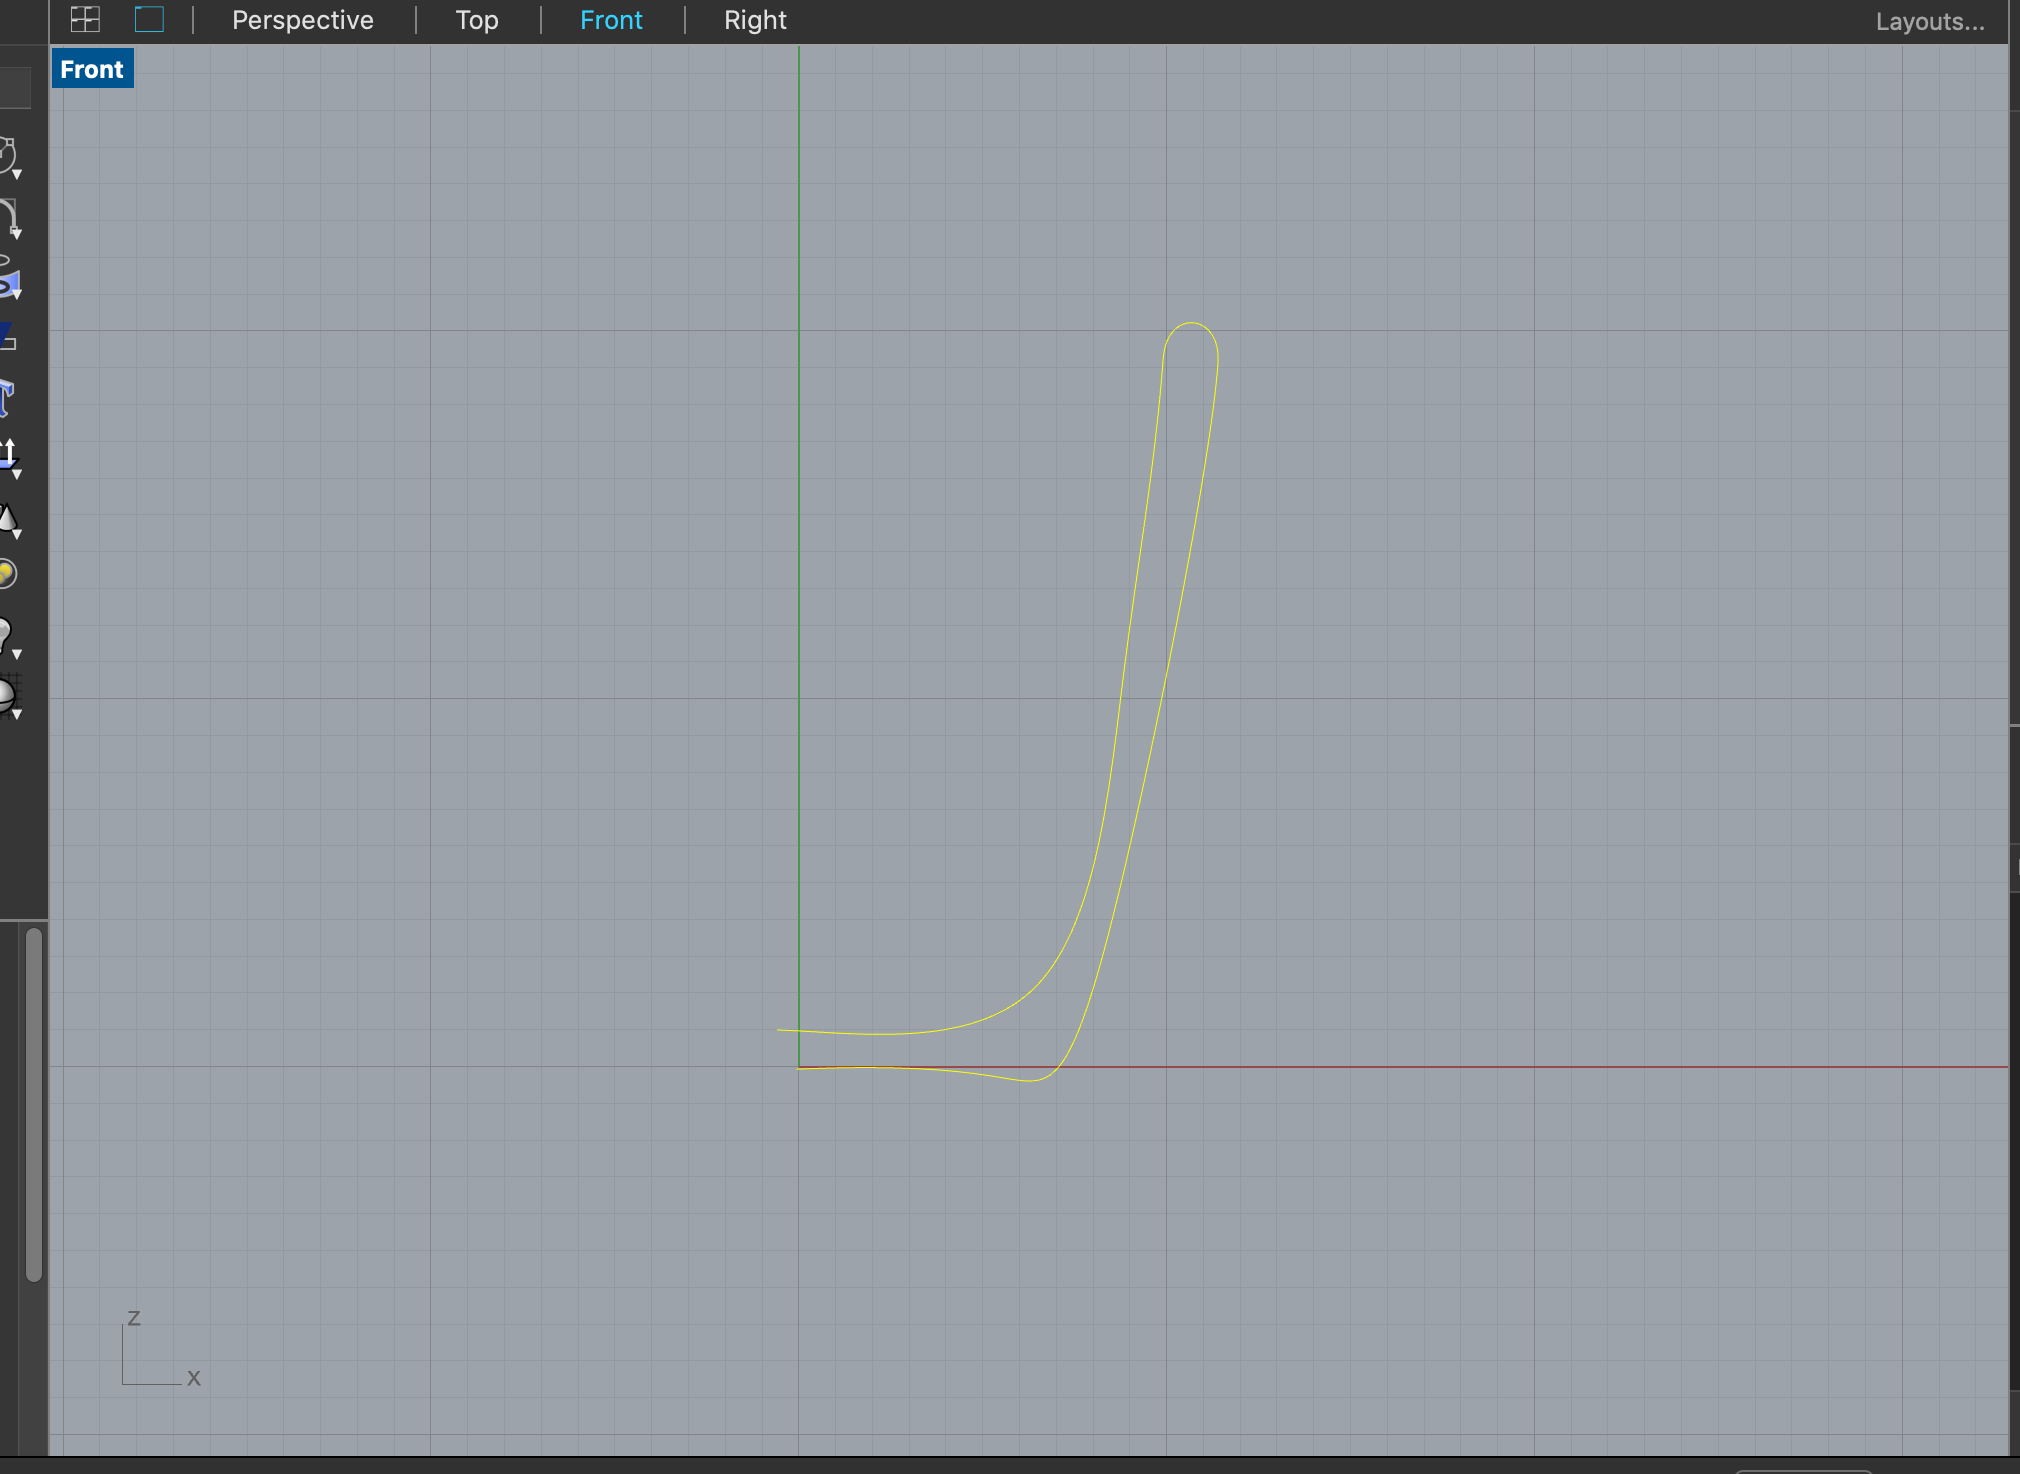
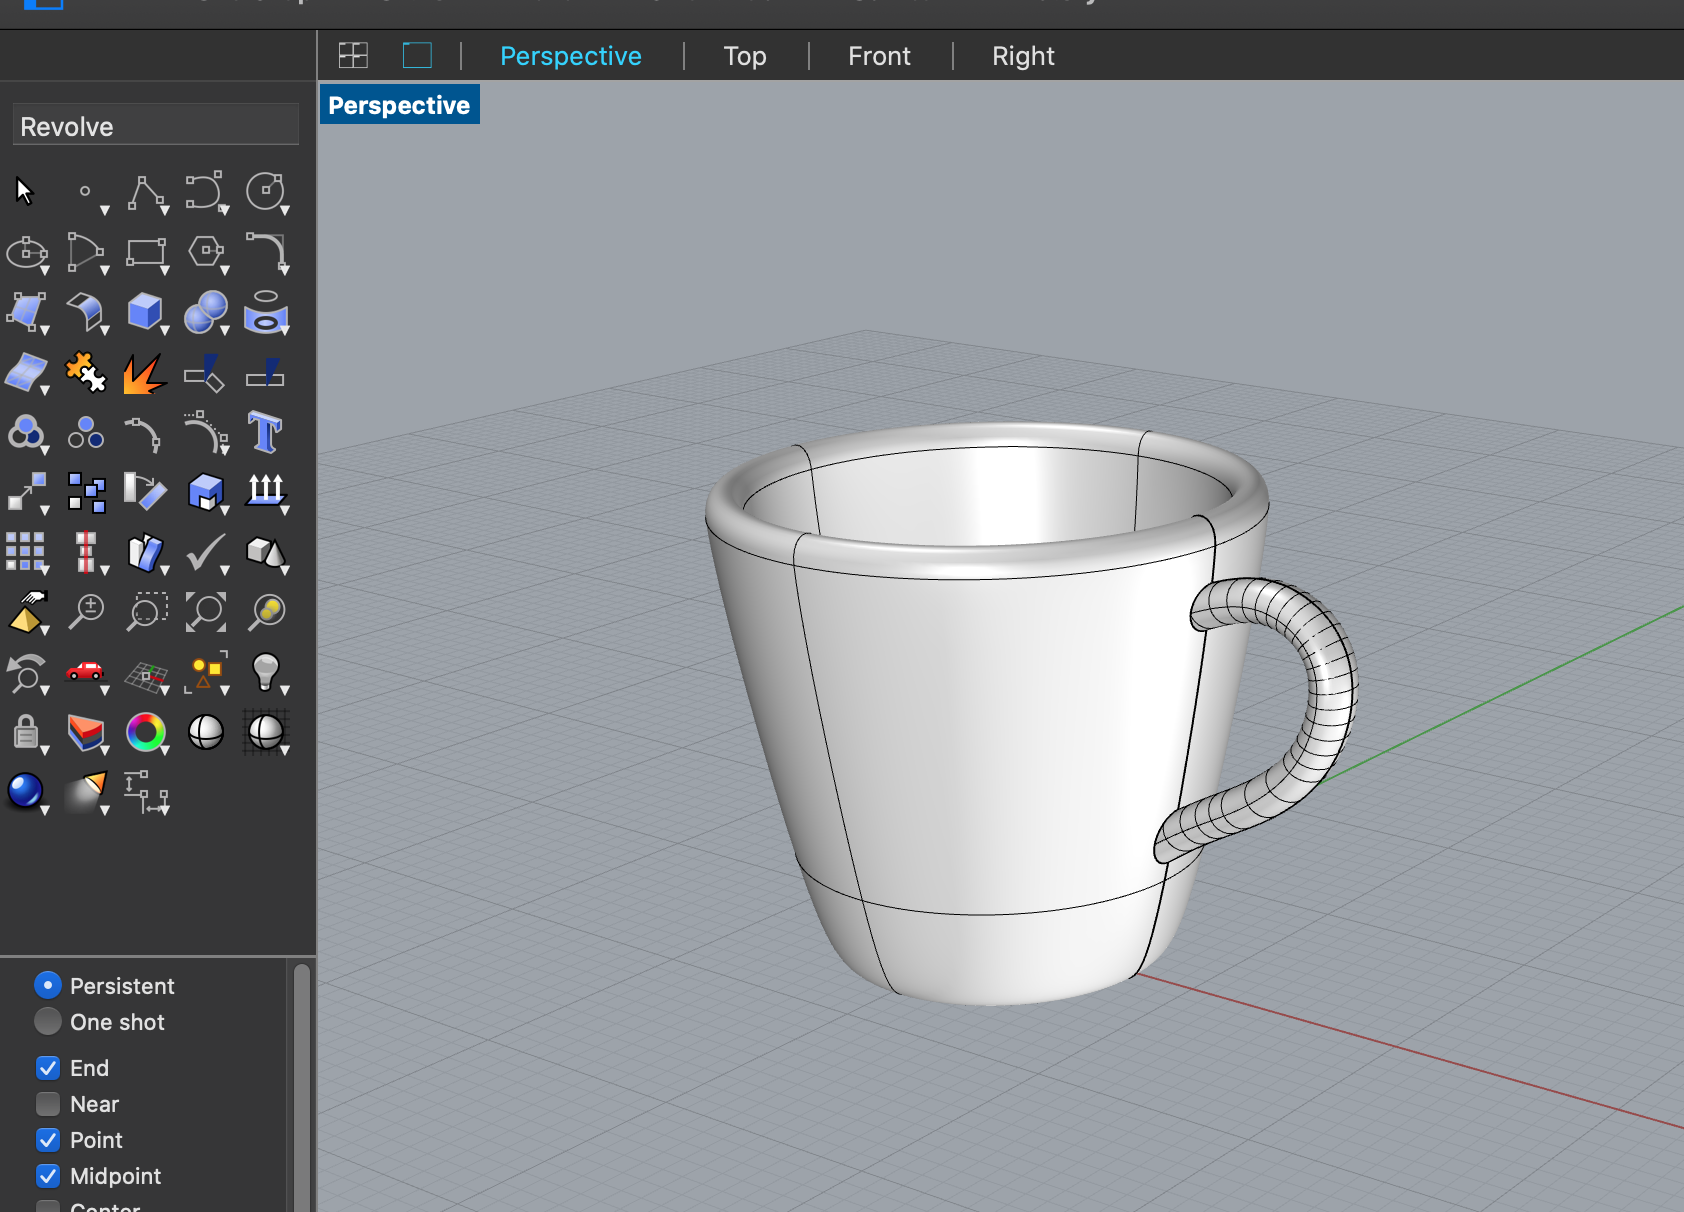
and then used the revolve command to turn it into a solid:


finally, using a line, an ellipe and the sweep1 command, I created a handle for the mug.

Rhino 6 with Grasshopper
I decided to give Grasshopper a try and see what I can draw. This kind of graphical programming is a new concept to me and it took me a few hours to learn my way through the software
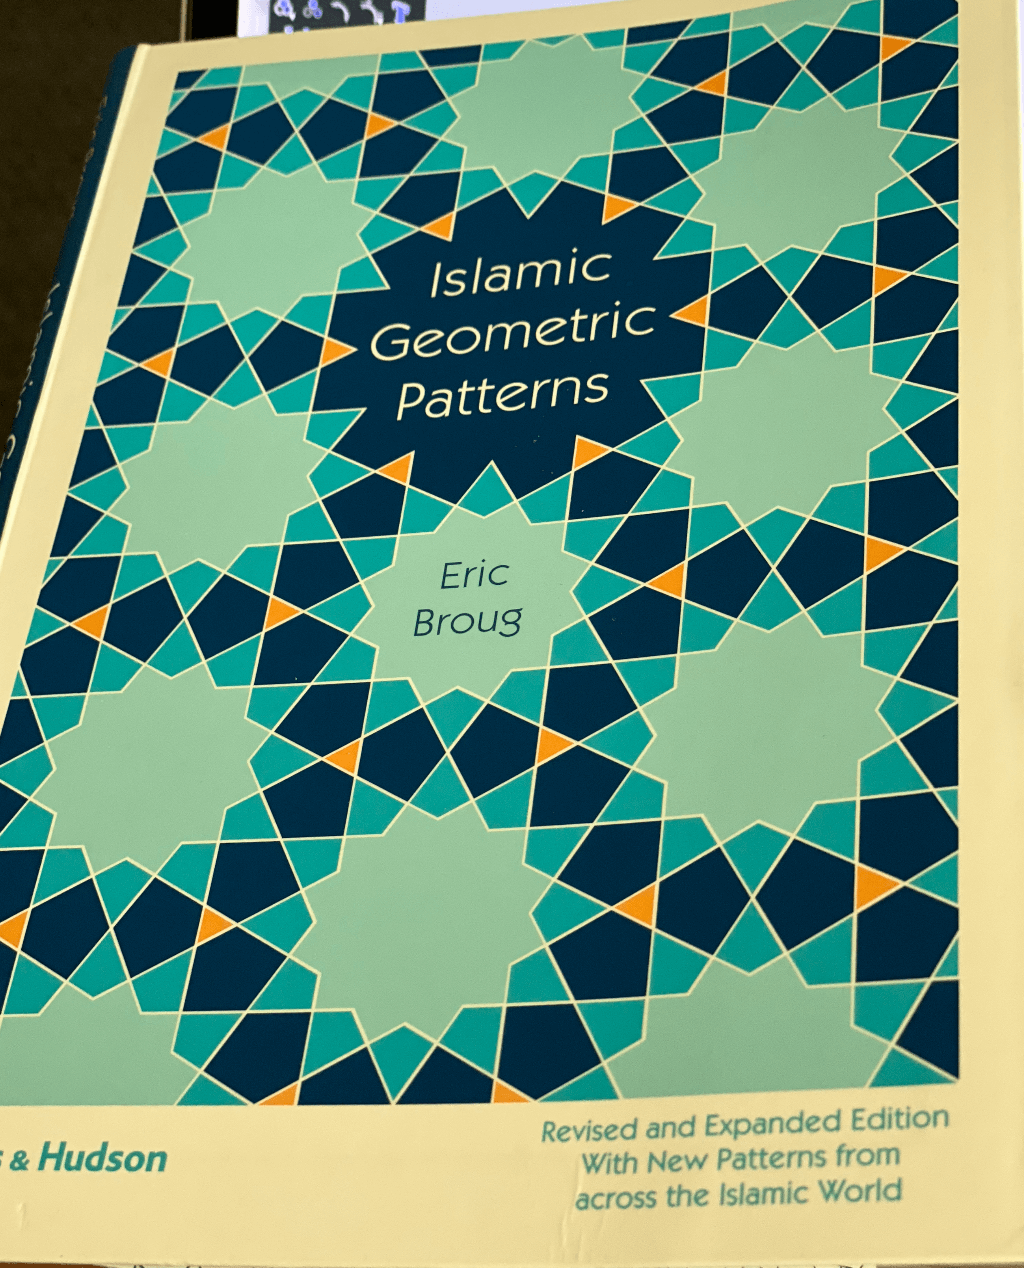
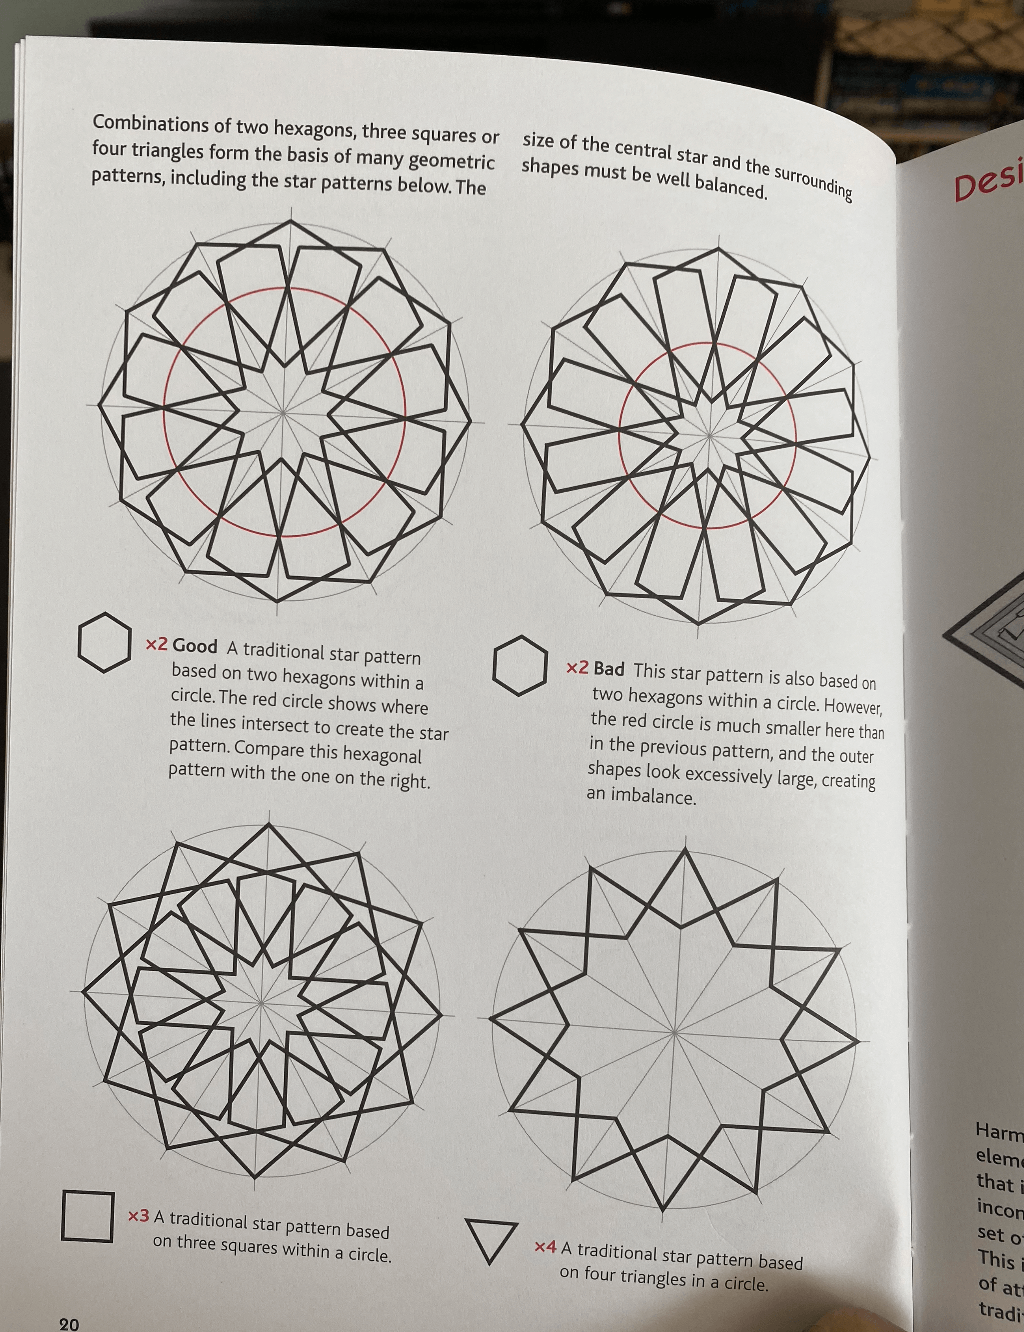
to learn, I like to give myself a challenge and try to acheive it by the end of the learning process. I used this book and chose one of the designs to reproduce using parametric design.
-
To draw this, we started with a point and a circle (see photo below). The radius of the circle was set as a parameter of the drawing. This means it can be adjusted later.
I, then, added a "brick?" that divides the curve (the circle) into multiple parts (24 in this example)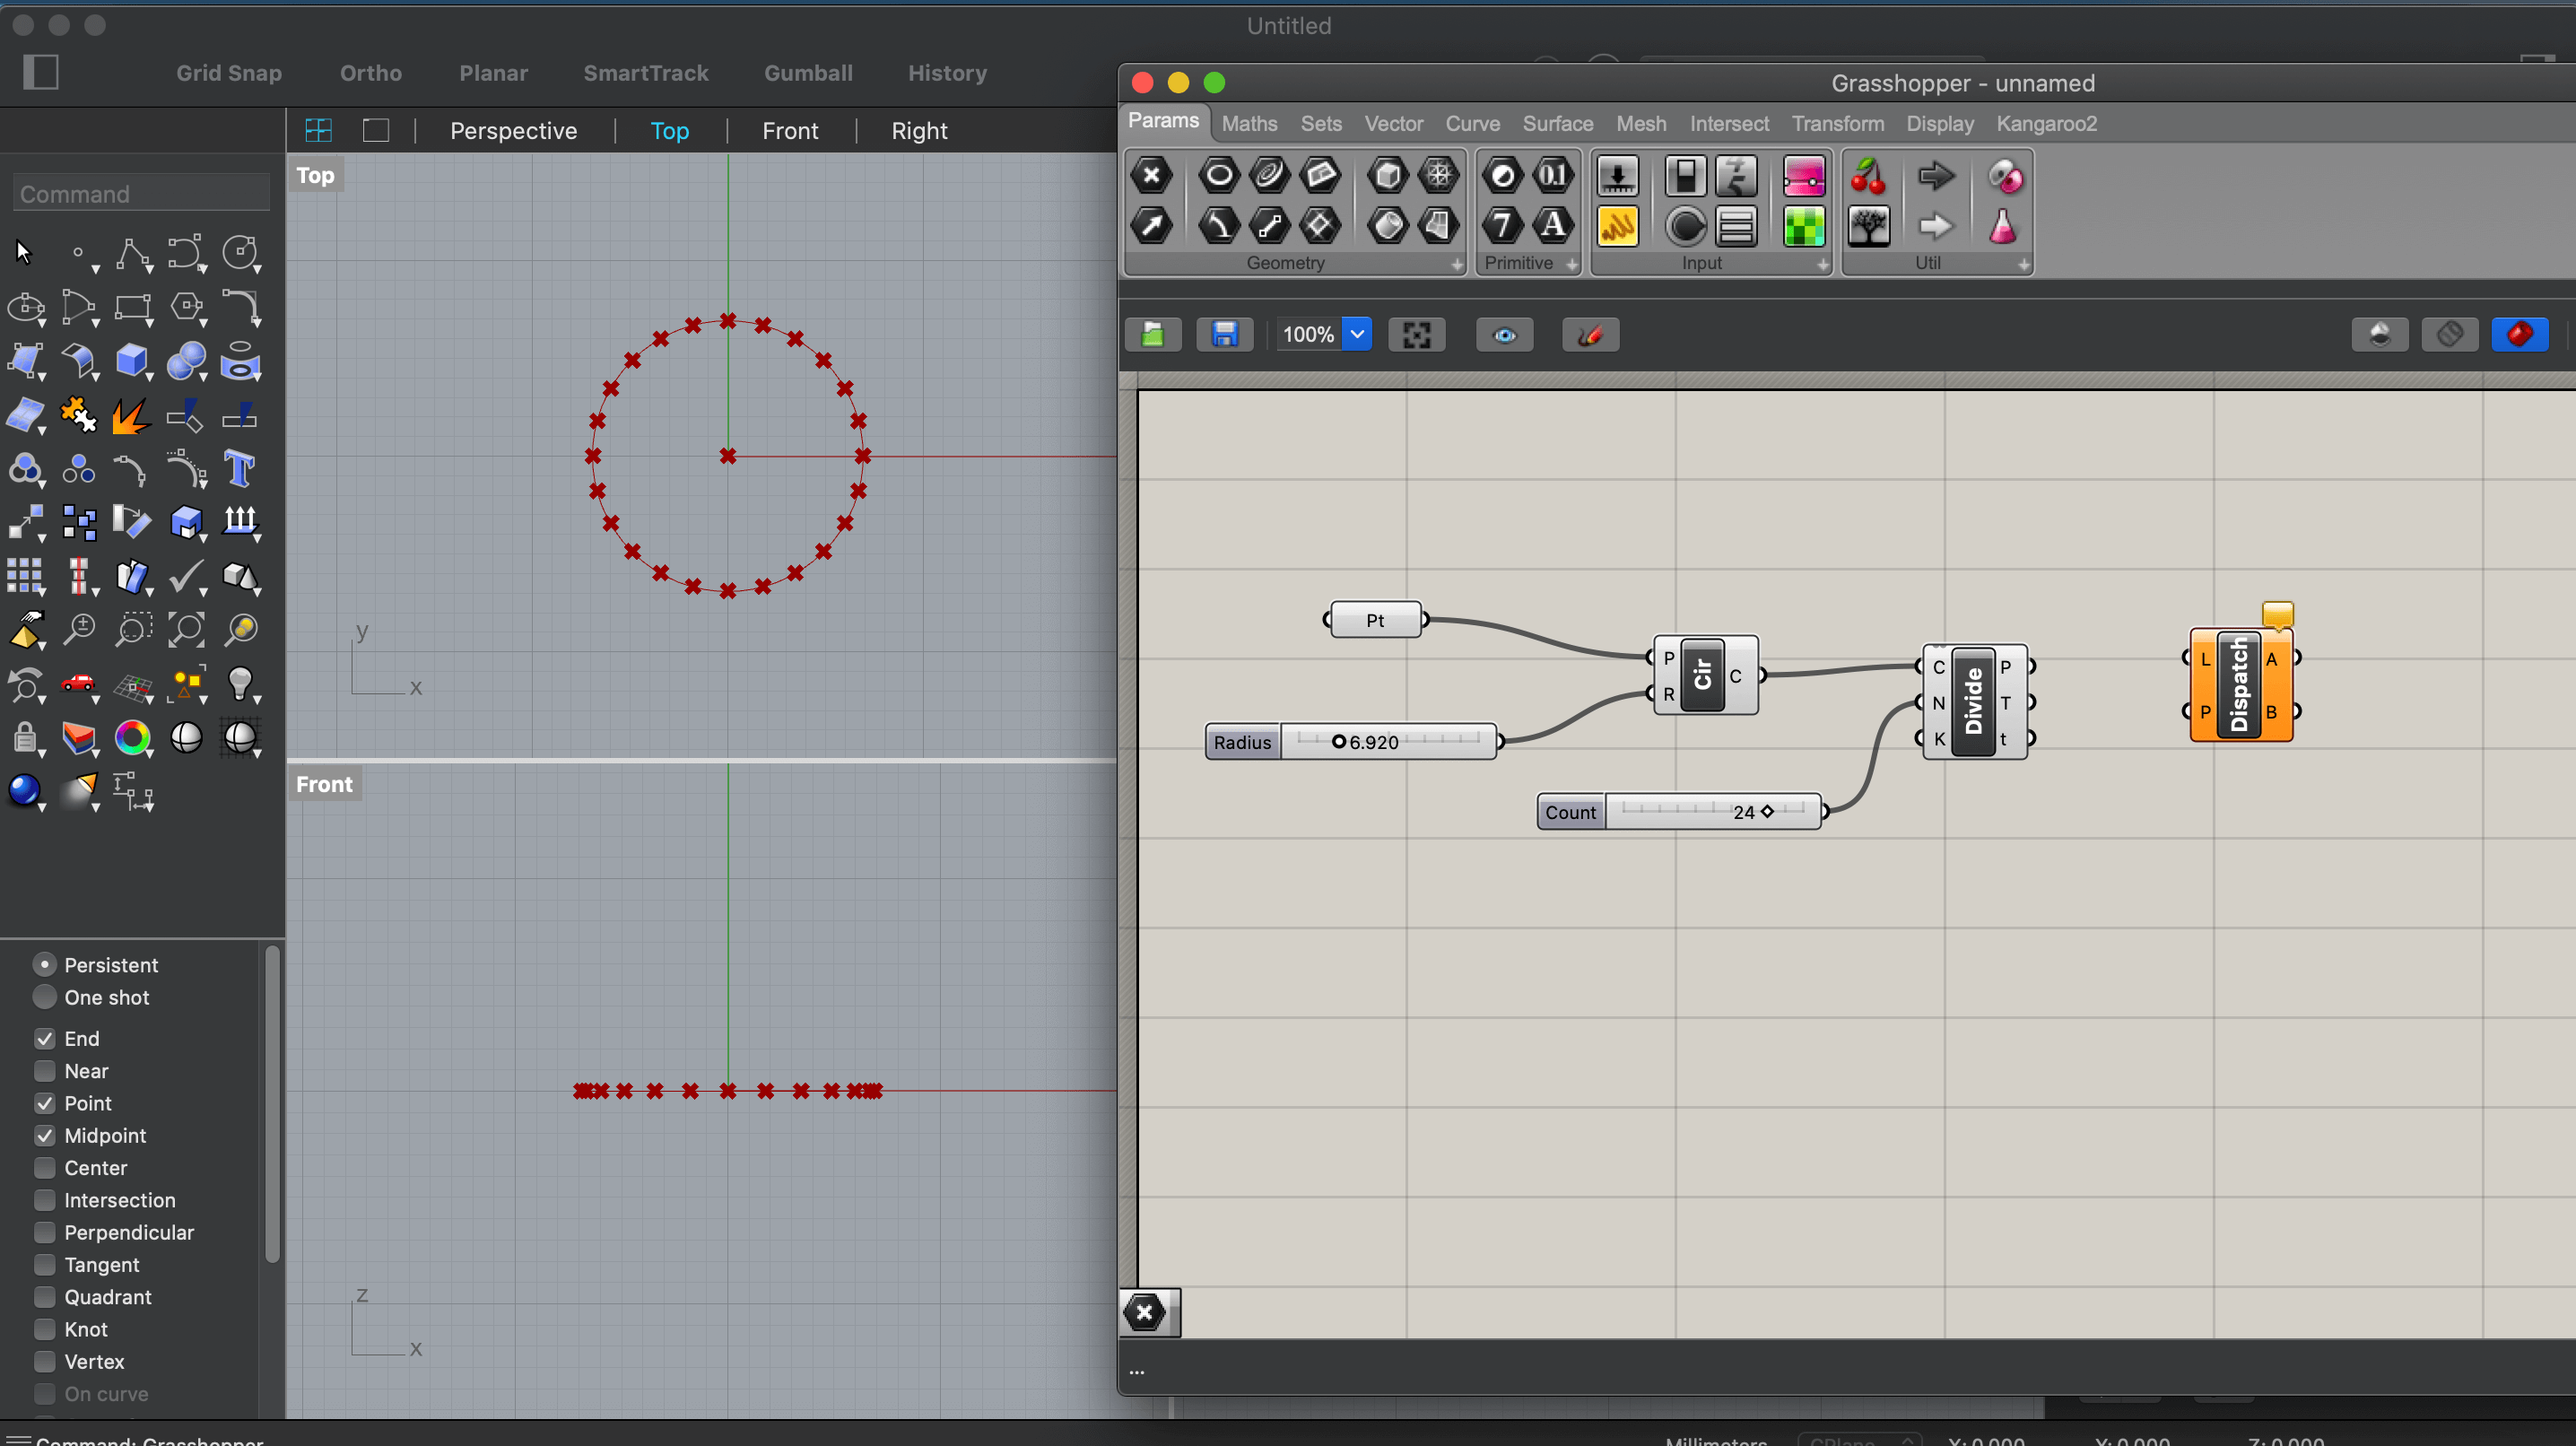
-
I simply copied the blocks to produce another circl

-
It's important to pay attention to the Dispatch block which helped choose every other point on the circles. After that, a Polyline block was added to connect the dots between the two circles

-
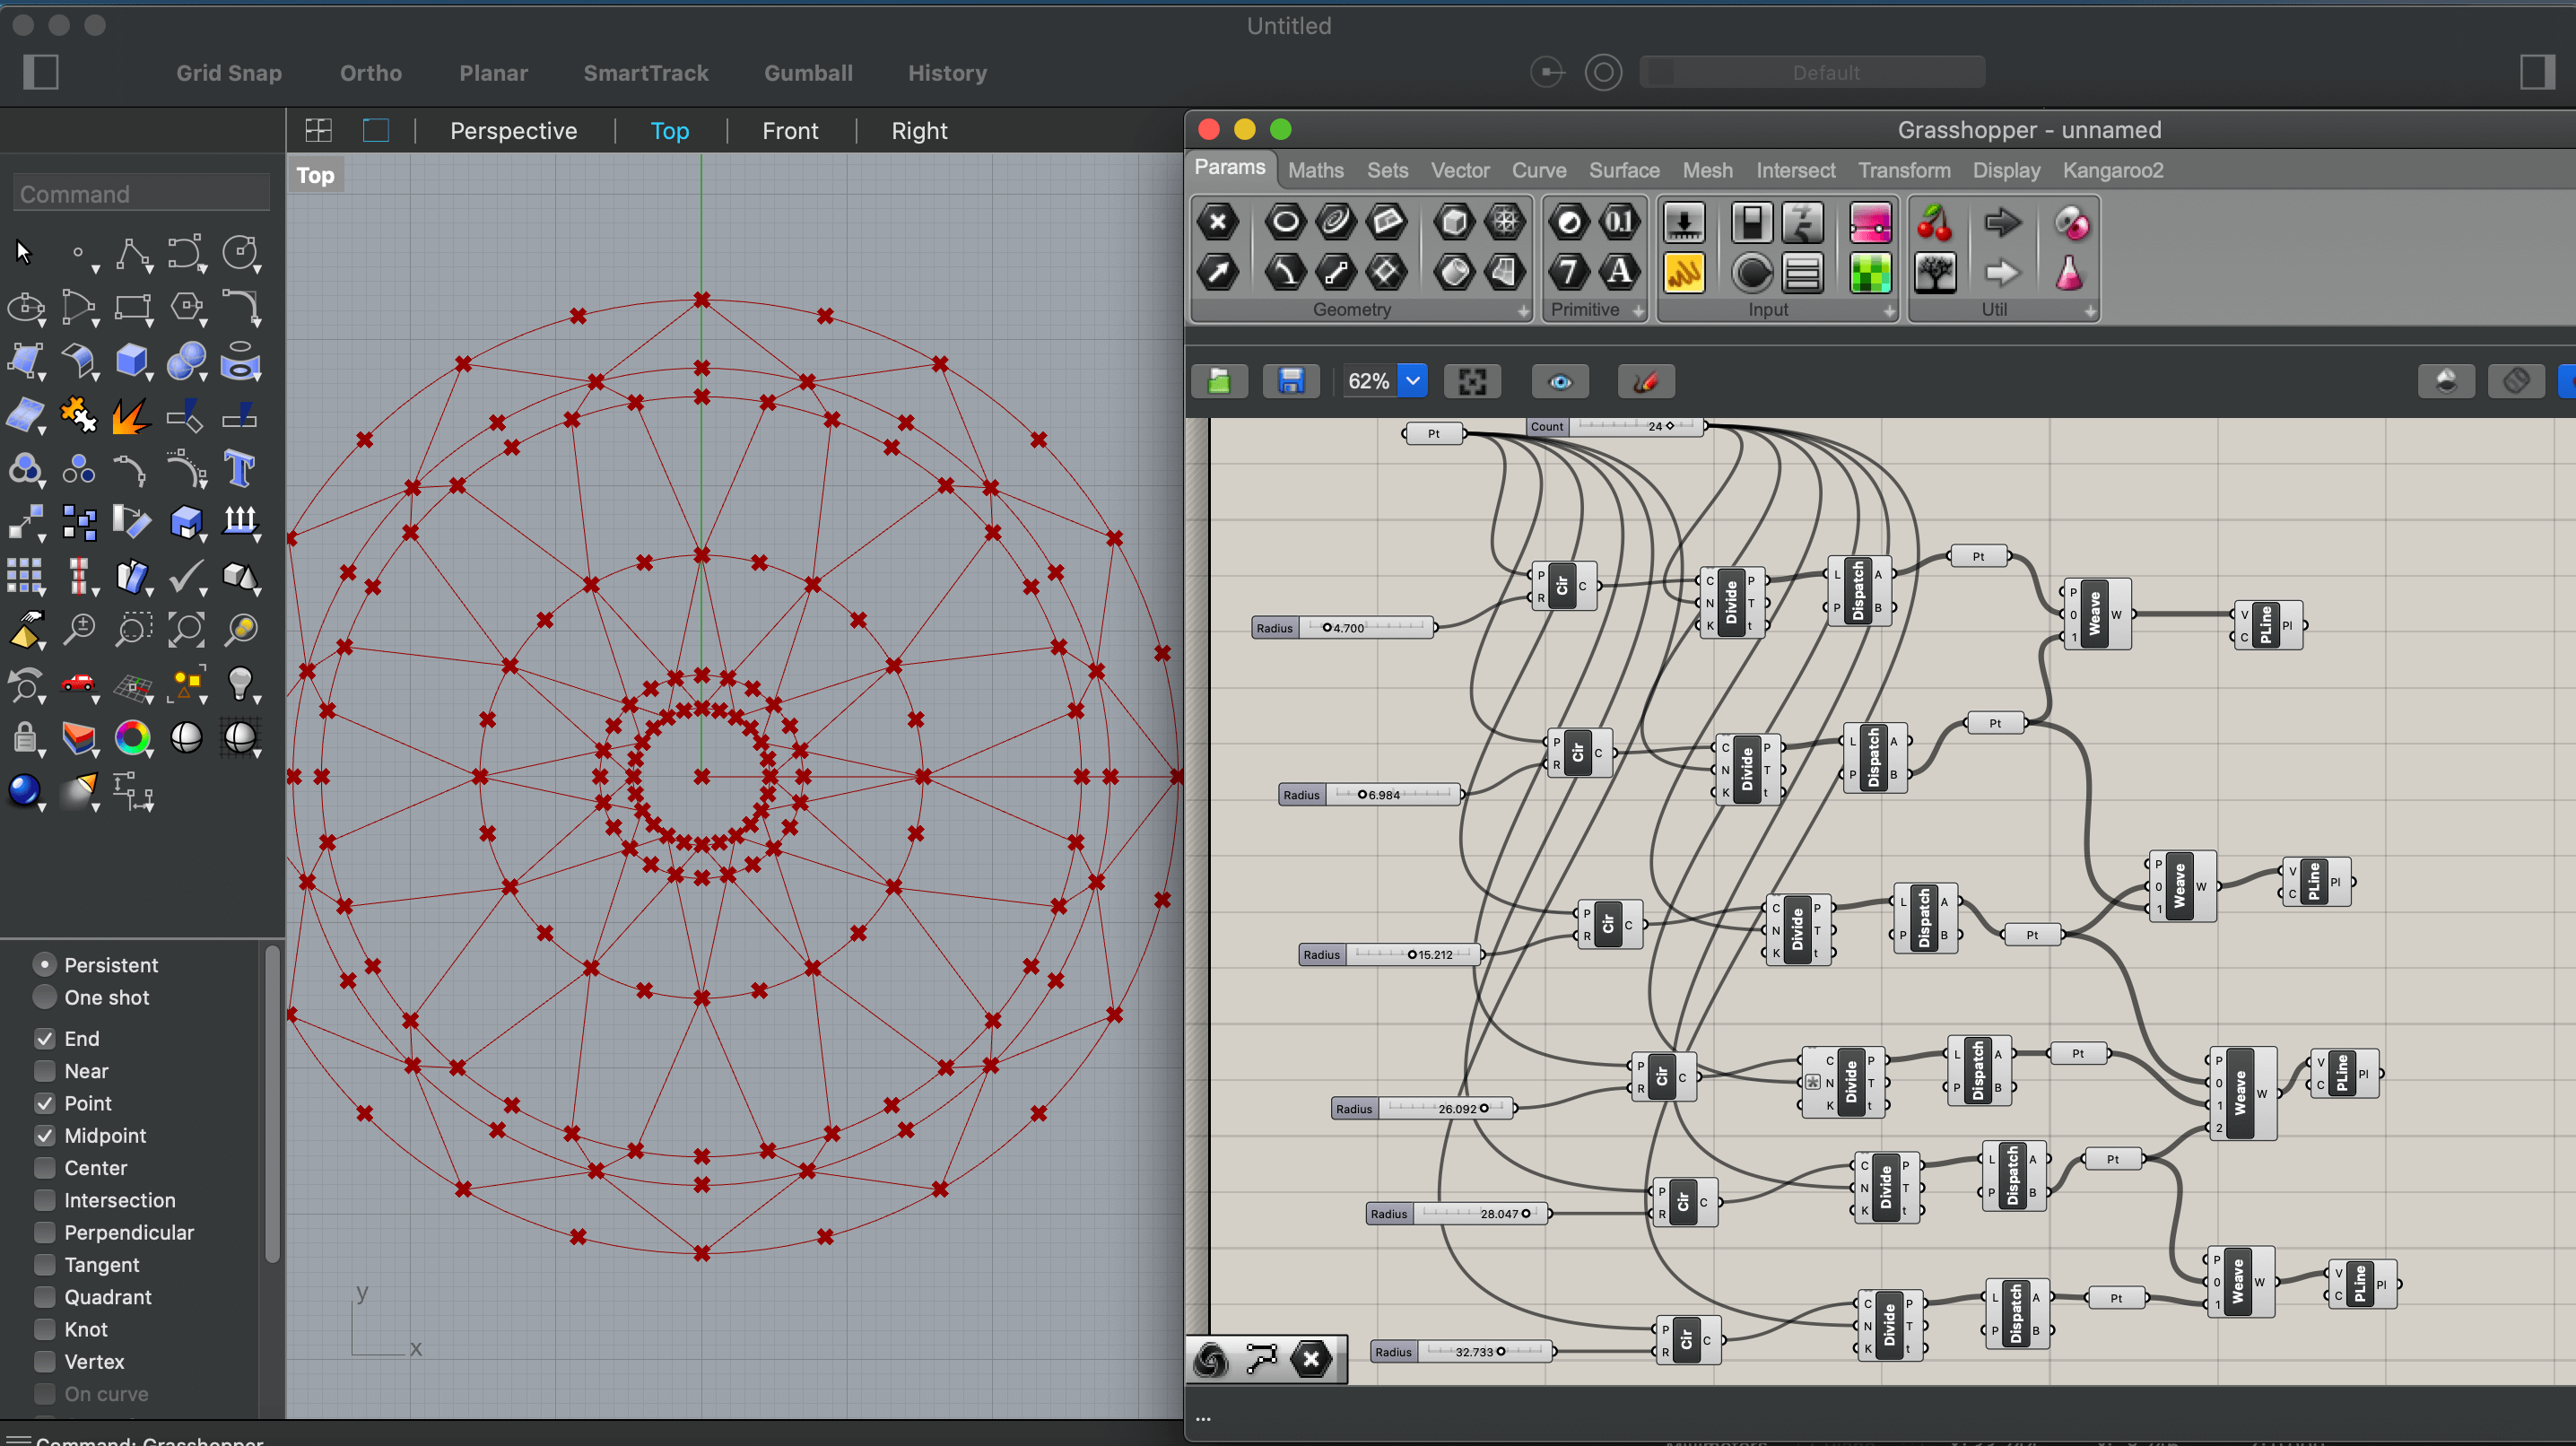
the next few steps were simply just copying the blocks to create more circles and drawing lines between the points

-
Next, I unchecked the Preview option on the circles and points to only show the lines and the final shape was created
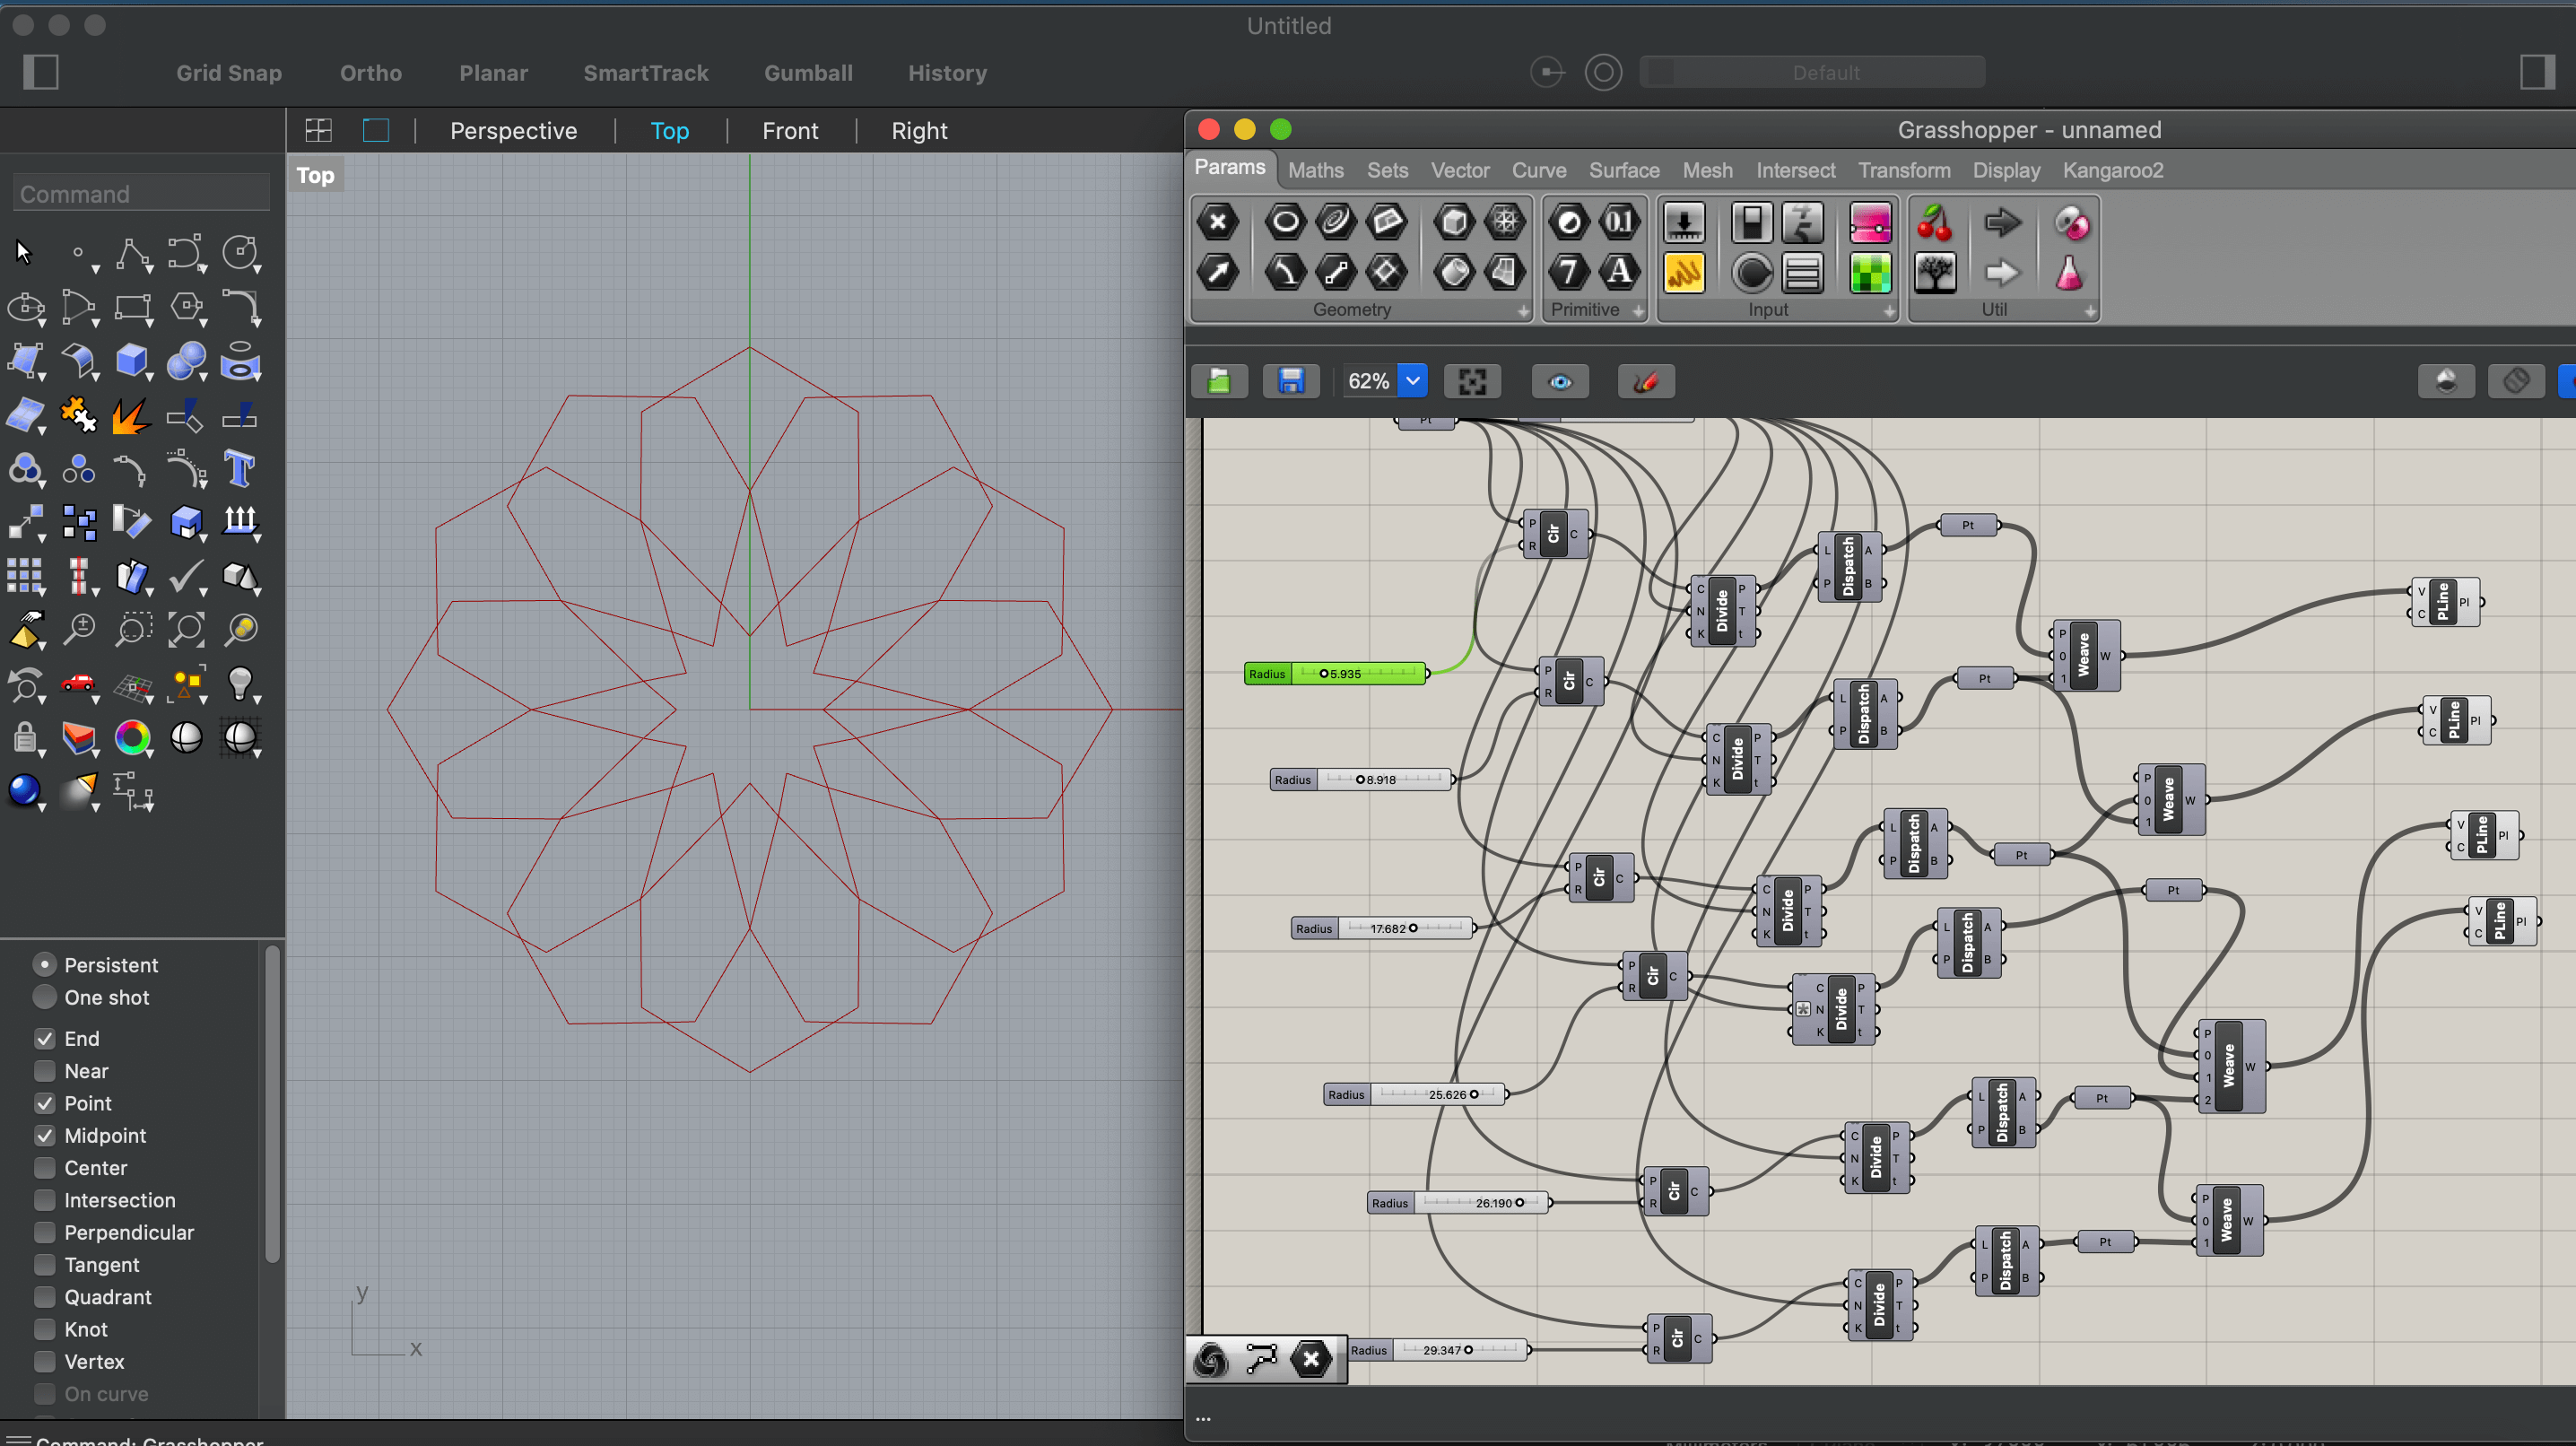
-
What's really cool about this is that we can produce completely different shapes just by adjusting the parameters. This changes the radii of the circles as well as the number of points.
the below shape was produced by the same program and simply changing the parameters.