Week 14
molding and casting is something I wanted to learn a long time ago but because of (reasons) i wasn't able to dedicate a time to get into this important skill. Like Neil mentioned during the lecture, this is a very underrated skill amongst makers. I'm assuming because this has been around for a long time that people just went after the next new shiny thing (i.e. 3D printers).
However, just because it's an old skill it doesn't mean that it's easy to do. There are many factors involved in this process that can affect the looks and quality of the cast. Having a milling machine to do the hard part of making a mold is definitely made things a little easier.

Individual assignment
Before scrolling down to the bottom of the page, I'll save you some time by saying that no molding and casting was done in this assignment. This is becuase the lab is not accessable at the moment. However, I did do some work on designing the mold that will be milled using our Roland machine.
So I used Inkscape to reace the outline of what I wanted to recreate.
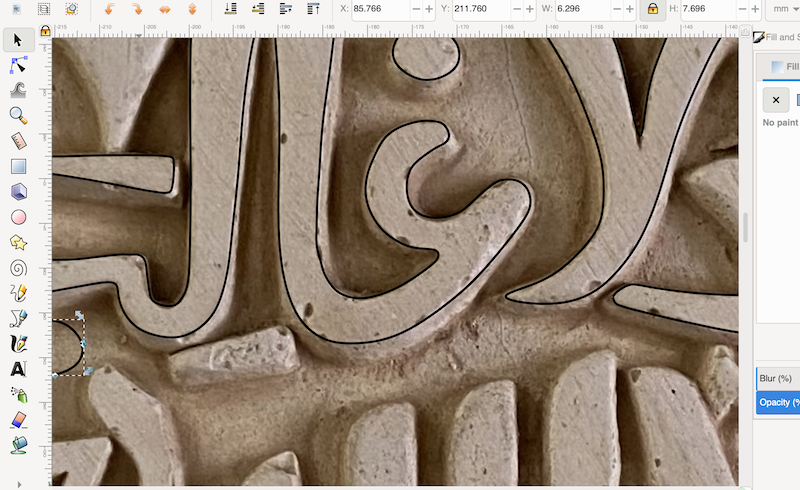
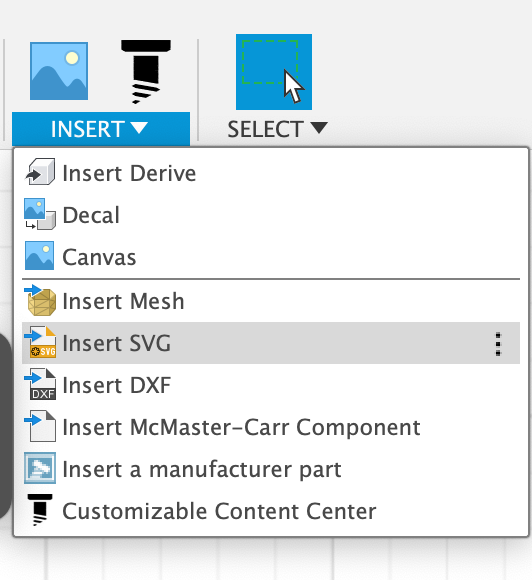
Then I exported the file in .svg formate so I can use it on Fusion 360.

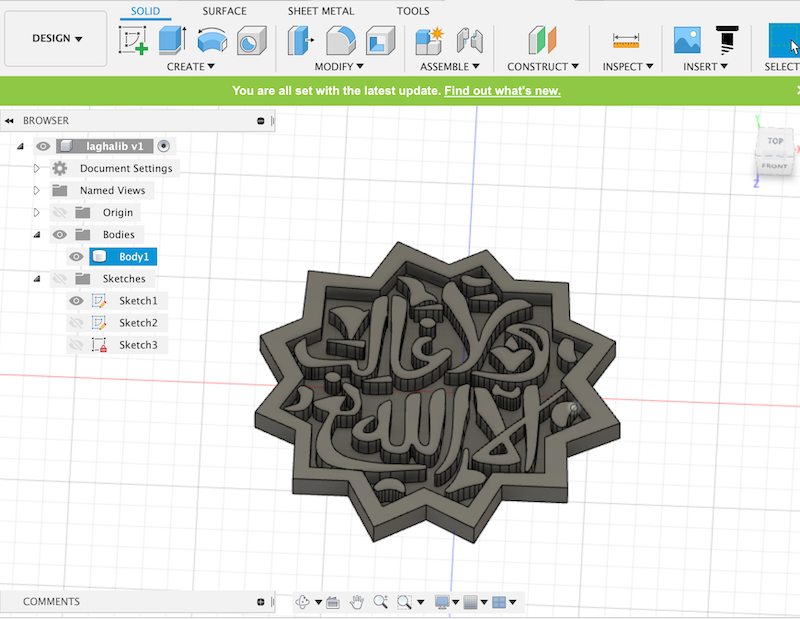
This was done by moving to the Manufacture environment in Fusion 360 and then setting up the machine model and coordinates of the machine.

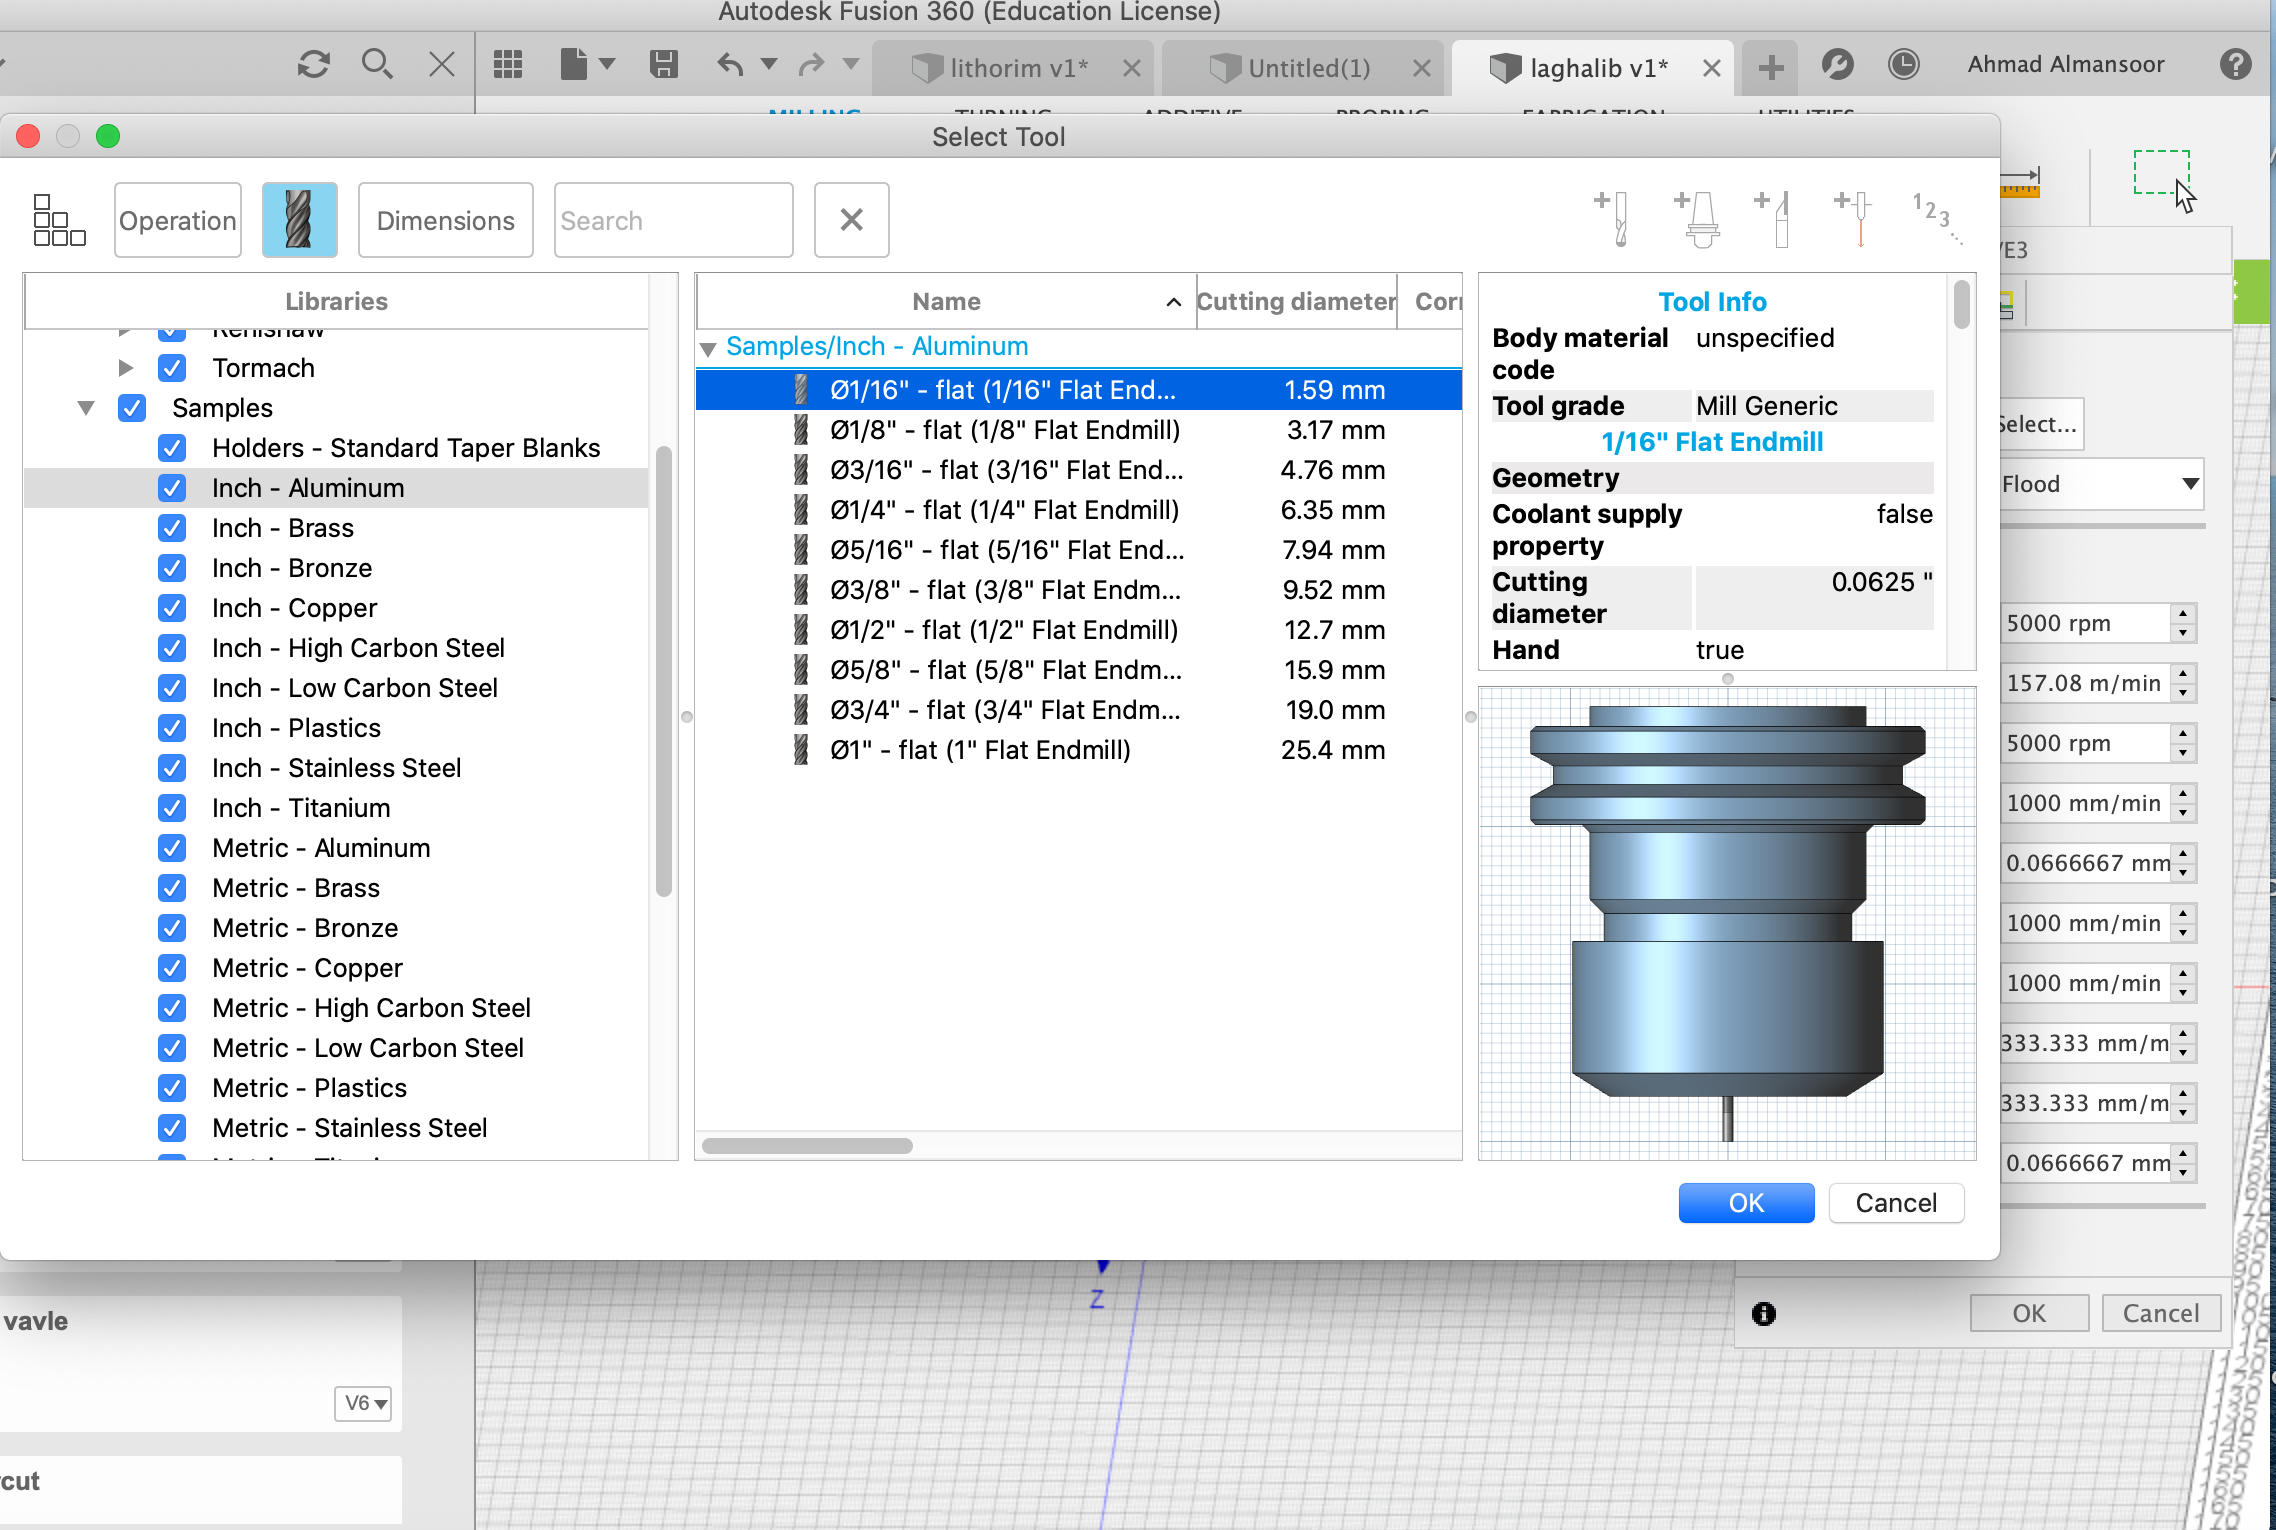
This next step is an important one. This is where we specify the tool we'll use. This has implications on the clearances, angles and it's important to choose the tool correctly to get a good simulation and tool path.


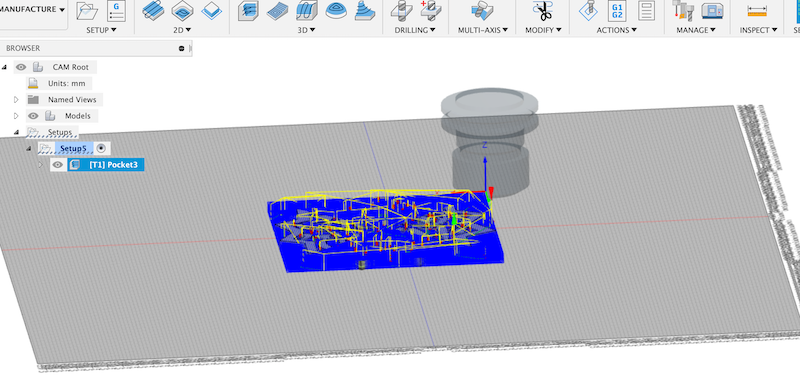
Then I ran a simulation where it told me there were some collisions with the stock (this will be the wax block). So I went back to the design environment and edited the drawing just a little bit and removed angles that were too sharp.
I ran the simulation again and It turned out just fine.
Lessons learned
Obviously there is a lot more to molding and casting than this. I still need to see the result that this mold will produce. I also would like to design a 2-piece mold for something that's not flat.