Week 11
The assignment for this week is write an application that interfaces a user with an
input and/or output device that you made. This has been one of the fun weeks in Fabacademy because I've always wanted to know more about interfacing Arduino with some kins of graphical interface.
Group Assignment
This week, as a group, we were only required to compare our work with other people.Individual Assignment
To interface the arduino with another application, I did some research and I felt a little overwhelmed becuase I didn't know which option to choose. There are many options, some easier than others, and each one depends on what the designer want to show.
Option 1: Blynk
The best way to describe Blynk is that it's a IoT (internet of things) platform designed to connect deviced to the internet using user-designed smartphone apps. Below i'll try to explain briefly how I connected Blynk to control my Servo (from previous assignment).
Connecting and Arduino with a Blynk app requires 3 main steps:
- Deigning Blynk app
- writing the Arduino Code with Blynk controls
- Using Terminal to send/receive data to Arduino via wifi and USB
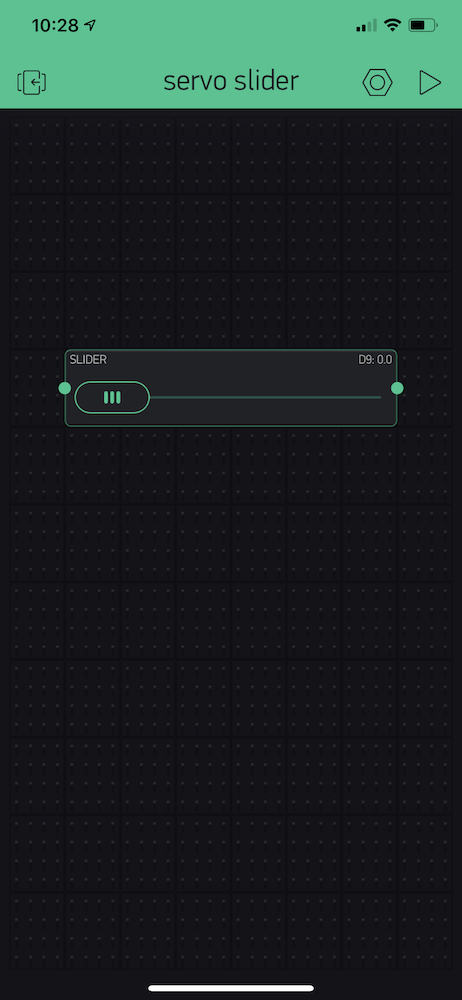
Let's start with step 1. Afterdownloading Blynk app and creating an account, I started a new project and add a slider control to it:
 ---->
---->  --->
---> 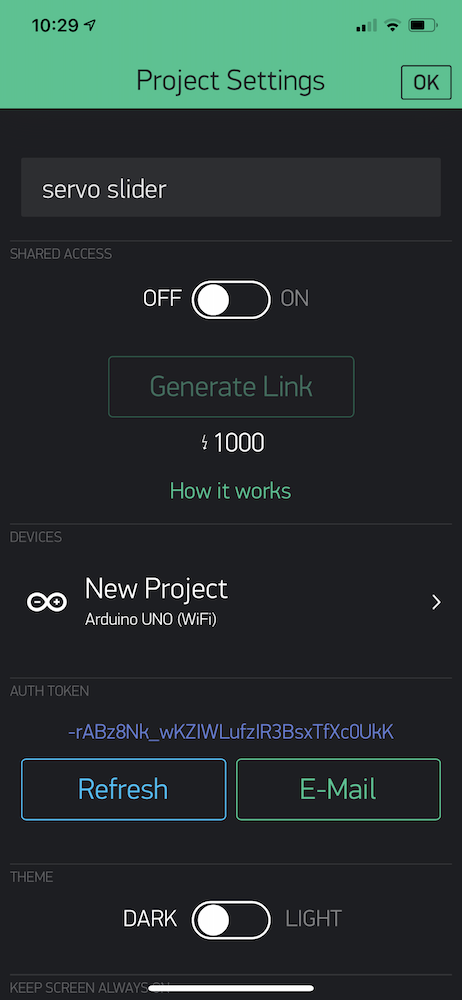
The important points to pay attention to are the Pin number (D9) on the slider settings and Authorization Token on the Project settings. These two parameters is what will help us control the Arduino through Blynk.
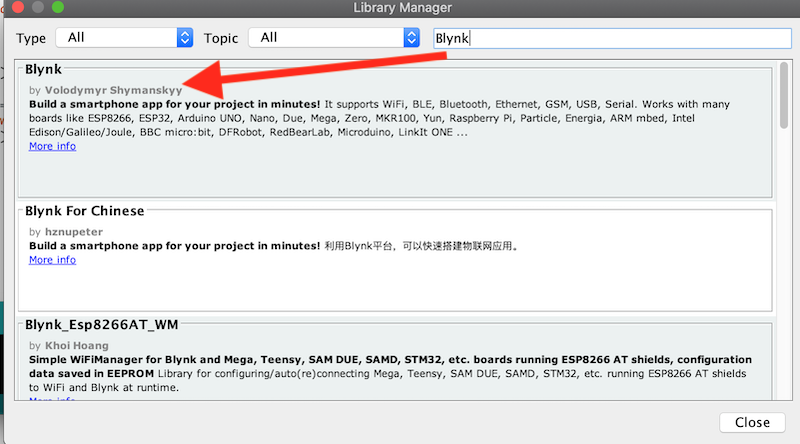
Next we need to write the Arduino code to control the servo. To do this, I downloaded the Blynk library
Then the following code was written:
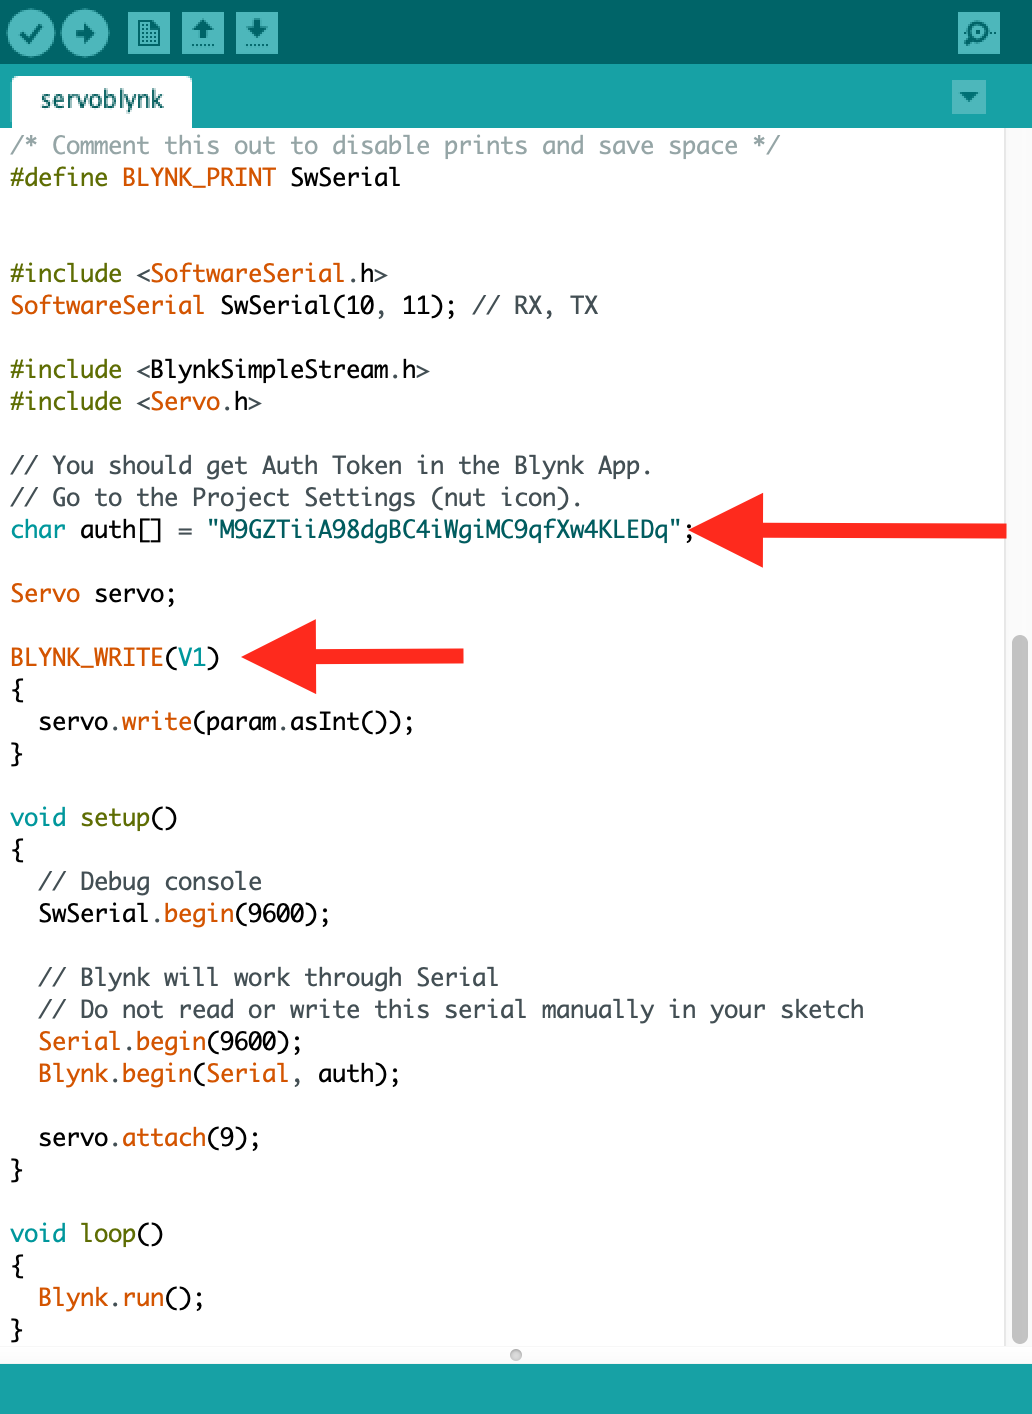
The two arrows in the image above refer to the authorization code and the virtual pin number that is to be used. The authorization code is unique to every user and every program.
Finally, I used Terminal to run a piece of software that will receive data from my phone to the laptop via wifi and then transmit this data to the Arduino Uno via USB.
This software was downloaded with the Blynk library (see above) and was accessed throught Terminal.

to better understand the commands, a file with the name Blynk-ser.sh was located in the Arduino library folder. Then the file asked us for the name of the port the Arduino is connected to and it was entered there.
This was it.Here is a video of the servo motor being controlled bia Blynk:
Option 2: Processing
This was a more fun way to control the Arduino. I bought this book to learn how to draw basic shapes in processing and then after reading some tutorials, I was able so transmit data from processing to Arduino via serial connection.
Processing is a language that's very similar in its structure to Arduino. It's usually used to control images or videos and generate shapes and images.
Although there are many libraries that would've helped generate a betterlooking control interface, I wanted to use my own. However, I had to download a library to do the Serial Communication:
 ---->
----> 
The code above basically draws a horizontal line with small vertical lines to use a marks. Then it draws a small vertical line that follows the mouse horizontal location (mouseX).
Then it send these coordinates via a serial port that's mentioned in the setup() section of the code.

Here is a video of the final result:
I don't think my relationship with Processing is over. Processing can import video and manipulate the pixel. Perhaps I can write a code that will use video from a camera and track a certain object on the screen and follows it with a serve (nerf gun?).