Wildcard Week
Tasks for this week:
- Design and produce something with a digital fabrication process (incorporating computer-aided design and manufacturing) not covered in another assignment.
Test 1- 3D Printing on Fabric
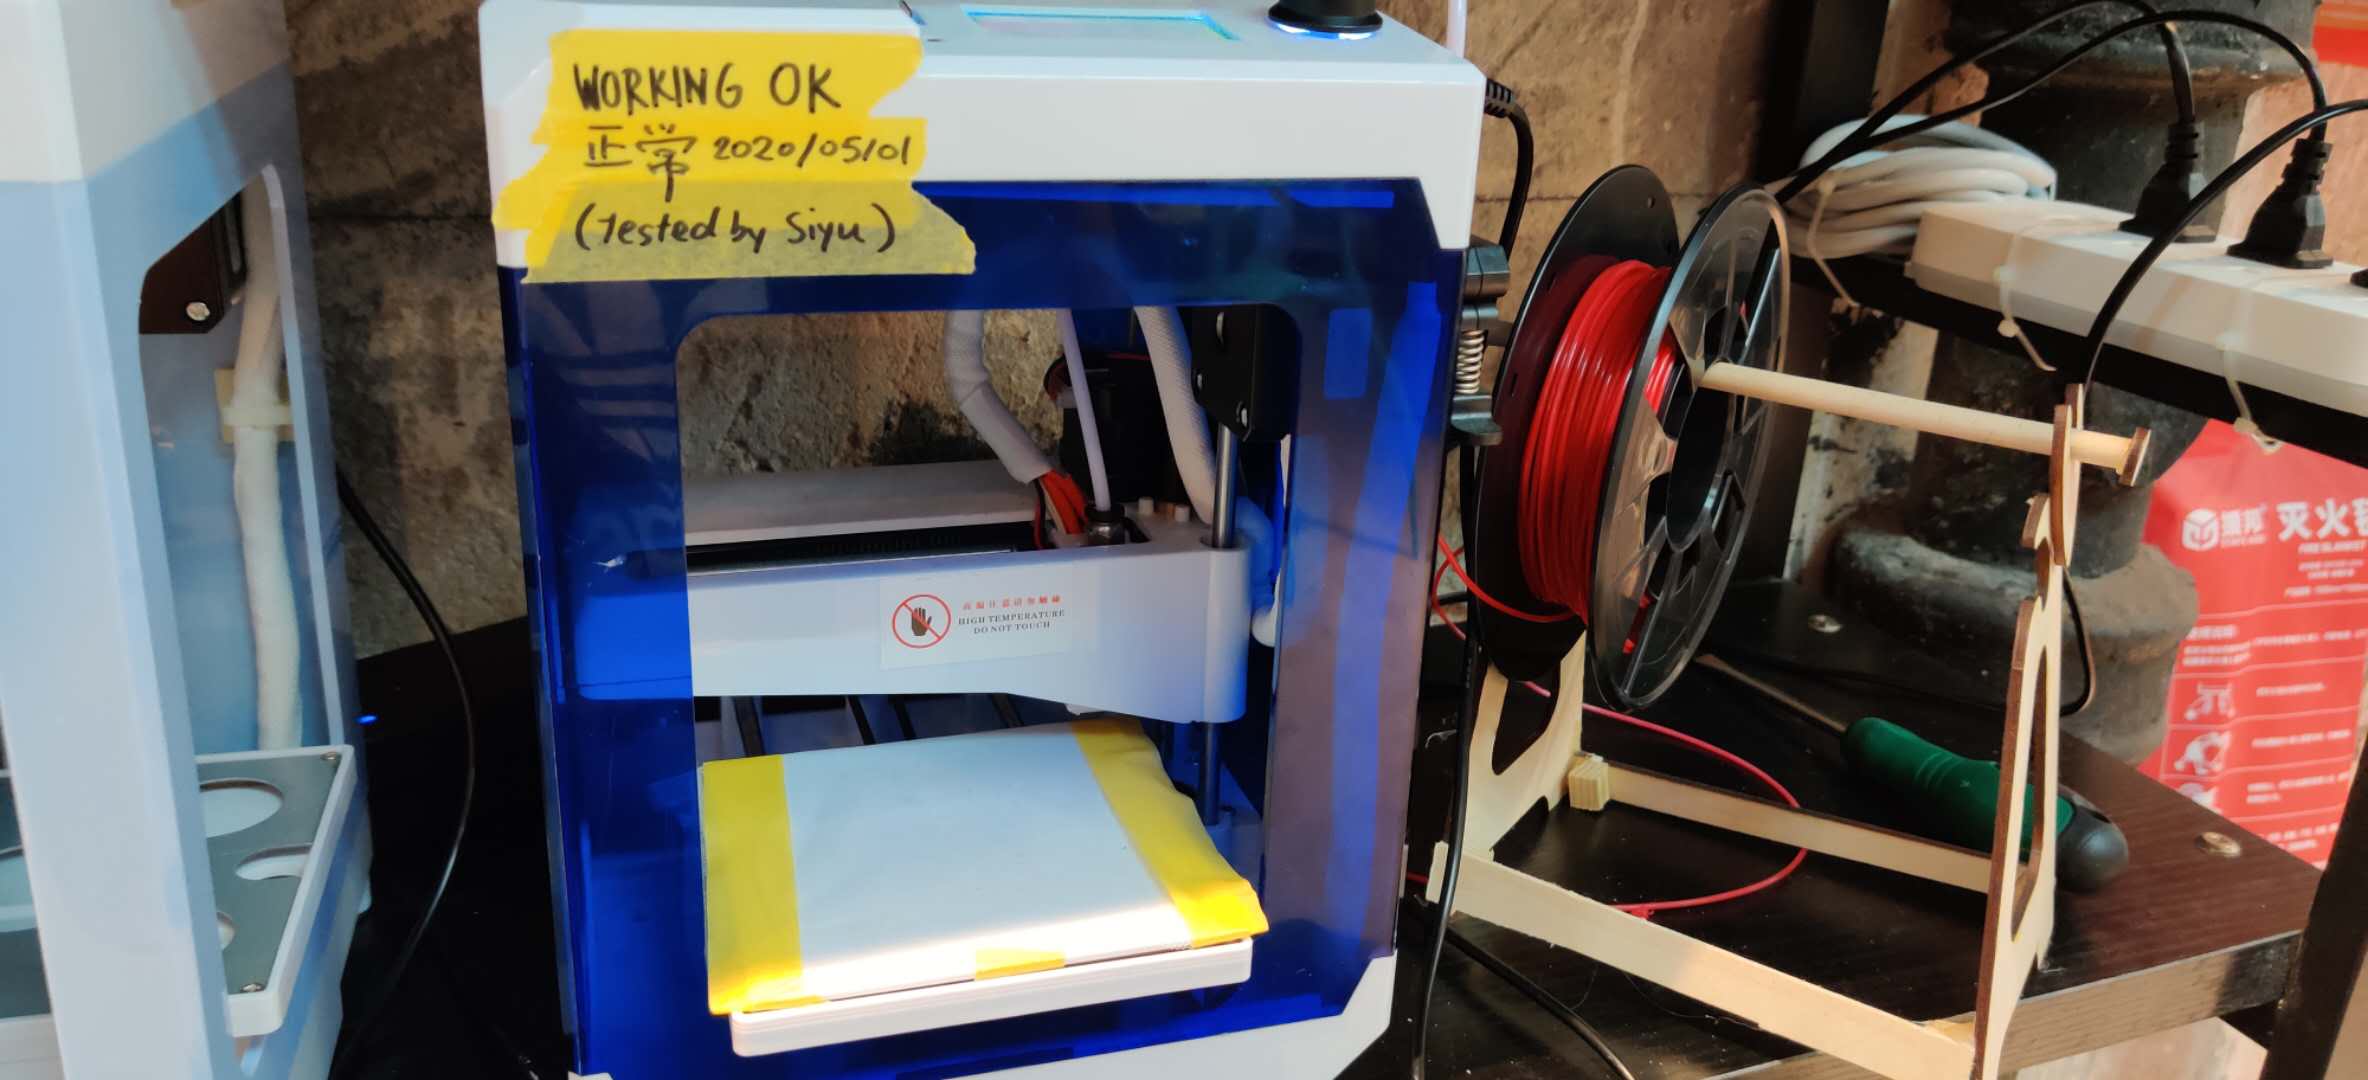
To 3D print on fabric or any other surface, an FDM printer is required, and the printer should be open on the sides to attach the fabric onto the bed of the printer. The printer I used is the iUp3D, which is a tiny printer that qualifies for these requirements. It is important that the fabric is stretched out and tense by being clipped on all 4 sides. Some fabrics recommended to try are the strechable thin fabrics and polyester mesh type fabric, which adhere very well into the filament, and they are thin and easy to attach on the printer. An added benefit of this was that the Z-axis origin did not have to be changed, and the printer still printed well despite the same bed height as usual. In terms of keeping things the same, I also decided to initially test with the conventional PLA filament.
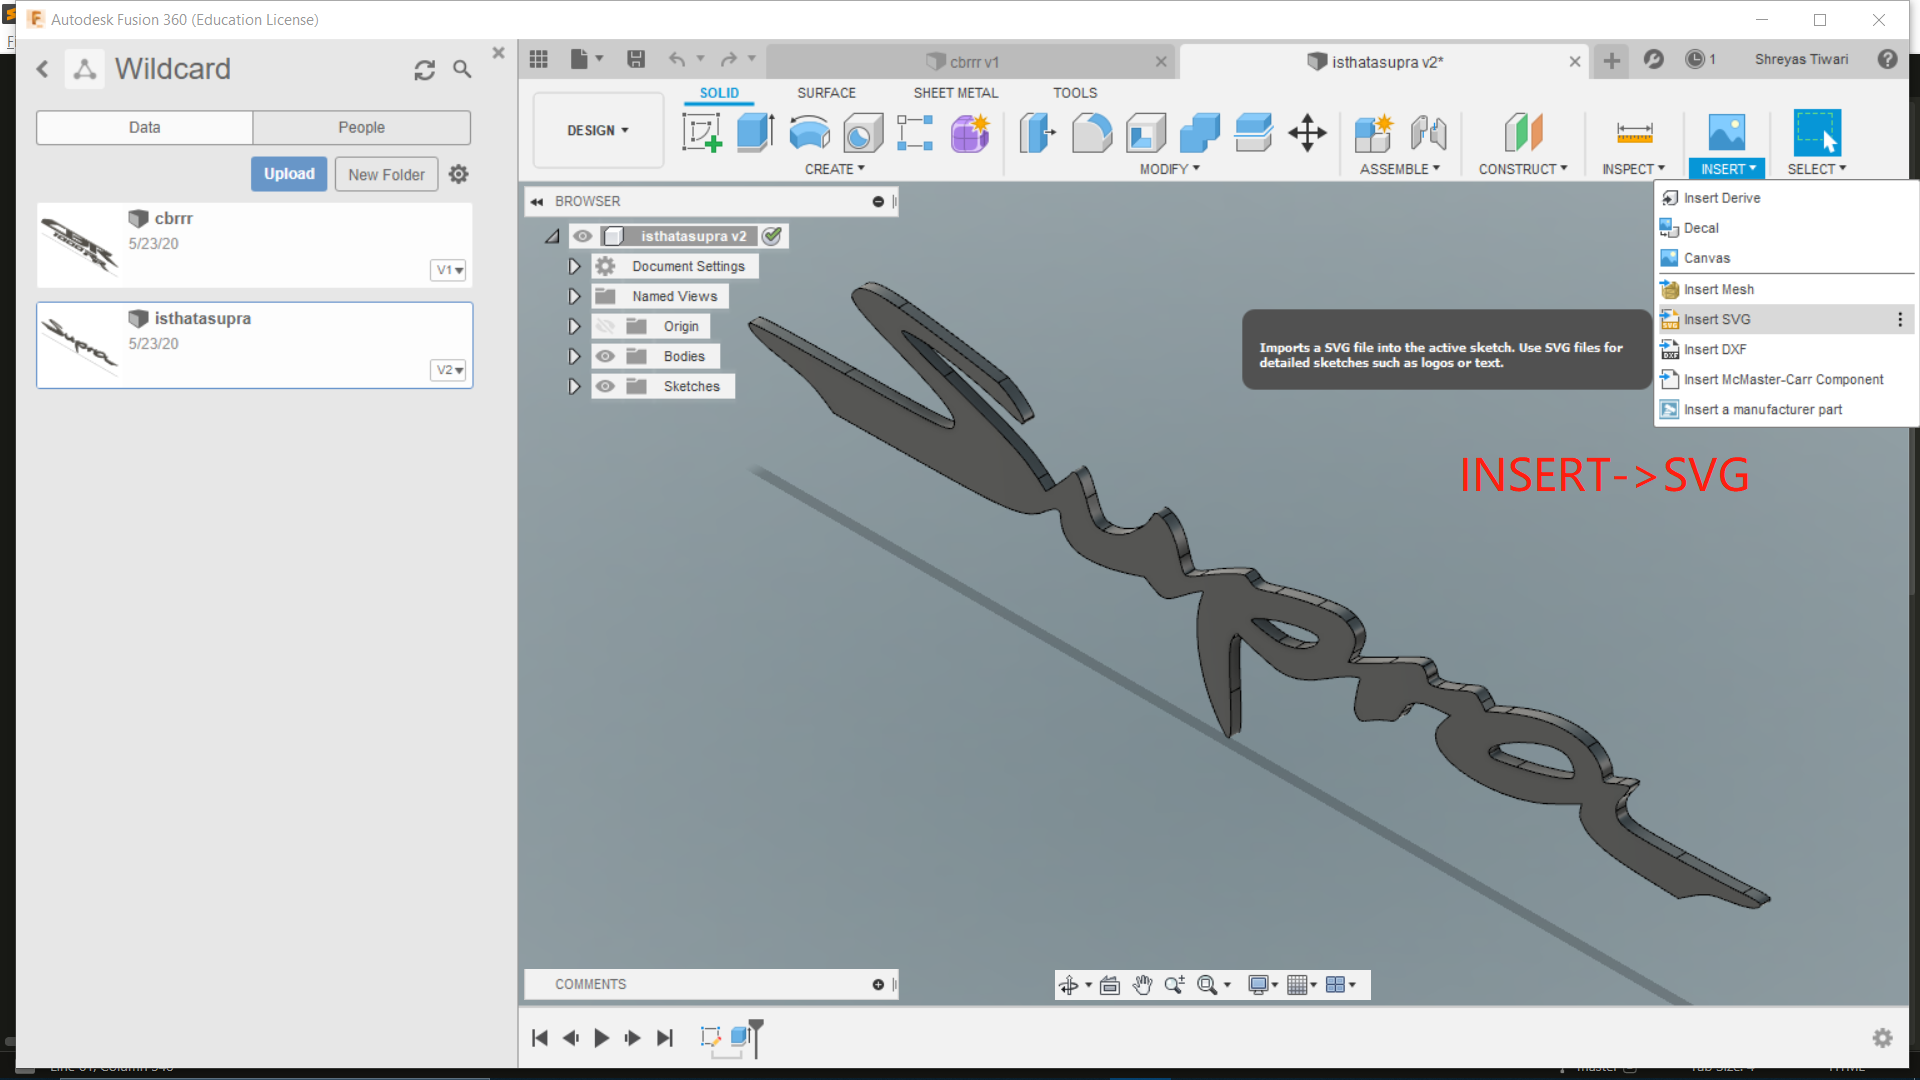
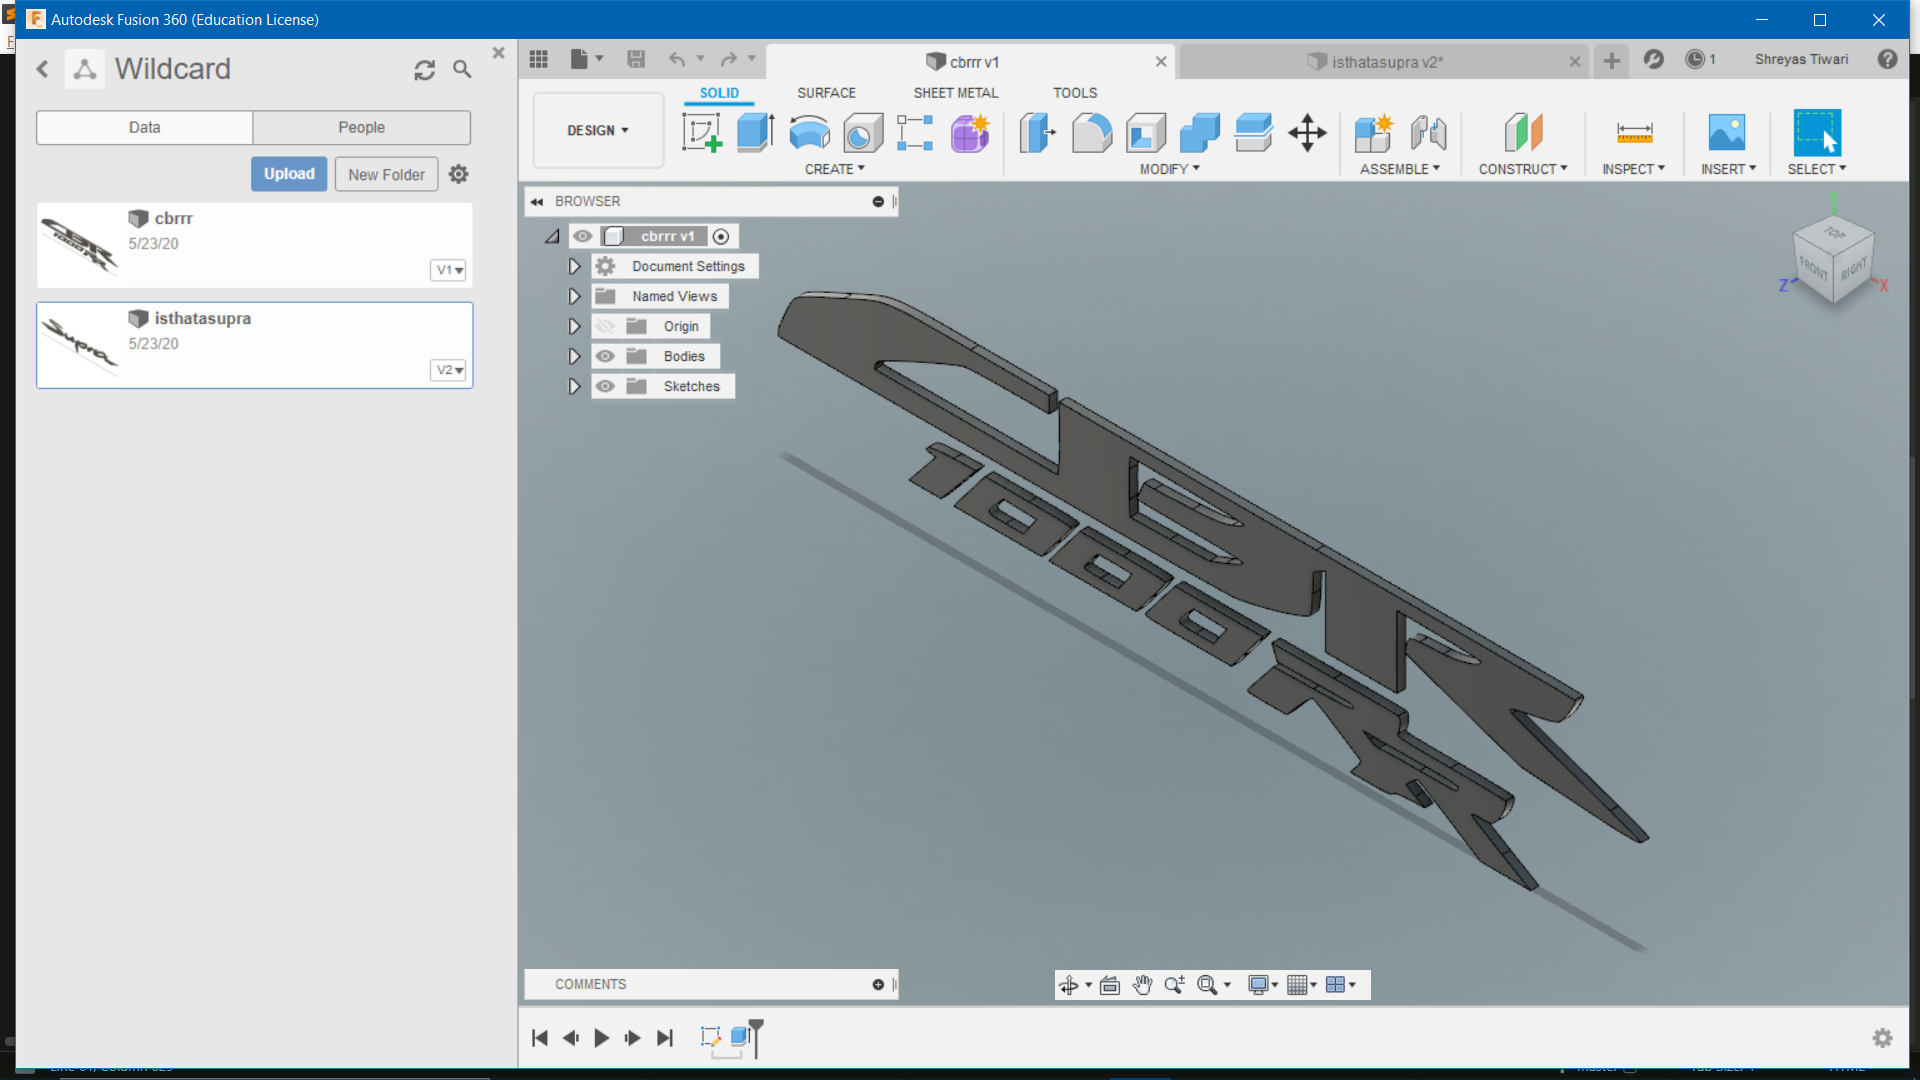
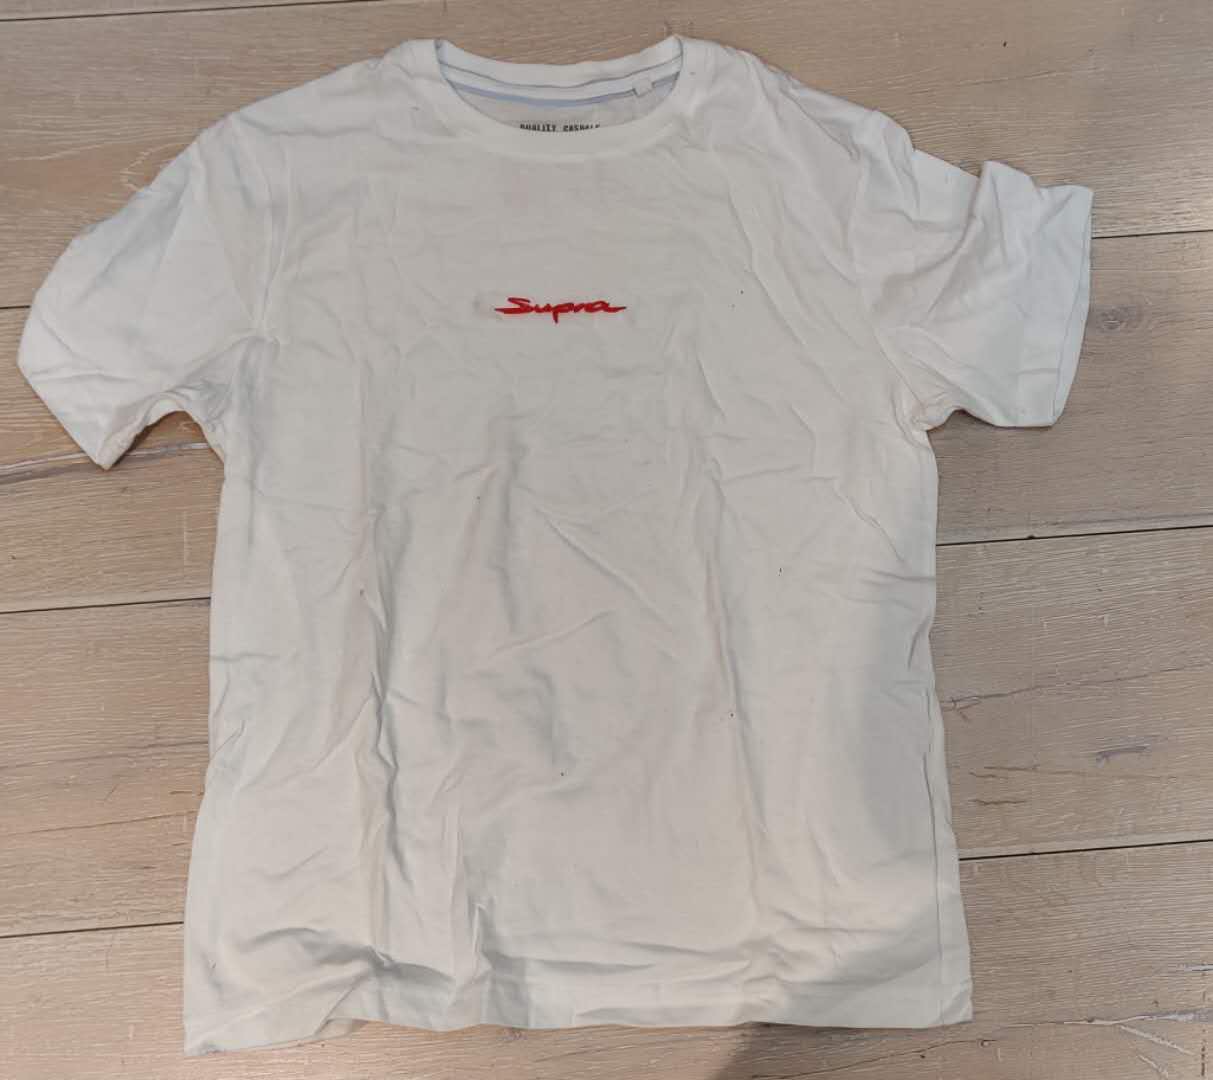
I decided to print small, easily recognizable logos, and possibly attach them to a t-shirt. I found some vector images of the 'Supra' (JDM car) and the 'CBR1000RR' (personal favourite motorcycle) logos, and opened them in Fusion 360. I came across an error here; the inserted vector was completely uneditable, and could only be selected in parts, not as a whole. The solution to this was deleting, and then specifically using the command of 'Insert SVG', after which it recognized it as one piece. I then extruded the sketch by 3.5mm, and did the same process for the other logo.
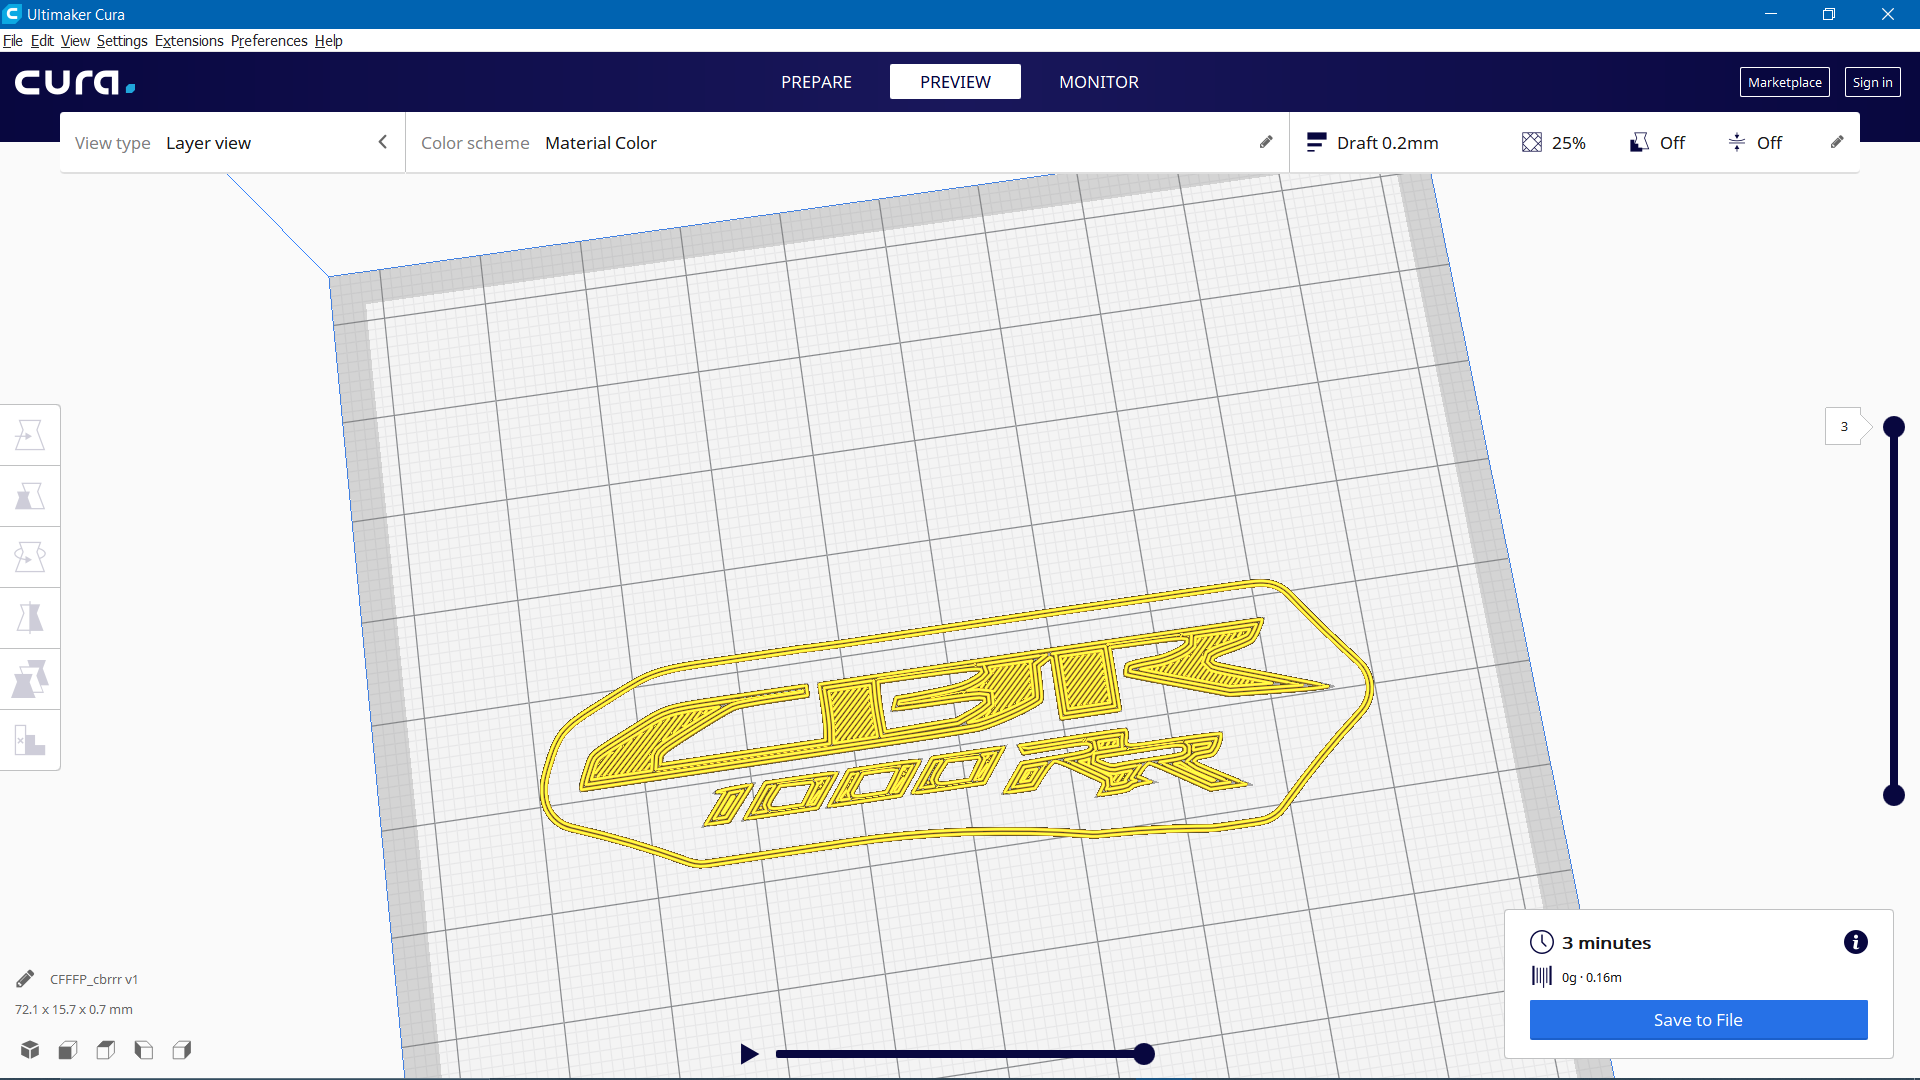
I then proceeded to slice the model in Cura, ready for printing. I made no changes to the conventional settings, apart from slightly lowering the nozzle temperature to avoid burning the cloth. I sliced it with a skirt around it, and the entire print would only take 5 minutes, which was great news, as it would be simple to test numerous times.
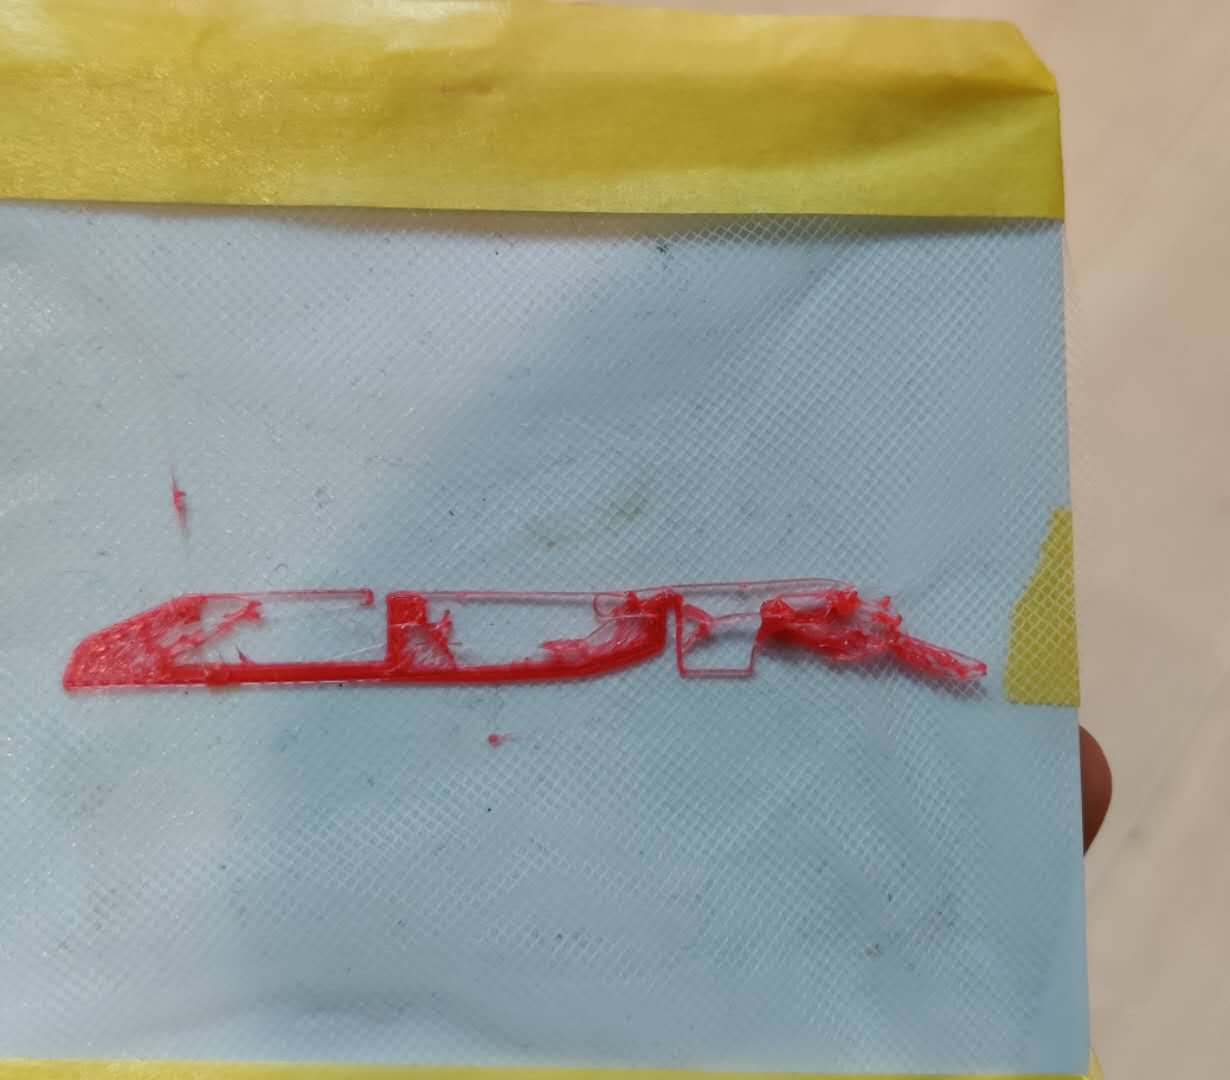
 The first test I tried was with cheese cloth as the base. The problem here was that it was difficult to have adhesion of the filament onto the fabric, despite waiting for it to cool down. The other issue was that it was quite thick, so the nozzle would occasionaly drag the cloth up, distorting the base, and therefore ruining the print. My solution to this was to not only clip the cloth on, but also to tape the cloth down to the plate from behind. Whilst this did slightly increase the height position of the buildplate, I gave it a try anyways.
I was still not satisfied with the result on the cheesecloth.
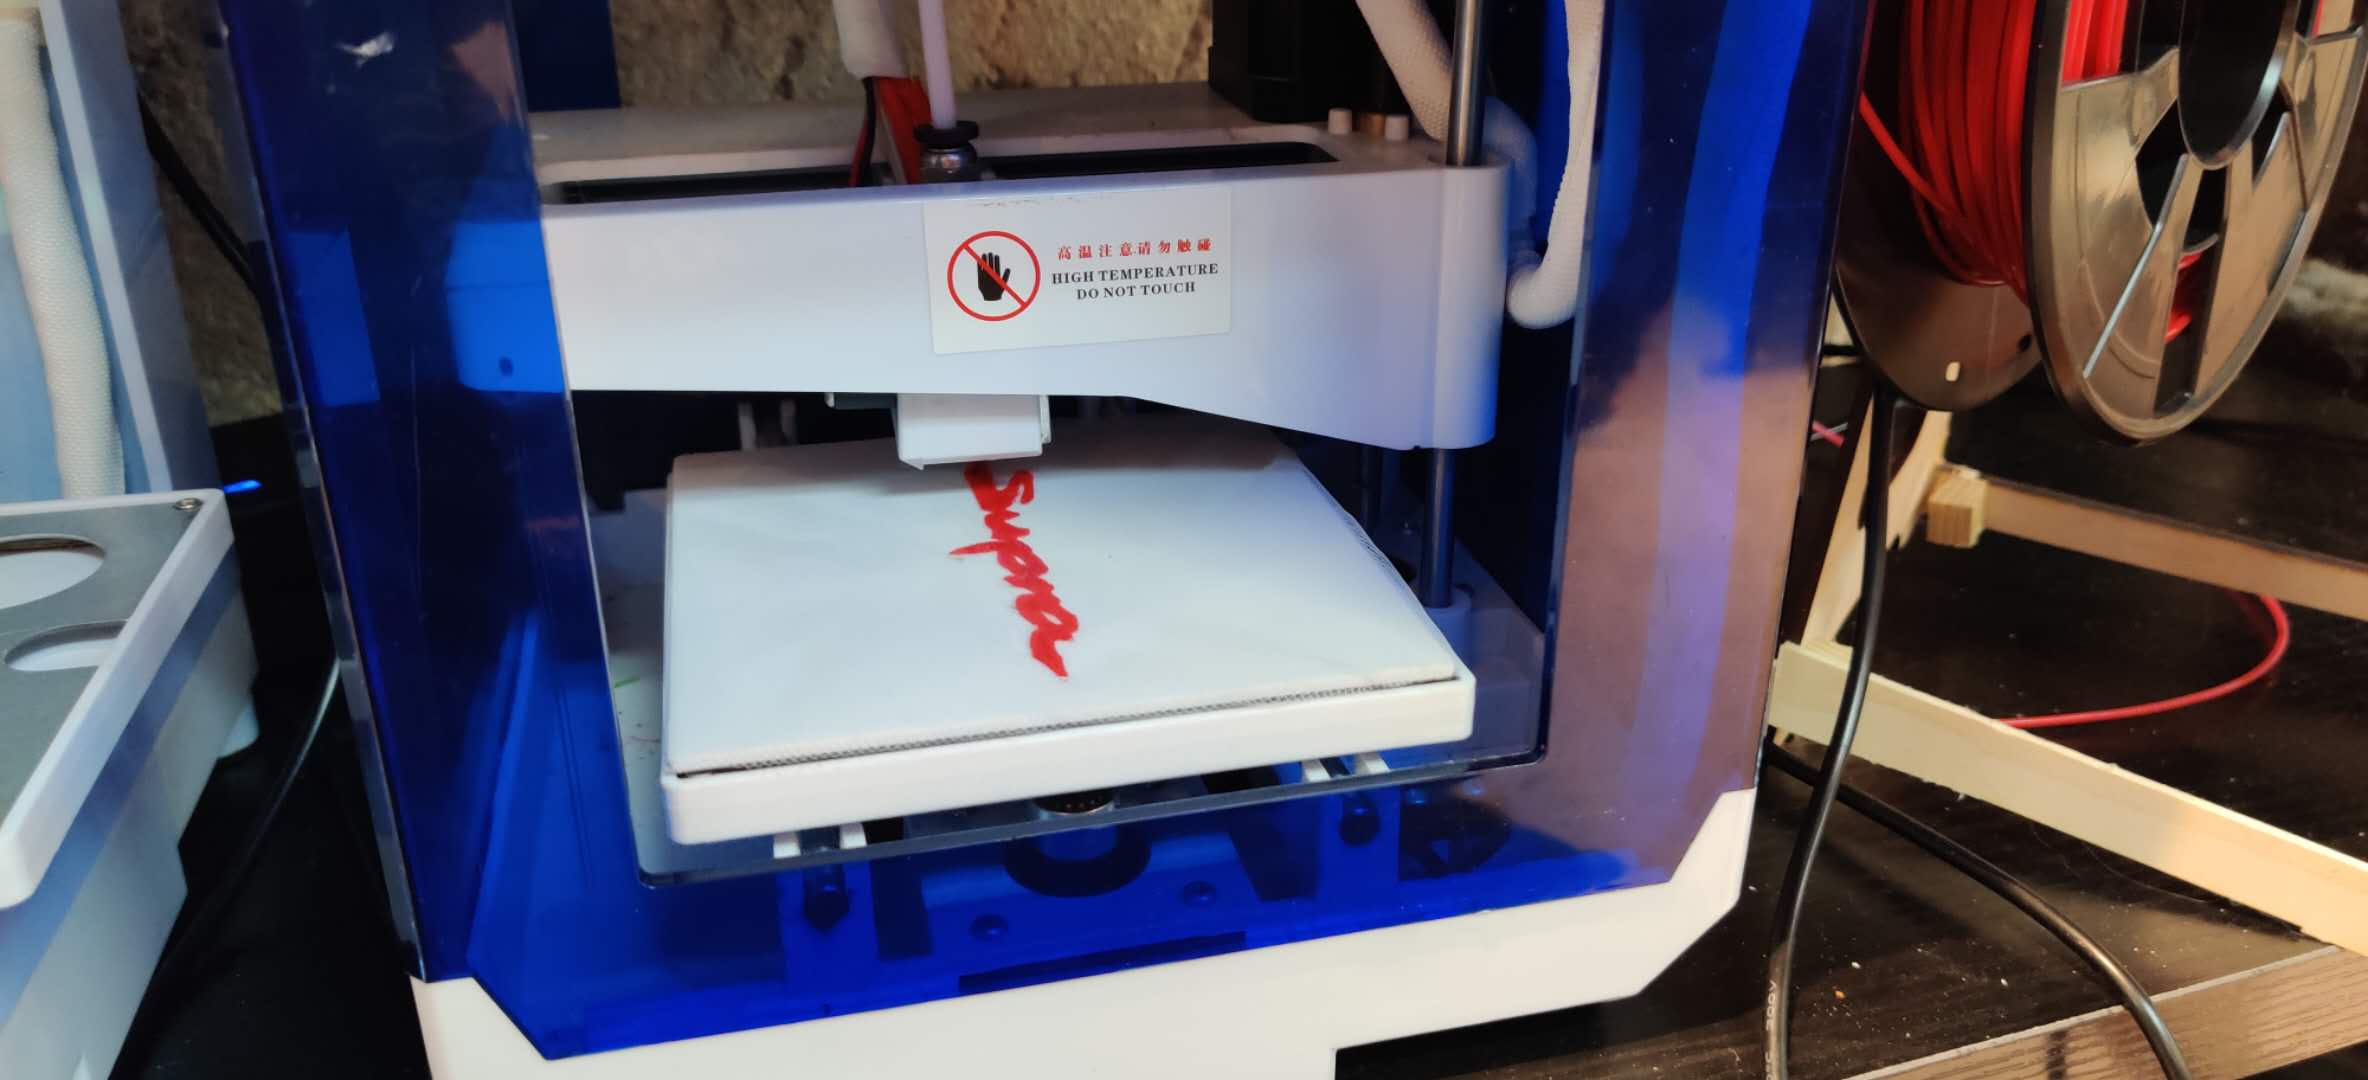
The previous year's students followed a complicated process of pausing the print at a specific height, placing the fabric and then continuing the print so that the fabric would attach to the filament well. I decided to swap the fabric out out for a polyester-mesh type fabric, but I wanted to test printing it at once without swapping at first.
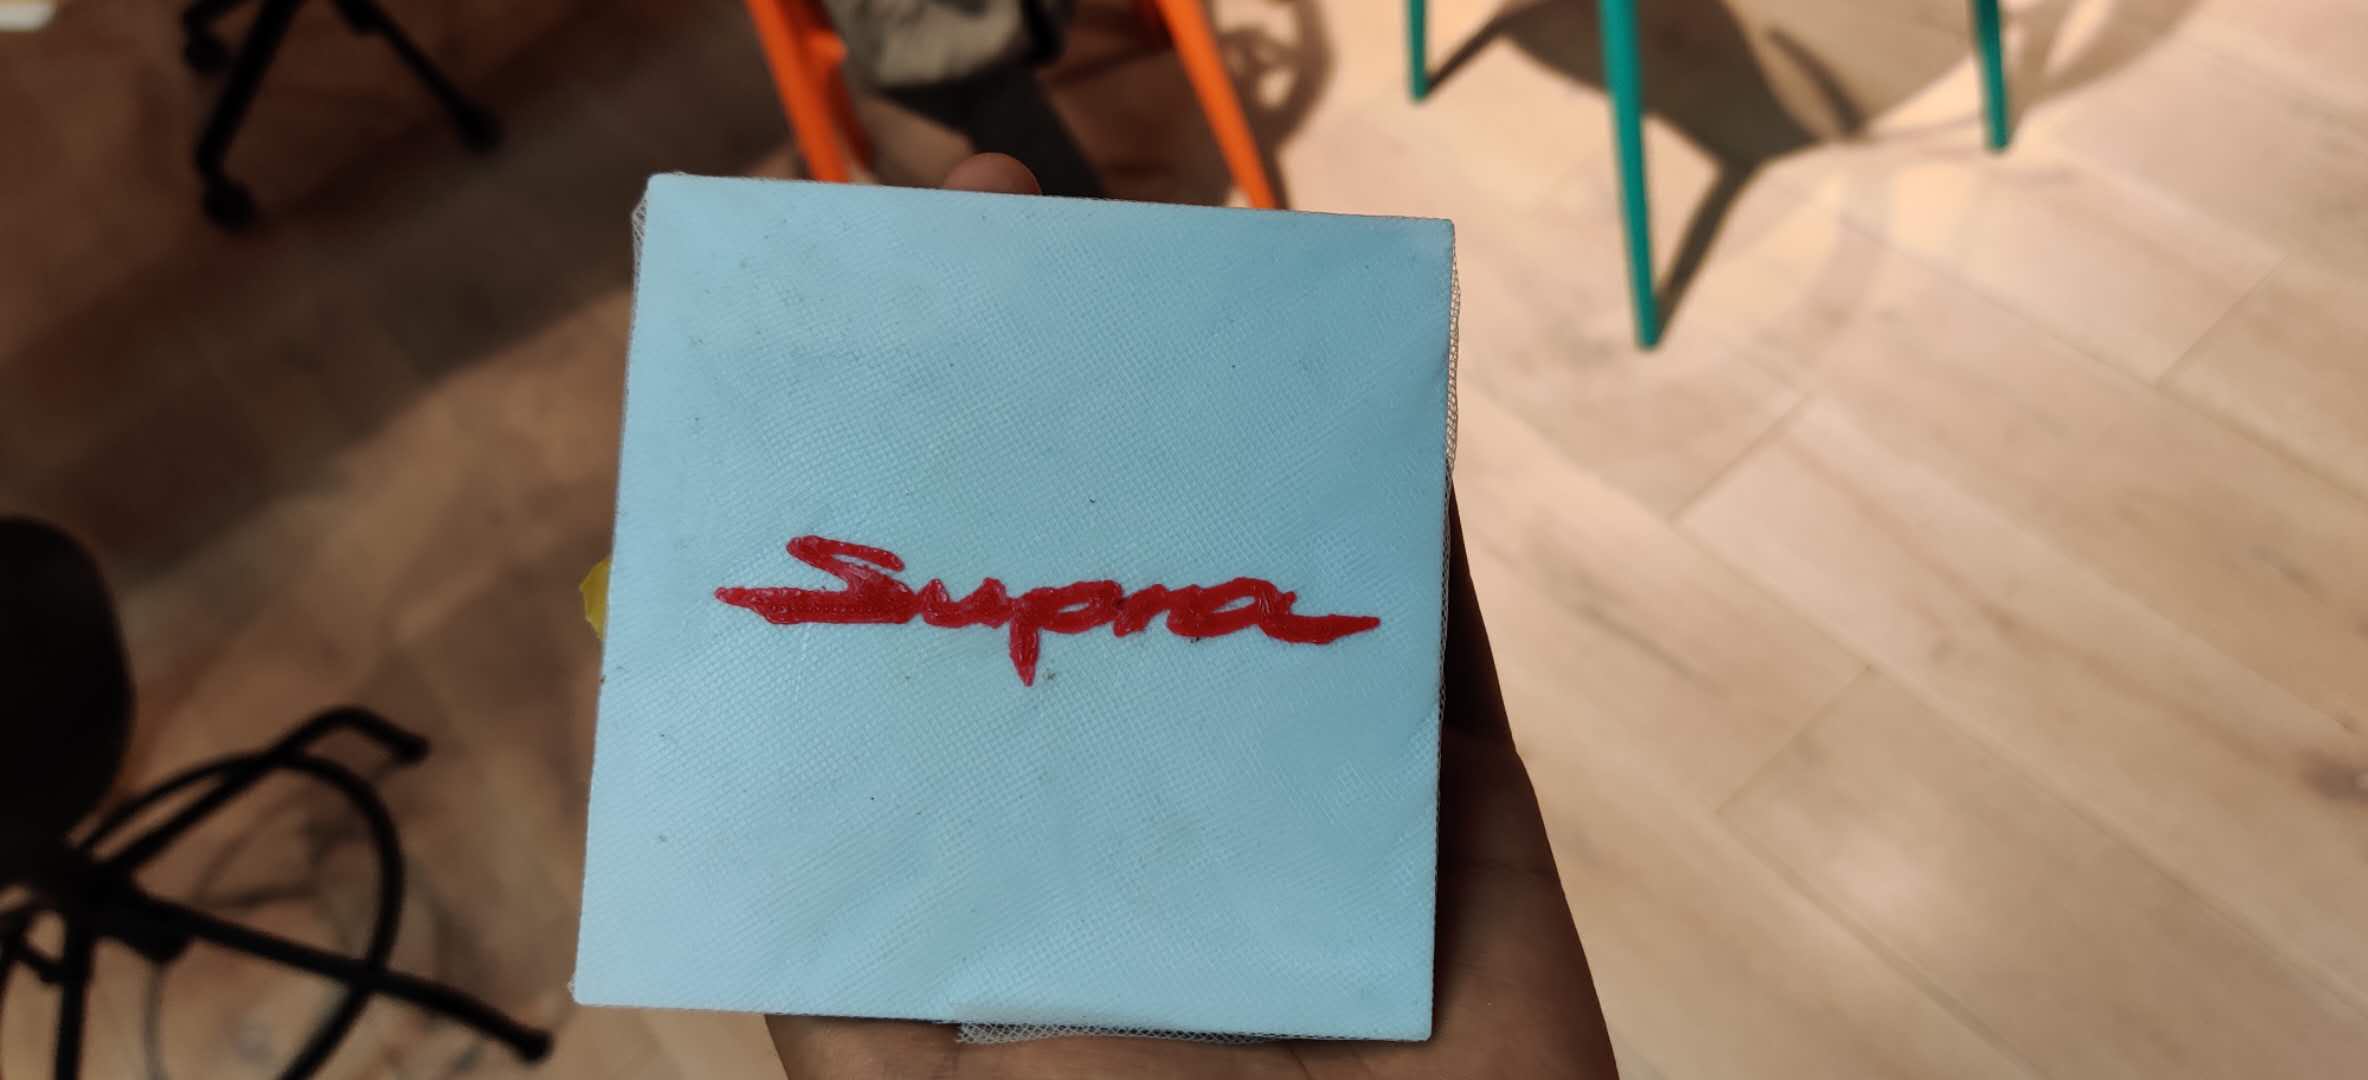
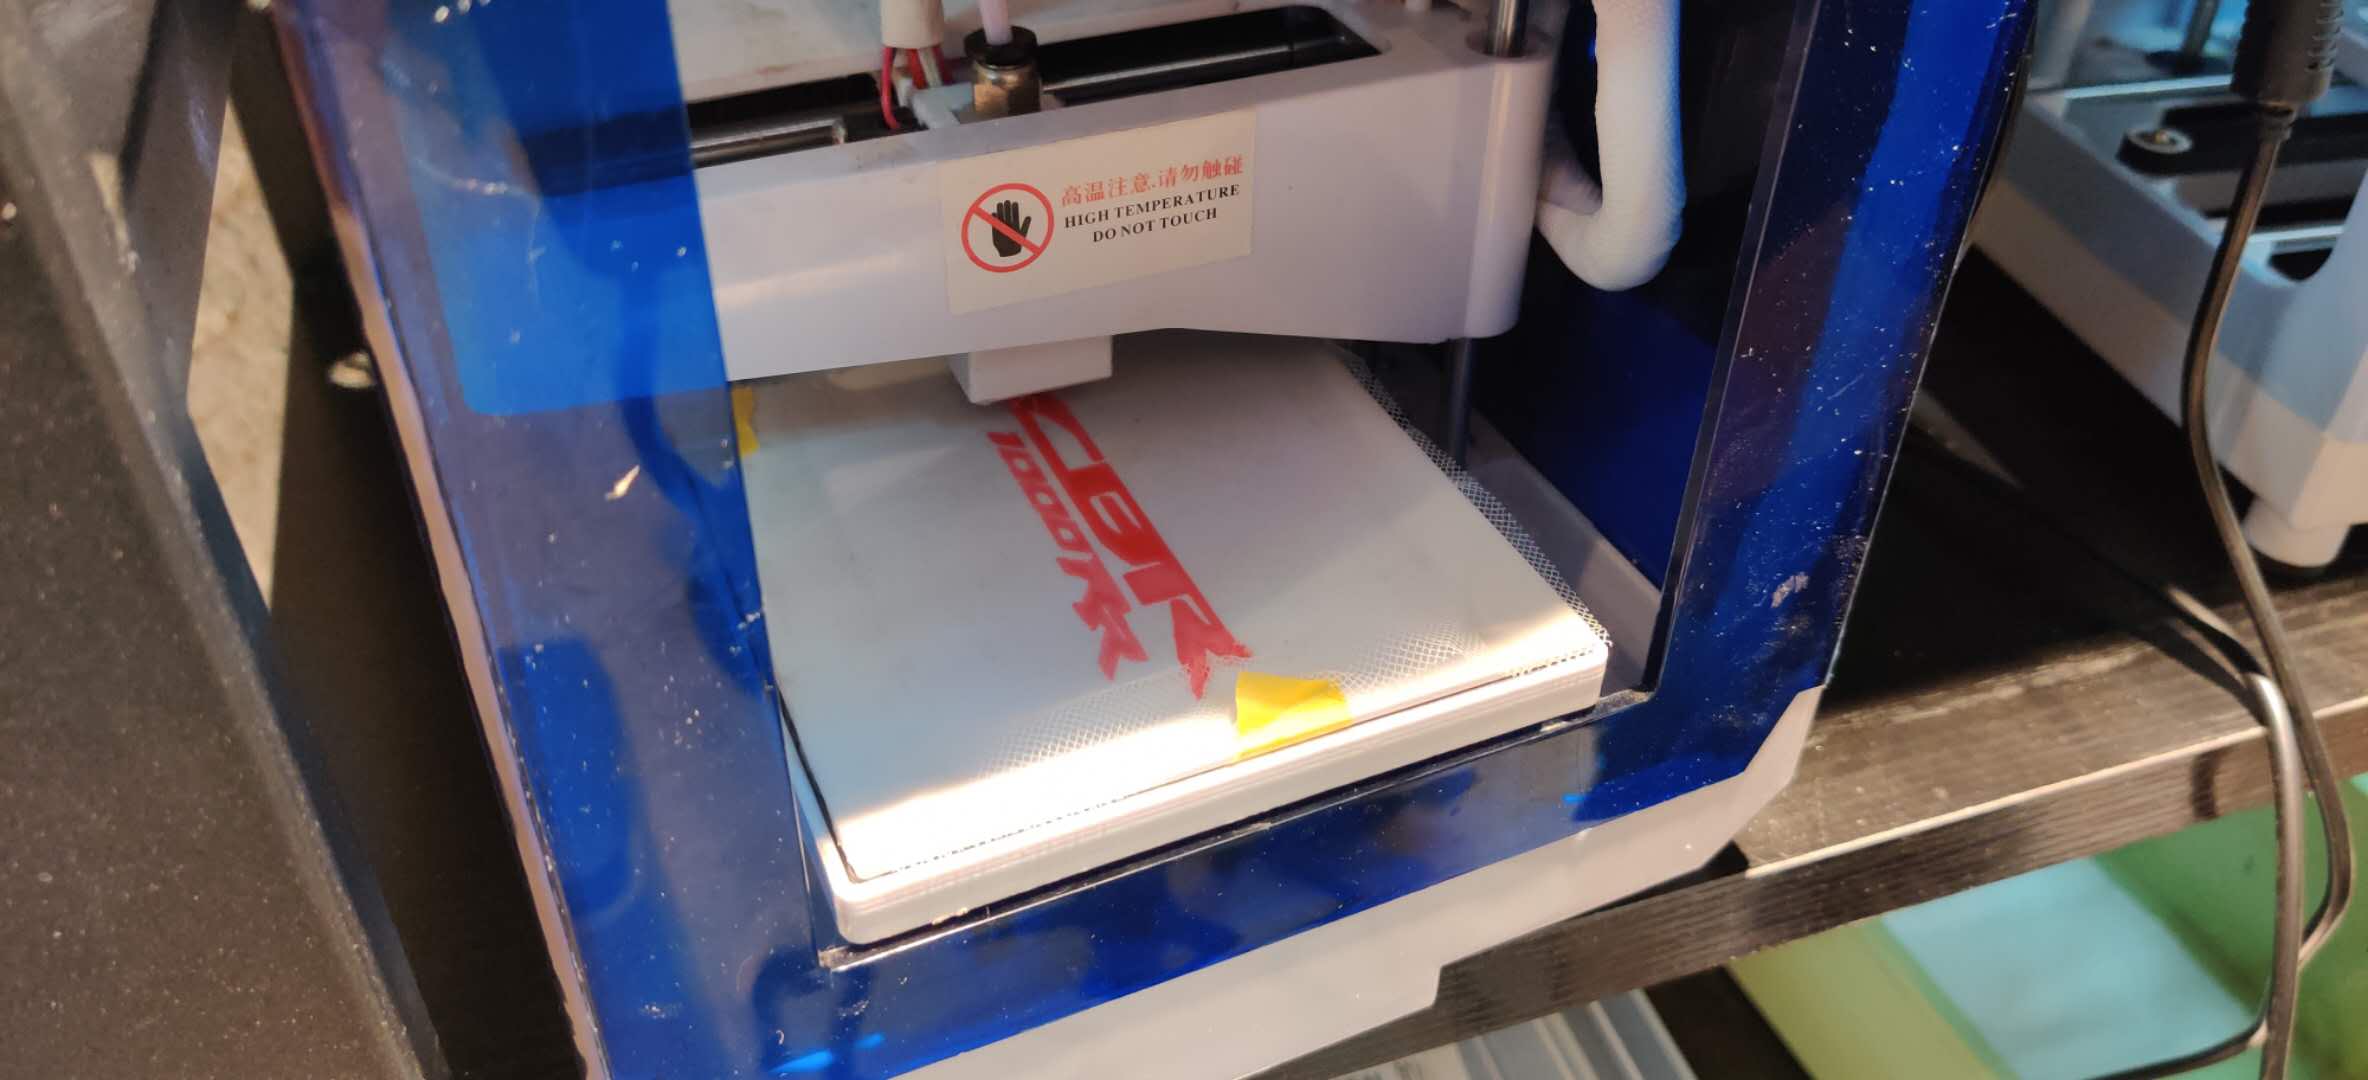
The print came out very well. The mesh feature of the fabric allowed some of the filament to go through the fabric, therefore it was solidified with the print once it cooled down.
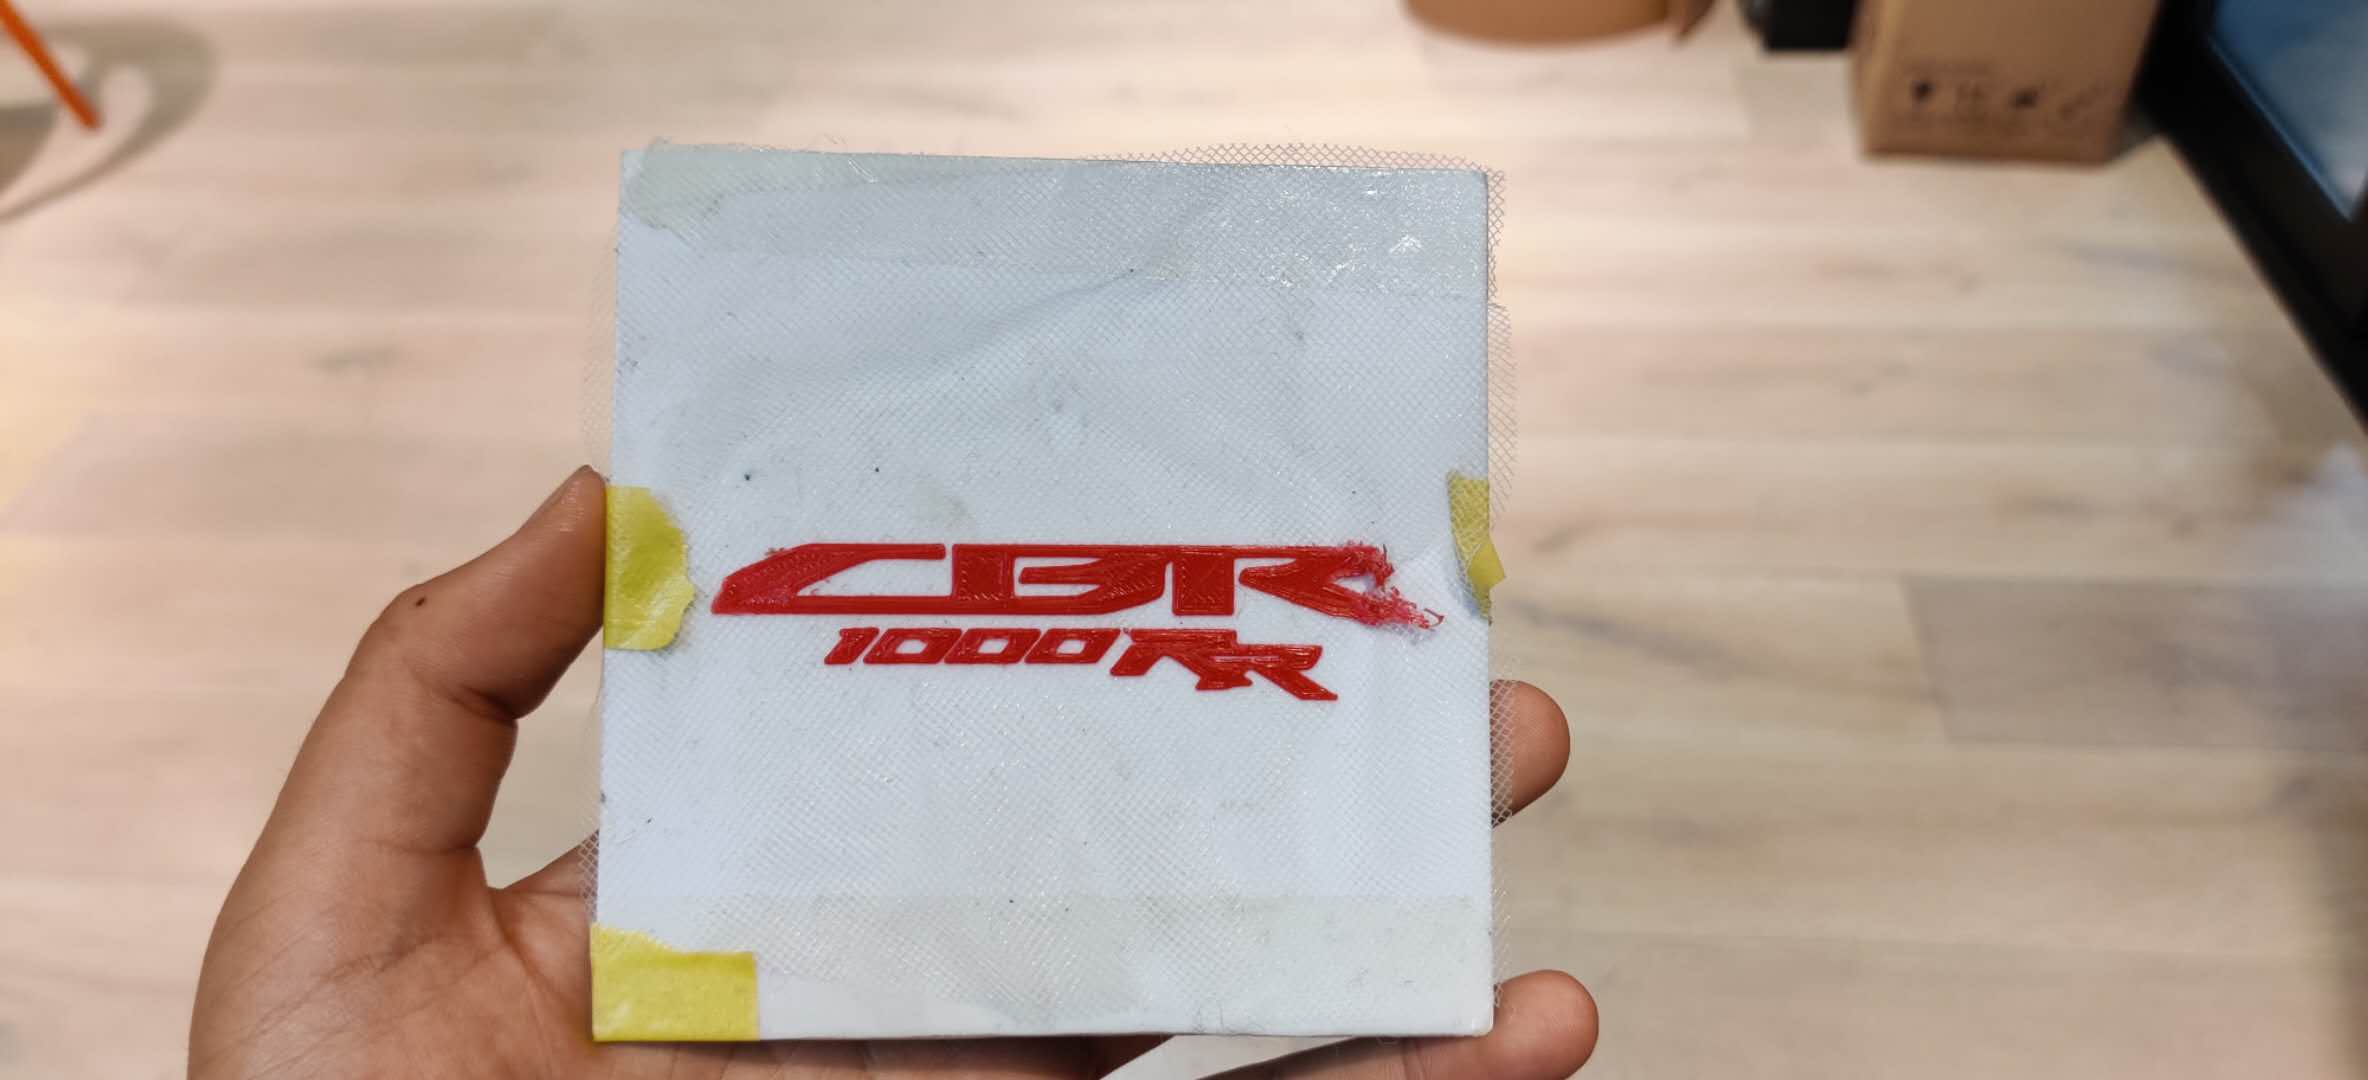
A previous year student also used a hot air gun to try improve the finish, but in my case, it burnt away the fabric underneath it, and left the surface finish uneven. I think I used a temperature too high for the fabric, and I concentrated the heat in one area rather than moving it around.
Hero Shots (Proof of Concept):

Test 2- Embroidery
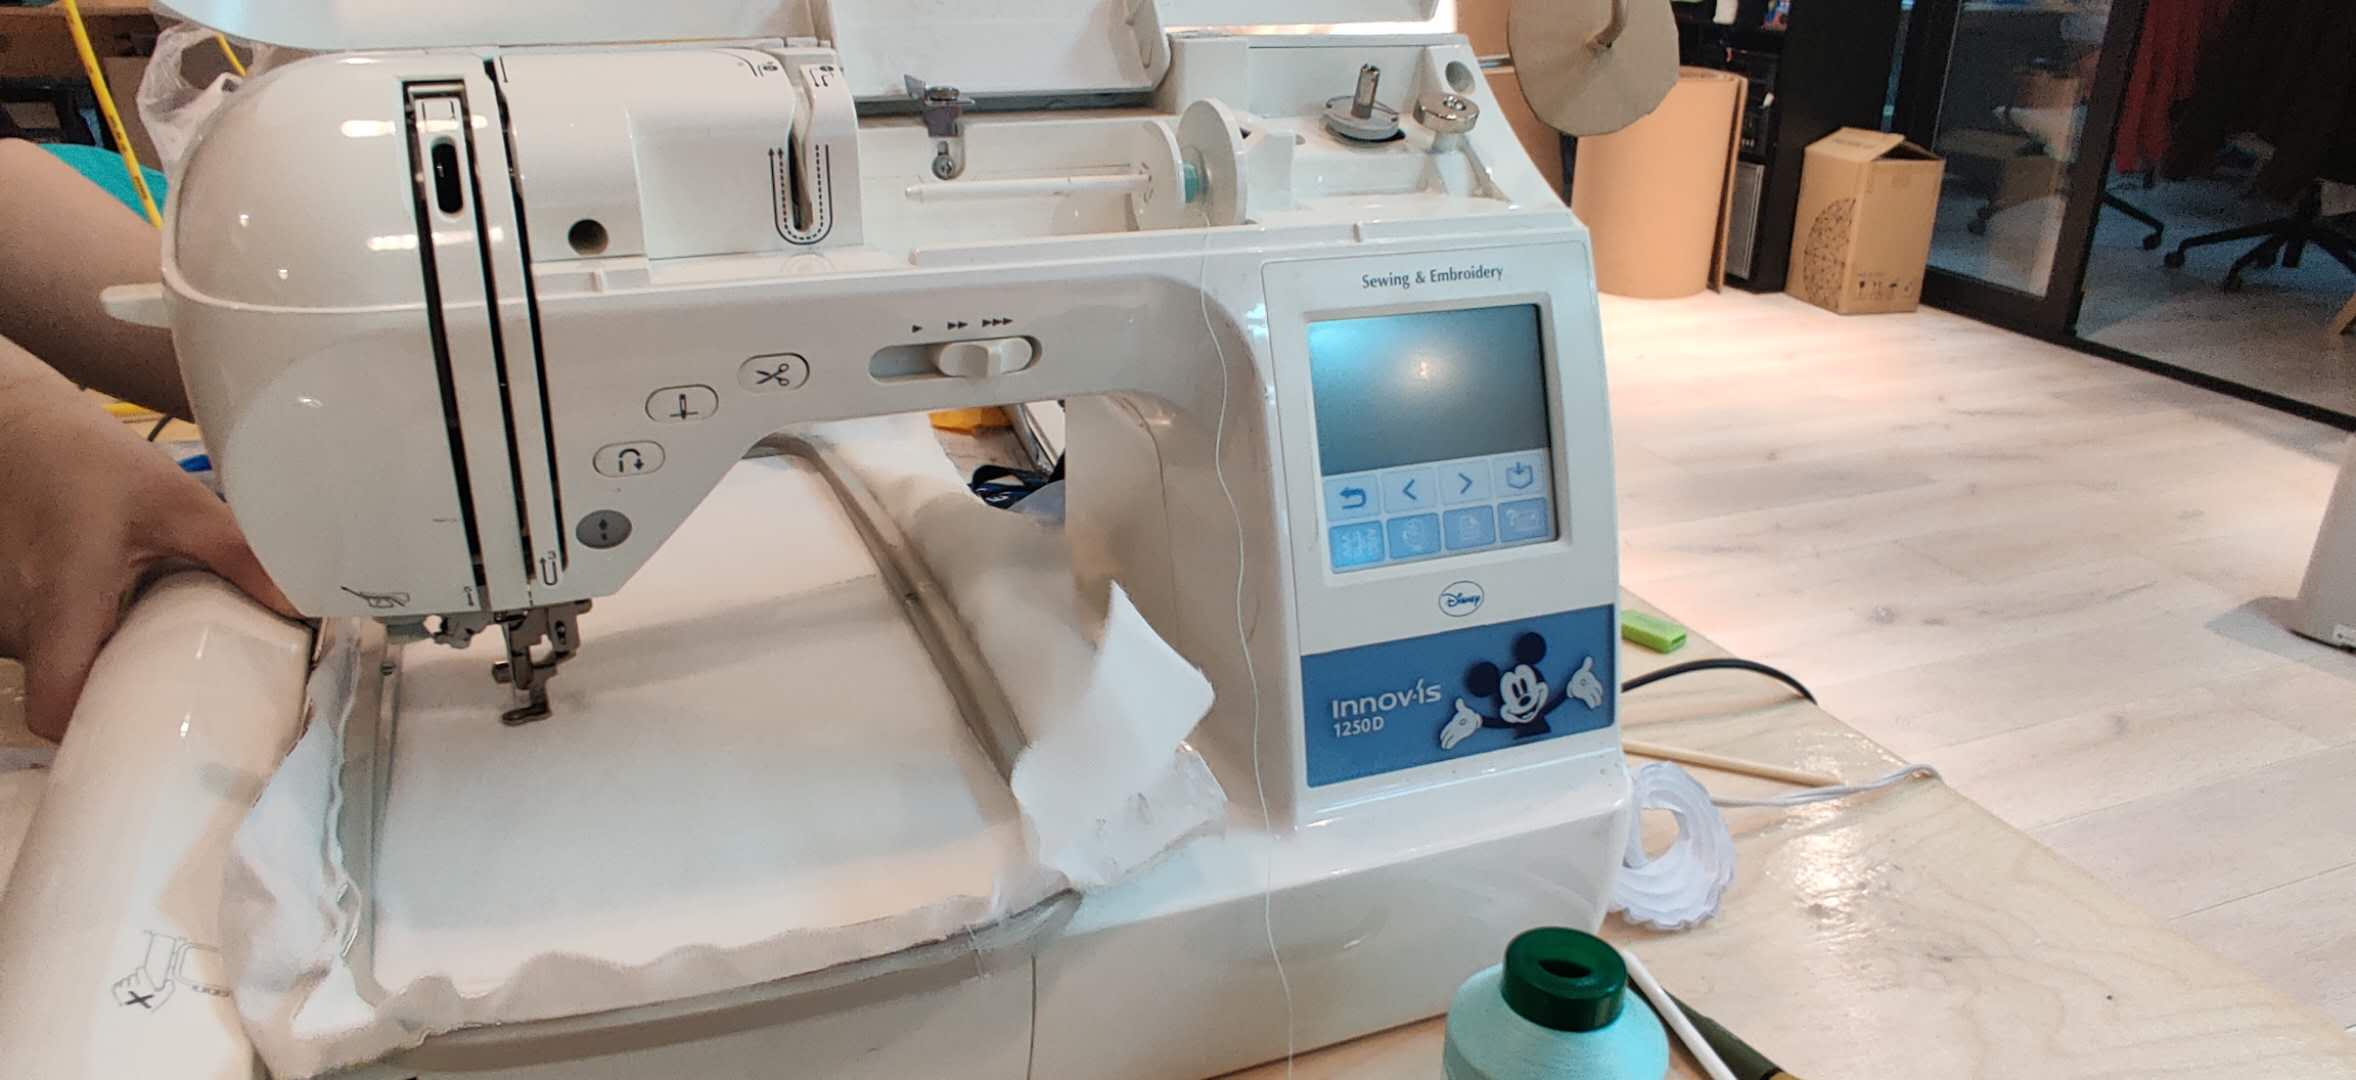
I decided to also test with the Brother Innovis NV 1250D we have in our lab.
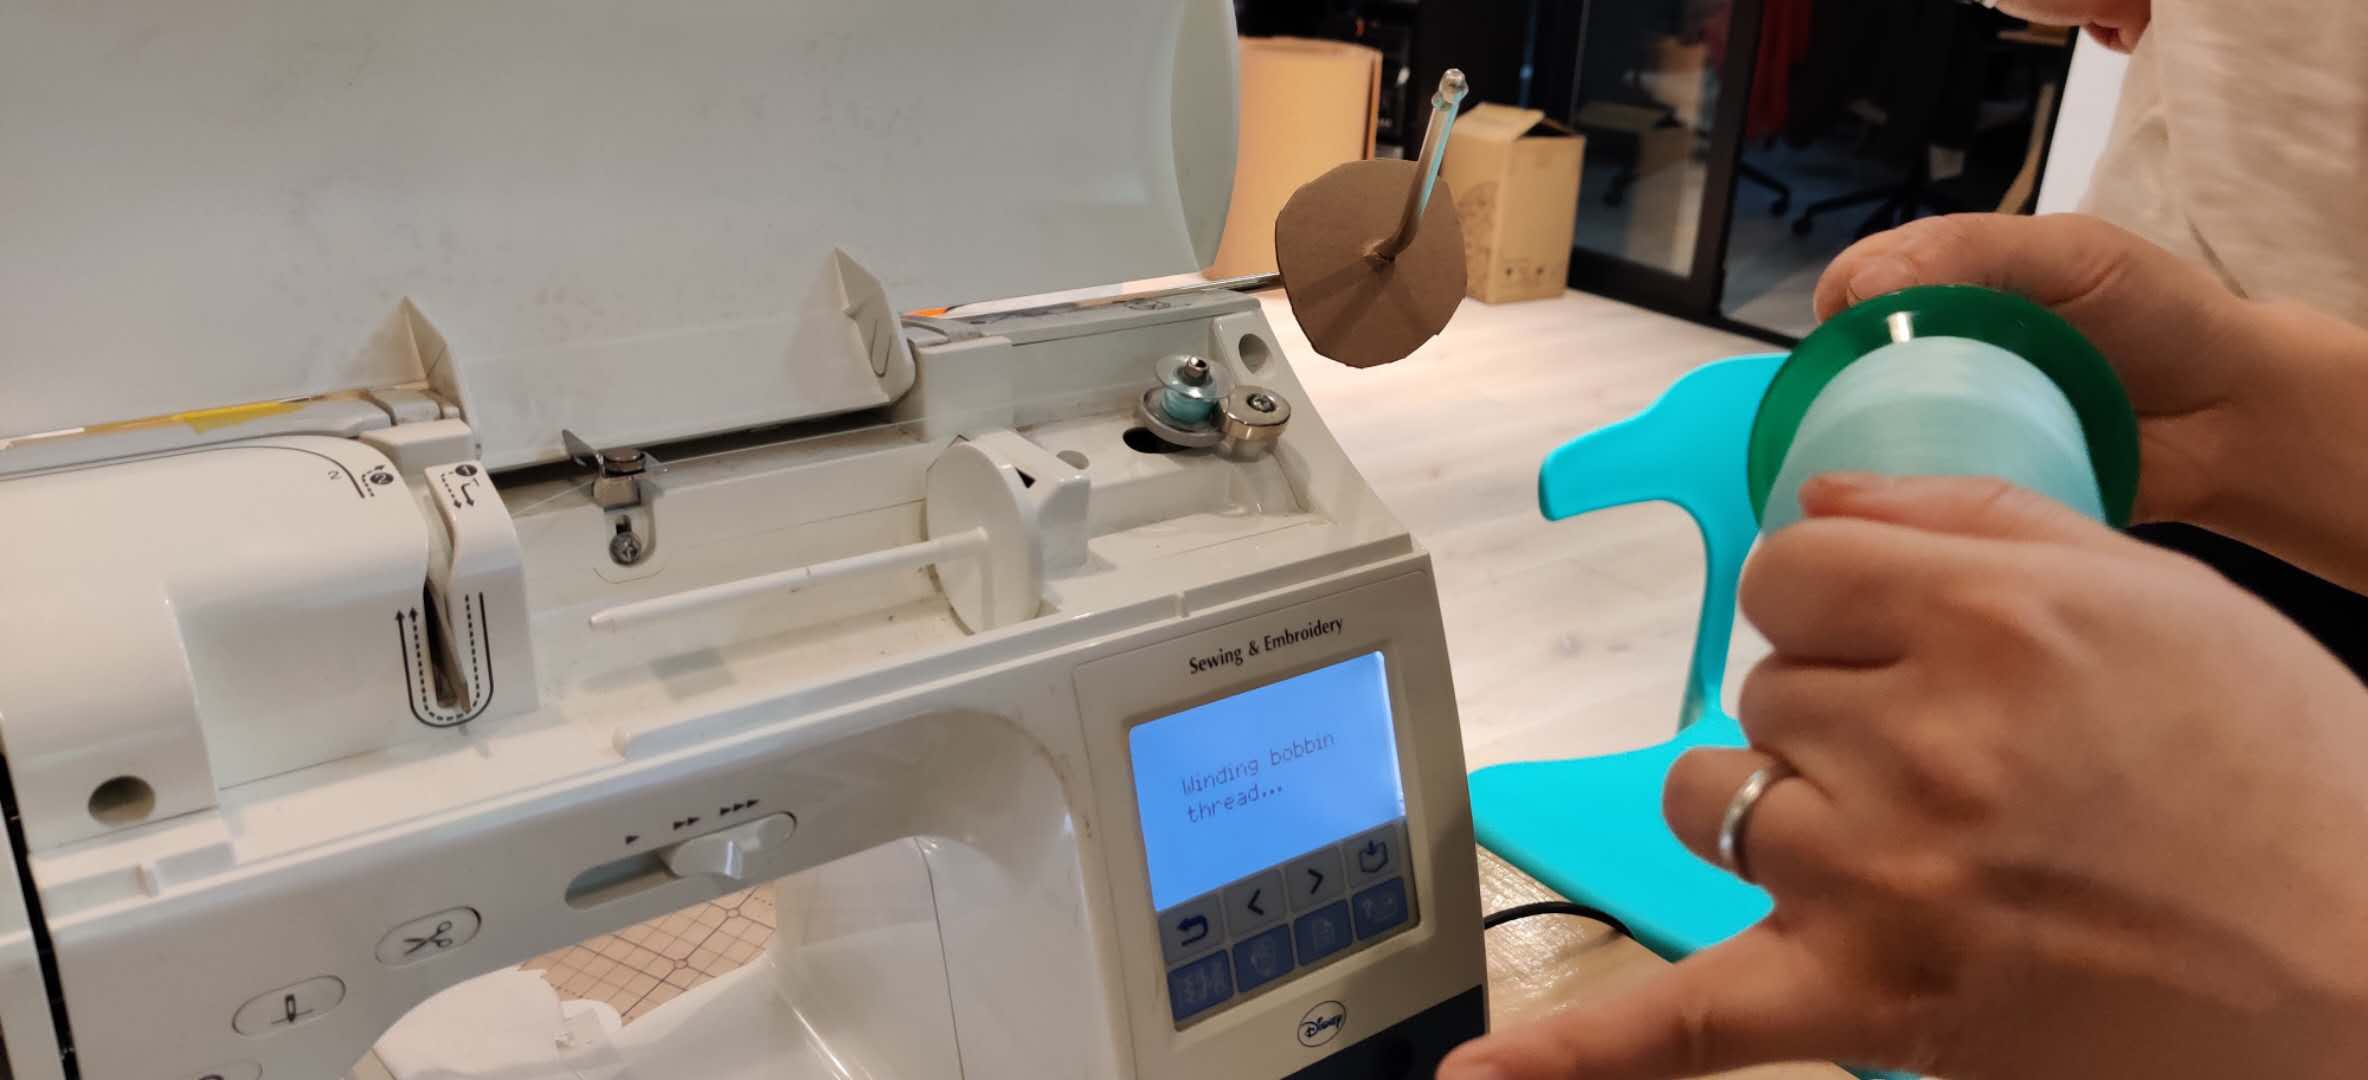
The first step was to learn how to thread the machine. The manual for this machine was extremely important and helpful.
 Credit: Pamela
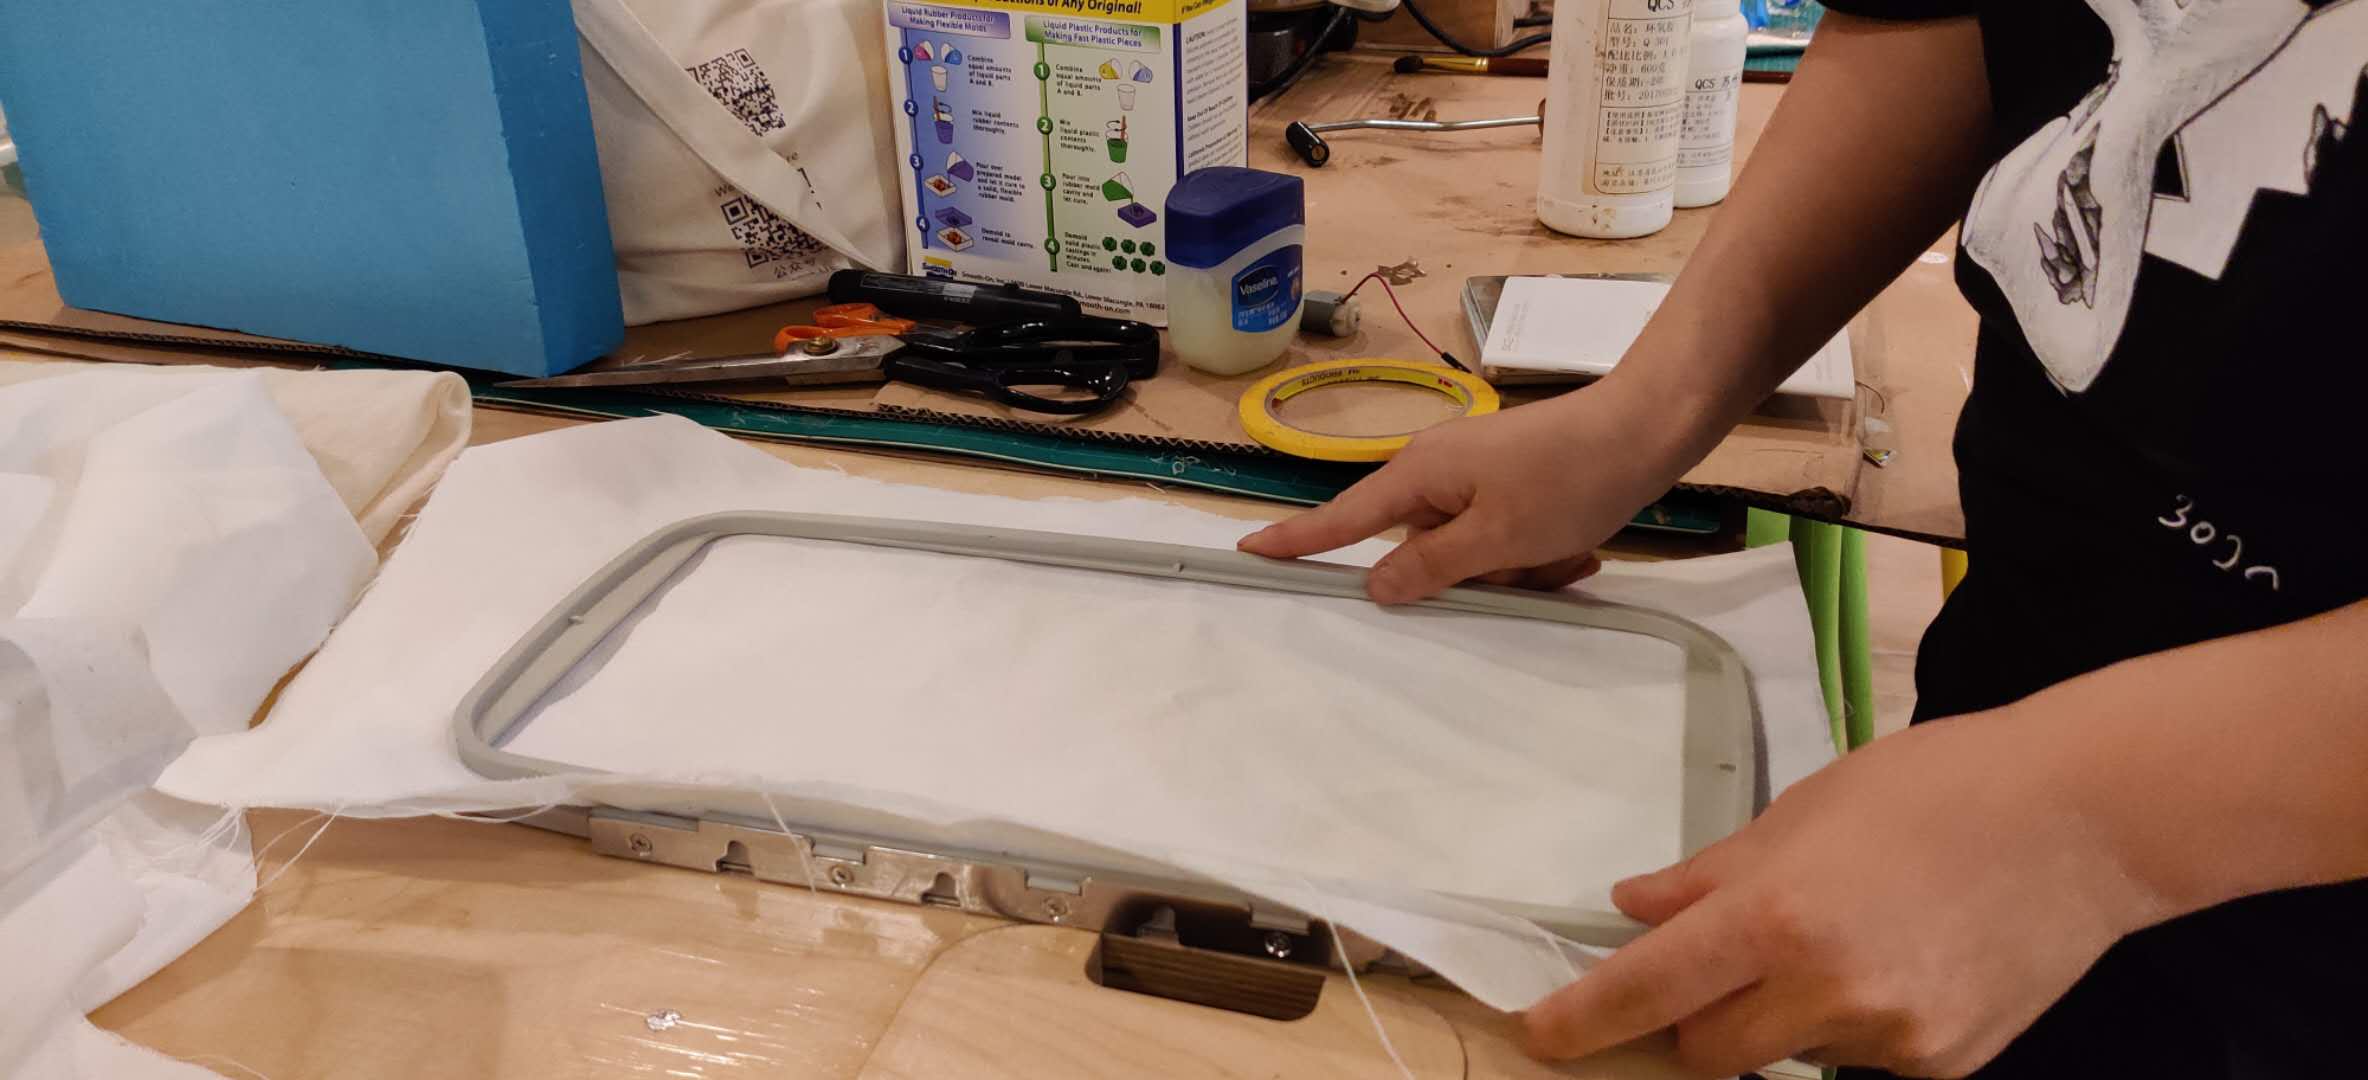
These are the steps to run the thread into the machine. Once the upper spool is set up, the lower bobbin also must be loaded. Without this bobbi,n there won't have the bottom stitch. The next step is to place the fabric inside the embroidery frame.
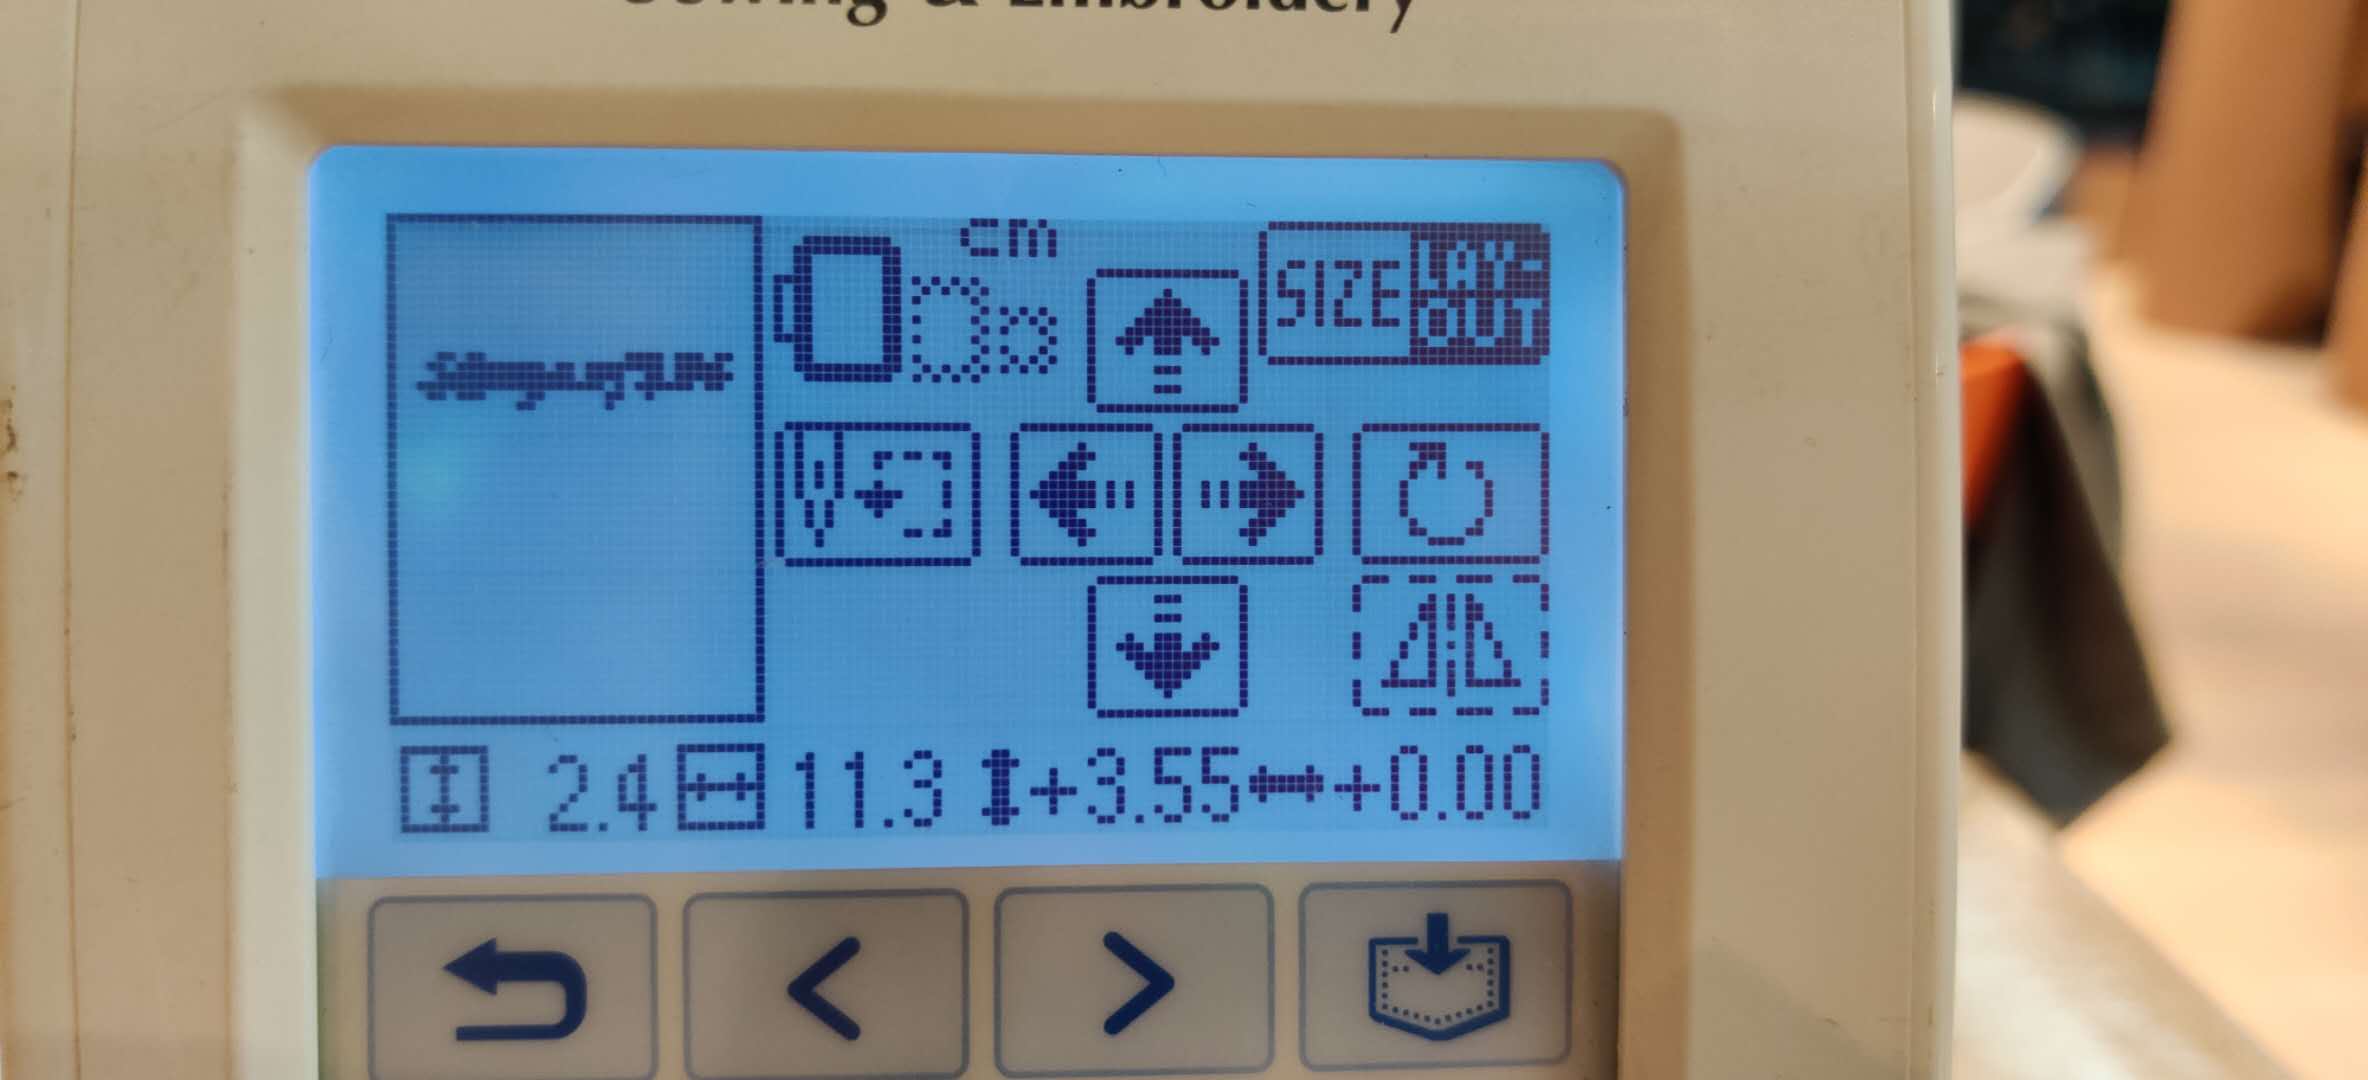
After loading the frame onto the machine, I selected the default symbols of the library, and I started doing some tests using the alphabet letters available here by sewing my Instagram handle:
I am not sure what the name of the fabric is, but it is well-suited for this task. I typed out the name in the interface on the machine, and altered the position where it will be sewn on.
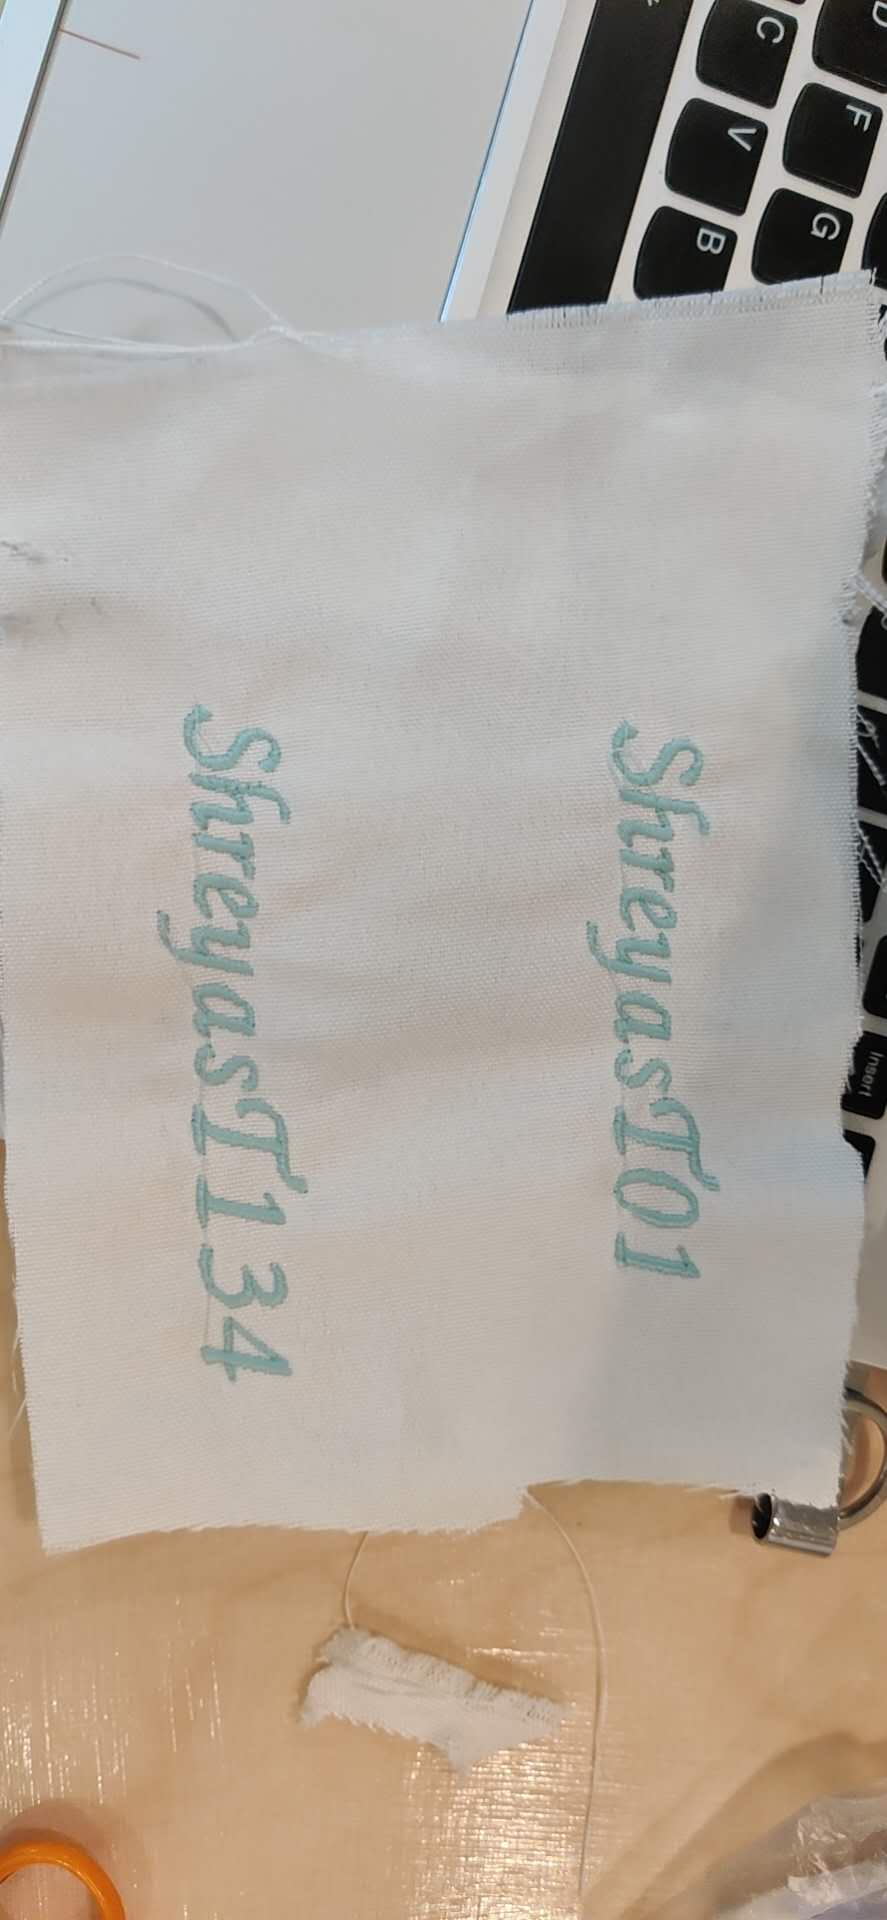
The end result looked like this:
I will also briefly talk about my failed experimentation with InkStitch and generating my own graphics. My idea was to sew on the QR code that would open up the link to my instagram page. The files extension we need to create are called .pes and there is an extension available only for INKSCAPE that helps you to customize vectors parameters to output for embroidery. This extension is called INK/STITCH.
After drawing the shape, I selected the QR code and clicked on Extensions > InkStitch > params, which will open a window with a preview of the stitches pattern. I was unable to export the file as a .pes file, and I kept getting the error that read similar to 'Selected Shape is Not Enclosed' which led me to check the preview. Here, in the preview, you can see that a lot of the shape is not going to be stitched.
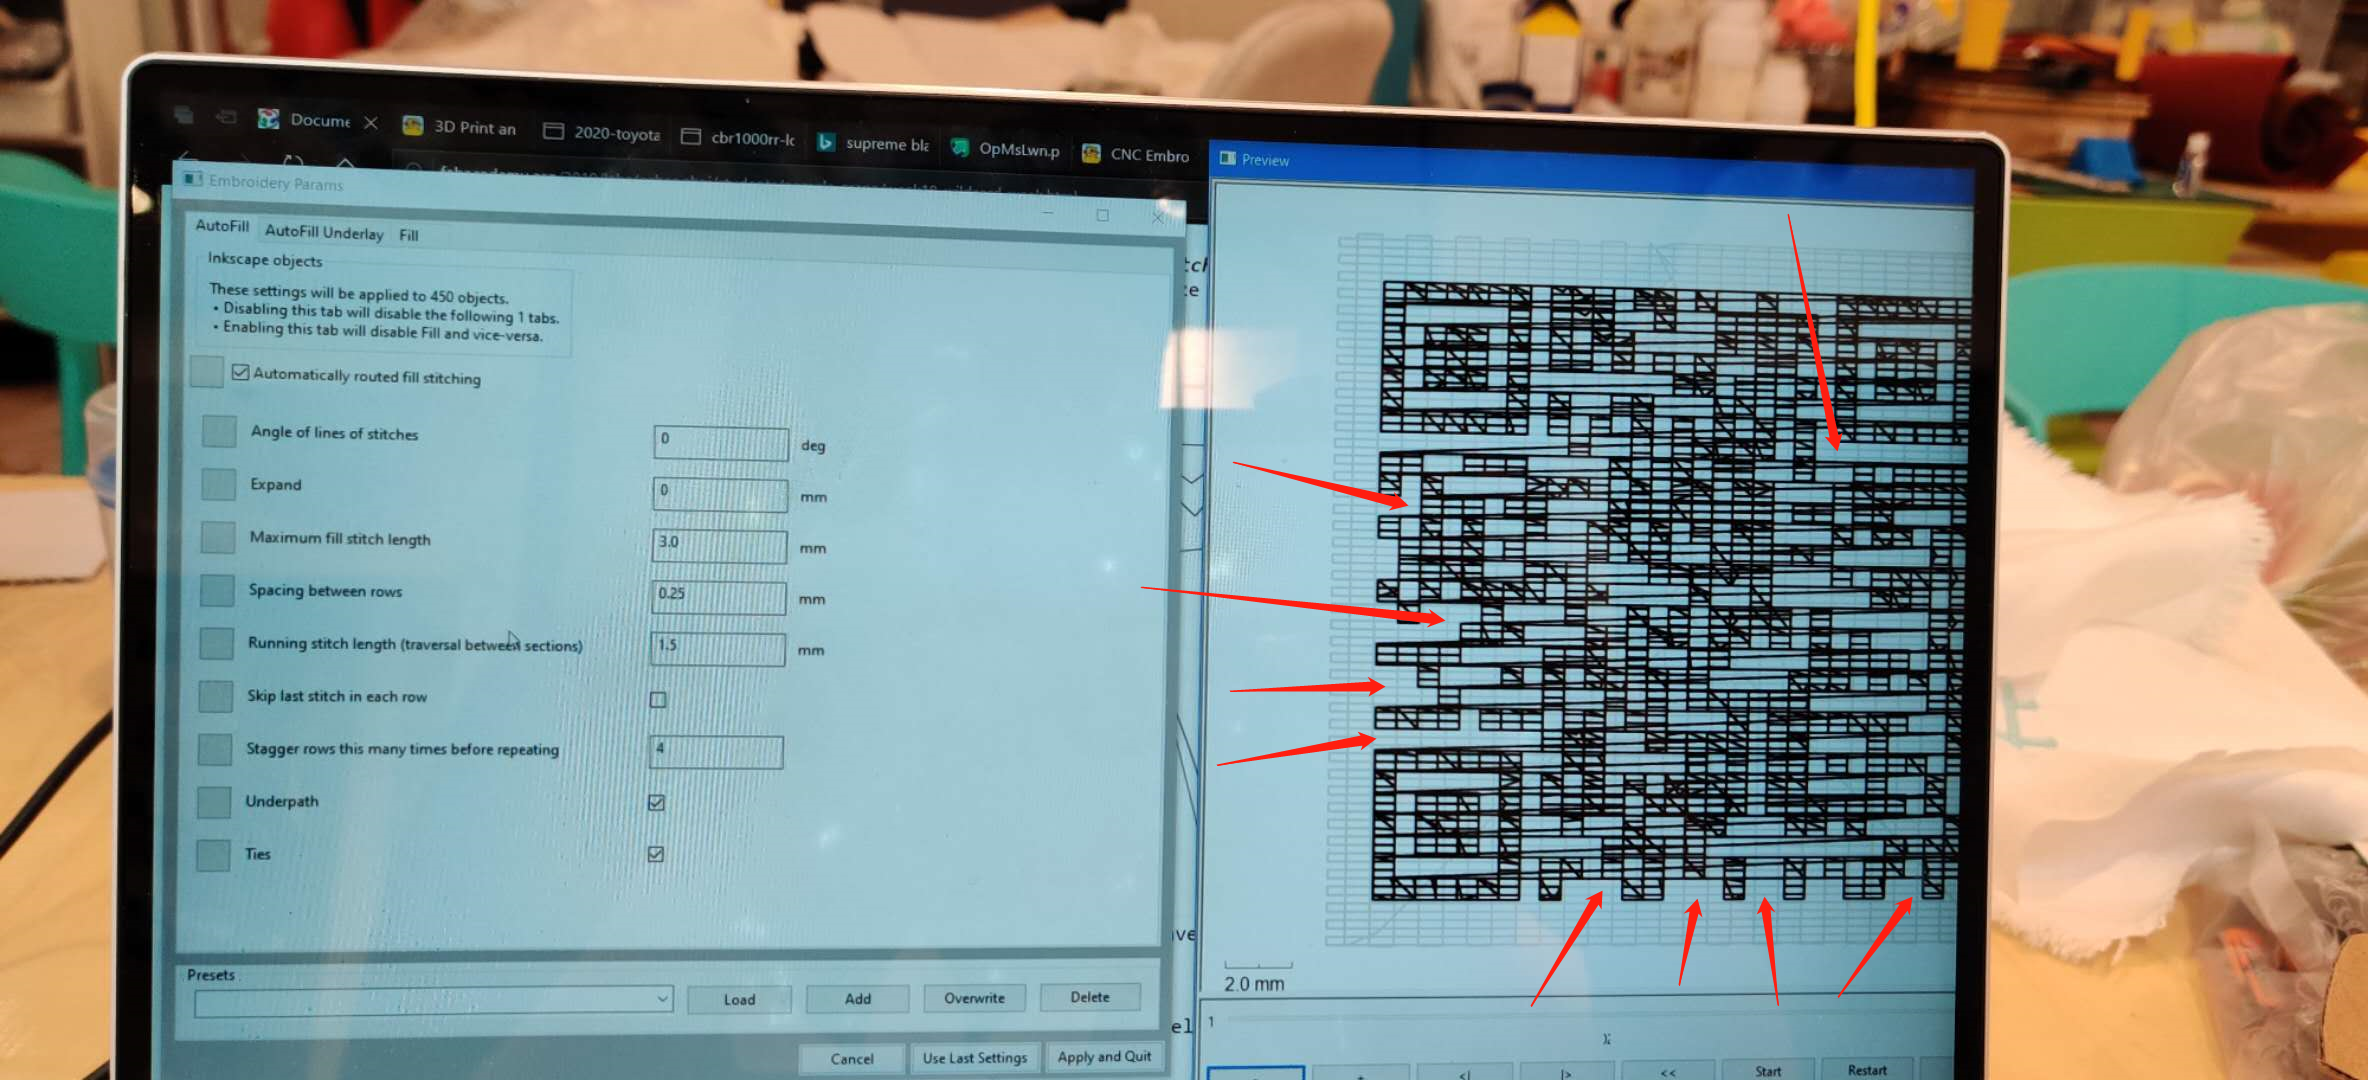
The only conclusion I could draw is that InkStitch cannot process shapes that have gaps in between, something which the QR code is made out of.
Click here to download the CBR1000RR logo edition fileClick here to download the Supra logo edition file