3D Printing And Scanning
Tasks for this week:
- Group- Test the design rules for 3D printing
- Design and 3D print an object that could not be made subtractively.
- 3D scan an object and print it.
Part 1- Group Assignment
Link to Group Assignment
Here, I will also discuss the strengths and limitations of the 3D printing technology.
Advantages:
- Rapid Prototyping
- Quality and Detail
- Flexibility in Complexity
- Accessibility
- Print on Demand
- Minimal Waste from Additive Manufacturing
- Wide Applications
- Limited Materials
- Long Duration to Print
- Expensive Capital Equipment
- Post Processing
- Infringment Issues
- High Energy Consumption
Disadvantages:
In a lot of industries, 3D printing provides countless benefits. However, it is not going to replace traditional manufacturing. It is still an emerging technology with some disadvantages that need to be considered when selecting a product development method. Manufacturers and product designers therefore need to see it as a process to complement traditional manufacturing. They can exploit its unique capabilities to improve product design and manufacture entirely new products that could not be otherwise produced.
Part 2- Designing and Preparing a Model for Printing
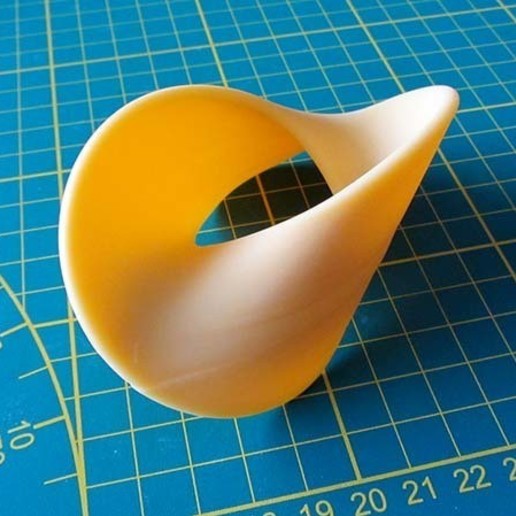
For this assignment, my task is to print an object that can only be printed by 3D printing, therefore cannot be maded subtractively. On YouTube, I found the channel Maker's Muse, where I learnt about the mathematical shapes of Oloids and Anti-Oloids.
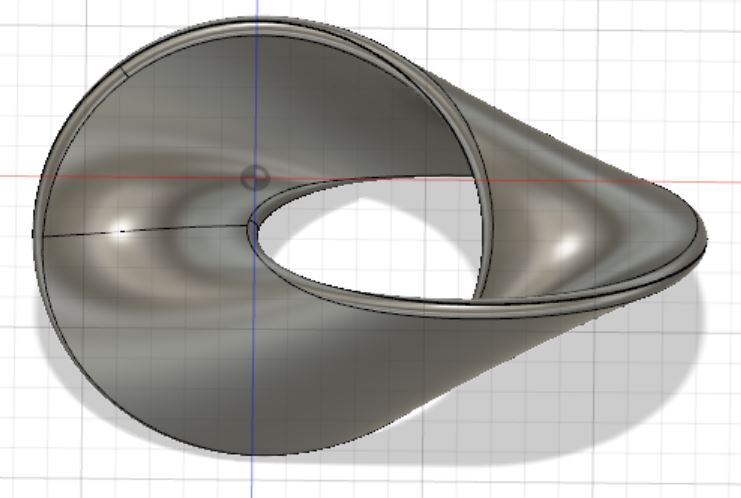
An oloid is a three-dimensional curved geometric object that was discovered by Paul Schatz in 1929. It is the convex hull of a skeletal frame made by placing two congruent circles in perpendicular planes, so that the center of each circle lies on the edge of the other circle; therefore, the distance between the circle centers equals the radius of the circles. While rolling, it develops its entire surface: every point of the surface of the oloid touches the plane on which it is rolling, at some point during the rolling movement. Unlike most axial symmetric objects like cylinders and spheres, while rolling on a flat surface, its center of mass performs a meandering motion rather than a linear one.
Generally, an oloid can be manufactured subtractively with wood and metal, but an anti-oloid is a unique shape that possesses the same features as an oloid, but it has a unique shape that cannot be produced with subtractive methods.
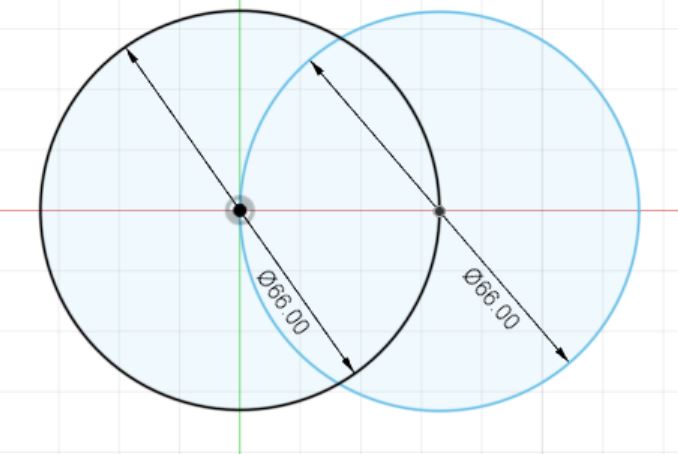
The two congruent circles were drawn:
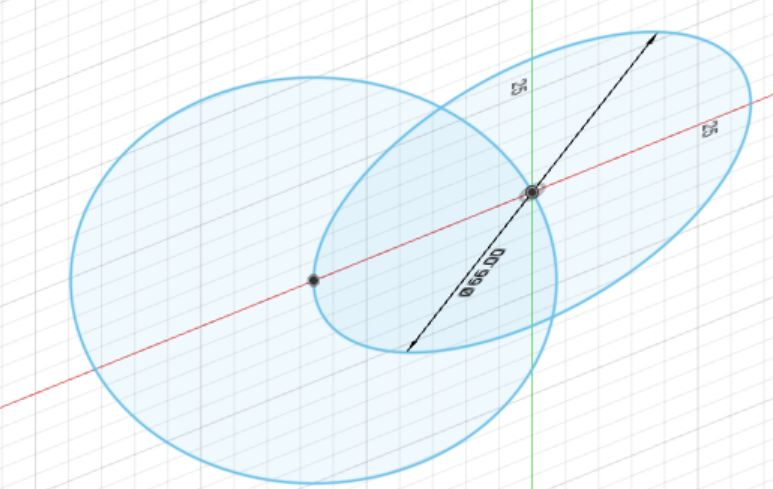
The circular planes are now perpendicular:
The Loft tool is used to generate this shape:
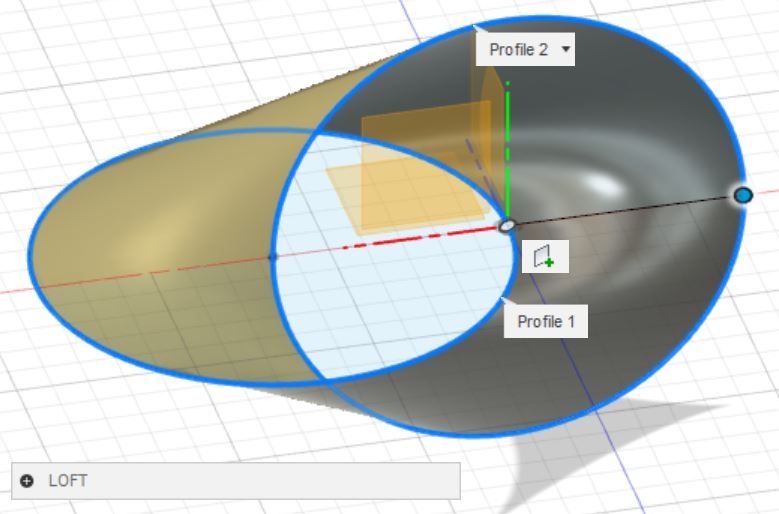
The wall was thickenned to 1.6mm (the thickness must be greater than the nozzle size), and then the edges of the curve were curved using the Fillet tool. The final design looked like this:
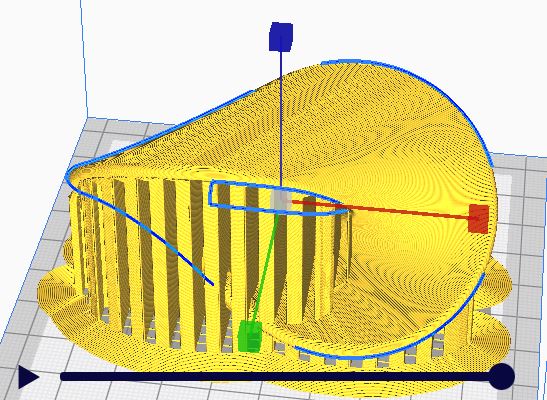
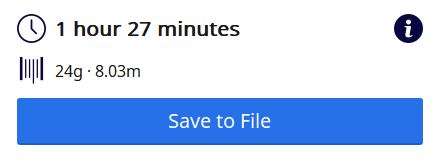
The next thing I did was prepare the CAD model for 3D printing. I exported the Fusion file as a .STL file, then opened this in the Ultimaker Cura slicing software. In this software, I configured our 3D printer's settings. I increased the printing speed from 60 to 75mm/s to decrease the printing time, although a small compromise would be the level of detail in the print. I added an infill of 20%, a brim build plate adhesion, then added support everywhere to support the overhang to prevent the deformation of the print.
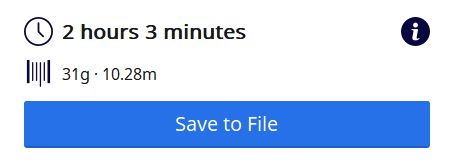
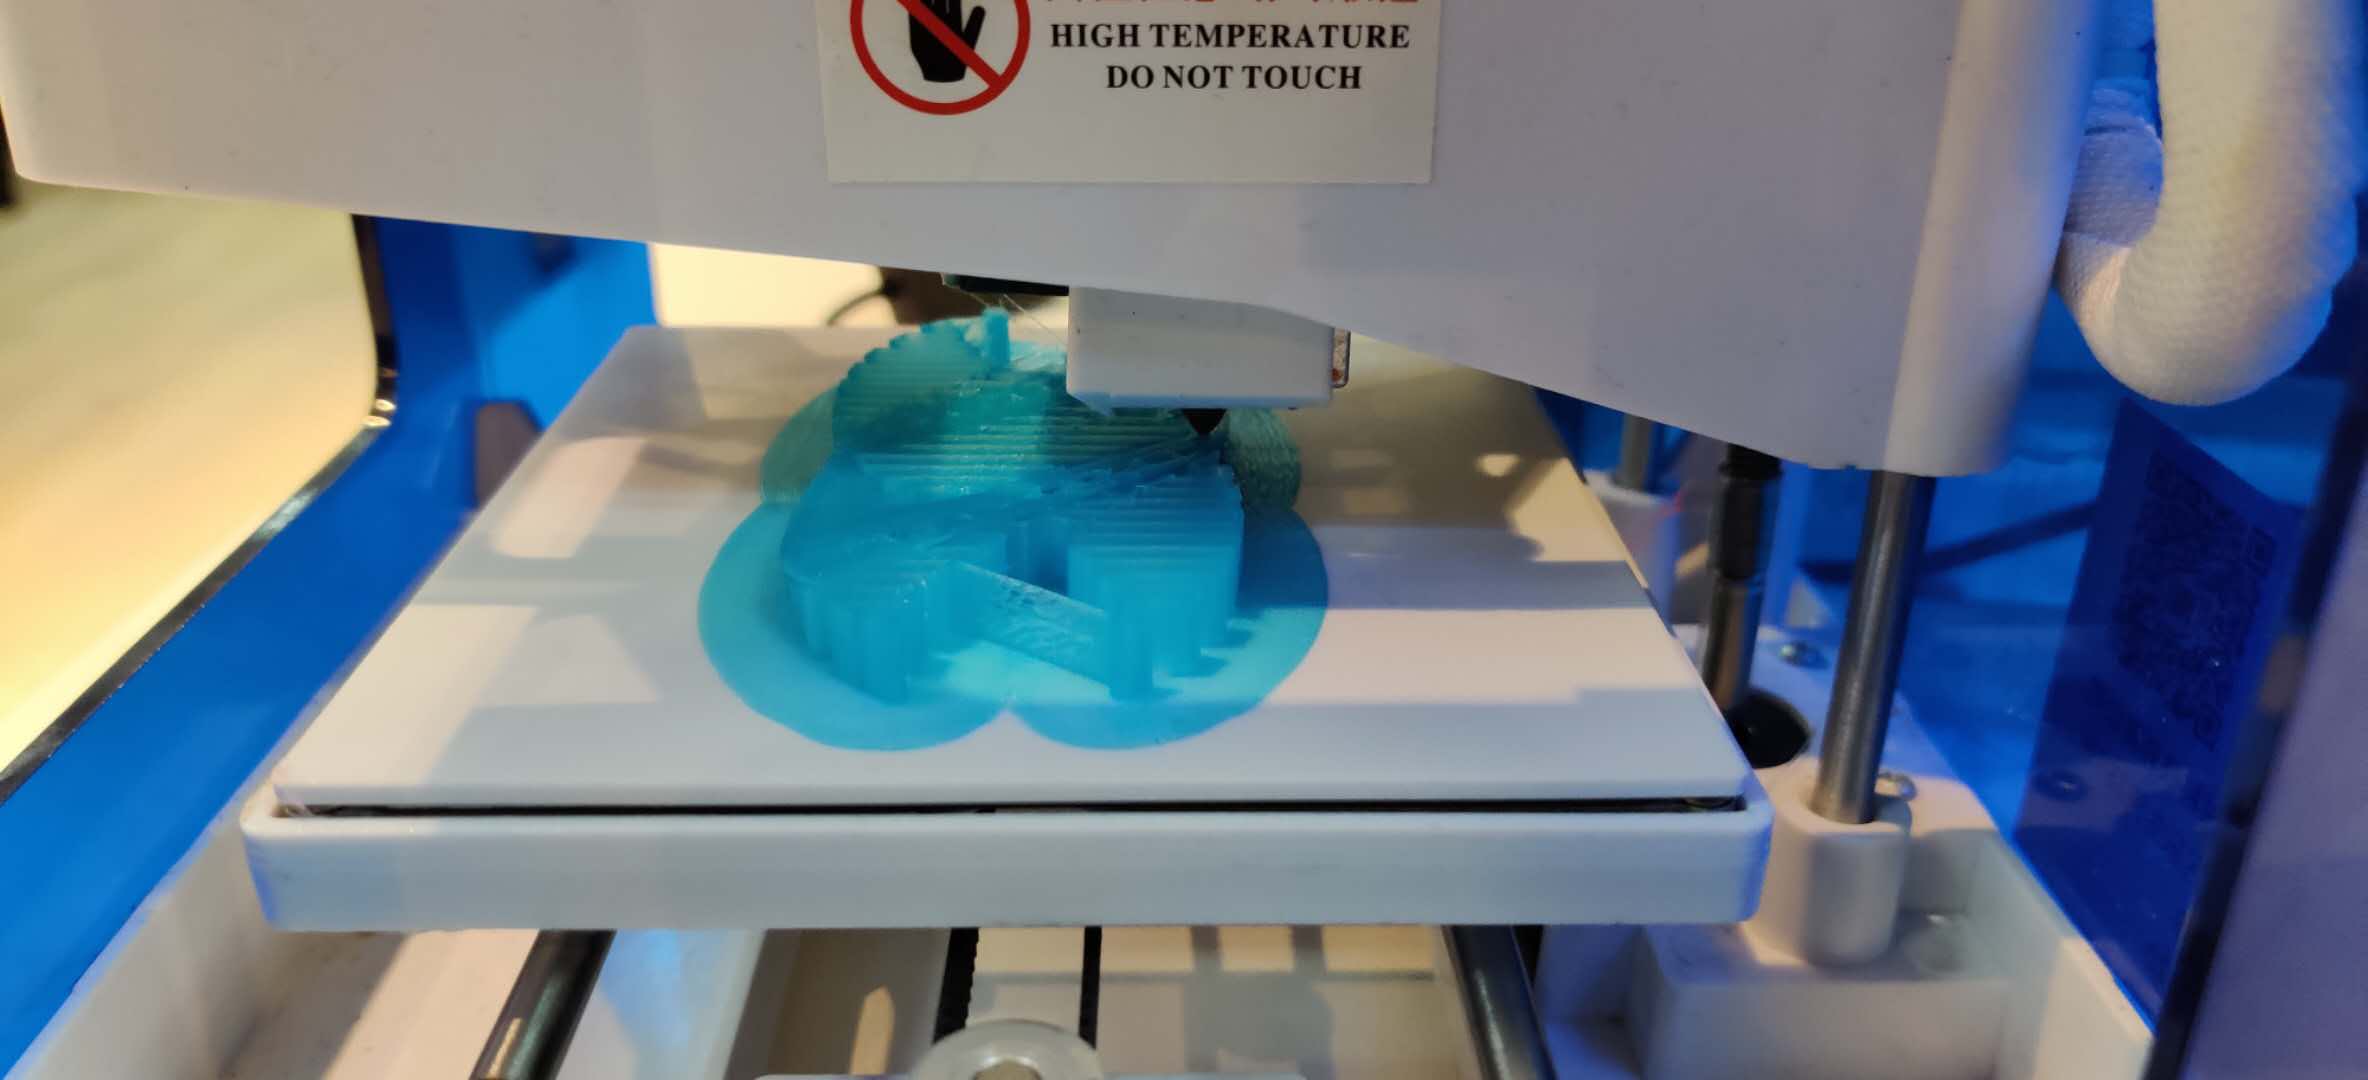
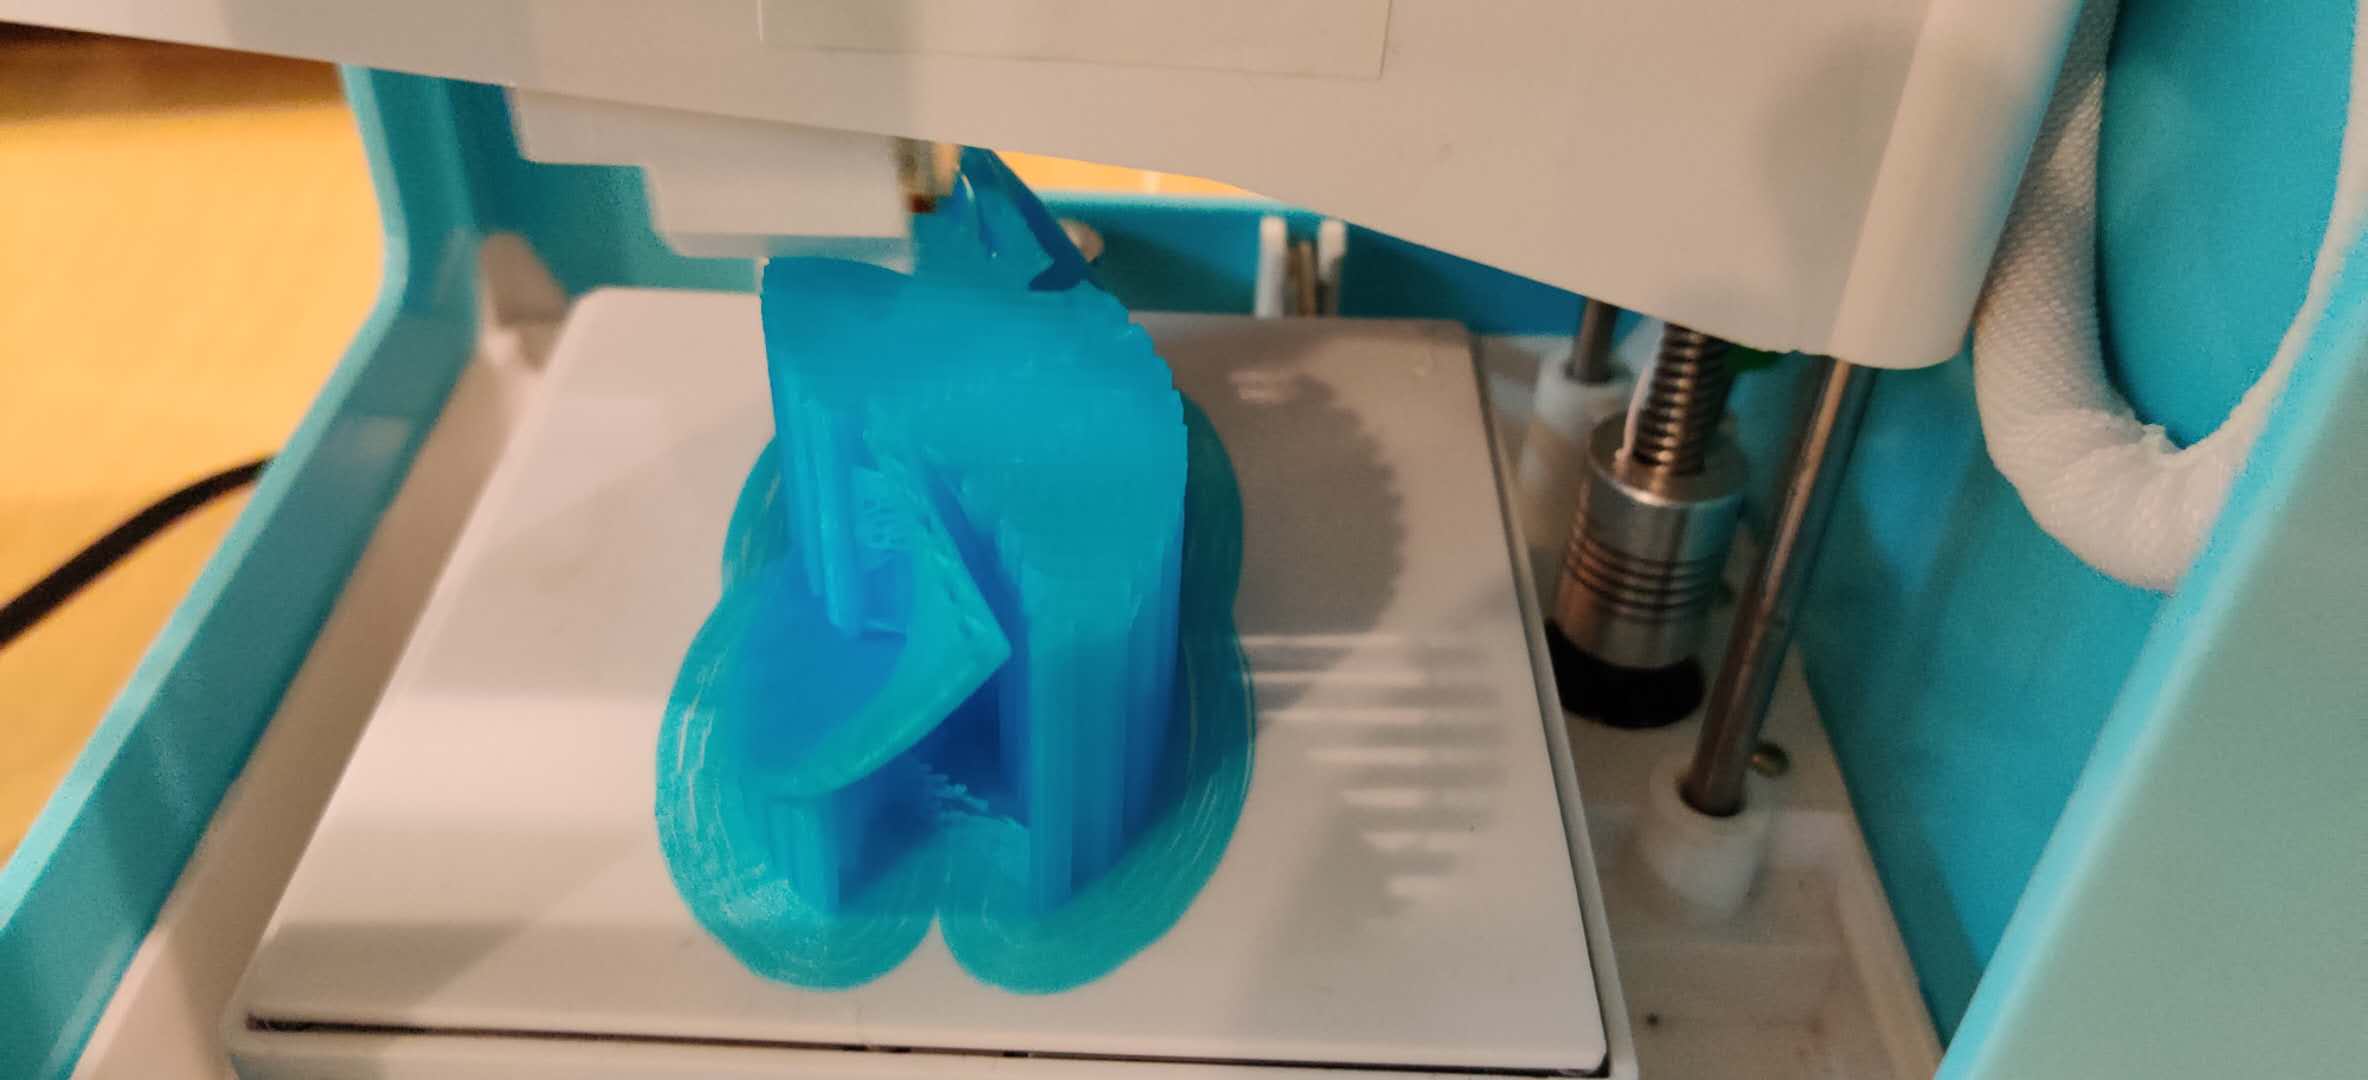
Finally, the printing process started.
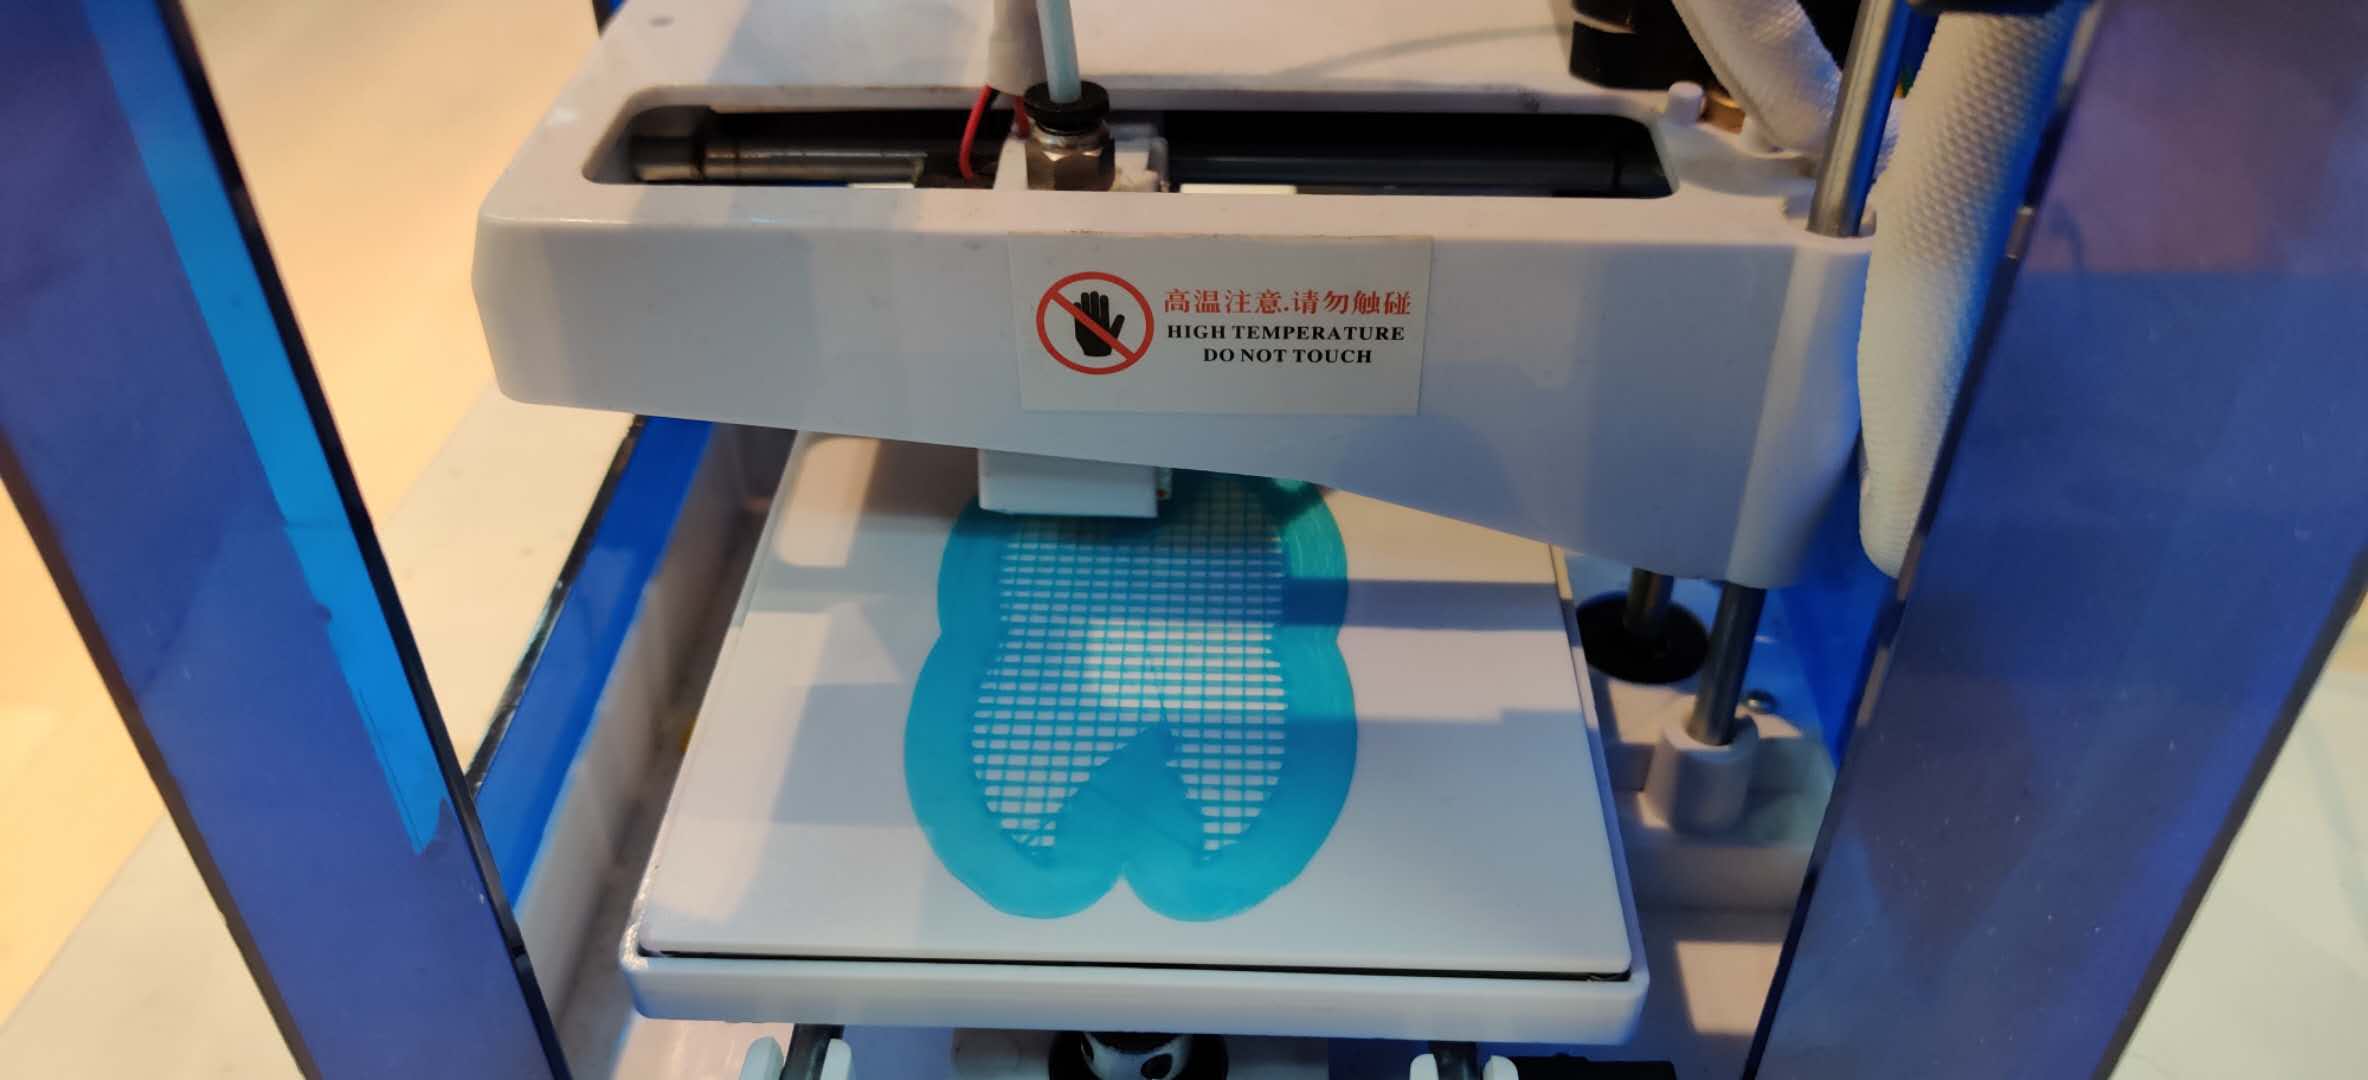
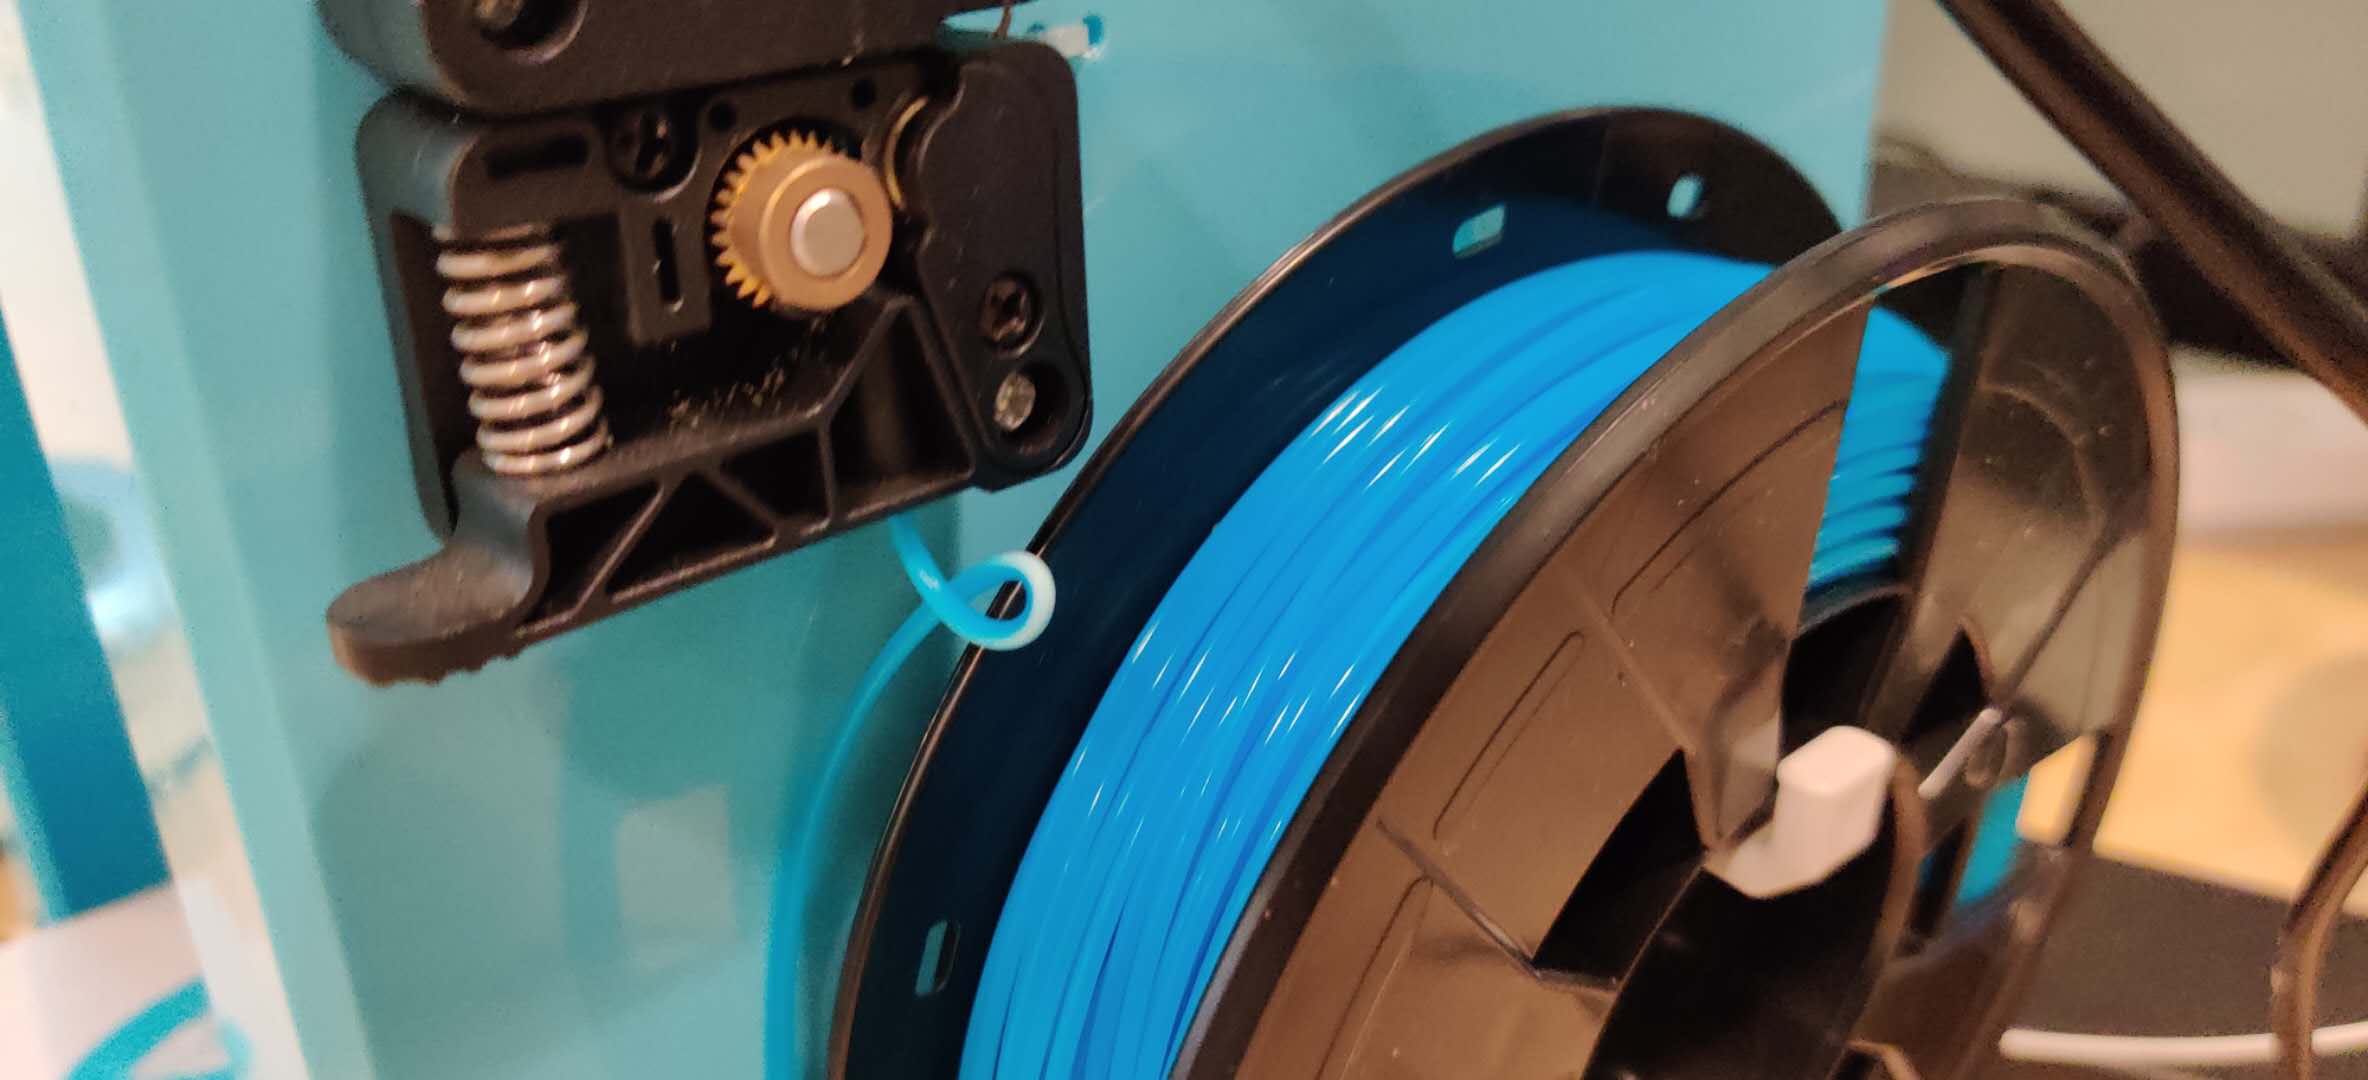
Error! - After a while, I noticed that the printer nozzle was at a higher Z-level than the model, and that no more filament was coming out of the nozzle. I then noticed that at the extruder, the filament was stuck and not coming out of the nozzle, but the movement of the nozzle had continued.

I then re-started the printing process:
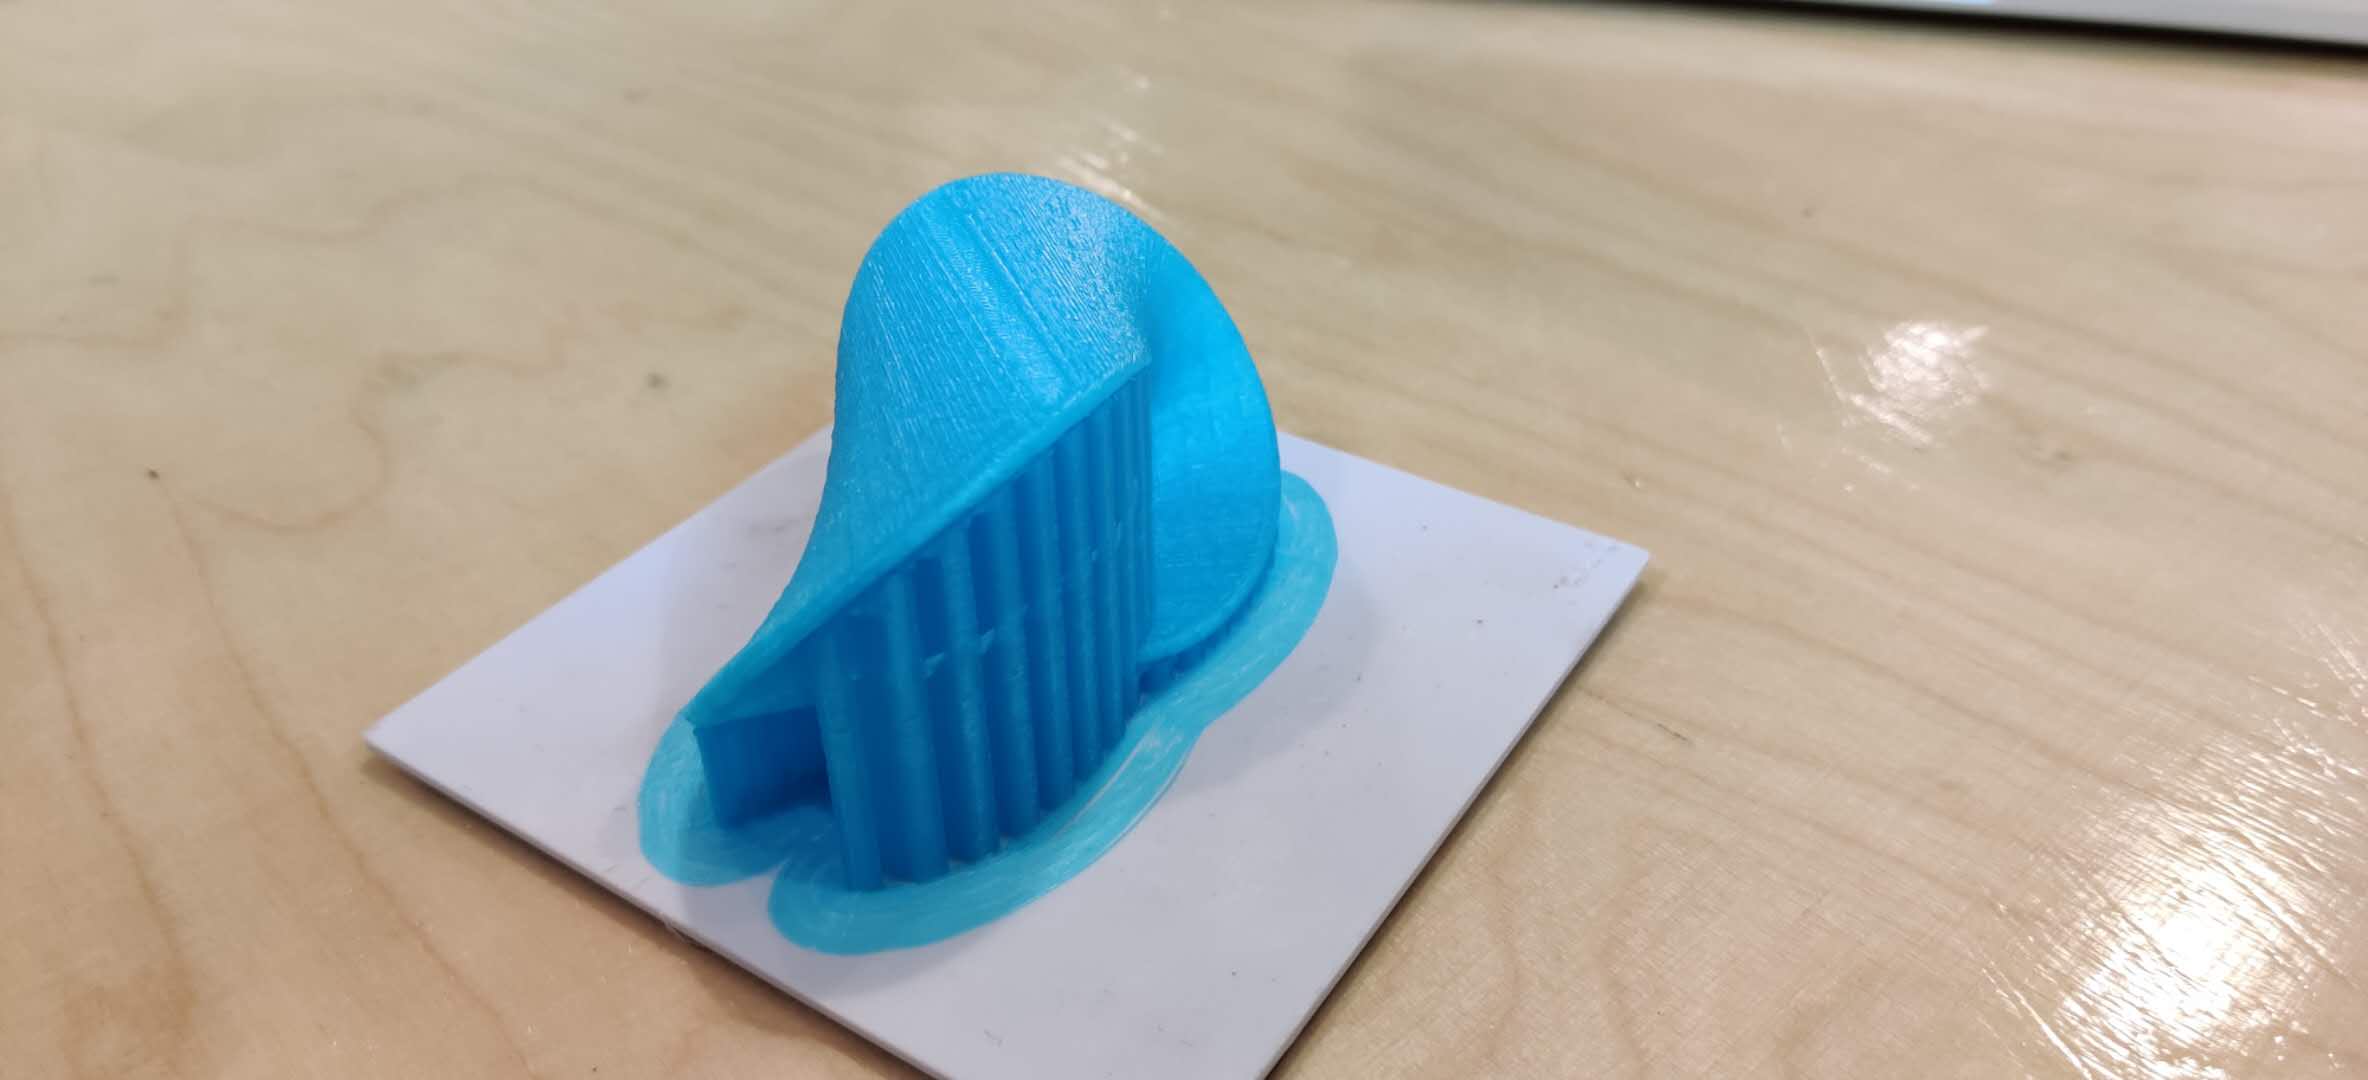
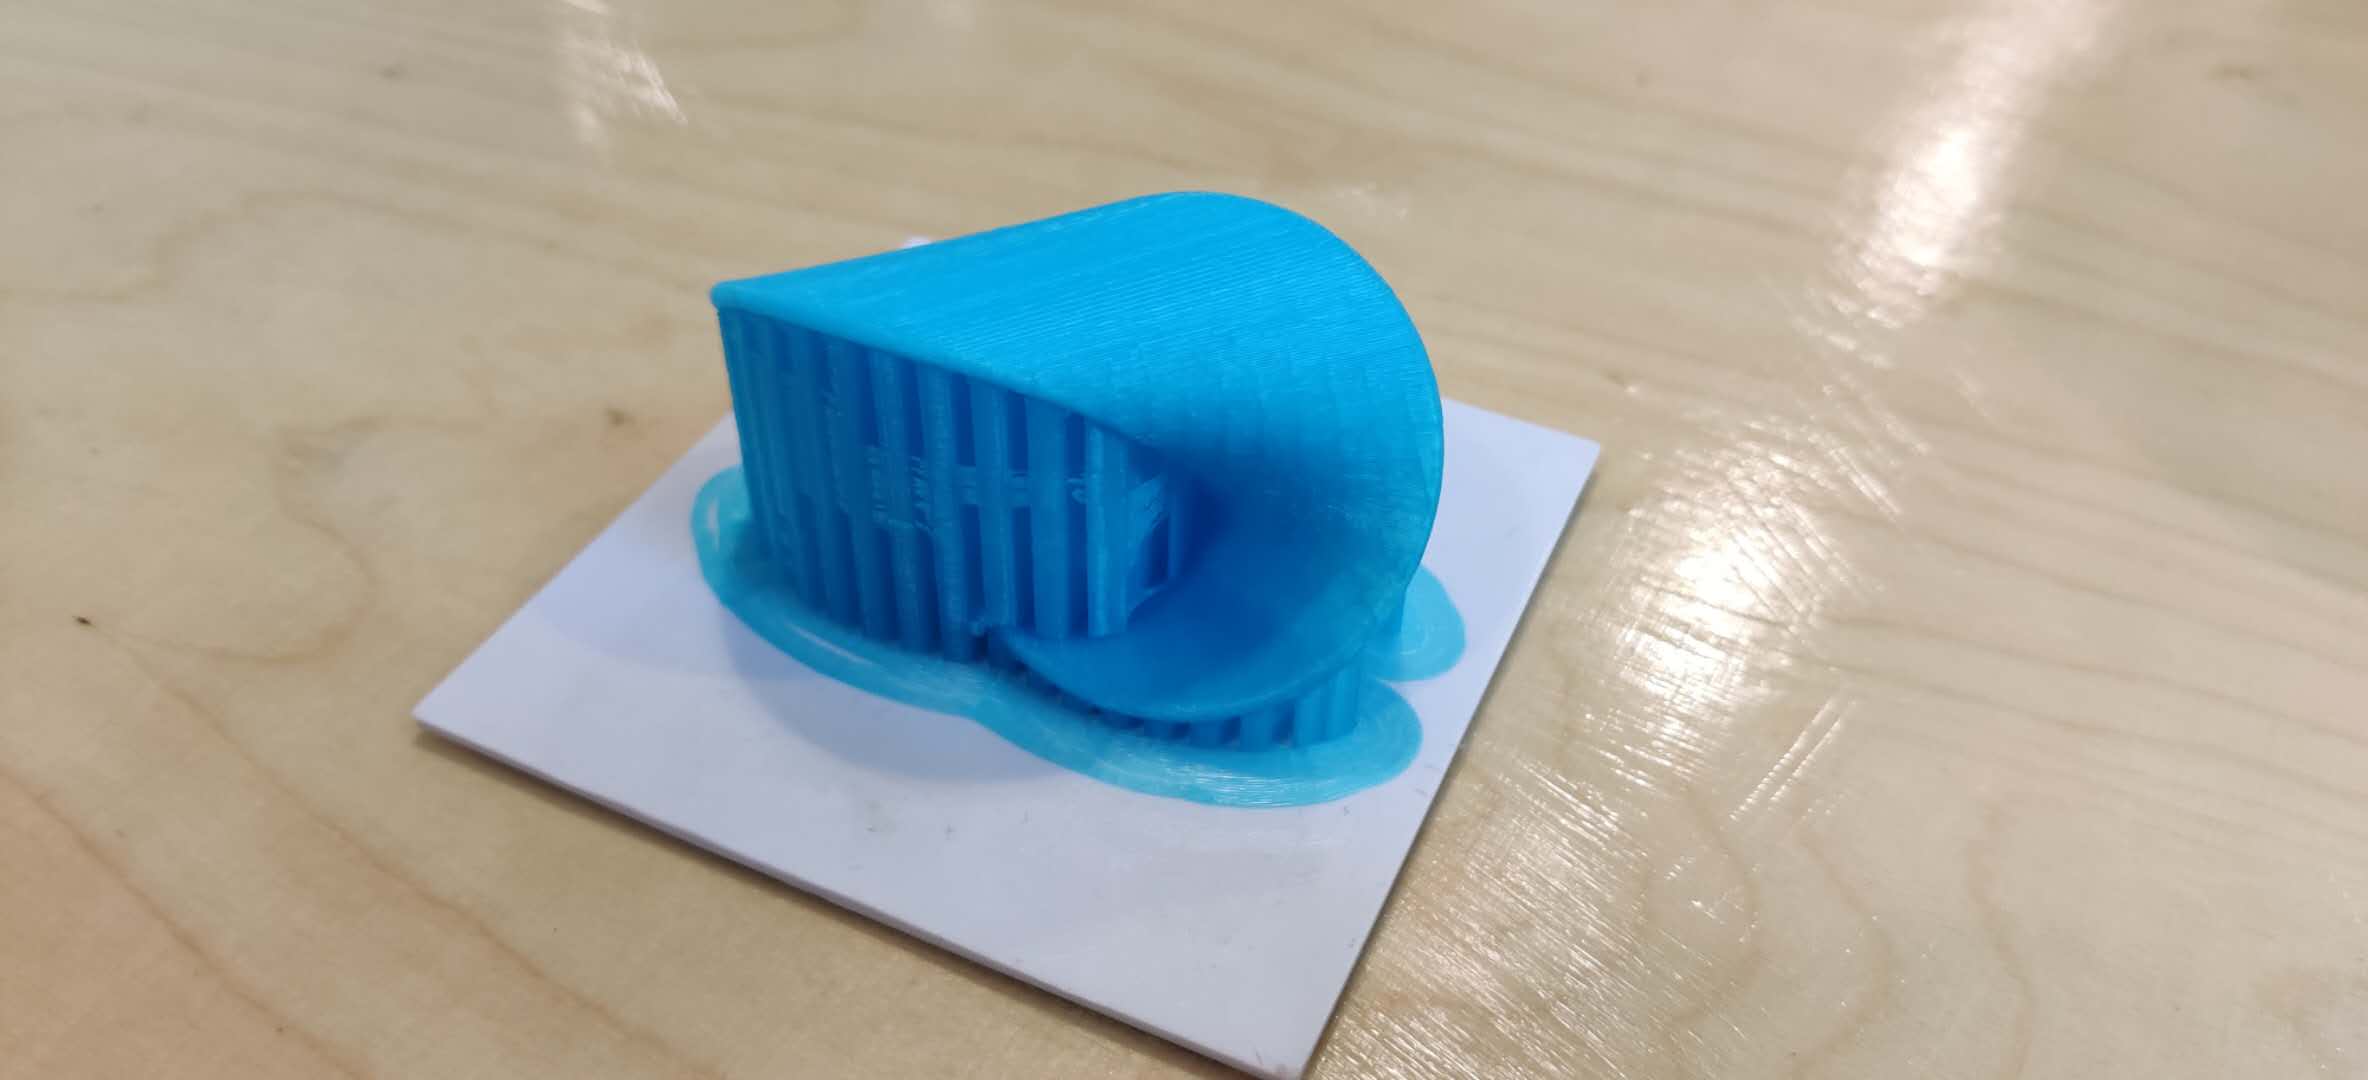
Finally, the support beams were removed using pliers. These were specifically designed to provide support and to be easily removed after printing.
Part 3- 3D Scanning
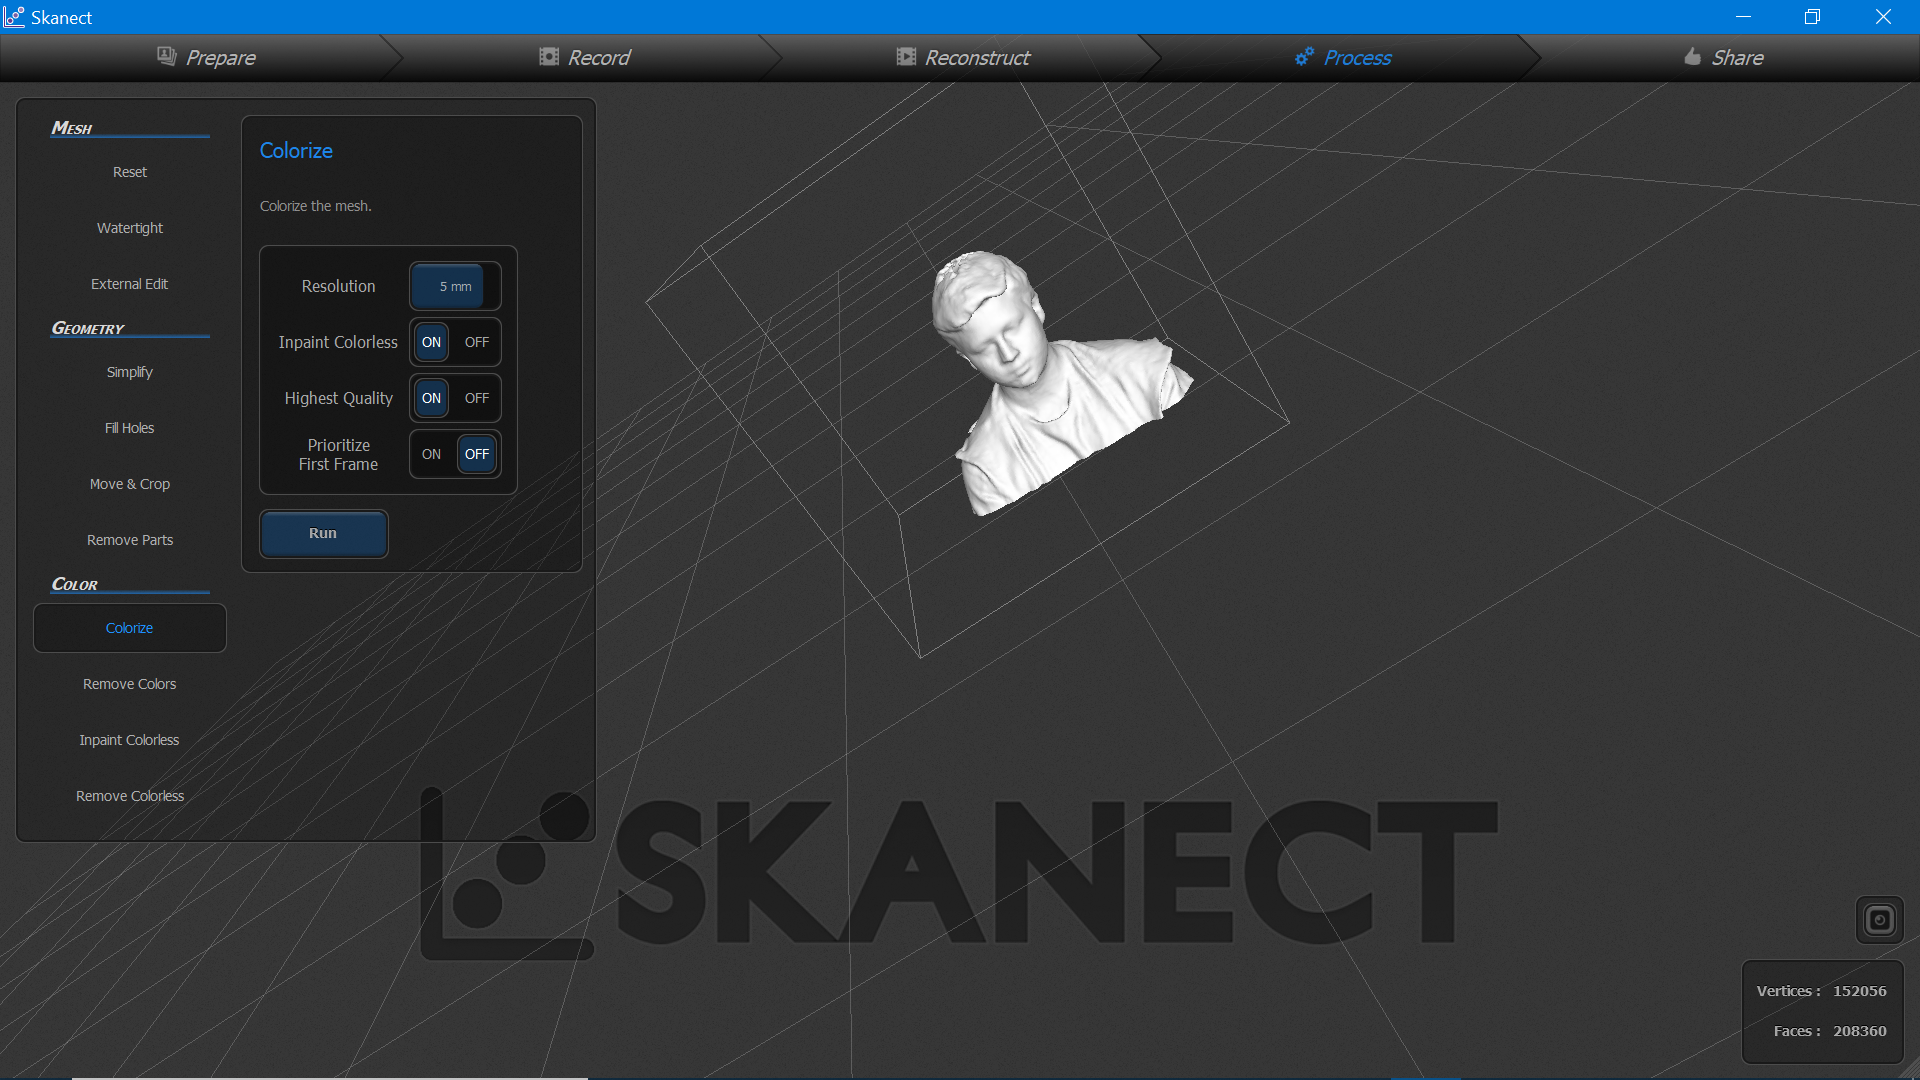
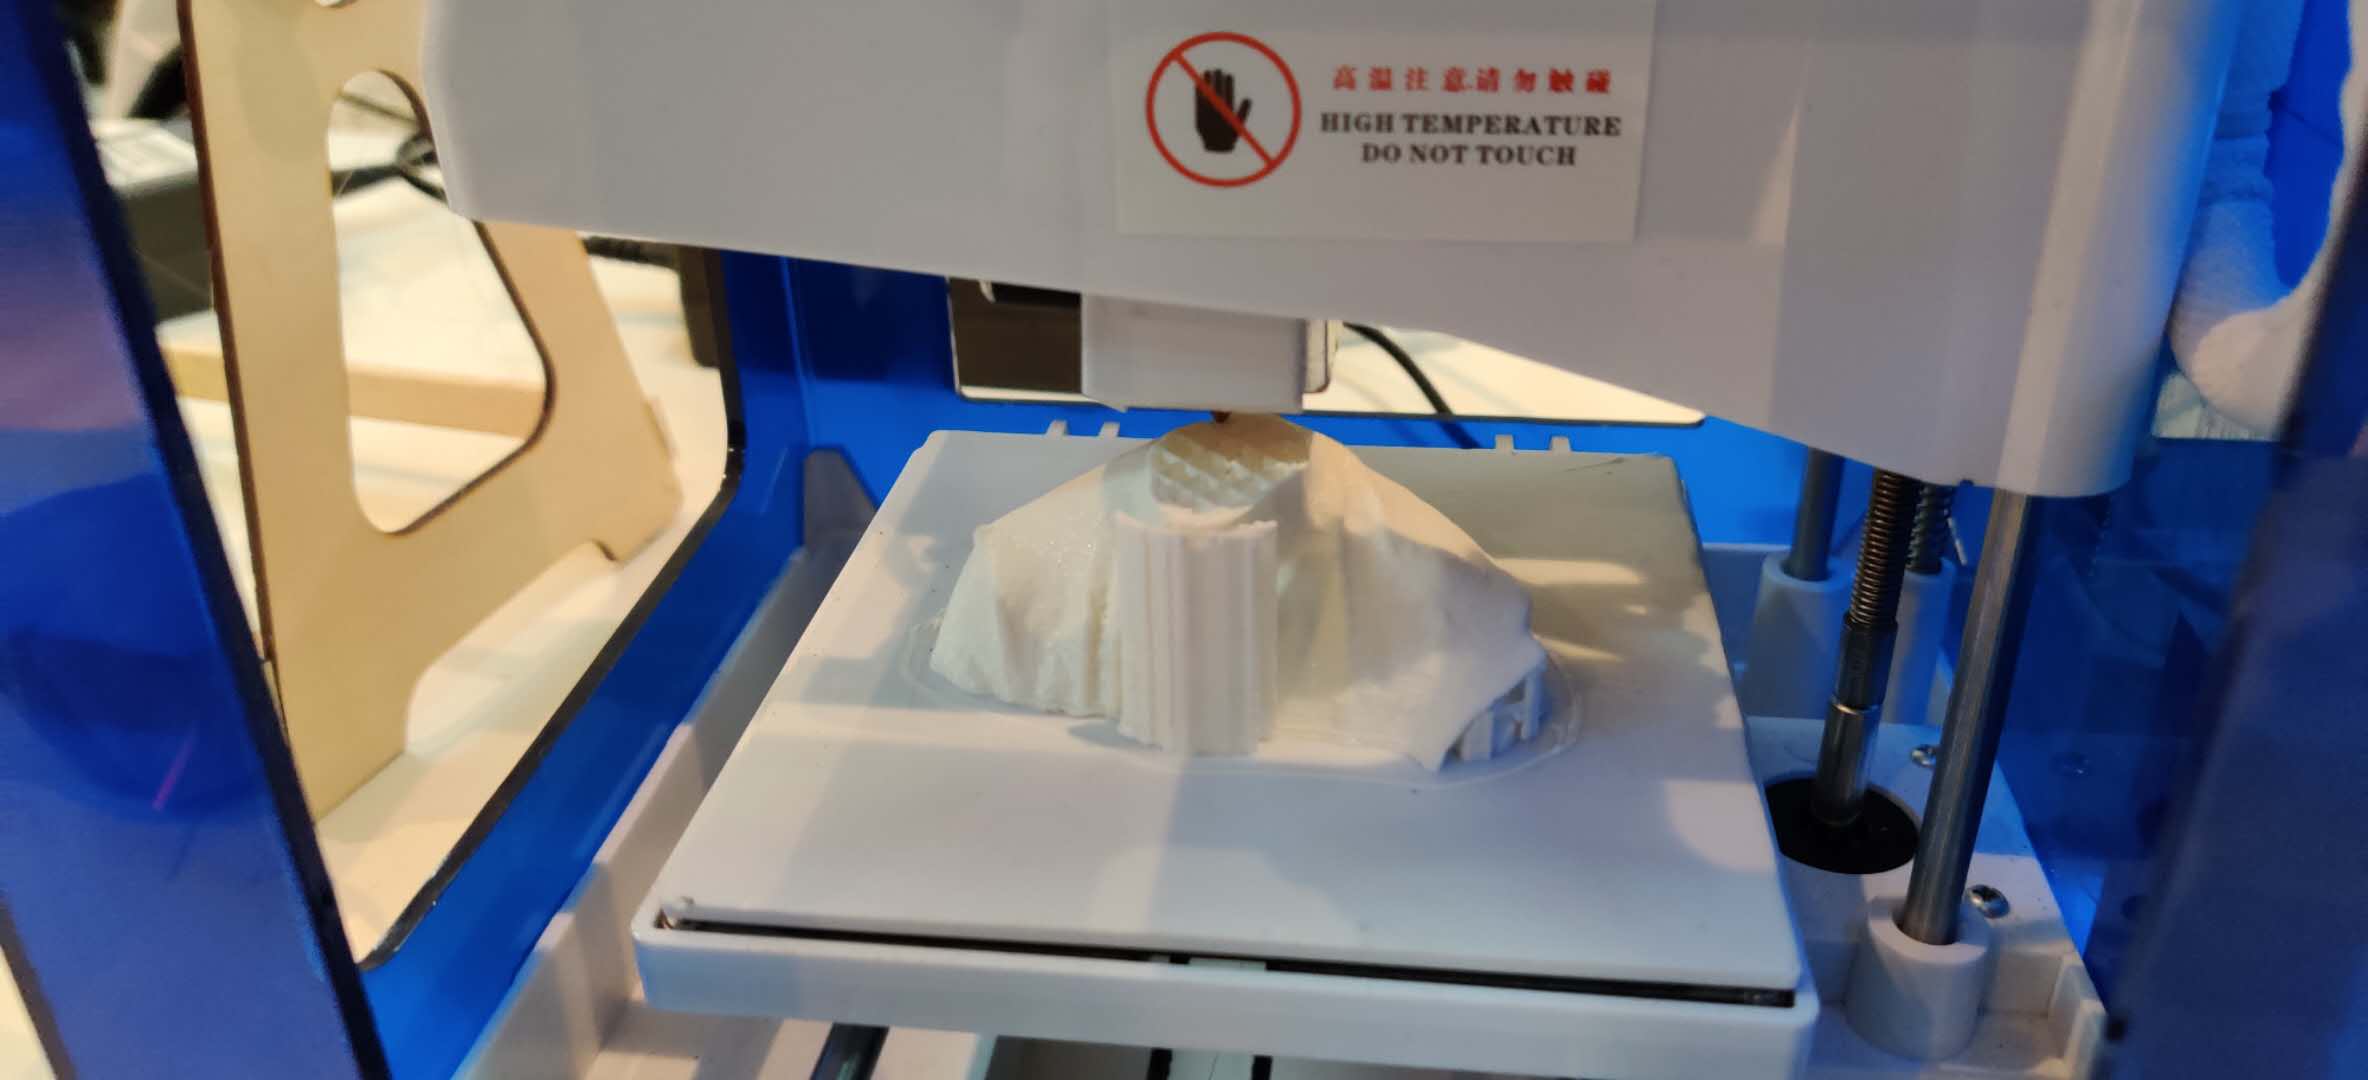
3D Scanning collects data of a real object and translates it into a virtual 3D model. There are different types of 3D scanners, but the one we used is the XBOX KINECT by Microsoft. Alongside this, the Skanect software was used to develop the scanned model.
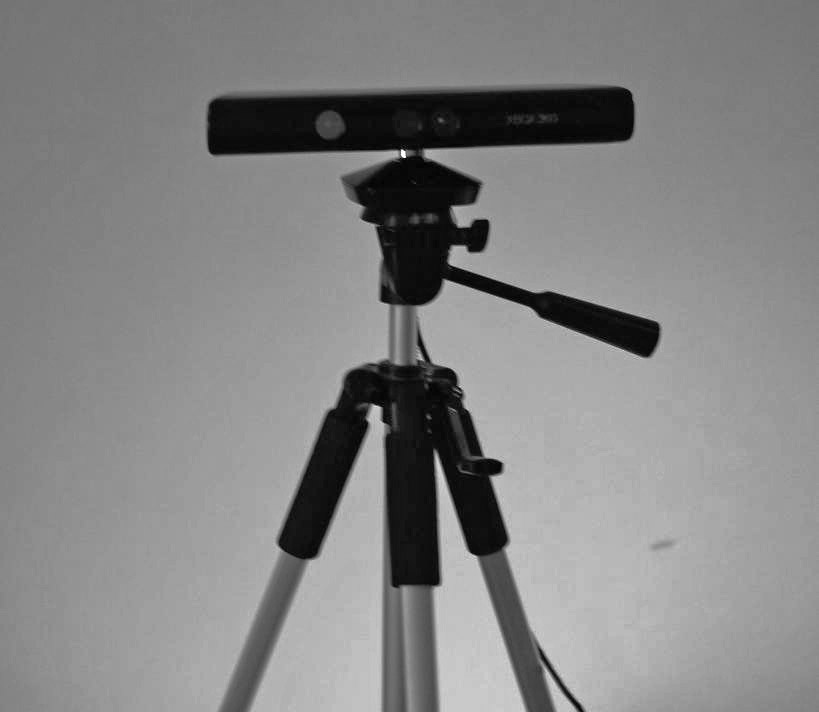
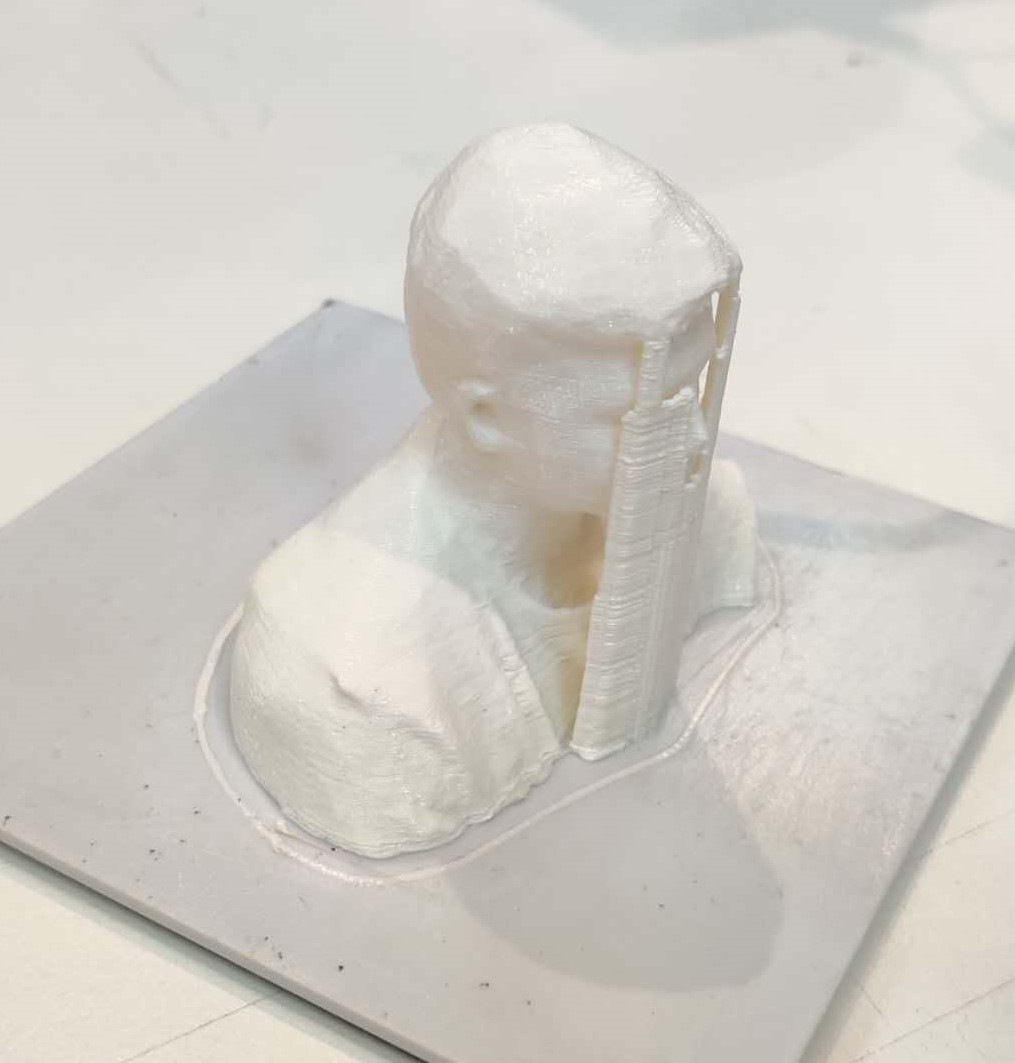
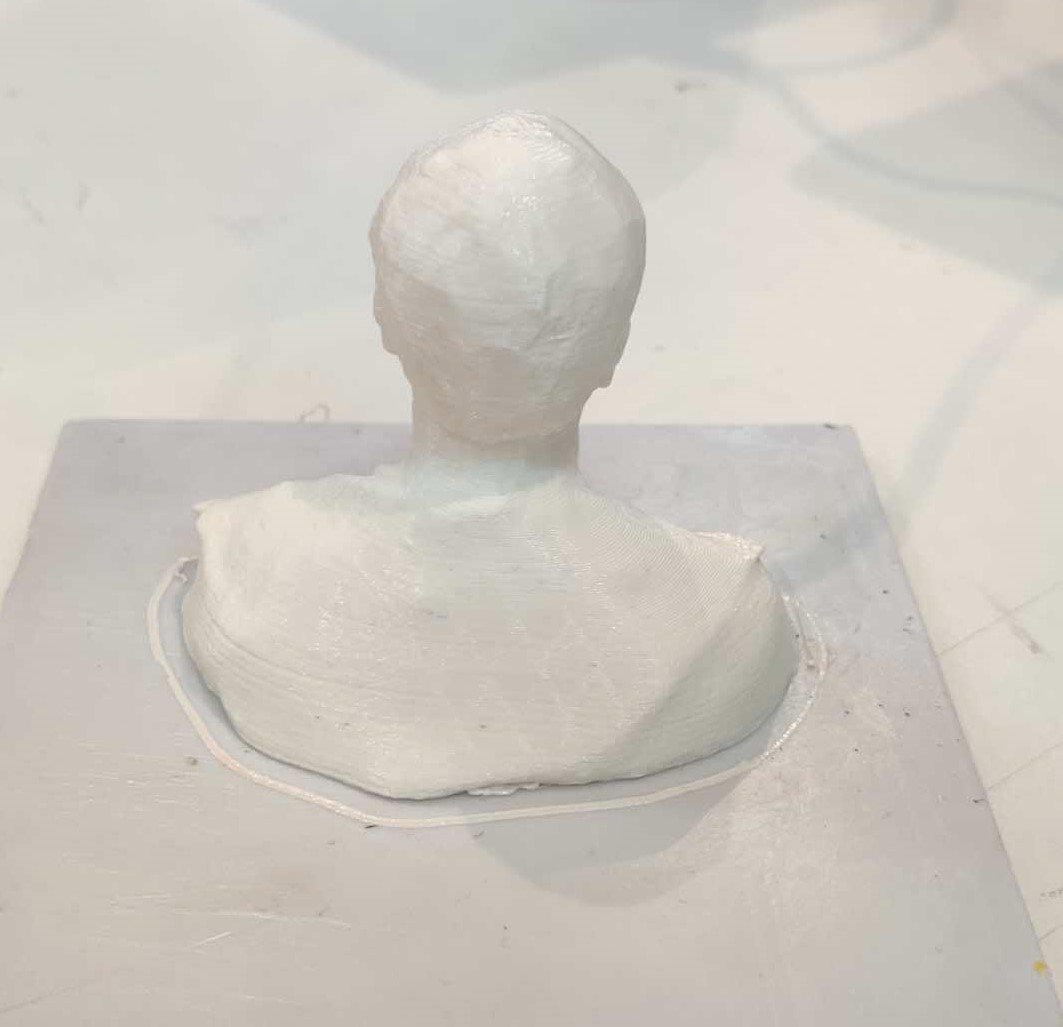
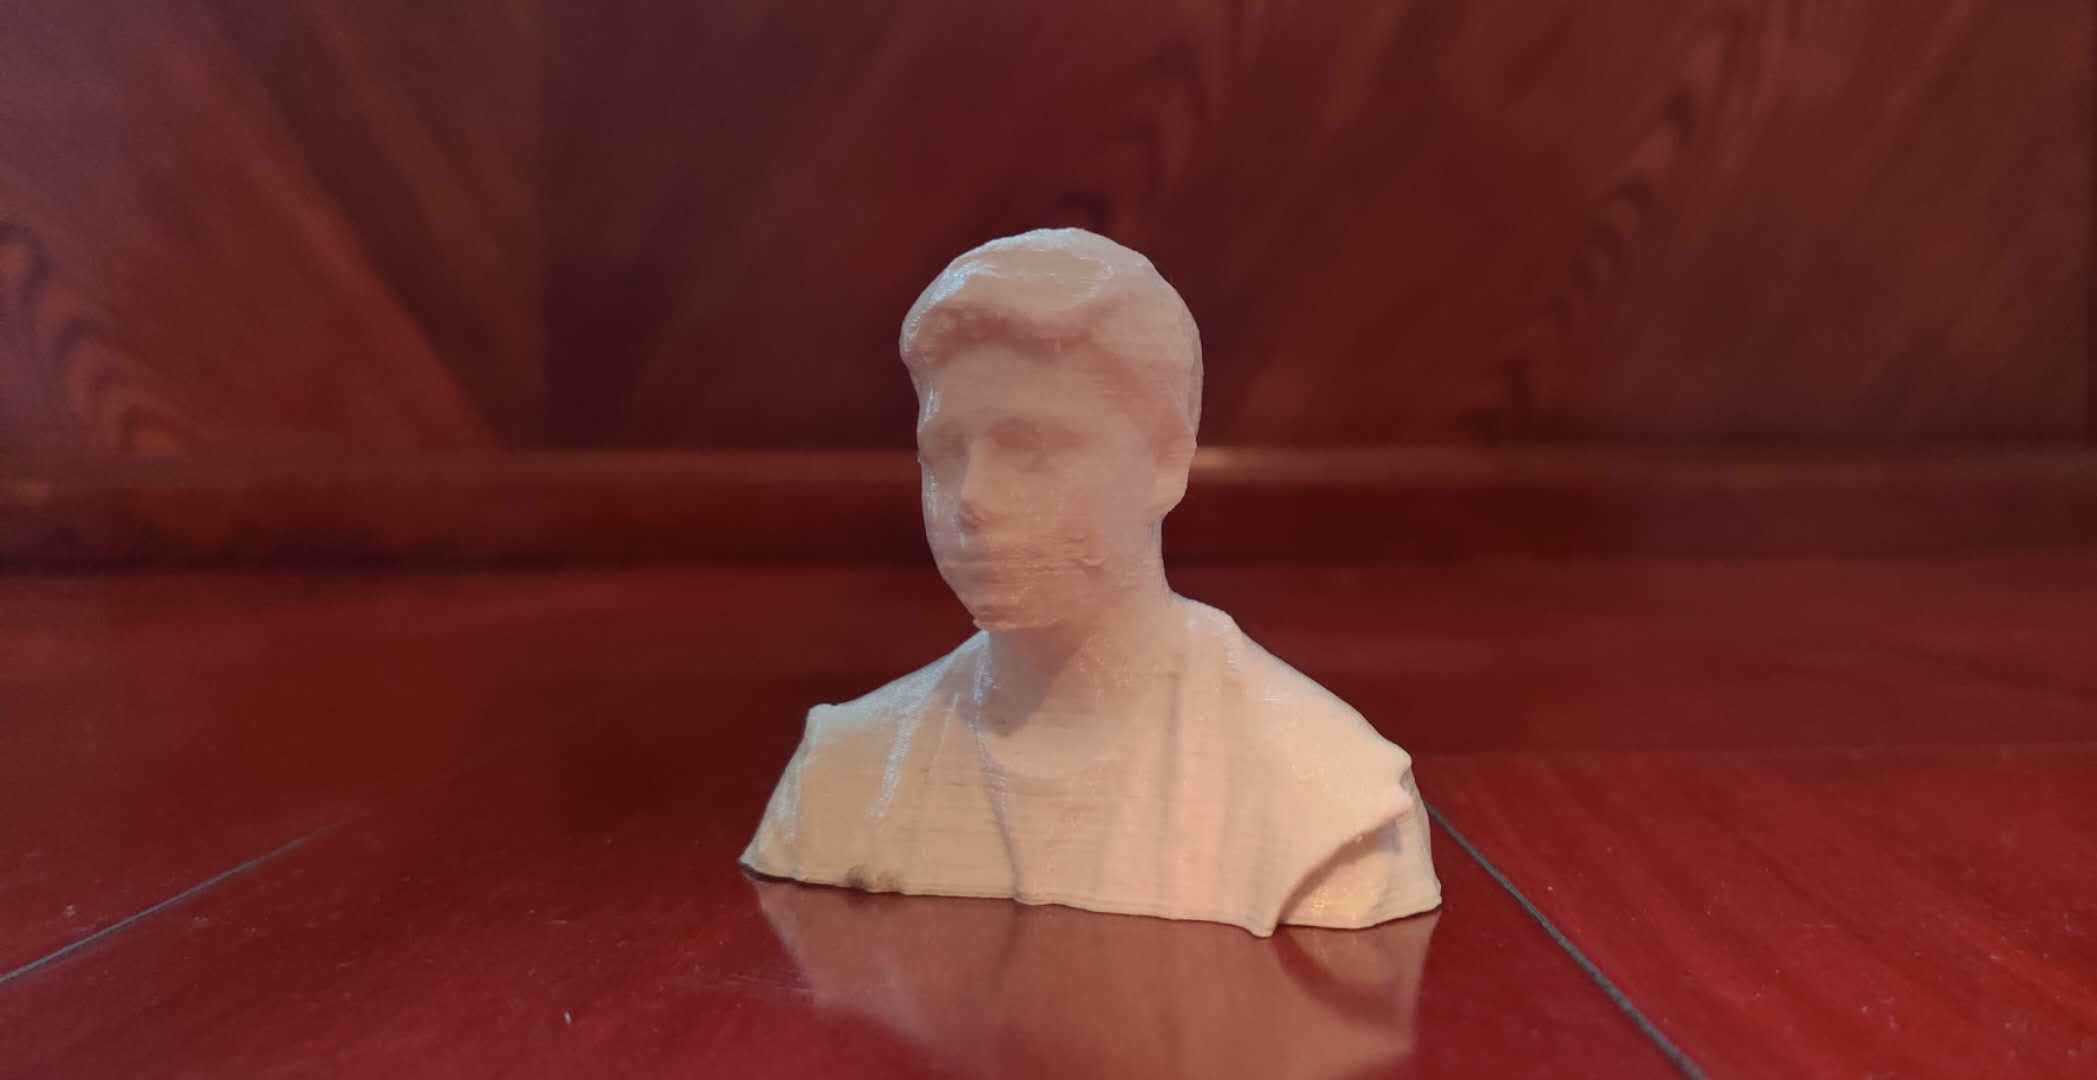
Next, I ensured that the stage was prepared properly, and that the background is clear. Instead of rotating the Kinect scanner, it is better to keep the scanner stable on a tripod, and the object being scanned should rotate. So, I sat on a chair that can rotate, and using my feet, I slowly turned 360 degrees. The scan came out really well. I filled the holes in my model's head and chin, then cropped from my shoulder so that the chair is not part of the model, and the base of the model is flat for printing. I saved this as .STL model. Next, I opened the .STL file in Autodesk Meshmixer, where I used the Inflate, Drag and Flatten brushes to correct the irregularities in the scanned model.
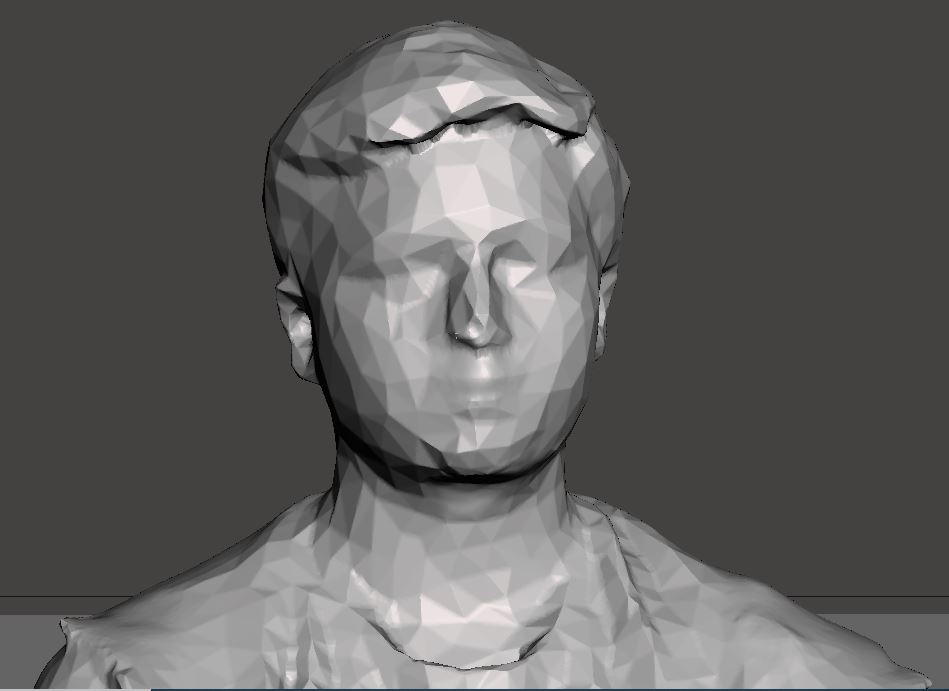
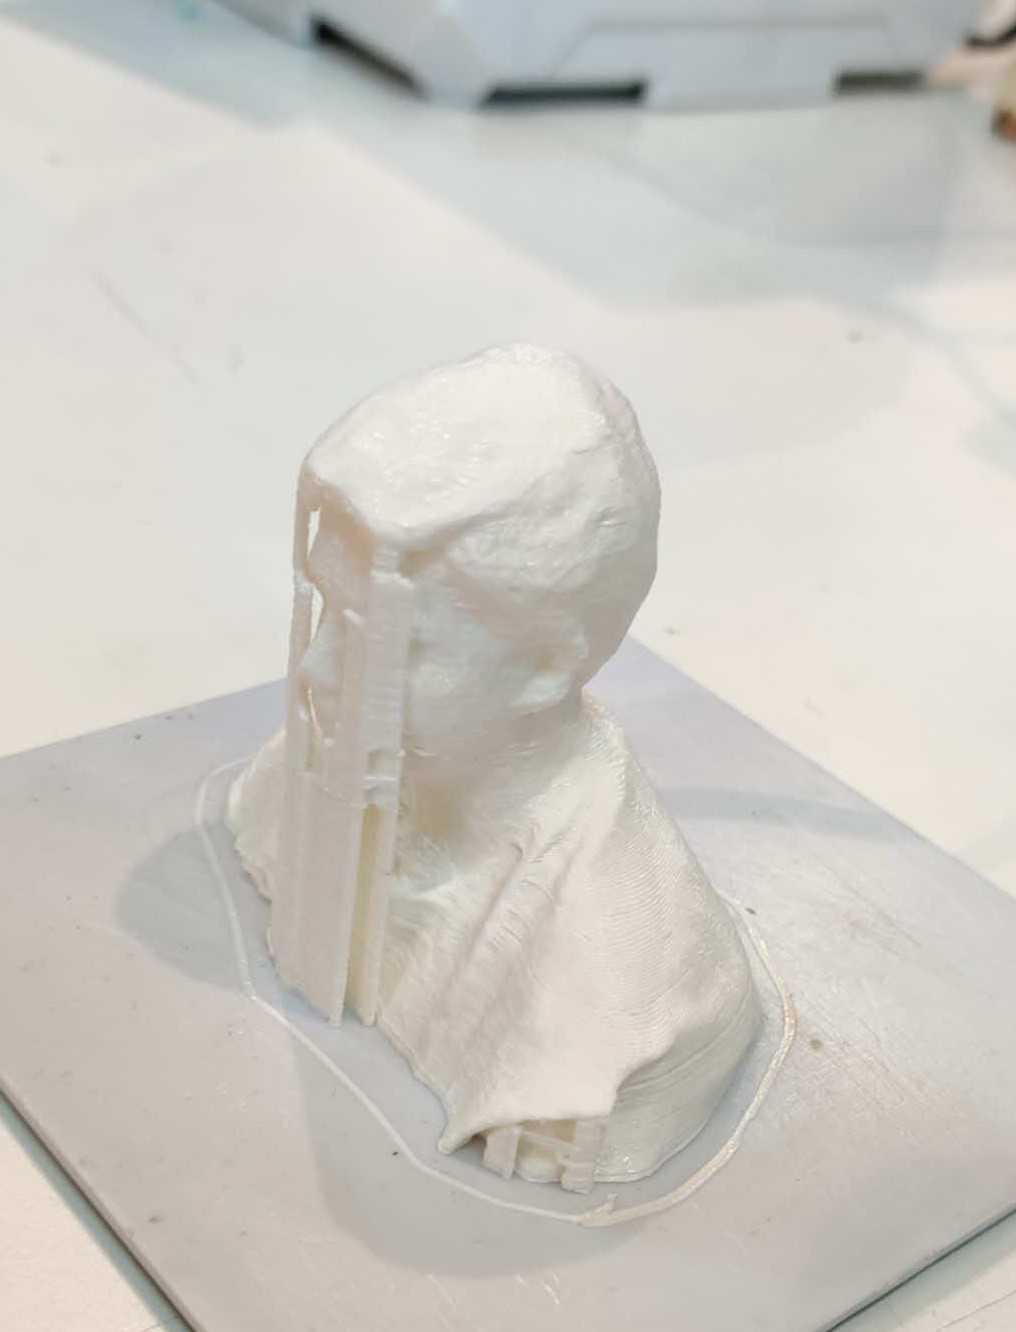
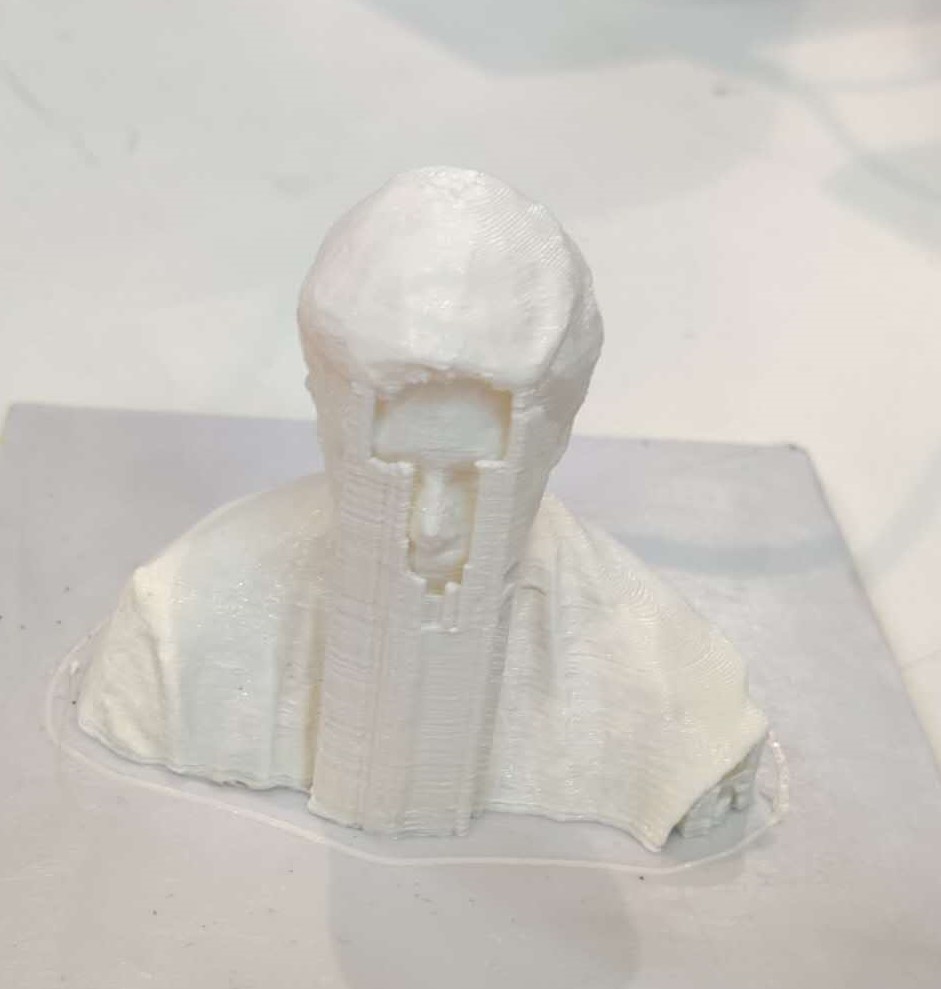
I then opened the model in Slicer, and added support for my model's chin and hair.


Click here to download the Anti-Oloid .STL
Click here to download the Anti-Oloid Fusion 360 File