

Week 4 Computer-Controlled Cutting
Computer-controlled cutting is a subtractive manufacture method, in which the computer controls an effector (a knife, laser, water jet, hot wire, endmill), based on a digital design file.
There are different tools and sofeward we can use for computer-controlled cutting. They are for different materiels.
- Knife
- Laser
- Plasma Plasma cutting is a process that cuts through electrically conductive materials by means of an accelerated jet of hot plasma. Typical materials cut with a plasma torch include steel, stainless steel, aluminum, brass and copper, although other conductive metals may be cut as well.
- Waterjet: s an industrial tool capable of cutting a wide variety of materials using a very high-pressure jet of water, or a mixture of water and an abrasive substance.
- Hot Wire: A hot-wire foam cutter is a tool used to cut polystyrene foam and similar materials. The device consists of a thin, taut metal wire, often made of nichrome or stainless steel, or a thicker wire preformed into a desired shape, which is heated via electrical resistance to approximately 200 °C (390 °F).
- Wire EDM: also known as spark machining, spark eroding, die sinking, wire burning or wire erosion, is a metal fabrication process whereby a desired shape is obtained by using electrical discharges (sparks).[1] Material is removed from the work piece by a series of rapidly recurring current discharges between two electrodes, separated by a dielectric liquid and subject to an electric voltage.
Weekly Assignment
- Group assignment:characterize your lasercutter's focus, power, speed, rate, kerf, and joint clearance
- Individual assignment:Cut something on the vinylcutter;design, lasercut, and document a parametric construction kit, accounting for the lasercutter kerf, which can be assembled in multiple ways,and for extra credit include elements that aren't flat.
1. Characterize Laser
Pancheng in our group document the group assignment. But when I try to use laser cut in Tongji Fablab, there is a new laser cutter. So I test it again and document the process below:
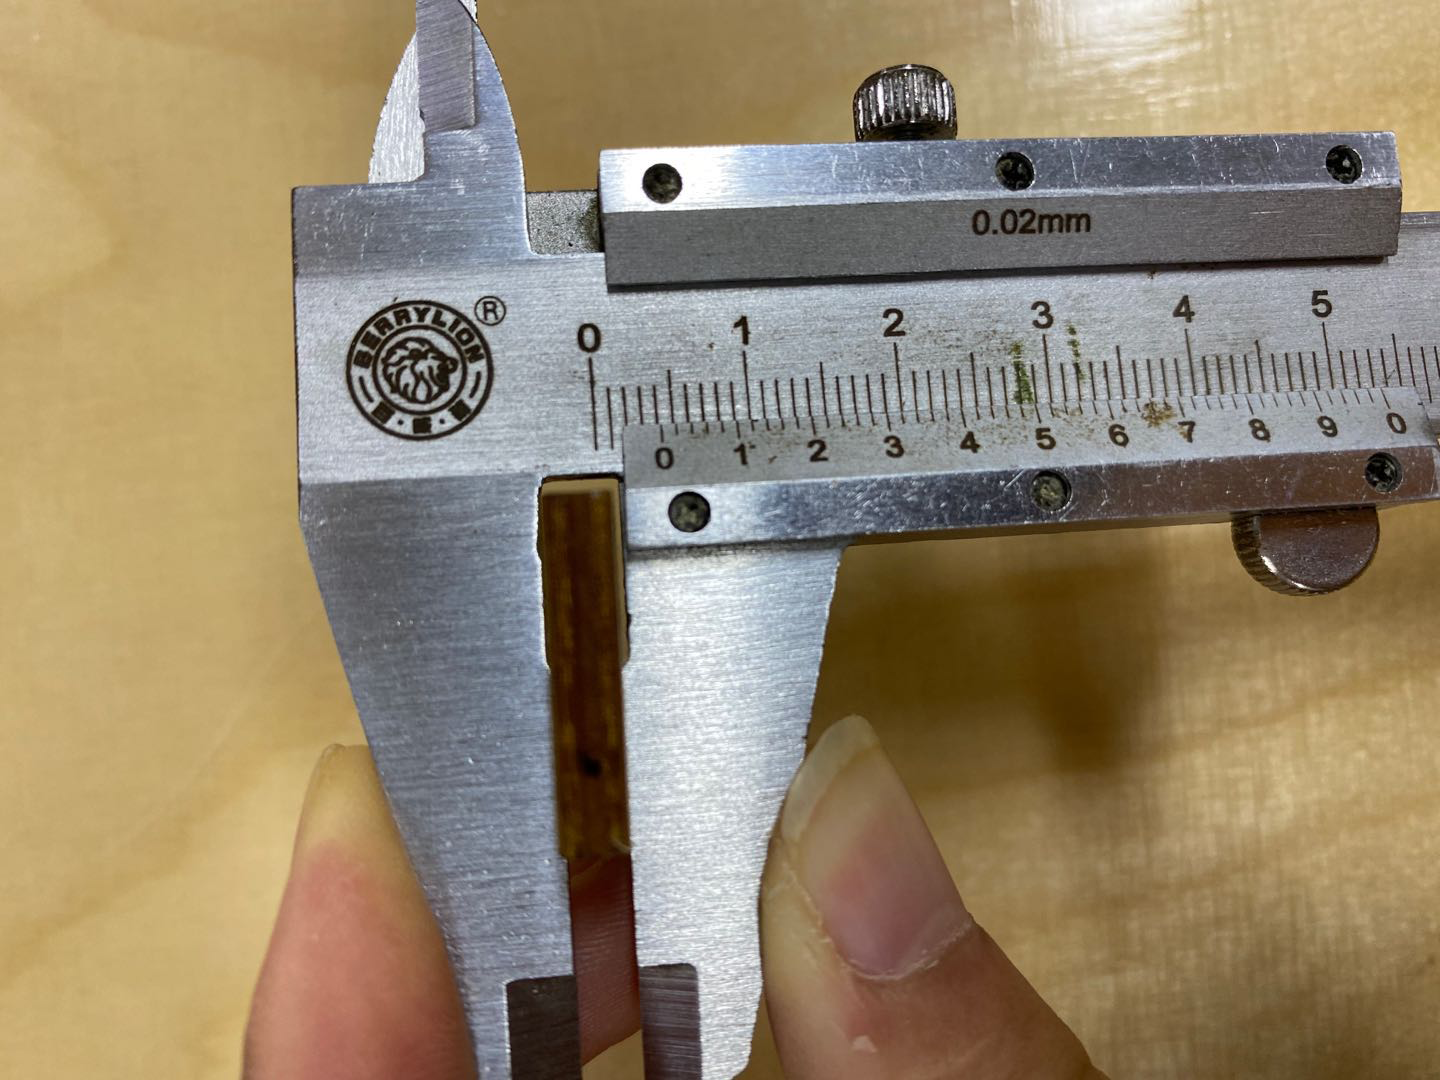
- Material: I am using 4mm plywood for this week’s test. First we use calipers to check the thickness.
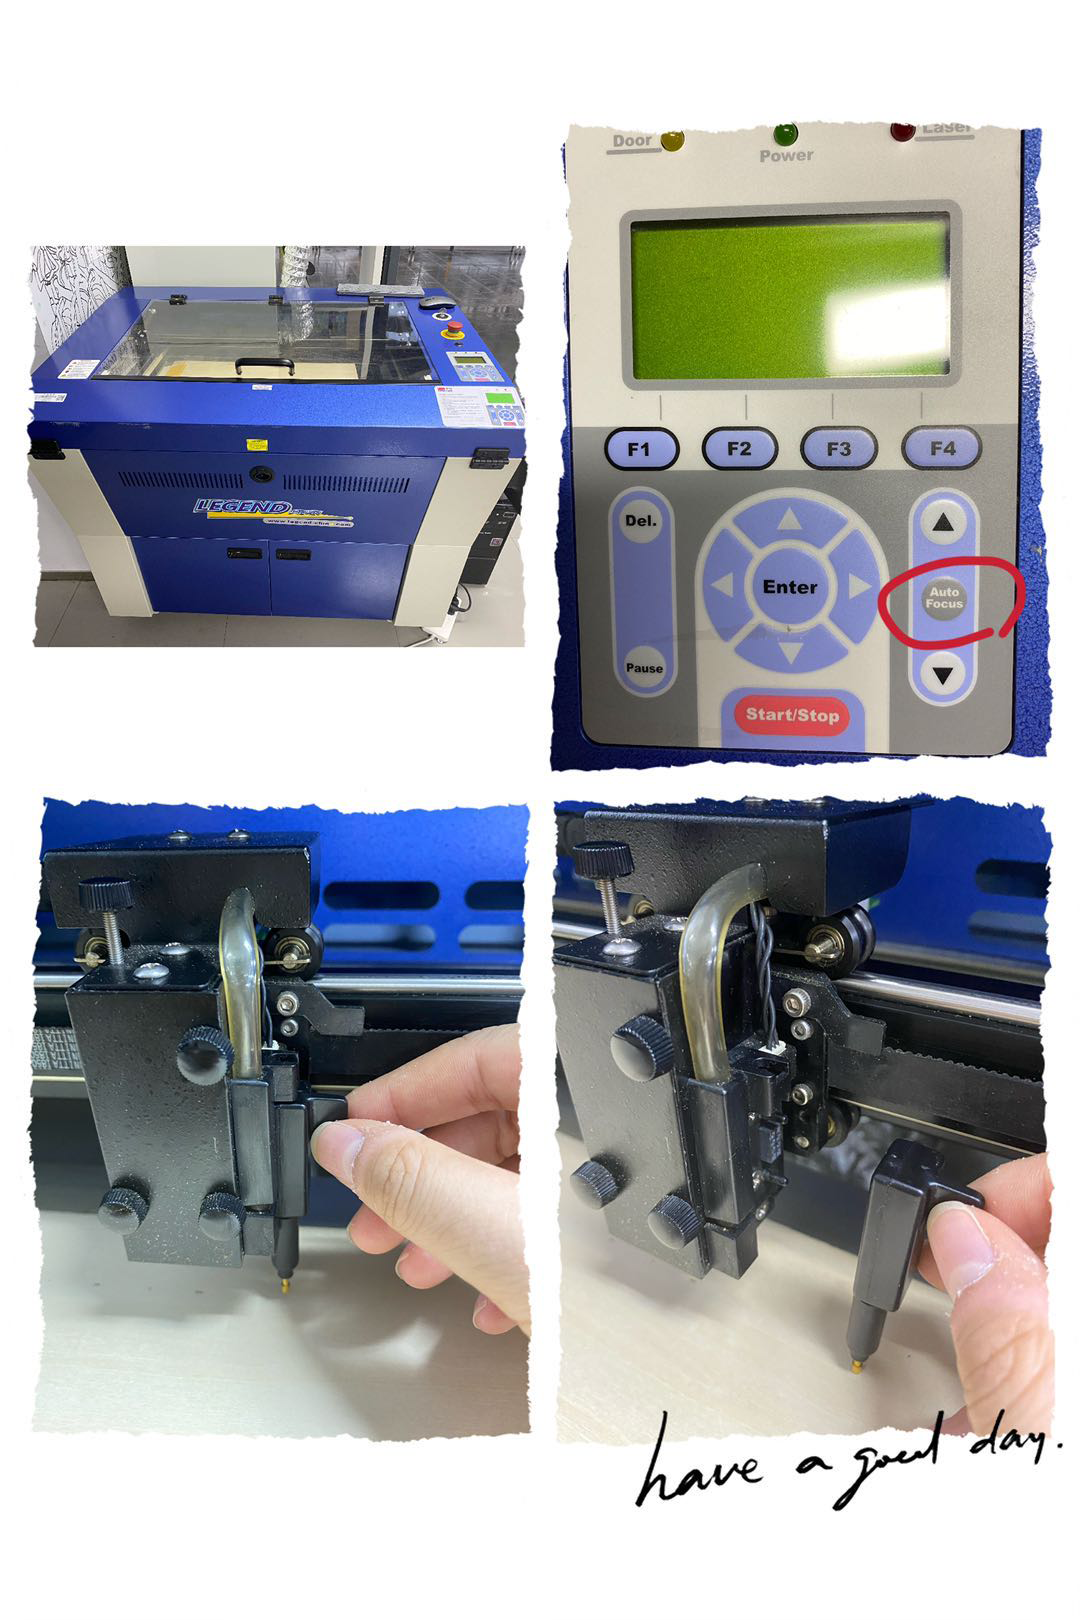
- Focus: Put the ruler on laser head, and press the auto fucus button, the platform for materirel will goes up and down to right Z point.
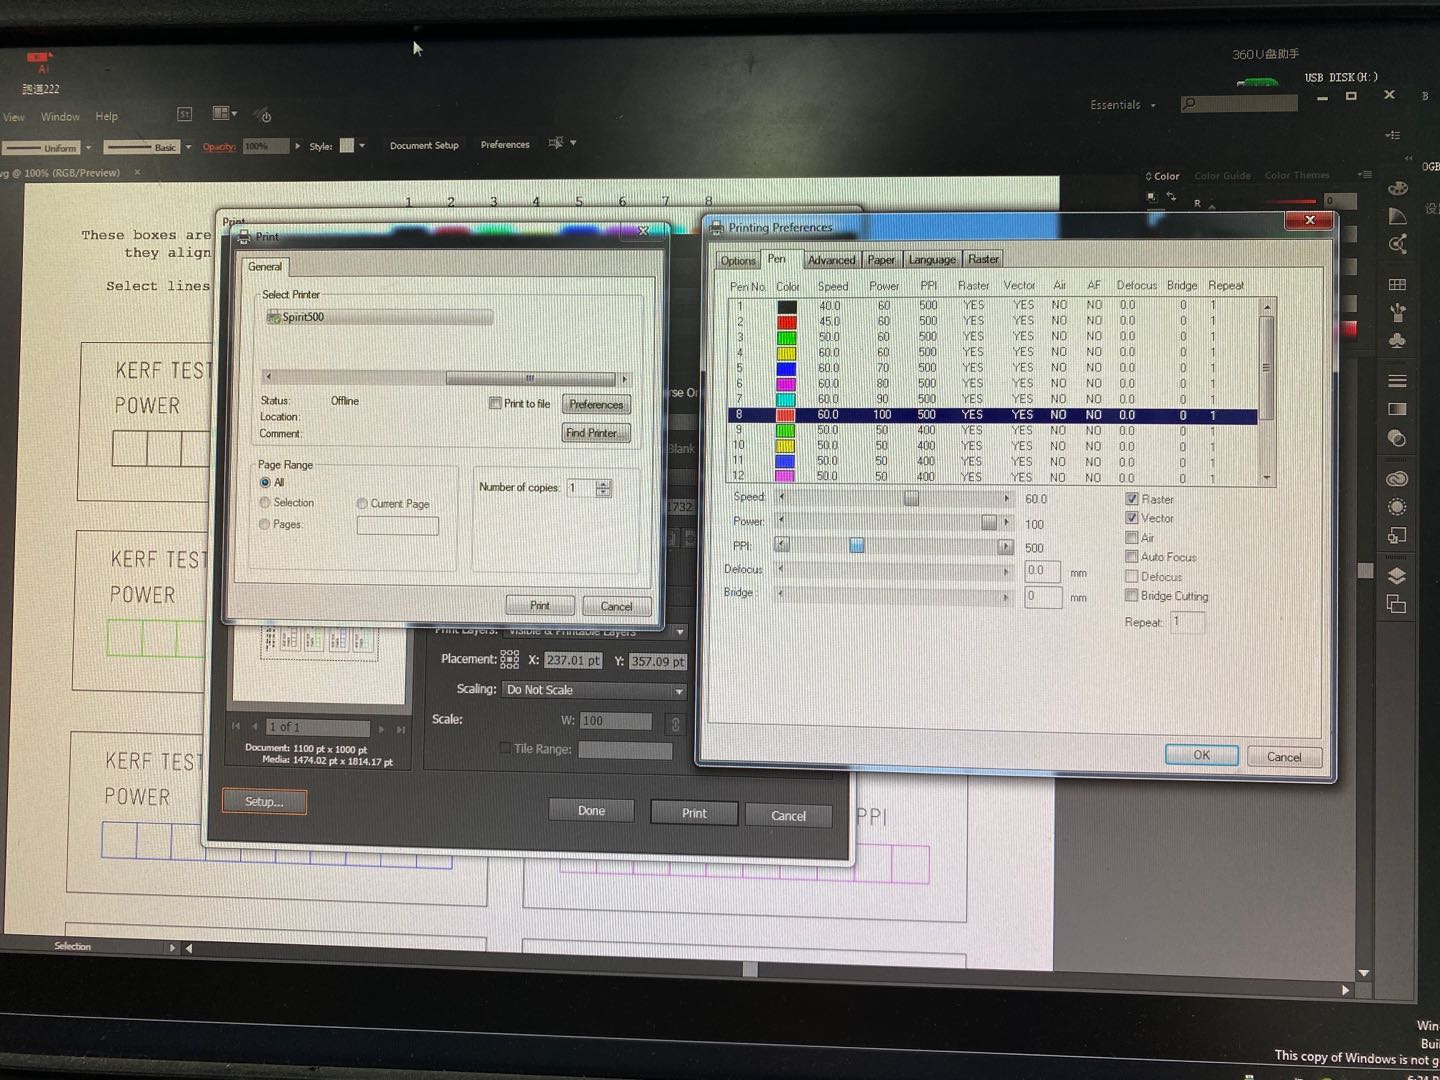
- Software and driver: I use Illustrator to print for this lasercutter. I can draw on Illustrator in different colors and set different power and speed for each color.When I make a new artboard ,I need to make sure use colors (RGB mode) to differentiate the tasks and settings.Here are the setting inerferface.
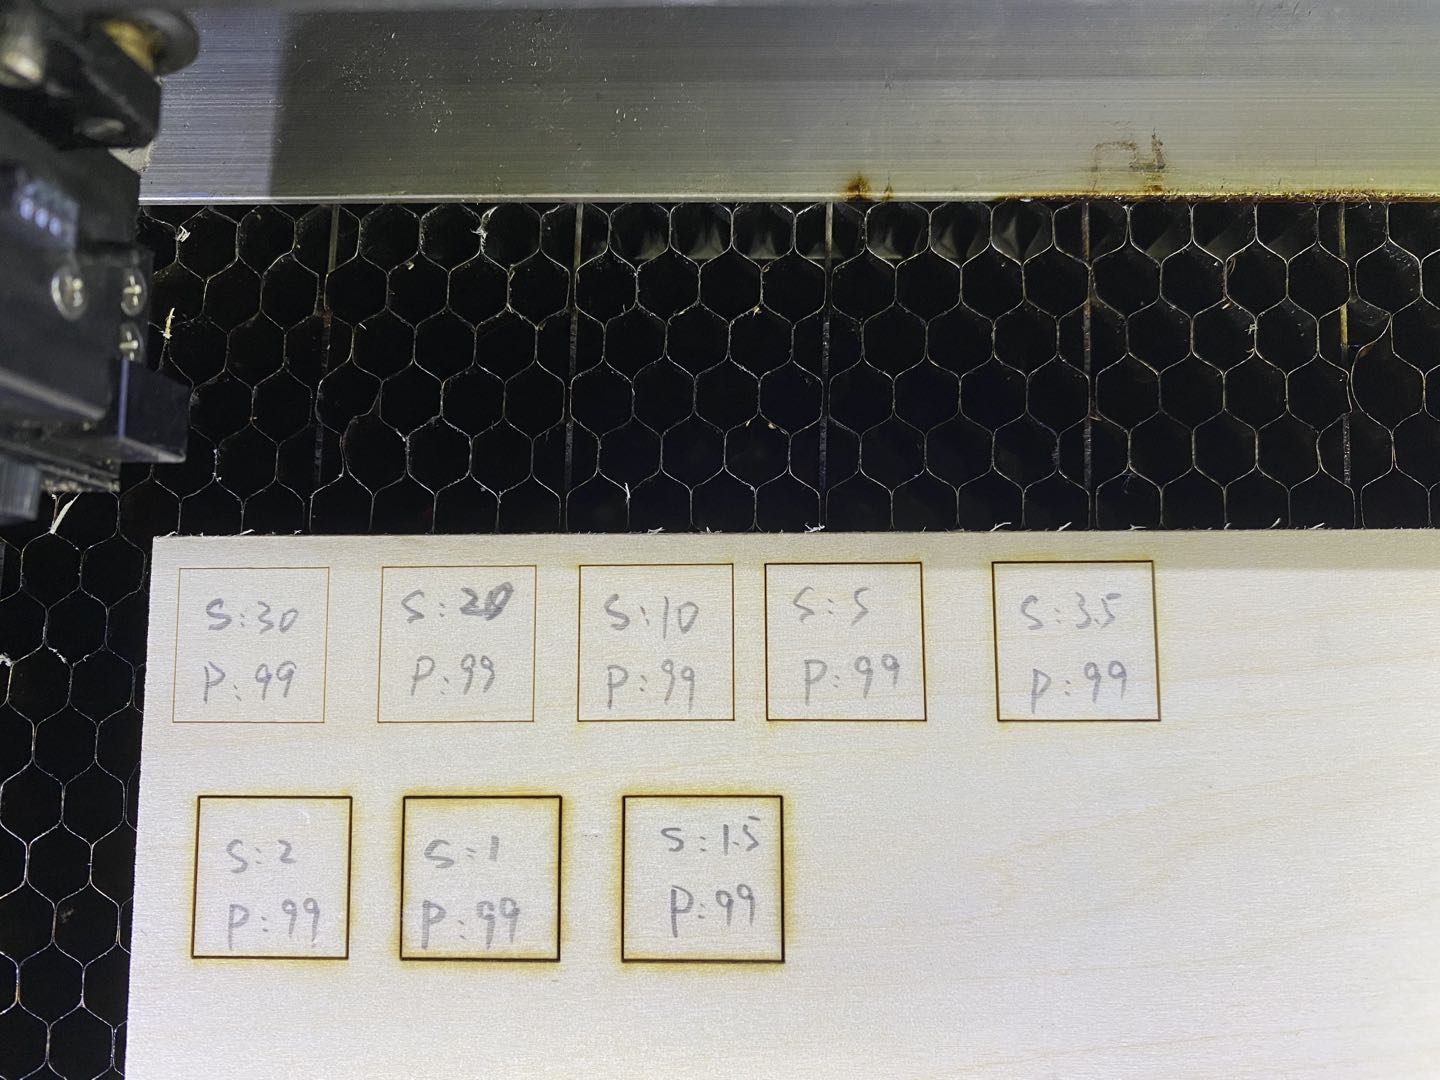
- Power and speed test: I draw a small square on Illustrator(stroke:0.05pt), set different power and speed to test which one is the best.

Power Test
| Power | Speed | PPI | Test |
|---|---|---|---|
| 99 | 30 | 400 | Engrave |
| 99 | 20 | 400 | Engrave |
| 99 | 10 | 400 | Engrave |
| 99 | 5 | 400 | Engrave |
| 99 | 3.5 | 400 | Engrave |
| 99 | 2 | 400 | Engrave |
| 99 | 1.5 | 400 | Mostly Cut |
| 99 | 1 | 400 | Cut Well |
Speed Test
| Power | Speed | PPI | Test |
|---|---|---|---|
| 80 | 1 | 400 | Well Cut |
| 70 | 1 | 400 | Well Cut |
| 60 | 1 | 400 | Well Cut |
| 50 | 1 | 400 | Mostly Cut |
| 40 | 1 | 400 | Engrave |
| 55 | 1 | 400 | Well Cut |
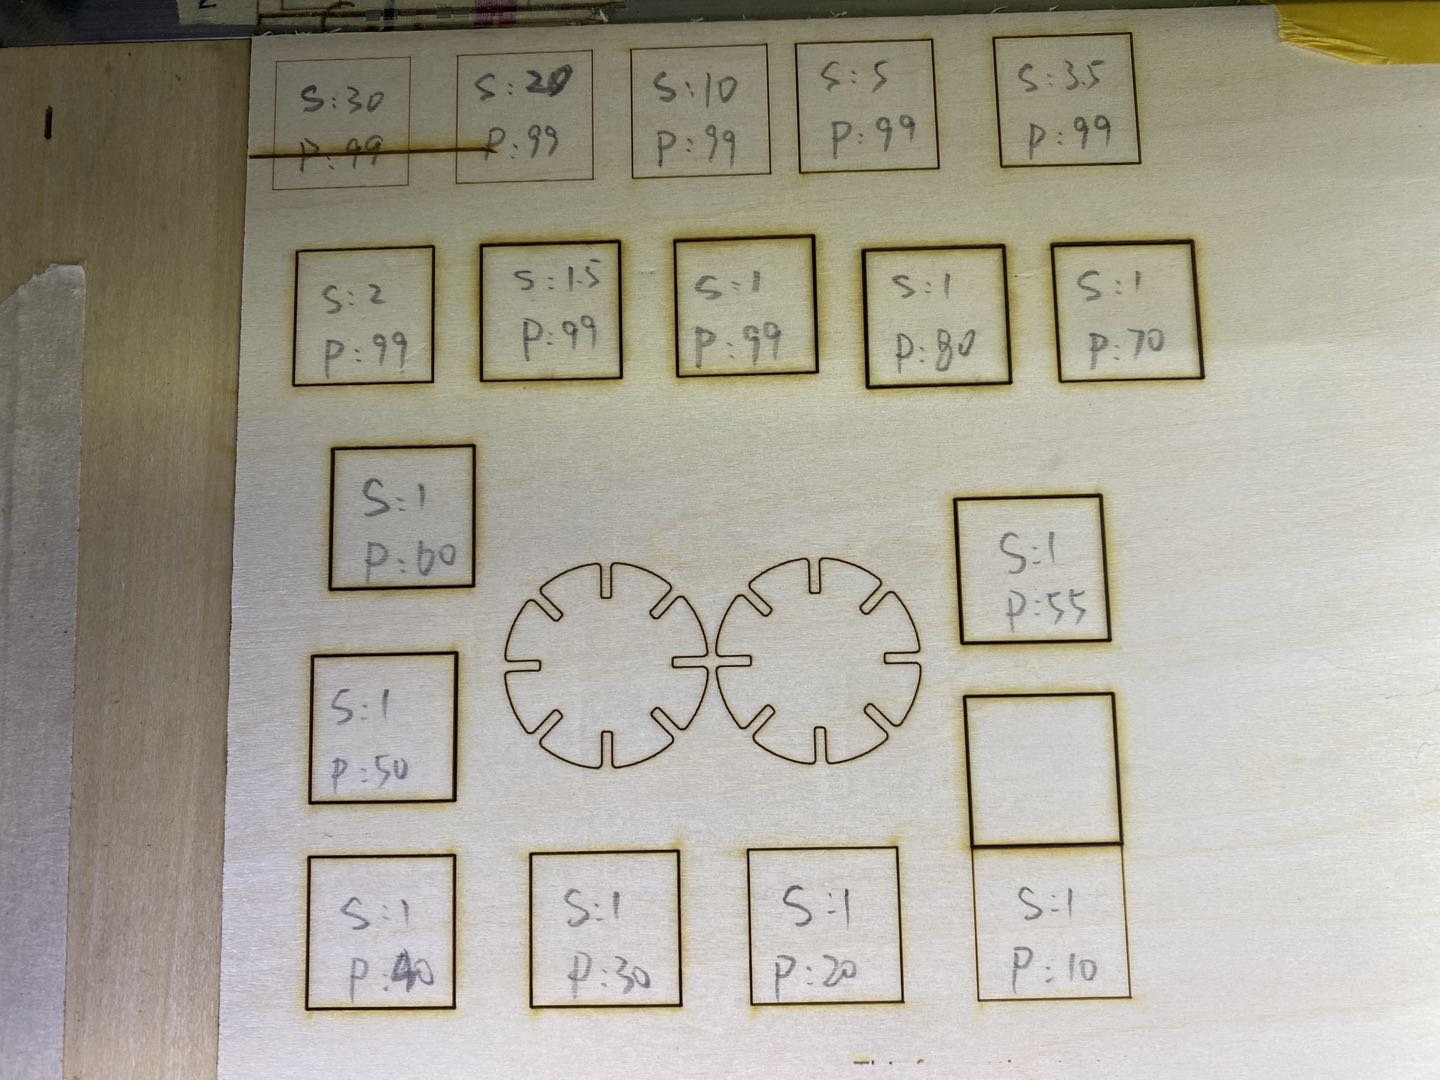
According to those test, I found the best power for 4mm plywood is 55,best speed is 1. However, it doesn't work all the time, for example ,when the plywood is not perfect flat,even I put tape on it to make it flat , best seting will not work , it didn't cut through.
Then I cut a text board to test engraving, through cut sizes, straight line flex cut and parabolic flex cut. I download "Test Fils For Laser" from thingsgiver.
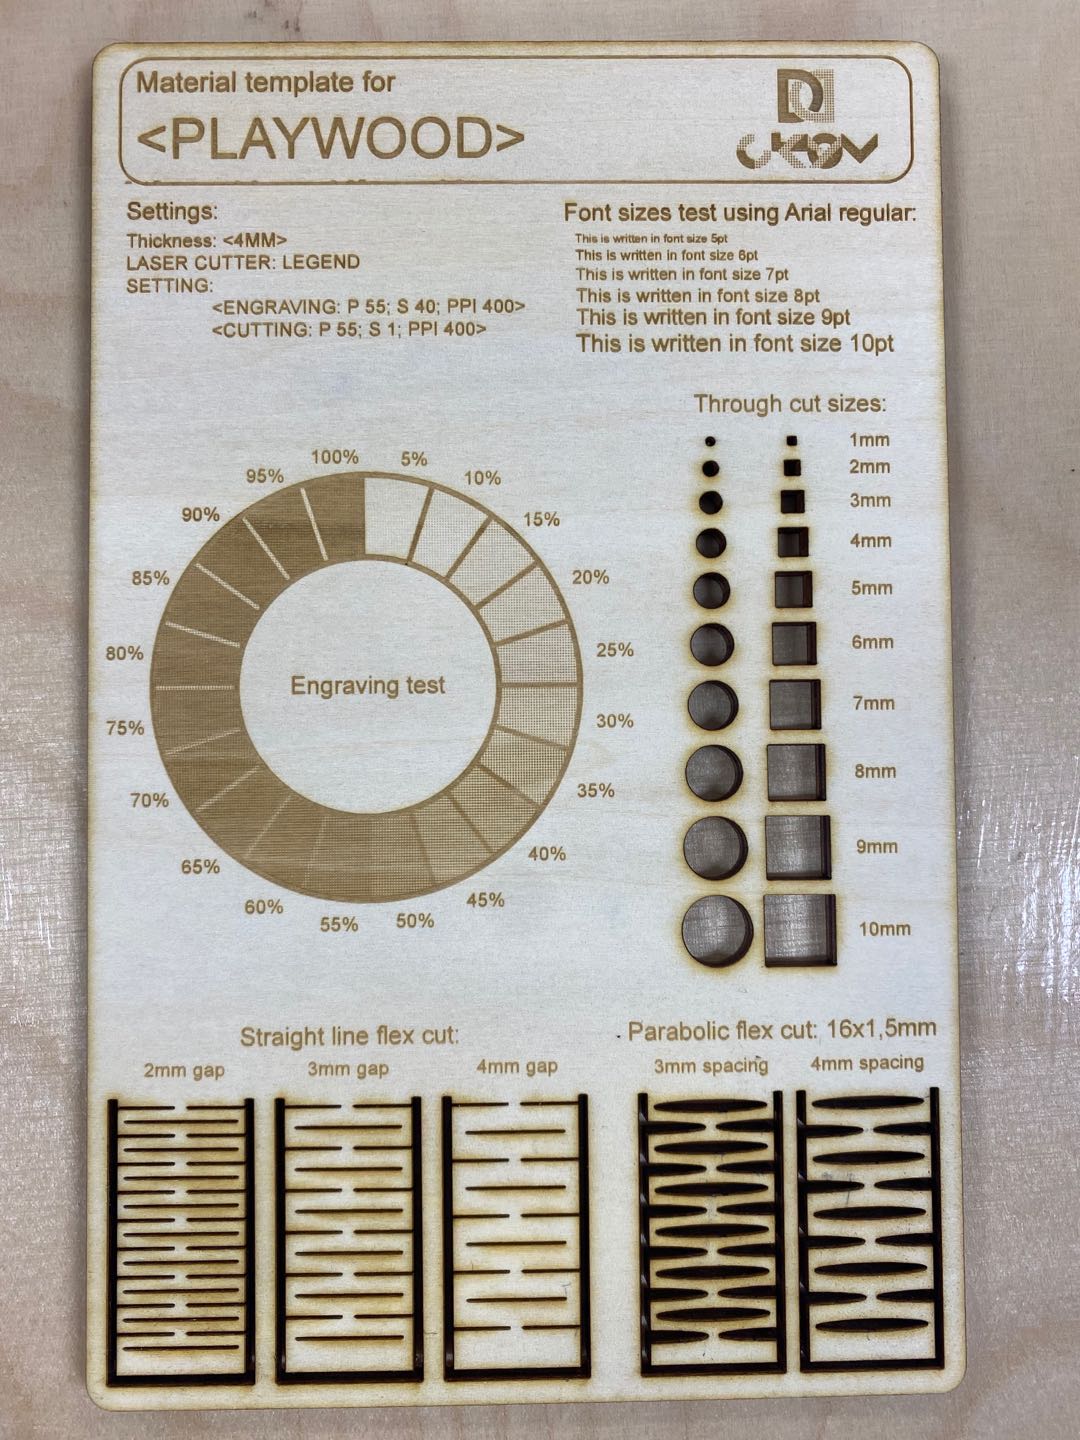
The test board has a through cut sizes but they are not precise. So I cut a new one to test kurf.
Kerf Test
We use a Kerf Test Fils For Laser to make the kerf test with setting value below.
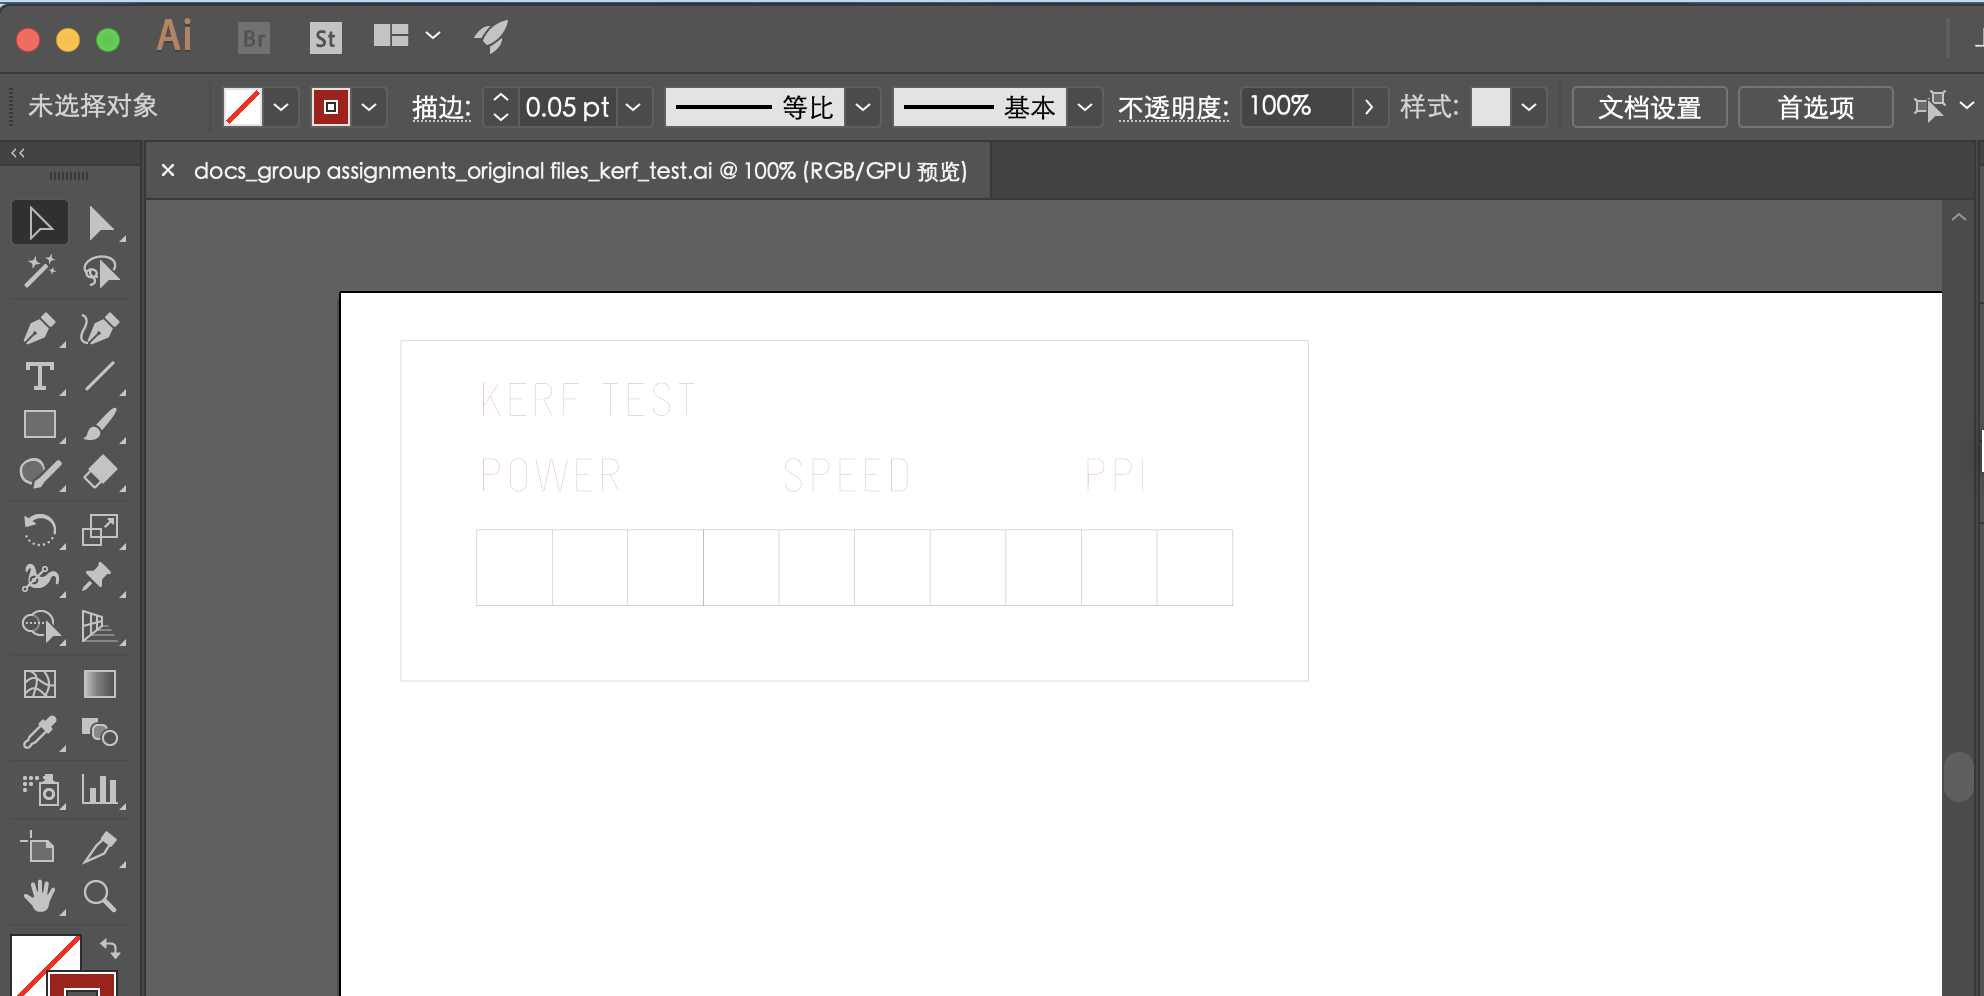
I set color mode to RGB, and artboard Width 640 mm, Height 520mm .Set speed in 1, and set power in 50/60/ 70/80/90/99.
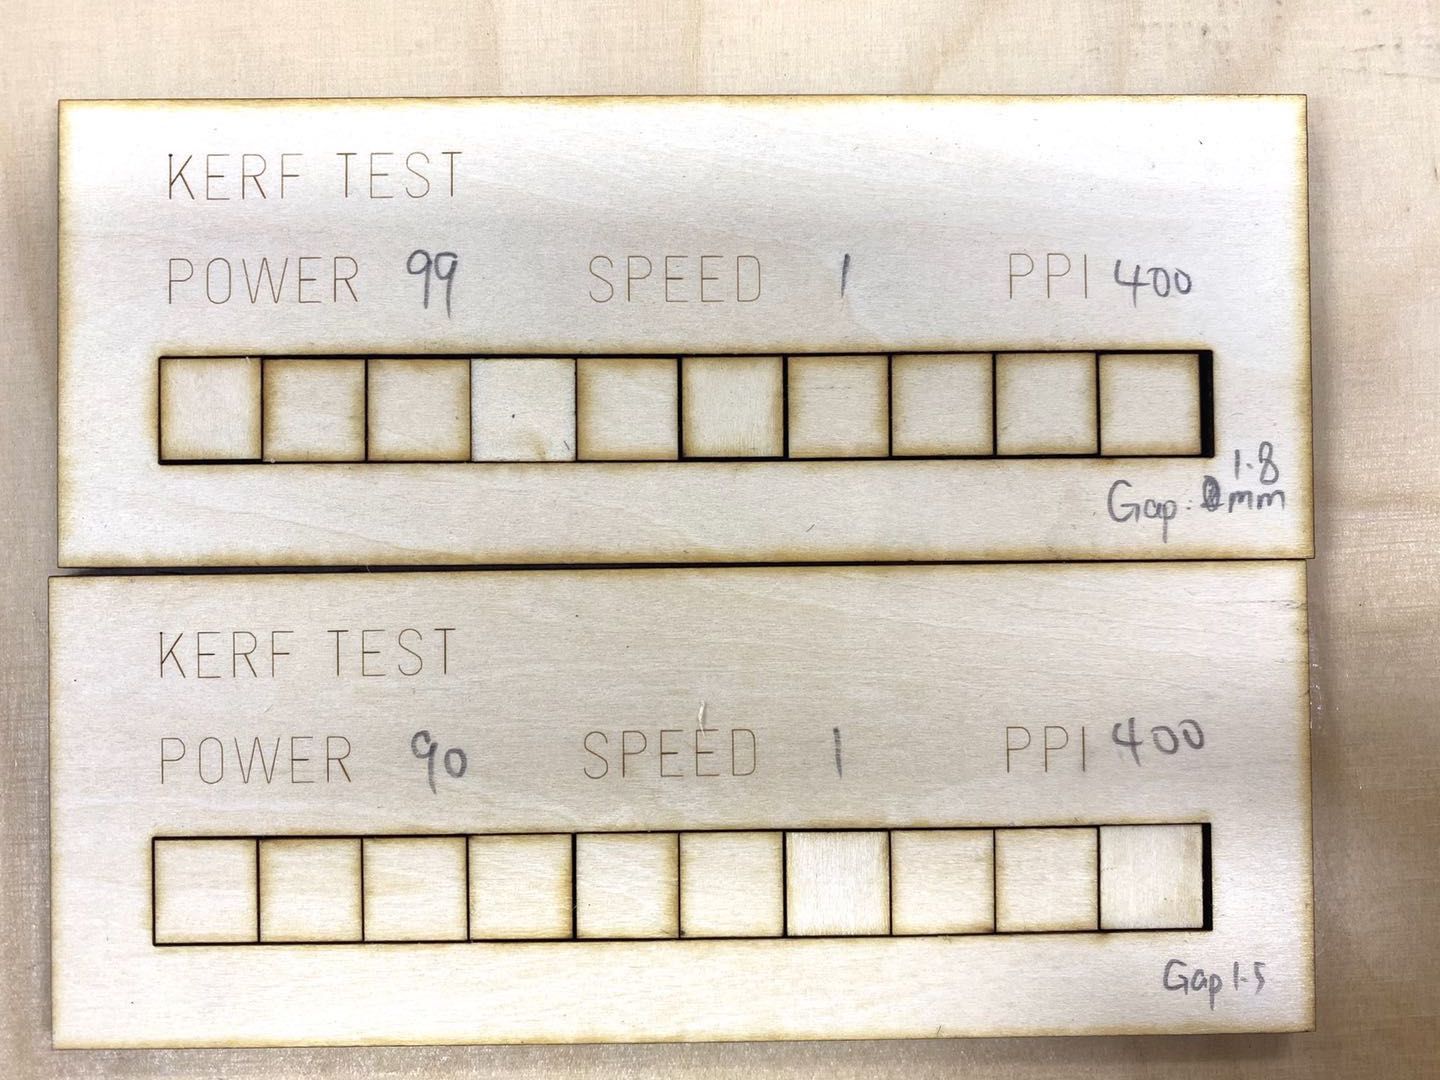
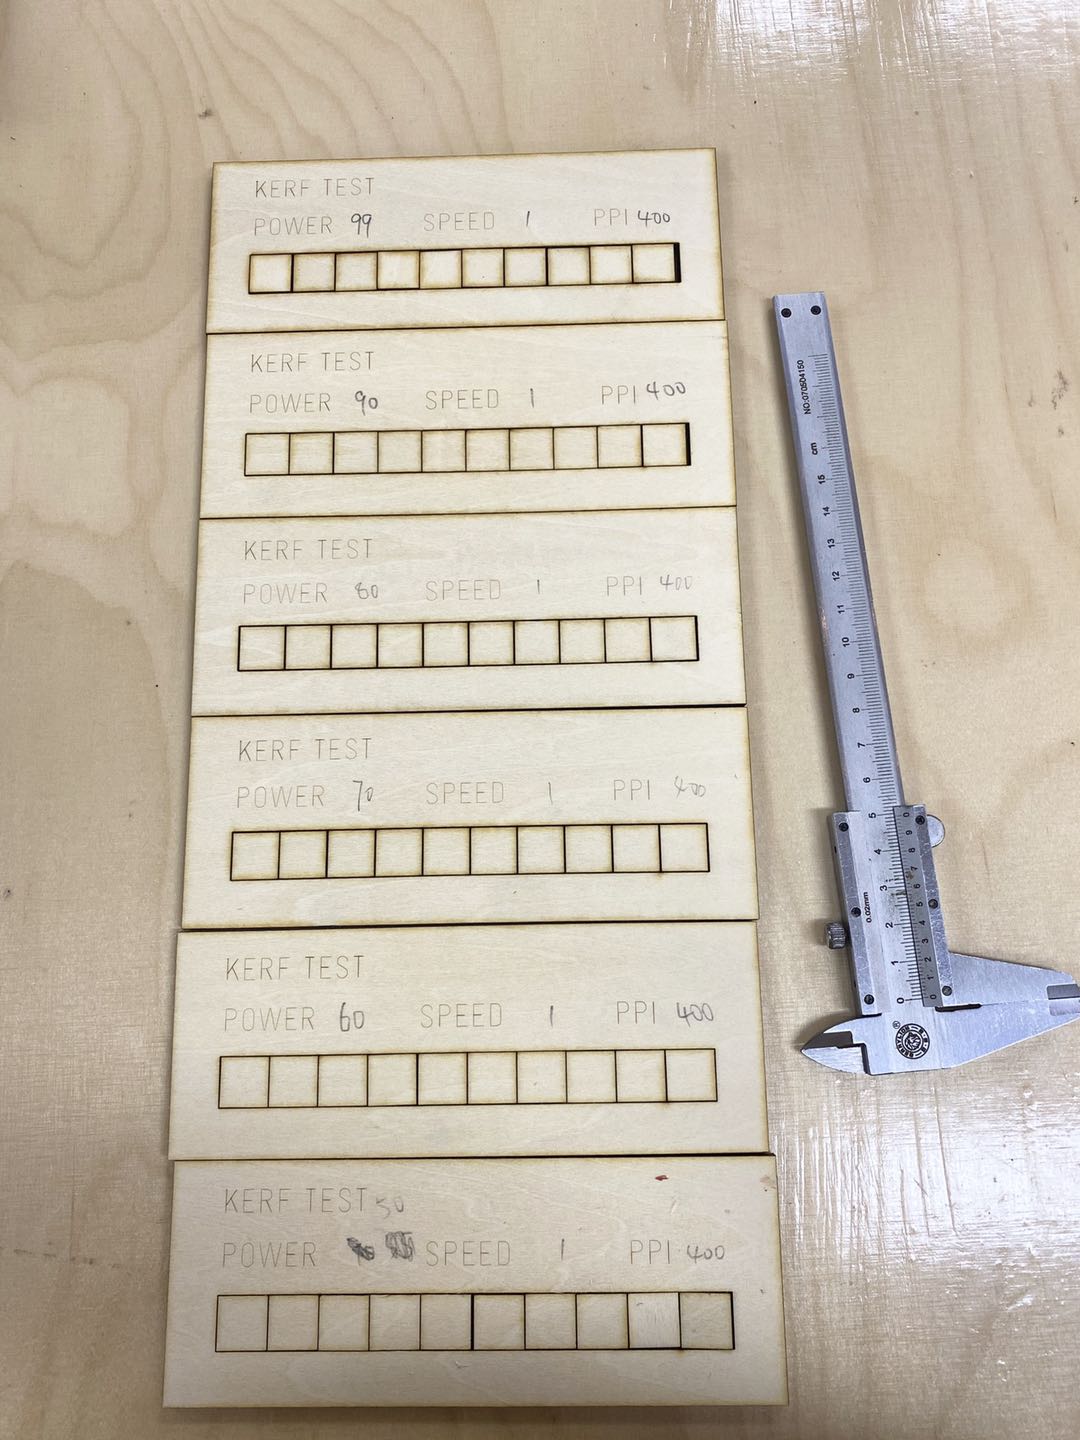 Then I use caliper to measure kerf.Power99, gap is 1.8mm, so kerf is 0.163mm; power90, gap is 1.5mm, kerf is 0.136.
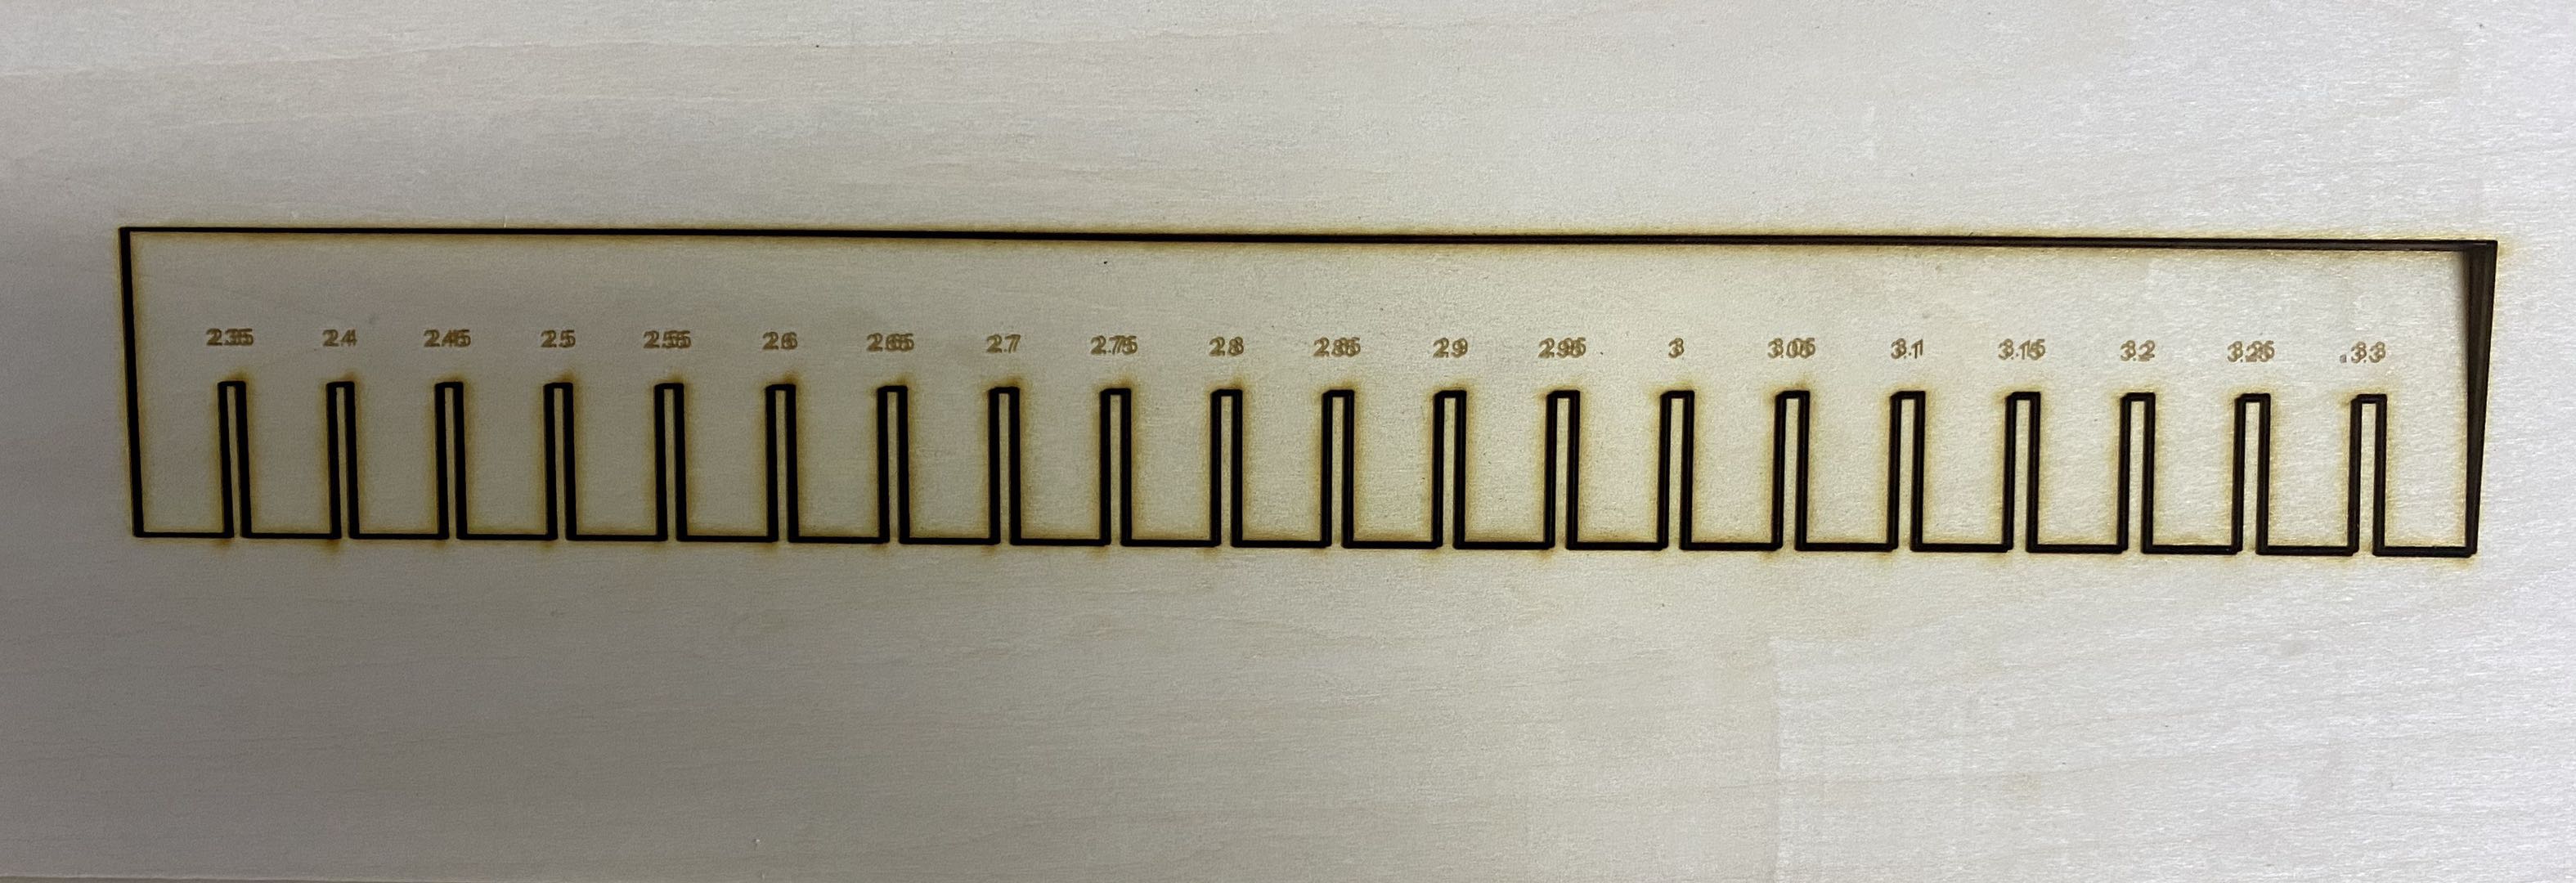
Joint Test
I use 3mm plywood to test joint. It fit in 2.7mm.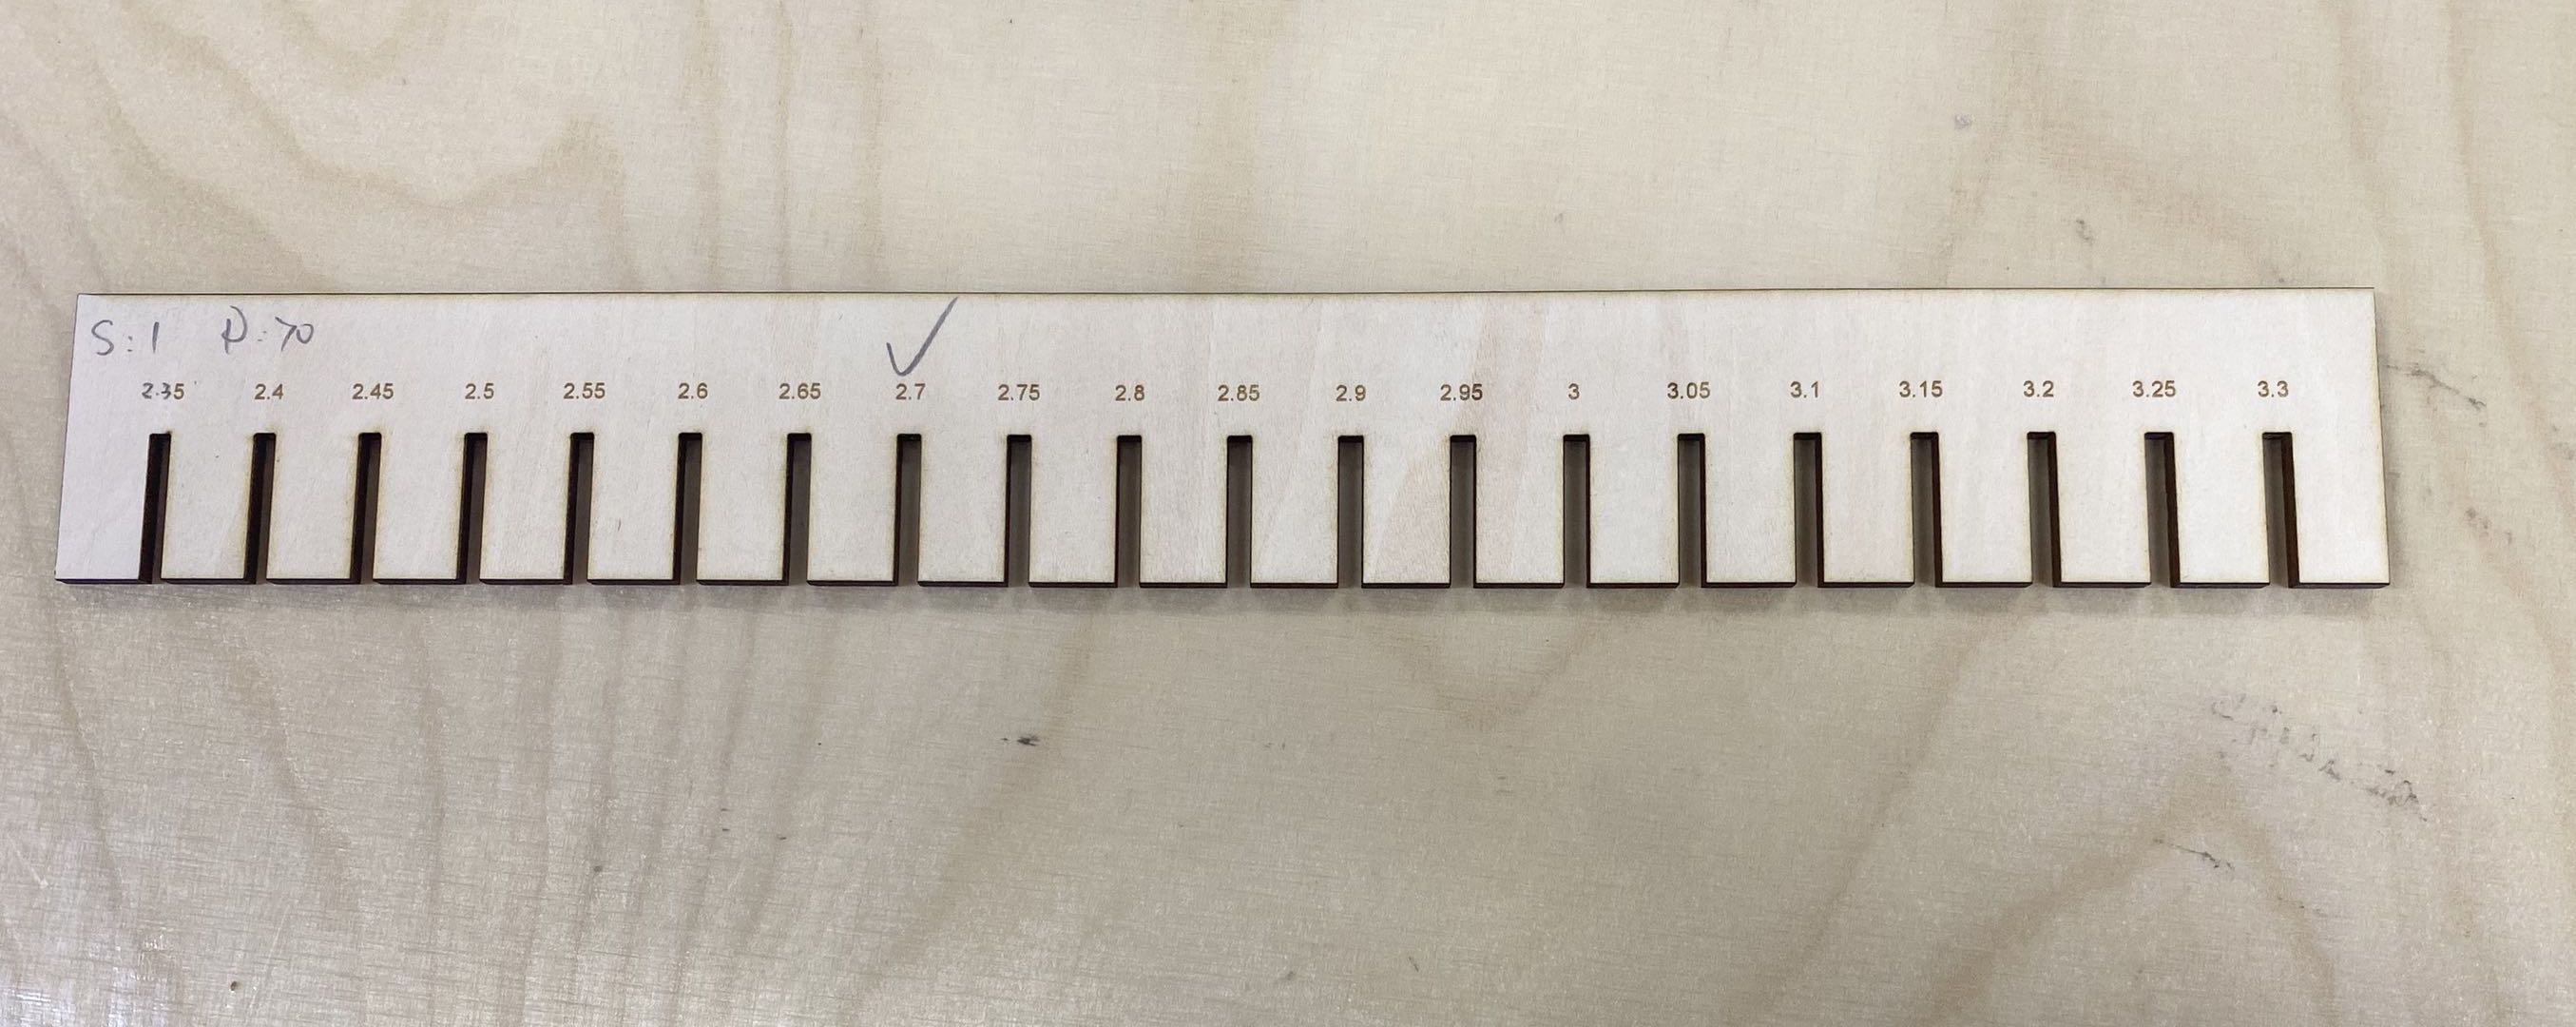 The best joint is 2.7mm.
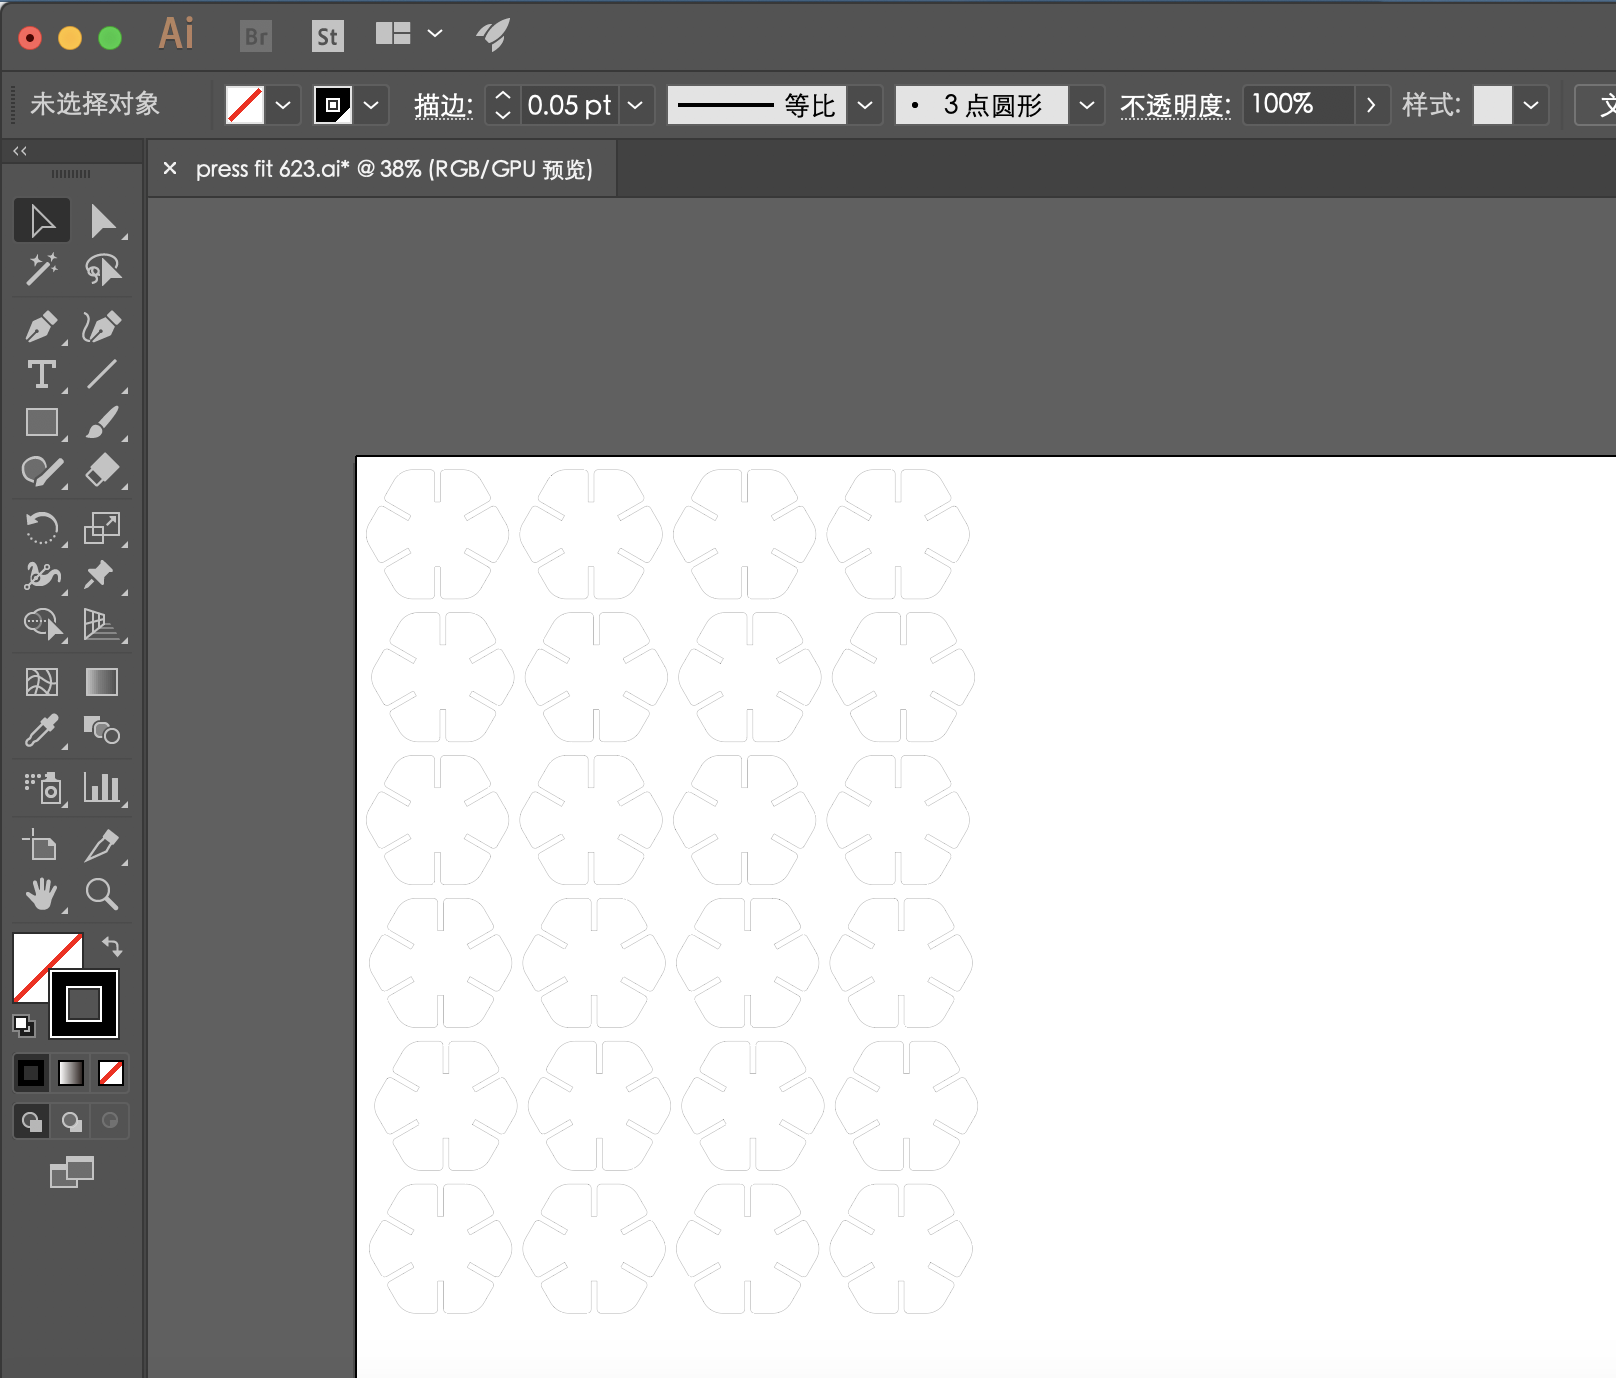
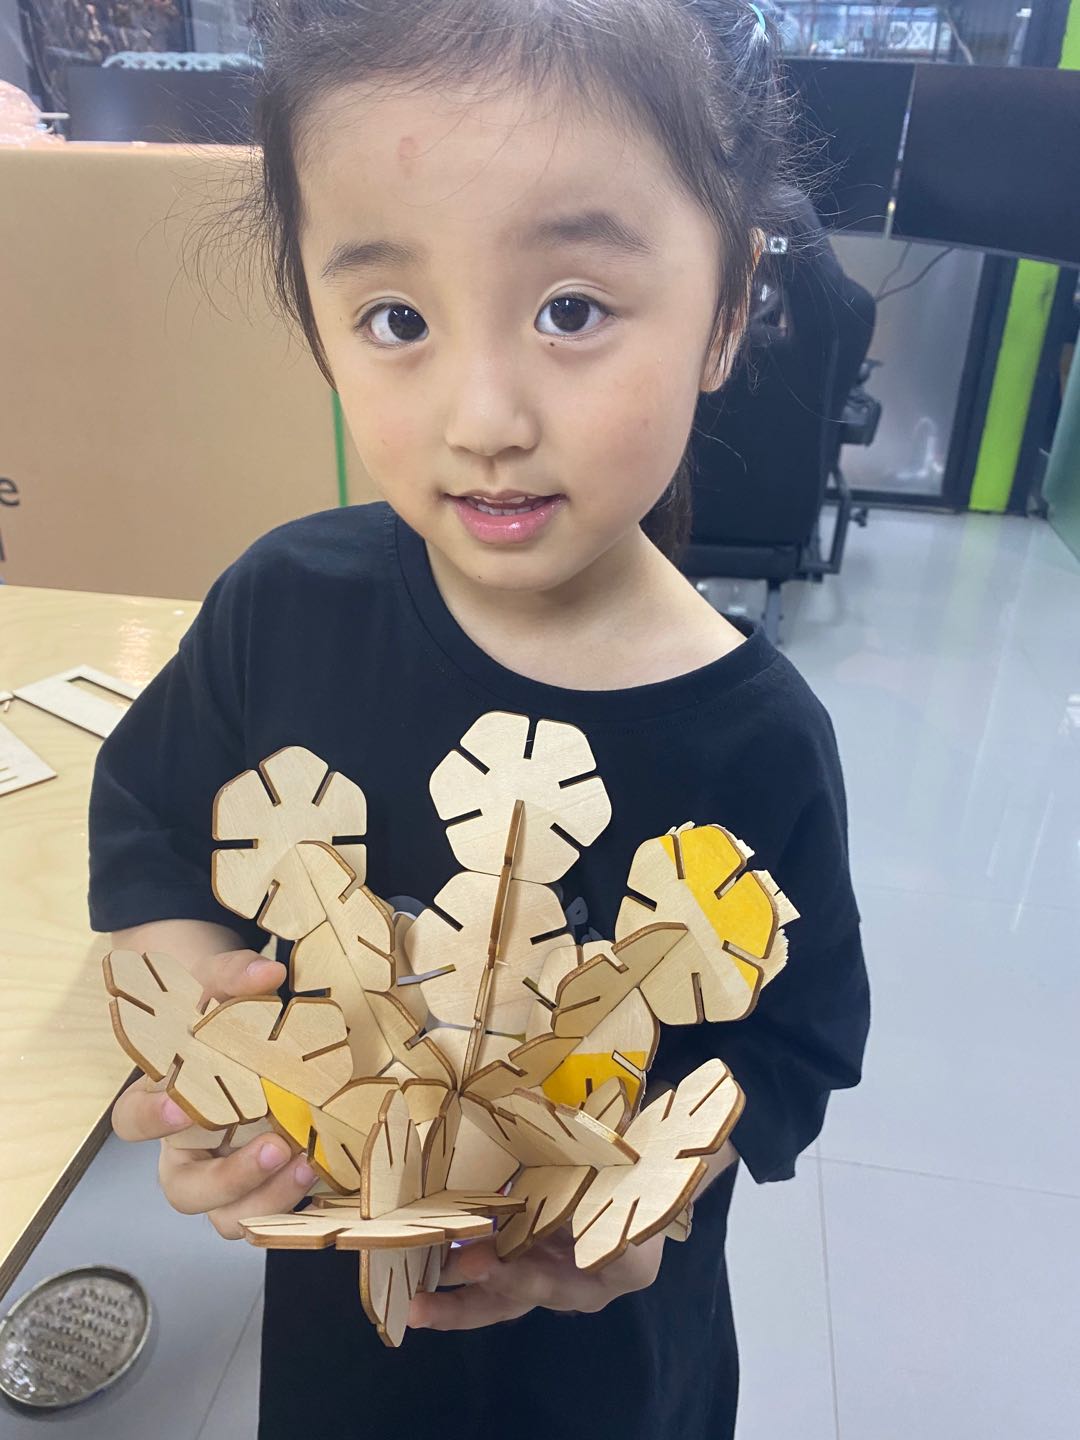
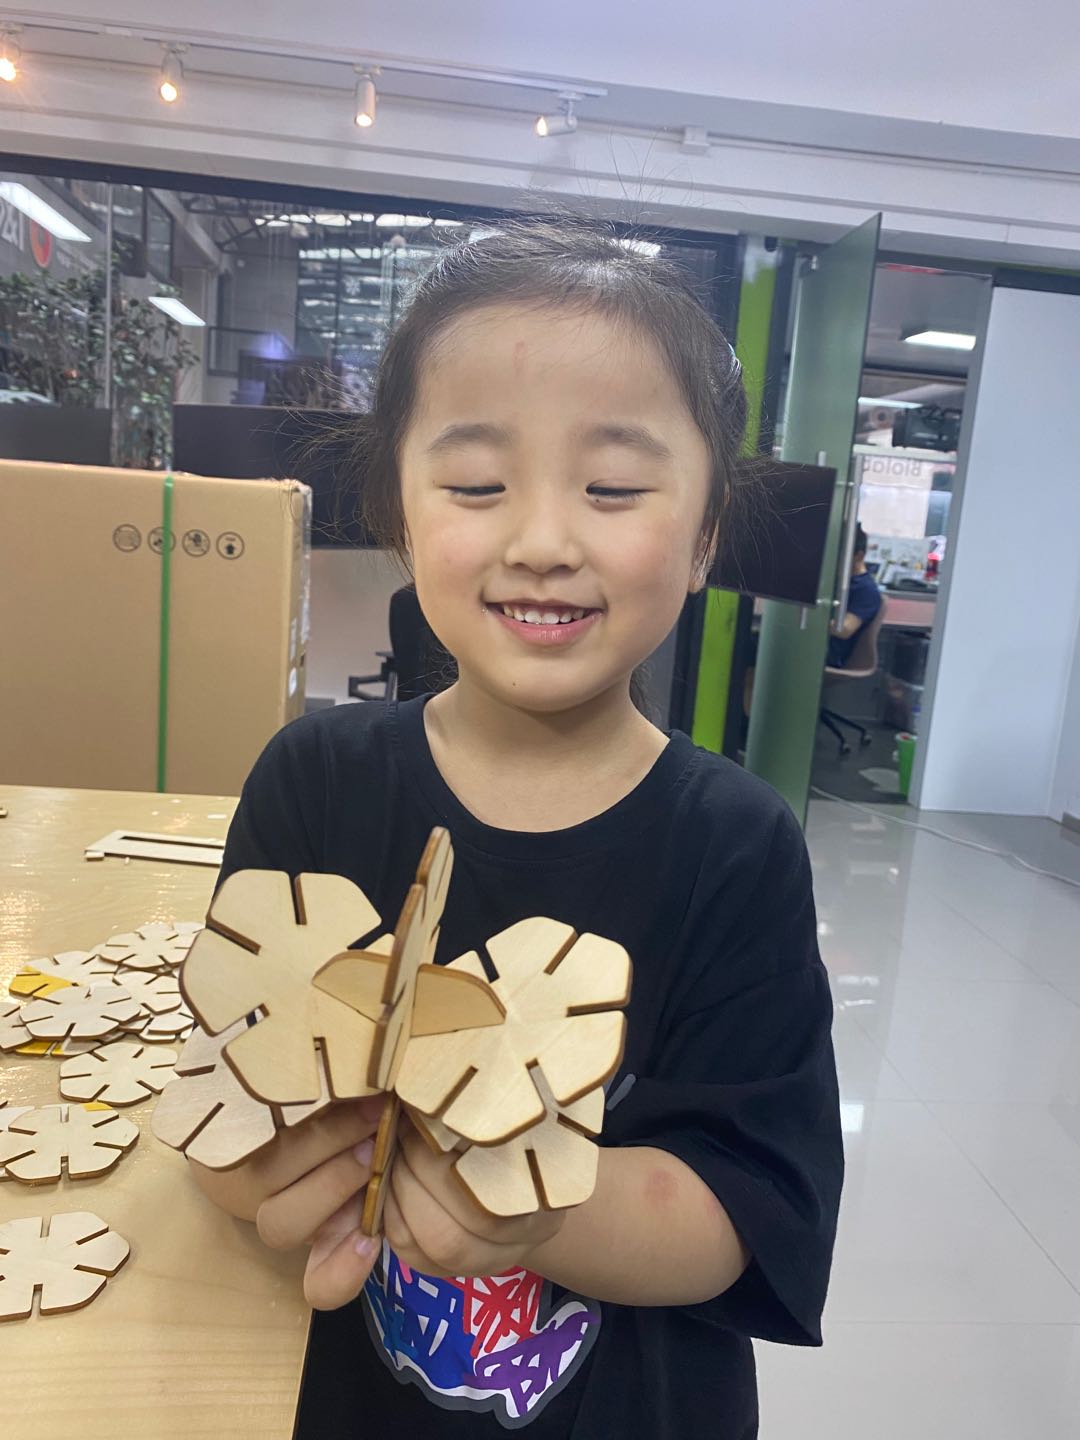
Snowflakes block for kids:
Then I design some kids snowflakes blocks with 2.7mm joints in Fusion.
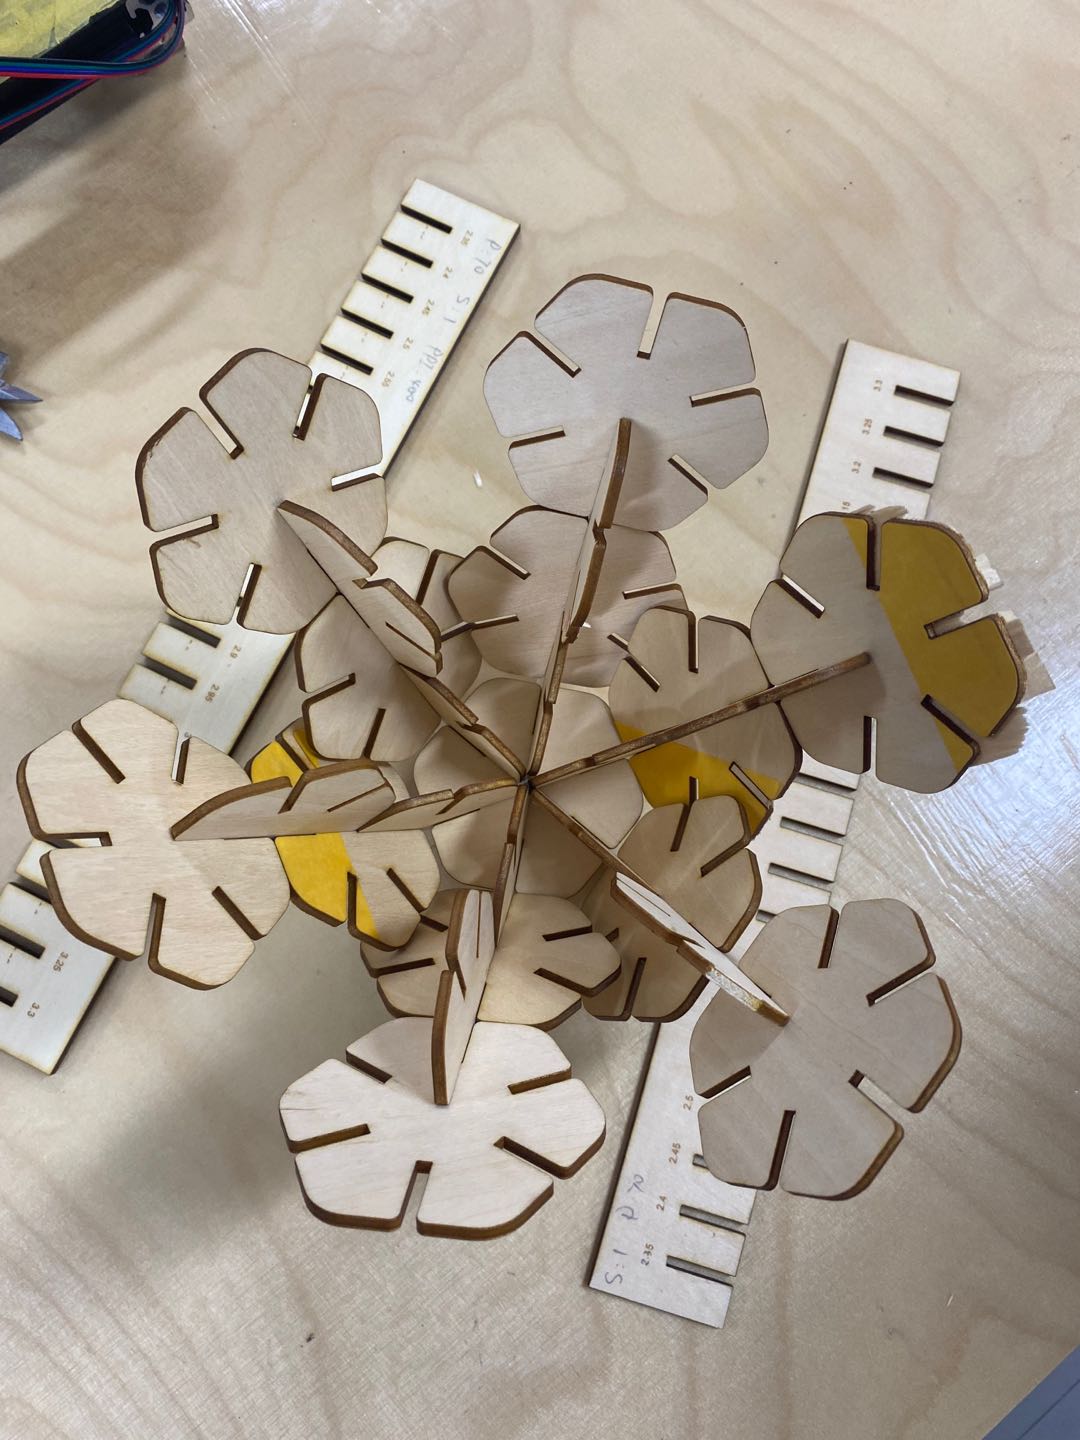
Moli is my college's daughter, she likes those toys.
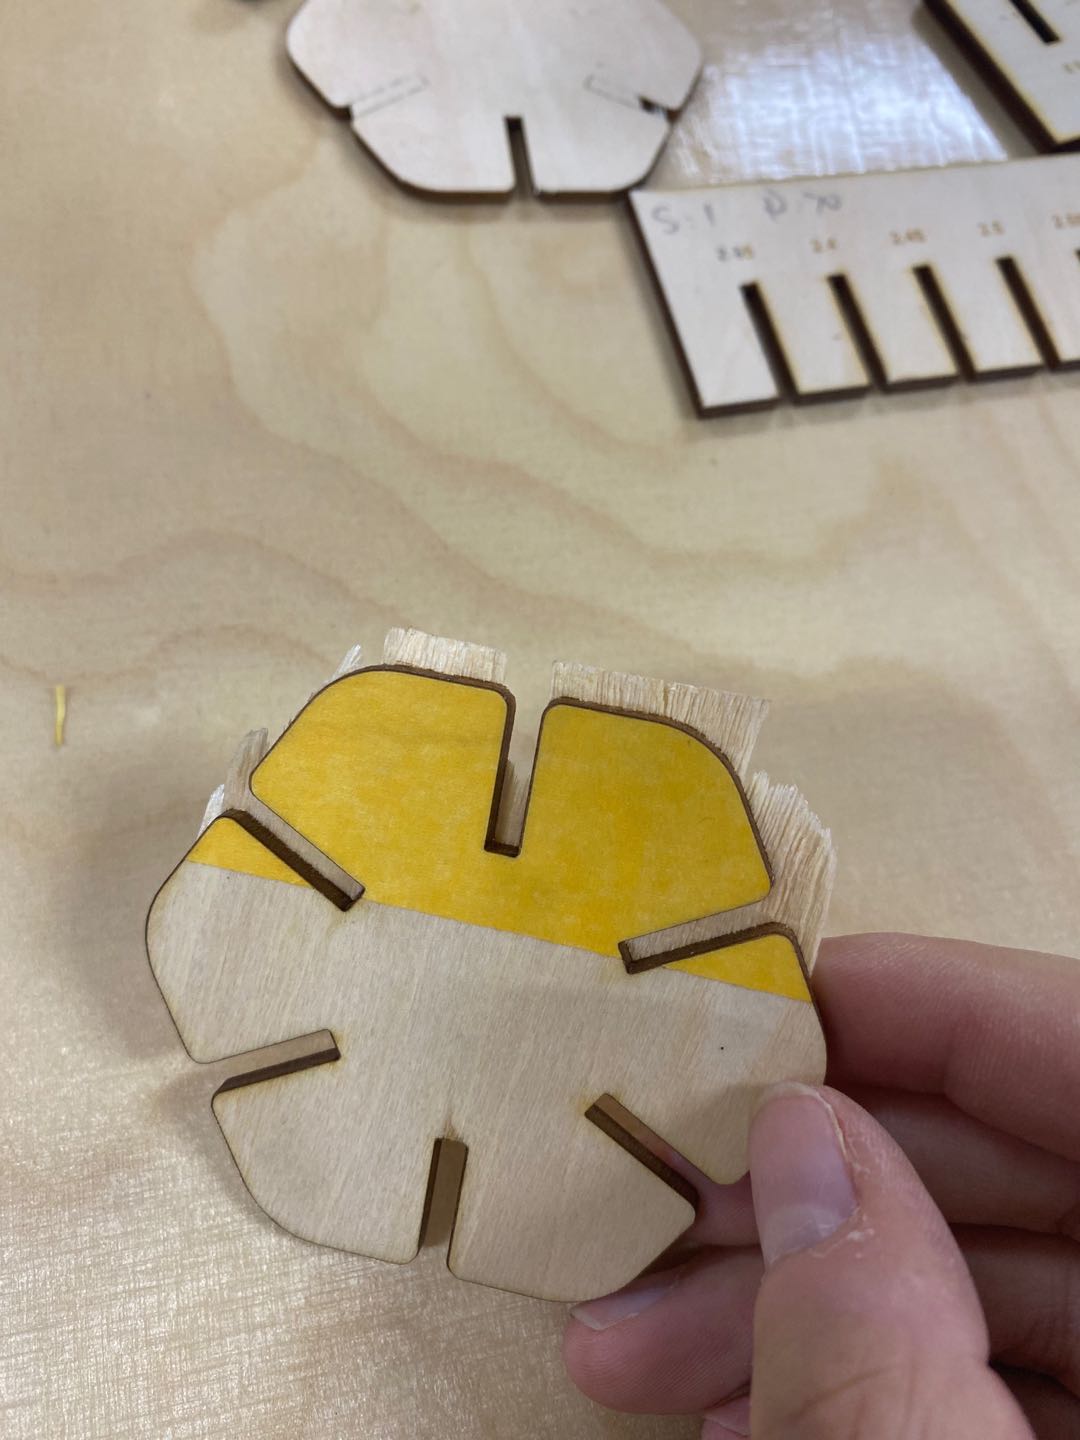
Problems. I put some tape on plywood to make it close to laser plateboard. But when the machine cut the tape part, it can not cut through well. Like this:
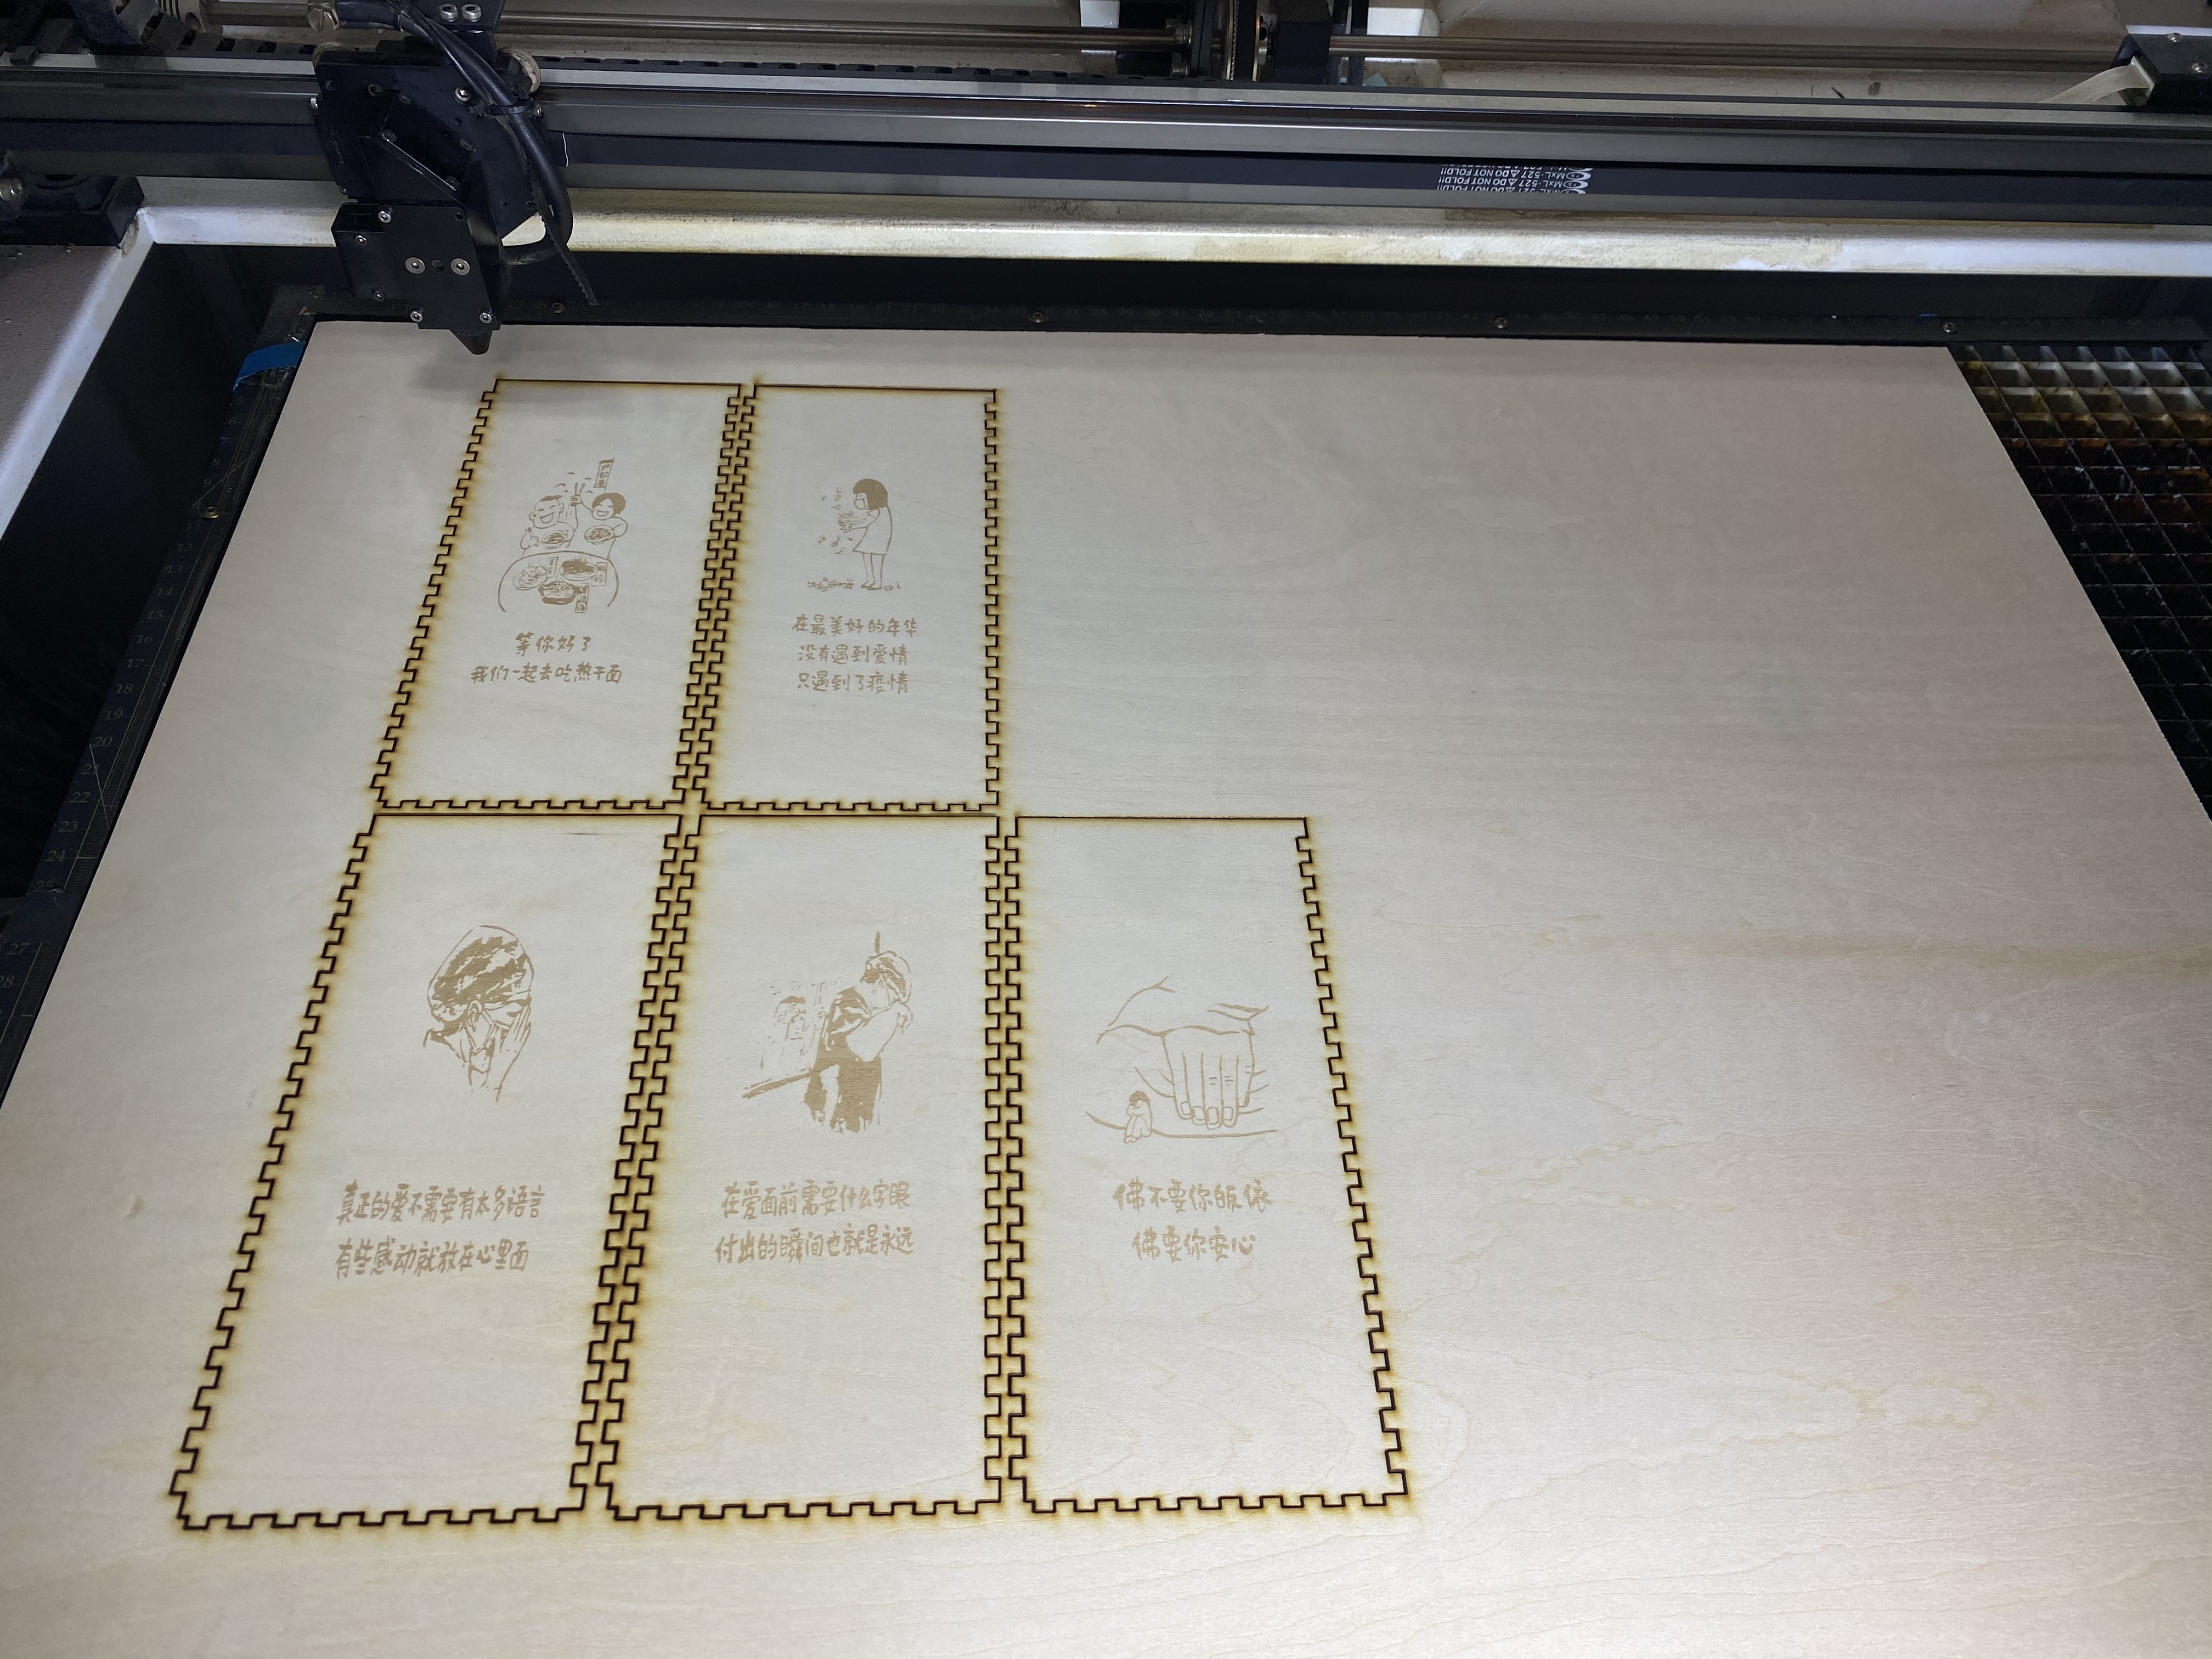
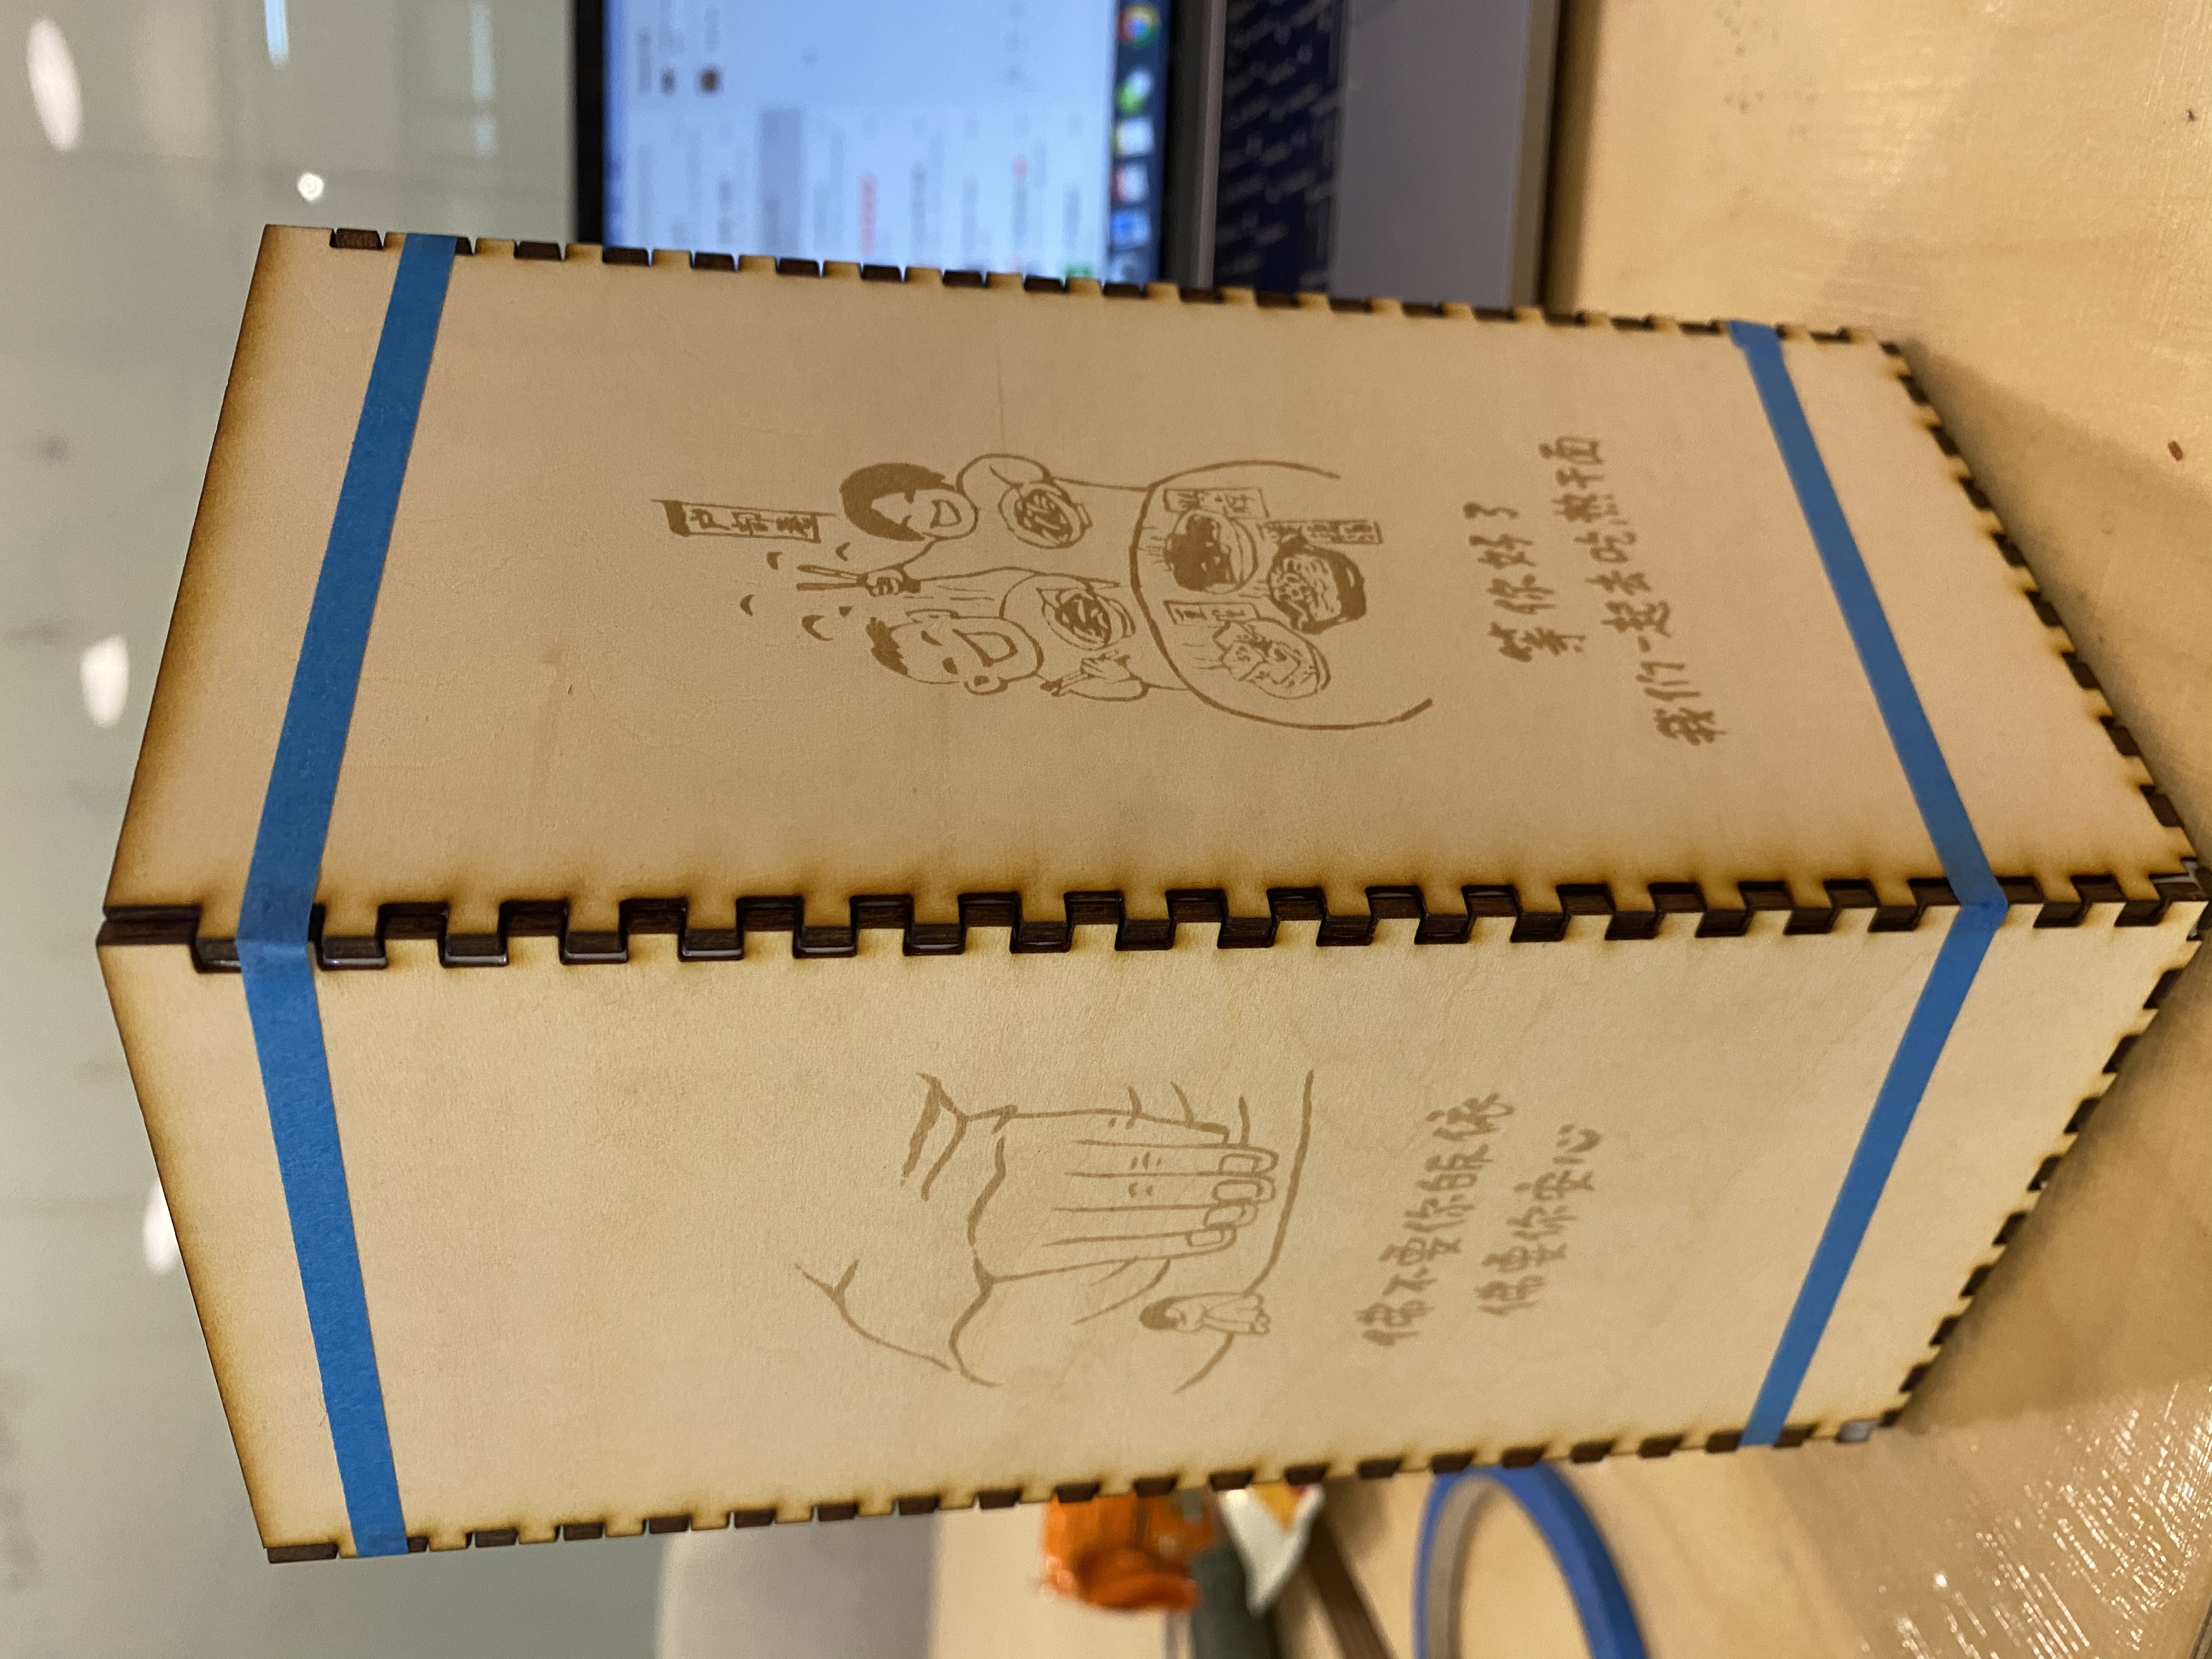
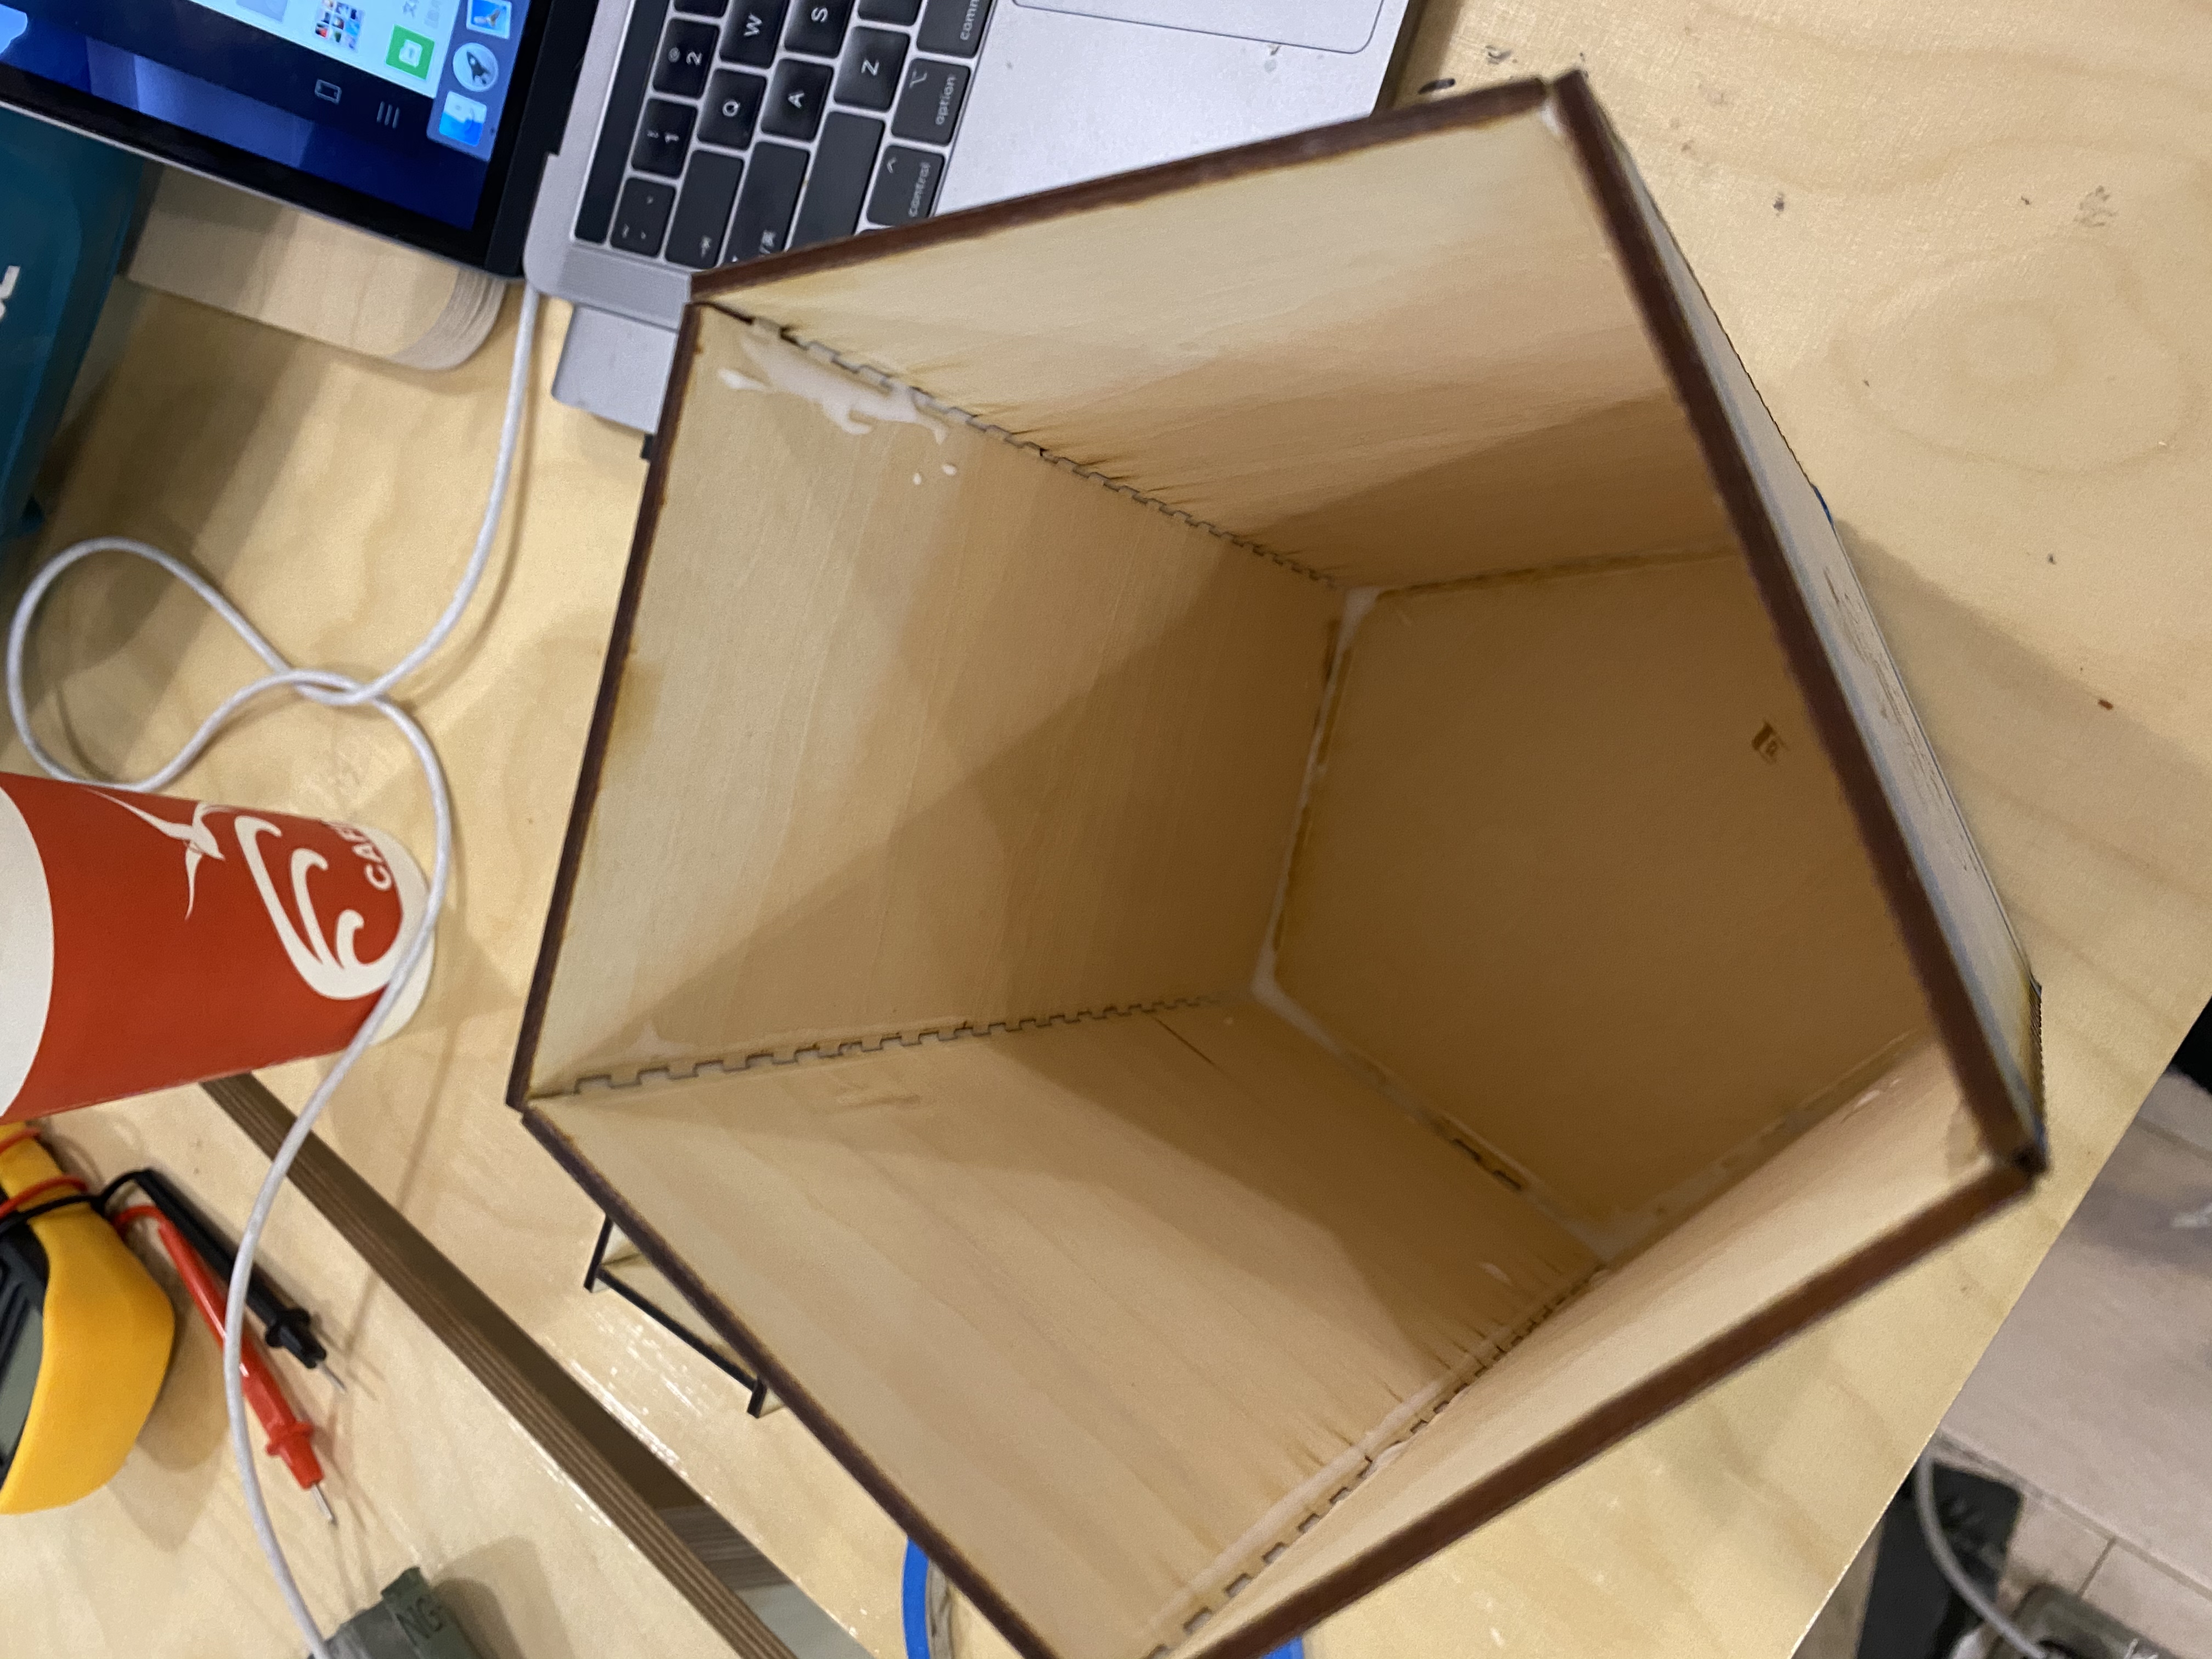
A box for pencils
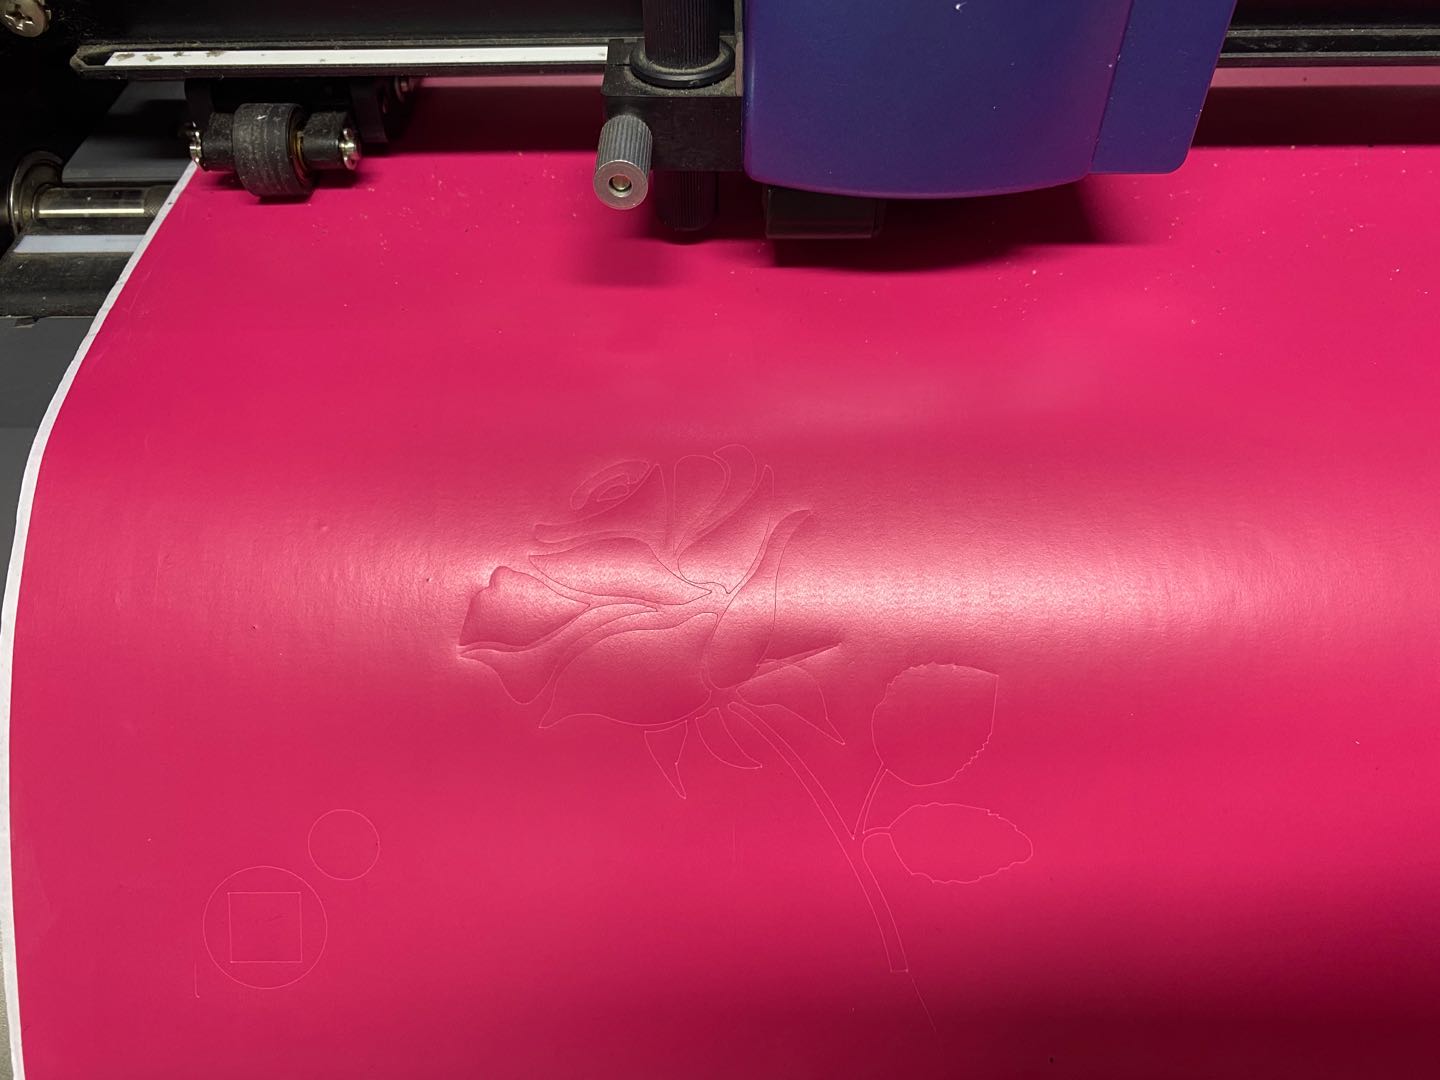
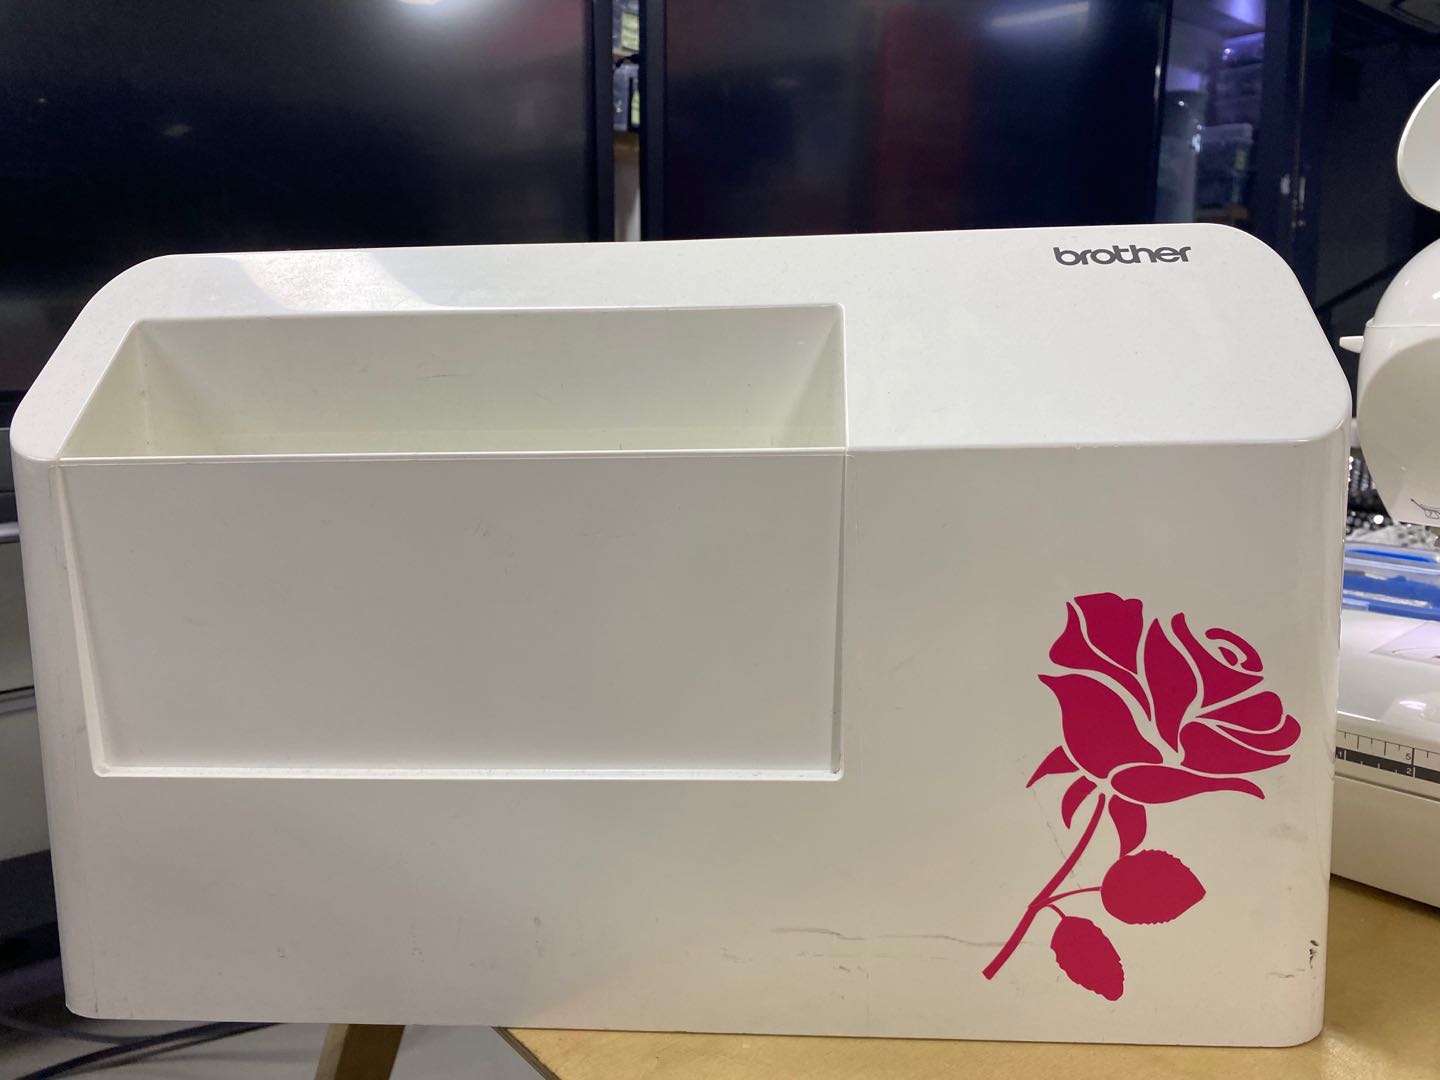
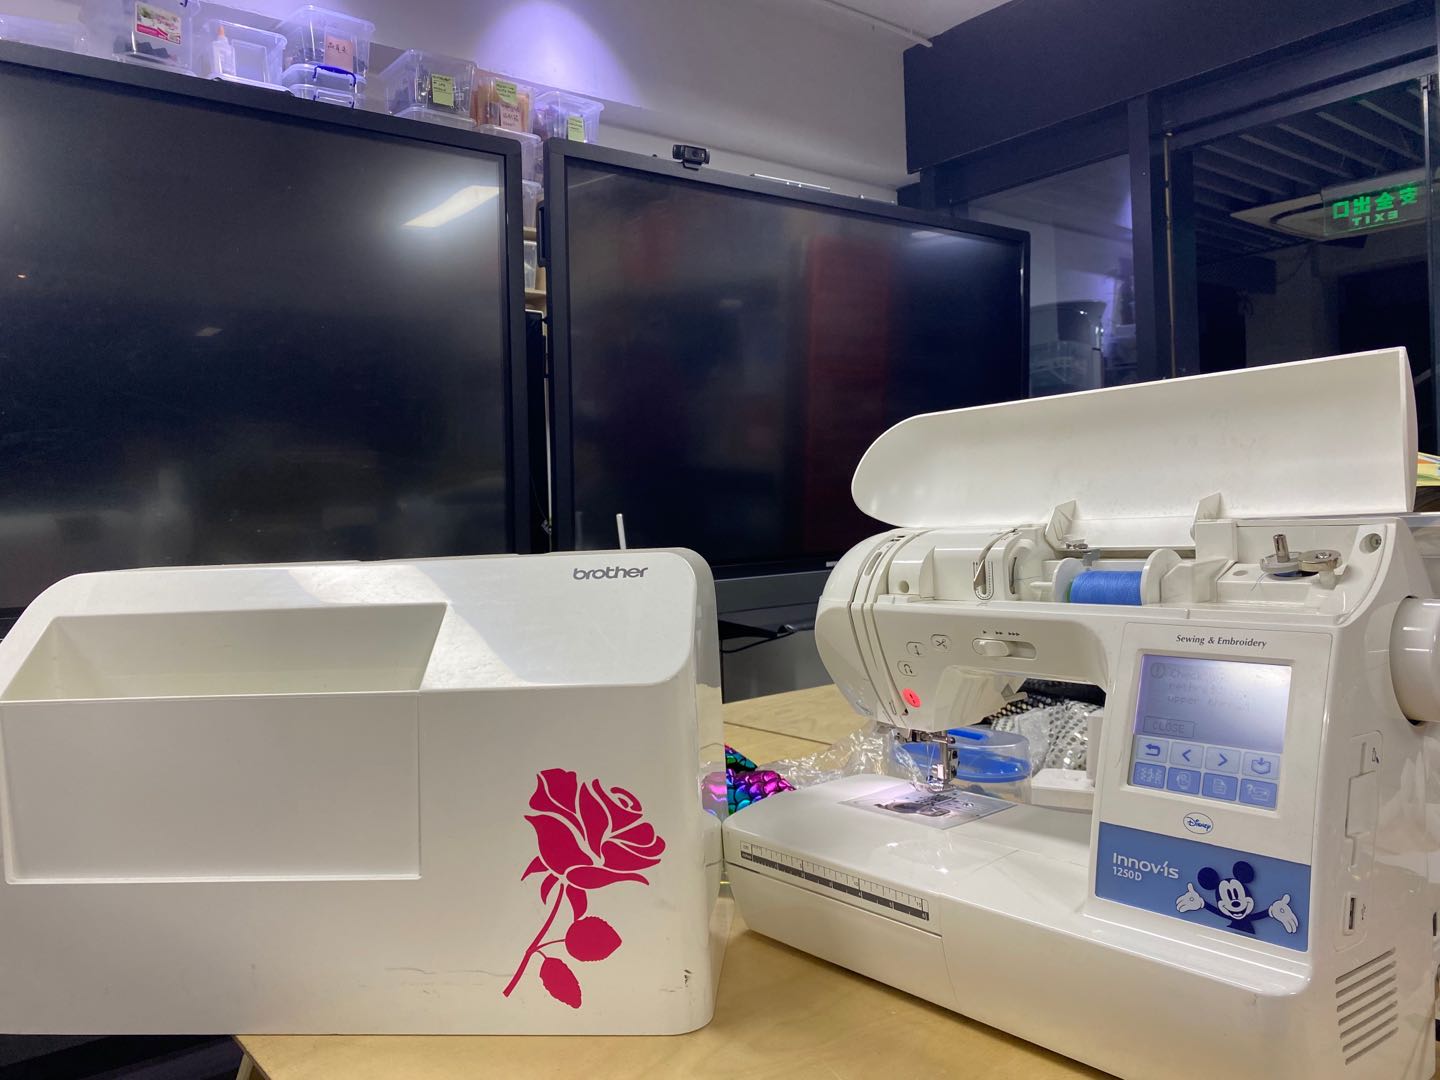
Vinylcutter Design
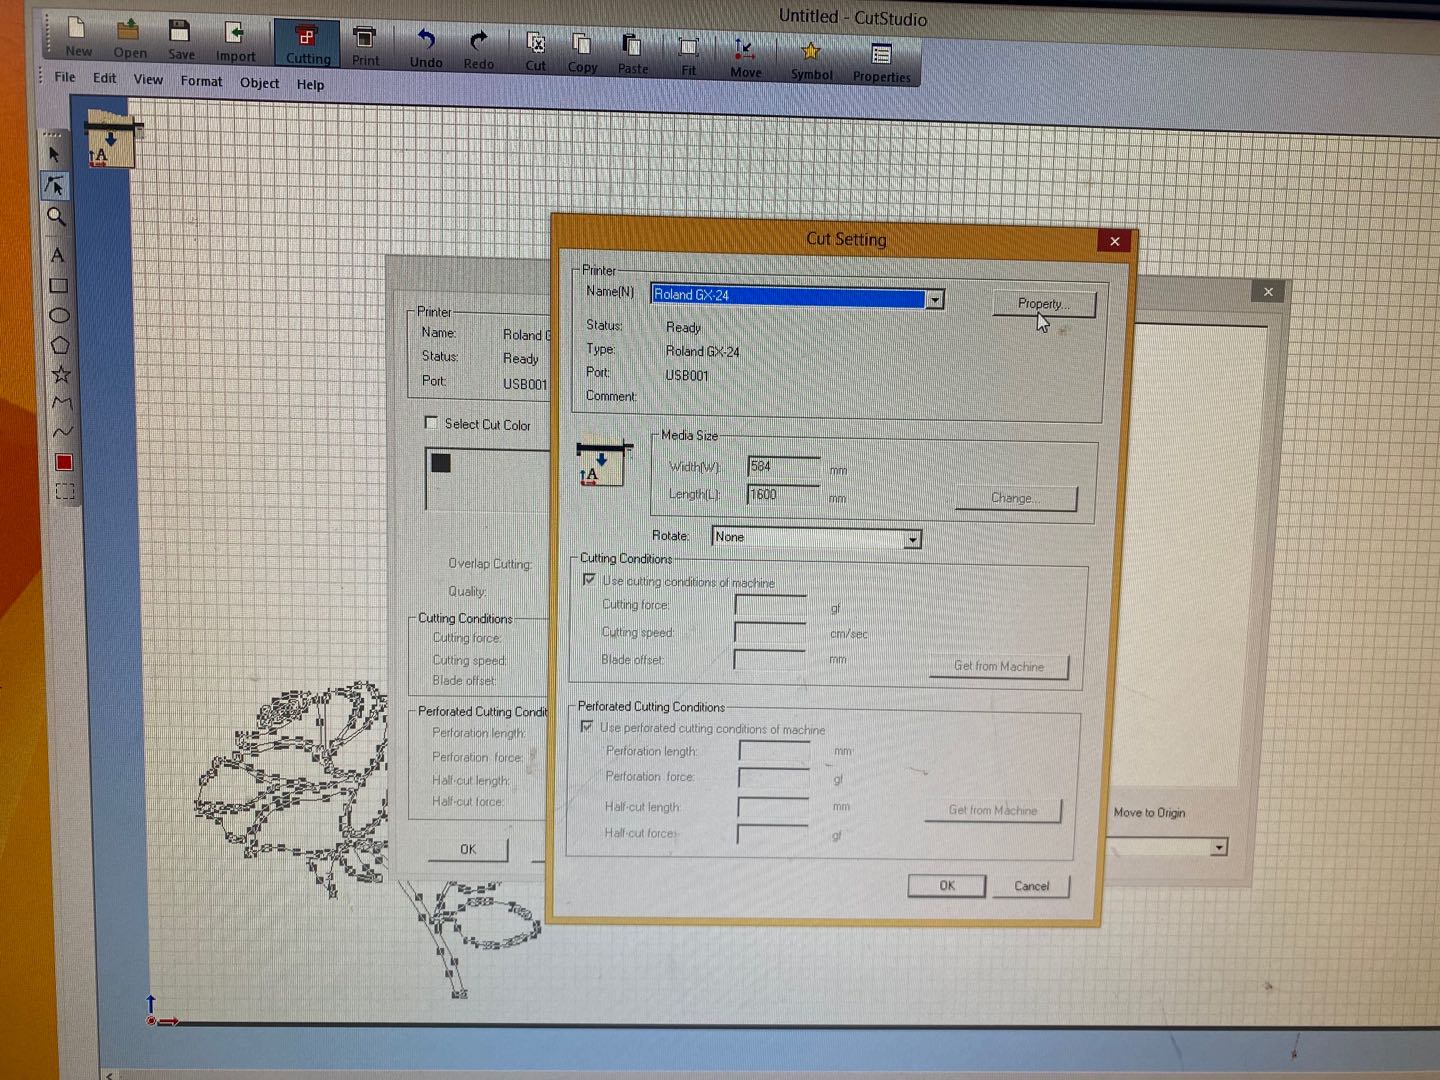
For vinylcutter I decide to make a sticker for sewing machine. I use PS to creat rose picture, and then export it to png ,then use CutStudio to creat path for vinylincutter Roland-GSX 24 to cut it.
Setting of Roland -GX 24:
- Set origin;
- Slect sheet;
- Set size;
- Force seting;

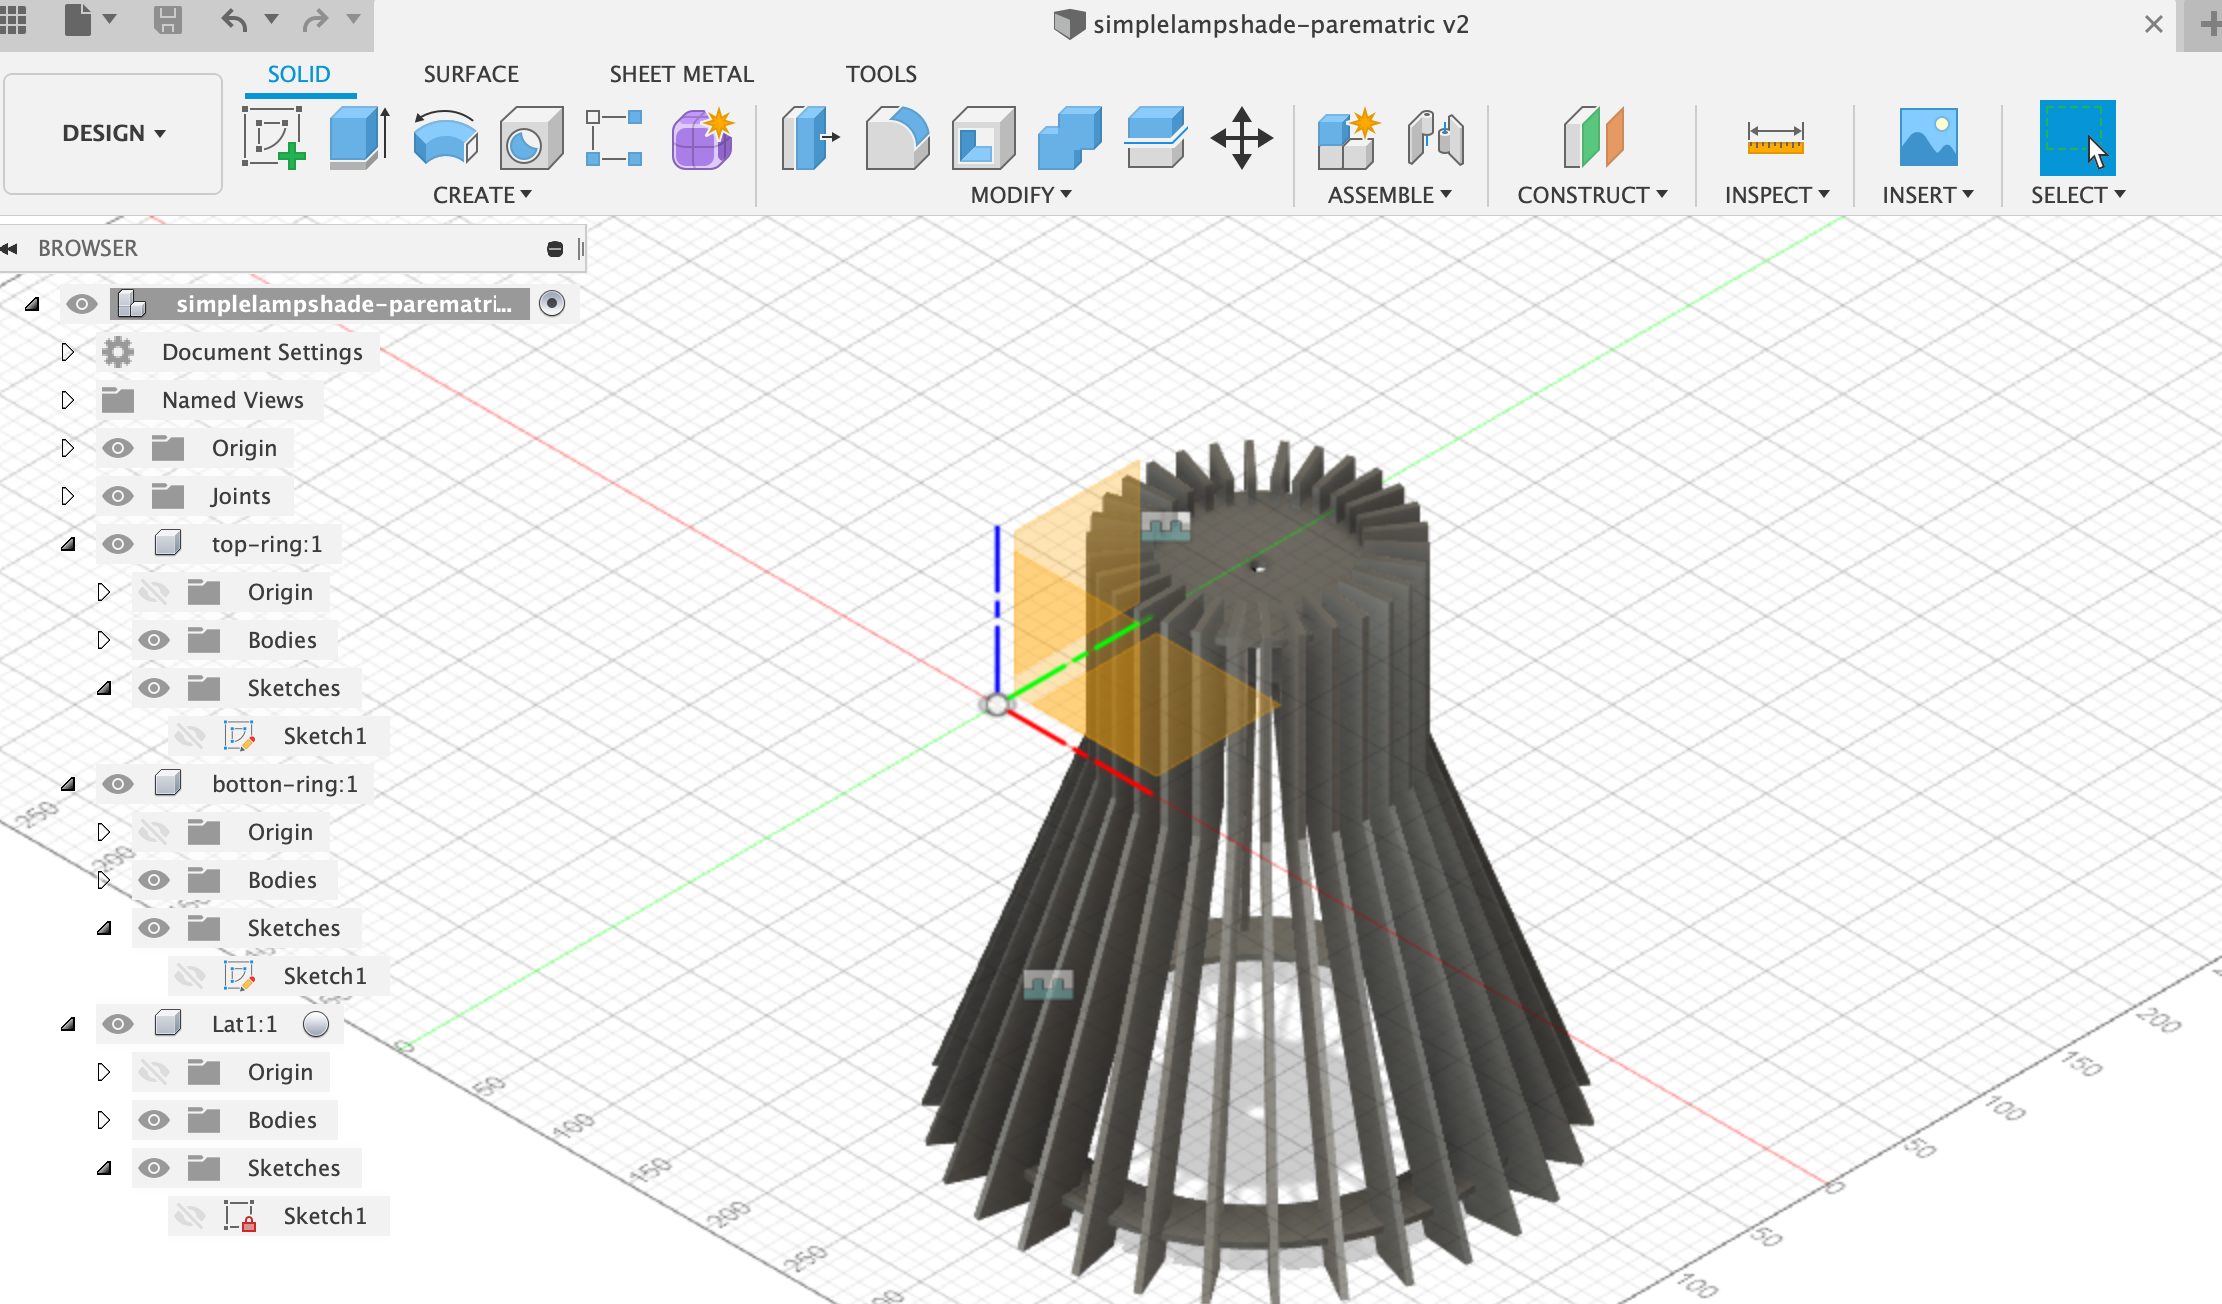
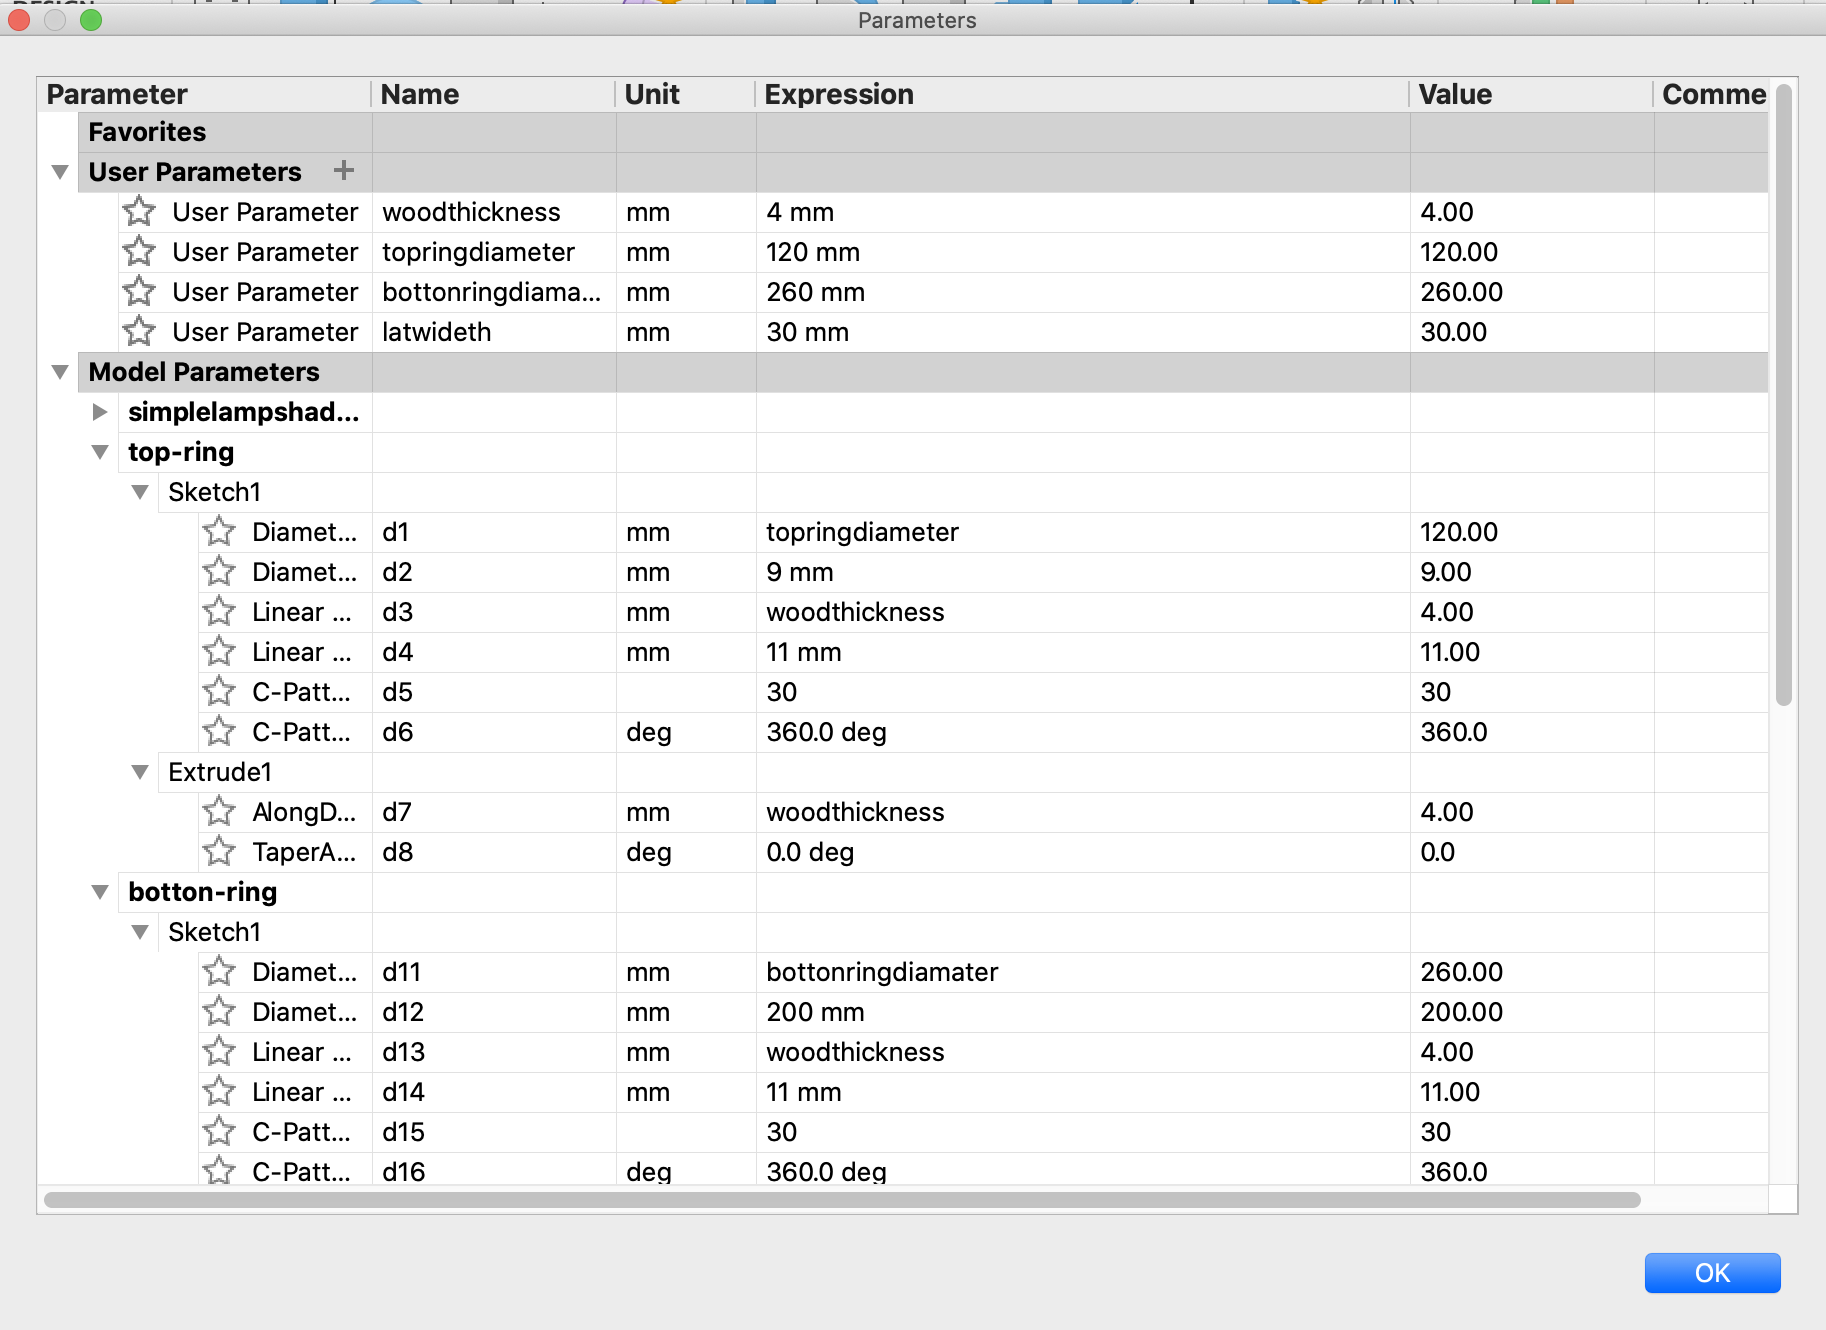
Paremetric Design lampshade with Fusion
With paremetric design I can change materiel thickness and the size of lampshade to fit in different space.
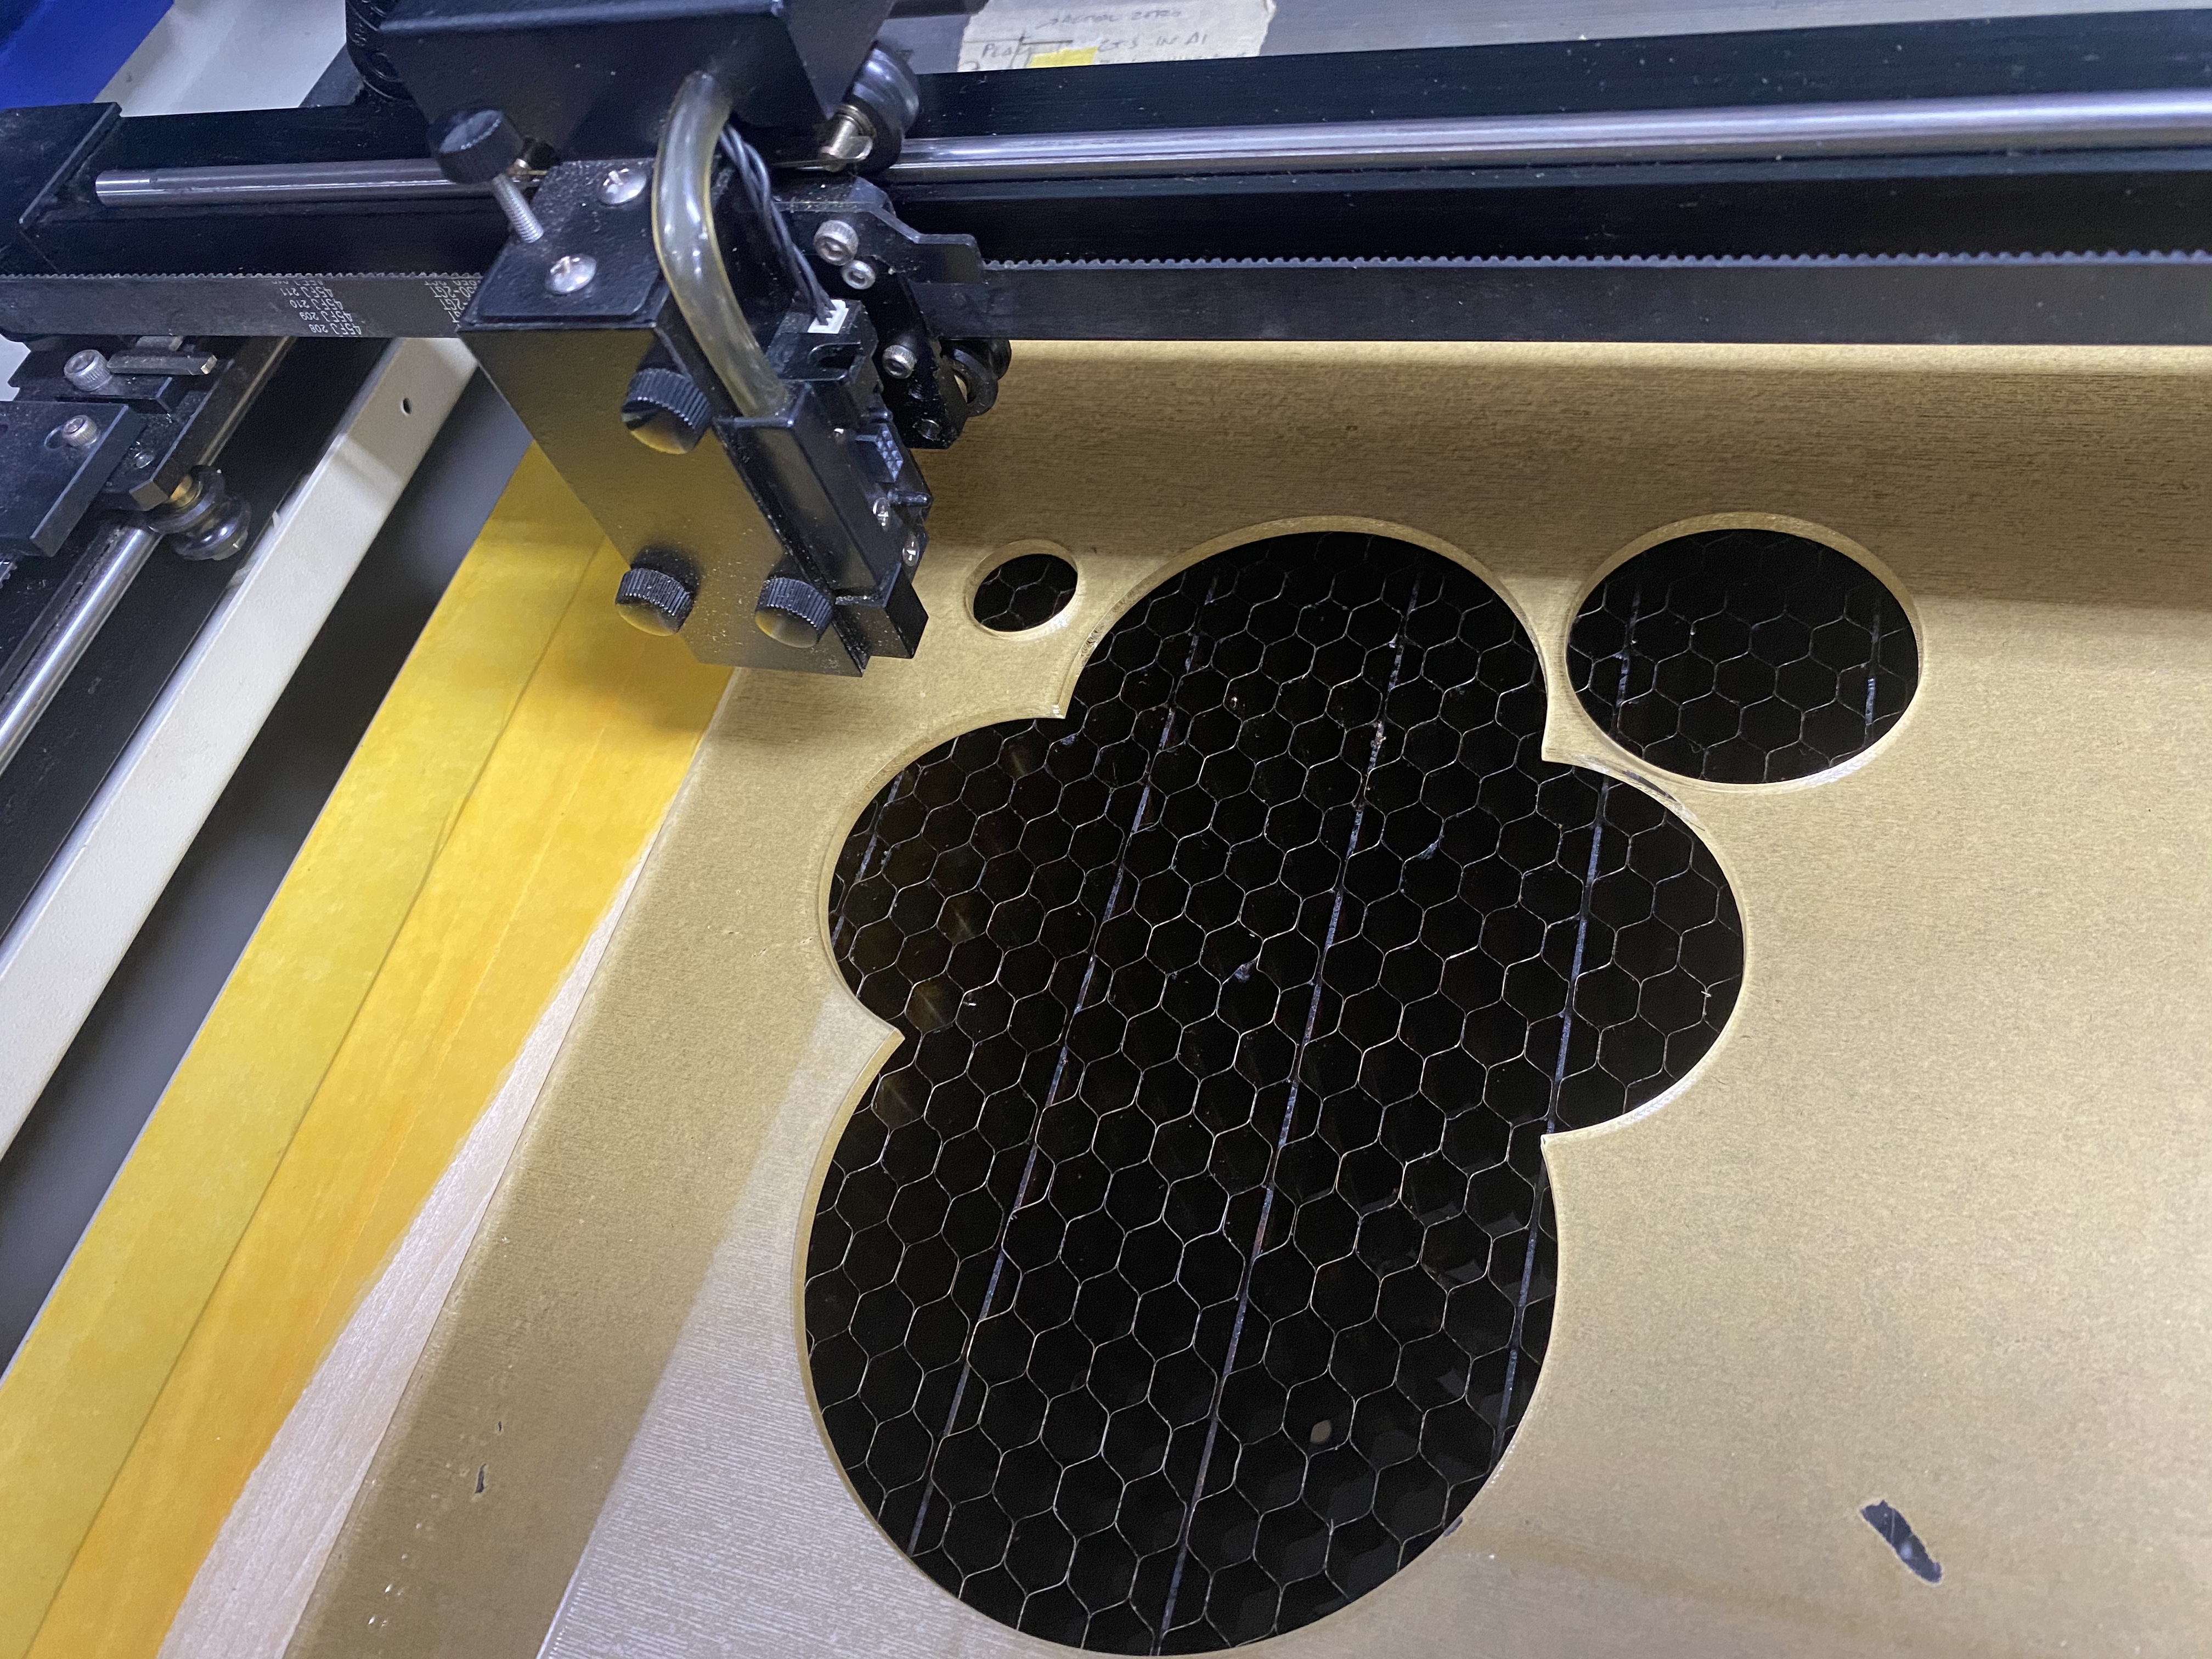
Final Project 2D cut
For my final project, I need to make a bottom part for smart paw. I use 4mm ayrlic. I just use same design of 3D print case, make 2D shape, also I make one small circle so I can press force resistor by a piece of ayrlic.
Download design files links:
- Download lampshade
- Download joint-test
- Download kerf-bend
- Download kerf-test
- Download Test - Materiel template