week7
8.Computer-Controlled Machining
This week, we will make something big. The tool our lab is going to use is the CNC machine that is shown below.
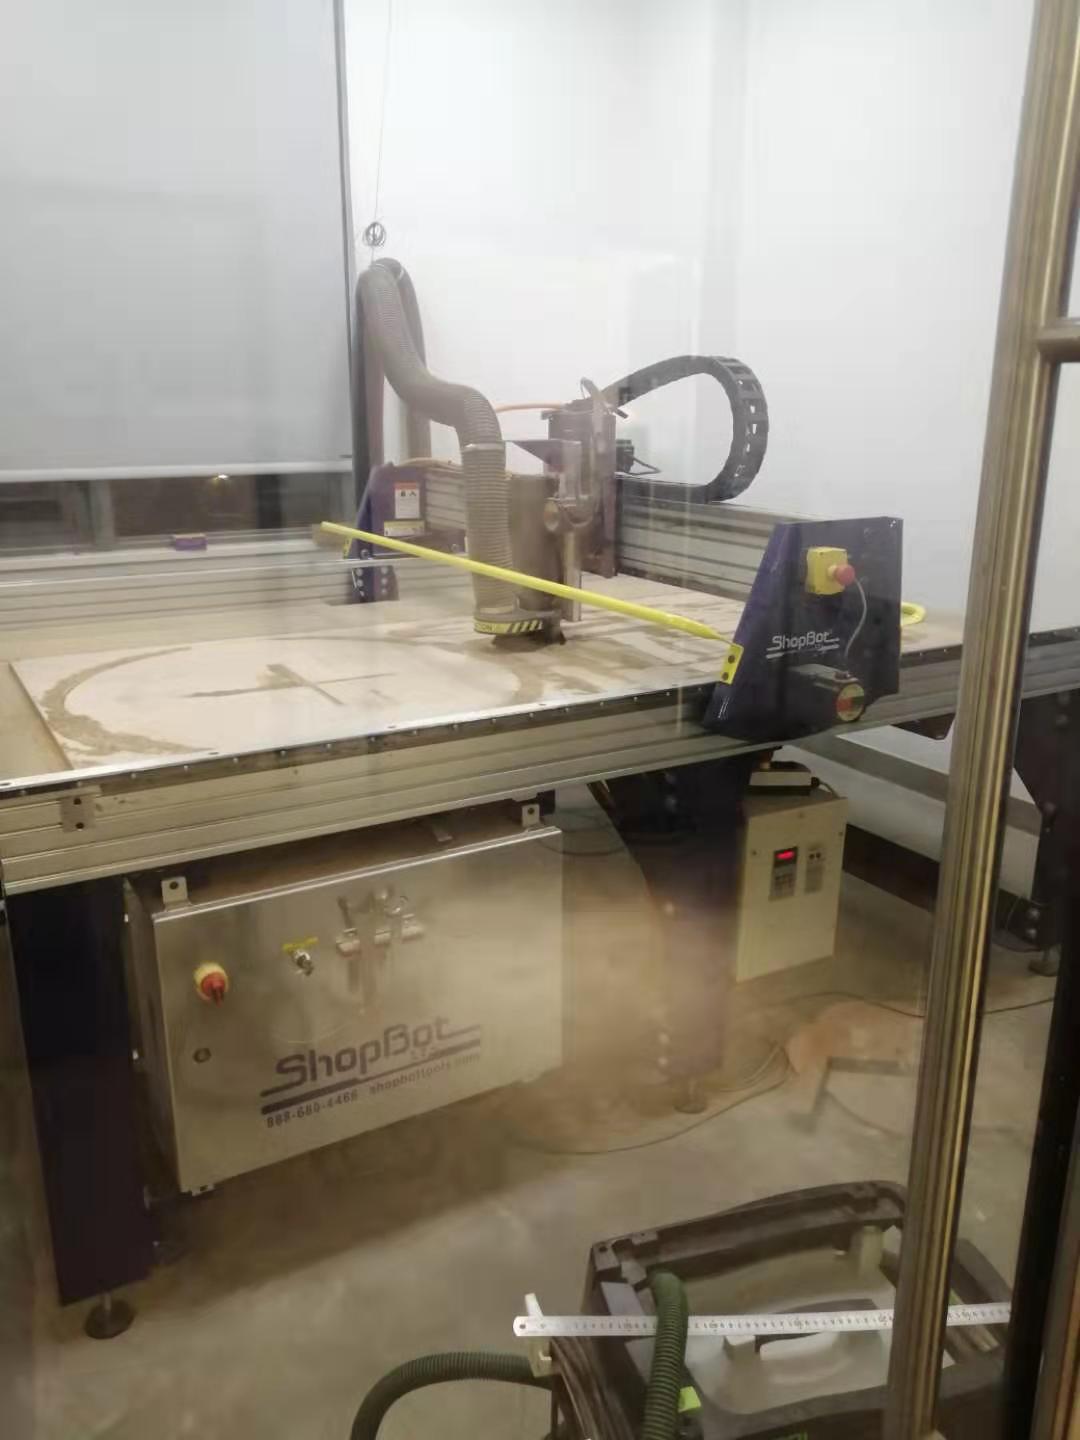
We will design something in the CAD softwares that can finally be cut by the machine using plywood. First, we have to decide what do we want to make. I found a very well written tutorial that's telling you how to make a parametric design step by step. So I decide to follow the instruction, since after a considerable amount of time of consideration, I still can't come up with anything else:(
I have used four paramaters in the design, because there will be three variables that need to be further decided: the size of the sheet of the plywood that we will cut, the thickness of the plywood, the diameter of the end mill.

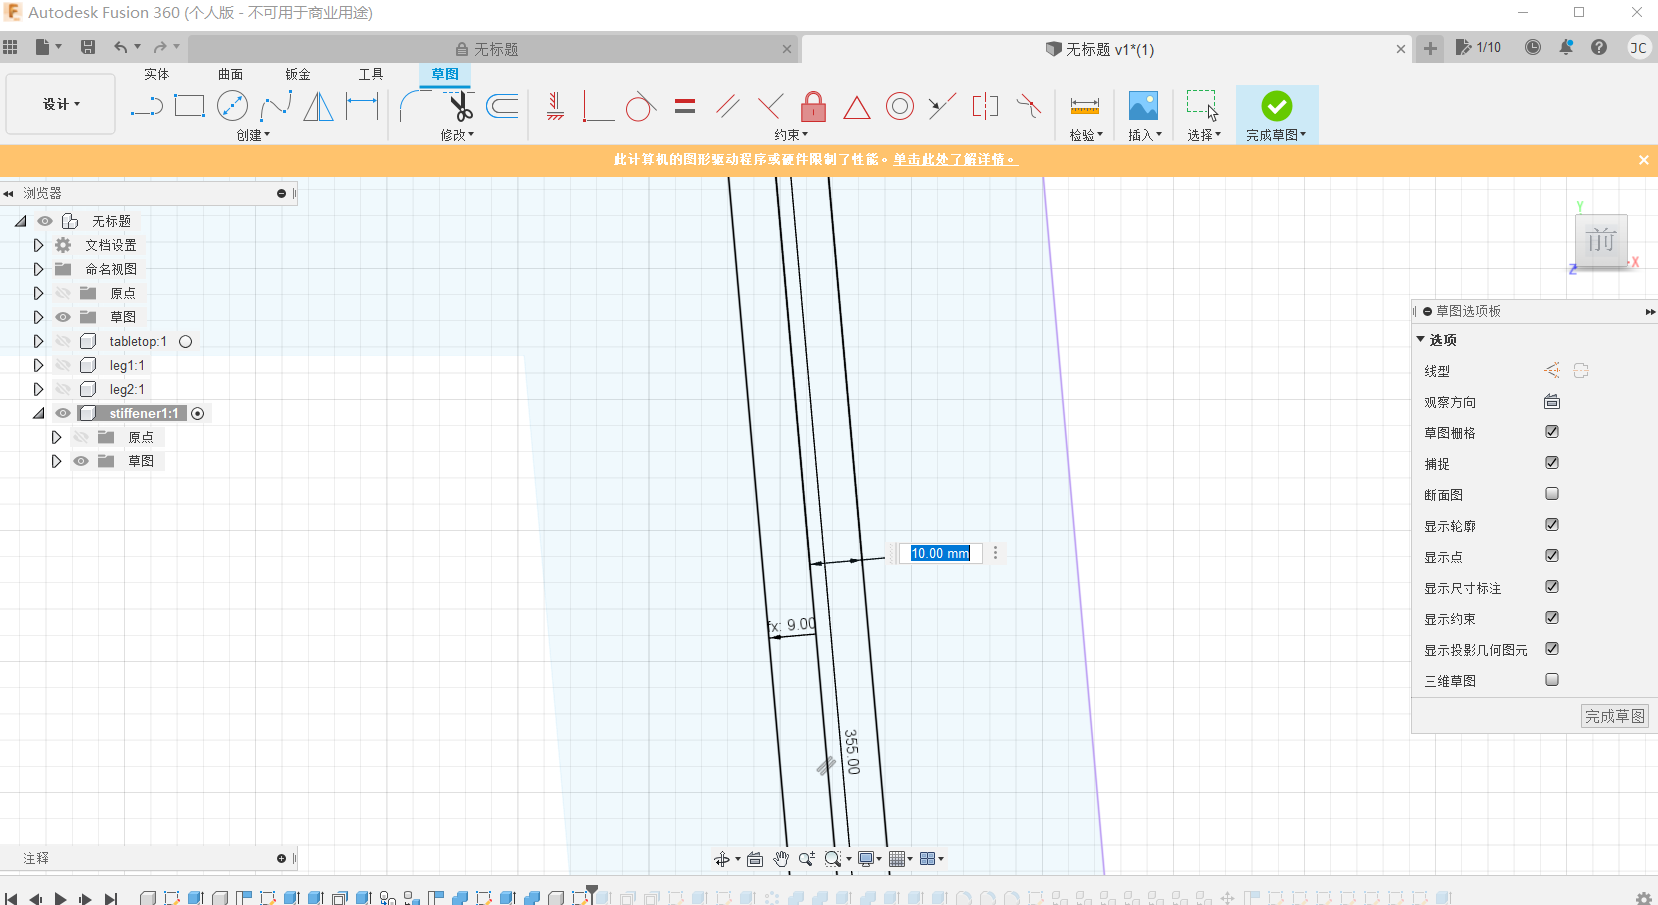
After finish designing, I confront an error as you can see in the image below. an unnecessary part extuded at the bottom of the stiffeners when I change the parameter for "plyw".
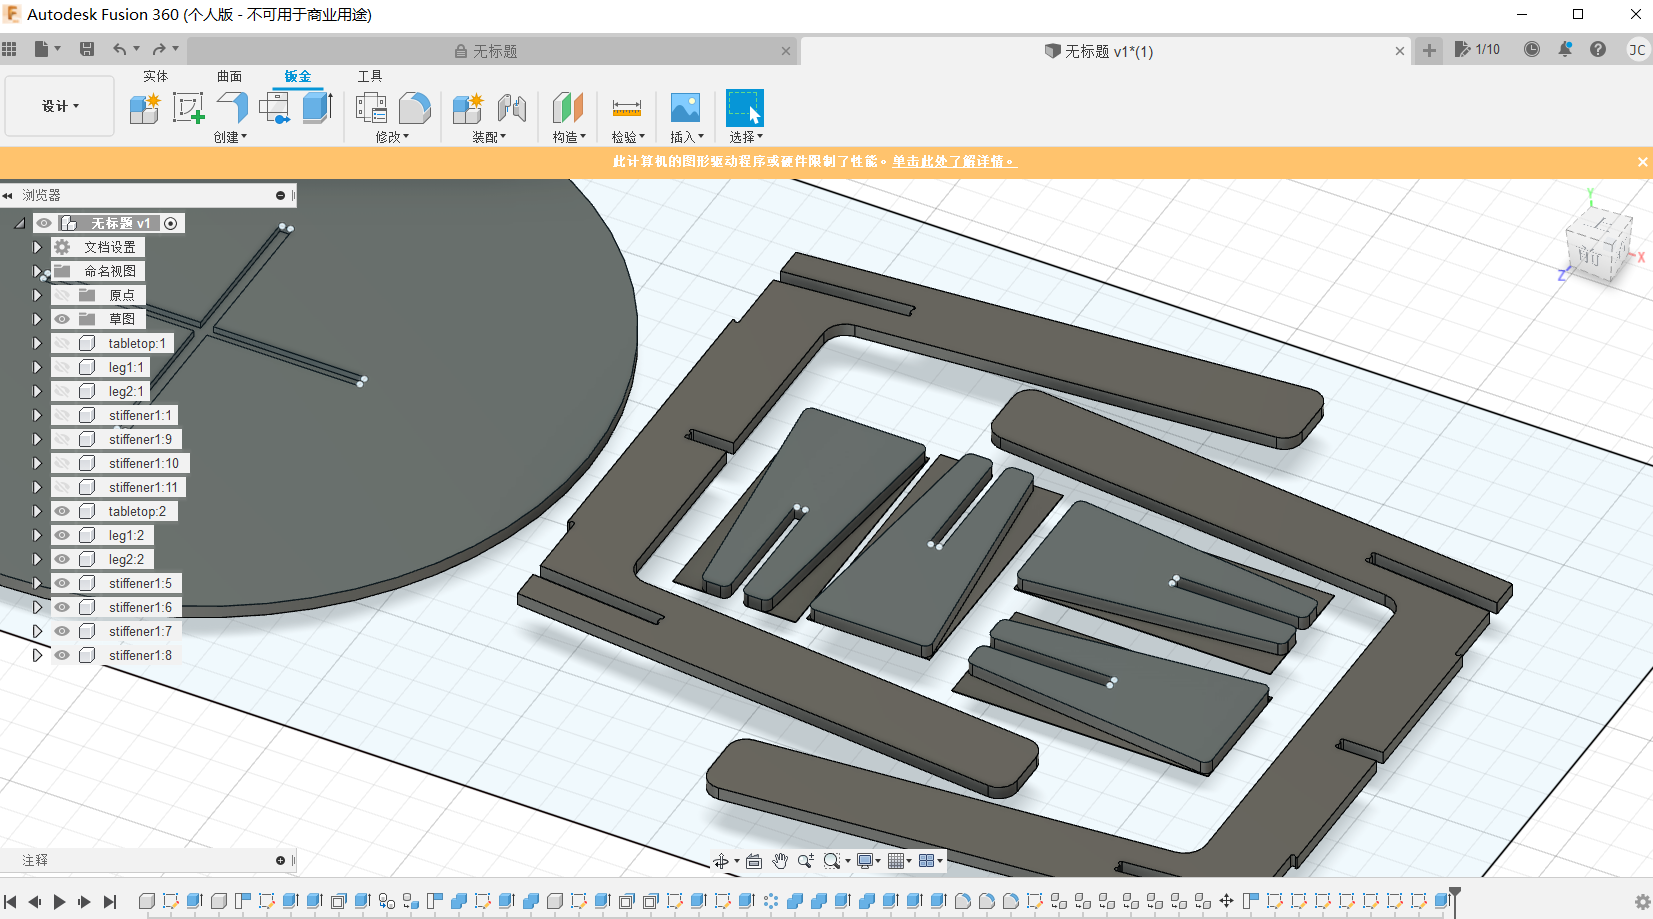
Thanks to Fusion, we can trace back every steps we make. Then I find the problem first occurs on this step.
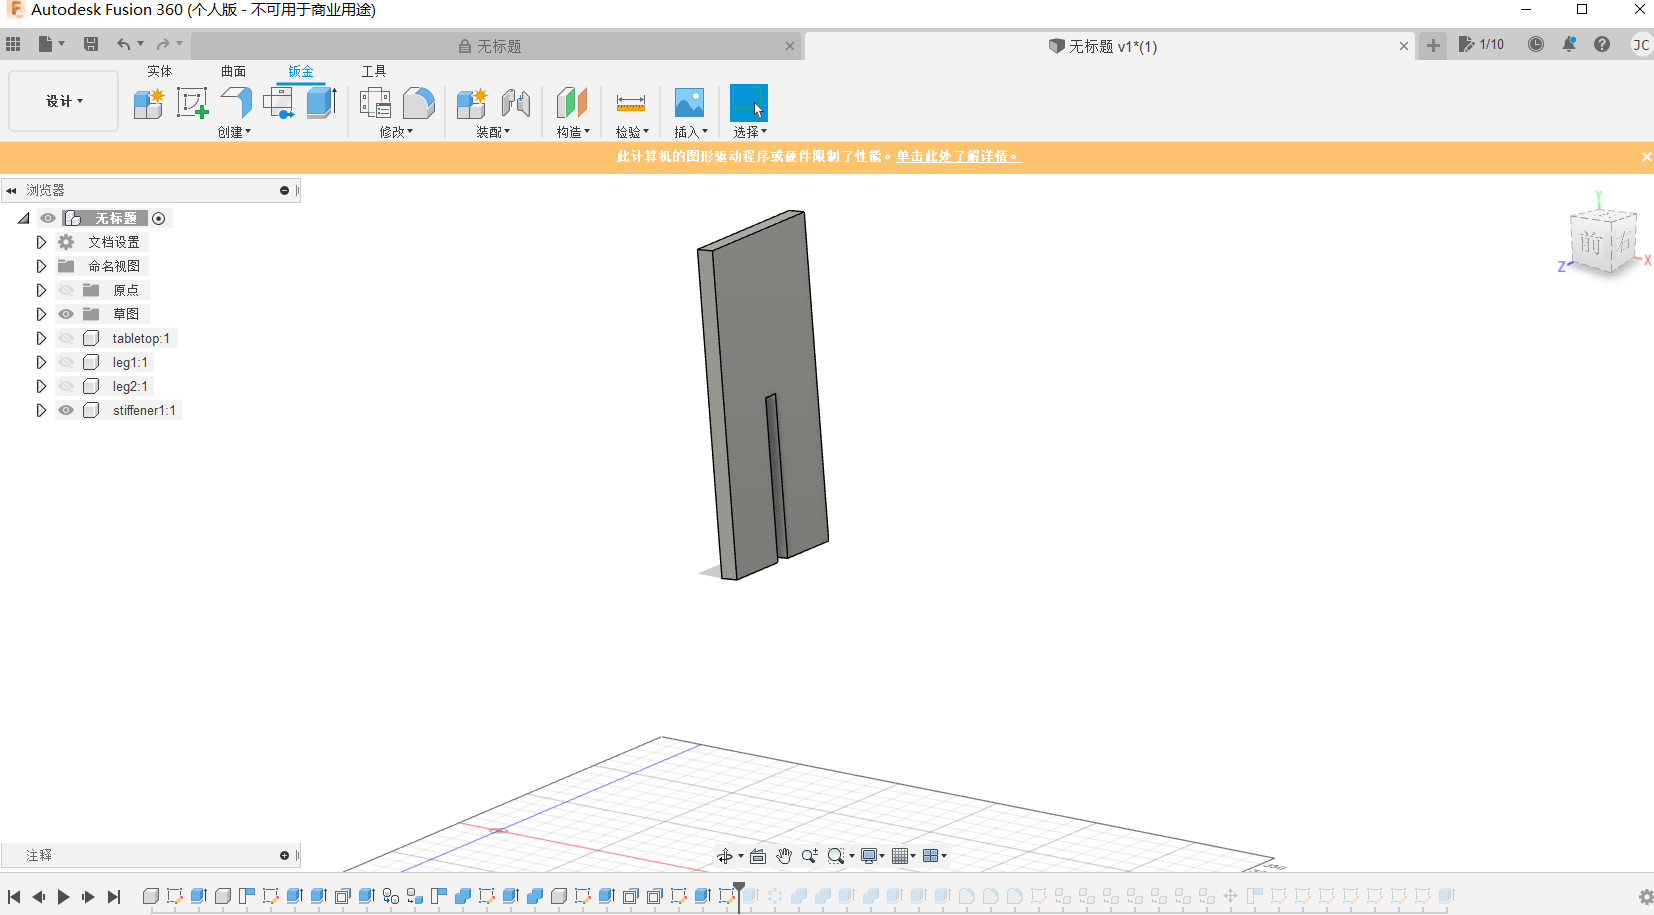
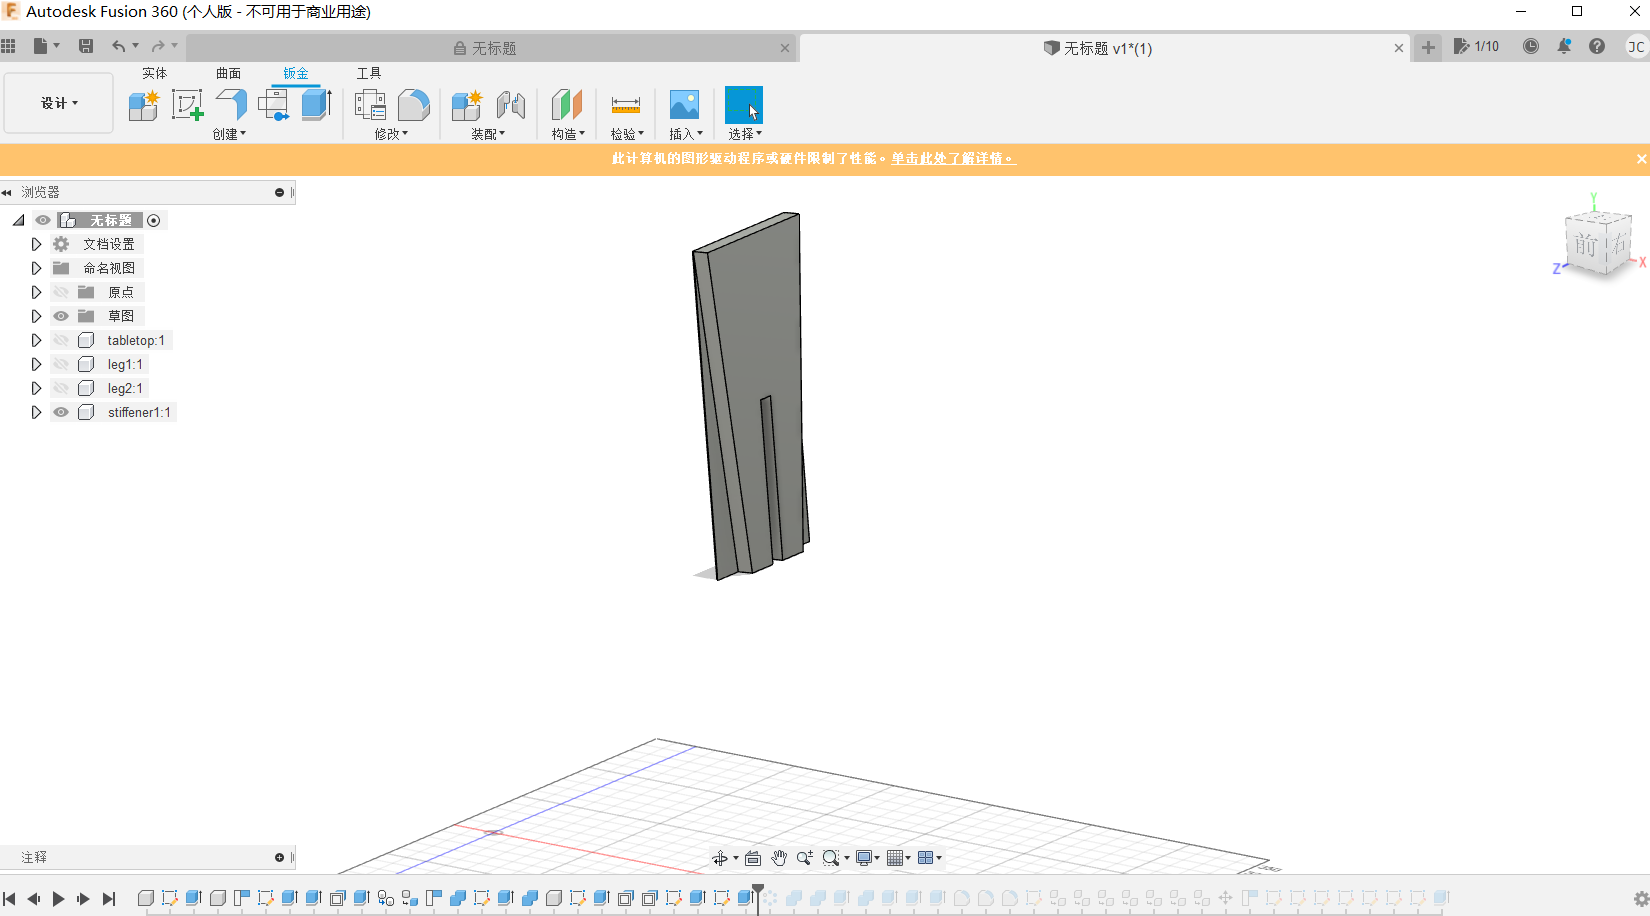
This is when I try to cut off some part of the stiffener to form into desired shape. I check the depth of the cut through, which is parametric accordingly. So I was thinking, if the cut through is correct, then there is something wrong when I extrude the sketch for the stiffener in the first hand. Maybe it was extruded overabundantly. Then I go back to check the sketch when the stiffener first extruded. As you can see, the distance should be parametric, or 9, not 10. I was right.
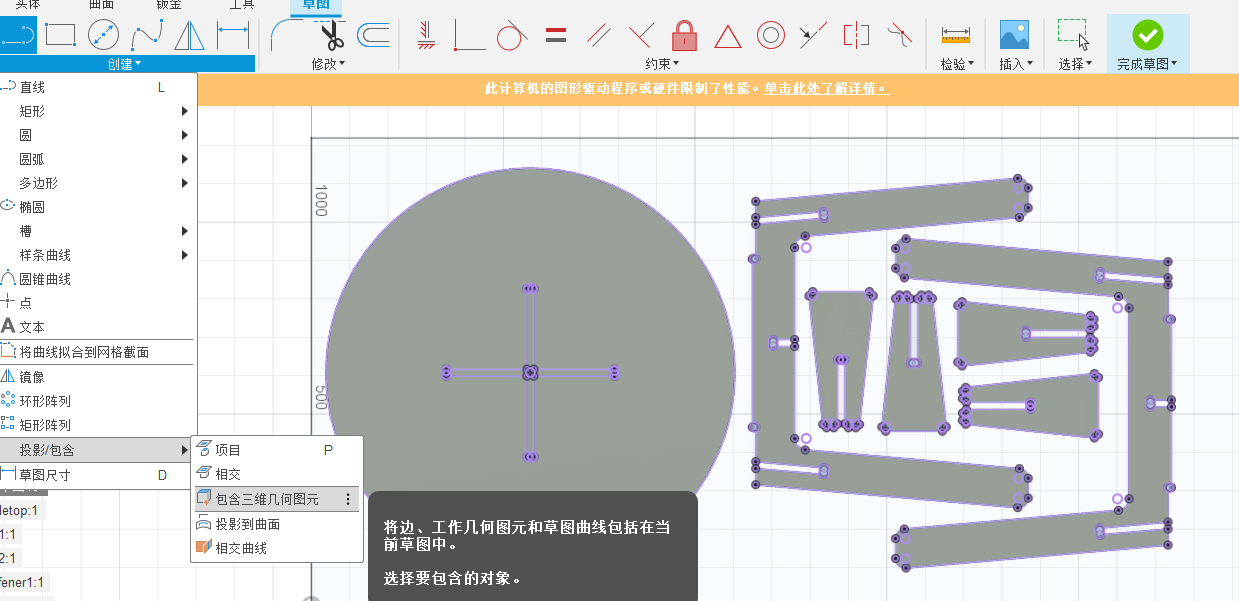
I want to double-check it in Rhino, to see if all the shapes are correctly measured. But you can't export a dxf file directly from Fusion. To do that, you have to create a new sketch on the plane axis, select project -> 3d geometry, then select all the parts of the design, close the sketch. Then, save the sketch you just made as dxf file.
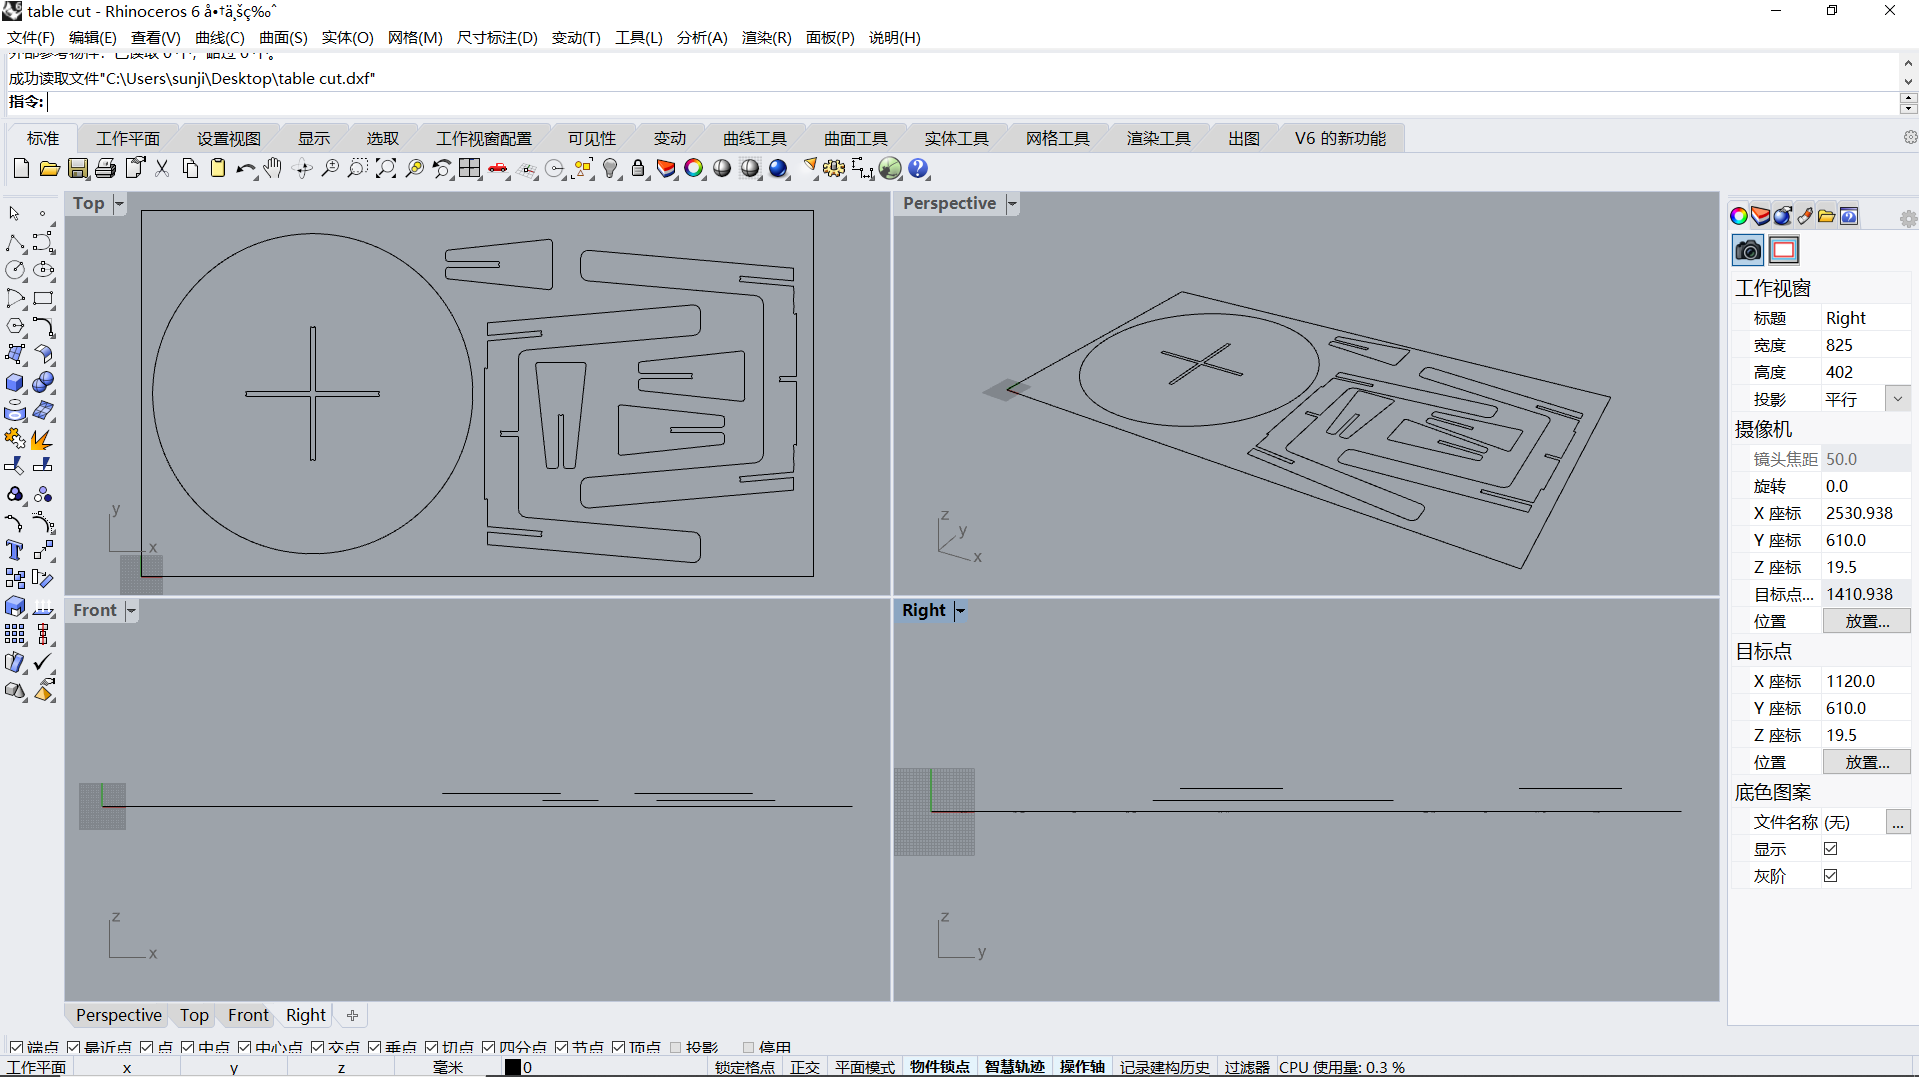
Import the file into Rhino. Draw the sheet and do the nesting. Export it again as dxf file.
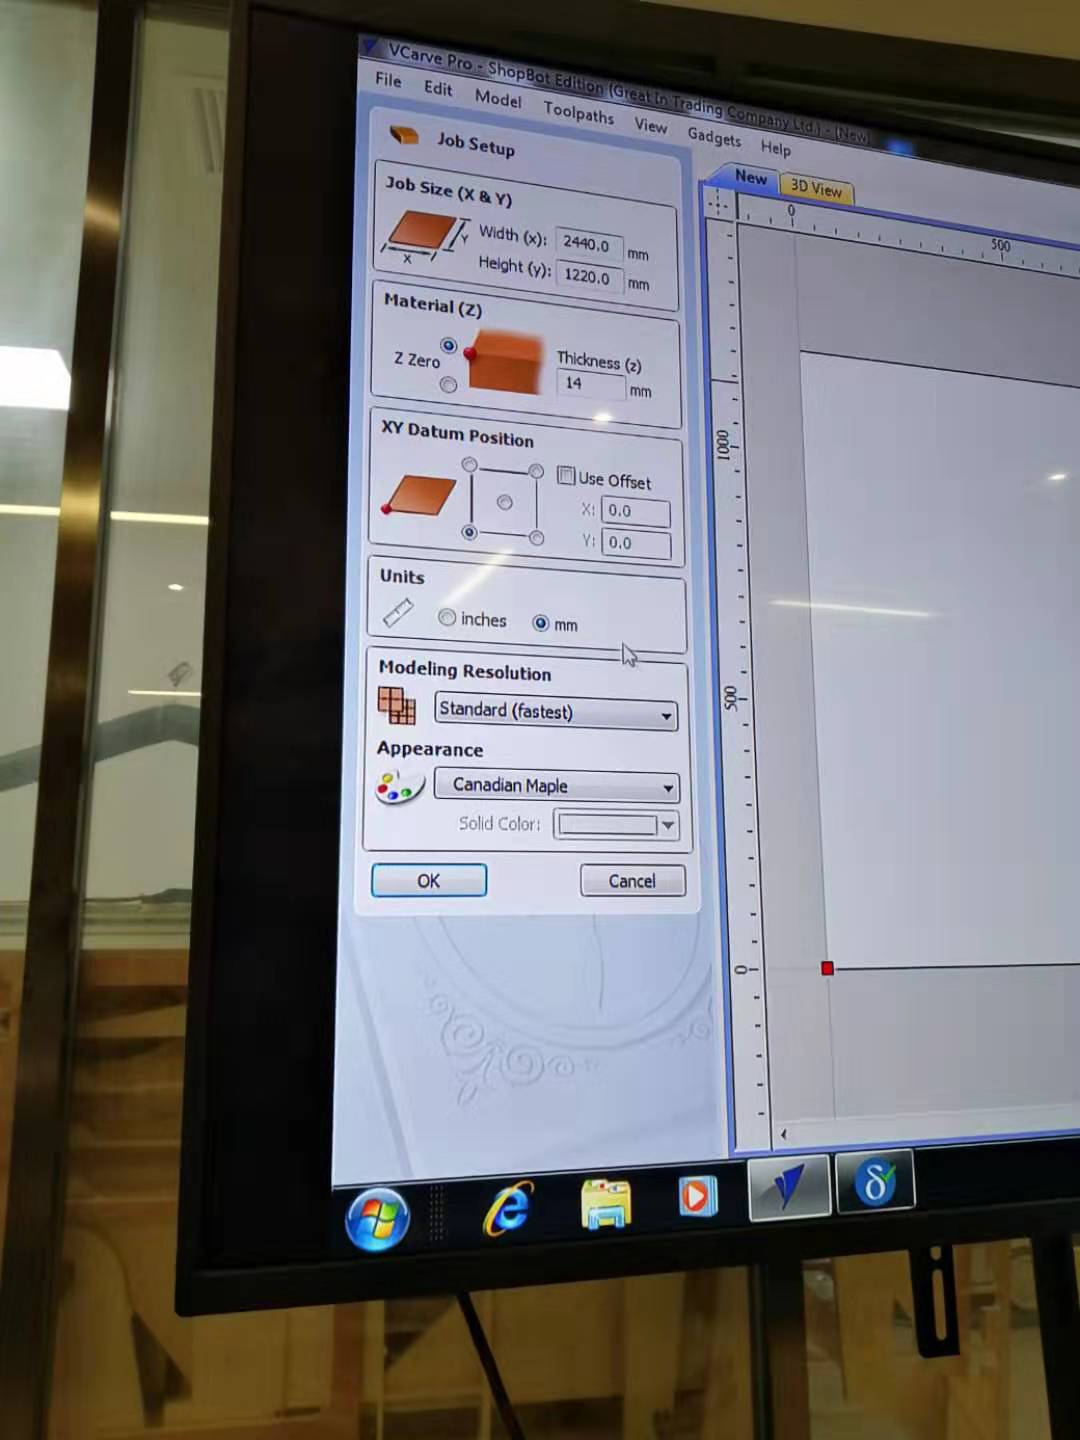
Import the file into VCarve. Fill up the data. We separate the file into two. each for one cutting, because we use different endmills. Now, the file is ready for cut.
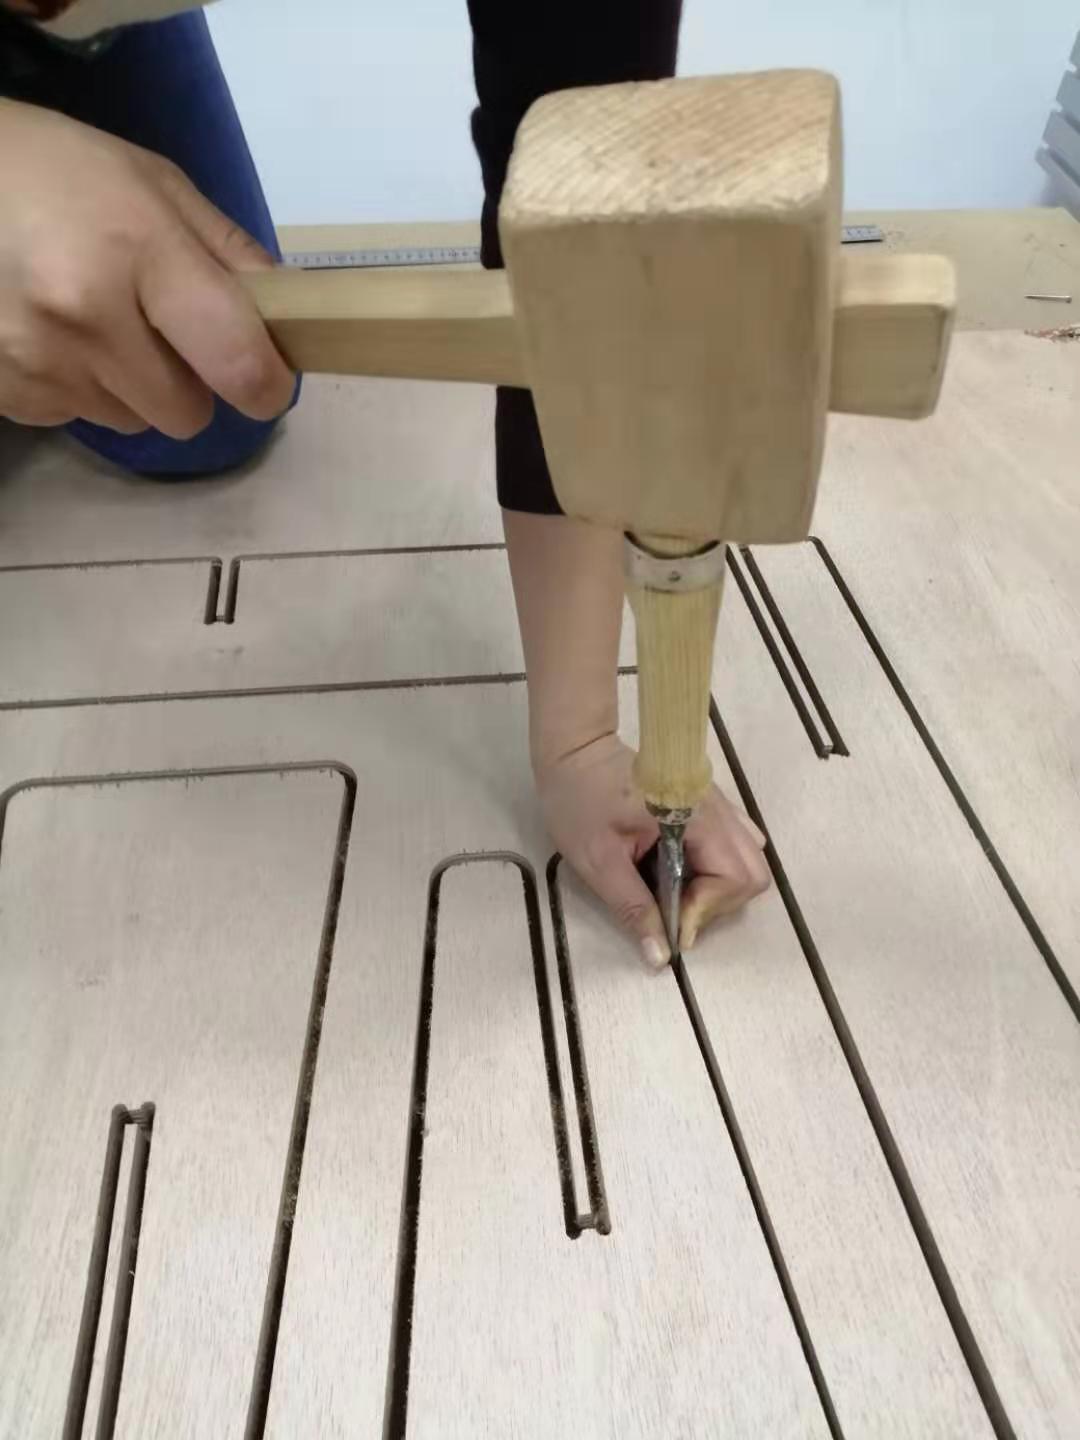
Get ready your plywood, and fix it to the bed using nails. Load the endmill and Zero the axes. we leaves tabs around every parts of the design, and we do that on VCarve. So that when cutting, no part would disconnect from the sheet and disrupt the process. the picture is about how we remove the tabs.
I also spend some time triming. After the board is cut, I realize my table is bigger than my expectation. Since the place we do the machine cutting is different from our lab, we have to take all the parts home when we leave. I decide to roll back my table top, and with the help of one of our lab member carrying some of the remaining parts. (thank you Alisa) We find out it's pouring outside.

Below is the full image of my table.

File: