Week5 – 2020.3.3
6.3D Scanning and Printing
Objective: test the design rules for my 3d printers; design and 3d print an object; 3d scan an object.
1.Setting the printer in Cura
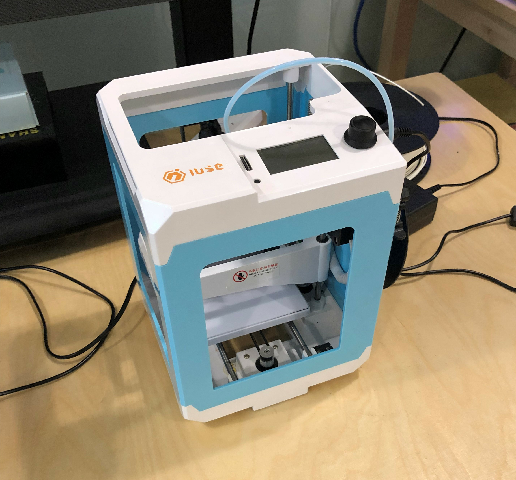
Before testing the design rules, you have to load your files into one of the mesh software. In this case, we use Cura. First take a look at our printer.
This is the best printer we can get for now. I actually kind of like it, we did all the experiments together^
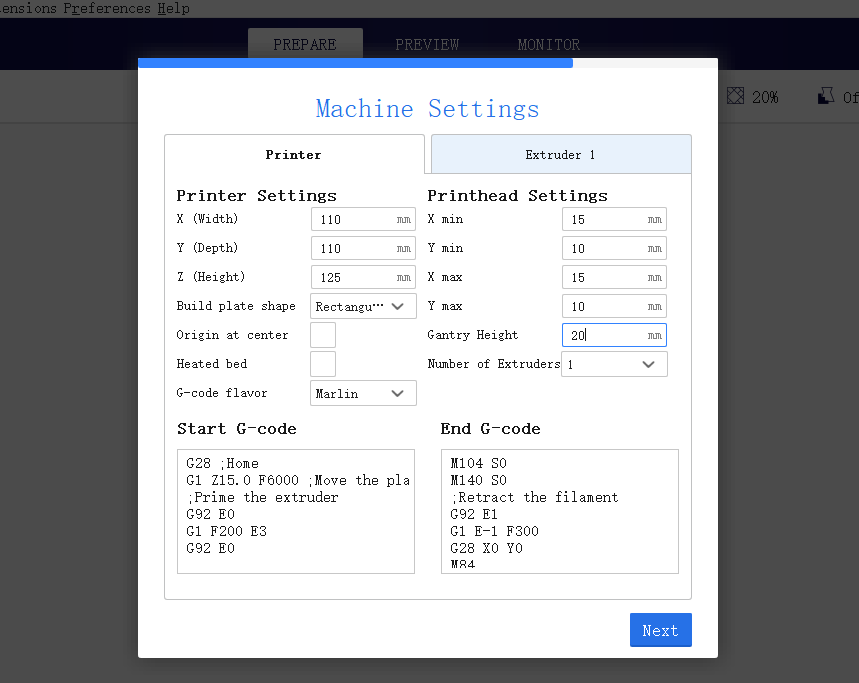
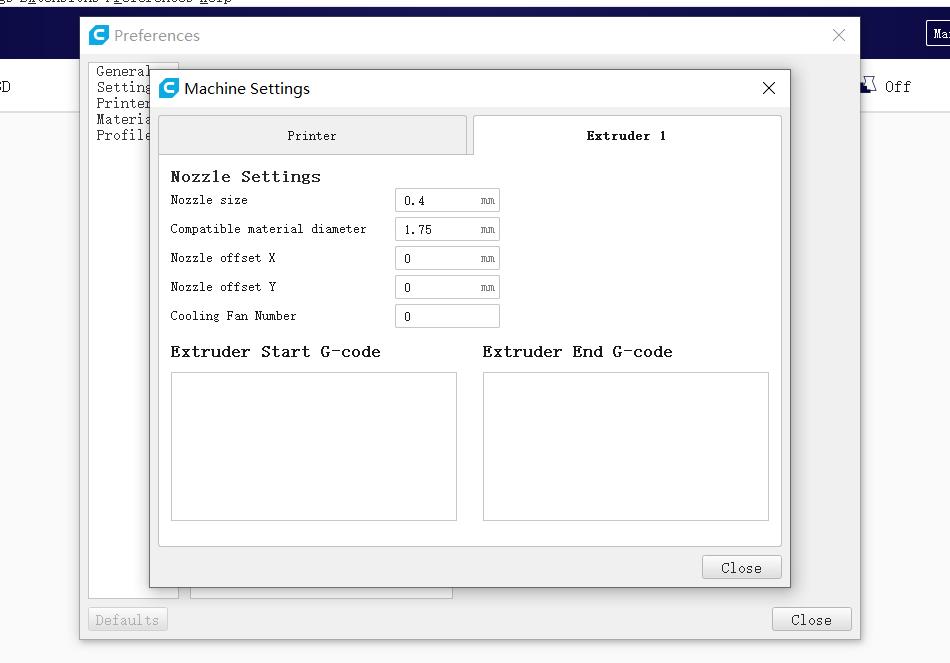
When you open Cura, it will first ask you to set your printer. Add a printer, and fill the parameters as follow.

2.Test the design rules
Before going on, one thing to be noted is that a design rule is always accorded to the printer. So if you change the printer, the design rules will also change, and you will have to test it again for that printer.
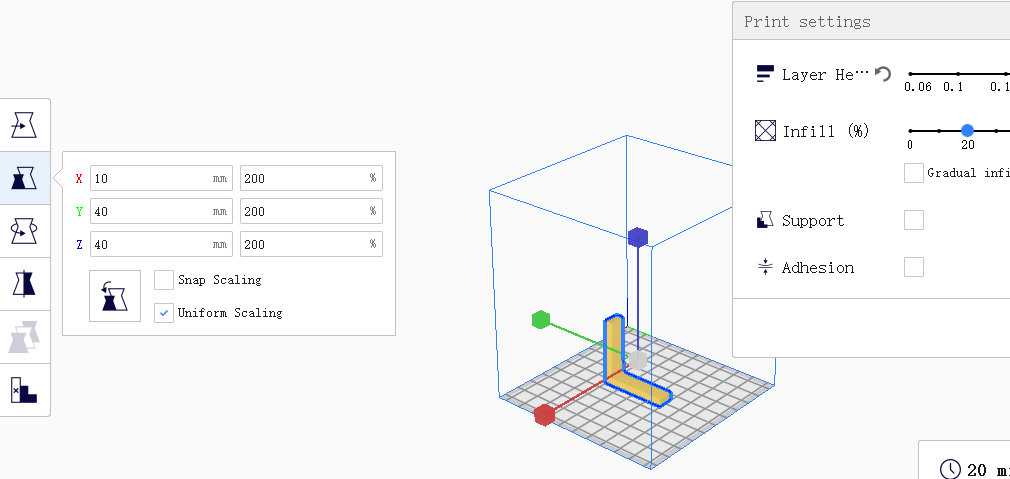
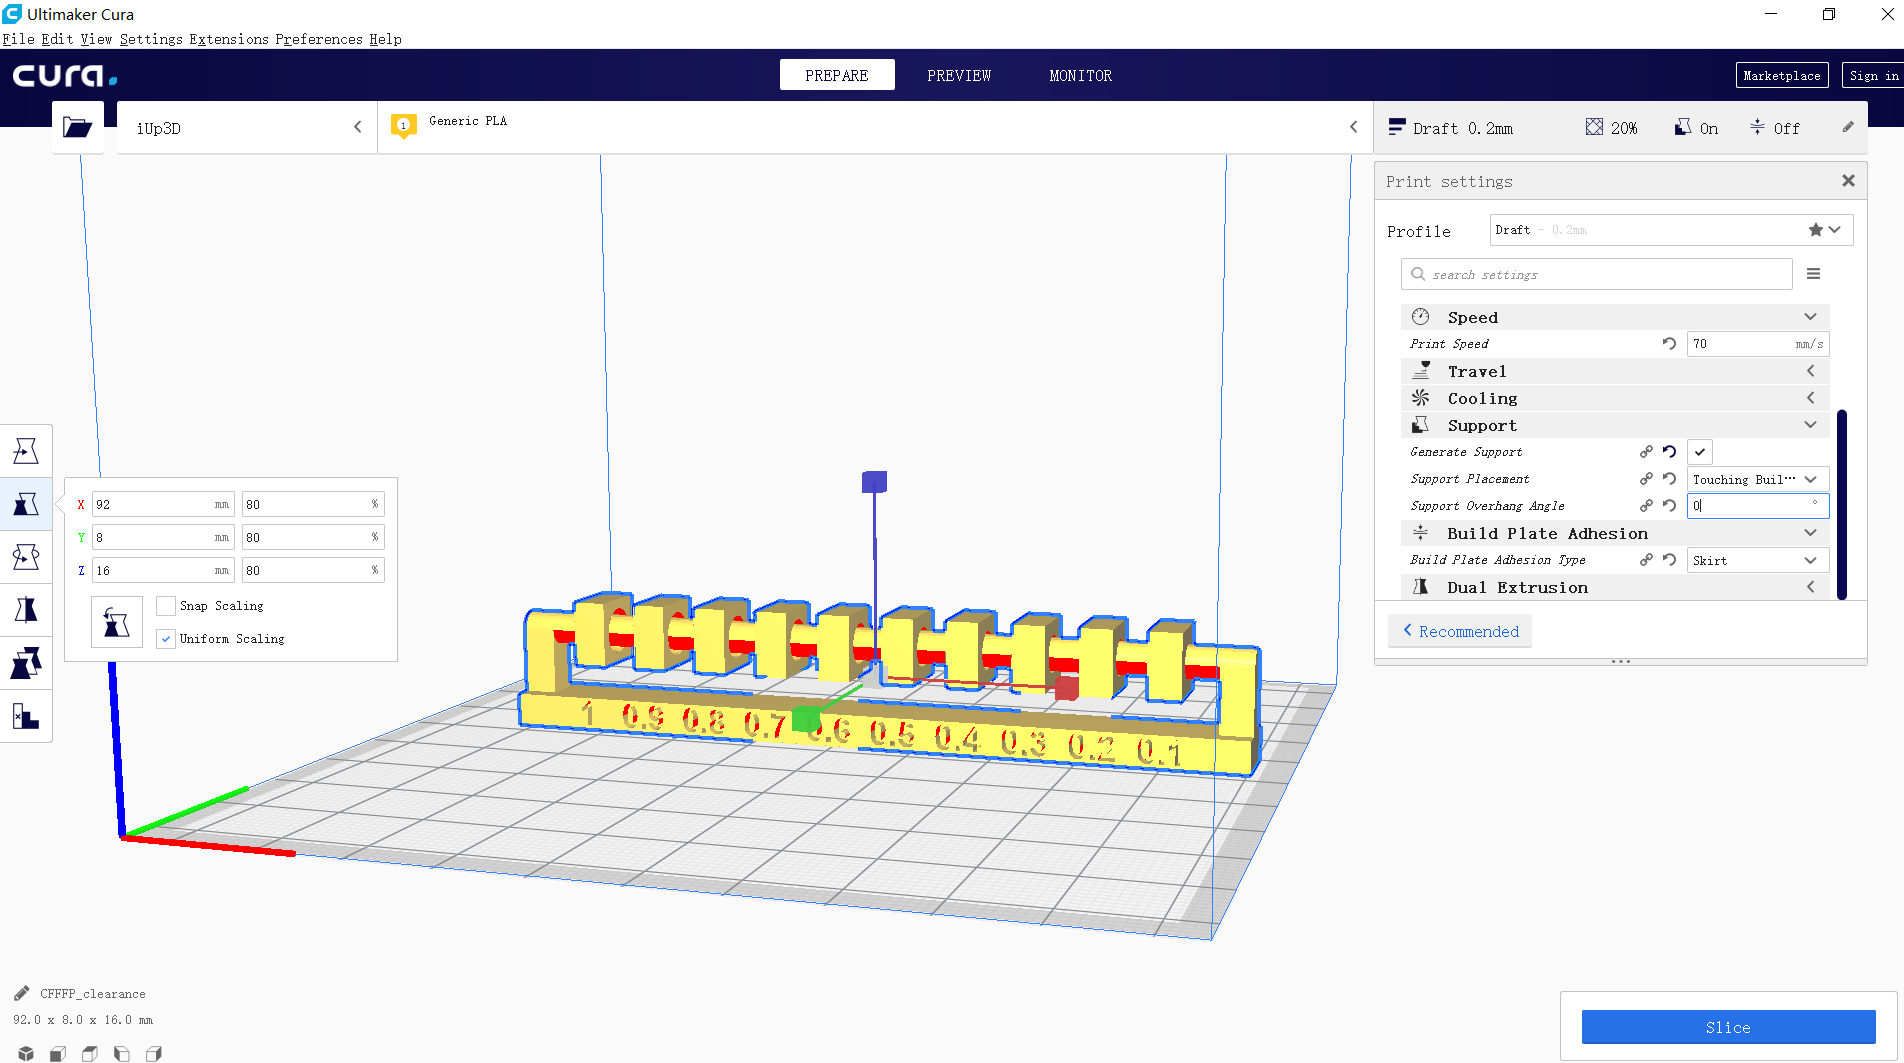
We load our first model for testing, and these are our parameters.
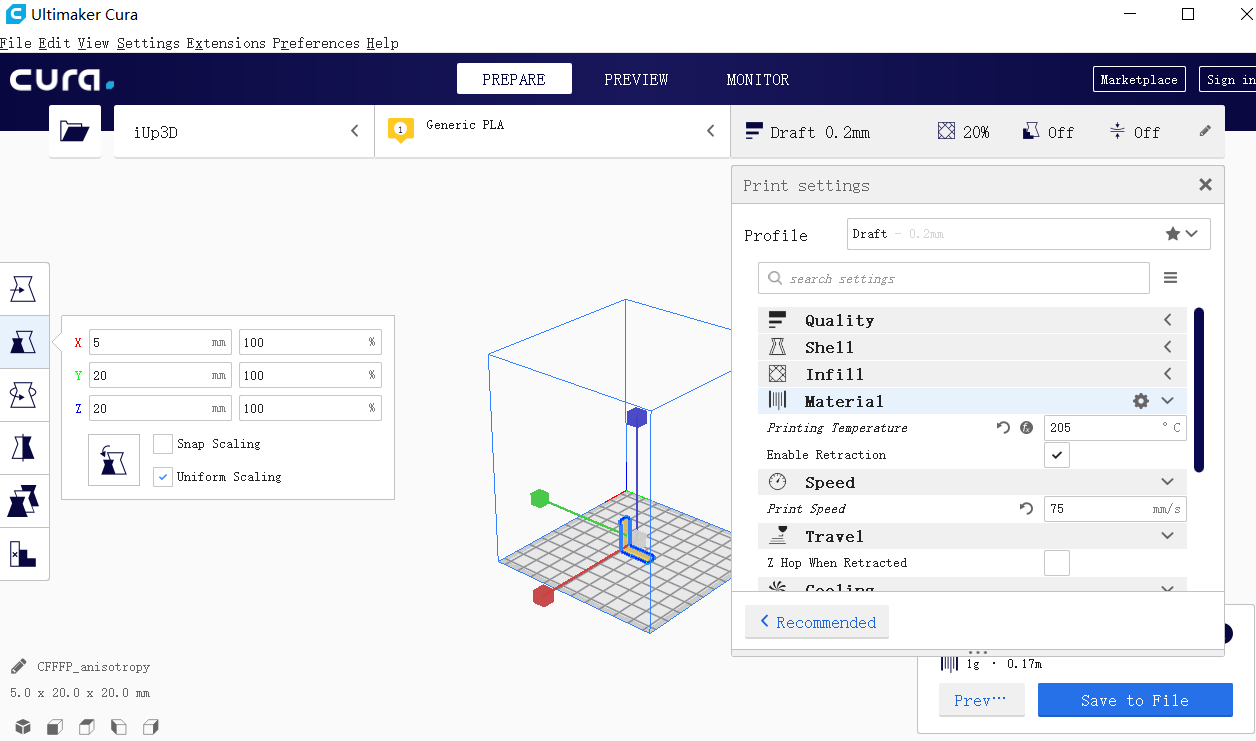

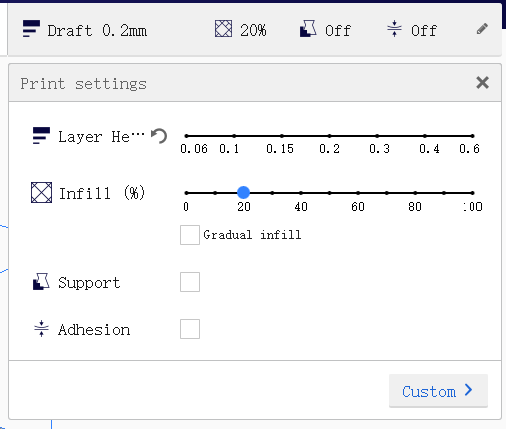
We set the layer to 0.2 mm per layer and the infill.
Because the original model is too small in the software, we enlarge it to 200 percent.
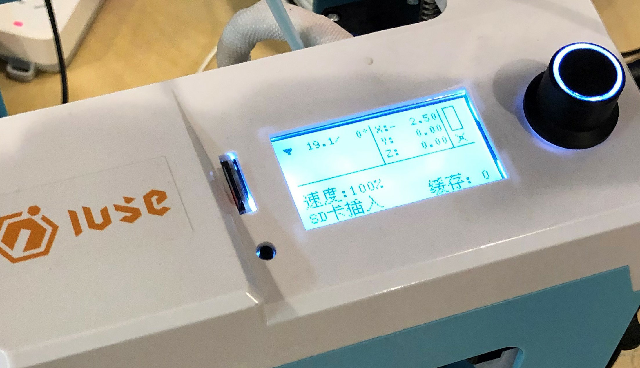
Then we transport the file from the computer to the printer using a SD card, but I forgot to take a photo of it.
Set the printer as below. You can also see the SD card.
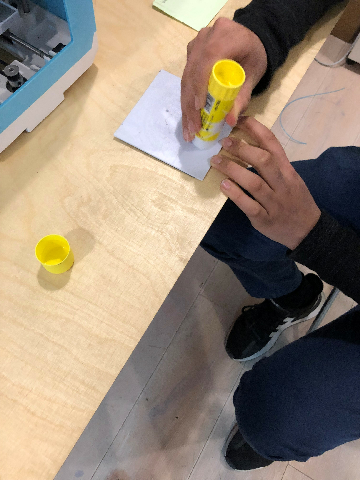
Wash clean the heatbed, and glue it. It helps stay the filament.
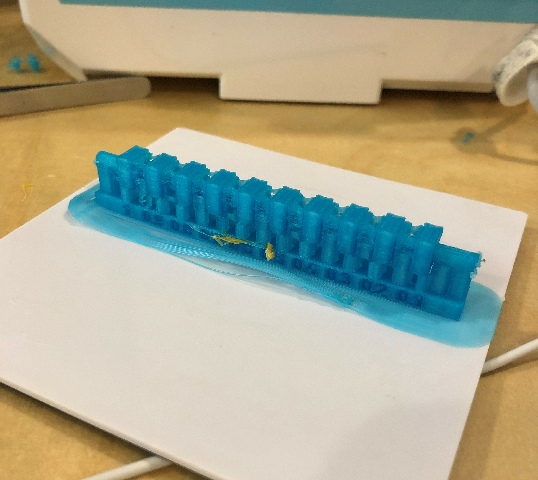
Print it, and the result
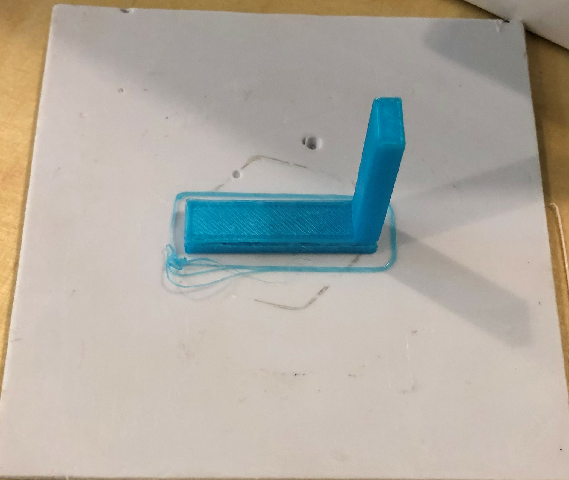
Result:
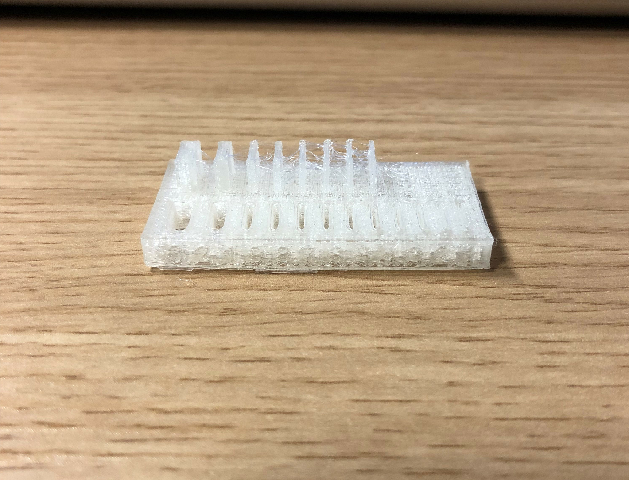
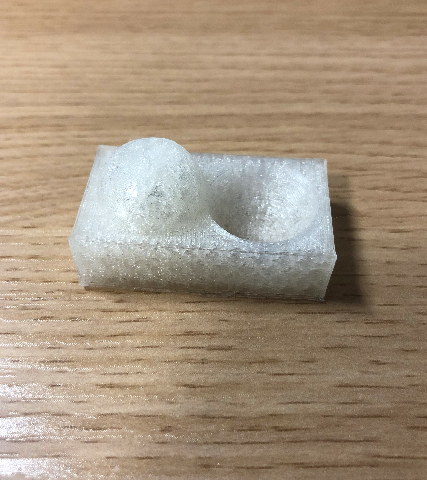
First of all, as you can see in the image there is a missing layer below. I think this is a case of under extrusion, which means the printer doesn’t supply the amount of plastic it is asked for. One way to fix this kind of problem is to slow down the speed. So for later testing, I turn the speed to 70.
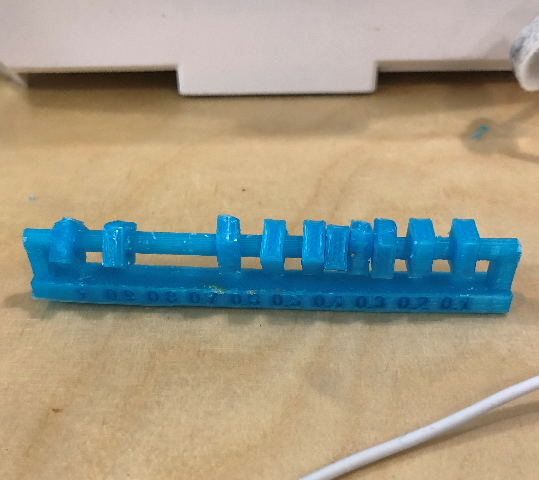
Second of all, this model tests for how the filament goes will influence its structure. So, if you bend the lower and the upper part with your hand, the lower part is more flexible while the upper part feels very rigid and is also said to be more fragile.
Lastly, we also test with different size and with different color of filament. It seems that flexibility is different. The more the model is thin, the more it’s flexible.
See tutorial about trouble shooting.
Notice: for all the following testing, if not specifically mentioned, the parameters will be the same.
Print the next model
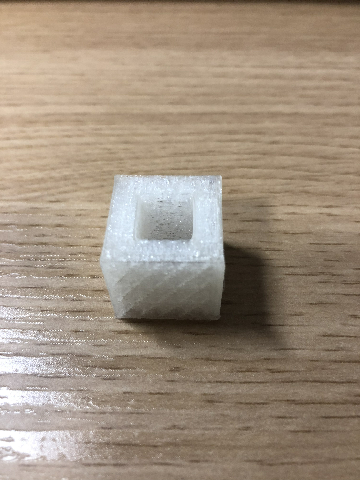
Results:
The walls disappear starting from 0.4 mm. But for the gaps, you can hardly tell. The gap becomes smaller and smaller, until it leaves only traces.
Importing the next model, and scale it to 80%, because the original model is too big.
Print it.

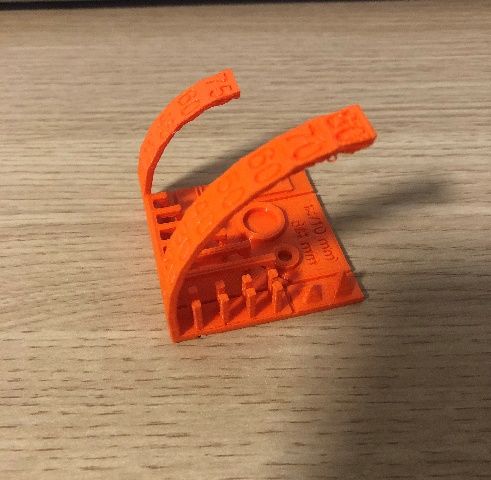
The result is not good. After consulting our instructor, I realize I need to put support blockers inside those rotating parts, so that the printer will not put support in them.(a tutorial I watched) On the other hand, I also change my parameters to give more support around the model, so that it won’t fall. Below are the parameters of the blocks and the model.
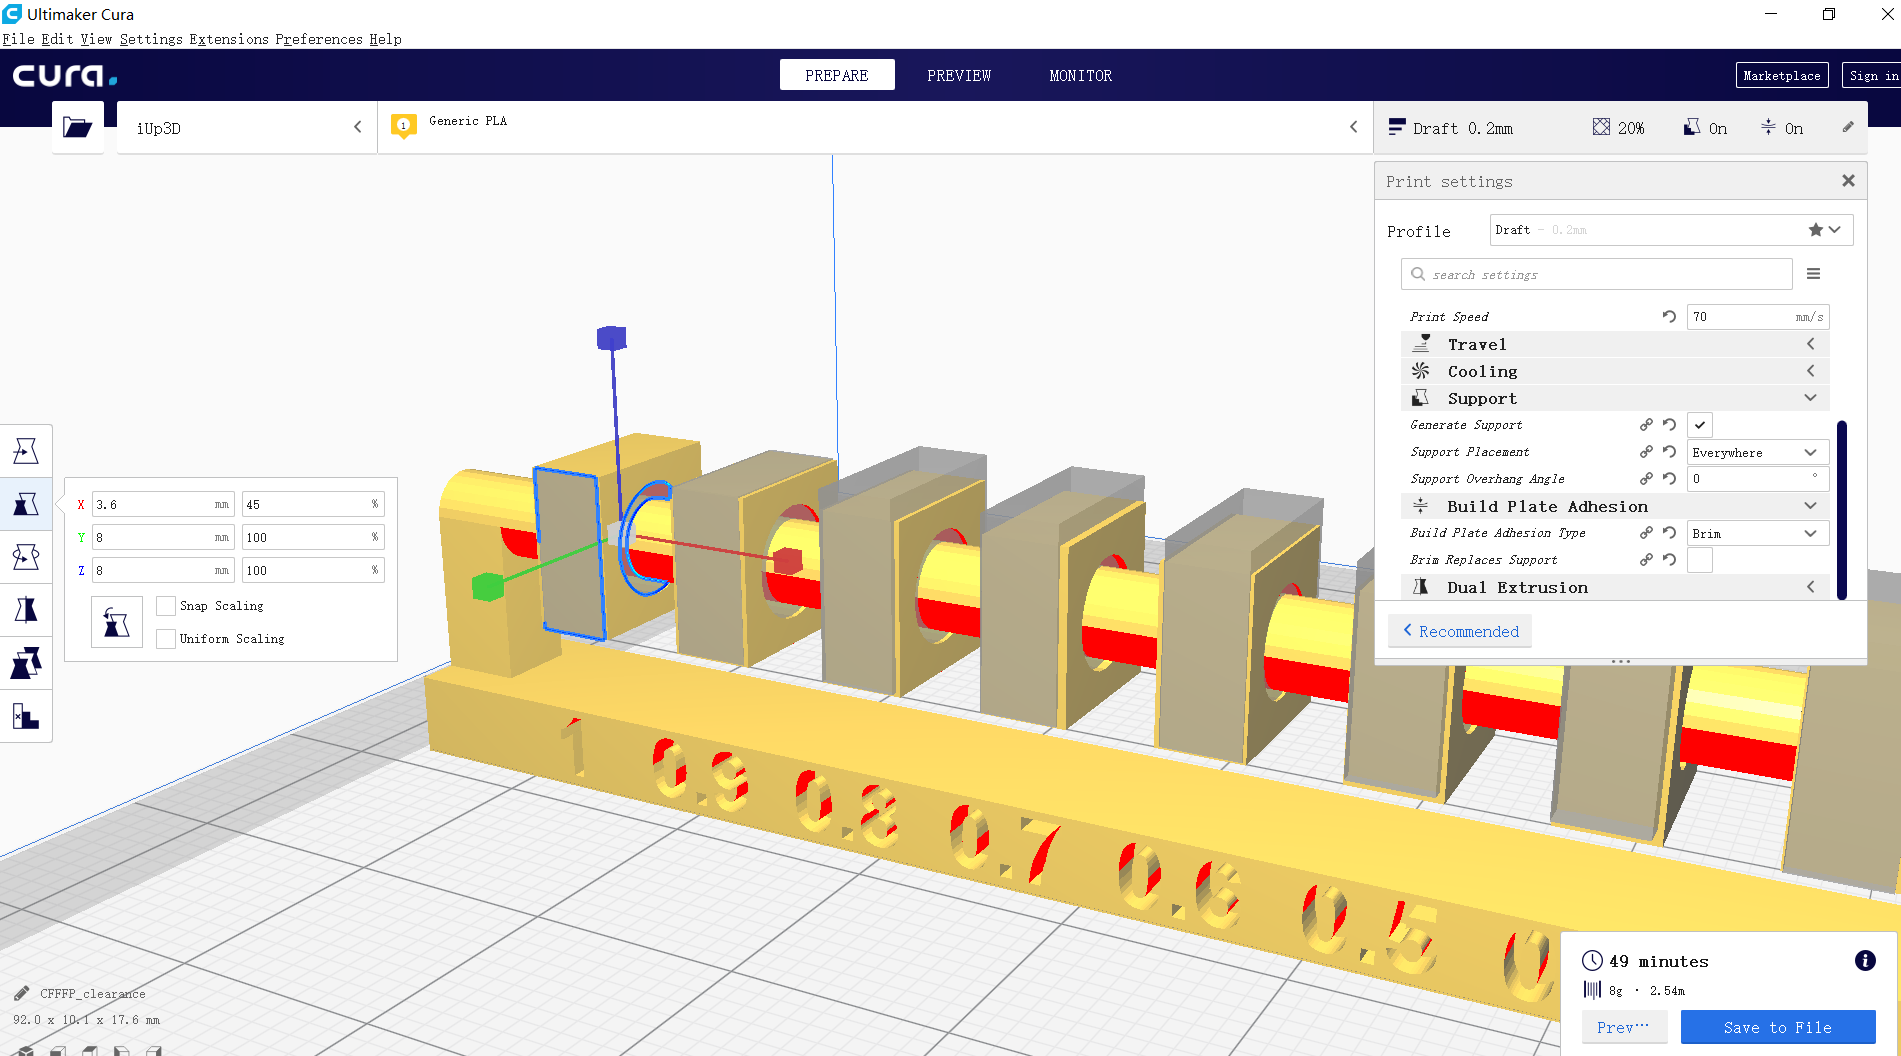
The result is pretty good.
Results:
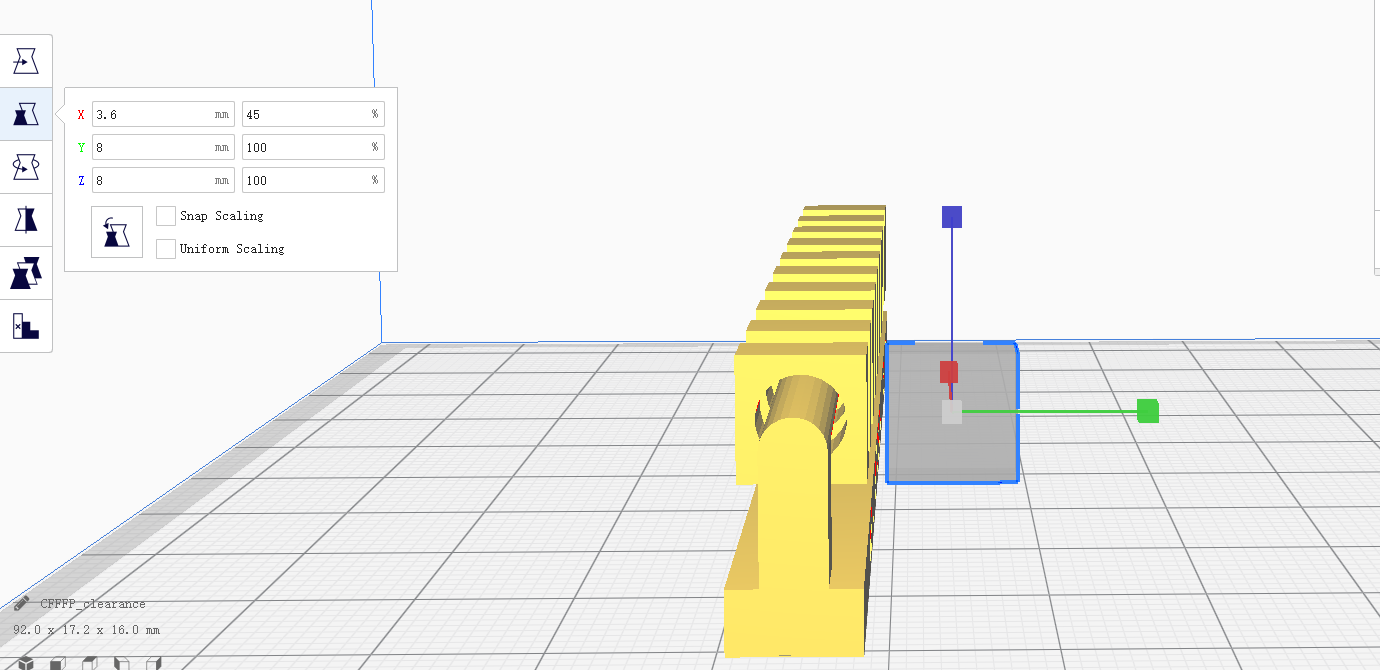
The parts are able to rotate until 0.1 and 0.2 mm. so if you want a rotating part, the smallest gap between the part and the axis should be 0.3 mm.
Results:
This model mainly tests slopes’ influence on printing. More tests can be done with different layer heights.
Results:
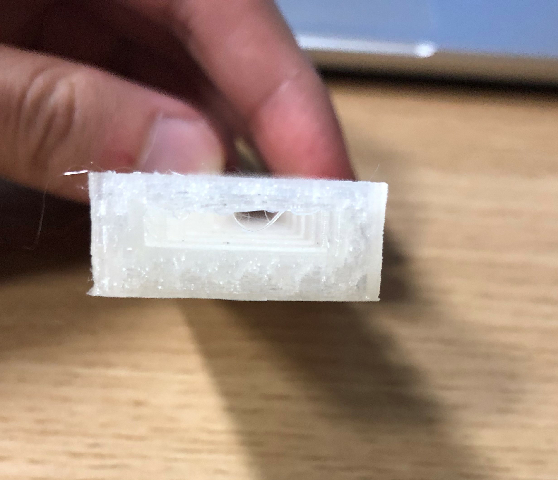
The horizontal overhang even gets fuzzy from the very start.
Results:
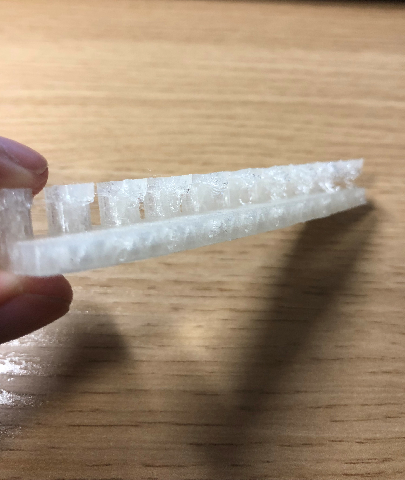
Surprisingly, if you have a bridge, you can reach pretty far without getting fuzzy. But when it’s up to 20 mm, you can see the filament is falling.
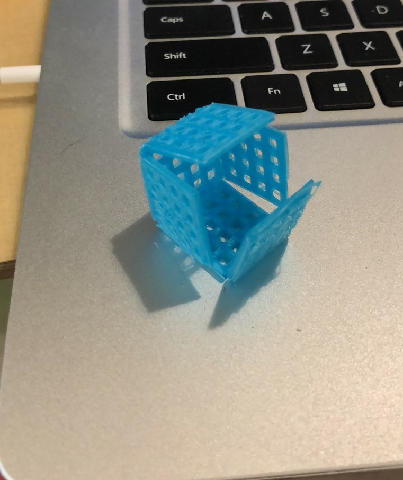
Results:
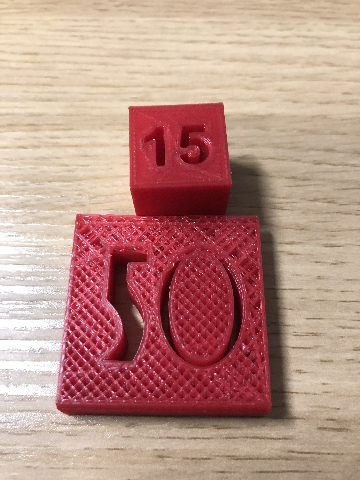
These models give you an idea of how different density will look like. Higher density have stronger structure but take more material and time. The 15% model seems to be a mistake and is filled with the wrong density.
Results:
0.2 mm per layer seems to be good.
Results:
This model tests for the difference between the actual distance and the distance you fill in parameters of the length of the square.
3.Design and 3d print an object
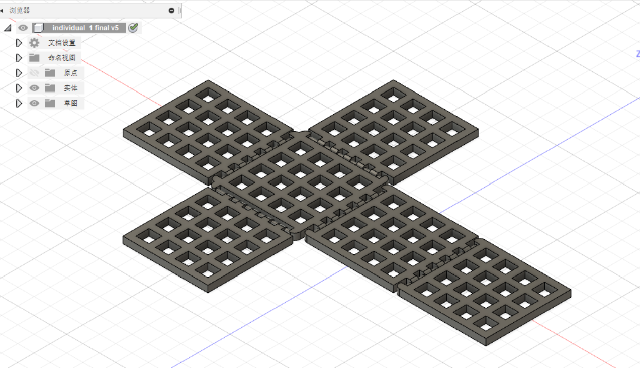
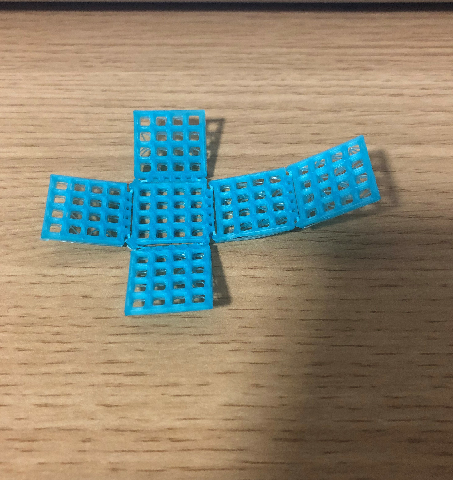
Below is my 3d design. It’s an ornament. But it also makes use of the design rules.
I make the model(download file) in fusion 360.
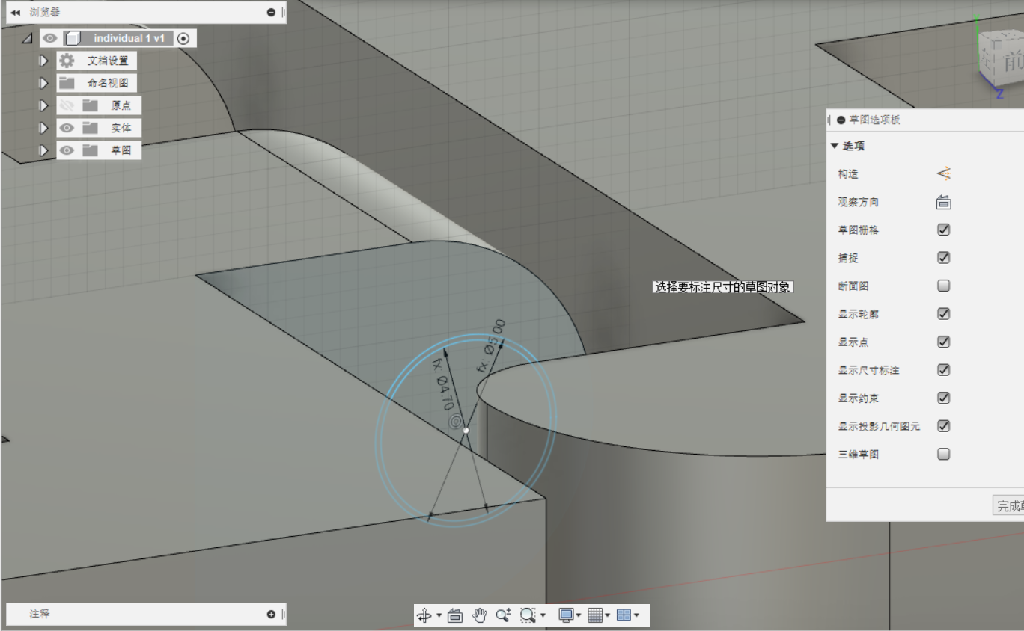
the important thing is, I want to make the axles rotate. So, according to the design rules of my printer above, the minimal gap between the axles and the parts holding them for rotating is 0.3 mm. in order to do so, I draw two circles and eliminate the gap between them. Like this:

I export the file as obj format. Open the file in Cura. Scale to 30%, and print. The result is surprisingly good, except a few retractions. Because I don’t expect the rotate will work under such small scales.
4.Scan an object
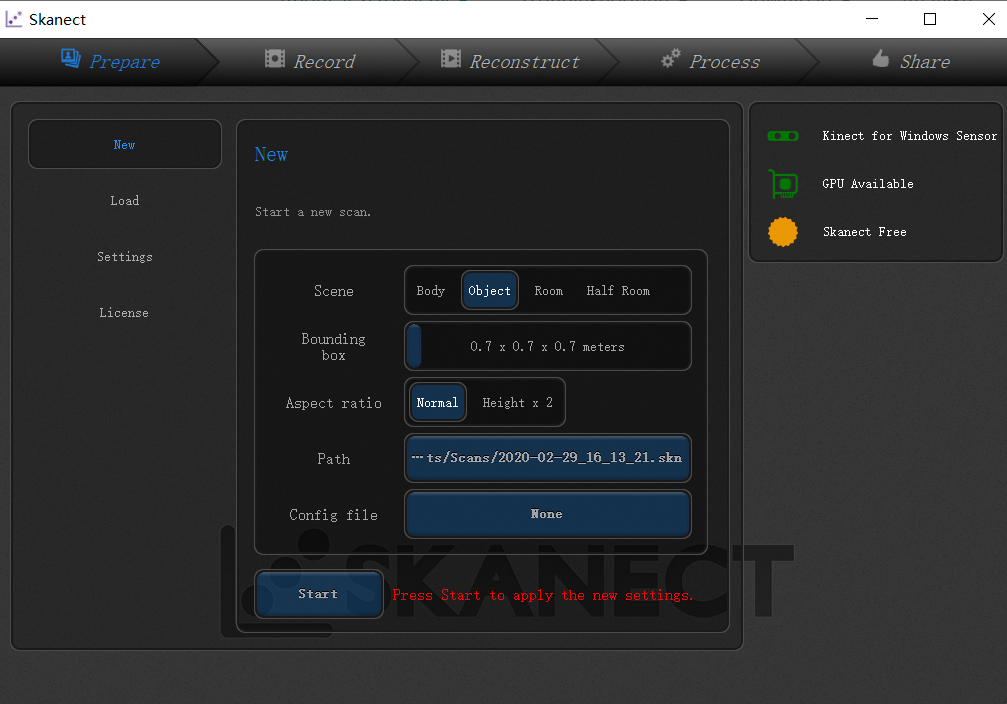
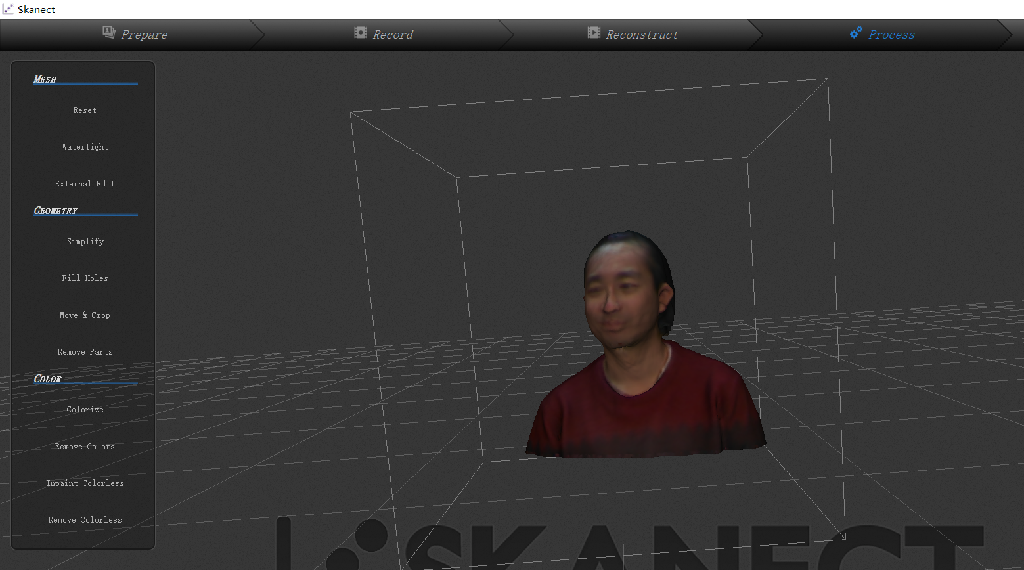
I decide to scan myself using Kinect. First you have to download Kinect and Skanect into your computer. Below is me and the Kinect.
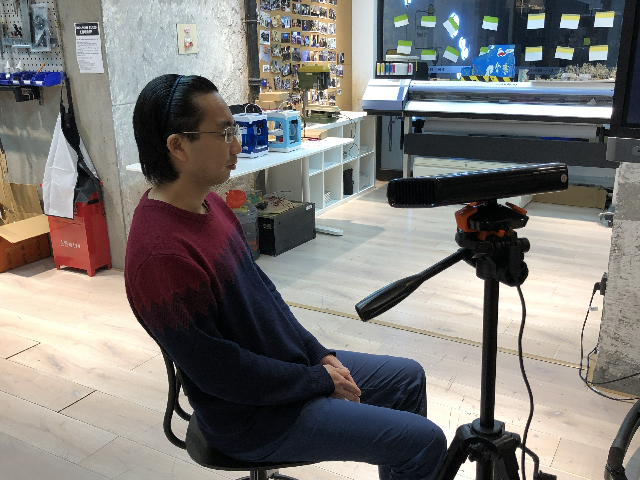
I will sit in the chair and spin, so that the Kinect will have a 360 degree scan of me. The tip is, try not to move your upper body when spinning. If you can get help from others, let others help you click the start button.
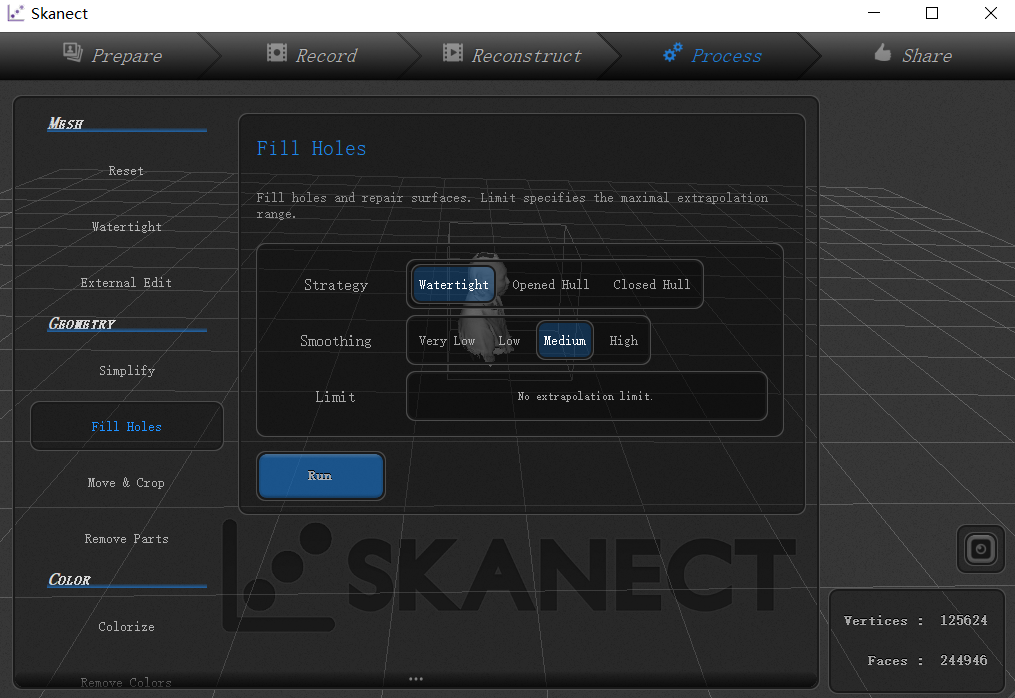
After finish scanning, trim the bottom of the object(me). To do so, we need to first fill hole.
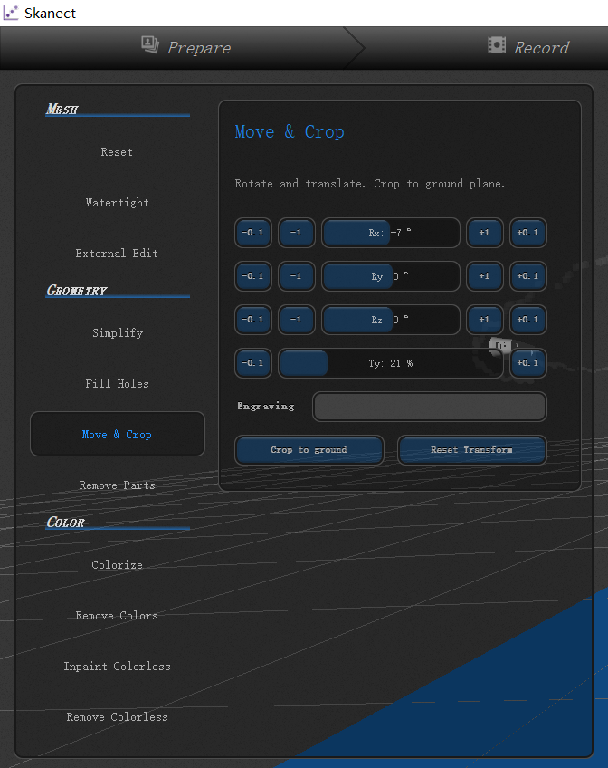
Crop the unwanted parts.
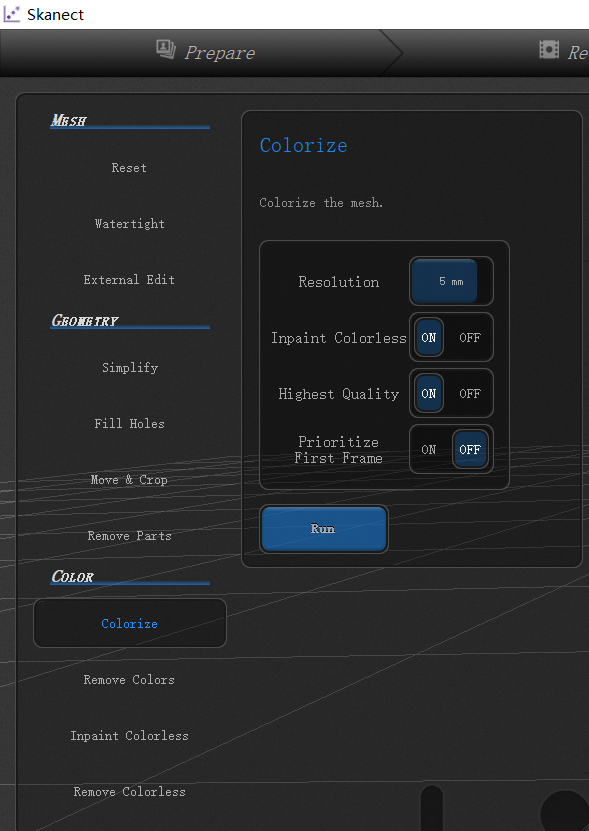
Colorize
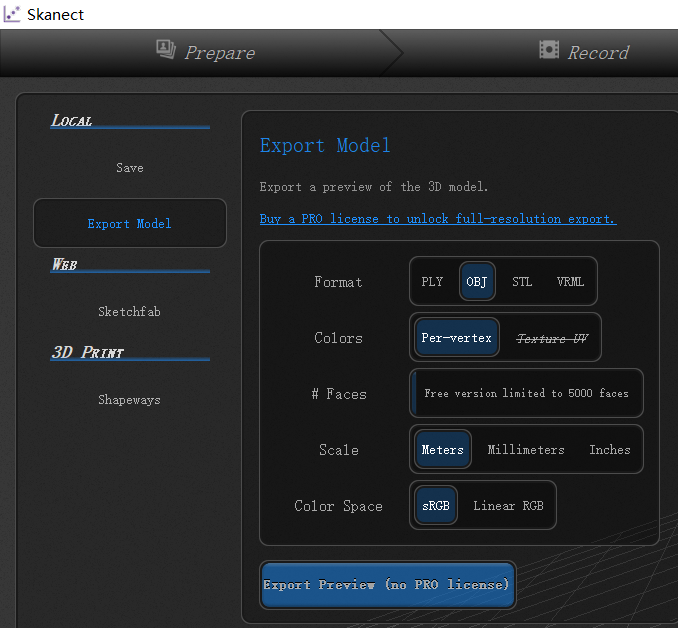
export as obj
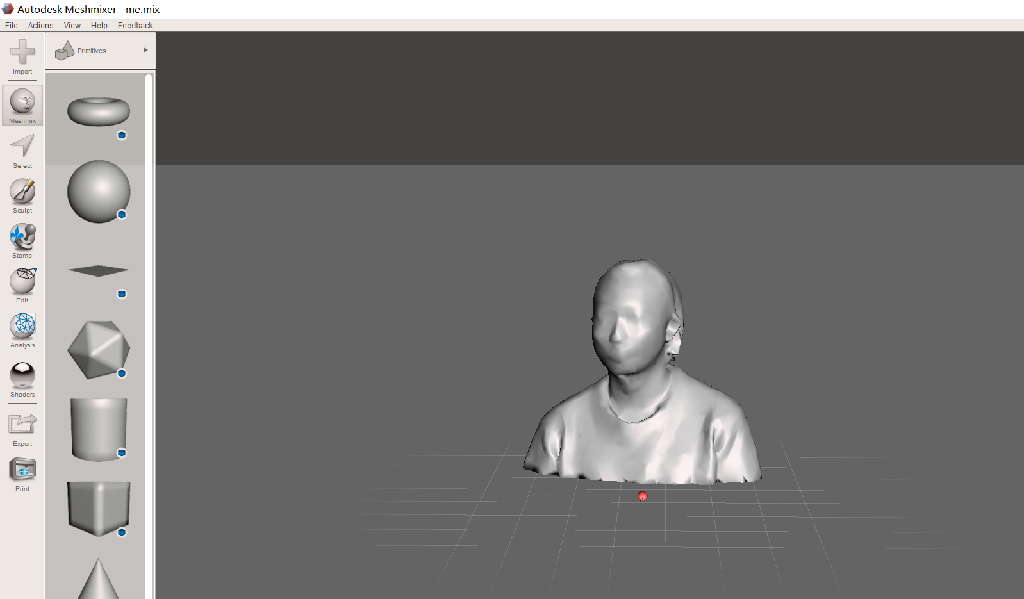
Download and open Meshmixer. Polish the object, edit it as you wish.