Week7
Computer-controlled machining
Computer-controlled machining
Test runout, alignment, speeds, feeds, and toolpaths for your machine.
First step: Design
If you want to using CNC machine like Shopbot, you need a Design file. I use Rhino and VCarve to design staff. Before designing you should known it is important to anderstand what material can be used for your design. There are many types of materials. The basic ones are machinable wax, polystyrene foam, plywood,MDF, MDO, polystyrene boards, polycarbonate, aluminum, and others. Also, it is important to understand what kind of milling machine will be used. Different machines have different abbilites to cut materials Some of them can only process in two axis; some of them can operate in 5 axis. Therefore, we can define the following design rules: 2D and 2.5D. While designing the part, we should understand, that in this case, we will not be able to machine the materials from different angles. The endmill will go up and down and within x and y-axis. Therefore, in most cases, the parts produced with this machine will be flat. However, we can connect such parts to create a three-dimensional product.Make (design+mill+assemble) something big.
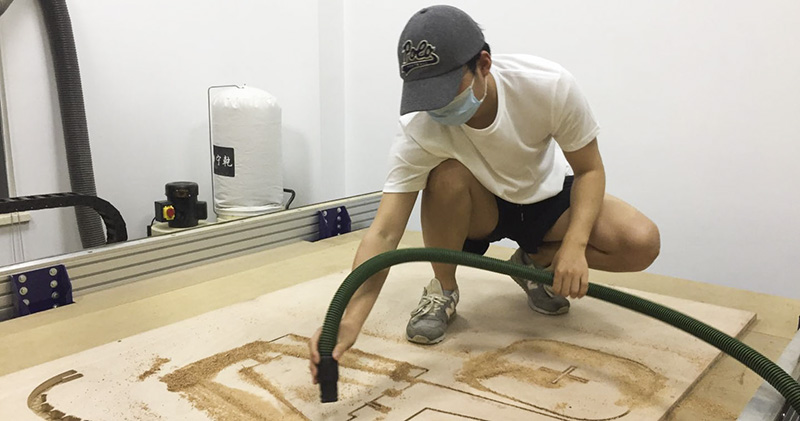
In this week, I have learned how to use the Shobot
First, I designed the website template and changed the information structure of the website.


