Week 16- Wildcard
Overview
For this week we have to design and produce something with a digital fabrication process (incorporating computer-aided design and manufacturing) not covered in another assignment, documenting the requirements that your assignment meets, and including everything necessary to reproduce it. Possibilities include but are not limited to
In this week we are given the freedom to choose from a range of options but I chose to do compsites because I want to create glowing base for Aincrad (my final project)
Have you?
Documented how you made your creation.
Described problems and how you fixed them.
Included your design files and ‘hero shot’ of the result.
The Process
Designing the Mold
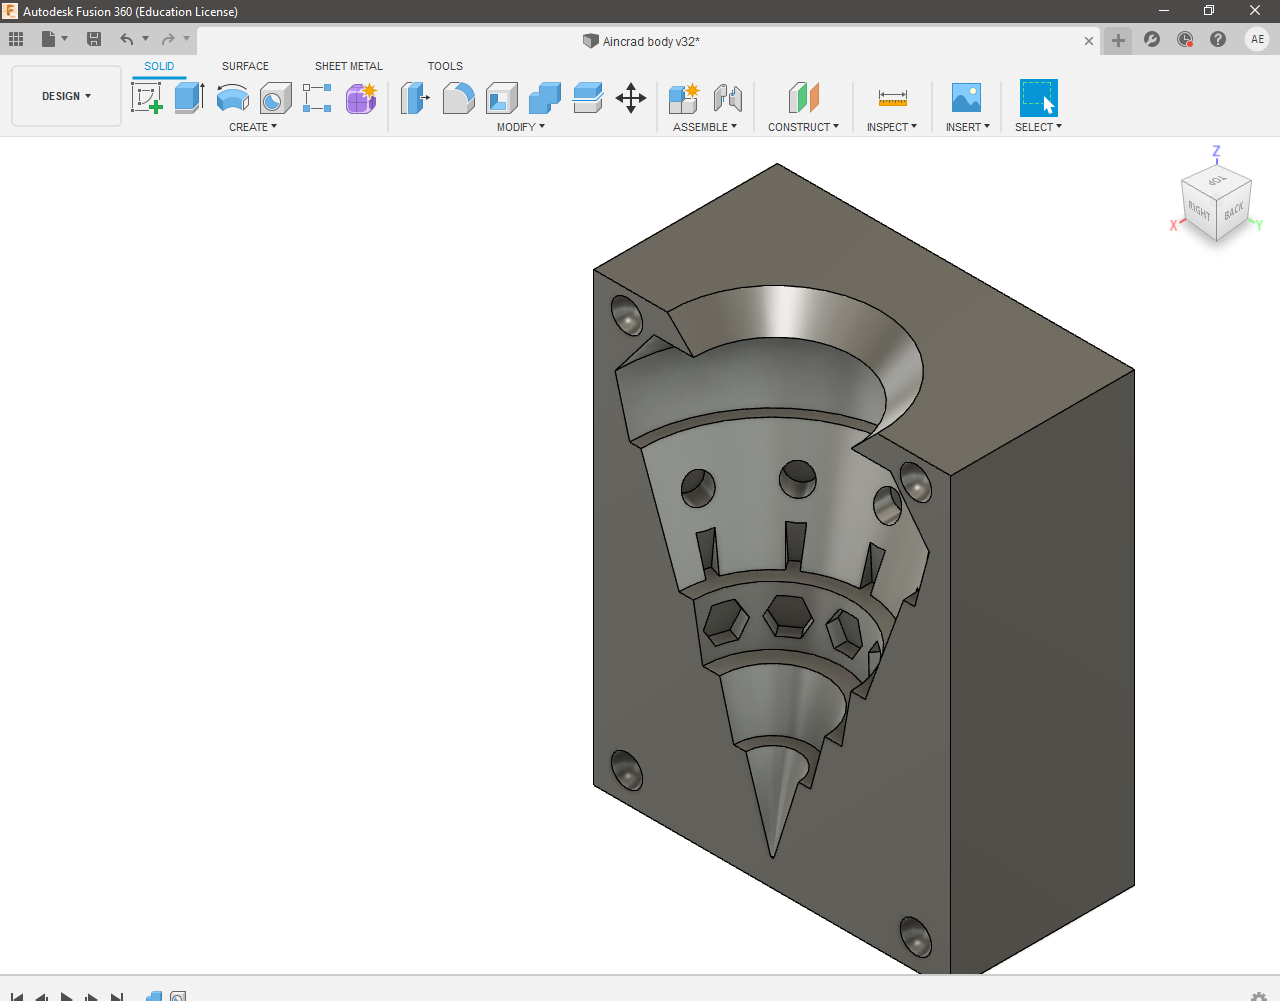
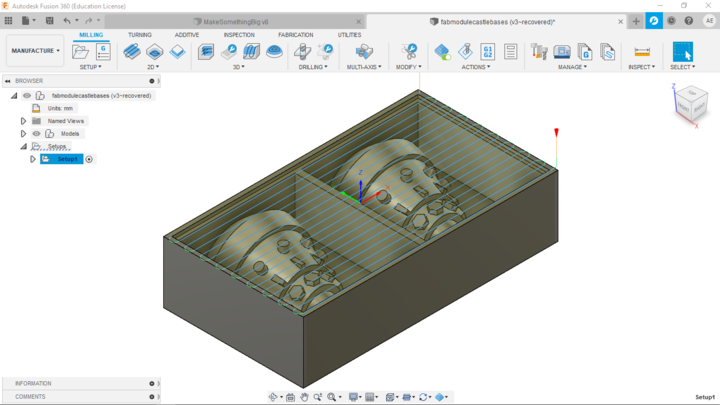
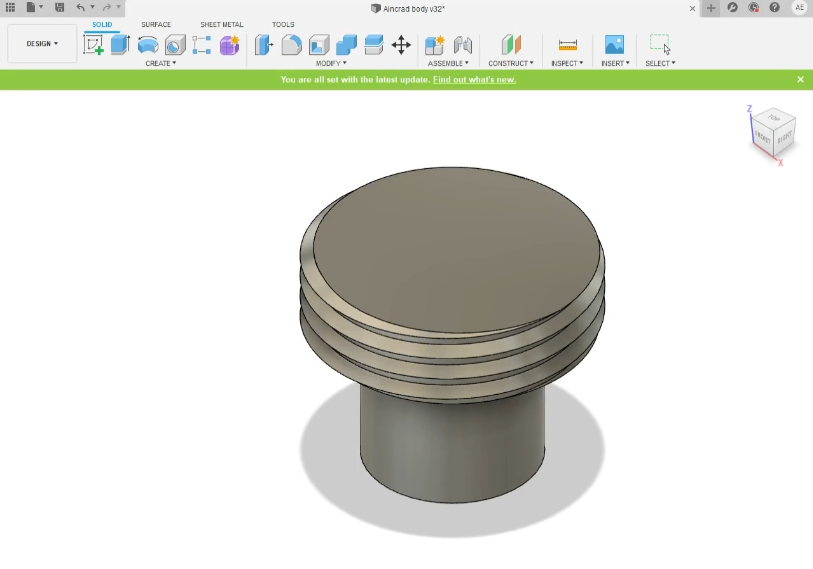
I have used Fusion 360 to make the design of the mold and because it will be a mold of two parts I cut the final shape in half then prepare the mold box with registration rectangles to join the two parts. with the small step surrounding the entire box to improve the extraction of the silicon.
-
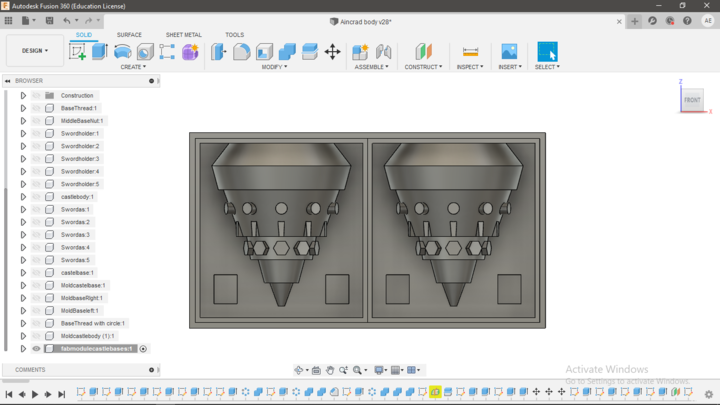
design the base of Aincrad using Fusion 360.
-
the Molding box
Create the Mold
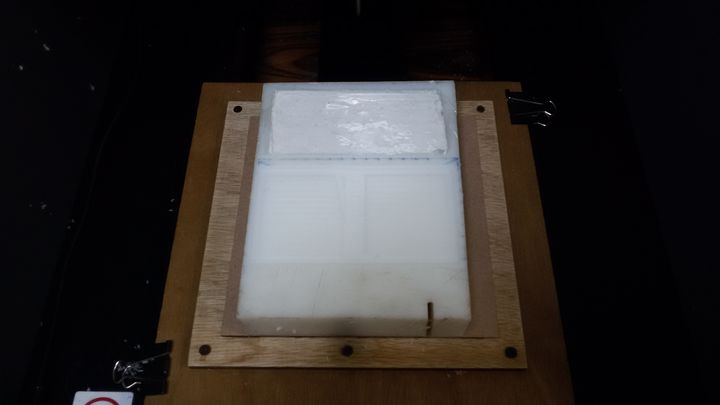
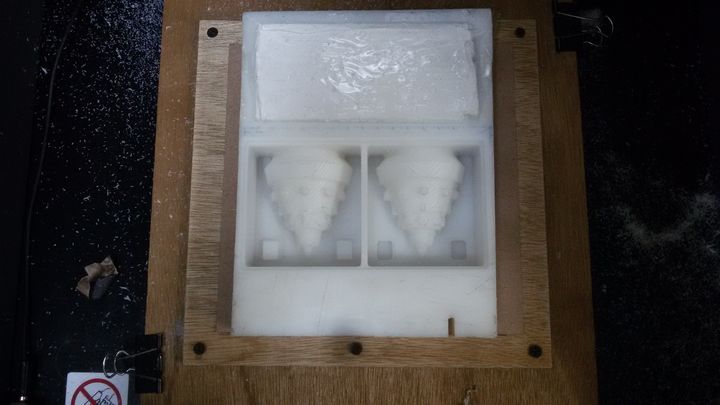
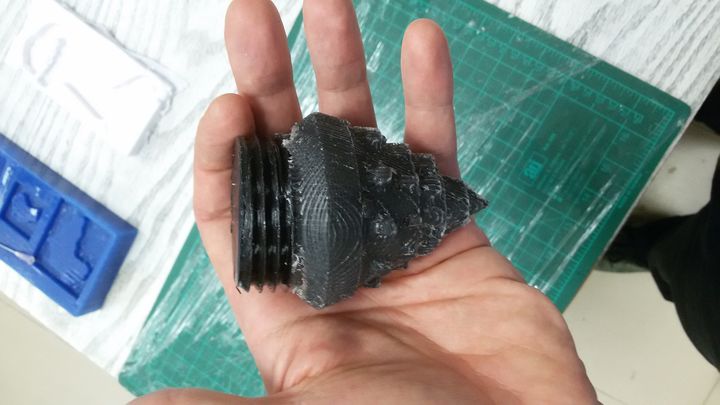
In week 15 I make the postive part of the mold from an Artelon stock and the negative from silicone. Yet for this week I decided to make the negative part of the box using 3D printing at first then follow the same process as week 15.
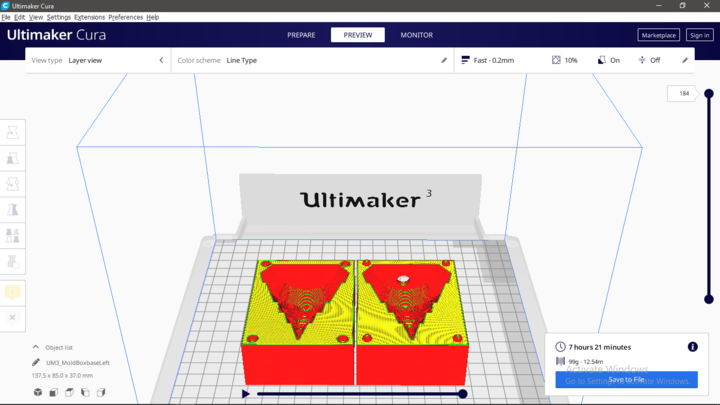
1- 3D printing the mold
I have used Fusion 360 to make the design of the negative part of the mold and with registration circular to join the two parts.

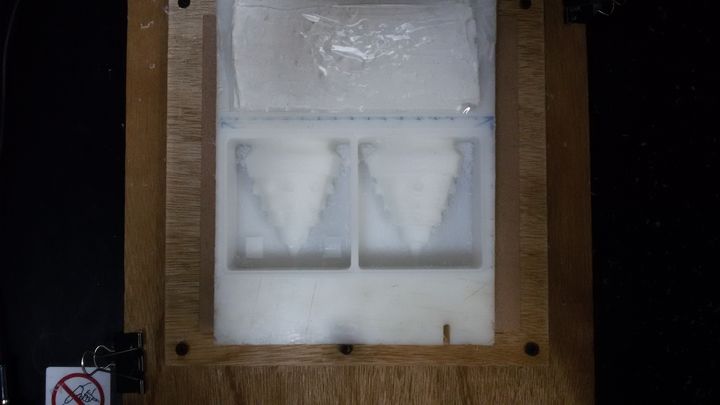
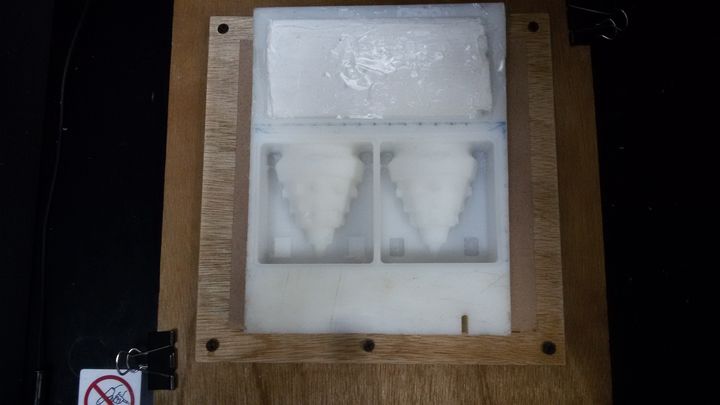
-
first part of Molding box.
-
second part of Molding box.
Casting
It's about applying a resin to a fabric or fiber. Fiber alone is good for tension, but bad for compression. The resin is good for compression and bad for tension. So if we combine the two materials we obtain a compound resistant to tension, but also to compression.
The composites process is:
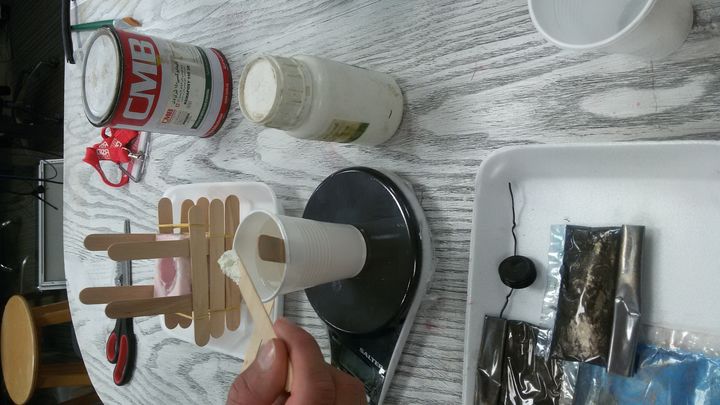
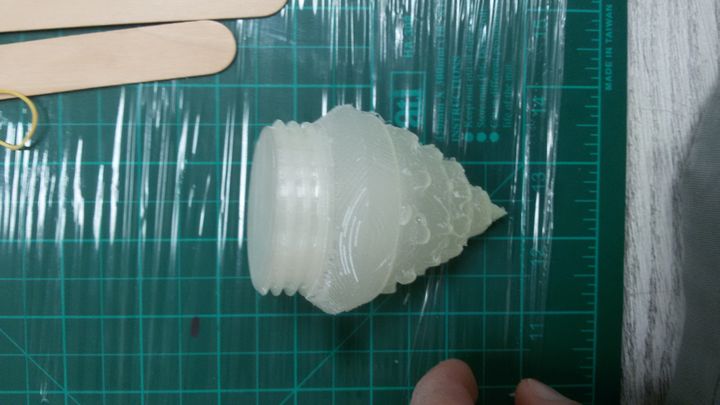
Similar to the week 15, I created a mixture with the ratio of 2 (EPOXY) : 1 (HARDNER). and add a brown mica color to the mixture .
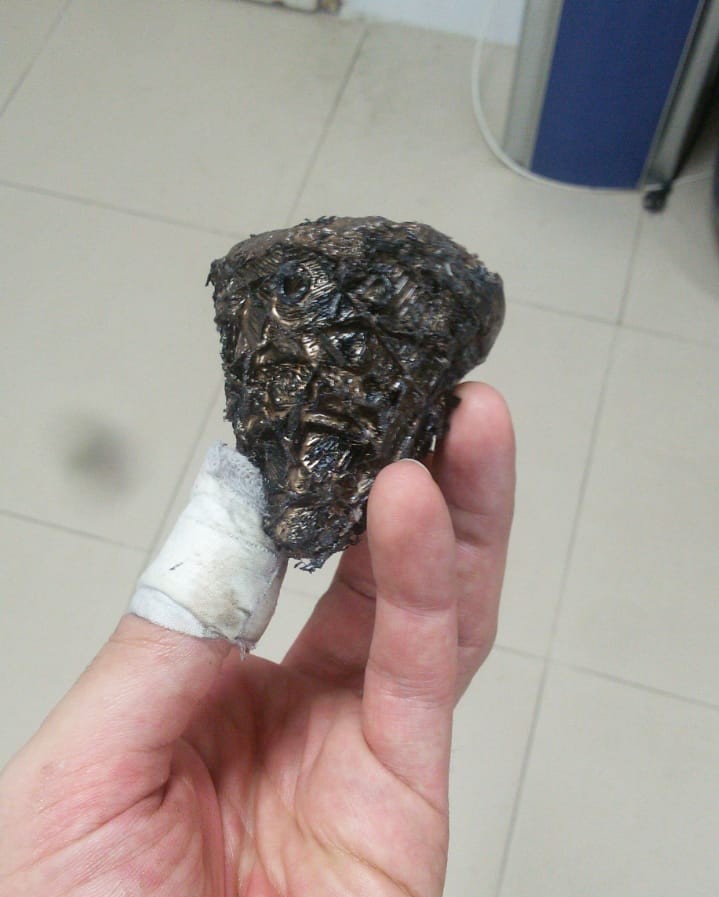
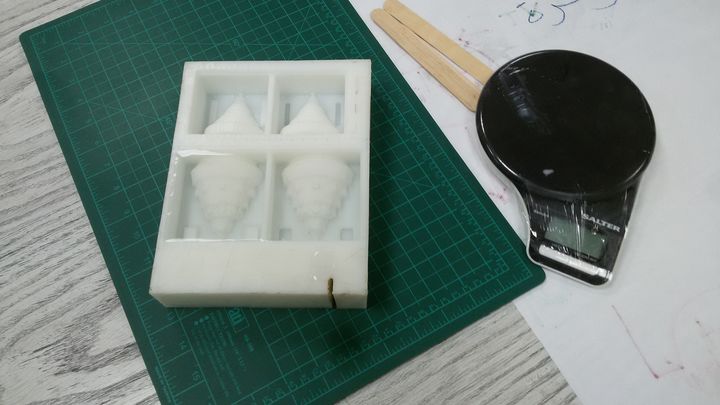
After 24hr As you can se the results is not good at all:)
This happened because when I print the mold box I make the infill=15% that let the mixture flow inside the box causing a non separation between the two parts, So I had to broke the molding box in order to take the final mold out.
-
The final results
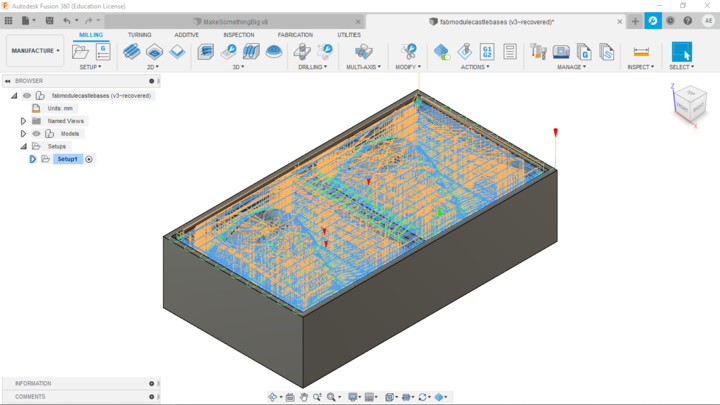
2- Milling the mold
I'm going to use Fusion 360 Manufacturing workspace to create my CAM process as I did in week 7. then I will postprocess the G-code and use it with Roland Vpanel software to control our machine.
- MDX-40A
- 1 * 6mm flatend mill
- 1 * 4mm ballnose mill bit
- Artelon stock (millable material)
Tools
 Facing the stock
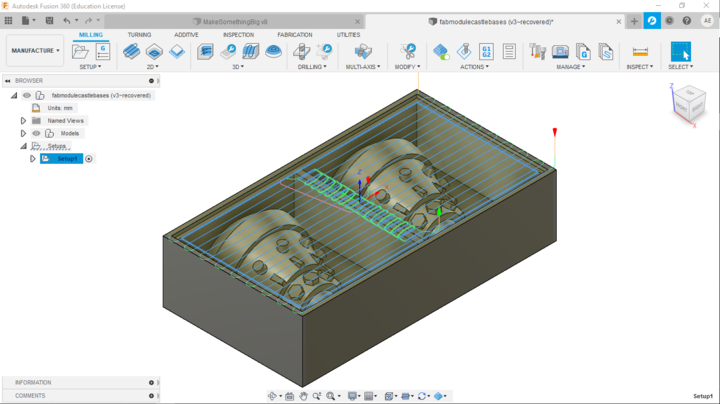 2D pocketing for the step that sround it.
 Adaptive cleaning and pocketing for base steps and registration rectangles.
 Adaptive cleaning for cleaner finish.

-
drawing a box with the same dimensions of the model and created diagonals as shown in the photos where the point of intersection should be the origin point.
 Facing the stock.
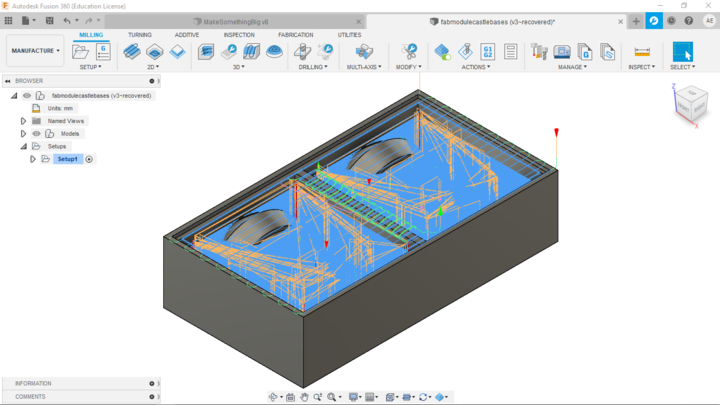
 Adaptive cleaning as a rough first milling, to remove more chips faster.
 Milling the registration rectangles.
 Finishing process.
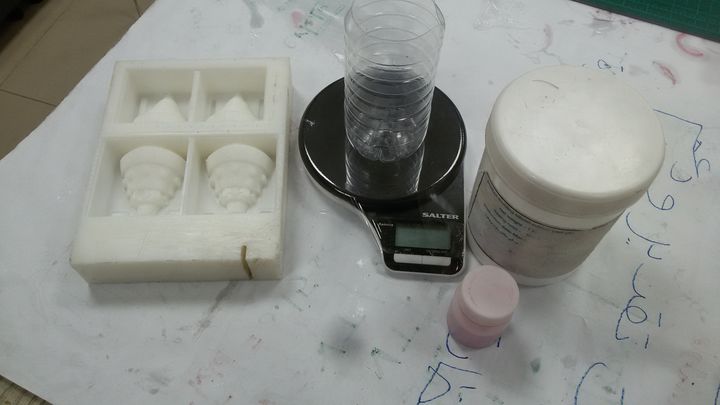
Calculate the volume of the mold
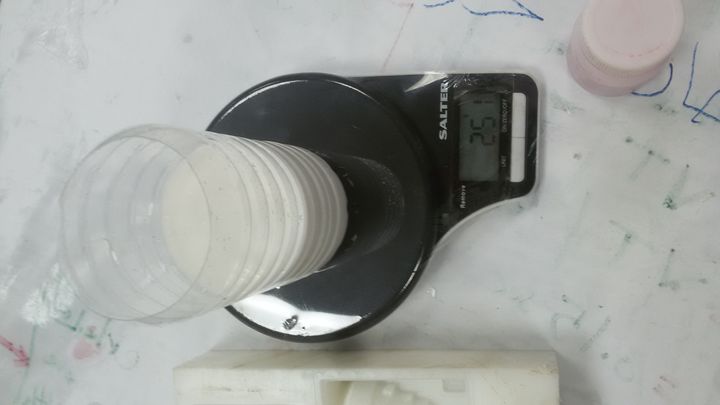
Once we have milled the wax mold, we have to calculate the volume of silicon that we are going to need. There are two options to do this either useing rice or useing water.
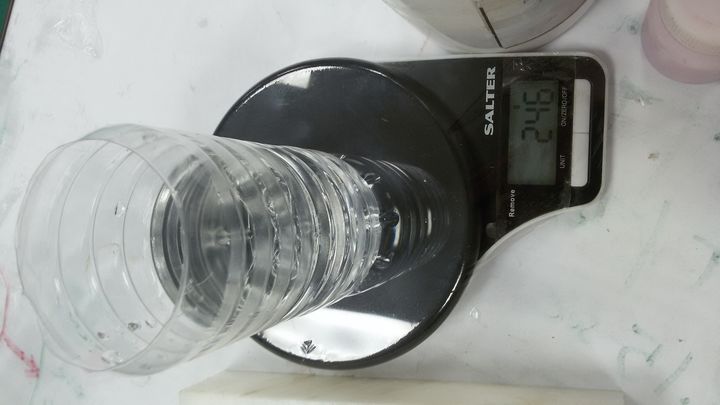
So I filled the mold with water and that amount of water is weighed. In theory, the density of water and weight are the same. In my case it is 246 grams with the plastic cup
Silicon mold
safety data sheets for silicon rubber
- Use gloves during use and wash your hands after use.
- good ventilation is recommended.
- Allow rubber to cure a minimum of 16 – 24 hours.
- Avoid eating, drinking or smoking while use.
this silicone should be mixed: 100 Part A: 2 Part B by weight or volume. So after measuring the volume of the mold and giving me 246g, I decided to round and put 250 grams of Part A and 5 grams of Part B.
I mix the two parts very carefully not to cause bubbles, for about 2 minutes. Then I pour it slowly with the help of the tounge depressure stick.
 Silicon Rubber, hardner, pair of gloves, tounge depressure stick, a plastic cup and the Artelon milled mould.
 Part A.
 Part B.
 I have a hole in the outer side of the mold.
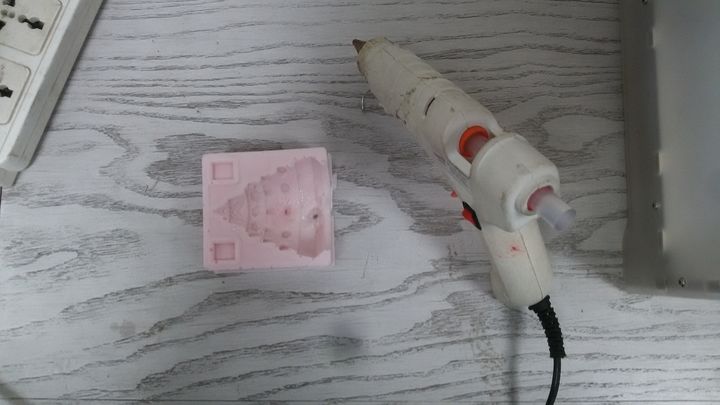 Challenge alert!
as you can see in the picture I have a hole in the outer side of the mold that will affect my epoxy pouring process, So I decided to use the wax gun to cover it.
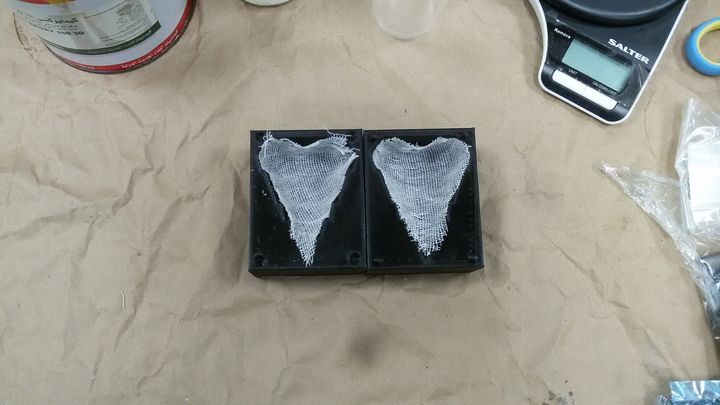
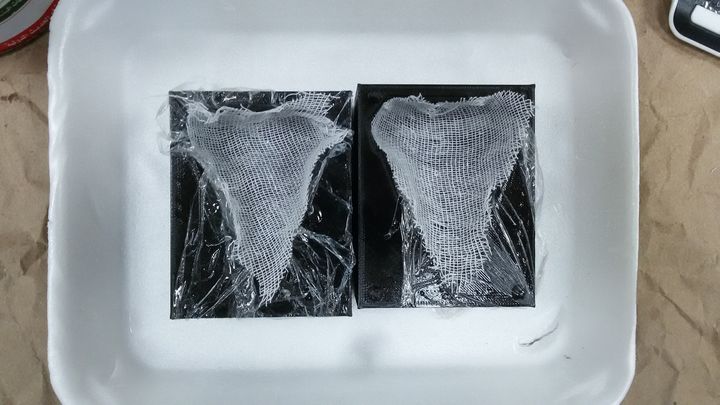
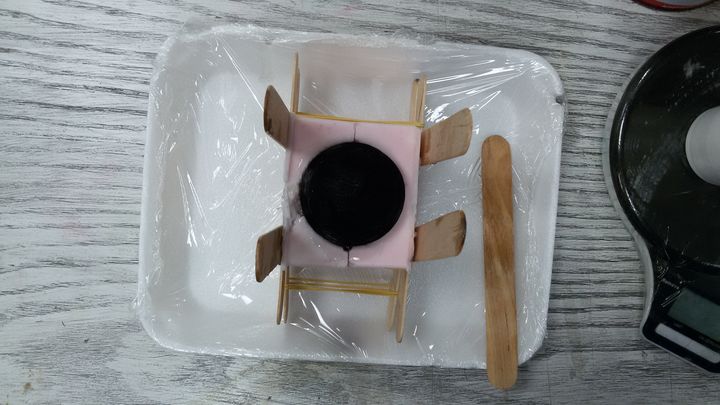
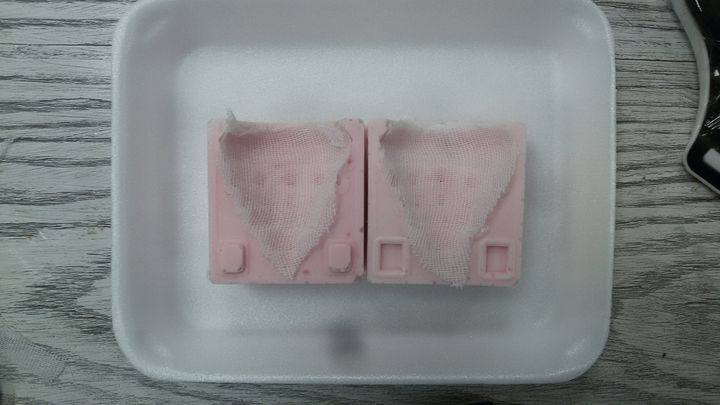 Add medical bandage to the final positive silicone mold to create the compsite.
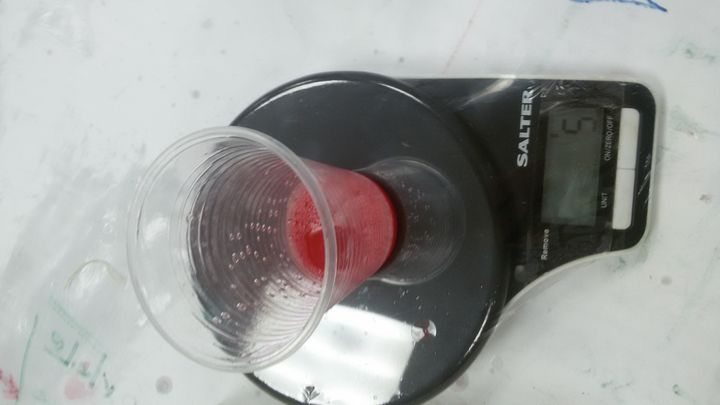
Casting
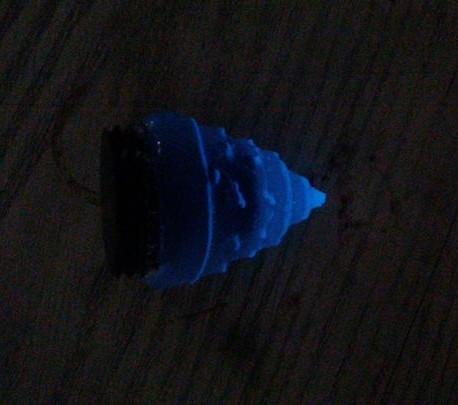
Similar to the previous process, I created a mixture with the ratio of 2 (EPOXY) : 1 (HARDNER). then add a phosphoric color to make the base glowing in the dark.
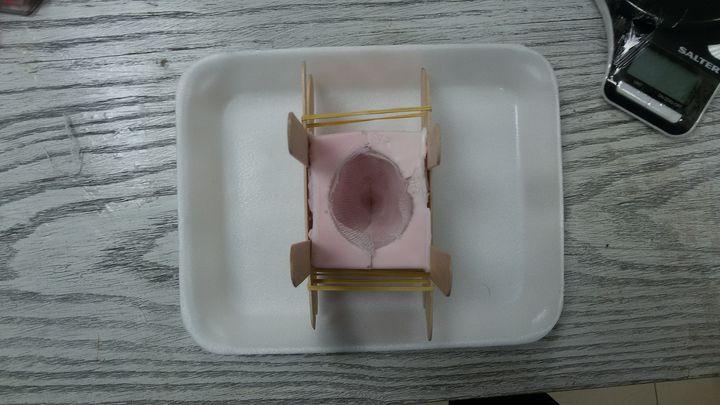 Add elastic bands to hold the two parts in order to pour the resin
 Epoxy, hardner, pair of gloves, tounge depressure stick, balck and blue mica color a plastic cup and the created silicon rubber mould
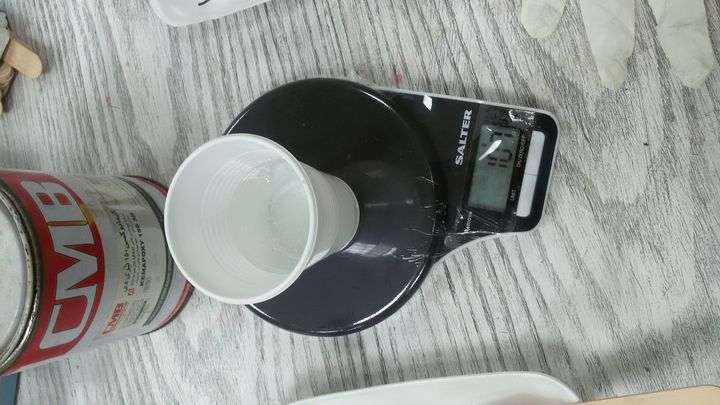 Epoxy.
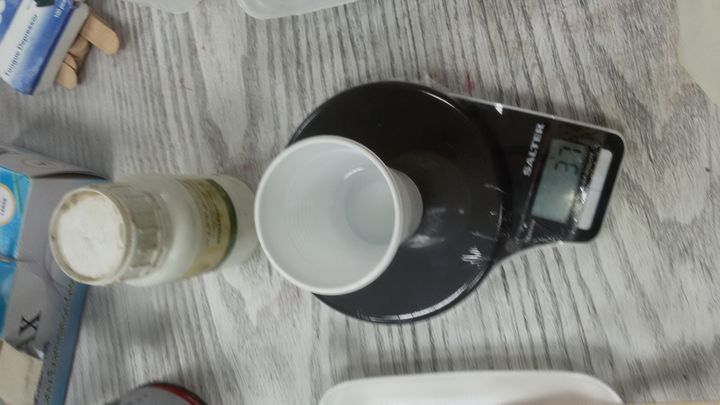 Hardner.
 Add phosphoric color.
 Add a black mica color.
 create a thread nut to work as a joint between the base and the castle body.
 Pour the resin then wait for 2hr and add the nut.
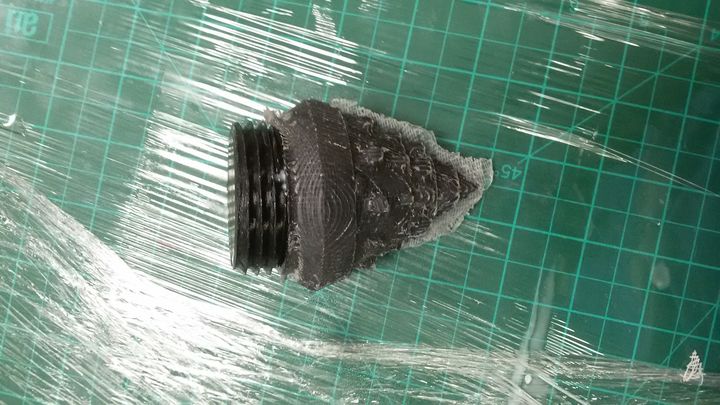 After 24hr the finla mold.
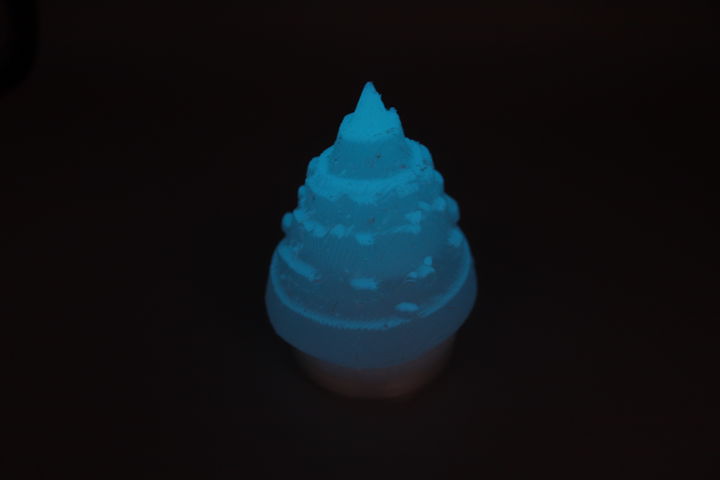
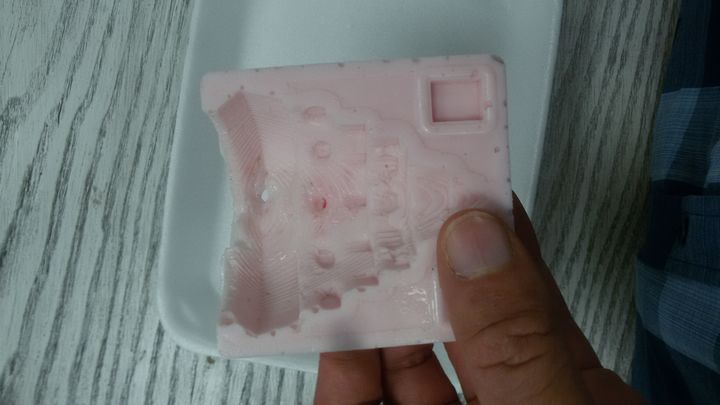
 Final results after cleaning the part.
 Following the same steps but only add a phosphoric color.